Chapter 1: Land Grab
This mission is a fairly straightforward one as all we really need to do is clear the covenant forces out of the quarry ahead. As you begin, hop in the gauss warthog nearby and have one of the marines hop onto the turret at the back. This thing can do a lot of damage and the marines are ridiculously accurate. As this is the case, drive around to the right towards the closest objective, allowing the gauss cannon to take care of ghosts, turrets and baddies in the way. Destroy the objective and continue to the next one.
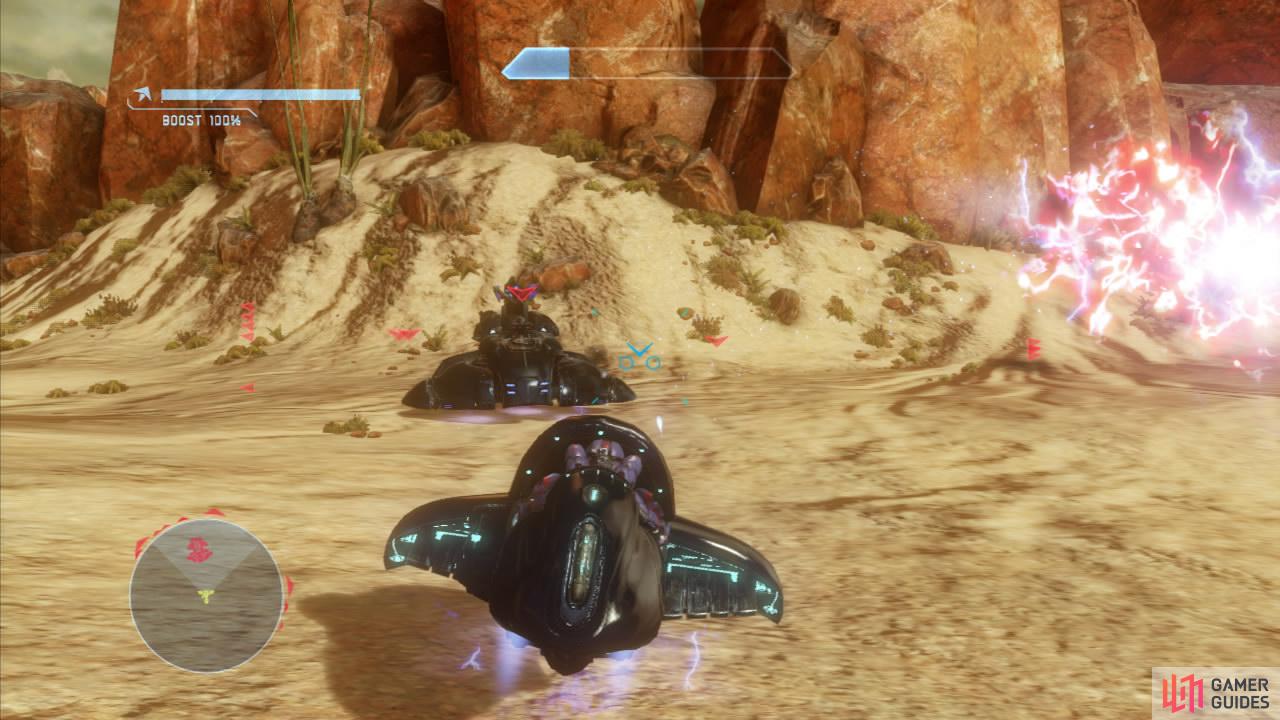
As you approach a wraith will appear. Again, thanks to our super gauss marine, keep moving in the warthog so the wraith cannot hit you and allow the marine to continue to fire on the wraith until it is destroyed, approach the roadblock, destroying the turrets here. A phantom will drop off 3-4 ghosts beyond the roadblock and a wraith. So either continue with your gauss hog or trade it in for one of the nearby wraiths. Destroy all the enemy vehicles to proceed.
Continue down the circular ramp and destroy the two remaining objectives. This is much easier with the wraith due to its range. Once they have been destroyed, mop up any remaining enemies in the area (they will all be marked with red arrows)… Of course, they aren’t going to make it easy for us as a pair of phantoms will come and drop off a bunch of grunts and elites.
Kill them and continue back towards the start to see some drop pods depositing some ghosts, a wraith a swarm of grunts and a healthy number of elites around the roadblock. Kill these and you will see a phantom dropping off troops on top of the hill to the left. Make your way over here and to the top of the hill destroying the wraith at its base and all of the other enemies that appear. Once everything is dead, head over to the pelican to finish the mission.
Chapter 2: Sniper Alley
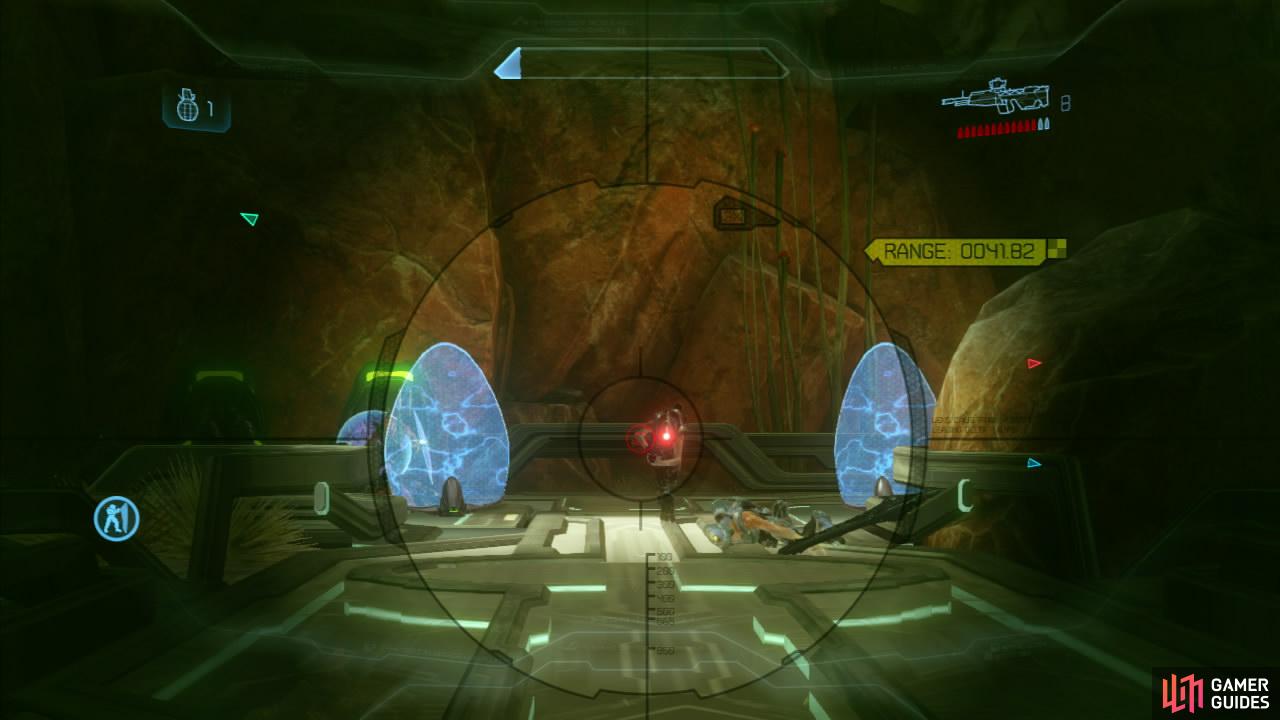
From the beginning of this mission, we need to descend the ramps of the current structure until we reach the ground level. Eliminate the two elites and the groups of jackals and grunts that have taken residence here. Once they are all dead, check out the panel marked with the objective indicator and interact with it to lower the shield in front.
As the shield goes down, attack the jackals and grunts you can see immediately in front of you. After a few moments a drop pod will arrive and give you a couple of additional groups of grunts and jackals to fight off along with an elite or two to shoot. Be warned that amongst them are 4-5 jackal snipers. They will usually stay put on the upper platform so try and pick them off as soon as possible or they will start to cause trouble in terms of health! After everything is dead, hit the two consoles to deactivate the next shield.
As the next shield drops a phantom and a drop pod will appear behind where the shield was and drop off more groups of grunts and jackals and a small number of elites. Pick off as many enemies as you can below, preferably trying to take out those pesky jackal snipers before heading down to kill the rest of the enemies, noting that the elites will usually come to you.
When it’s safe to do so, climb down the ramp and go through the now unshielded passage. As you arrive on the next platform another drop pod will drop off re-enforcements around the next corner. These include jackals and 4-5 elites who will be in a hurry to come and meet you. Once they have been dispatched, follow the dirt path down the hill. Another phantom will appear below and to the left and drop off another large group of jackals and one of grunts as well along with an elite commander complete with sword.
After you have killed those, another drop pod will appear in front and drop off a bit more of the same - grunts and jackals. This time, instead of an elite a few jackal snipers will make an appearance instead. Once all of these guys are dead, you should be at the bottom of the hill and be able to continue through the small rock passage and continue towards the objective.
Hang out at the top of the hill here and try to pick off the jackal snipers in the sniper tower to the right. You should get an ordnance drop of a railgun if you are interested. Kill the jackals as they come and after a short while a pair of phantoms will appear along with a drop pod or two. Each of these is going to drop off group of grunts and jackals and a couple of elites to boot (some of these will have swords in hand). I’d suggest using your primary to take out the grunts and jackals and using the railgun to eliminate the elites before they get too close.
Once the elite threat is gone, work your way to the right through any remaining grunts and jackals until they have all been eliminated. Head over and interact with the glowing green object when prompted to do so. Head to a safe distance and then watch the fireworks. After that, its just a matter of heading over to the pelican to finish the mission.
Chapter 3: The Challenge
At the start, move up to the ledge in front and kill the crawlers below before climbing down and move to the objective marker. This is going to cause a group of crawlers to spawn as well as unleashing a few Watchers who will summon additional crawlers to annoy you. Clear the enemies that have spawned and then interact with the objective marker.
Do a 180 degree turn and proceed towards the next objective marker in front. As you approach, another large group of crawlers will appear and attack. Kill them as you go and continue until you reach the next structure with the panel we need to activate on top. When you reach this area, a portal will open and three watchers will emerge. Quickly kill all three of them before activating the panel.
Doing this will cause another three watchers to spawn from a warp portal in the sky above. Deal with them and the laser emplacement that appears on the structure to the right.

Drop down to ground level, turn right and head for the final objective marker. Again as you approach a bunch of enemies of the crawler and watcher variety will phase in. You will really need to take those watchers out ASAP or they are going to spawn additional crawlers, extending the encounter. Once it is all clear, climb up onto the structure and hit the switch.
We are now tasked with climbing the central structure. Climb up the first ramp and clear the wave of watchers and crawlers that spawn and then continue up the next ramp. Interact with the indicated control panel here and kill the watchers that show up as a result.
We’ll now get a new objective marker, and in front of this a good number of crawlers will appear on the ground below. Drop down and deal with them before proceeding to the evacuation zone indicated by the objective marker. Eliminate the next small group of crawlers that come to attack you here.
We will now have to defend this point against several waves of crawlers and watchers, a pair of rocket launcher drops will land nearby to help you out. Once the area has been cleared, a pelican will show up. Head over to this to complete the mission.
Chapter 4: Sacred
Follow the hallway to the end until you exit into a large room. Continue across the large room and into the left hand hallway at the far side of the area. As you work your way through this hallway towards the next room, some crawlers will phase in and attack you. Kill them and continue up the ramp to the left. Check out the objective marker here and interact with it.
Afterwards a group of crawlers will spawn in front of you. We now need to return to that previous large room. Return back down the ramp and through the hallway we came in from earlier killing the crawlers now occupying it as you go.
As you reach the end of the hallway, kill the Knight that appears and his two mates further in to the large room at the end of the corridor. In addition, you will want to kill the crawlers in the area. Slowly work your way back to the door to the mission start point when it is safe to do so. As you approach it, the door will close, trapping you in the large room.
As soon as this happens, a group of knights and crawlers will appear behind you. If the knights summon Watchers, take them down as quickly as possible to prevent them from spawning additional crawlers. Climb the slope to the right and enter the door at the top. Kill the crawlers and the knight Battlewagon within. Follow the ramp to the upper level and interact with the panel here.
Return to the main room and eliminate all of the enemies in here now. They are all marked with red objective markers and will come in a number of waves. Firstly you’ll have to eliminate a number of crawlers, next a group of 4-5 knights (and any watchers they spawn). Finally one last group will enter from where we started the level and consist of a pair of Knight Battlewagons and some crawlers. Once everything is dead, return to the start of the level to complete it.
Chapter 5: Core
From the start, we want to work our way down the ramp to the right and continue along the path until we reach a fork. Both of these entrances lead to the same room, but the one on the right will have you on a raised platform, which may make things a little easier if you have a medium-long range load-out.
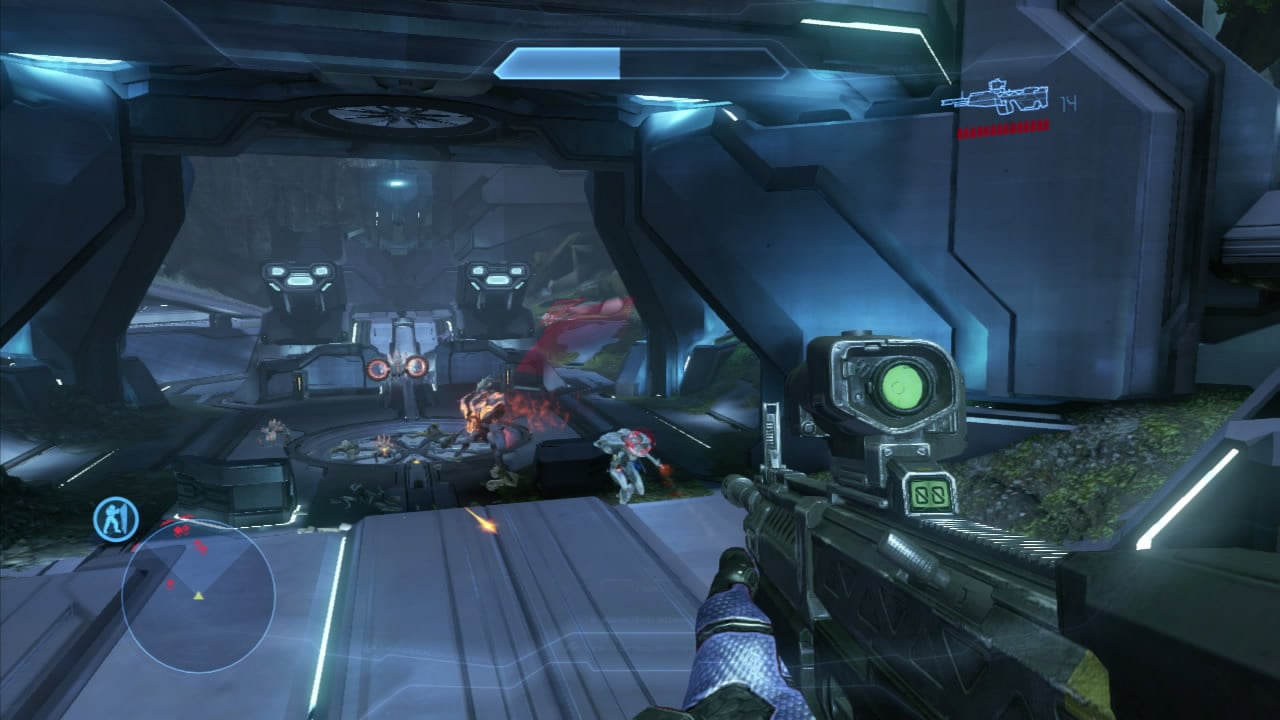
We need to clear this area of hostiles. There is a grunt on a turret on the building at the far end of the area and a number of grunts and an elite wandering around in the area in front of it. As you start clearing the courtyard, as you start to clear the area, a covenant drop pod will drop off a few more grunts for you to dispatch. As per usual, pick off the grunts first before focusing on the heavy hitter.
Climb up the ramp at the back of the area and deal with the grunts and jackals in the immediate area. As you make your presence known, an elite will join the party too. Kill him and continue to the top area. Mop up any remaining enemies.

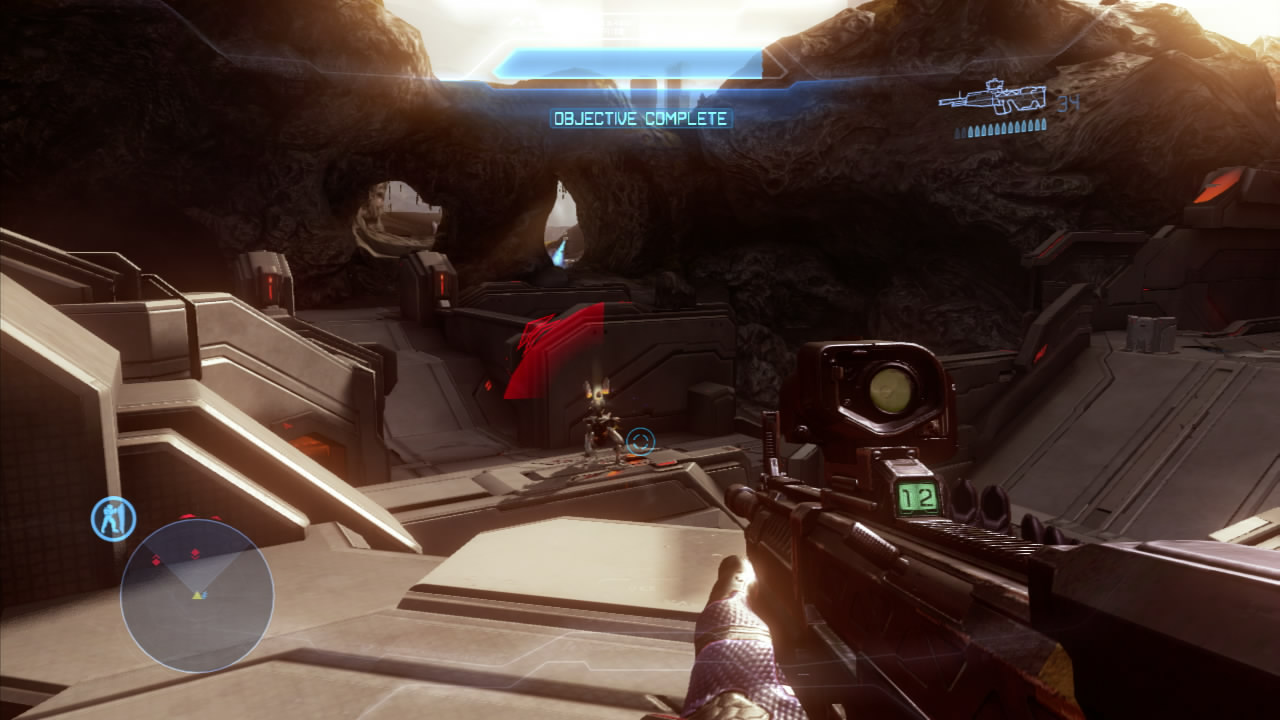
Make your way over to the objective marker and activate the switch. As you do, the bridge will undergo a little bit of a change and a phantom will appear and drop off a pair of elites. One of these guys is armed with a fuel rod gun, so be sure to take cover as necessary! After the fight, hit the two buttons on either side of the downwards ramp to open the gate below.
As you approach the gate, a swarm of grunts (around 15-20) will gradually come through it along with a pair of elites. Grenades work a treat here as they all have to pass through a narrow passage where there is nowhere to dodge. Once it is clear to do so, proceed through the gate and mop up any remaining baddies. Climb the ramp on the far side.
Below you will see a few jackals and elites, there is also a grunt on a turret on the raised structure to the left at the bottom of the ramp. Before doing anything, quickly duck behind the left hand wall next to the weapons racks as a pair of phantoms below will shoot you otherwise and kill you in less than a few seconds. Once they have departed, clear the area below.
Afterwards, climb the left hand structure and activate the panel here. This will cause a group of 5-6 crawlers to appear in the courtyard below. Eliminate them as they come to get you before heading over towards the objective marker noting that you’re probably going to have to kill another couple of groups of 5-6 crawlers before you leave the built up area.
As you approach the stone arches, kill the three watchers here and any crawlers they summon before killing the nearby knight. We need to head over to that tall structure nearby. Kill the two knights and the group of crawlers guarding this and activate the control panel at the top.

No Easy Way Out
In Ch 1, Ep 5 of Spartan Ops survived the enemy assault during the defense on Normal or harder

20
This will cause a large number of crawlers to spawn below and they will come up to investigate. Guard the area against these and once the crawlers have been dealt with return to the courtyard. Kill the watcher and the Knight Battlewagon that are occupying the area. Afterwards, wait for the pelican to arrive and then interact with the artifact to complete the mission.
No Comments