Chapter 1: The VIP
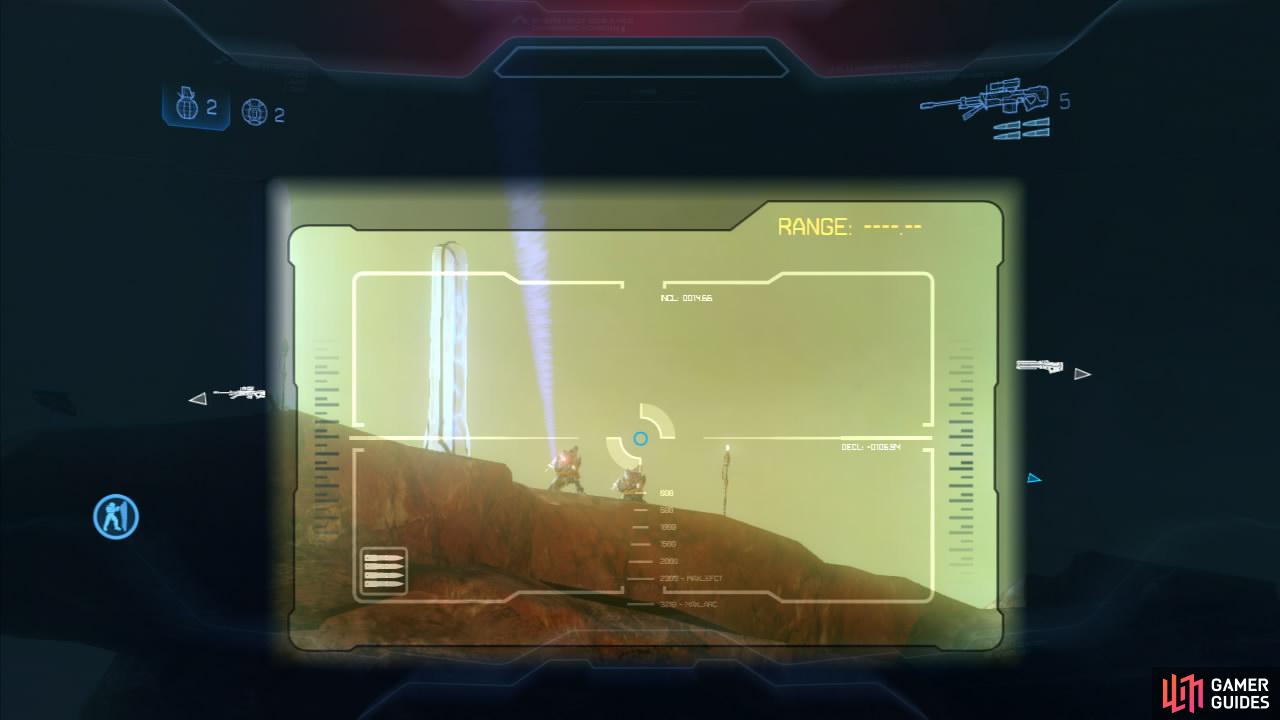
Exit from the ravine here and look down into the valley below. Stay near the top of the hill and pick off the enemies in the valley. Your immediate concern should be the elite directly at the bottom of the path who is equipped with a beam rifle. After that, you should be able to pick off the rest of the enemies without them shooting back. At the top of the mesa in the center of the valley below is a Covenant turret that may occasionally pop a few shots off at you once you have killed a few of the baddies.
When you reach the point when you cannot see any more enemies in the valley below, clearing any additional enemies you find. As you arrive, you should get a radio transmission warning you about snipers. 6-7 Jackal snipers will appear on the rocky outcrop at the top of the mesa to the left of the covenant turret. An ordnance drop will also occur around this time, giving you some ranged weaponry. Take cover and pick them off one at a time.
When it’s clear, work your way over to the left ramp leading up to the mesa. Eliminate the elite on the turret about half way up and continue to the top. As you do you’ll see a phantom flying away and a drop pod will arrive and deposit a whole bunch of grunts and sniper jackals and around 6-7 Elites. Clear out the lot of them.
Afterwards a new waypoint will appear. Make your way over to the next area of the valley indicated and you’ll find a roadblock with a pair of sniper platforms behind it. Kill the pair of elites and the group of grunts here and then climb up into the right hand sniper tower. From here you should be able to see the lower area down and to the right - there are 5-6 elites and more of the grunts and jackals here. Pick off as many as you can before heading down to the area here and clearing up any remaining bad guys.
Now you are going to be slammed with enemies. Hop in one of the scorpions nearby and defend the location against waves of enemies.
- Phantoms will attack you and drop off a couple of groups of grunts, a pair of wraiths and some elites.
- Once they have all been killed, a drop pod will deposit a huge number of grunts.
- Another two drop pods will drop a large group of jackal snipers and elites.
- Another pair of phantom will drop off a wraith each and a drop pod will give you some more elites and a group or two of grunts to deal with.
Once all of those baddies are done with, head over to the pelican that rocks up to complete the mission.
Chapter 2: Galileo
From the start, climb down the dirt slope to the left and enter the first building here. At this point you will get an updated objective and three objective markers will appear on the map. Clear out this ground floor room of grunts, then return outside to mop up the elite and any other enemies nearby outside. Return to the cleared building and interact with the first objective marker.
Exit through the door to the right of the entry and quickly run over to the next doorway leading into the building to the left. Clear the elites and jackals running about in here and then knock out the second power core to the left. This will cause a drop pod to appear outside and additional elites, grunts and jackals to appear. Kill anything that comes near you and when it is safe, climb the indoor ramp to the higher level. At the top, turn right and follow the hallway to the end.
Cross the catwalk here to the small adjacent building. Continue through this and out the opposite door. Drop down outside the wall to the left and leg it over to the raised building with the next power core on top. Clear the elites and jackals up here. Again as you approach the power core a drop pod will drop off a huge number of grunts and a few elites to deal with. When it is safe to do so, disable the third power core.
Once this is down, yet another drop pod will deposit additional bad guys in the courtyard to the right. You’ll also now be given another objective. We need to activate a pair of defense turrets. Drop down from the building and head back to the right. Along the wall you will find an entrance with a gravity lift inside. Ride this up to the room above.
Exit the left hand door and climb the ramp around the outside of the building to reach the top. Activate the turret here. This will cause a phantom to spawn and drop off more baddies. Drop down to the catwalk below and continue along it to the next building along which has the next objective marker on top of it. Before entering, hop up on the platform to the right and use this to jump up to the roof. Clear the immediate area and activate the second turret.
A final drop pod will come down and release a couple of hunters into the area below along with a couple of groups of grunts. As you fight your way through these guys, another phantom will show up and drop off some elites and grunts. After you have completely cleared the map of enemies, the mission will be completed.
Chapter 3: Spartan Mountain
From the start, head over to the left hand wall of the area and follow it forward and through the short passage between the rocks until you reach the objective marker. Here you will find a crashed pelican under attack by covenant forces. There are a large number of elites and jackals here and you should be able to take most of them out from the cover of the rocks.
Once the immediate area is clear, any remaining baddies will be lit up with red objective markers. There is a group over on the far side of the map, so take them all out. Once they are clear, use the control panel marked with the objective marker nearby. This will deactivate the energy shield at the base of the wall and allow us to go in and destroy the object of interest.
Of course, once the shield goes down a couple of drop pods shows up to drop off groups of grunts and jackals along with a couple of elites and a pair of hunters to guard the now exposed base. Clear this area and then go over and destroy the target.
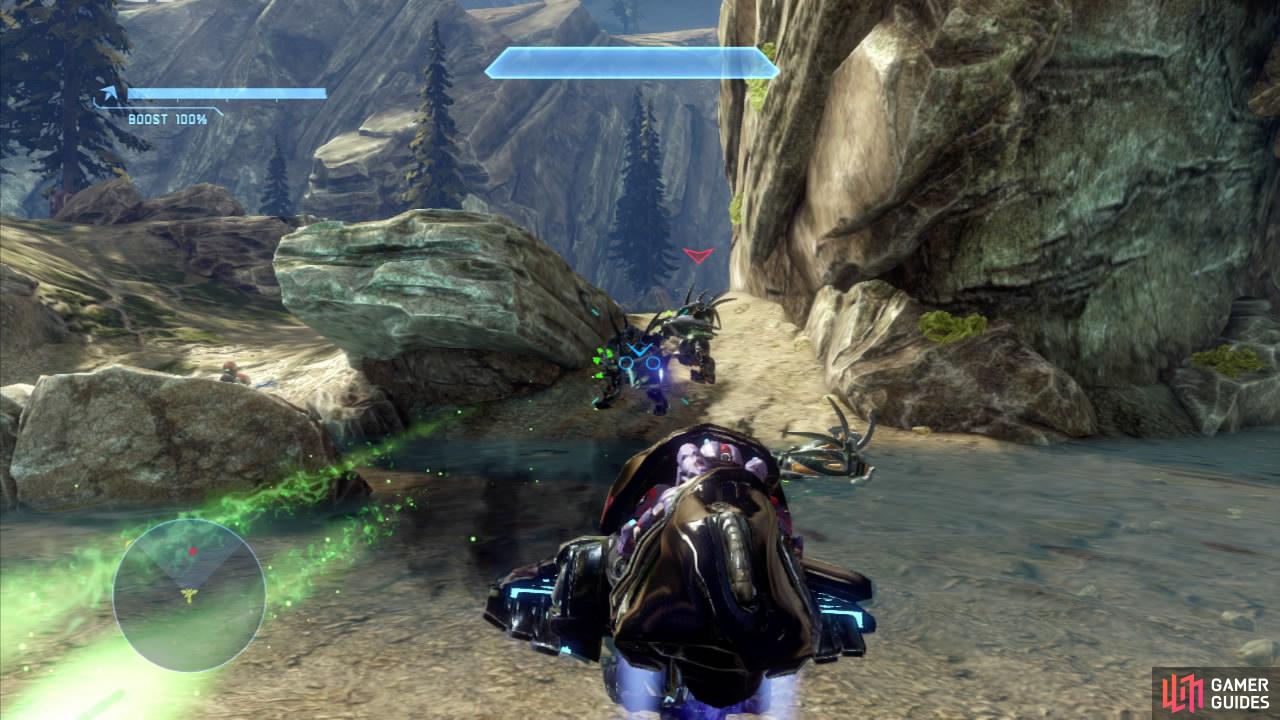
Following the demise of the signal jammer, you will now be back in radio contact and be given a new objective. We need to work our way over to the tower in the distance. Unfortunately, destroying that Covenant property means that they are no longer happy campers and a couple of new drop pods will appear to populate the area between our current location and the objective with a swathe of bad guy action. Fortunately a ghost or two will be among those forces and if you can hijack one of them, the next section becomes a lot easier!

Work your way through the large number of grunts, jackals and elites until you reach the base. Here you will find a wraith and a few more jackals. Once the area is safe (watch out for the jackal sniper up in the rocks above the base) a pair of objective markers will appear. Head to each of these and interact with them to disable the shield on the building.
From the building, a group of jackals and a sword toting elite will emerge from within and a phantom will arrive at the front of the base and drop off a large group of elites and jackals. Eliminate the lot before proceeding into the base.
After a brief conversation or two, approach the object in the center of the base and activate it when prompted. Exit the tower. We now have to defend the tower against incoming covenant forces. Fortunately it’s only a single drop pod. Unfortunately it contains a pair of hunters and a bunch of jackals. Kill them all and then return to the pelican crash site to complete the mission.
Chapter 4: Shootout in Valhalla
Soon after you load in, a Covenant drop pod will appear ahead of you. At this point you will also be given the objective to activate three defense turrets. You can quickly run up to the first one which is nestled in the rocks directly in front of the tower here. Clear any other baddies about.
On the right side of the area, you’ll find a pair of ghosts. Grab one of these and head for the next turret located on the raised rocky structure in the direct center of the map. As you approach this one, a phantom will appear a little further ahead and deposit a large group of grunts and a couple of elites to bother you.
Defeat them and activate the final turret, just in front of the far tower from our starting position. Once this is activated, a drop pod will appear in the center of the field in a similar location to the previous phantom. This will soon be replaced by yet another phantom. Both will drop off grunts and elites and as long as you have activated the turrets, they should give you a good helping hand.
The next part of the level is essentially a survival mode and you will have to pretty much kill all of the enemy combatants to proceed. They come in a couple of waves as such: 1. A phantom will appear back at the starting location and drop of a wraith for you to deal with. 2. Soon after this another drop pod will unleash a large group of grunts and jackals just in front of the starting tower. 3. A second drop pod will now appear on the left side of the map near the wall. 4. A phantom will appear and drop off troops in the same location as the drop pod above. A short scene will play showing some pelicans coming into the area to drop off some mantis mechs for you to pilot. Huzzah! Grab one of these to continue in your defense of the area.
This next part can get a little bit hectic as a large contingent of banshees will swarm into the area along with phantoms that will drop off troops. Try to eliminate the banshees first as their fuel rod bombs can do a lot of damage to your mech before focusing on any ground units in your immediate area and finally the phantoms that linger about. Once you have killed enough bad guys, red markers will indicate the remaining enemies, so cruise around the map and mop up the survivors.
A couple of drop pods will appear and drop of two pairs of hunters and a couple of elites each. Fall back towards the starting position if you must and kill them as they move towards you. Eliminating these will have another phantom drop off a large number of elites just in front of the starting position meanwhile another wave of banshees will appear overhead.
After killing a few of these another drop pod will arrive in center field backed up by even more banshees. Subsequently a new objective marker will also appear, urging us to an extraction point right at the very far end of the map. Work your way through the banshees and any infantry units until you reach it.
Look out to see and up to see a good number of banshees (5-6) and phantoms (2-3) incoming to your position. Again, as before try to focus on the banshees before taking out anything else. You will need to take down three waves of banshees and phantoms of a similar make up. After some fireworks over the water and a short conversation the mission will end.
Chapter 5: Hunting Trip
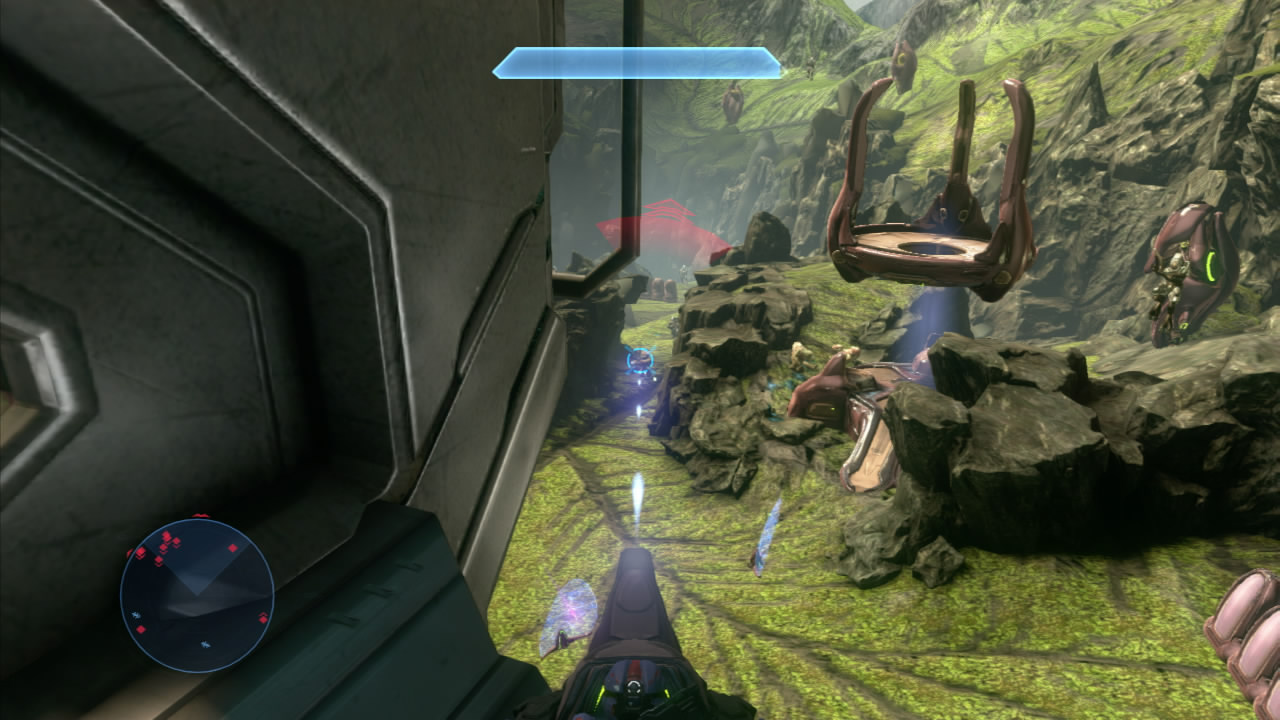
Move forward from the start until you can see the top of a covenant sniper tower poking out from above the rocky structure in front and to the left. Snipe the jackal snipers up here. If you look to the right you may also find some additional snipers on the upper deck of the large forerunner building at the far end of the area. Killing these guys will alert the other enemies to your presence, and there are a lot of them.
Stay in the starting area and allow them to come to you. They should come one at a time or in small groups. Keep moving up into the area to lure more to you little by little until you have cleared the grassy area. Move up the right hand side of the main structure and destroy the two covenant turrets here (one on the structure to the left and one on the ramp in front) and any enemies in the immediate area. Continue up the ramp at the back.
We’ll now have a new objective marker and a target to kill. Destroy the grunts and an elite or two on the first tier of the structure and follow the platform back towards where it juts out over the grassy are we cleared before. From here destroy the covenant turret at the top of the next ramp before proceeding to climb it to the next level.
At the top you will meet a few grunts and some elites along with the target elite we are meant to be killing (he’s the one with the fuel rod gun!). Note that some of the elites up here do have jetpacks and some others have active camouflage and they will be able to drop down to tier below and sneak up on you quite easily unless you are vigilant.
Killing the target elite will cause red icons to pop up above the other enemies’ heads, so track them down and kill them. Once they are all dead, you’ll get a radio transmission warning you of a large covenant force heading your way. Look down to the area we cleared before to see a couple of large drop pods and scores of the smaller pod variety come down and deposit a very large number of enemies.
Now it is just a matter of survival. Stay on the top level of the structure and let the enemies come to you. There is a very large contingent of grunts, huge numbers of jackals and quite a few elites that will come to track you down. Staying at the top will make them come in small groups or alone as at the start of the mission. Note that at the top here, covenant will not only use the main ramp leading up to you but can also be a little cheeky and use their jetpacks to hop onto the side ledges.
After killing a good number of hostiles, a radio transmission tells you to watch out for snipers. They will also conveniently be marked with red target icons. Keep in mind that there is still a good number of living, breathing baddies still to attack below, so be sure to monitor any additional hostiles that appear whilst you are dealing with the snipers. Killing them will cause a phantom to show up and drop off a pair of hunters. Clear the enemy presence from the area.
Now it’s time for another invasion! Before that happens a conveniently timed ordnance drop will occur. You will want to hop down and pick up either a rocket launcher or Spartan laser and quickly return to the top of the base. Two phantoms will come in and drop off another healthy load of bad guys. Expect more elites, more grunts and more jackals! Additionally one of the phantoms will stick around to take pot shots at you. Luckily you went to grab the ordnance right? Use it to take that pesky phantom down before focusing on the ground assault.
As is to be expected a few more phantoms will show up over the course of the defense, first dropping off enemies and then moving on your position to fire on you. If you run out of ordnance drop down to the ground level to grab it and then return to the top of the structure. Continue to fight off the enemies until they have all been destroyed.
At this point run to the back of the top level of the structure and take cover behind a shield. Around five phantoms will show up and fire at you as they come. After the fireworks, head over to the pelican to complete the chapter and the episode.
No Comments