Part 1: Requiem
From the start, continue forward to the far end of the crash site and locate a passage nearby and continue down the dirt slope slightly to the right. Follow the tunnel here all the way around until you reach the next outdoor area overlooking a cliff. Continue along to the left until you reach the next piece of wreckage. Here you can find a warthog. Drive it along the set path for a couple of minutes until you reach the covenant defenses in an open area.


There are a couple of covenant sniper towers in the area, as well as several small groups of grunts and jackals with the occasional elite scattered about. You can completely ignore them if you like and motor over to the back of the area. At the far end of the area, you’ll see a sniper tower with a few barricades below it preventing further progress with the warthog. Hop out and continue between the barricades, kill the elite and jump up to the higher platform. Follow the passage here until you reach the open area to the end, killing any grunts along the way.
You should be able to see a structure in the distance. Continue towards it.As you move forward an elite will charge out to attack. Kill him and note that there is a sniper jackal on a raised platform at the back of the area which you should take out as soon as possible. After killing him, focus on killing the extra grunts and jackals and an elite or two to kill in the immediate area.
Work your way up the ramp to the right to reach the structure. Kill the enemies on the platform here and then climb the next ramp to find your way into the structure. Kill the covenant forces in here - there are 3-4 jackals a group of grunts and an elite with an energy sword. Don’t let him get too close or he’ll one shot you.
Once the room is clear, loot the cloaking device from the elite’s body and then head for the back of the room. Enter the doors into the main structure. Work your way to the back of the room and activate the switch on the pedestal here.
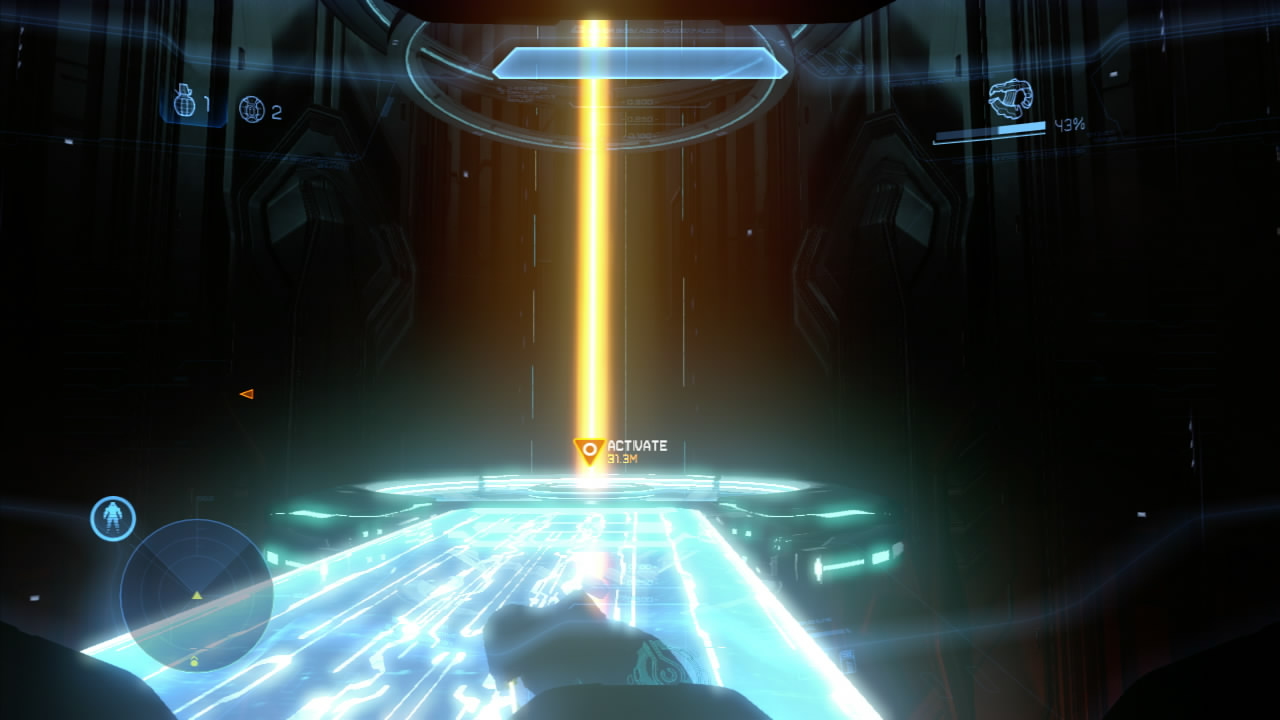
After the scene, go down the ramp in front and you will see two objective markers appear. Let’s work our way over to the right side of the area and use the ramps here. Enter the door and hit the button here to activate a light bridge. Cross this and press the button here to lower the platform. Once you are down, return to the main room through the door here.
You will find that in our absence, the room has been filled with covenant forces. Eliminate the grunts and jackals here and the elite if he gets in your way. Work your way over to the objective marker up the ramp on the opposite side of the room and repeat the process of activating the light bridge, crossing it and riding the lift down.
Exit back into the main room again. Work your way back to the pedestal we activated earlier, killing the entirety of the enemy forces remaining in the room. Once the room is clear, interact with the pedestal again for a scene.
Part 2: A Star to Steer By
Exit through the door in front and ride the lift down to the bridge below. Work your way across the bridge to the other side, fighting your way through the various grunts jackals and elites as you go. Phantoms will fly in at a couple of locations along the bridge to drop off some additional baddies for you to kill. As you move across, try to stay in cover to avoid banshee fire, and when you reach the broken section of bridge, kill the jackal sniper opposite and pick off the elite as well as any grunts and jackals on the platform below before hopping down to mop up any more hostiles there.
Climb the ramps here to get back on top of the bridge on the opposite side of the gap. Continue towards the end of the bridge and as you go, kill the elite and the groups of grunts and jackals the phantom drops off and any other covenant forces that get in your way as you make your way to the door at the end of the area. In front of this, kill the elite before you enter. Follow the passage to the end and exit into the courtyard beyond.
Part 3: The Gateway
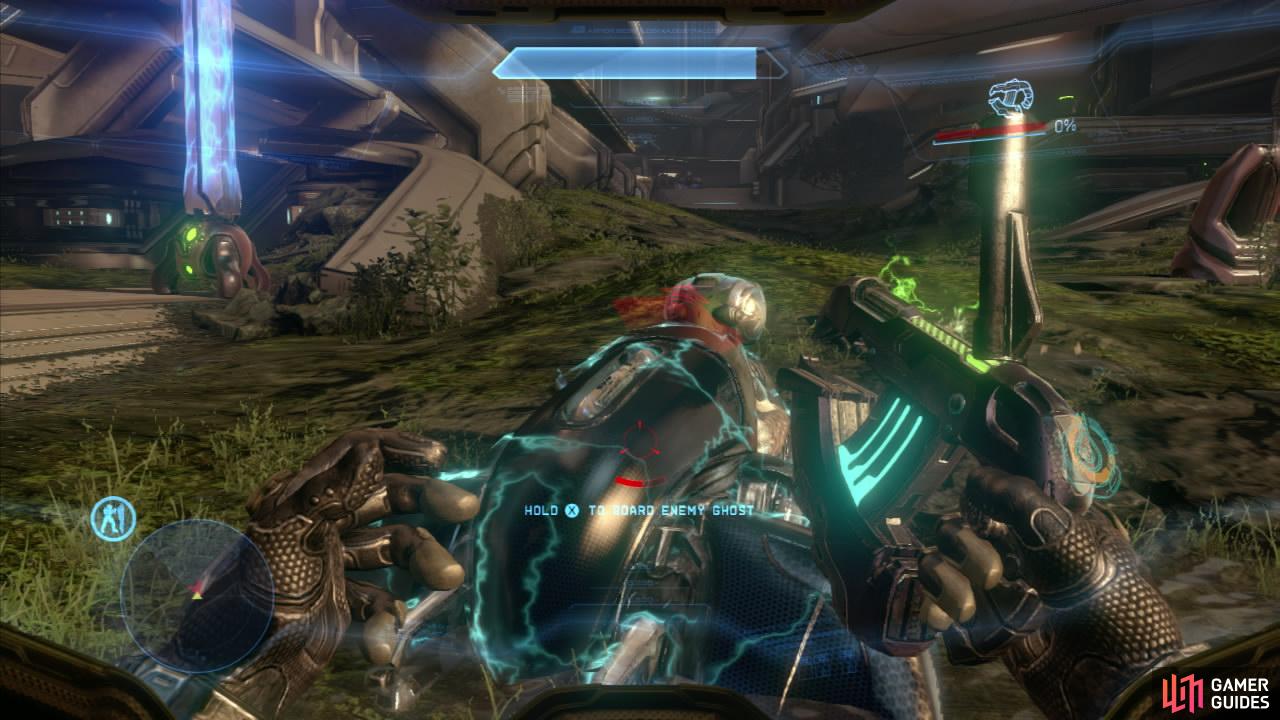
As you enter, a phantom will have just dropped off some jackals in front of you. Kill them and fight off the ghosts and other infantry units in the area and continue towards the structure in the distance. Enter the building here and climb the ramps inside. At the top, kill the grunts straight ahead and proceed into the room, as you do an elite with a sword will charge at you, so take him down when you can.
Exit into the balcony overlooking the courtyard we just climbed up from. Head to the right and kill the grunts and jackals over here. As you follow the platform around the corner, kill the elite and the next group of jackals before climbing the ramp. Kill the sniper up the top and then continue out the door to the right.
You will exit back out onto the higher balcony and kill the pair of elites here. Continue up the ramps to the left and defeat the two hunters at the top of the structure. If you’ve played a Halo game before, you’ll know to shoot them in the back until they die whilst avoiding their fuel rod gun fire and melee attacks. Once they are dead, the door will open so head on inside. Enter the long hallway. Here, you will see a ramp at the far end. Before climbing this we can get a terminal. Now climb the ramp and step on the elevator here to end the mission.
$$$item 2130


No Comments