Level I Locks
Description
Level I Locks can be picked after you learn the  Alohomora spell as part of the main quest. Gladwin Moon is the character who will teach it to you.
Note that  Level II Locks and
  Level III Locks require a higher level of the spell that can be obtained by returning
  Demiguise Statues to Moon.
How to Unlock
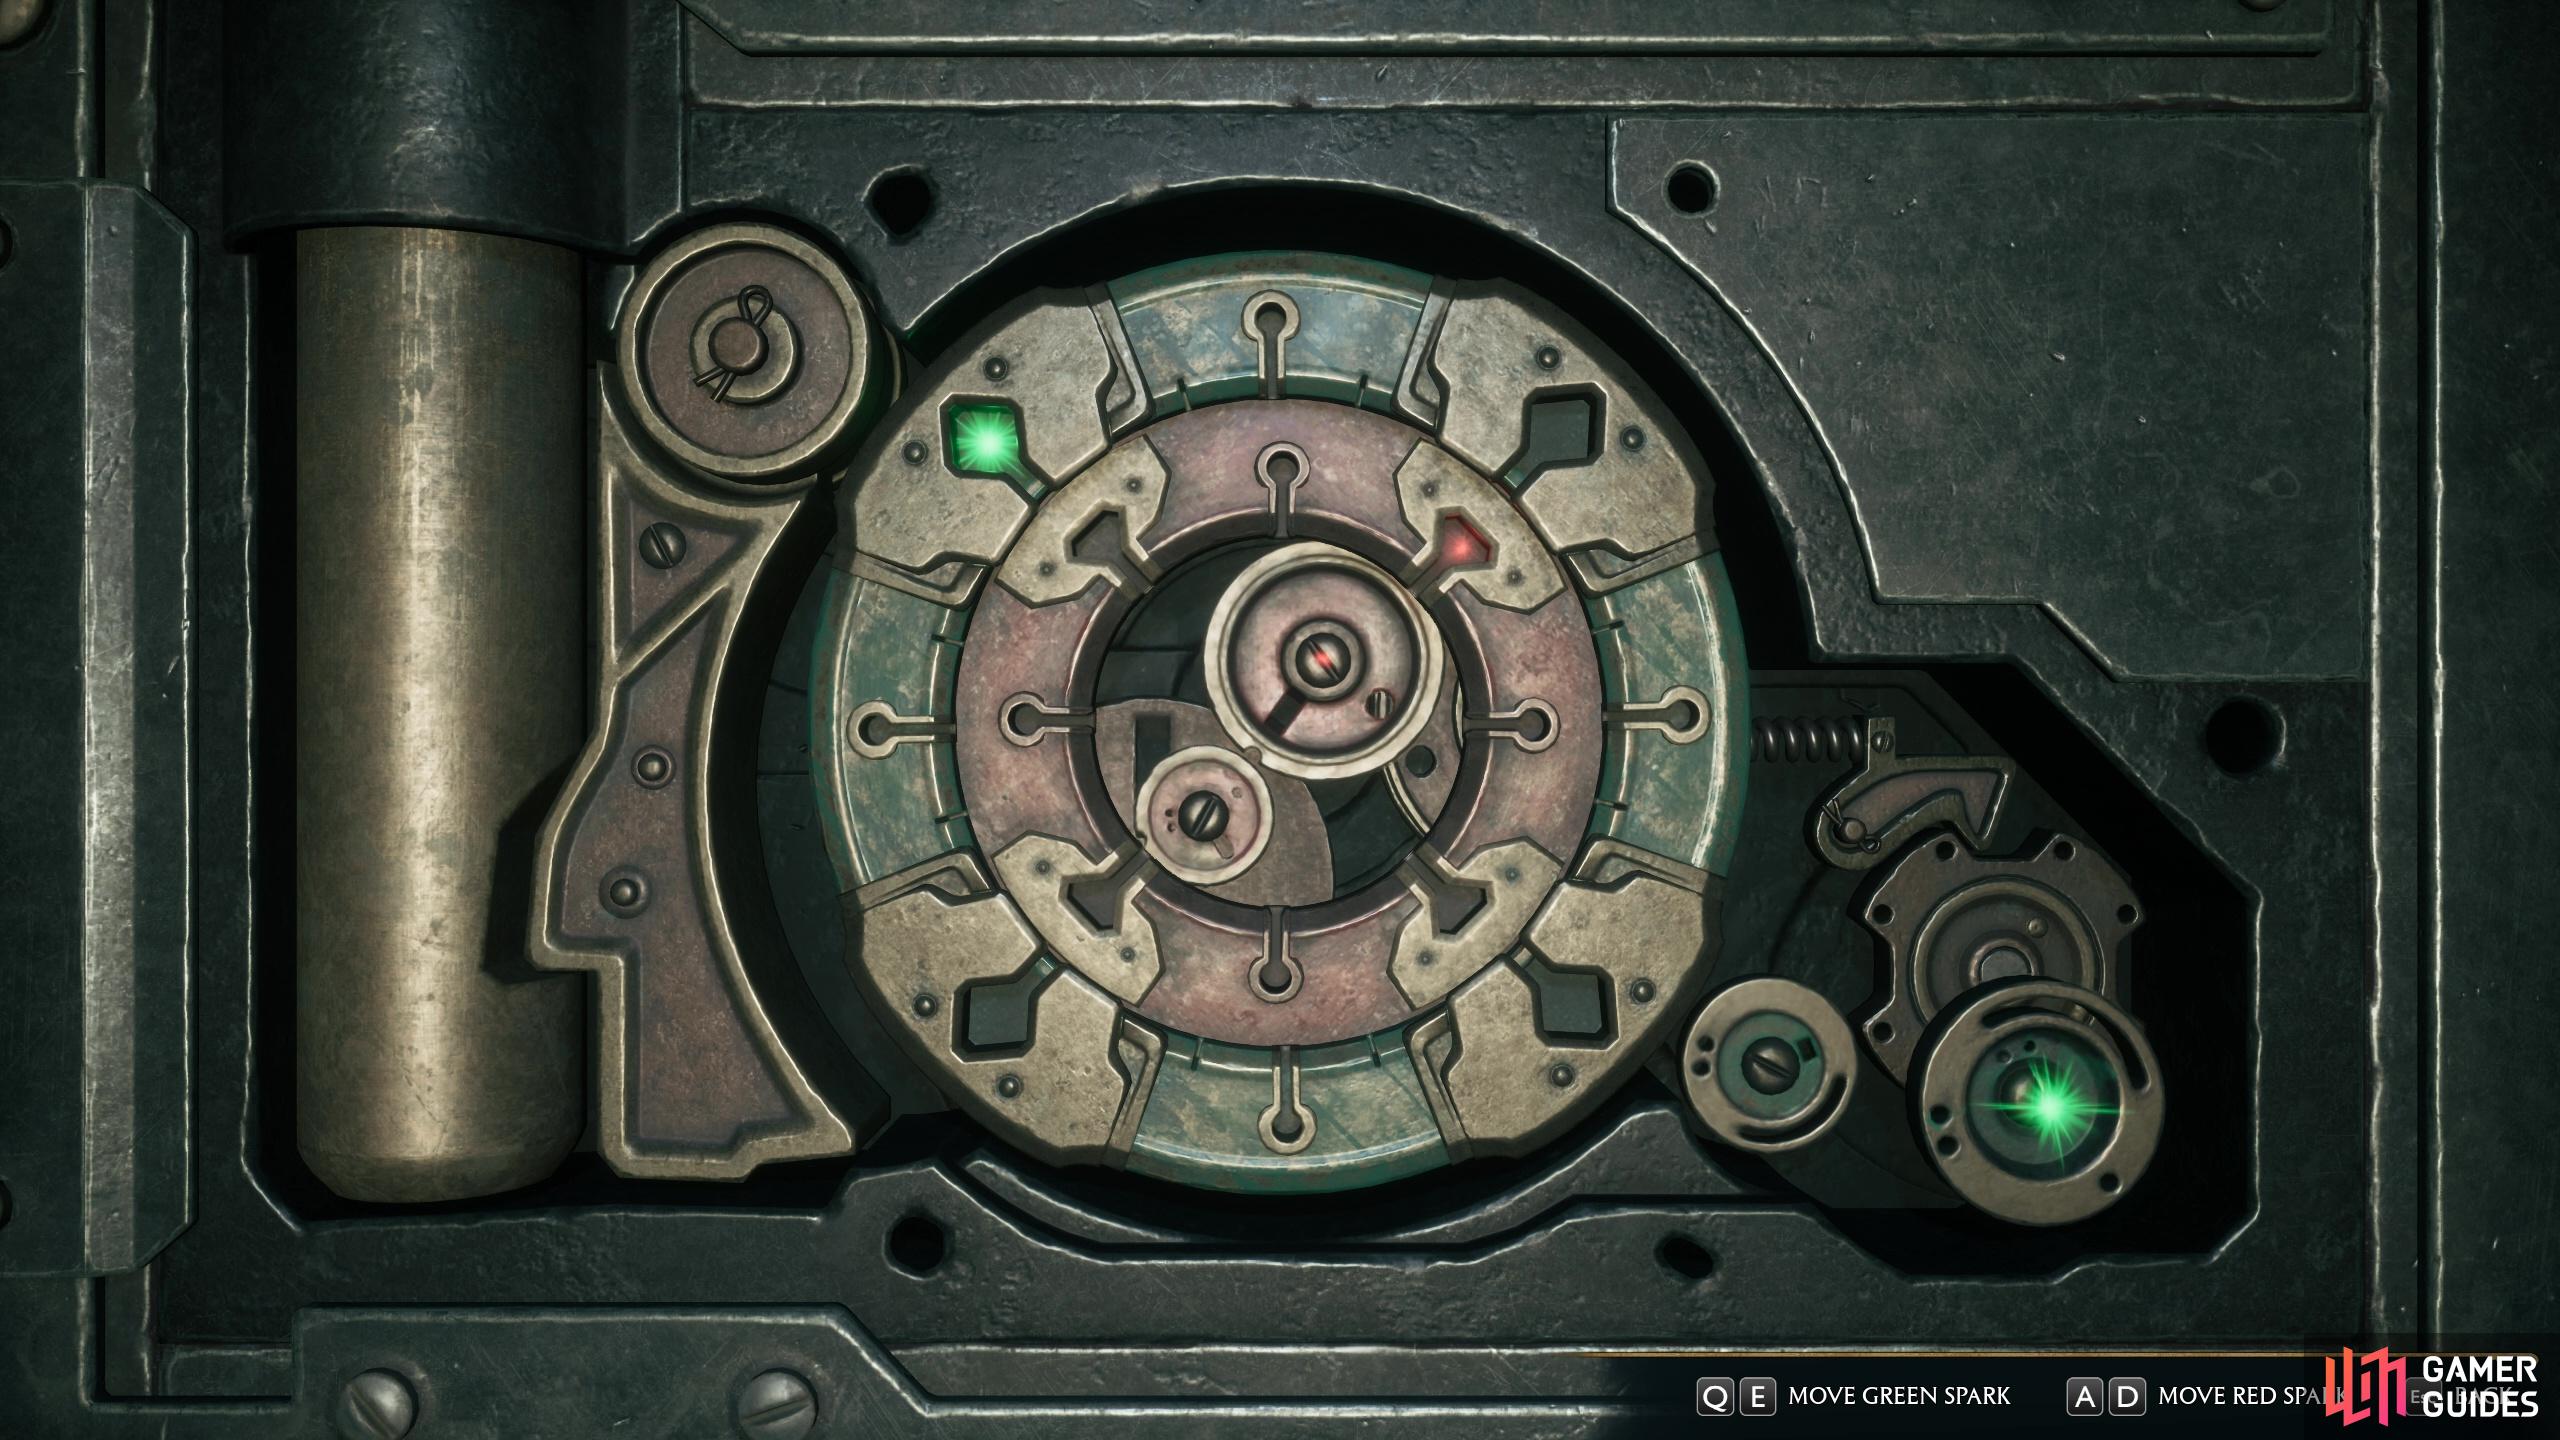
Once you have the spell you can approach a Level II Lock and interact with it to bring up the lock picking screen where you must move the tumblers around until they click into place and release the bolt. The procedure to open Level II Locks is identical to Level I locks.
Media Gallery
28 Interactive Map Locations
Level I Locks
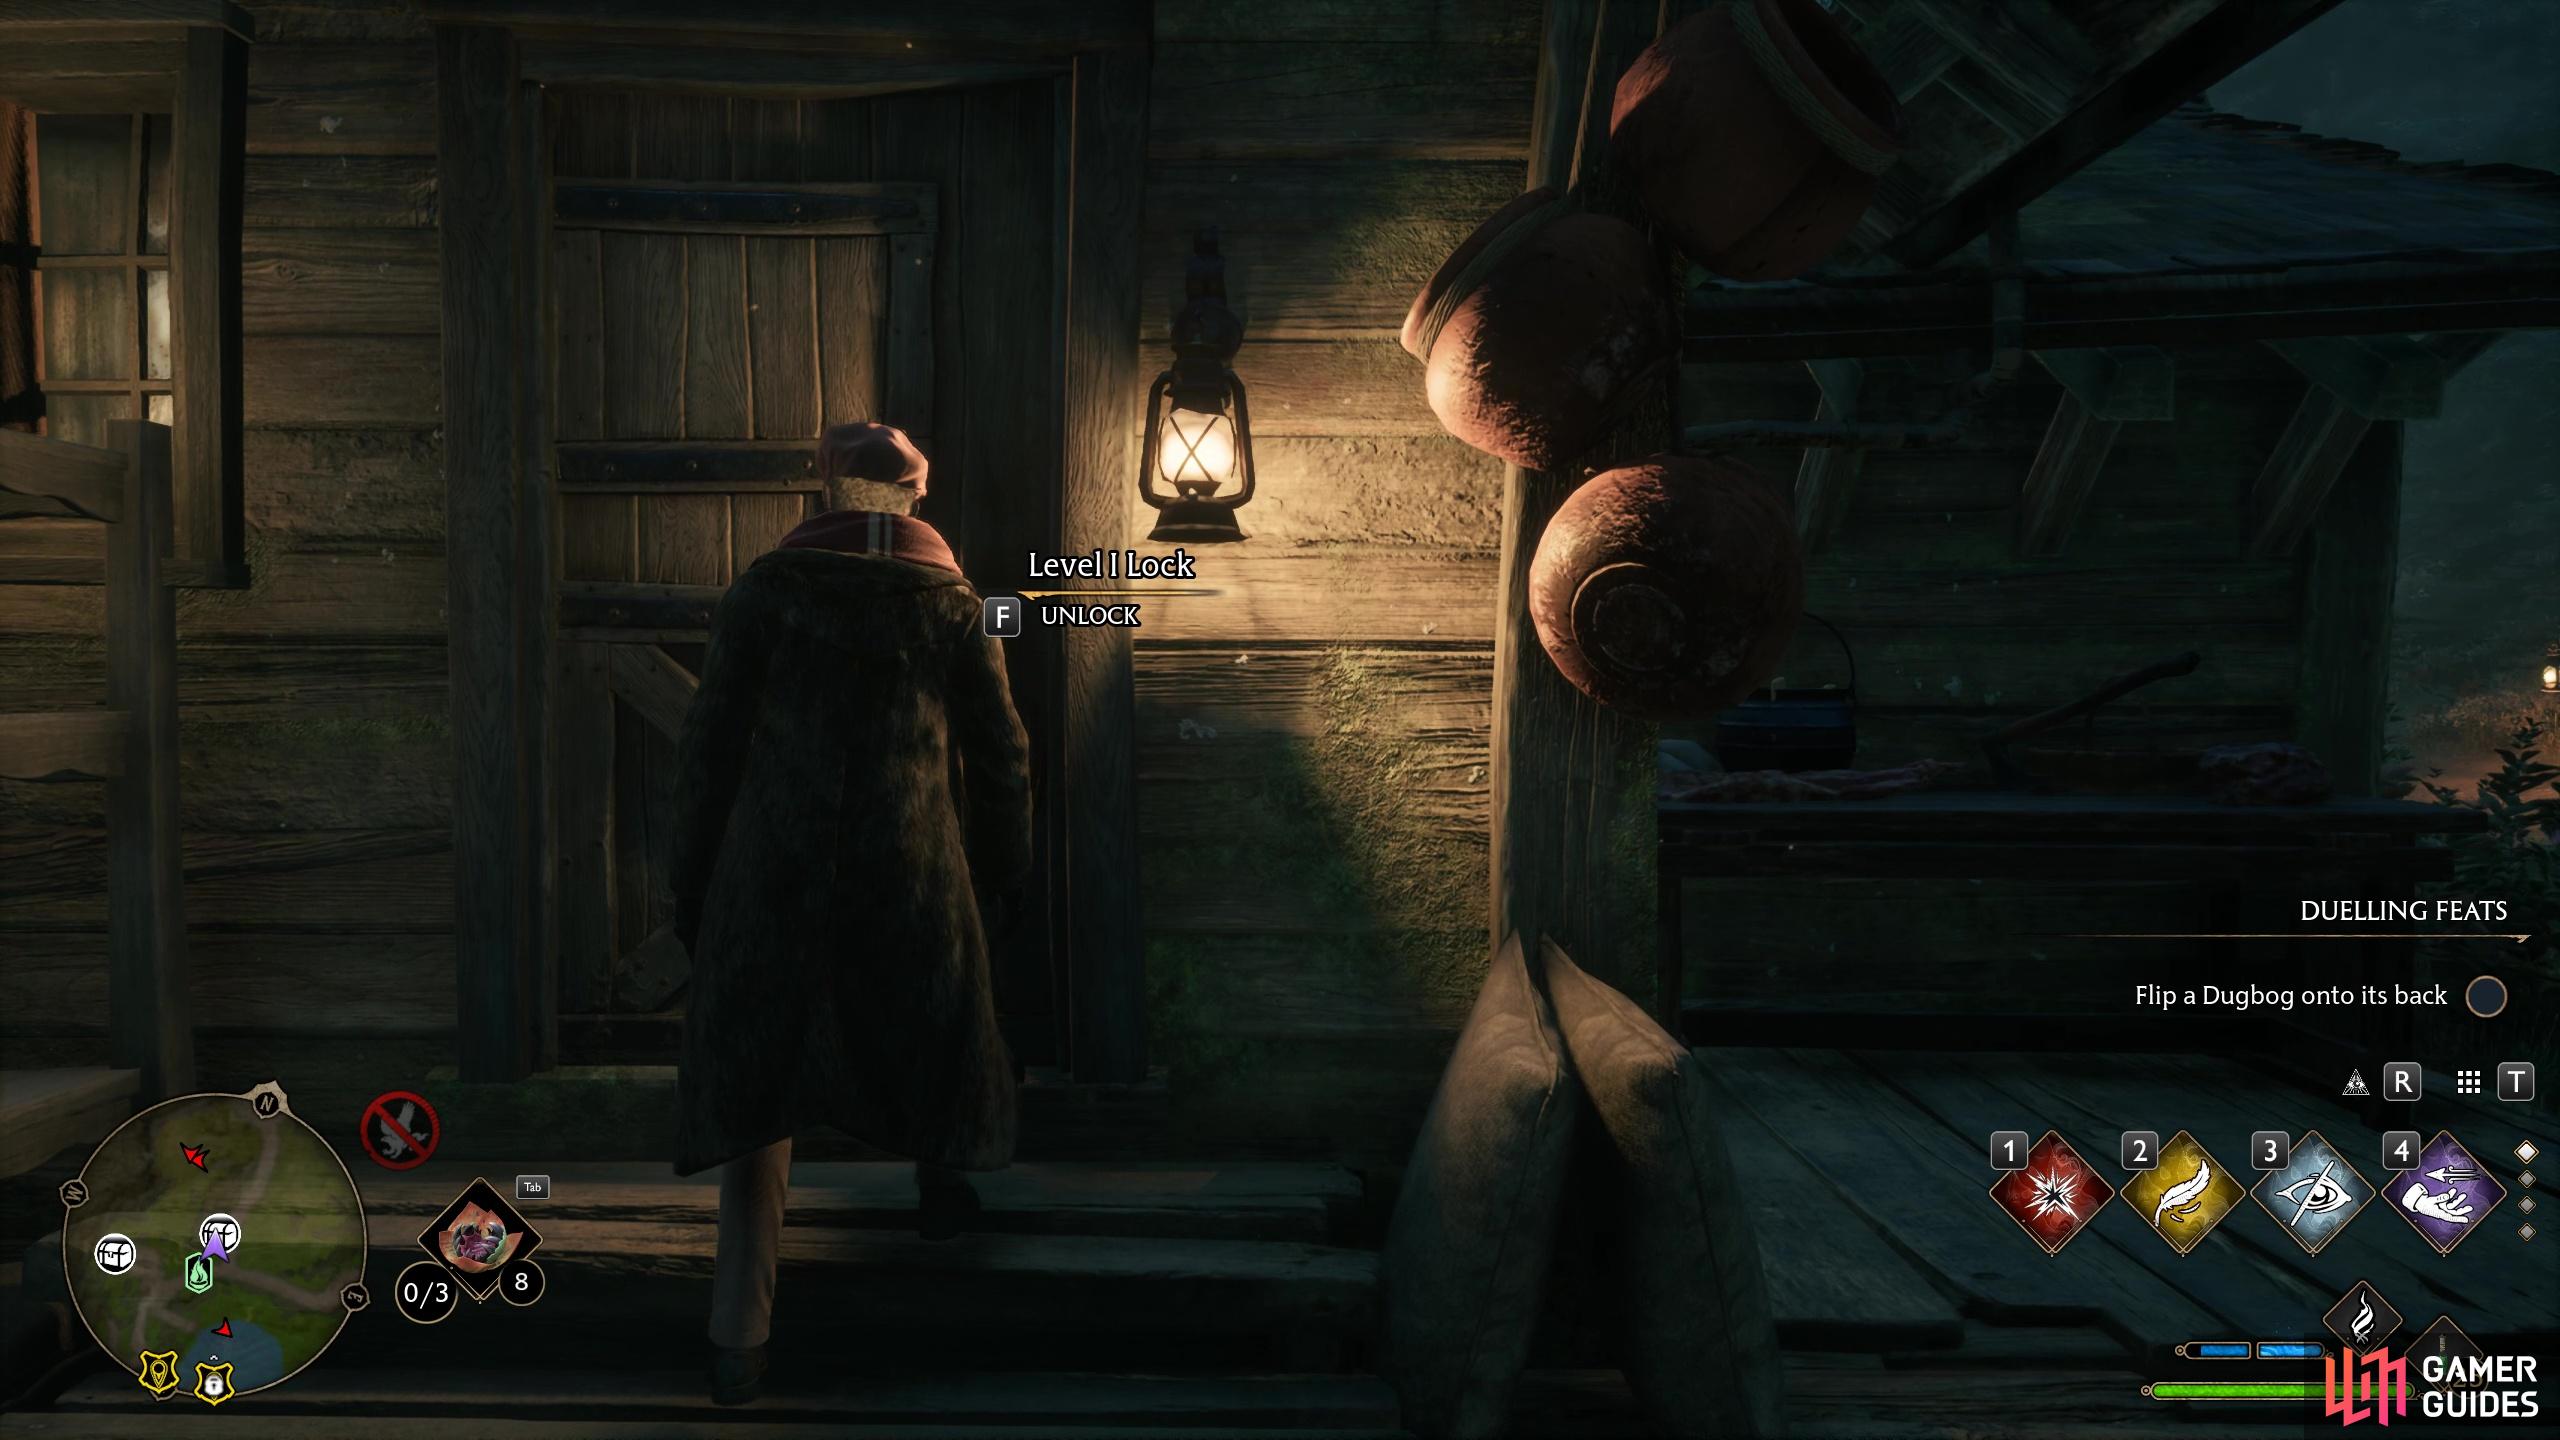
This Level I Lock is on the door next to t he old man sat in a chair.

Level I Locks
There is a cottage immediately behind the Floo Flame. Here you will find a Level I lock to open with your Alohomora spell.

Level I Locks
There is a cottage behind a wooden gate with a Level I Lock on the door. Open it with your spell.
Inside you will find a Collection Chest.

Level I Locks
Level I Lock can be found on the door of the small round cottage on the hillock close to the merchant.

Level I Locks
Directly next to the Merchant, Inside you will find a Collection Chest and a regular chest.

Level I Locks
Inaside the Korrow Ruins is a vault door with a Level I lock on it.

Level I Locks
Enter the gate and go up the hill to the crooked house with the pumpkins in the garden. There is a Level I Lock there that protects a Demiguise Statue.

Level I Locks
As you make your way through the hamlet you will come to a larger house behind a wooden gate with an arch. It has a Level I lock on the door. Inside the house is a chest containing a wand handle.

Level I Locks
A Level 1 Locked door with a chest behind it is on the right hand side of  Honeydukes.

Level I Locks
A Level 1 Locked door with a chest behind it is on the right hand side of Honeydukes.

Level I Locks
This Level I lock on the cottage door hides a Demiguise Statue.

Level I Locks
This Level I lock on the cottage door hides a Demiguise Statue.

Level I Locks
Cottage contains a Demiguise Statue behind the locked door.

Level I Locks
Cottage contains a Demiguise Statue behind the locked door.

Level I Locks
Head to the very top of  The Three Broomsticks and you will find a Level I Lock on the door to a private room. Inside you will find a Demiguise Statue and a few chests.

Level I Locks
Behind The Three Broomsticks is a house with a Level I Lock. Inside is a Demiguise Statue.

Level I Locks
Behind The Three Broomsticks is a house with a Level I Lock.

Level I Locks
A Level I lock protects this cottage that has a chest inside.

Level I Locks
This Level II Lock protects another a Demiguise Statue.

Level I Locks
Opening the lock on this cute thatched cottage will give you access to the Demiguise Statue within.

Level I Locks
The small cottage directly opposite the merchant is locked with a Level I lock.
There is a Wand Handle in a chest upstairs.

Level I Locks
Close by the Floo Flame you will find a cottage with a Level I Lock on it that contains two chests.

Level I Locks
A couple of general gear chests lie being this locked door.

Level I Locks
Level I Lock on the cottage with the lantern outside. There is a single chest inside.

Level I Locks
Unlock the Level I Lock on this cottage to find a chest inside. Also don’t miss the bag you can search up in the rafters of the building.

Level I Locks
The Level I Lock protects a Demiguise Statue and a Wand Handle.

Level I Locks
At the top of the hill you will find a house with a Level I Lock on it that contains two chests, including a Wand Handle.

Level I Locks
A rare locked chest that contains the treasure map for the Cursed Tomb Treasure.


No Comments