Updated Title Publisher
Updated Title
Published Title Score Editor's Choice Publisher
Published Title Publisher
502 Items

Description

Hardened fragments of shell and bone, used in the crafting of tools and traps.

62 Interactive Map Locations

1

Pharloom

X: 5197 Y: 15657

Destroy the petrified bug in the hidden area to receive twenty shell shards.

View on map
Marker screenshot
2

Pharloom

X: 4068 Y: 15515

There are multiple deposits on the wall in the hidden area under the ribcage.

View on map
Marker screenshot
3

Pharloom

X: 5627 Y: 15443

Multiple deposits can be found in the small cavern past the spikes.

View on map
Marker screenshot
4

Pharloom

X: 6265 Y: 14510

On the ceiling in the small alcove in the northwest corner of the cavern.

View on map
Marker screenshot
5

Pharloom

X: 10814 Y: 14700

Go right as you ride the elevator up.

View on map
Marker screenshot
6

Pharloom

X: 8350 Y: 14157

On the ceiling, above the crumbling platform.

View on map
Marker screenshot
7

Pharloom

X: 8742 Y: 14139

In the hidden room behind the Explosive Rock.

View on map
Marker screenshot
8

Pharloom

X: 13979 Y: 14991

In a small alcove.

View on map
Marker screenshot
9

Pharloom

X: 11486 Y: 13270

On the ceiling in the lower part of the hidden area.

View on map
Marker screenshot
10

Pharloom

X: 9616 Y: 14346

In a small alcove on the ceiling.

View on map
Marker screenshot
11

Pharloom

X: 12099 Y: 14097

Use the flowers to bounce up to this small room.

View on map
Marker screenshot
12

Pharloom

X: 12408 Y: 13717

This small room is full of shards.

View on map
Marker screenshot
13

Pharloom

X: 12576 Y: 15396

Beneath the exit.

View on map
Marker screenshot
14

Pharloom

X: 7952 Y: 13005

On the ceiling above the exit.

View on map
Marker screenshot
15

Pharloom

X: 8241 Y: 13017

On the underside of a platform.

View on map
Marker screenshot
16

Pharloom

X: 8538 Y: 13159

Between two floating platforms.

View on map
Marker screenshot
17

Pharloom

X: 6898 Y: 11524

Make your way through the spike-filled corridor and reach the northwest of this area to find it.

View on map
Marker screenshot
18

Pharloom

X: 8509 Y: 10803

Drop down the first gap (but don’t hit the ground!) and glide to the left to find this deposit.

View on map
Marker screenshot
19

Pharloom

X: 9198 Y: 10885

Found in the top left corner of the room, you need to go up at the center and come back on yourself to reach it.

View on map
Marker screenshot
20

Pharloom

X: 14241 Y: 11608

On a platform under the small hut.

View on map
Marker screenshot
21

Pharloom

X: 9541 Y: 10369

Climb to the top right of this room.

View on map
Marker screenshot
22

Pharloom

X: 12858 Y: 11357

On the ceiling in the small alcove.

View on map
Marker screenshot
23

Pharloom

X: 11146 Y: 10512

Drop into the trapdoor via the Lever and go right.

View on map
Marker screenshot
24

Pharloom

X: 12988 Y: 9836

Found on the ceiling in the tunnel at the top of the lift platform.

View on map
Marker screenshot
25

Pharloom

X: 8037 Y: 9661

Located at the far end of the room.

View on map
Marker screenshot
26

Pharloom

X: 11904 Y: 10551

Drop down a hole here to find two Shard Deposits.

View on map
Marker screenshot
27

Pharloom

X: 12061 Y: 10259

Use the "Clawline" iconClawline to hook over to the top of this area and find some "Shell Shards" iconShell Shards.

View on map
Marker screenshot
28

Pharloom

X: 6946 Y: 7878

Wall jump to the top of this area to find some Shards.

View on map
Marker screenshot
29

Pharloom

X: 9879 Y: 7345

Go through the hidden area and walk to the end of the path. Note, a "Giant Drapemite" iconGiant Drapemite will attack you from behind!

View on map
Marker screenshot
30

Pharloom

X: 9105 Y: 7556

Located at the far west of the room.

View on map
Marker screenshot
31

Pharloom

X: 5975 Y: 8860

Head right and break the rocks to obtain some "Shell Shards" iconShell Shards.

View on map
Marker screenshot
32

Pharloom

X: 5623 Y: 8942

Leap across to this platform to find some Shell Shard rocks you can break.

View on map
Marker screenshot
33

Pharloom

X: 17908 Y: 8902

There’s a large deposit on the ceiling here.

View on map
Marker screenshot
34

Pharloom

X: 4550 Y: 7726

Found in the northwest corner of Brightvein.

View on map
Marker screenshot
35

Pharloom

X: 15095 Y: 7769

Two small deposits on the small ledge in the center of the area. Access it from the ledge below, but be careful of the nearby "Barnak" iconBarnak.

View on map
Marker screenshot
36

Pharloom

X: 14437 Y: 8348

A couple of small deposits on the small ledge in the bottom-left of the room.

View on map
Marker screenshot
37

Pharloom

X: 5247 Y: 7498

As you slide down the slope from above, you can get some "Shell Shards" iconShell Shards here.

View on map
Marker screenshot
38

Pharloom

X: 11947 Y: 9112

Tucked in the corner next to the hole that leads to The Stage.

View on map
Marker screenshot
39

Pharloom

X: 4000 Y: 10176

Love on the ceiling above "Shakra" iconShakra to find some Shards.

View on map
Marker screenshot
40

Pharloom

X: 4168 Y: 9843

Head to the northeast corner of this room to find some Shards.

View on map
Marker screenshot
41

Pharloom

X: 5105 Y: 10223

On the ceiling above the platform here.

View on map
Marker screenshot
42

Pharloom

X: 6021 Y: 10242

Found behind the breakable wall.

View on map
Marker screenshot
43

Pharloom

X: 3410 Y: 9610

Found under a ledge.

View on map
Marker screenshot
44

Pharloom

X: 9994 Y: 11398

Smash through the nearby wall to find a large deposit.

View on map
Marker screenshot
45

Pharloom

X: 9654 Y: 11353

Behind the destructible wall.

View on map
Marker screenshot
46

Pharloom

X: 12950 Y: 10364

In a small alcove.

View on map
Marker screenshot
47

Pharloom

X: 13778 Y: 9975
View on map
Marker screenshot
48

Pharloom

X: 14510 Y: 13767

Drop below the ledge in the southwest.

View on map
Marker screenshot
49

Pharloom

X: 15592 Y: 13862

Behind the Explosive Rock.

View on map
Marker screenshot
50

Pharloom

X: 15884 Y: 14065

Use the Hidden Area nearby to reach these "Shell Shards" iconShell Shards.

View on map
Marker screenshot
51

Pharloom

X: 12576 Y: 17379

You can find plenty of "Shell Shards" iconShell Shards at the end of this passage.

View on map
Marker screenshot
52

Pharloom

X: 10860 Y: 17946

Head west into the wall here to find this hidden deposit of "Shell Shards" iconShell Shards.

View on map
Marker screenshot
53

Pharloom

X: 11256 Y: 18000

Found on the underside of a platform.

View on map
Marker screenshot
54

Pharloom

X: 6719 Y: 9466

In the hidden path, beneath where the floor crumbles away.

View on map
Marker screenshot
55

Pharloom

X: 6264 Y: 14339

On the underside of a little rocky outcrop here.

Credit goes to GG user KLAUSININITORTILINI for this one.

View on map
Marker screenshot
56

Pharloom

X: 5292 Y: 15451

Drop down from above to reach this platform, and smash the little petrified shell.

View on map
Marker screenshot
57

Pharloom

X: 10912 Y: 5461

In the little hidden room on the east wall.

View on map
Marker screenshot
58

Pharloom

X: 11438 Y: 15676

On the floor.

View on map
Marker screenshot
59

Pharloom

X: 11641 Y: 15680

On the floor.

View on map
Marker screenshot
60

Pharloom

X: 3739 Y: 12201

There’s a hidden tunnel not on the map, in the southwest corner of this room. Shell Shard deposits can be found at the end.

Credit to taintedbread for spotting this one.

View on map
Marker screenshot
61

Pharloom

X: 14319 Y: 8699

Behind the breakable wall.

Credit to Gamer Guides user AMB1008.

View on map
Marker screenshot
62

3x Shell Shard Deposits

Pharloom
X: 14420 Y: 11979

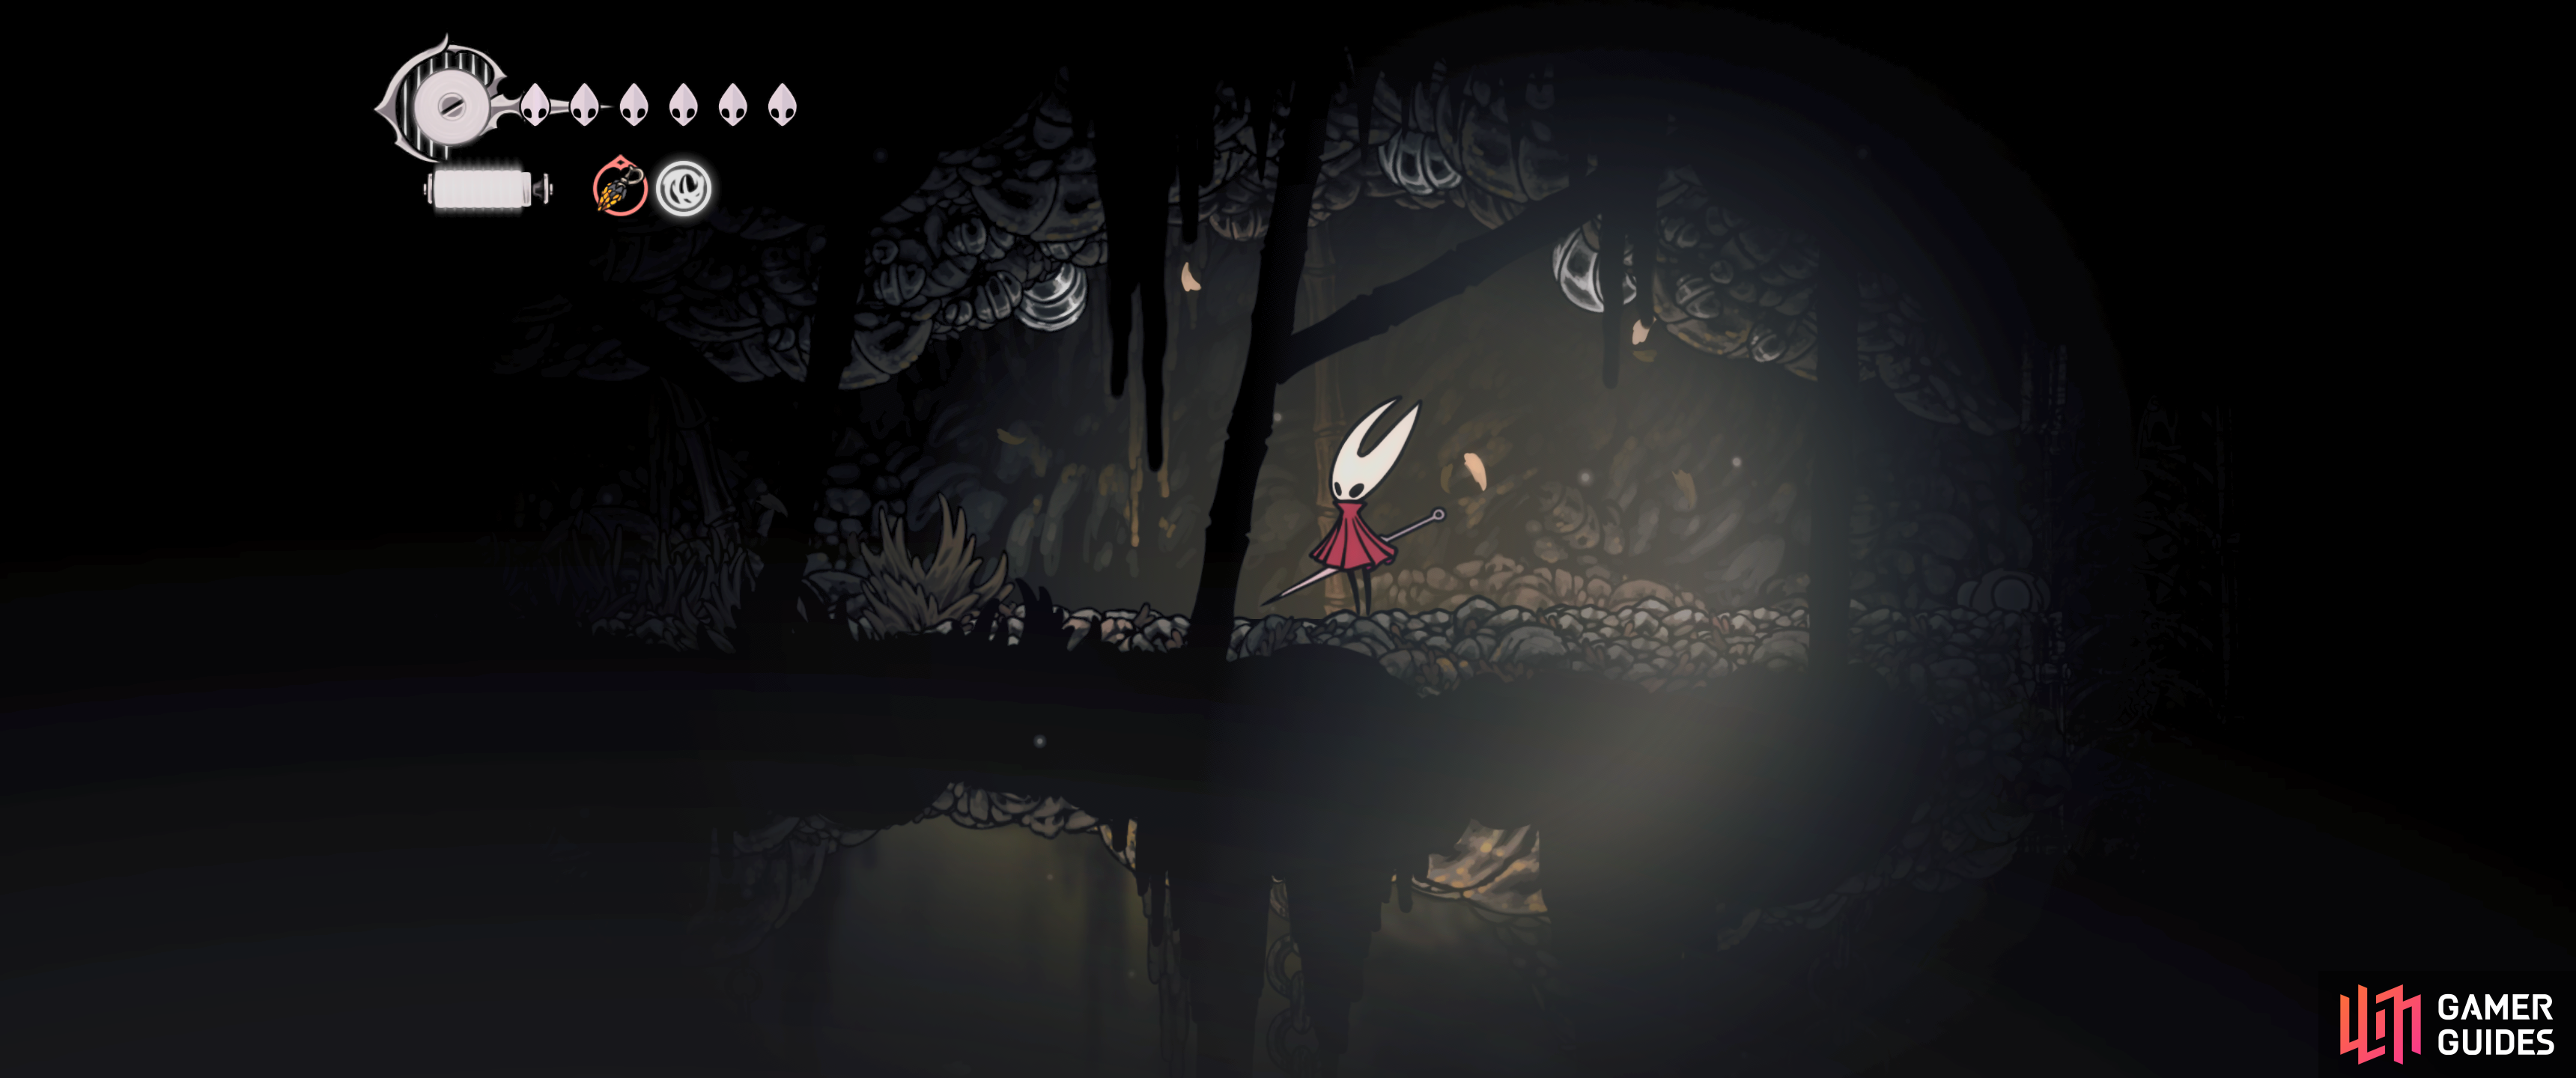
From the rosaries cage, go up and to the right.
View on map
Marker screenshot
No Comments
No Upvotes
User profile pic

Comment submission error:

The comment must be at least 1 character in length.

Pencil icon Sign up

Or

Gamer Guides Premium


Find out more

Receive email updates with the latest content - 100% free!

New Maps
New Databases
New Guides and much more…

You can unsubscribe at any time.

GG logo

Register to continue…

Already have an account?

Log in to continue…

Forgot?

Don’t have an account?


Account Created

Select username: