Warp back to the South Exit in Cambria Caverns and exit to reach Biroclef Ridge for a scene.
Boss: Griffin
| HP | Category | Weakness | Resistance |
|---|---|---|---|
| 14,737 | Dragon/Winged | Fire, Earth | Water, Wind |
| Drops: **Blessing Orb** |
The Griffin isn’t nearly as difficult as the Breed Wolf you just fought, but that doesn’t mean you should get cocky. Start the fight by armatizing with Lailah or Edna to take advantage of the Griffin’s weakness and lay into the winged-beast in the hopes of interupting its attacks.
The attacks you’ll want to avoid is the flame breath, indicated by the bird rearing back in the air pretty slowly, which you can avoid by sidestepping out of its face and continue your attacks and the Whirlwind attack, indicated by the double red exclamation points.
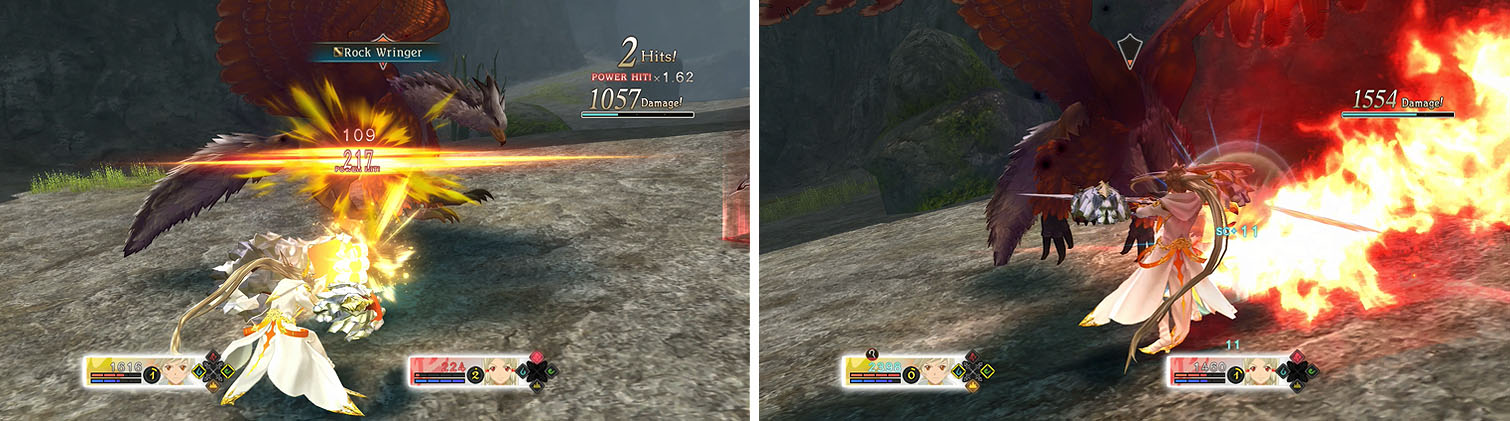
Armatize with Lailah or Edna to maximize your damage (left) and watch out for the Griffin’s flame breath attack (right).
Check the north and south sides of the area for some Red Saffron and an Amphibole Pendulum and then check the southwest corner near the vines for an Earth Ring . Slash through the vines to continue west and then Wind Rush across the gap to reach the Amphibole Waistcoat nearby.
The path directly north is currently blocked with a boulder, so take the southern path and activate the skit Life on the Frontier .
Check the crates at the split to find Wundor hiding inside one and then take the east path to a Sidekick Mask . Don’t leave just yet, cause if you walk to the edge of the cliff behind the silver chest you can discover the Grifkyte and watch the skit Grifkyte in Flight .
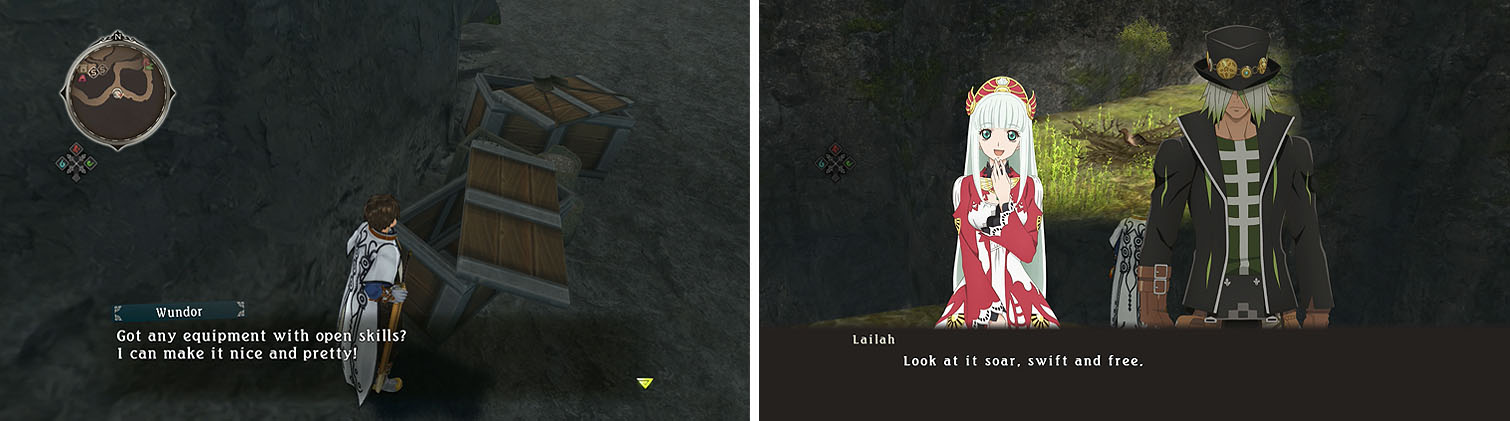
Don’t miss the Normin Wundor hiding in the crates (left). Behind the chest on the cliff you can discover a grifkyte for a skit (right).
Head back to the split and continue west this time to reach the entrance to Gododdin, where you’ll find a Monolith , but don’t enter the town just yet.
Backtrack to the main area of the ridge and head west this time to a save with 4000 gald in the nearby chest and then head up the slope to the north. Here you will find the Millionpede boss and two chests with a Strawberry Shortcake and Pound Cake .
Test your skills in Lailah’s Malevolent Crucible: Samghata to obtain the Grimgerde and watch the Lailah’s Victory (Dezel) and then backtrack once again to the main area.
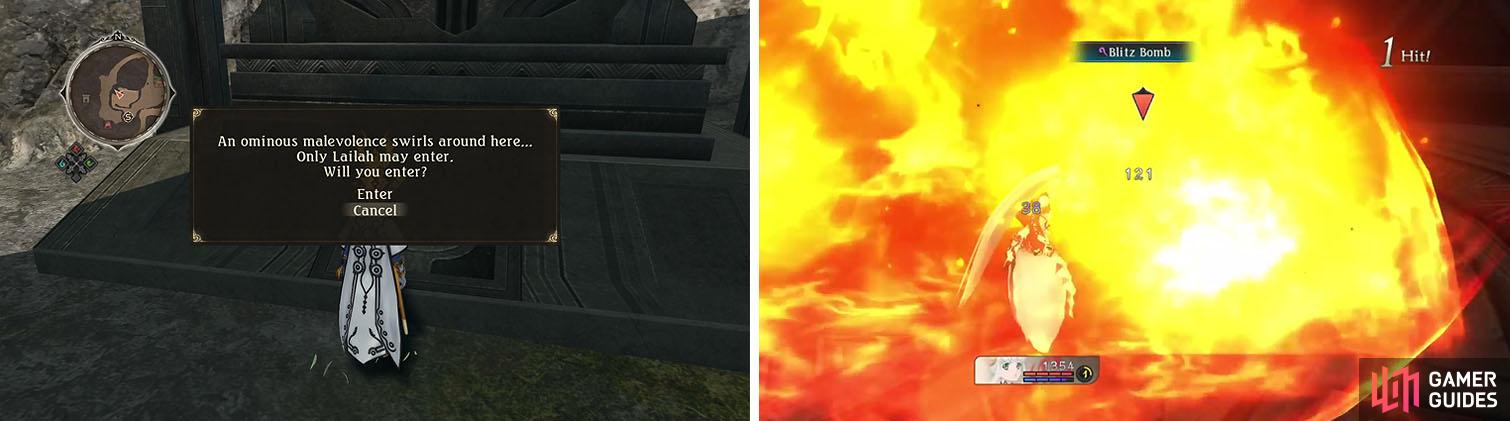
Lailah’s crucible is difficult, requiring you to use her Pyrogenic Circle and Blitz Bomb attacks to finish off the enemies quickly.
Take the northwest path this time to reach a Red Sage , Dark Bottle , and the entrance to Yder Cave.
No Comments