Return to Westronbolt Gorge and head all the way south to find the entrance to the Wind Trail for a scene.
Boss: Zaveid (2)
| HP | Category | Weakness | Resistance |
|---|---|---|---|
| 7,394 | Person | None | Earth, Wind |
| Drops: **None** |
Zaveid fights similar to Dezel with fast attacks and powerful seraphic artes that can be deadly to your party. The good news is that the seraphic artes are pretty predictable and easy to avoid by moving and you have him outnumbered four to one.

Zaveid has quick attacks and dangerous spells, but they are all fairly easy to avoid.
After the scene you can speak to the man and decide how to deal with him, though your choice only changes the scene that follows, and then stop at the save for the Zaveid, the Mysterious Seraph . You can now check the east and west side of the shrine for a Red Sage , Red Lavender , and Wind Ring and then enter the shrine.
Head south and Wind Rush across the gap and then examine the glowing elevator to the east to reach the 2F. Cross the first gap and check the southwest corner of the platform for a Panacea Bottle and then cross the remaining platforms to reach the elevator to the 3F.
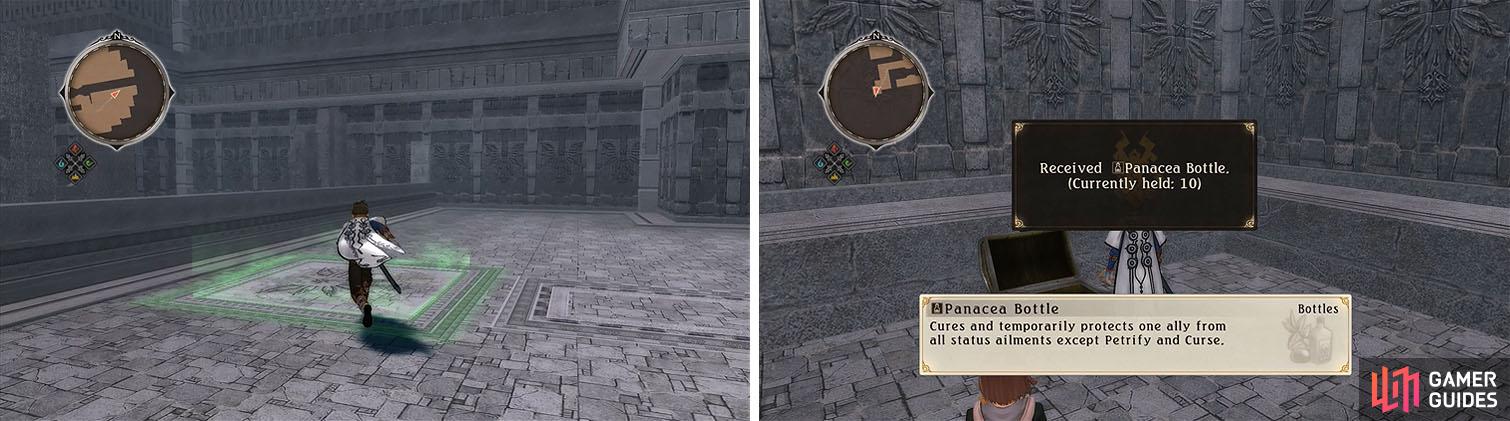
Take the glowing floor tile to reach the next level to find a Panacea Bottle.
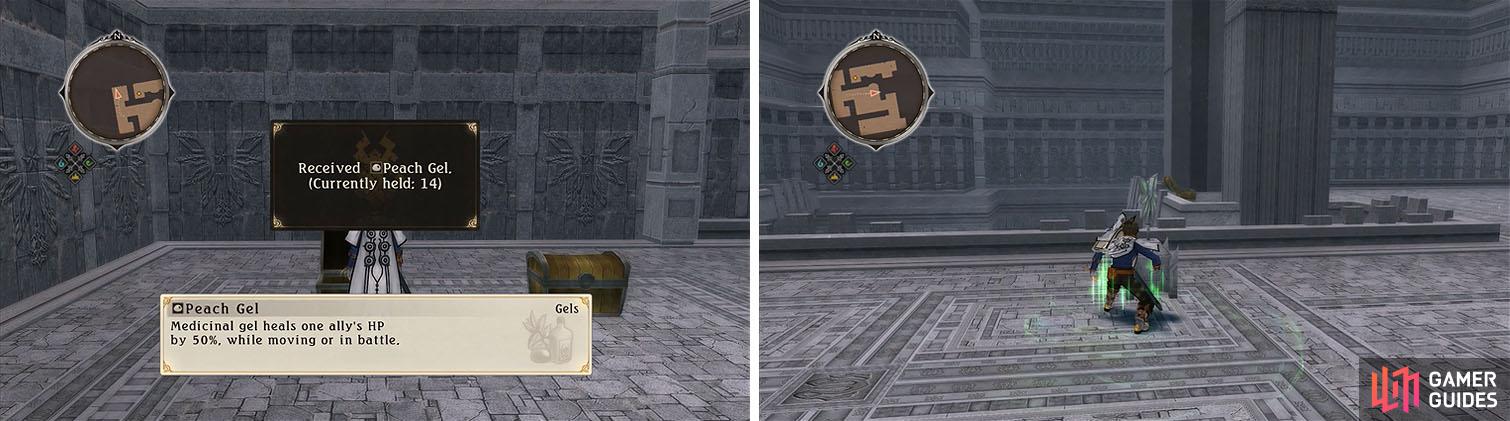
Head south and cross the gap to the south and head east to another gap with a Strawberry Waffle and then cross back and continue across the western gap. You can now head north to find a Peach Gel and then return south and take the elevator to the 4F.
Cross the gap north and again to the west to reach a windmill that you can Wind Rush into to raise the nearby gate and then take the elevator to the 5F.
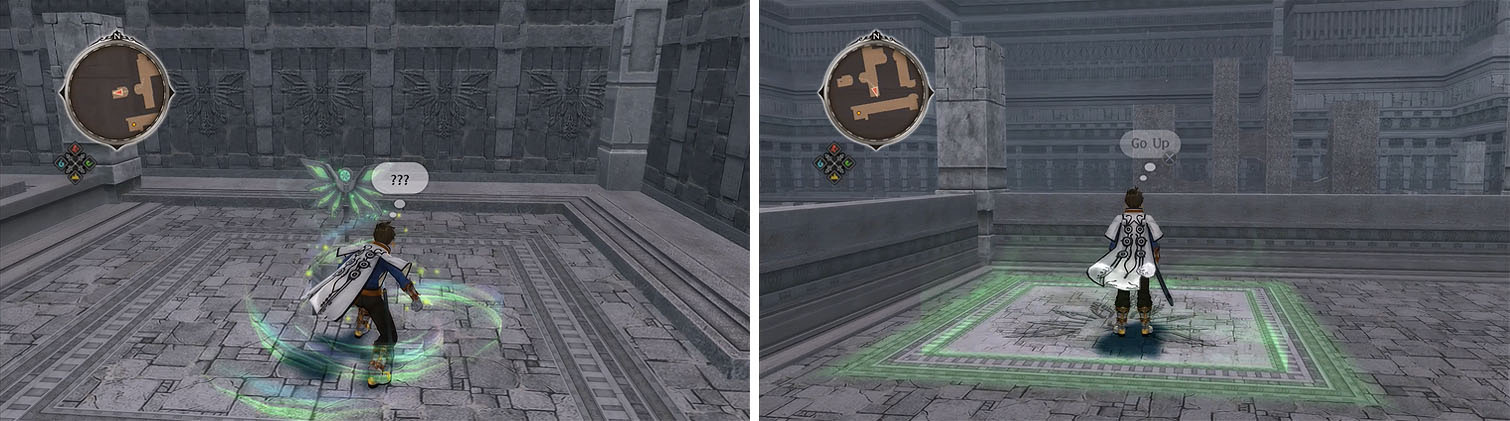
Wind Rush into the windmills to raise and lower gates, allowing you to move forward through the shrine.
Head south and then west to activate another windmill and then head back toward the elevator. The gate to the north is closed, but if you circle behind the gate you’ll find another windmill that you can activate before crossing the gap to the north to reach the elevator to the 6F.
Head west to activate the windmill and open the nearby door and then cross the gap and ignore the next windmill and cross the gap to the west. Activate the windmill to the south to lower the gate to the north and then activate the windmill to the north before collecting the Peach Jelly and Protective Hops .
You can now cross back to the east and check the dead end for the Ruined Windmill of Hyanoa discovery, followed by the Just Taking a Breather skit, and then cross the north gap and head east to find a Raspberry Mousse before heading up to the 7F.
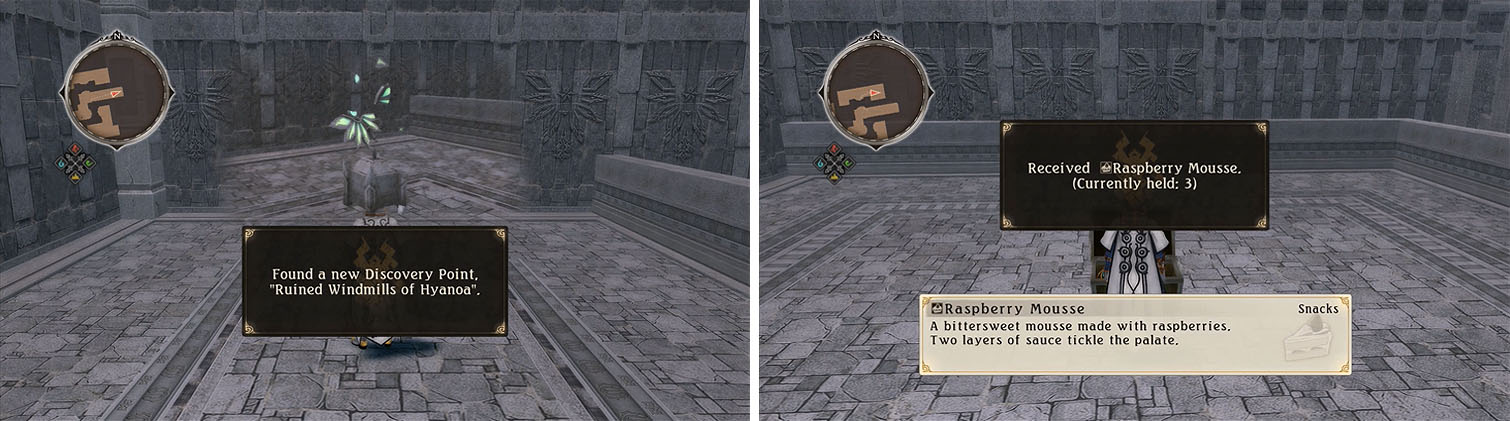
The broken windmill is a discovery that can be checked for a skit (left) and then grab the chest before taking the elevator (right).
Head east and activate the windmill to raise the platform nearby and then cross the gap to the south to activate another windmill. Grab the Void Spheres to the east and then follow the path to the south to activate a windmill.
Head back north and then west through the newly opened gate and then grab the Holy Bottle and Peach Gel . You’ll need to backtrack east and activate the windmill straight ahead, lowering the gate you just passed under for the treasure, and then return west and take the elevator to the 8F.
After grabbing both of the chests behind the gate (left) you’ll want to backtrack to lower the gate with the windmill to the east (right).
Head north and cross the gap and then head all the way east to reach a chest with Rose’s Hushed Sonace . Backtrack and cross the gap south and then head east to a dead end with a windmill to raise a nearby gate.
Head south to activate a windmill, raising a gate to the north, and then cross the gap to the east to find 8500 gald . Cross the gap again and return north to open the chest behind the gate to the east for a Labradorite and then head back south and then west to reach the 9F.
Activate the two windmills to the north and head east across the gap and then head all the way south for an Apple Gel . You can now activate the windmill to the east and return to the 8F.
Head north across the gap one more time to reach the other elevator to the 9F and then Wind Rush west to find an All-Divide . Head south to the save and exit to the roof for a scene and then head all the way south to find the Normin Leglis .
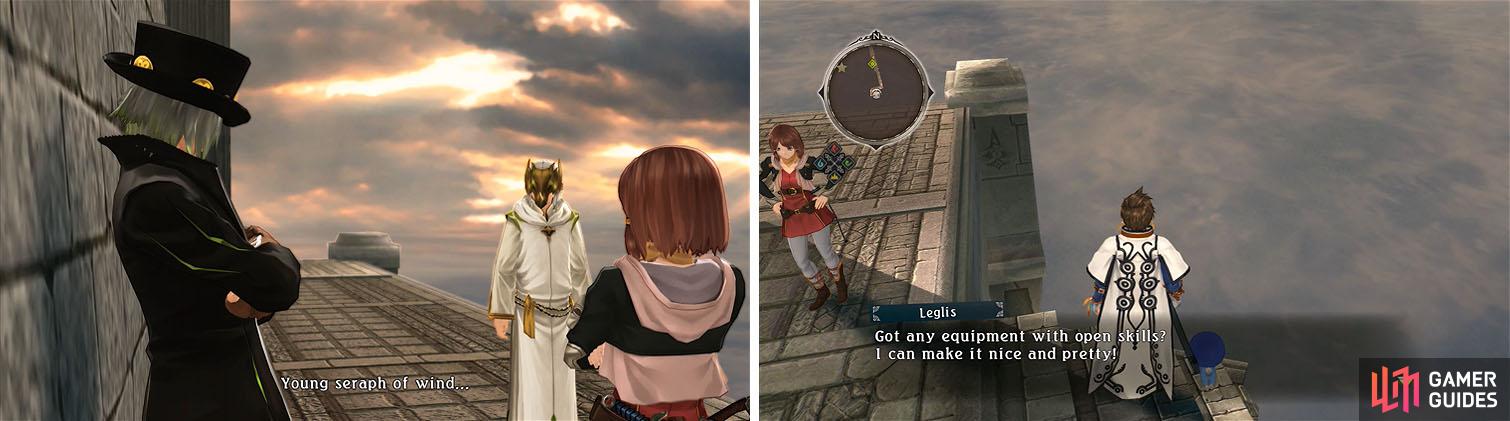
After reaching the roof make sure to check the dead end for the Normin Leglis.
Follow the path to the north and when it starts heading south again make sure to check the corners for a Red Verbena and then continue to the center of the roof for a scene.
Boss: Dullahan
| HP | Category | Weakness | Resistance |
|---|---|---|---|
| 16,247 | Undead/Armored | Neutral, Fire | Earth, Wind |
| Drops: **Blessing Orb** |
Dullahan is particular easy to interrupt and keep staggered, due to the fact that he has multiple weaknesses, so focus on creating Power Hits combos to maximize your damage. Armatize with Lailah if you want to do additional damage with seraphic artes or heal with the Blast Gauge and in no time you should have Dullahan at half health.
Keep him occupied to prevent him from calling in backup Gargoyles and you’ll finish him off fairly easily.
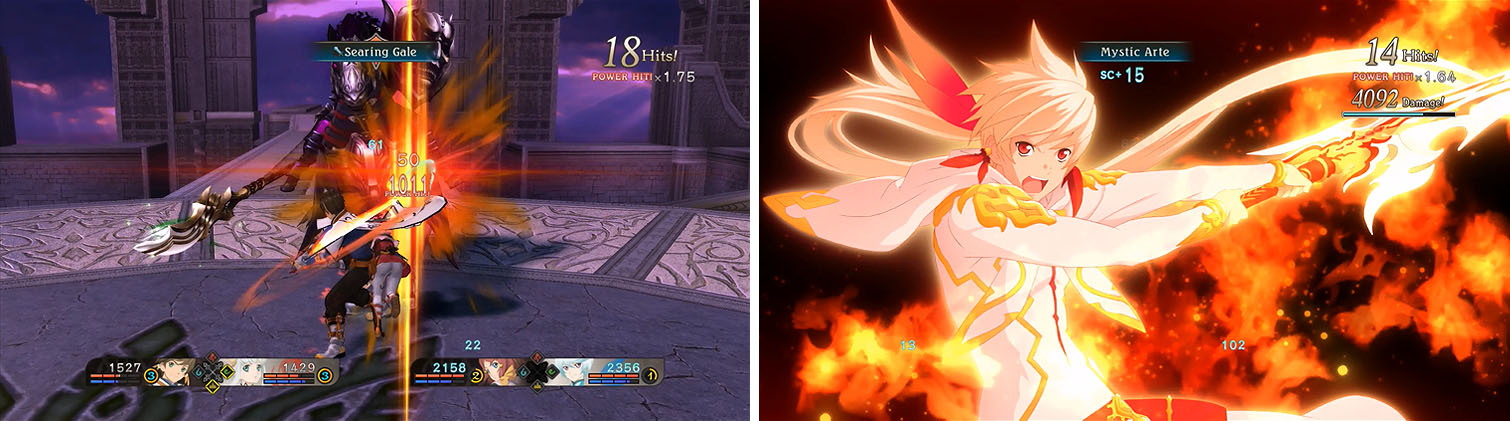
Dullahan is fairly easy to defeat due to his many weaknesses, but if you armatize with Lailah and unleash a Mystic Arte you can quickly finish the battle.

Newcomer Challenge
Conquer the fierce battle at Guinevere, the Shrine of the Wind Trial, without using any items!

After the scene, return to the center of the roof for another scene to obtain the Proof of Spiritual Power: Wind and then return to the 9F save for the skits Things That Go Bump In The Ruins and a A Great Feat .

Warp to Lastonbell and rest at the Inn for the ??? skit and then head to Glaivend Basin via Volgran Forest. Approach the Rolance camp for a scene and then return to Lastonbell and rest at the Inn for the skit Bad Blood in the Royal Family before continuing.
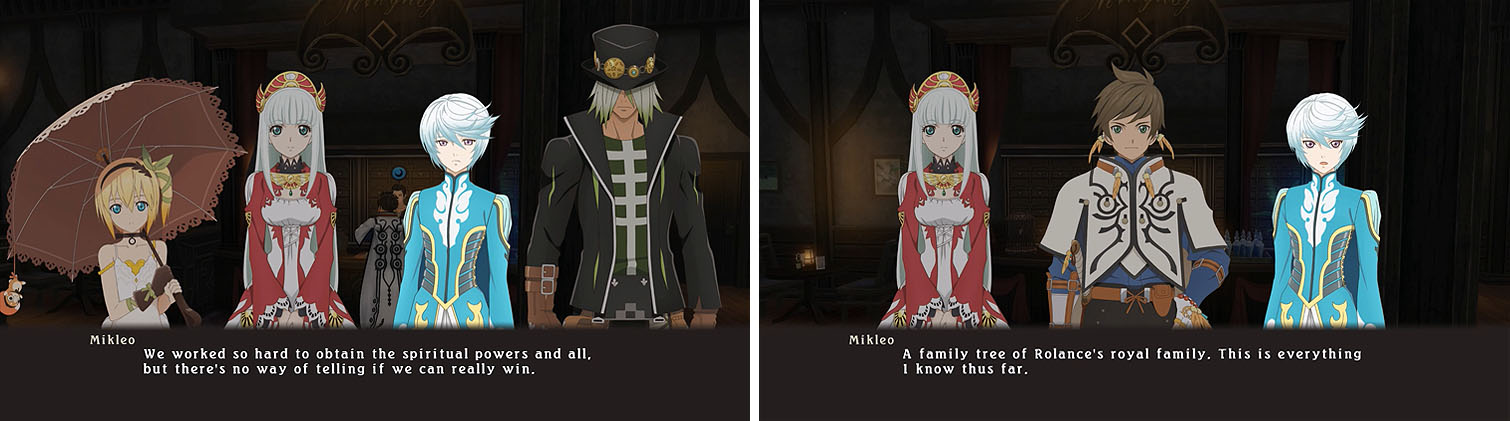
There are two missable skits here: the first will disappear once you head to Glaivend Basin and the second will only trigger after visiting the basin.
You can actually skip heading to Pendrago at this point and enter the Great Camelot Bridge via Pearloats Pasture to explore some of the later areas with Dezel, although the only point to do this is to get a different version of a skit in Zaphgott Moor.
That being said, you can speak with a merchant on the center of the Great Camelot Bridge to learn tha Mayvin is in Ganglen Ruins. Head there and speak to Mayvin on the first floor to obtain the Fluffy Repede fashion item.
No Comments