Enter the shrine to examine the Monolith straight ahead and take the north exit to a large room with two torches.
Notice that each torch has an orange outline on the floor with a roman numeral (I, II, III) that indicates the order in which to light them with Lailah’s map action. In this case you’ll need to light the right torch first and then the left one to open the door and continue into the next room.
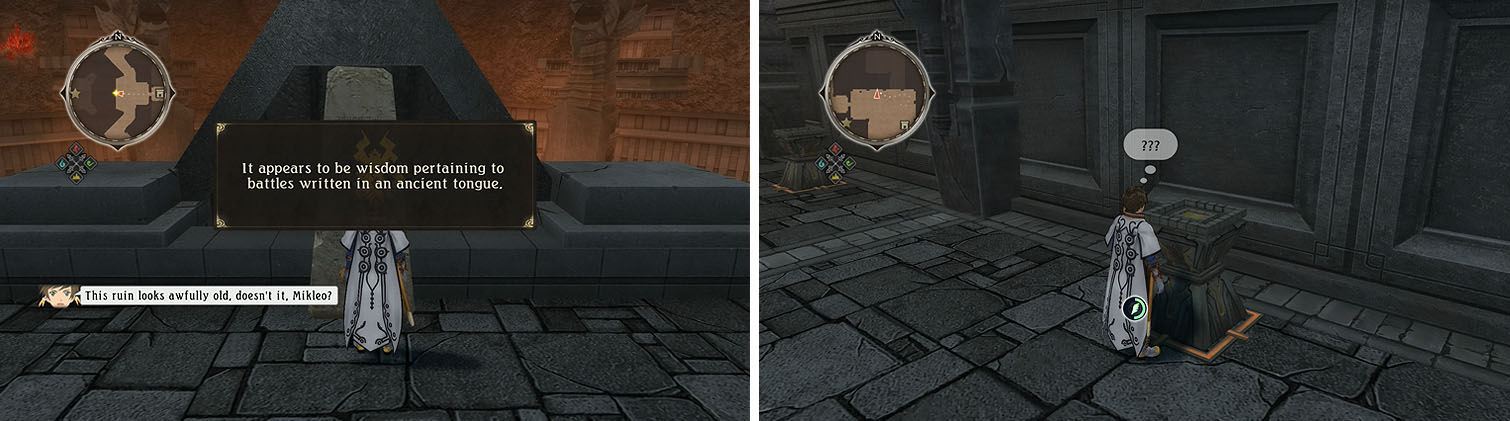
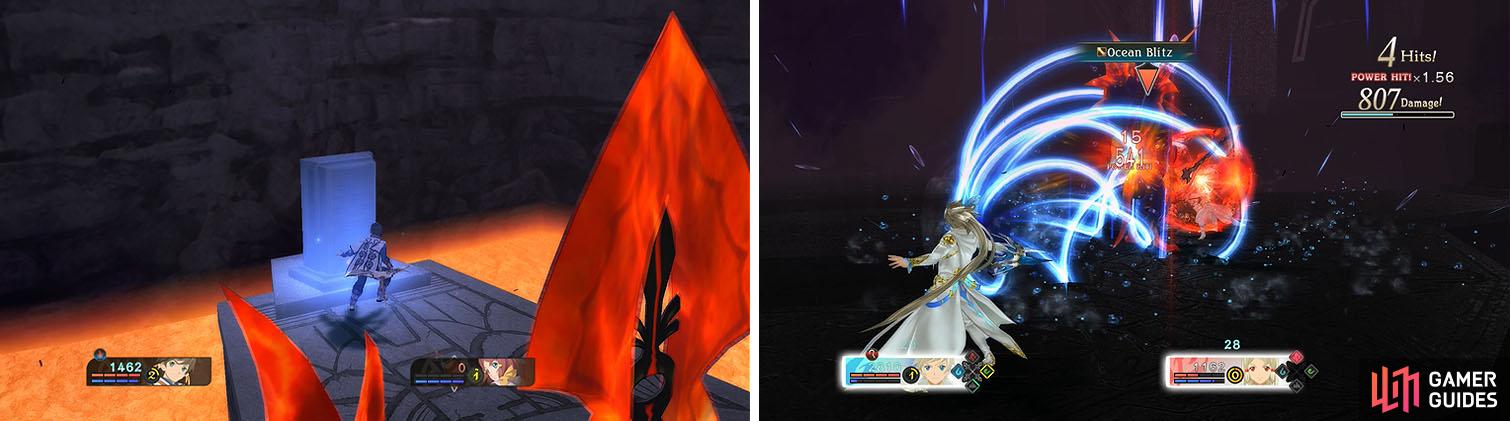
Check the Monolith at the entrance for an AP (left). Note that all the torches in Igraine have a number on the floor that indicates the lighting order (right).
Head west through the hallway to the next room for a Fire Ring and Peach Gel and then turn the corner to find a Red Chamomile . You can now light the torches to the south in the order marked on them to open the door and light another torch for a scene.
Backtrack to the hallway and head down the steps to find some torches to the south that you can light to open the door, but until you raise the lava level you’ll be unable to cross the platforms.
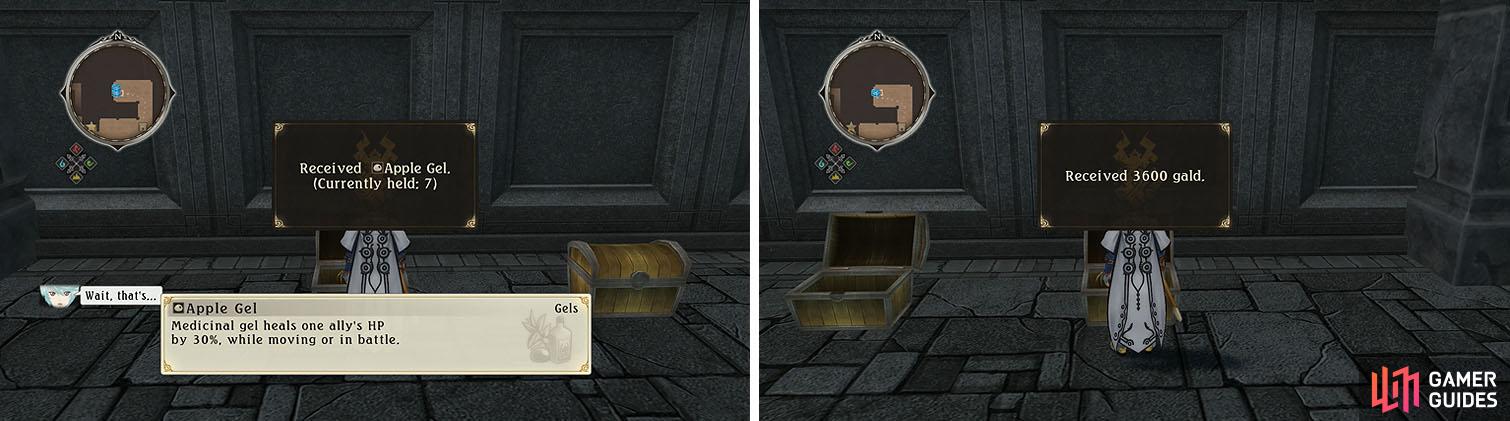
Head back and open the door to the east and then check the dead end to the north for an Apple Gel and 3600 gald before heading to the south side of the shrine.
Check the dead end to the north for two chests before heading south.
Head to the southwest room to find an Ortlinde , Roll Cake , and Red Saffron and then backtrack to the torches in the hallway. Unlike the previous torches you’ll notice that the roman numerals are only on one side of the torch, which indicates that the torch can only be lit from this side.
Go ahead and light the torches to open the door and collect the Burning Dash and then backtrack to the stairs to the east, since you still need to raise the lava level.
Back upstairs, open the door to the north and collect the Flame Ward to the east and then head to the western hallway. Head north to a ledge to grab the Normin Shokk and then continue west to the next room and collect the Crimson Veil and Peach Gel .
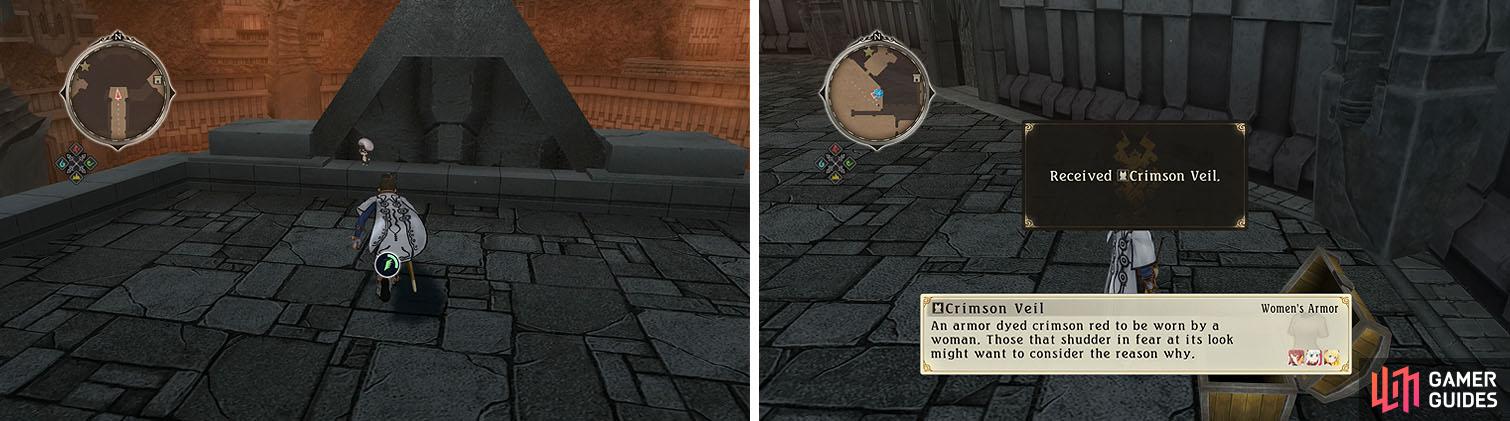
Recruit the Normin Shokk on the balcony (left). Open both chests by the torches for a Crimson Veil (right).
Like the torches downstairs these torches require you not only light them in order, but from a certain side. After opening the door make sure to check the right side of the ledge for the Large Rock of Vermillion Ore and watch the Seraphic Powers skit and then light the torch to raise the lava.
With the lava raised you can now return downstairs and head to the north side of the shrine to enter the central chamber. Wind Rush across the platforms to reach the Dragon Tail and Vellum and then return to the south side of the shrine and enter the central chamber there.
Wind Rush to the central platform and then to the west to a room with a Madeline and Chocolate Gelato and then return to the central platform. Light the four torches from the correct side and then ride the elevator down to watch the skit The Origin of the Vermillion Ore before entering the chamber for a scene.
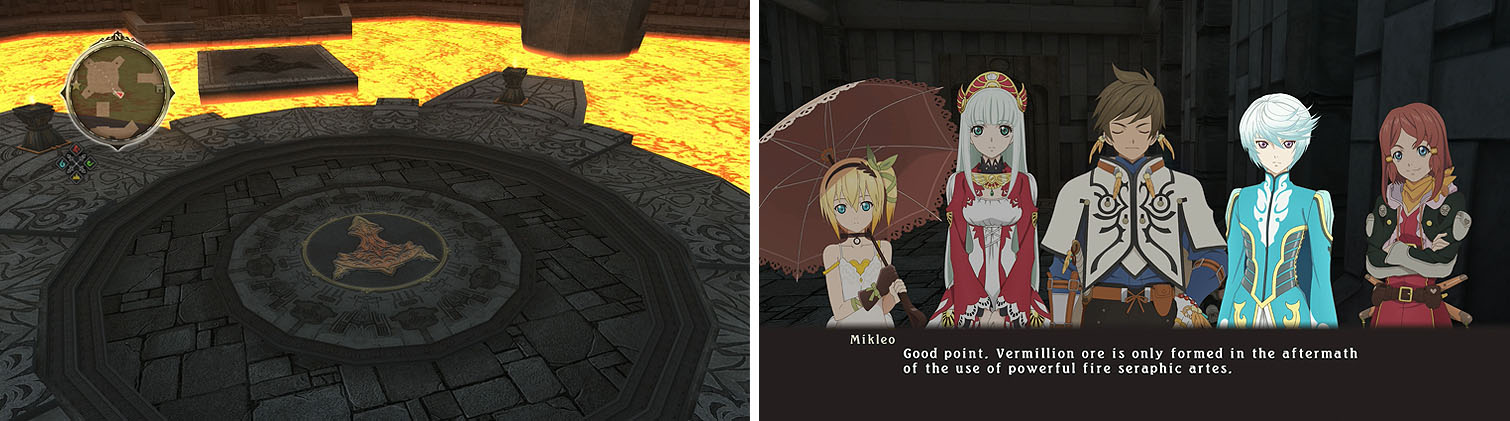
Activate the elevator via the torches (left) and watch the skit at the save (right).
Boss: Salamander
| HP | Category | Weakness | Resistance |
|---|---|---|---|
| 11,041 | Armored/Dragon | Water | Earth, Wind |
| Drops: **Blessing Orb** |
The first part of this battle is more about surviving long enough to touch the four tablets around the arena than fighting the enemy, so let Rose distract the Salamander while you free run around with L2 to touch each of the tablets for a scene.
Salamander can’t be staggered while his HP is above 70%, so armatize with Mikleo to exploit the Salamander’s weakness and stay out of reach of his powerful attacks. The first thing you’ll want to do is use Arrow Squall to destroy the Blazen Wolves and then keep on the attacks so that Rose and Lailah can piggyback onto your Power Hits to quickly drop Salamander below 70%. At this point, focus on keeping him staggered to avoid his spells and Fire Breath and you should be able to finish this battle quickly.
When Salamander reaches 10% HP a scene will occur and then follow the on screen prompts to do a Mystic Arte in armatization form.
Free Run around the arena to activate the four tablets (left). You can then focus on attacking the boss with the water armatization (right).

Fiery Trial
Conquer the fierce battle at Igraine, the Shrine of the Fire Trial, without using any items!

After the scenes you’ll obtain the Proof of Spiritual Power: Fire and can check the Monolith by the entrance before exiting the shrine.
Head to the save at the Inn in Gododdin for the skit What’s Happening in Pendrago? and then exit to speak with the village chief. You can now return to the Inn’s save for the skit The Dog Whisperer before warping to Pearloats Pasture.
YOU CANNOT ARMATIZE IN THIS FIGHT expletive deleted!
You cannot armatize in this fight.. any more bright ideas expletive deleted?
YOU CANNOT ARMATIZE IN THIS FIGHT expletive deleted!
You cannot armatize in this fight.. any more bright ideas expletive deleted?