
As you explore dungeons in The Adventures of Elliot: The Millennium Tales you may come across the odd doorway sealed by a blue magic barrier. Keys won’t open this, and in a rare case of ambiguity, the game doesn’t provide an obvious solution aside from Faie telling you that you don’t have what you need to get through said barriers yet. This page will cover how to obtain the Leytstaf weapon and with it, how to dispel the blue magical Leytstaf barriers found in dungeons in The Adventures of Elliot: The Millennium Tales.
Page Breakdown
| Quick Search |
|---|
| How to Find the Letystaf Sword |
| Reach the Water Ruins Depths |
| Get the Blue Water Ruins Key |
| Find the Leytstaf Sword |
| How to Dispel Blue Leytstaf Barriers |
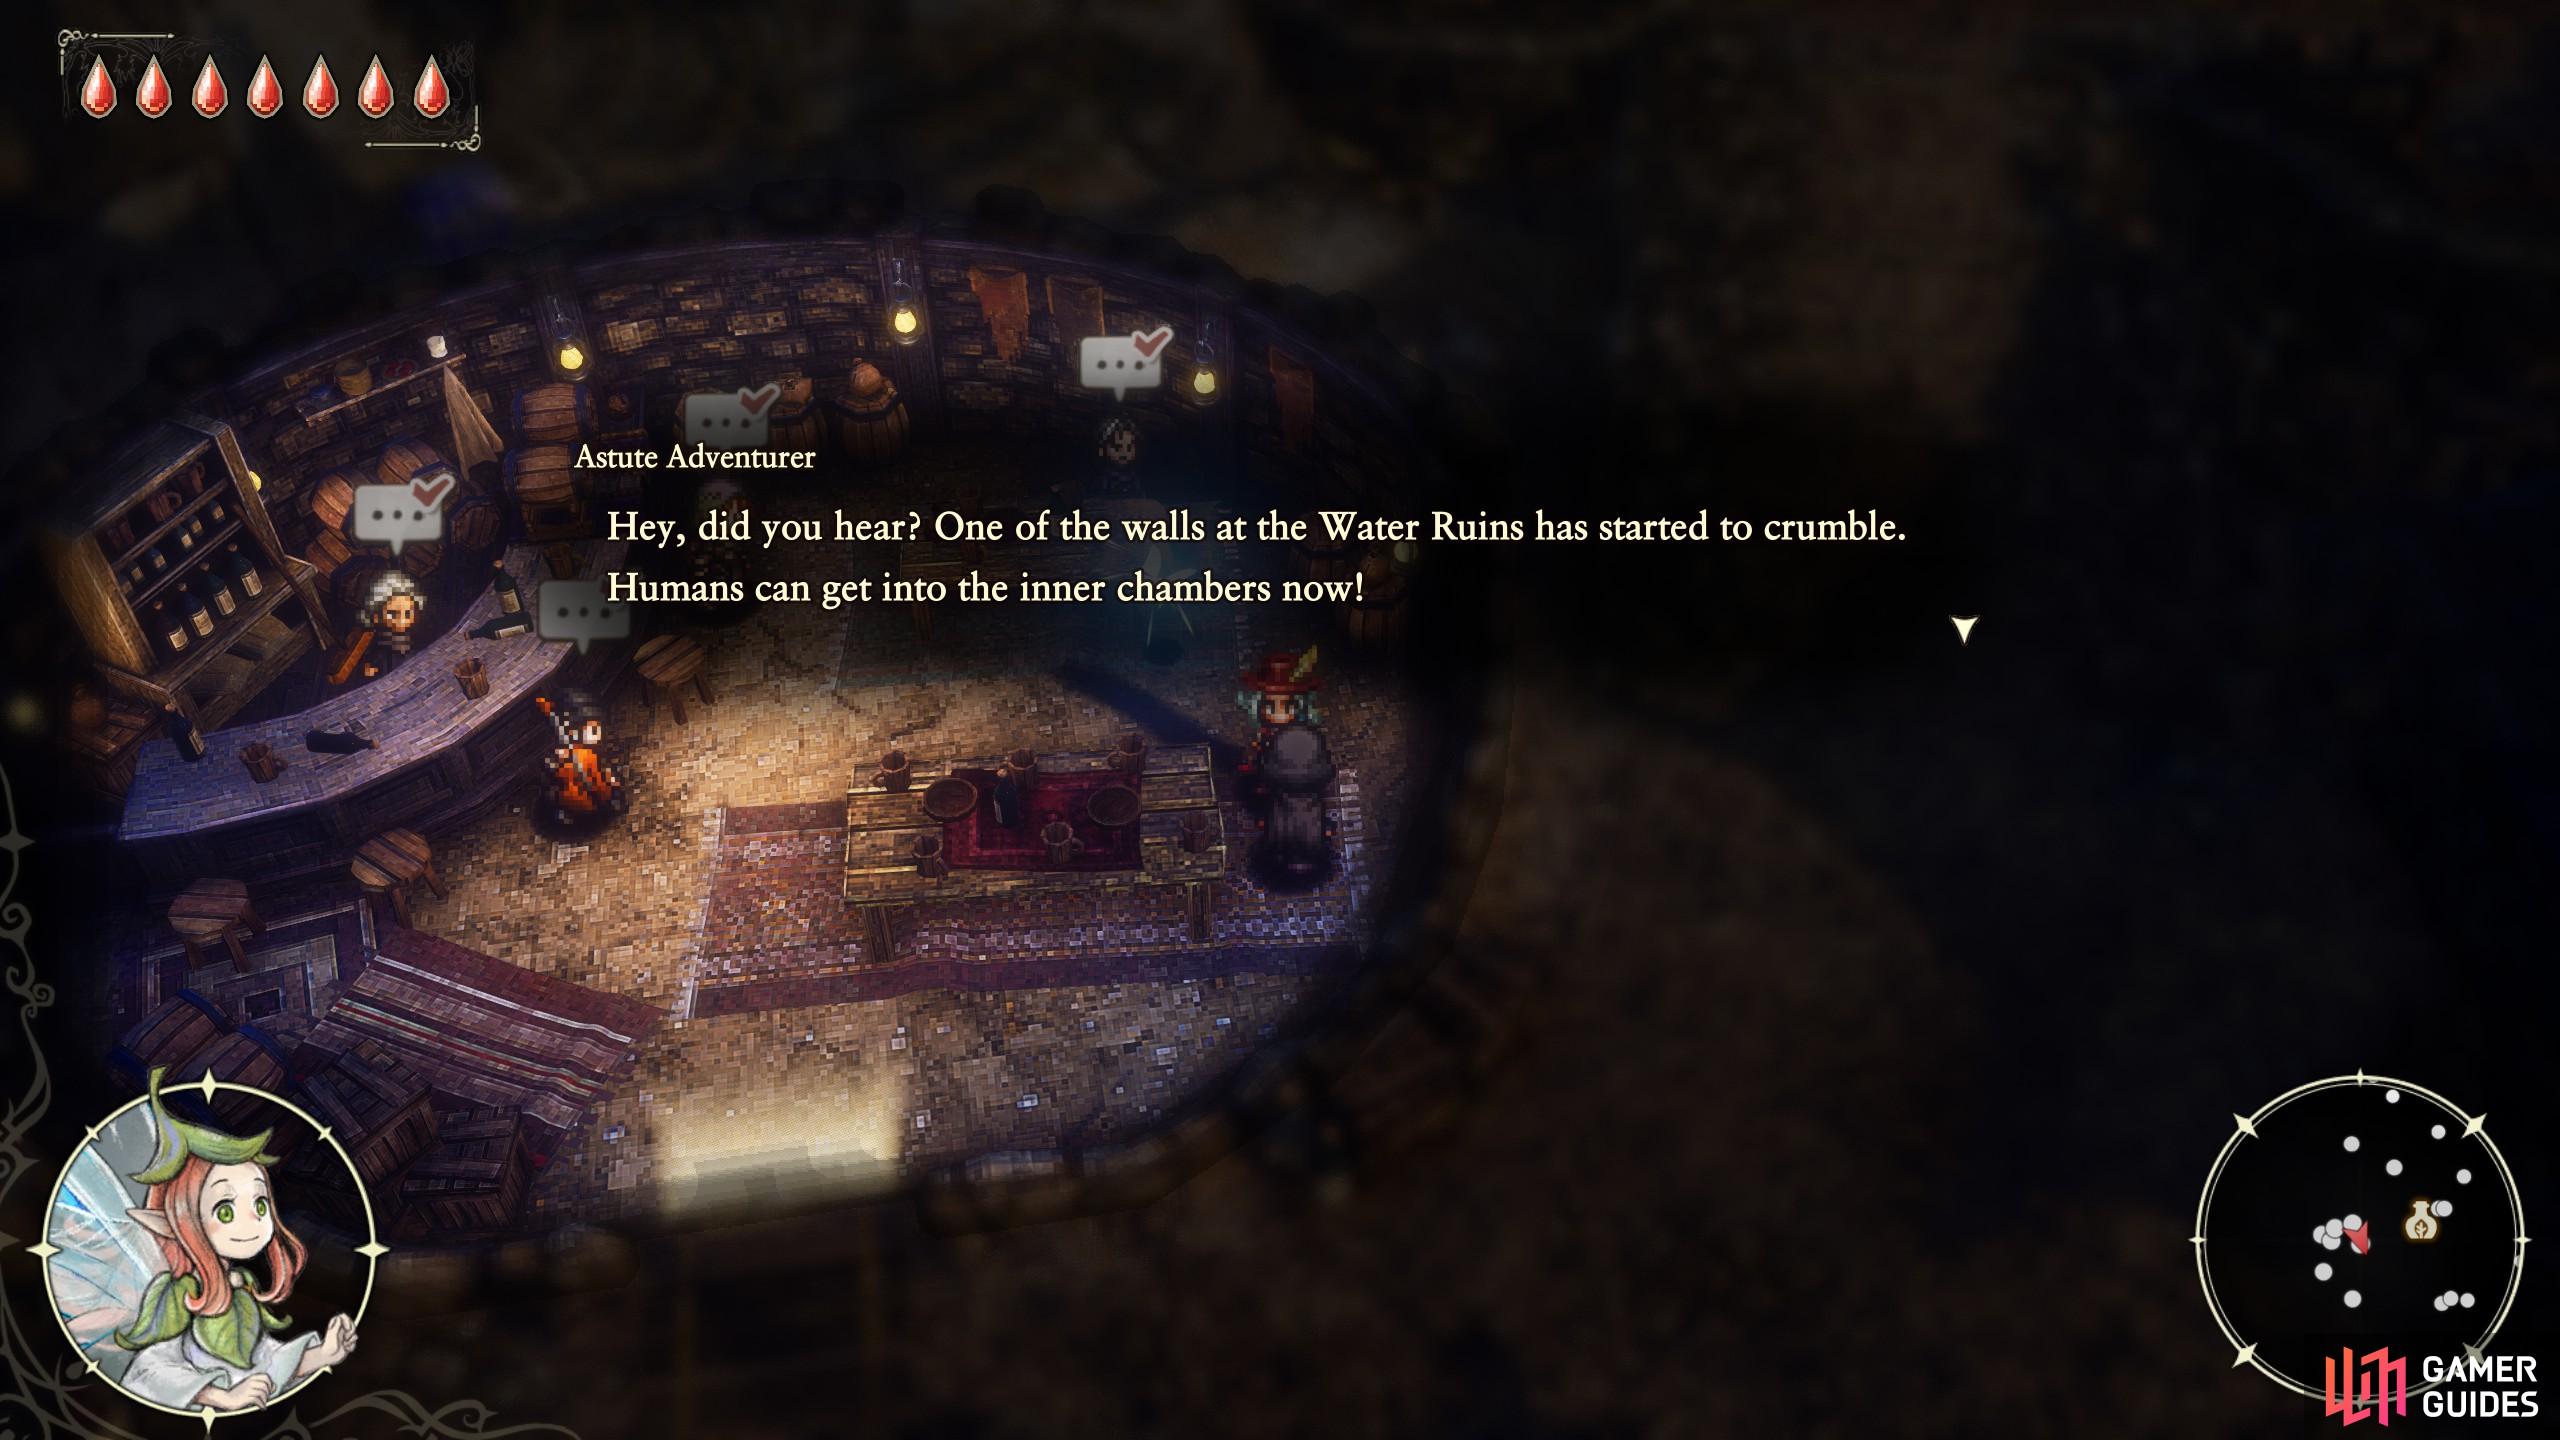

(1 of 3) You’ll know you can fully explore the Water Ruins when an Astute Adventurer mentions a wall collapsing in the dungeon. He can be found in the tavern in Littlehope Village.
How to Find the Letystaf Sword
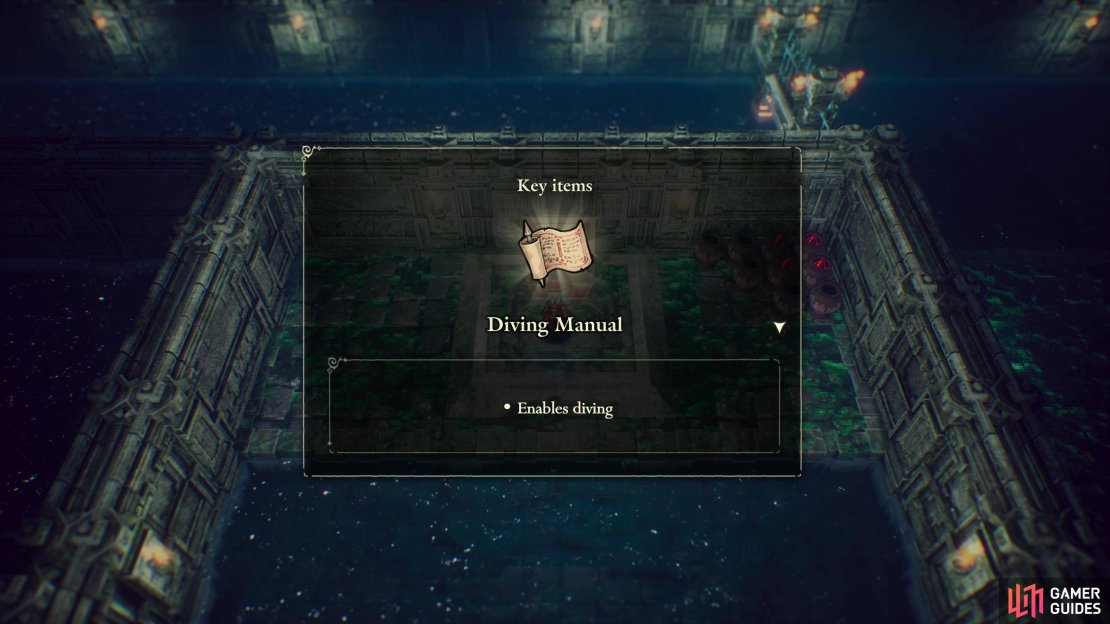
If you’re diligent about exploring on your own initiative, you may discover that the Water Ruins in the Age of Reconstruction has more to it than initially meets the eye. In the eastern edge of the Water Ruins - Sublevel One are some stairs you can’t descend due to… well, due to them being underwater. You may be able to avoid the odd barrier with the Diving Manual, but sustained dives are not part of Elliot’s repertoire, unfortunately. Checking your map will also reveal that the dungeon has more treasures than you can initially reach, unless you ignore this dungeon until the end of the game.
That all being the case, there are two conditions that must be met before you can explore this dungeon fully. First, you must be near the end of the main questline - you can talk to an “Astute Adventurer” in Littlehope Village (Age of Reconstruction) and if the Water Ruins are fully explorable he’ll say:
”Hey, did you hear? One of the walls at the Water Ruins has started to crumble. Humans can get into the inner chambers now!”
If he’s not saying this, odds are you can’t reach the depths of the Water Ruins yet. Second, you need to be able to dive to fully explore the Water Ruins, which means you need the Diving Manual. This tome can be found within the Water Ruins, so getting this isn’t much of an inconvenience if you haven’t already - check out the linked page and complete that first.


(1 of 2) Hit a water orb near a barrier to drain the water,
Hit a water orb near a barrier to drain the water, (left), then do some platforming to reach some previously submerged stairs you can now descend. (right)
Reach the Water Ruins Depths
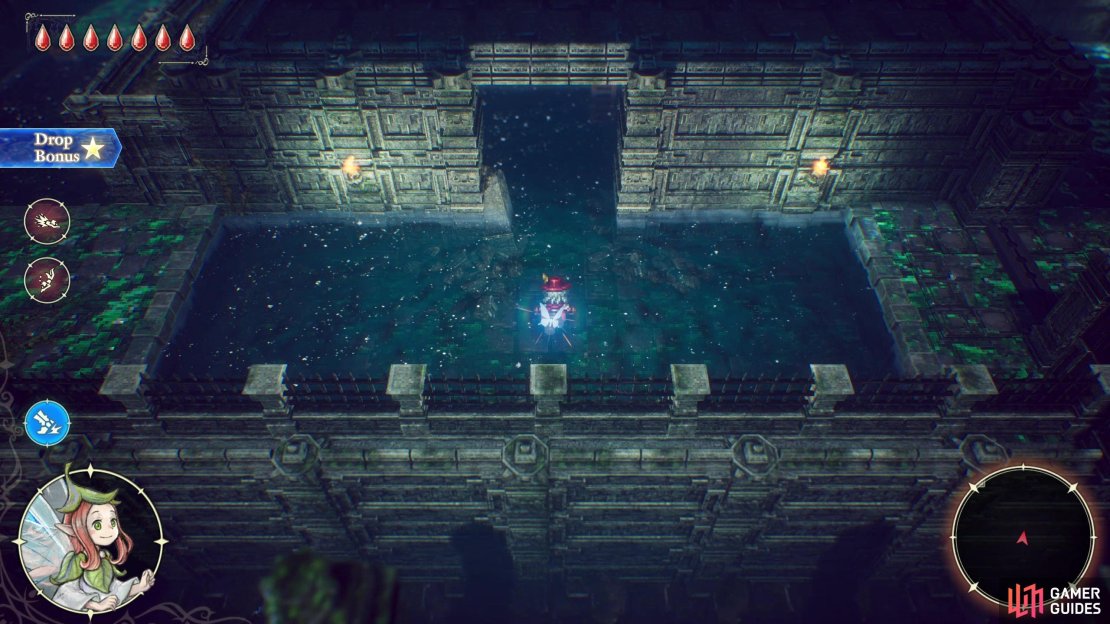
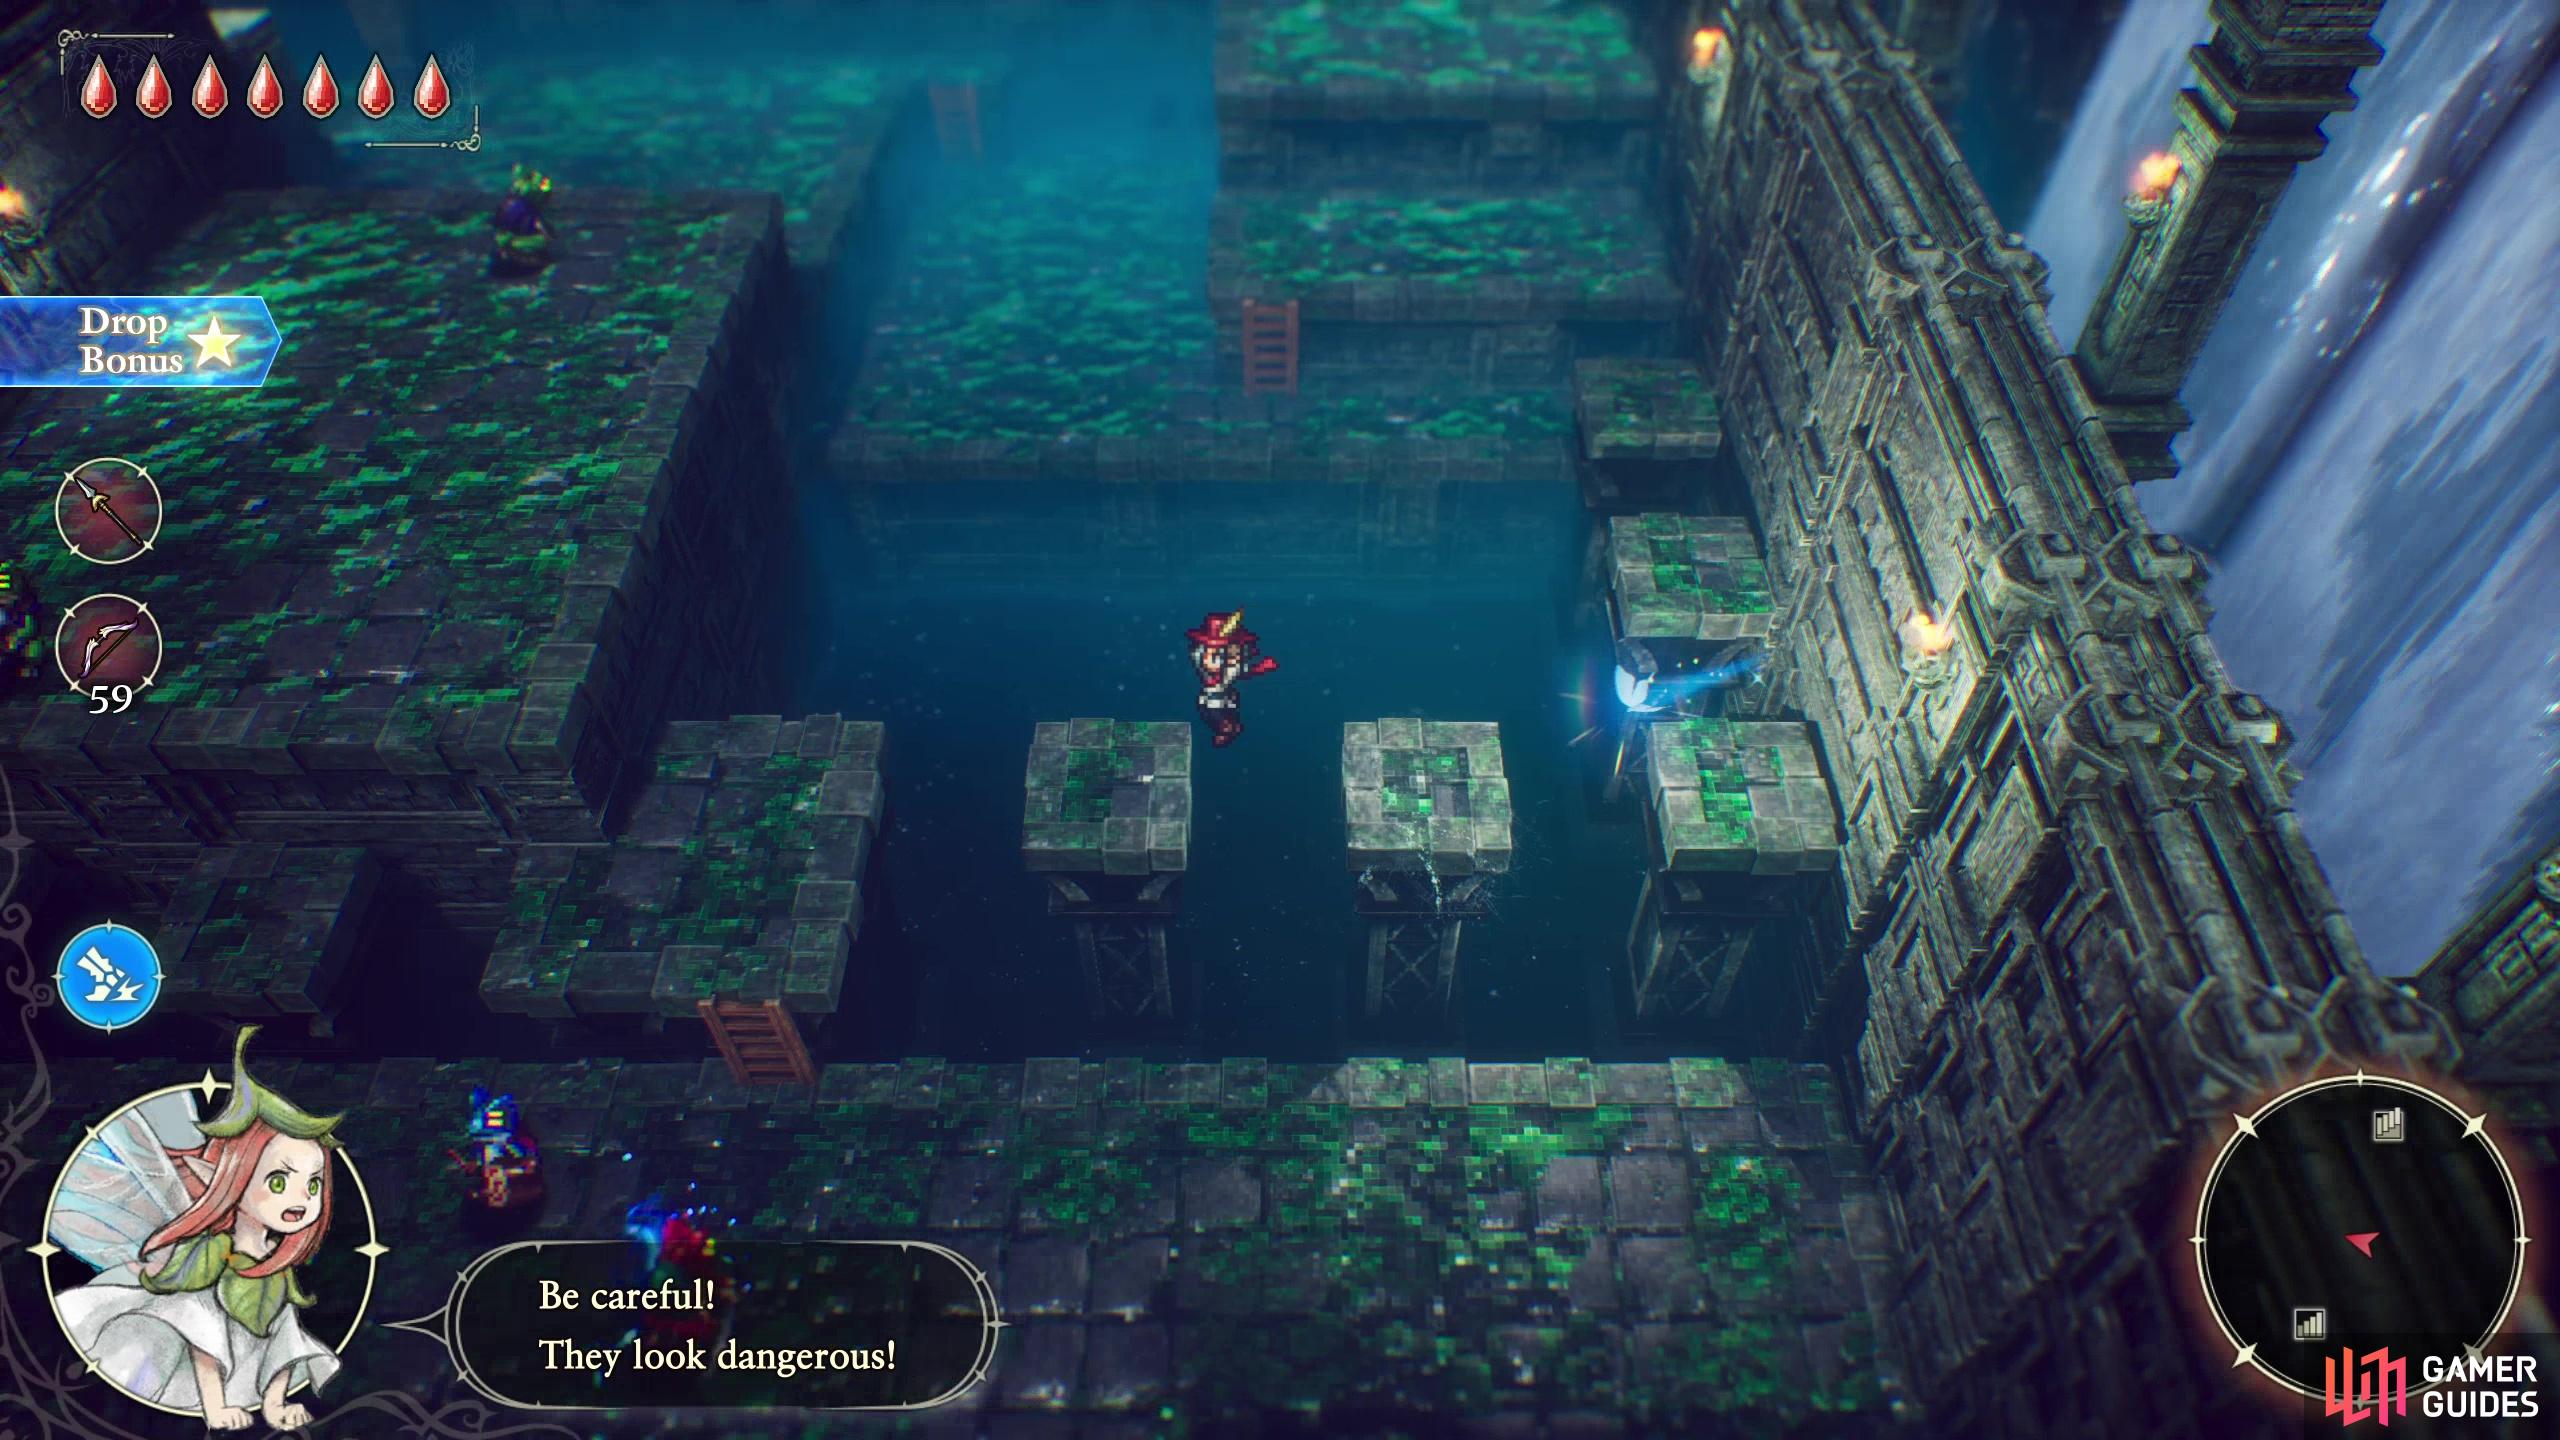
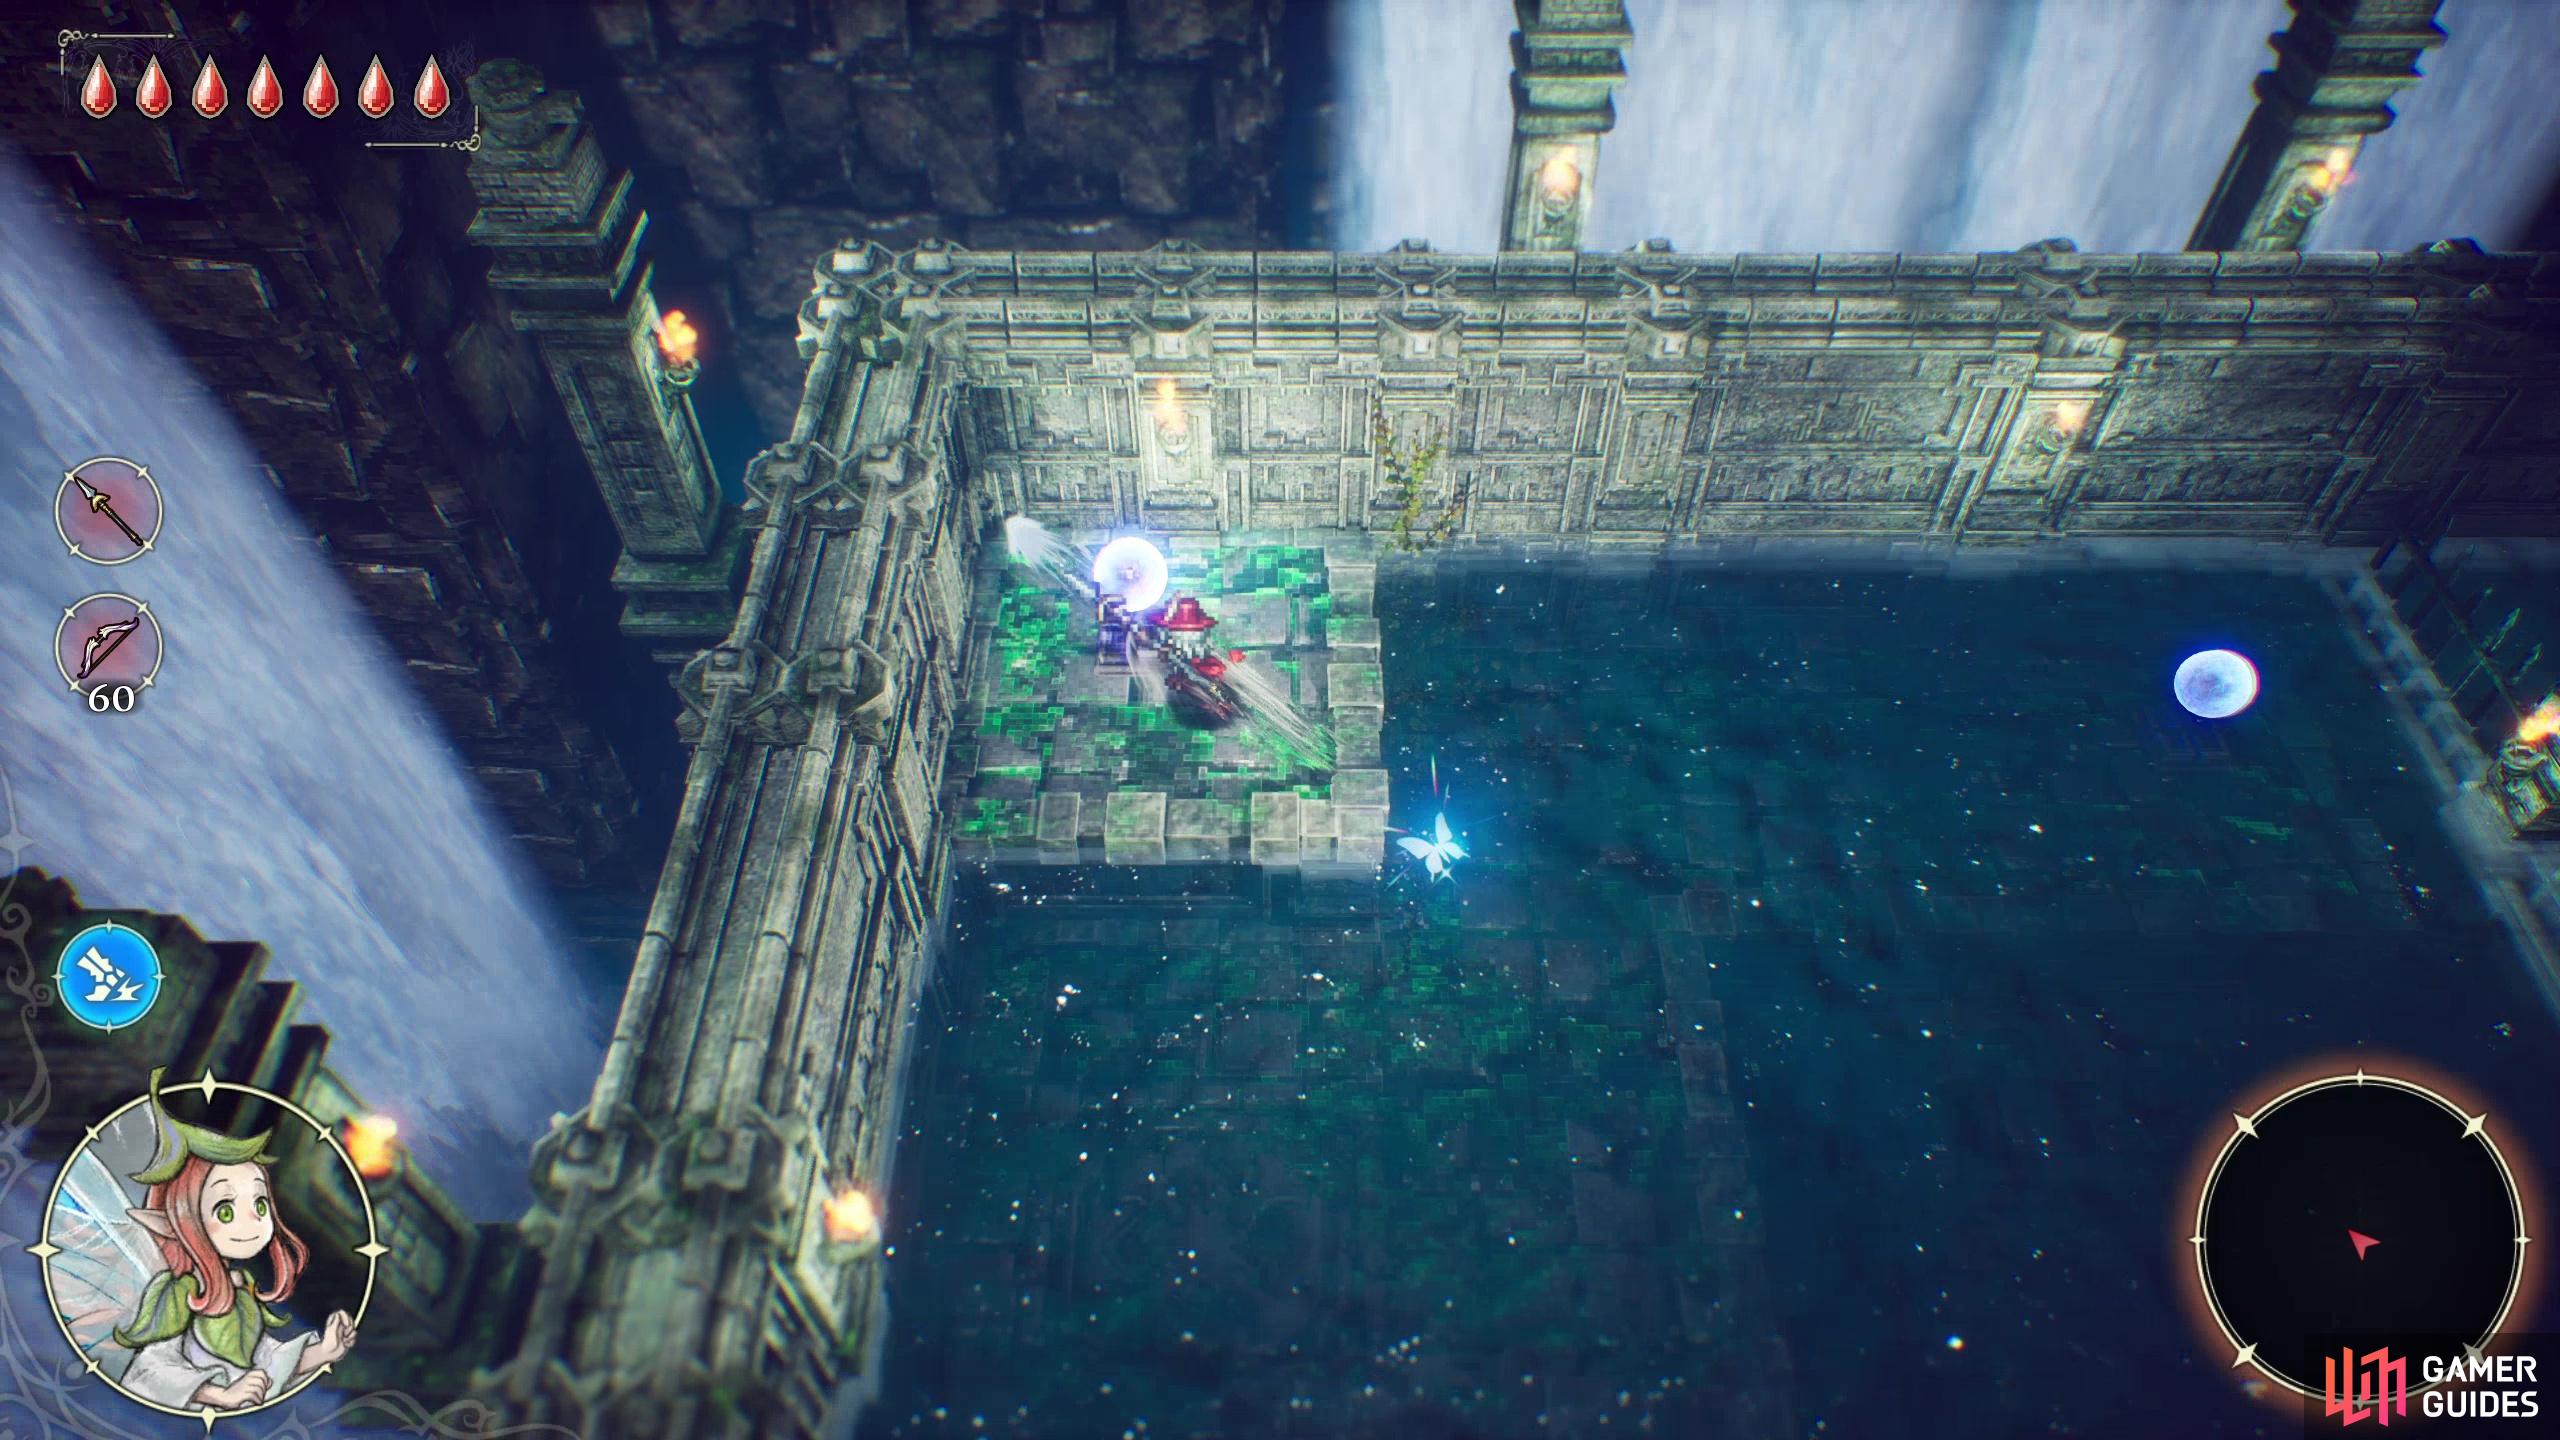
Now that that’s sorted, let’s get on with it. From the start of the Water Ruins you’re going to want to descend to the Water Level - Sublevel One area by going northwest through the blue key door (which should now be open) then head to the flooded hallway leading to the chamber where you fought the Frauki Capo boss. You should find a hole in the wall to the north as you explore this hallway, so swim through it to find a platform with a water orb on it and a blue barrier blocking a doorway. Nothing you can do about the latter just yet, but ignore both for the time being and swim north into another chamber to find a platform with a chest on it. Swim onto it, loot the chest for 230 tul, then swim back south and hit the water orb on the previous platform.
With the water drained, head back north and jump across some elevated ledges as you work your way east to reach a large chamber along the northeastern edge of the level. This is where the submerged staircase was, but now that that water’s drained, you can actually reach said stairs. You’ll have to do some platforming across some ledges to work your way south, west then south again to the stairs.

(1 of 3) Once on Sublevel Two, work your way west, climb a ladder and hit a water orb to flood the room, then dive through a gateway to the north to reach a hallway.
Get the Blue Water Ruins Key
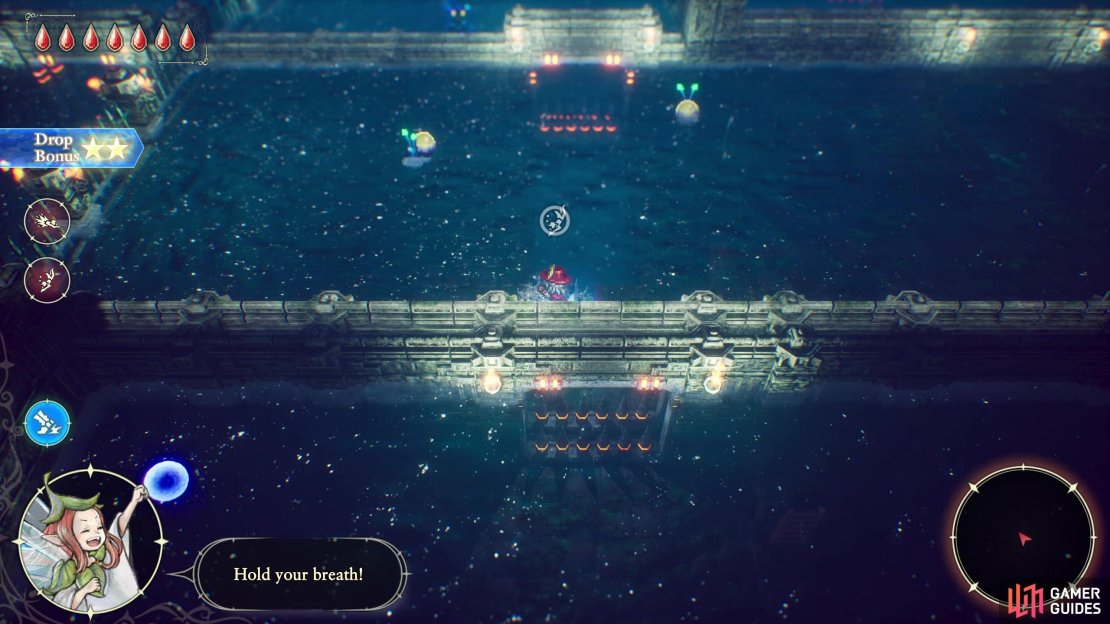
You should now find yourself in the Water Ruins - Sublevel Two area. Do some platforming to cross the room to the west, climb down a ladder and note some spikes on the ground preventing you from passing through a gateway. Continue to the western corner of the room to find another water orb, hit it to raise the water, and dive under the now-flooded gateway to reach the room to the north.
You’ll find three rooms to the north, the easternmost and westernmost of which both with spike-lined gateways you can dive under, while the central, while still flooded, is bereft of spikes. Dive under the easternmost gate, find a ledge with a water orb on it, and hit to to drain the water. Drop down to the east and continue east and south into another chamber, then go west through this second chamber to return to the long hall you were in earlier.

(1 of 2) Flood the chamber again with a water orb, dive under a gateway to the north, hit another water orb to drain the water again,
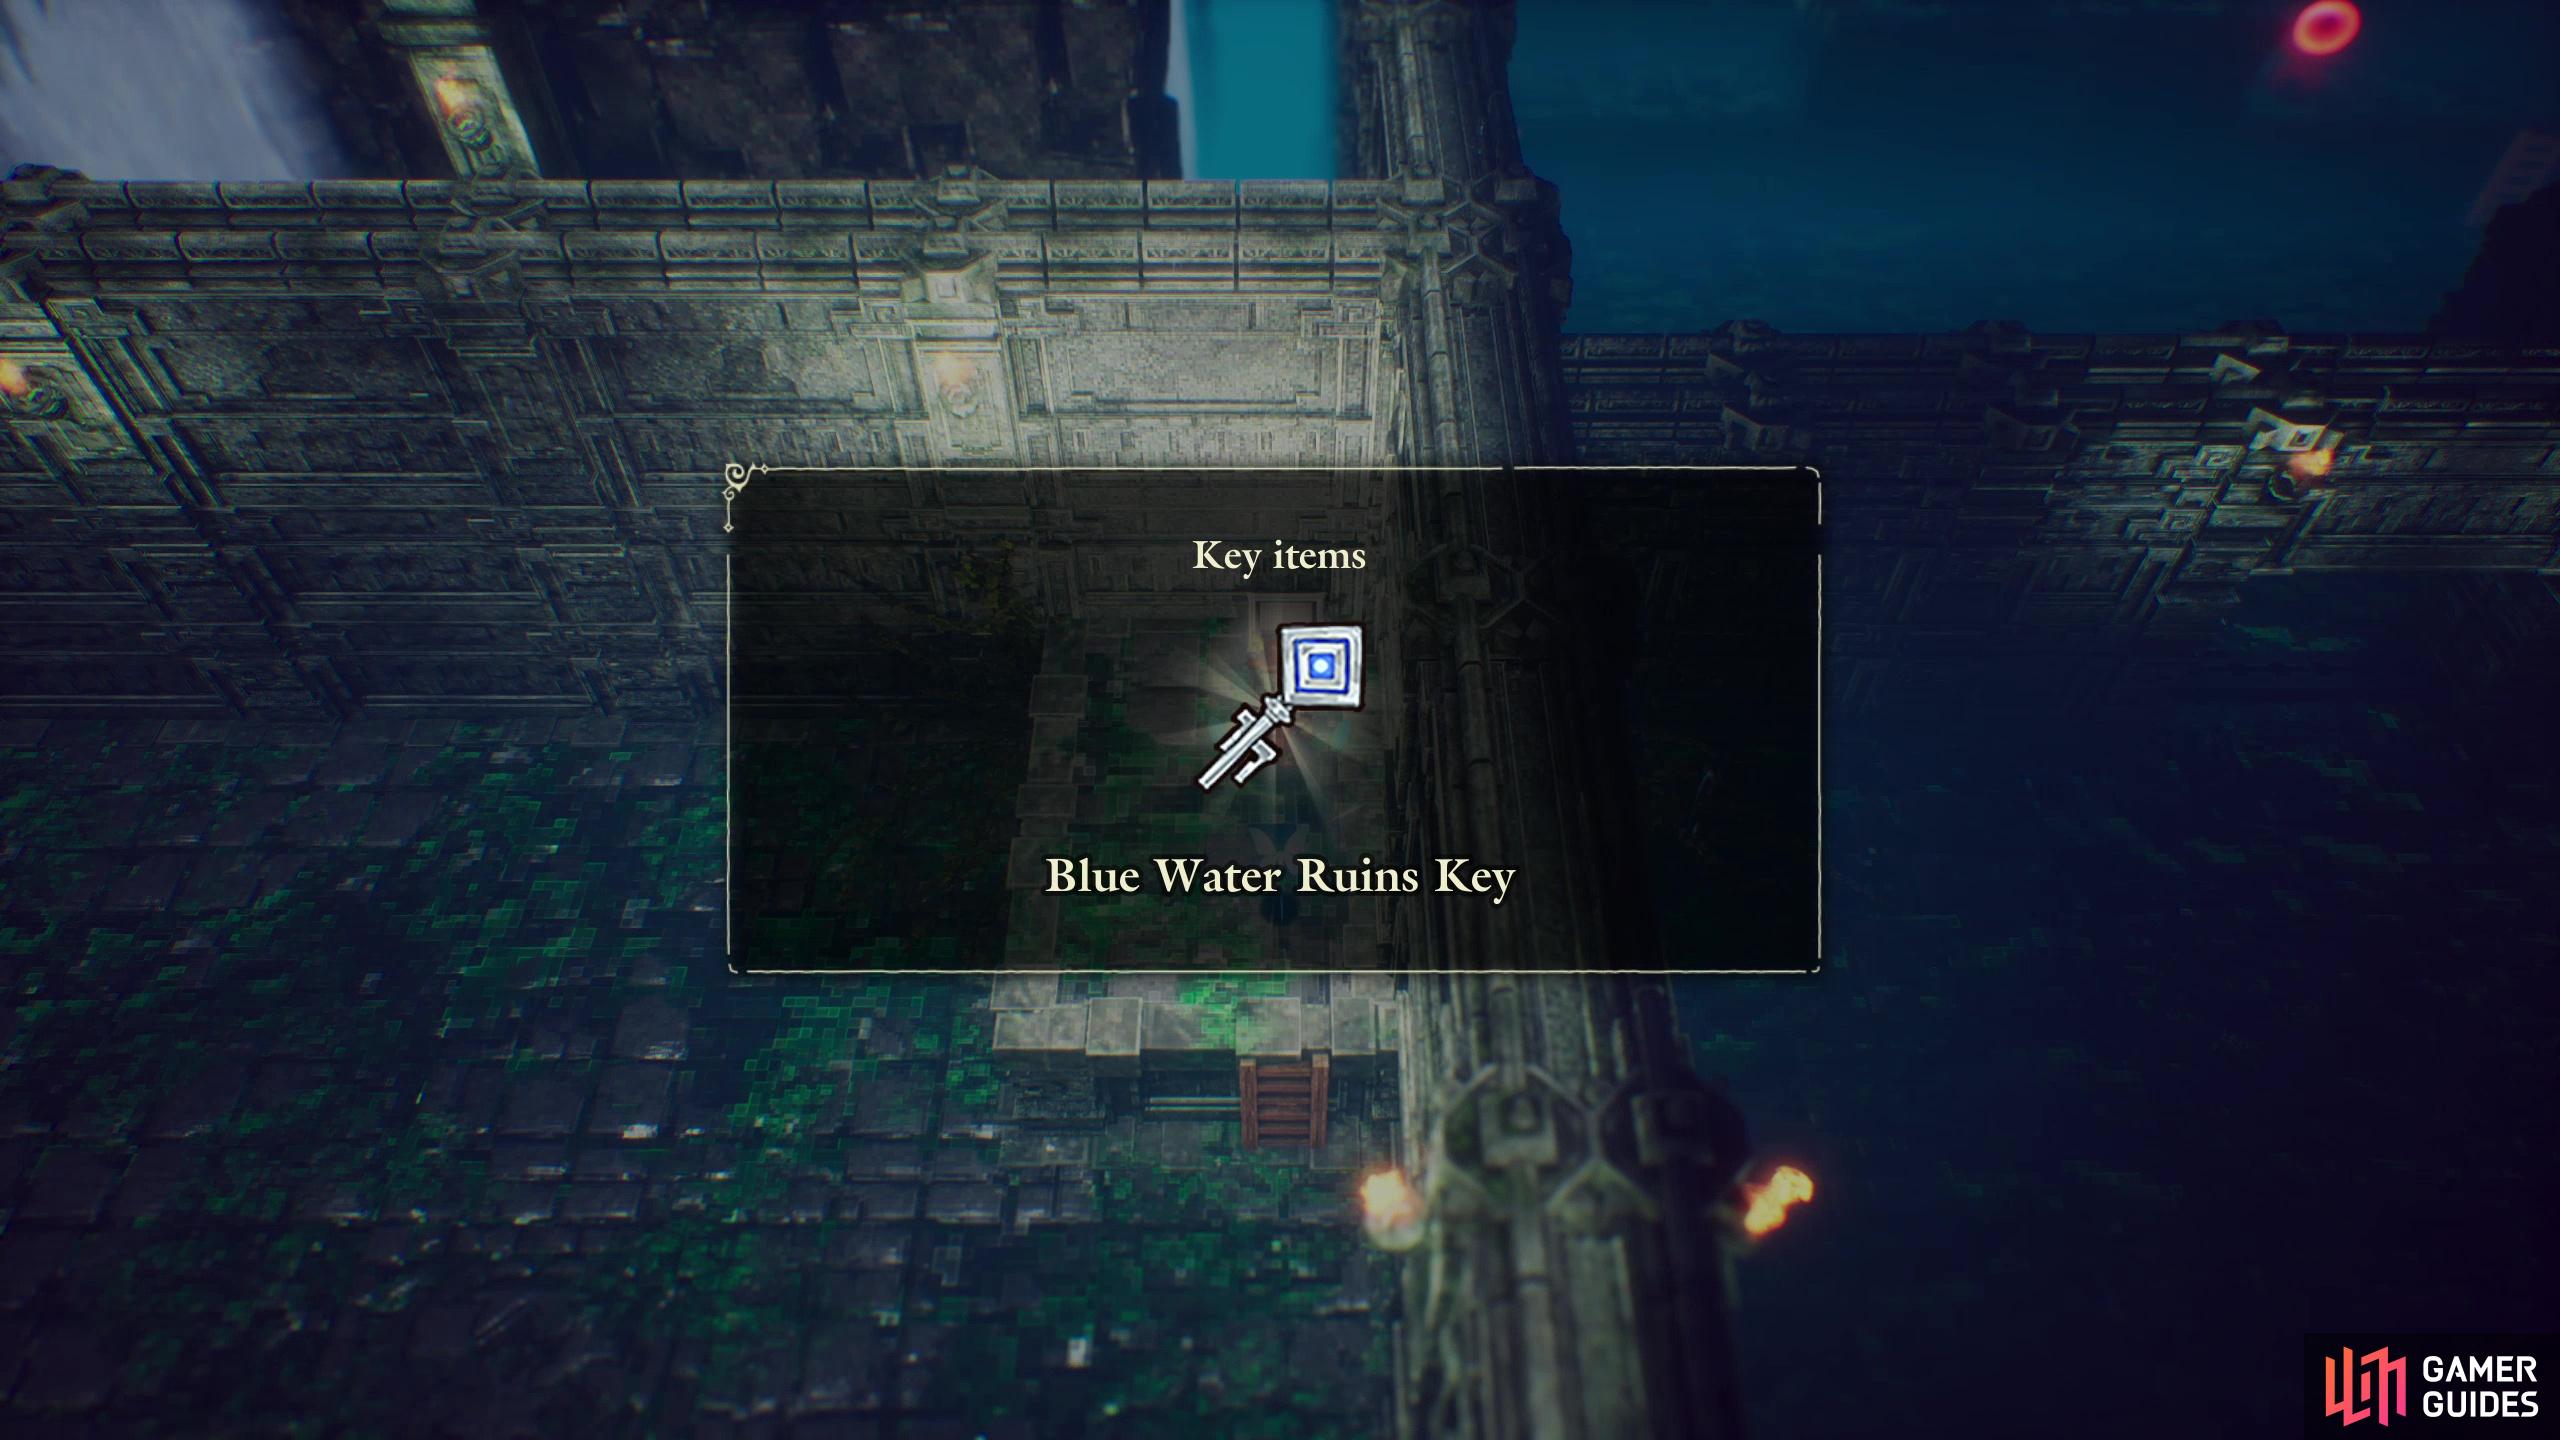
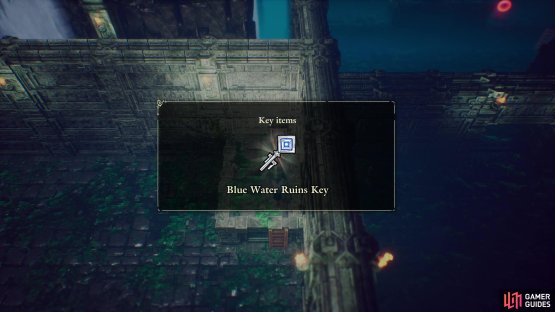
Flood the chamber again with a water orb, dive under a gateway to the north, hit another water orb to drain the water again, (left), then drop down to the east, enter a room, climb a ladder and loot a chest to score a second “Blue Water Ruins Key”. (right)
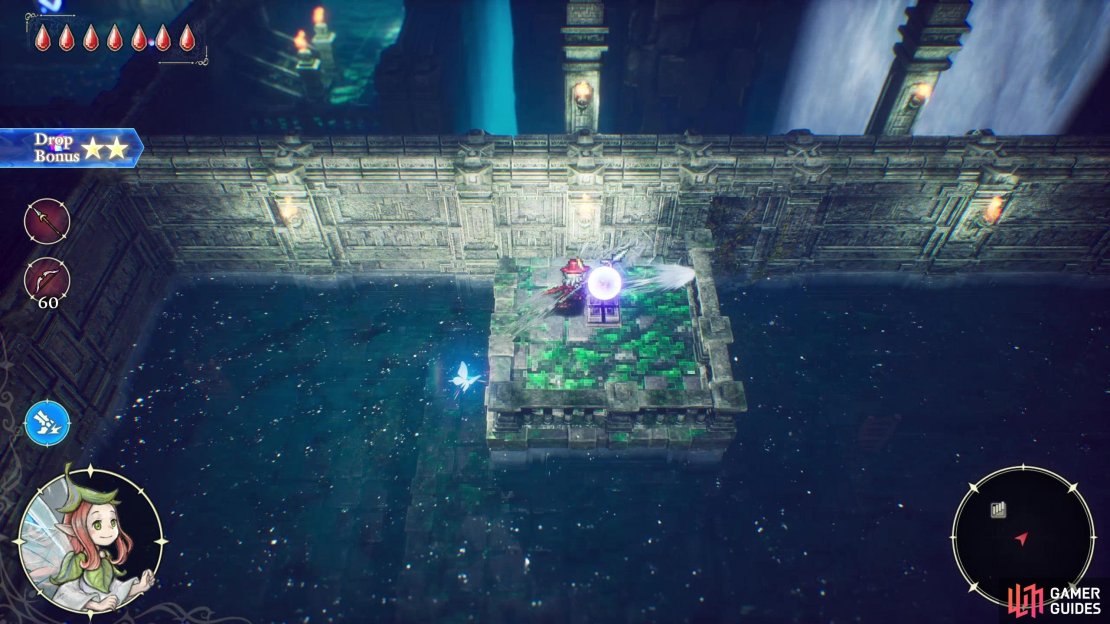
You may be tempted to go up the middle gateway now, and you’ll need to do so eventually, but first go to the western edge of the hallway to find another gateway along the western wall. Walk on through, climb a ladder along the western corner of the room, hit yet another water orb to flood the room, and swim through a gate to the north. Hit a second water orb on a platform in the corner to drain the water, drop down and go through a gateway to the east, climb a ladder in the eastern corner of this new room to find a chest containing a Blue Water Ruins Key. Didn’t we already get one of these? Whatever, we needed another.

(1 of 2) Defeat the Red Lizkit (reaper) and its froggy friends,
Defeat the Red Lizkit (reaper) and its froggy friends, (left), then flood the room beyond, swim to a blue door and open it with your new key and open the big red chest beyond to get the Leytstaf sword. (right)
Find the Leytstaf Sword
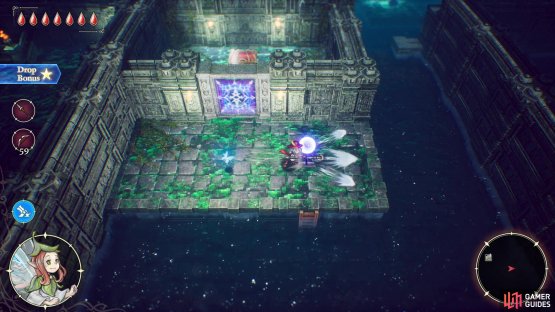
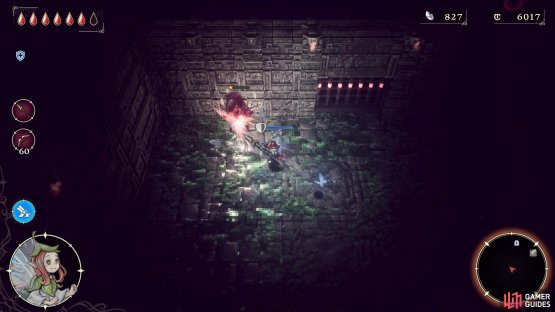
Now it’s time to do some backtracking. Return to the room to the west, hit the water orb you can reach the flood the room, then swim back to the south and hit another water orb to drain the water. Now you can drop down and return east to the main hallway and make your way through the middle gateway. Gates will raise and you’ll be trapped in a room with two frogs and a Red Lizkit (Reaper enemy). Dispatch them, continue through another gateway to the north, climb a ladder and hit a water orb to flood the room, then open the blue key door along the northern end of the room.
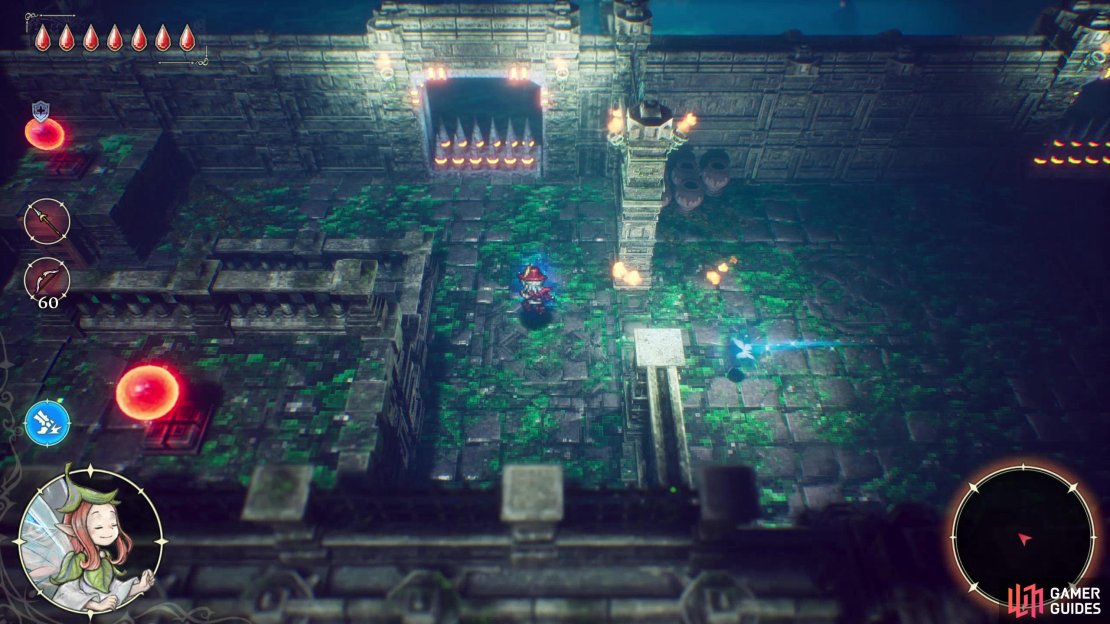
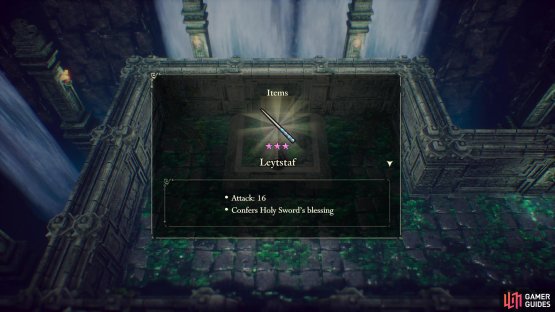
Past this door you’ll find a big red chest that contains the Leytstaf, the three-star sword boasting an Attack of 16 and the special ability “Confers Holy Sword’s blessing”, which will revive you once - this ability is refreshed every time you get close to an adventurer’s guidepost. You can now return to the entrance by whatever means you see fit, or backtrack to the blue barrier on Sublevel One, just past the newly-collapsed wall we swam through earlier.


(1 of 2) Take your new sword back to Sublevel One and use it to destroy the blue barrier past the collapsed wall,
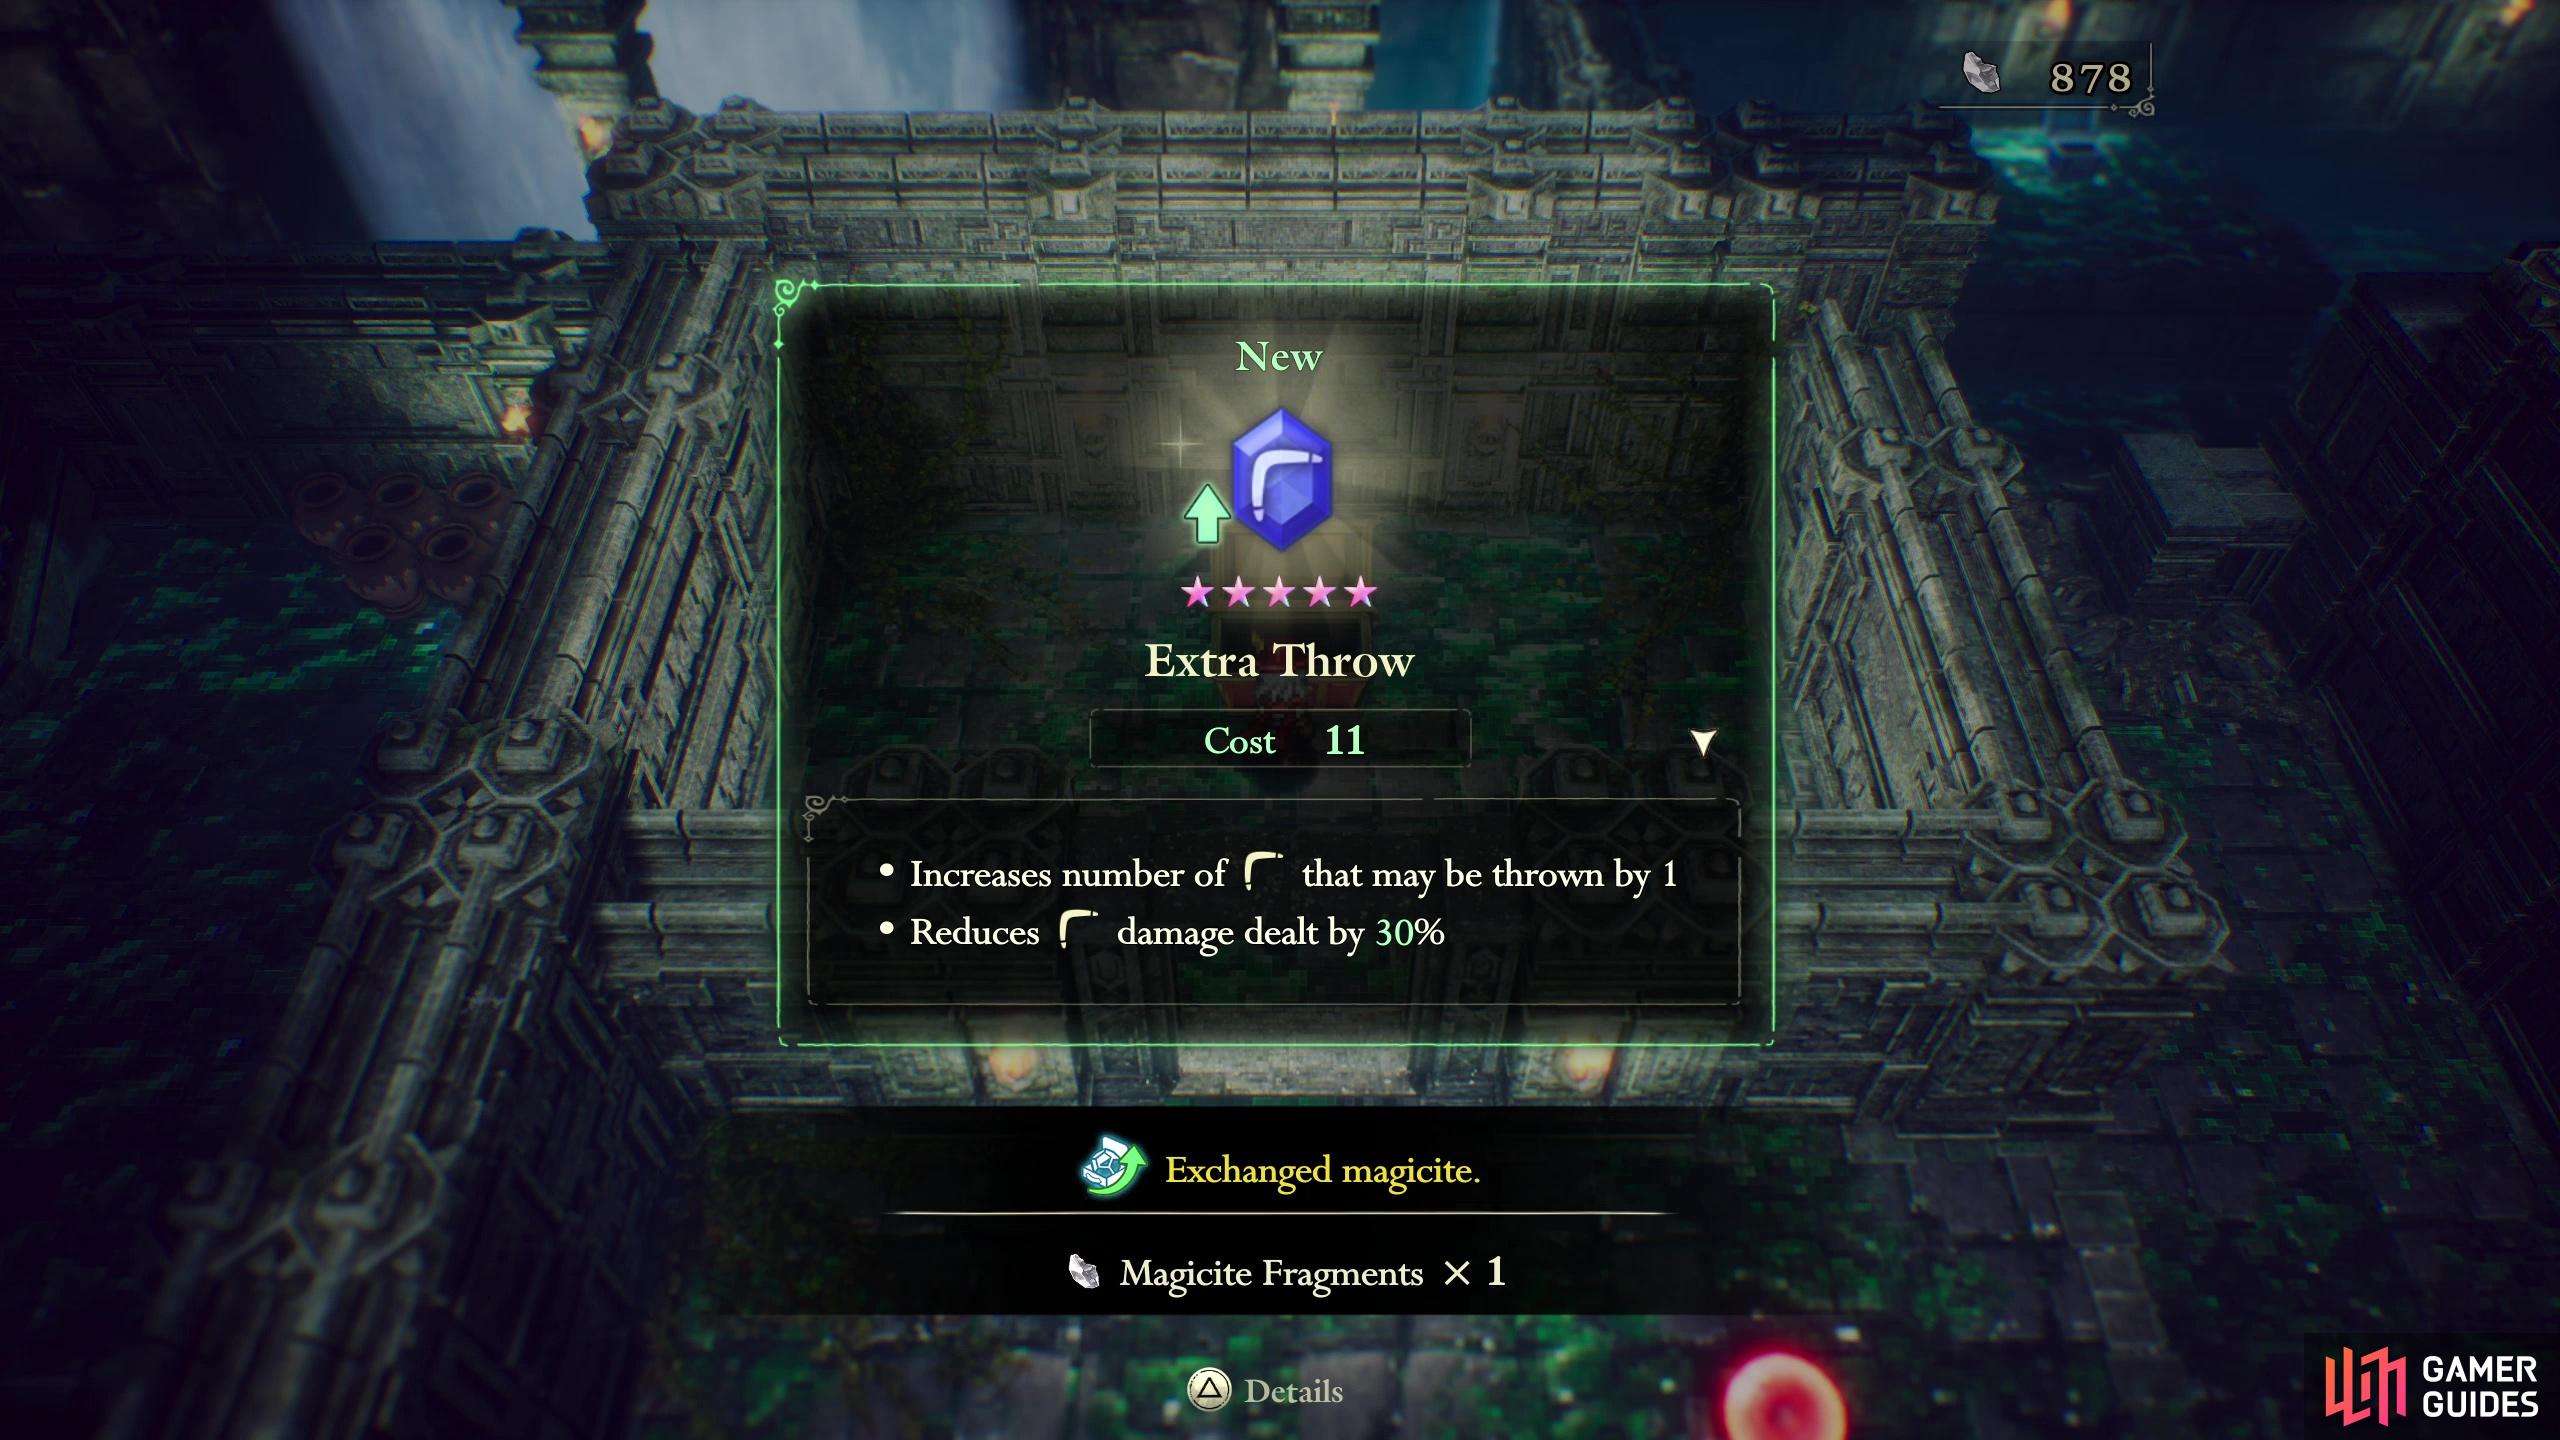
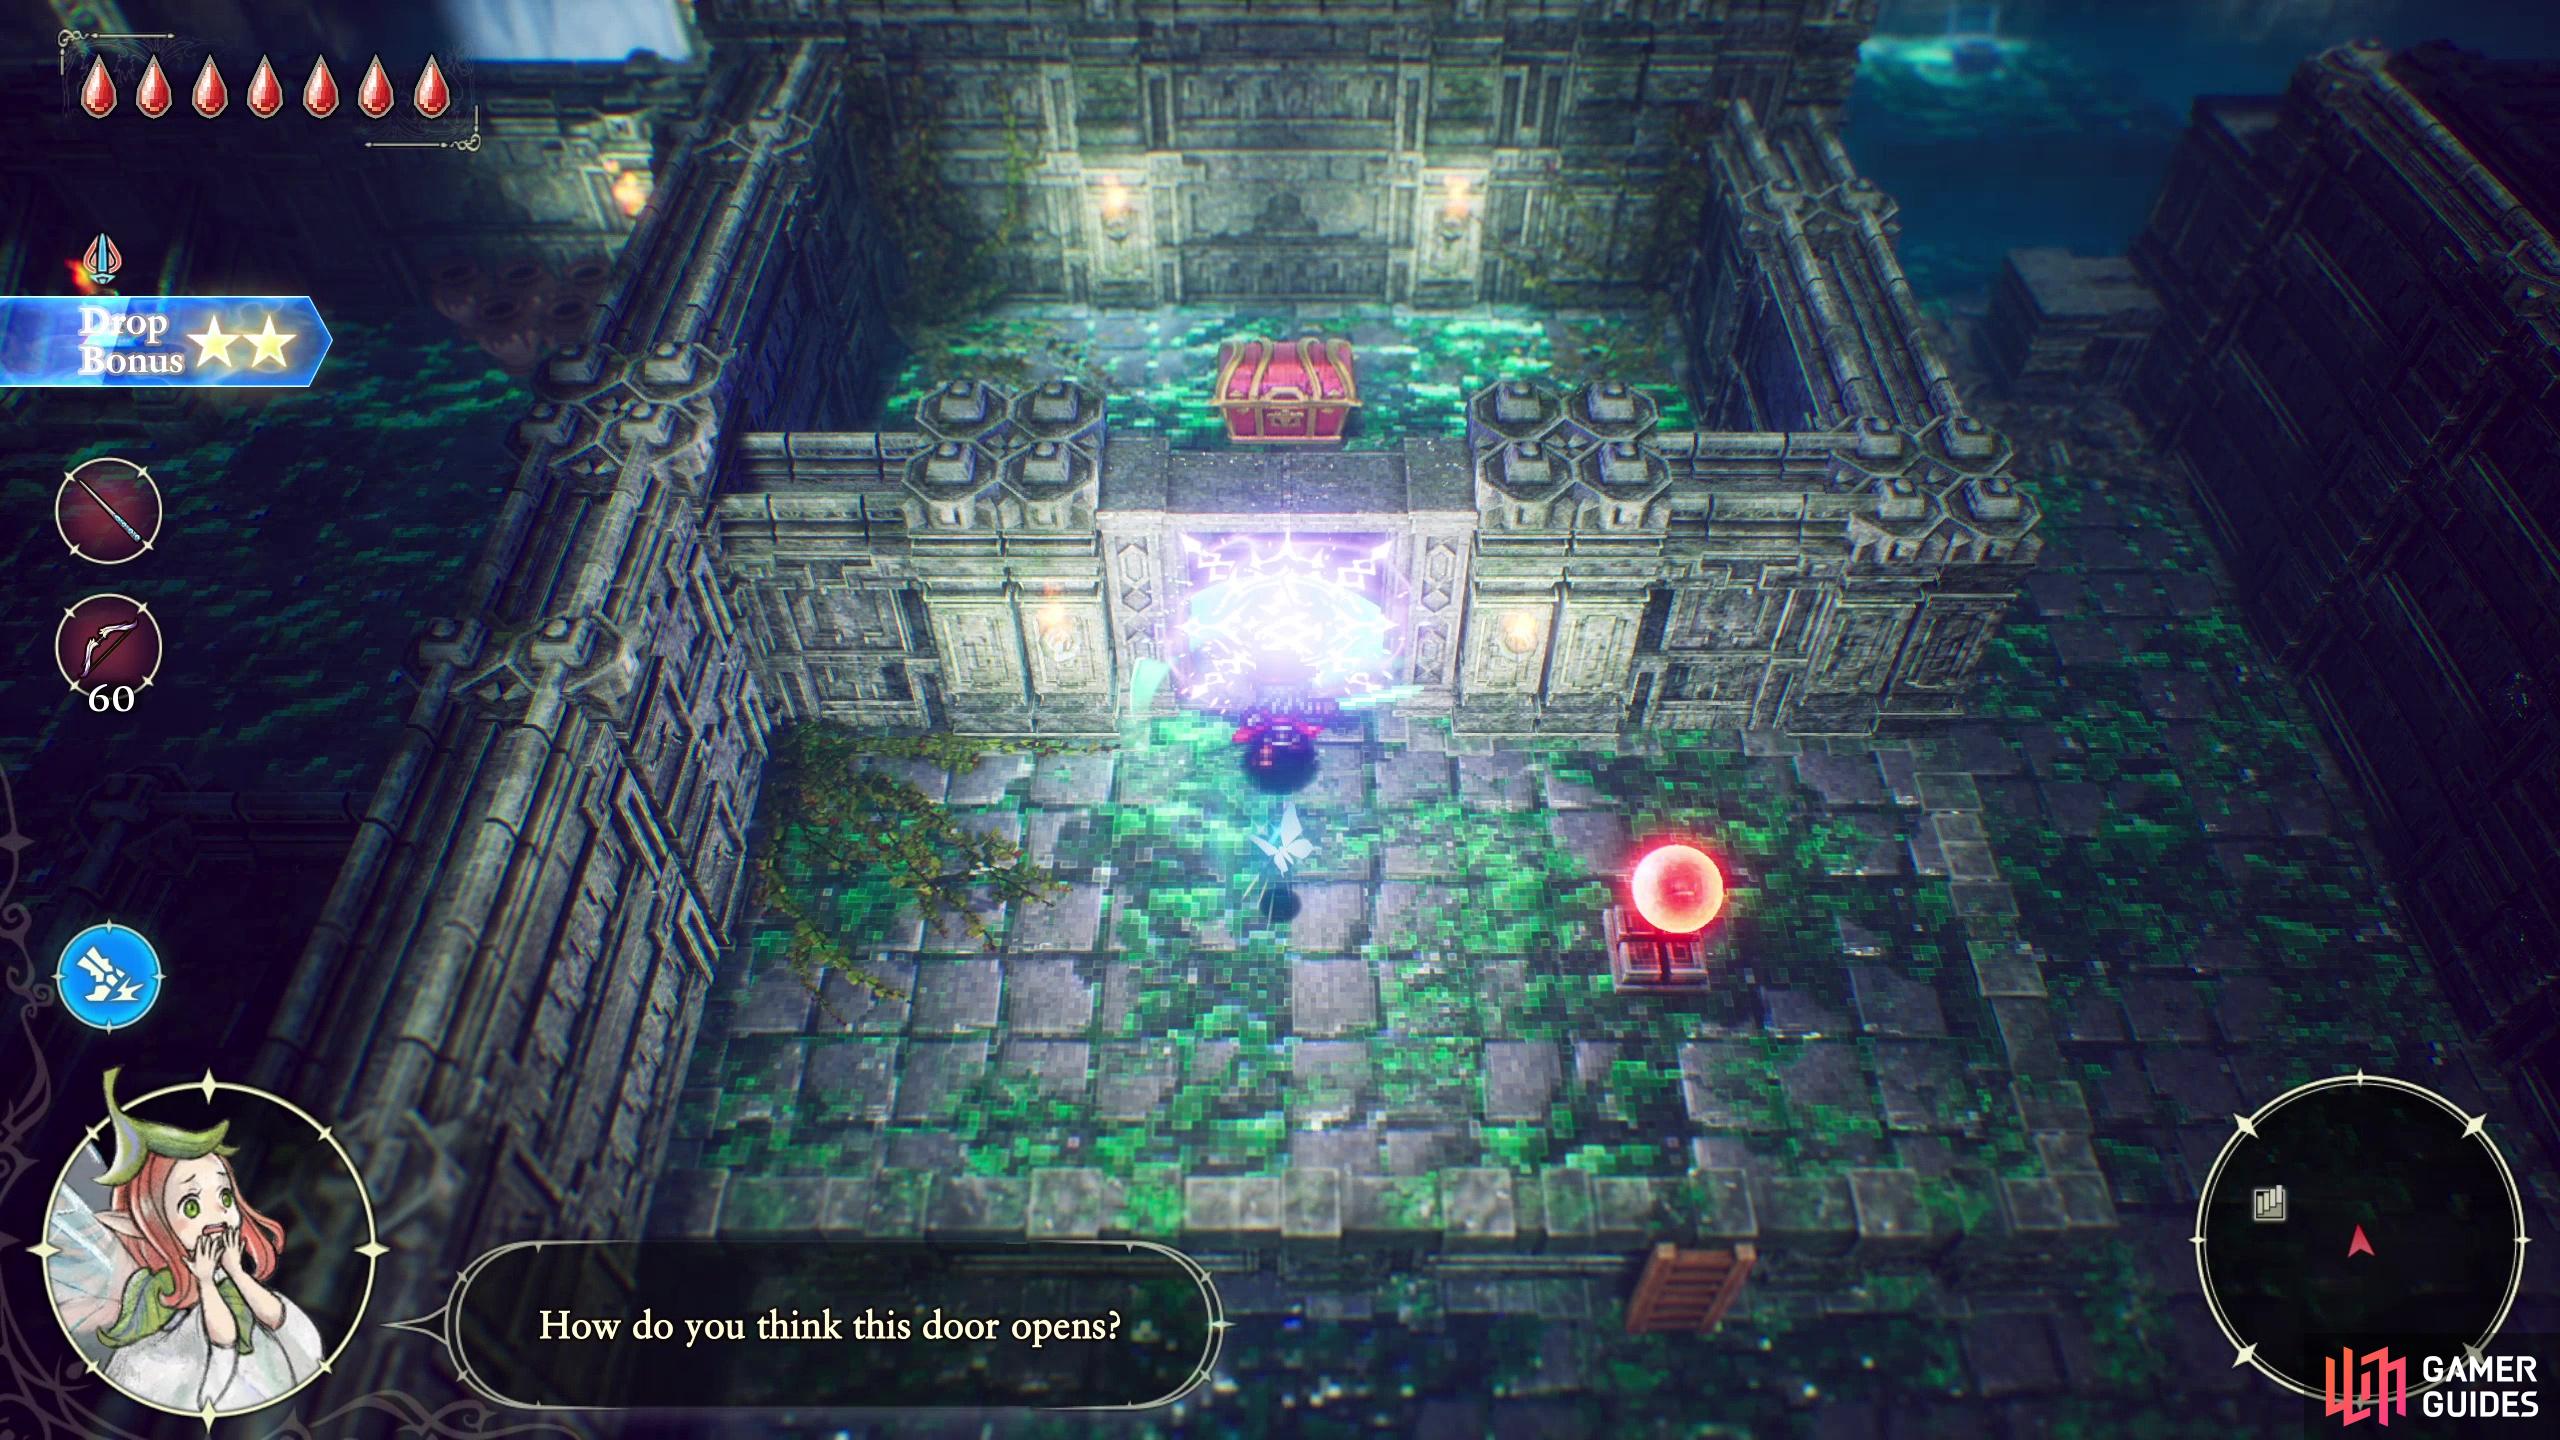
Take your new sword back to Sublevel One and use it to destroy the blue barrier past the collapsed wall, (left), and loot the big red chest beyond to obtain a 5-star Extra Throw magicite. (right)
How to Dispel Blue Leytstaf Barriers
Dispelling this first blue Leytstaf barrier (or as the game calls them, “special doors”) makes for a good little tutorial on the matter. Make your way back to Sublevel One and go through the collapsed wall again - this will need to be flooded to reach the platform, so you may have to go to the eastern edge of the level to hit a water orb. However you manage it, once you’re back in front of the blue barrier, just equip the Leytstaf sword and give it a swing - hit the barrier with the Leytstaf sword and the barrier will vanish, allowing you to loot whatever is beyond said door. In this case, there’s a big red chest containing a five-star Extra Throw magicite.
No Comments