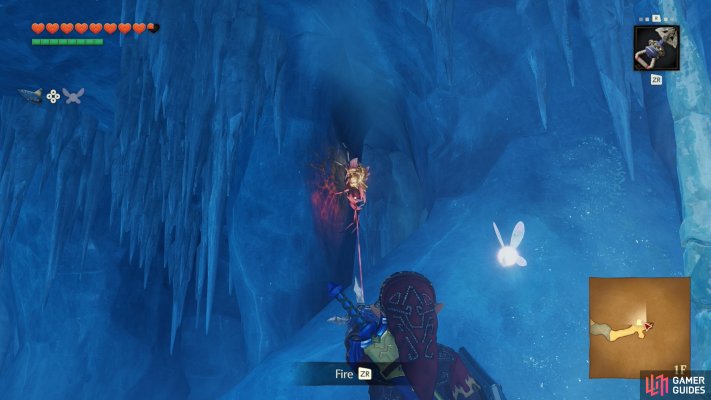
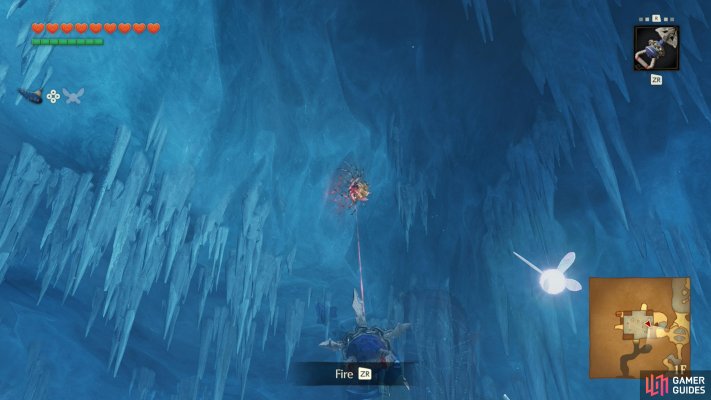
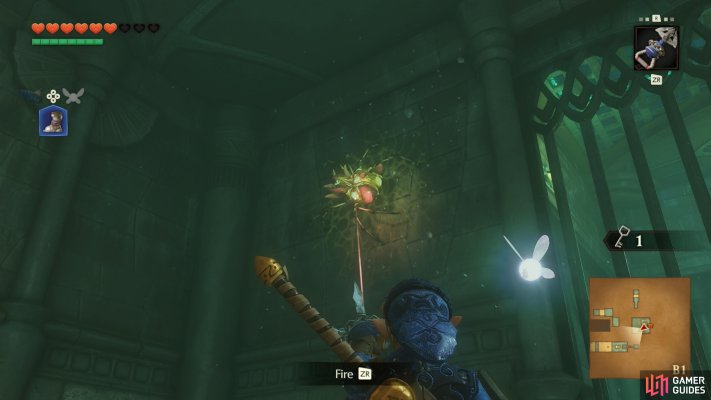
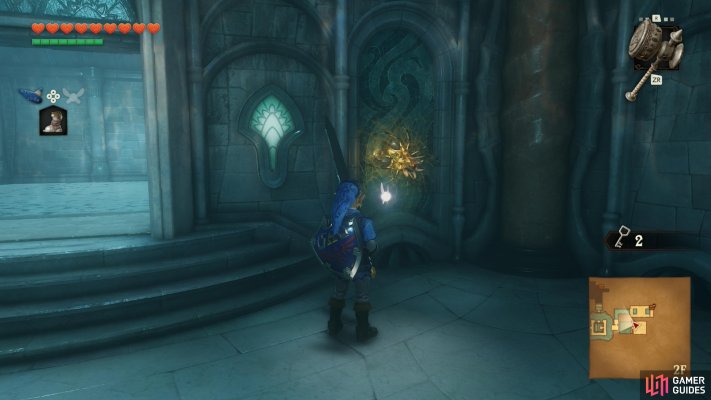
Checklist

All Gold Skulltula Token Locations in The Legend of Zelda: Ocarina of Time

We have added 30 Gold Skulltula Token locations to the map in The Legend of Zelda: Ocarina of Time. We are in the process of adding the remaining Gold Skulltula Tokens. Use the interactive map and checklist below to find every one and track the ones you have already collected.

53 locations · Back to Gold Skulltula Token · Open the full interactive map ›

0 of 53 collected

Sign in to save your progress across every device.

Open the full interactive map Hyrule · every marker, filter and layer
  1. 1 Gold Skulltula Token

    Gold Skulltula Token

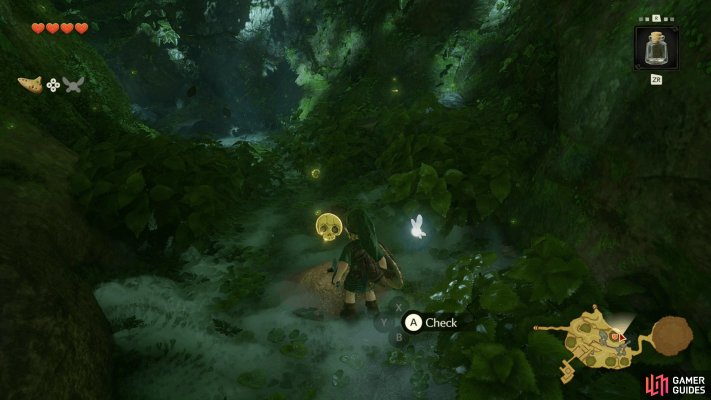
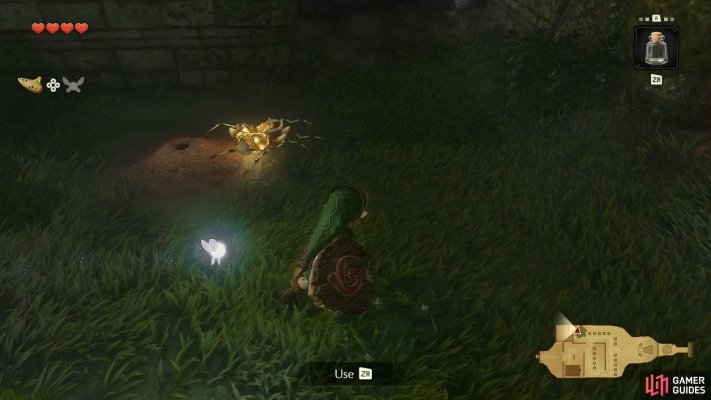
    Appears after dropping a "Bug" iconBug in the soft soil by the side of the shop.

    View on map
  2. 2 Gold Skulltula Token

    Gold Skulltula Token

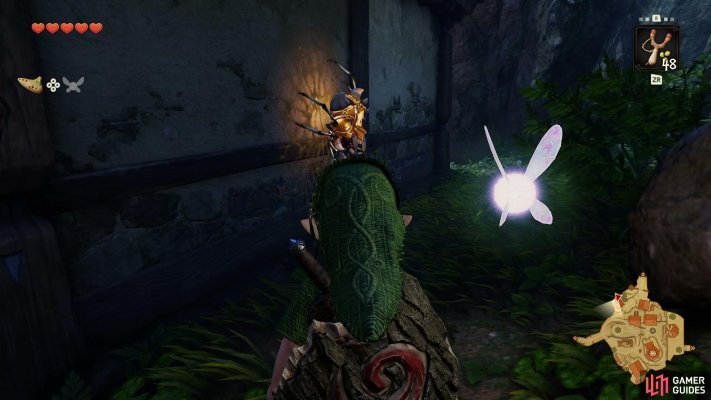
    Only appears at night. Sleep in Link’s bed to change the time of day.

    View on map
  3. 3 Gold Skulltula Token

    Gold Skulltula Token

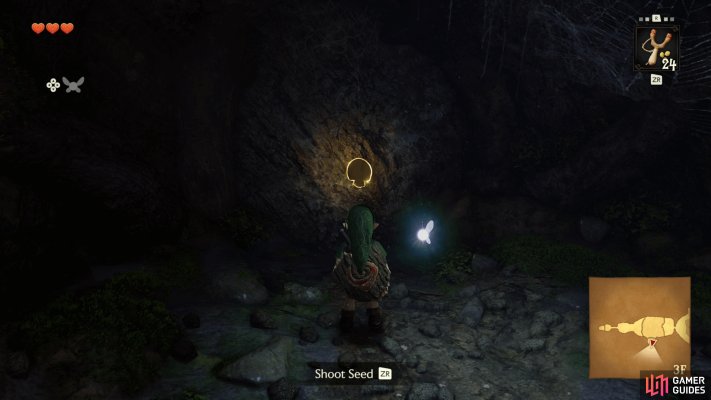
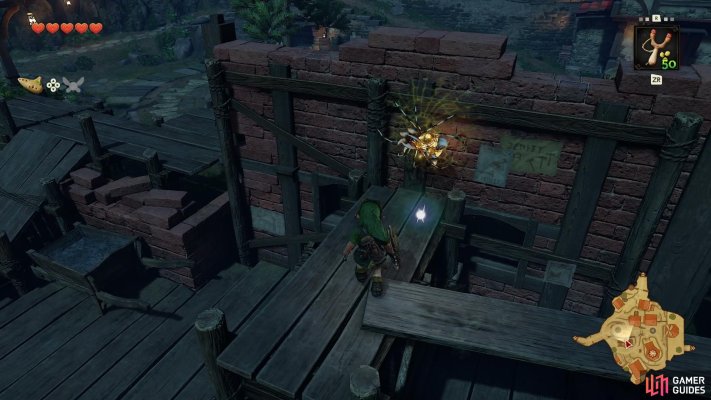
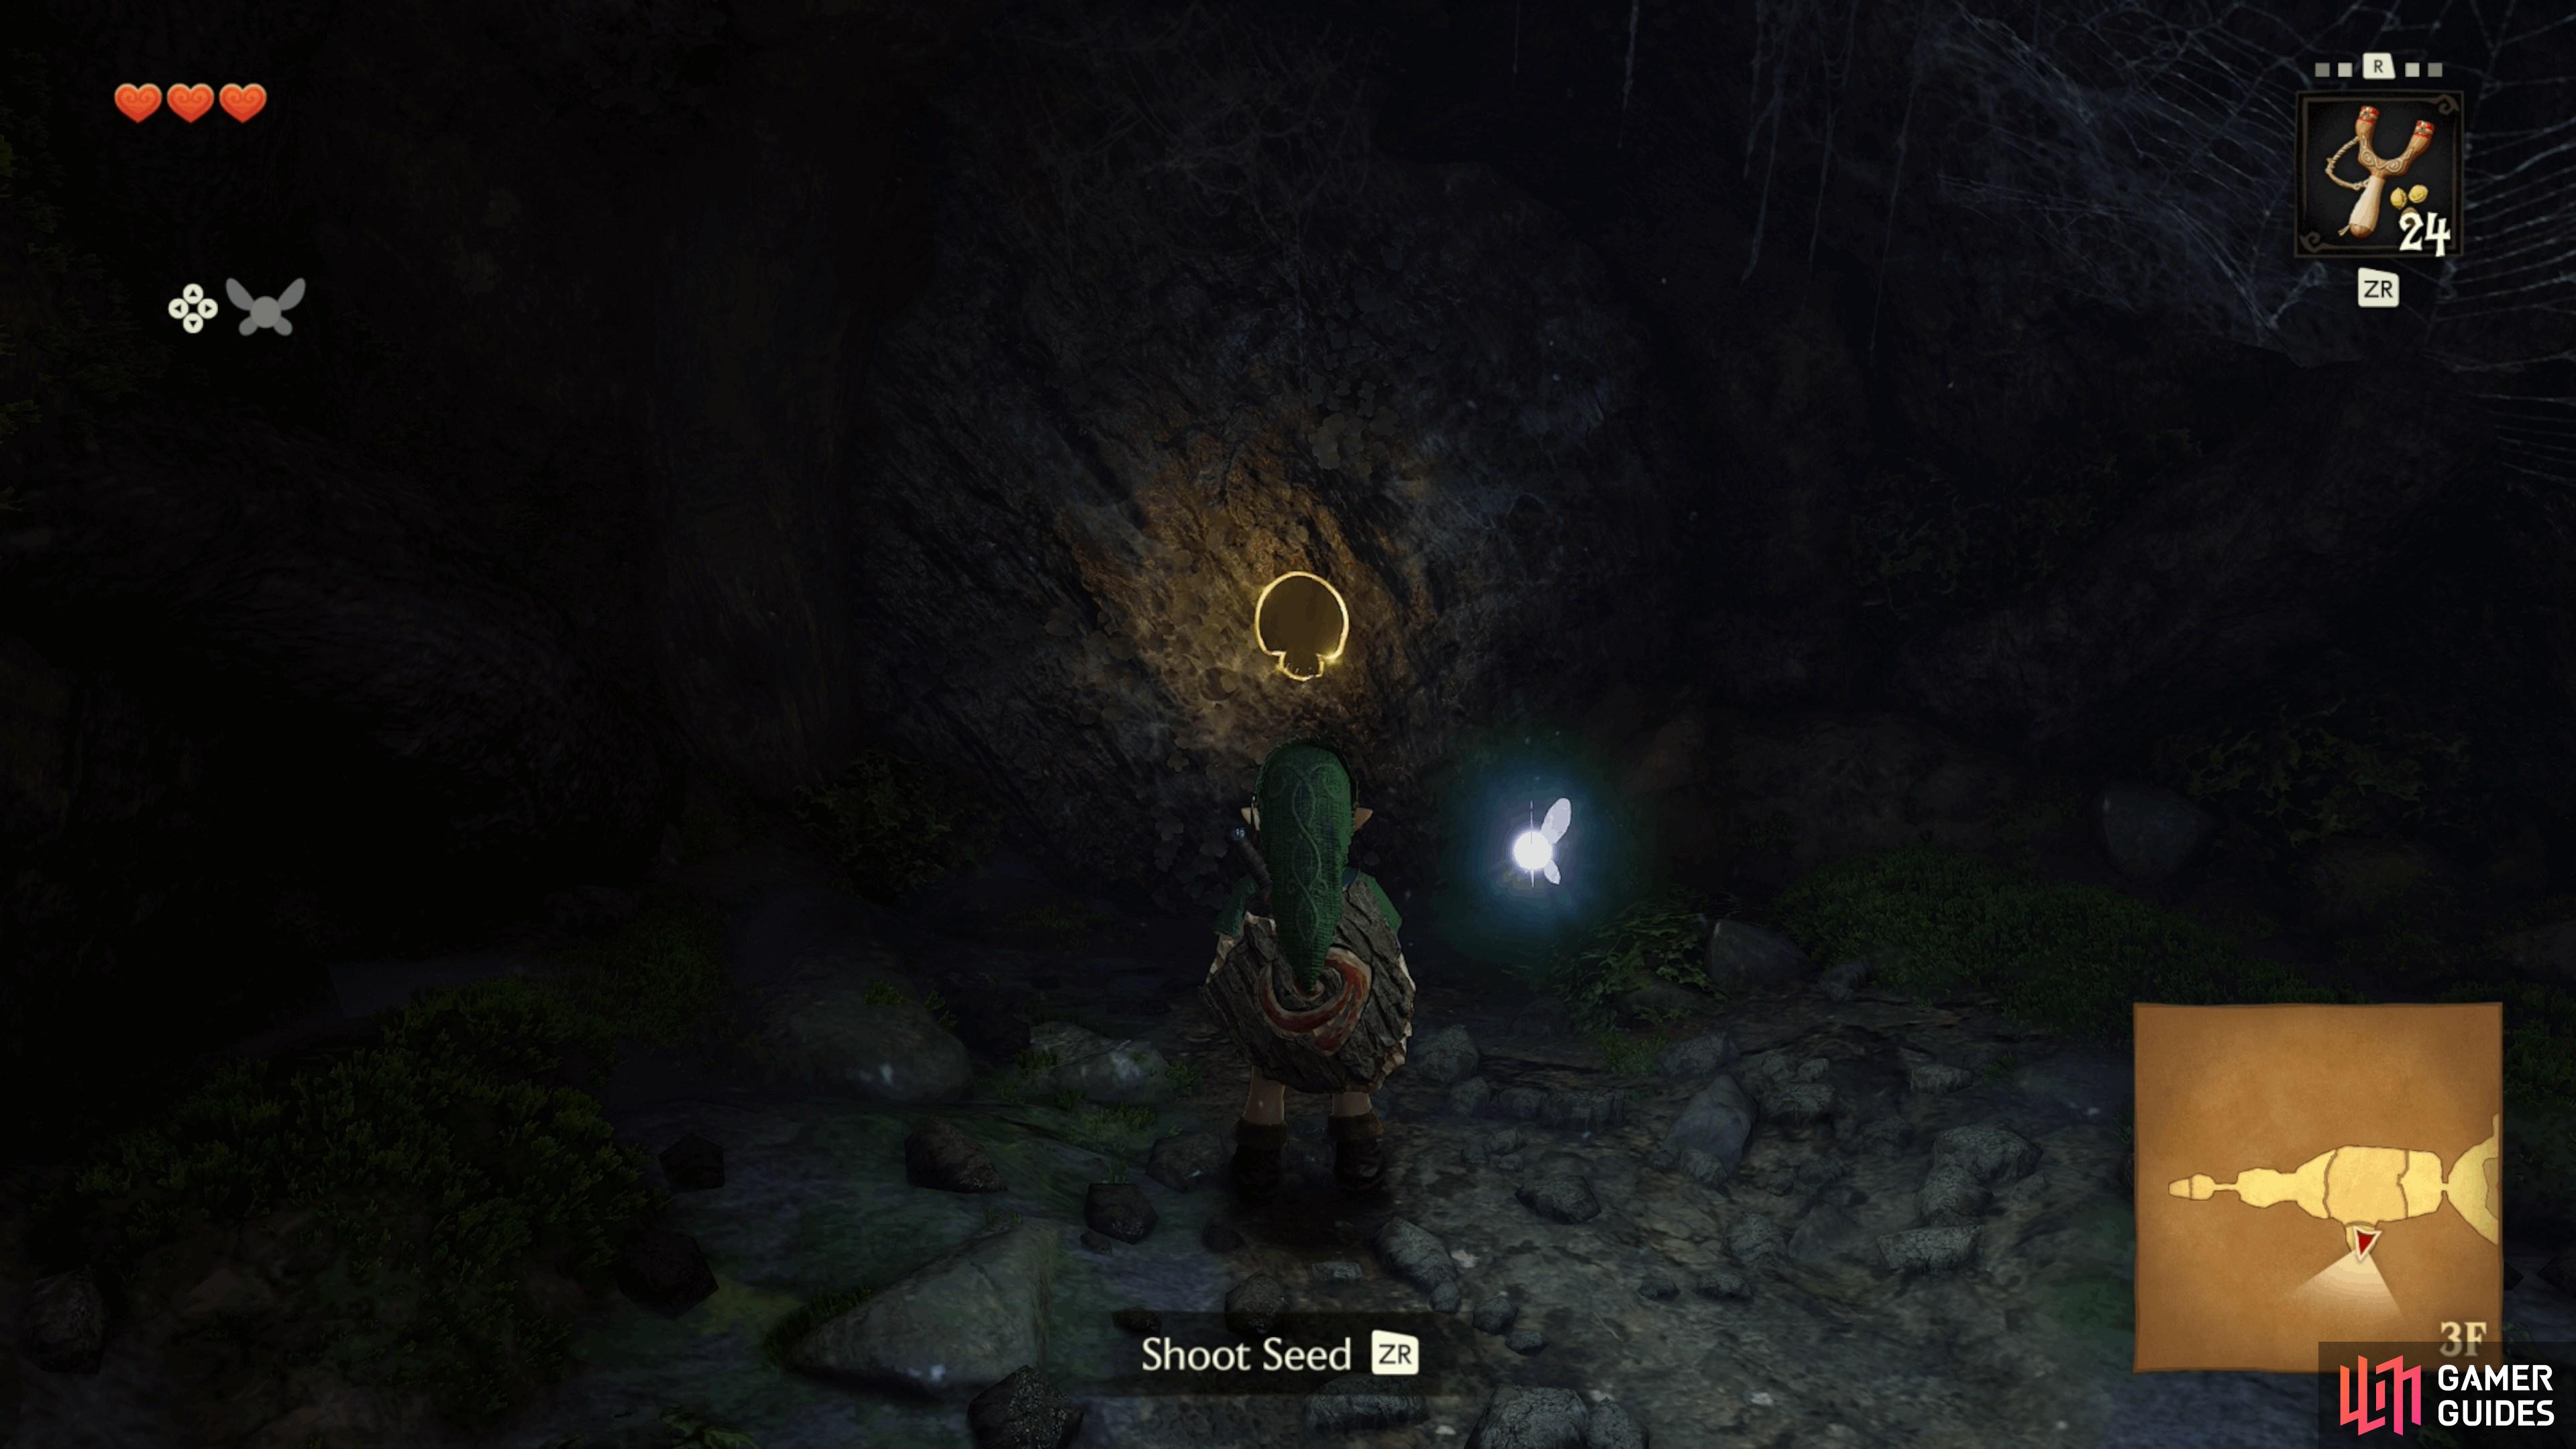
    Located on the southern wall. Attack it and collect the token it leaves behind.

    View on map
  4. 4 Gold Skulltula Token

    Gold Skulltula Token

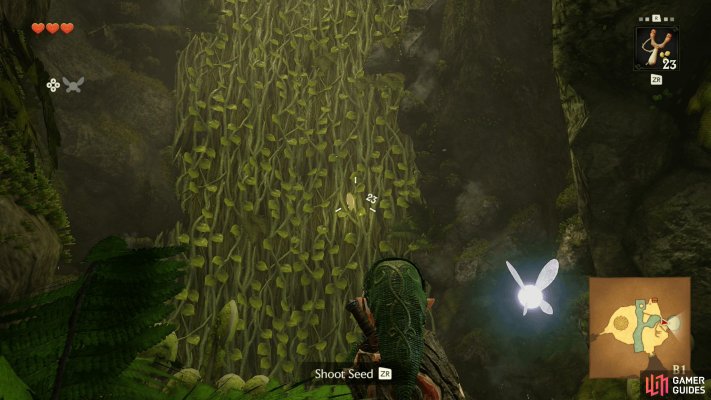
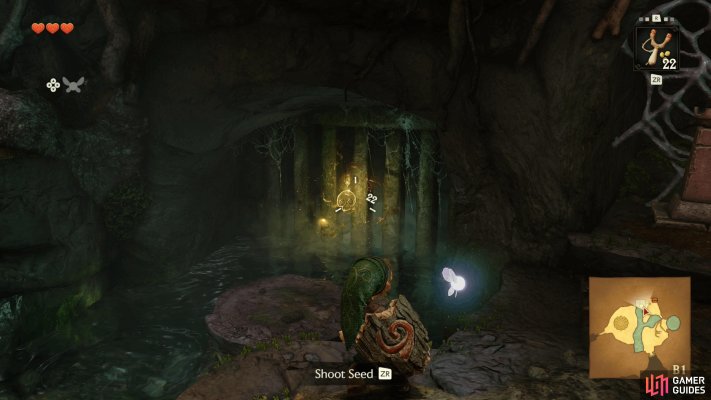
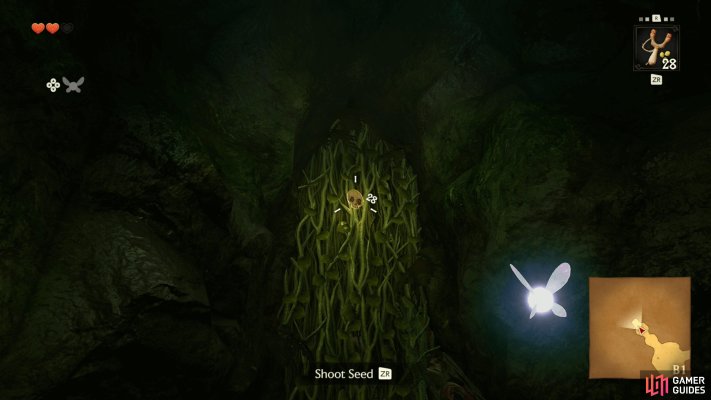
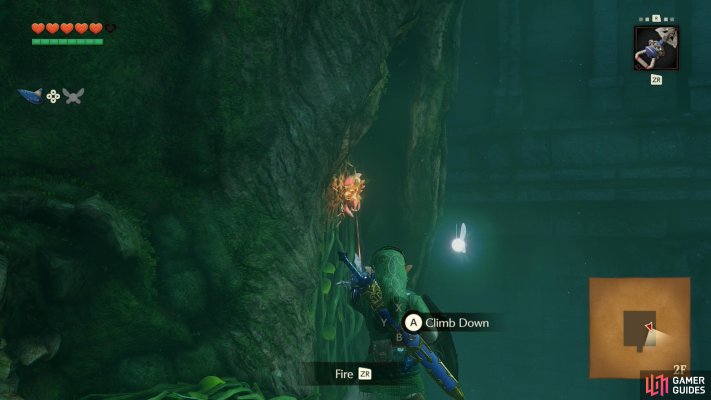
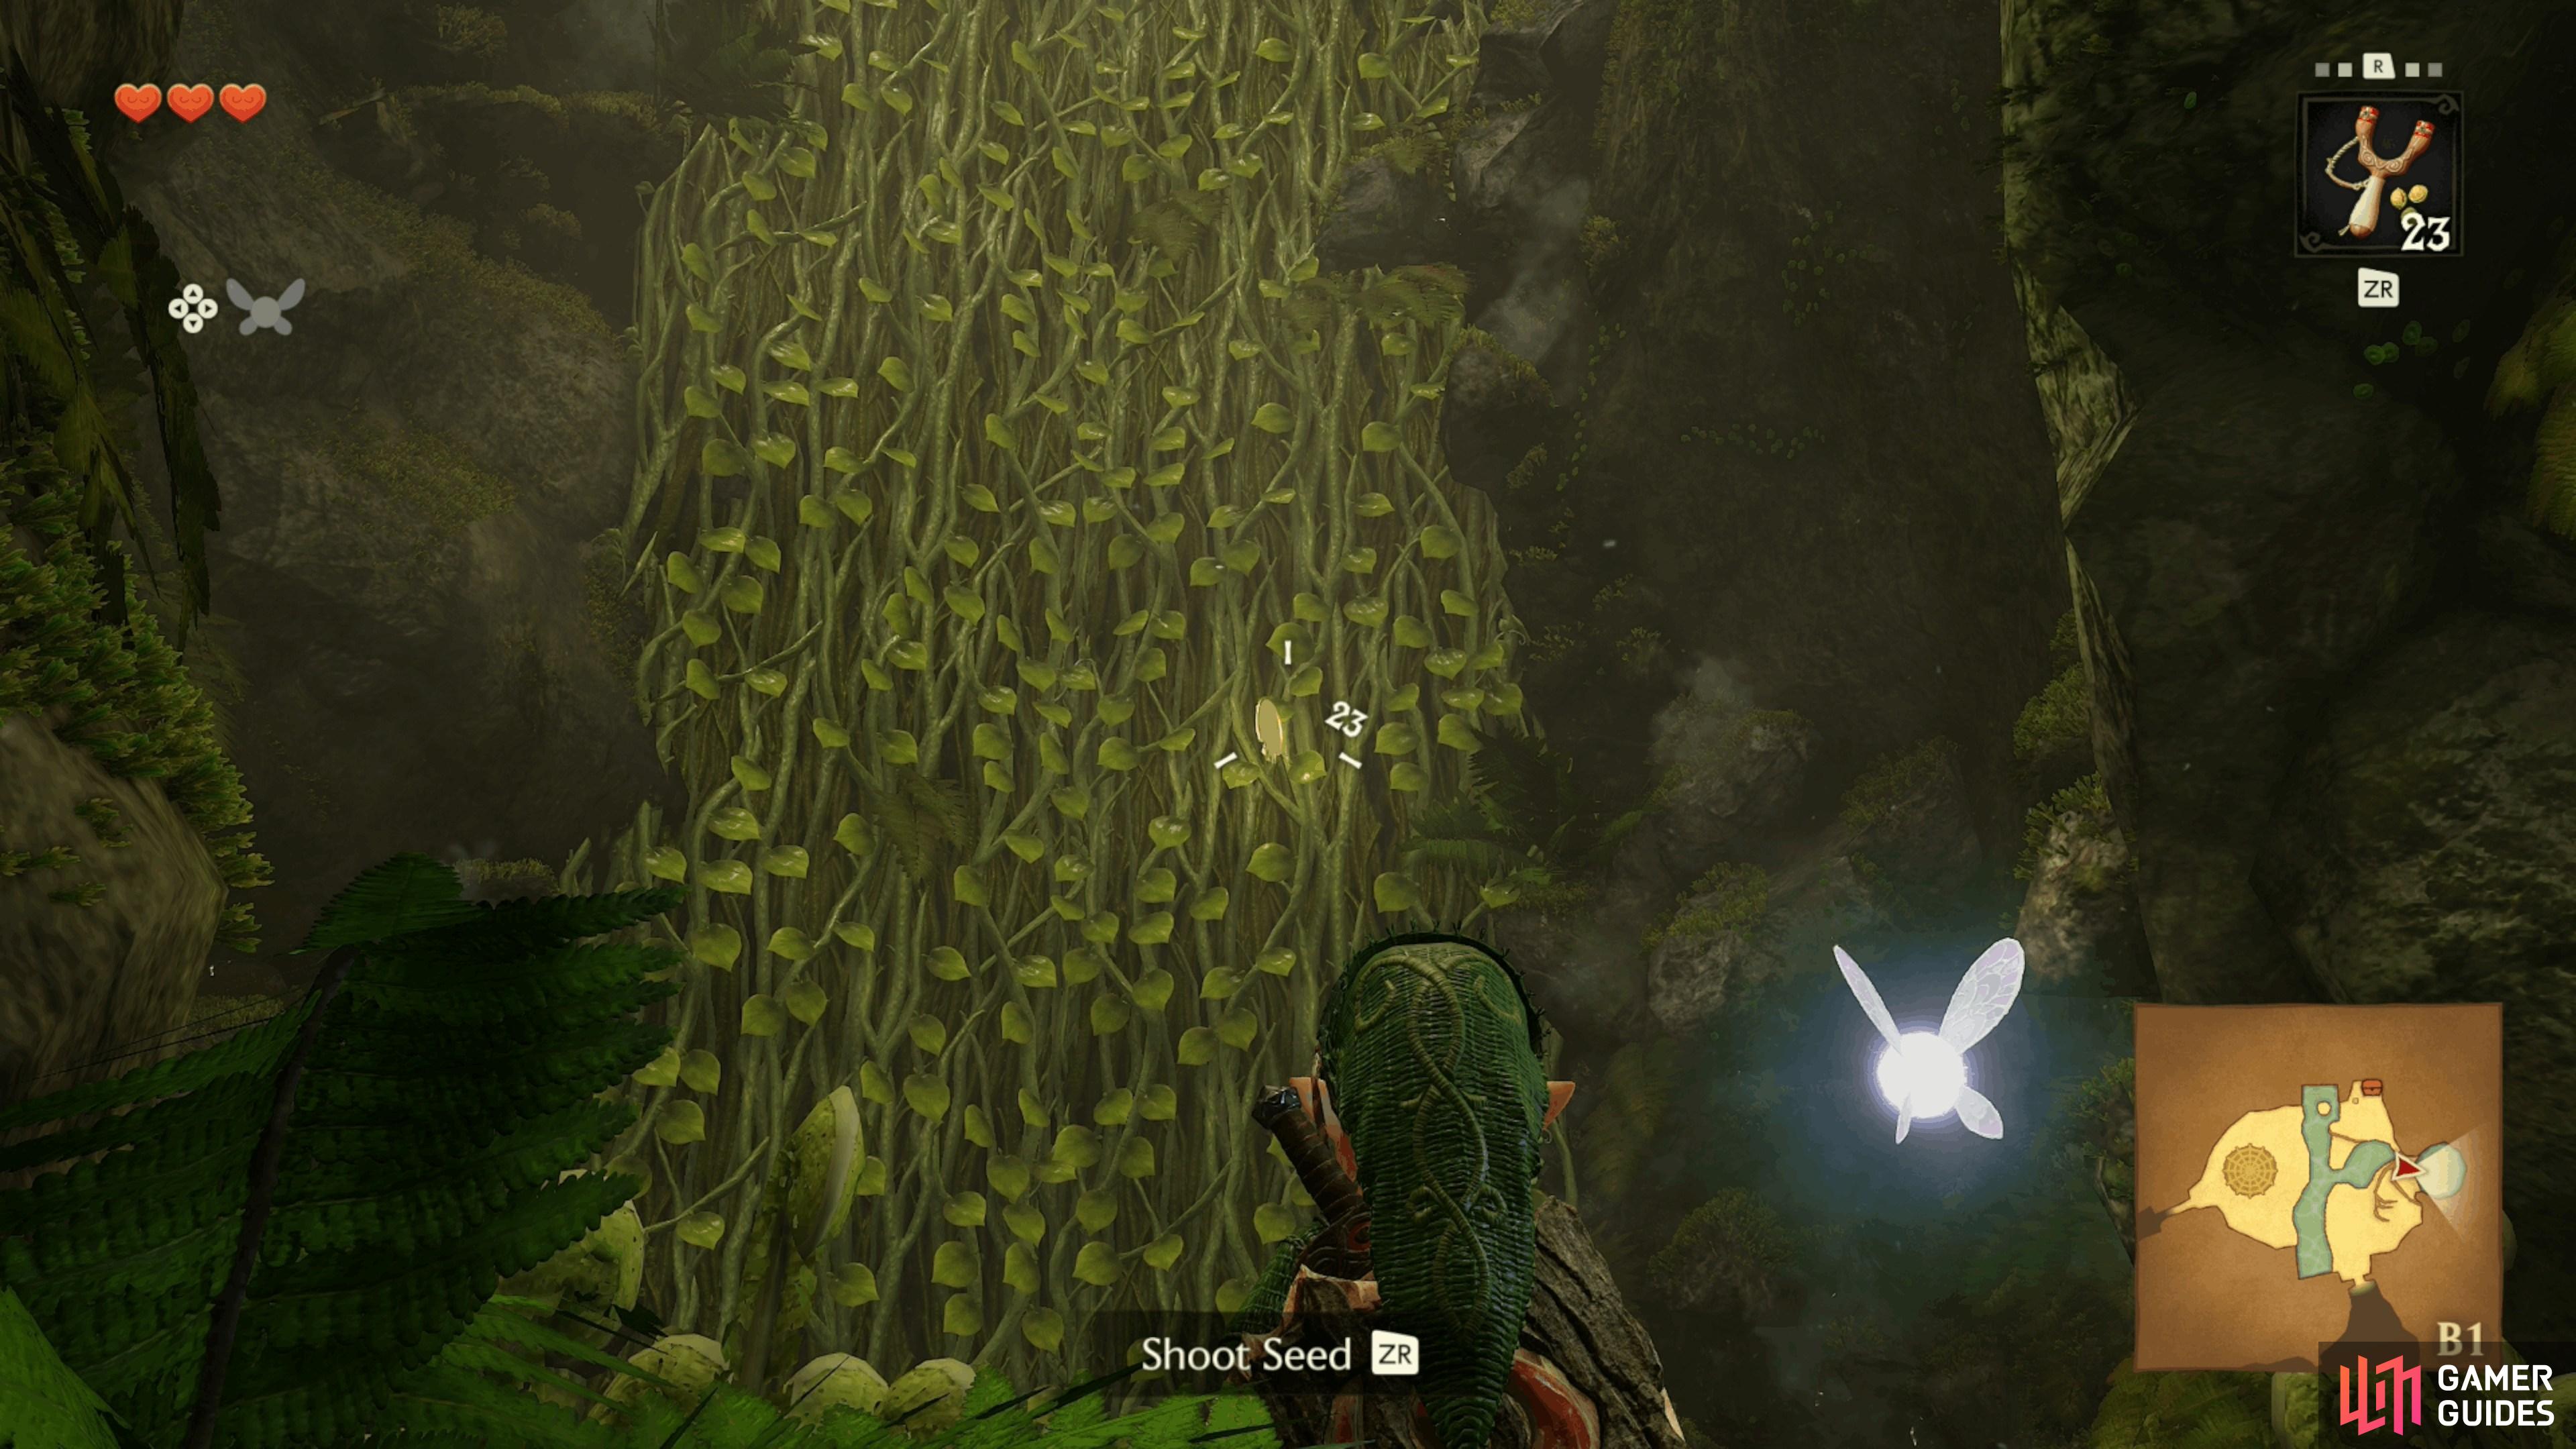
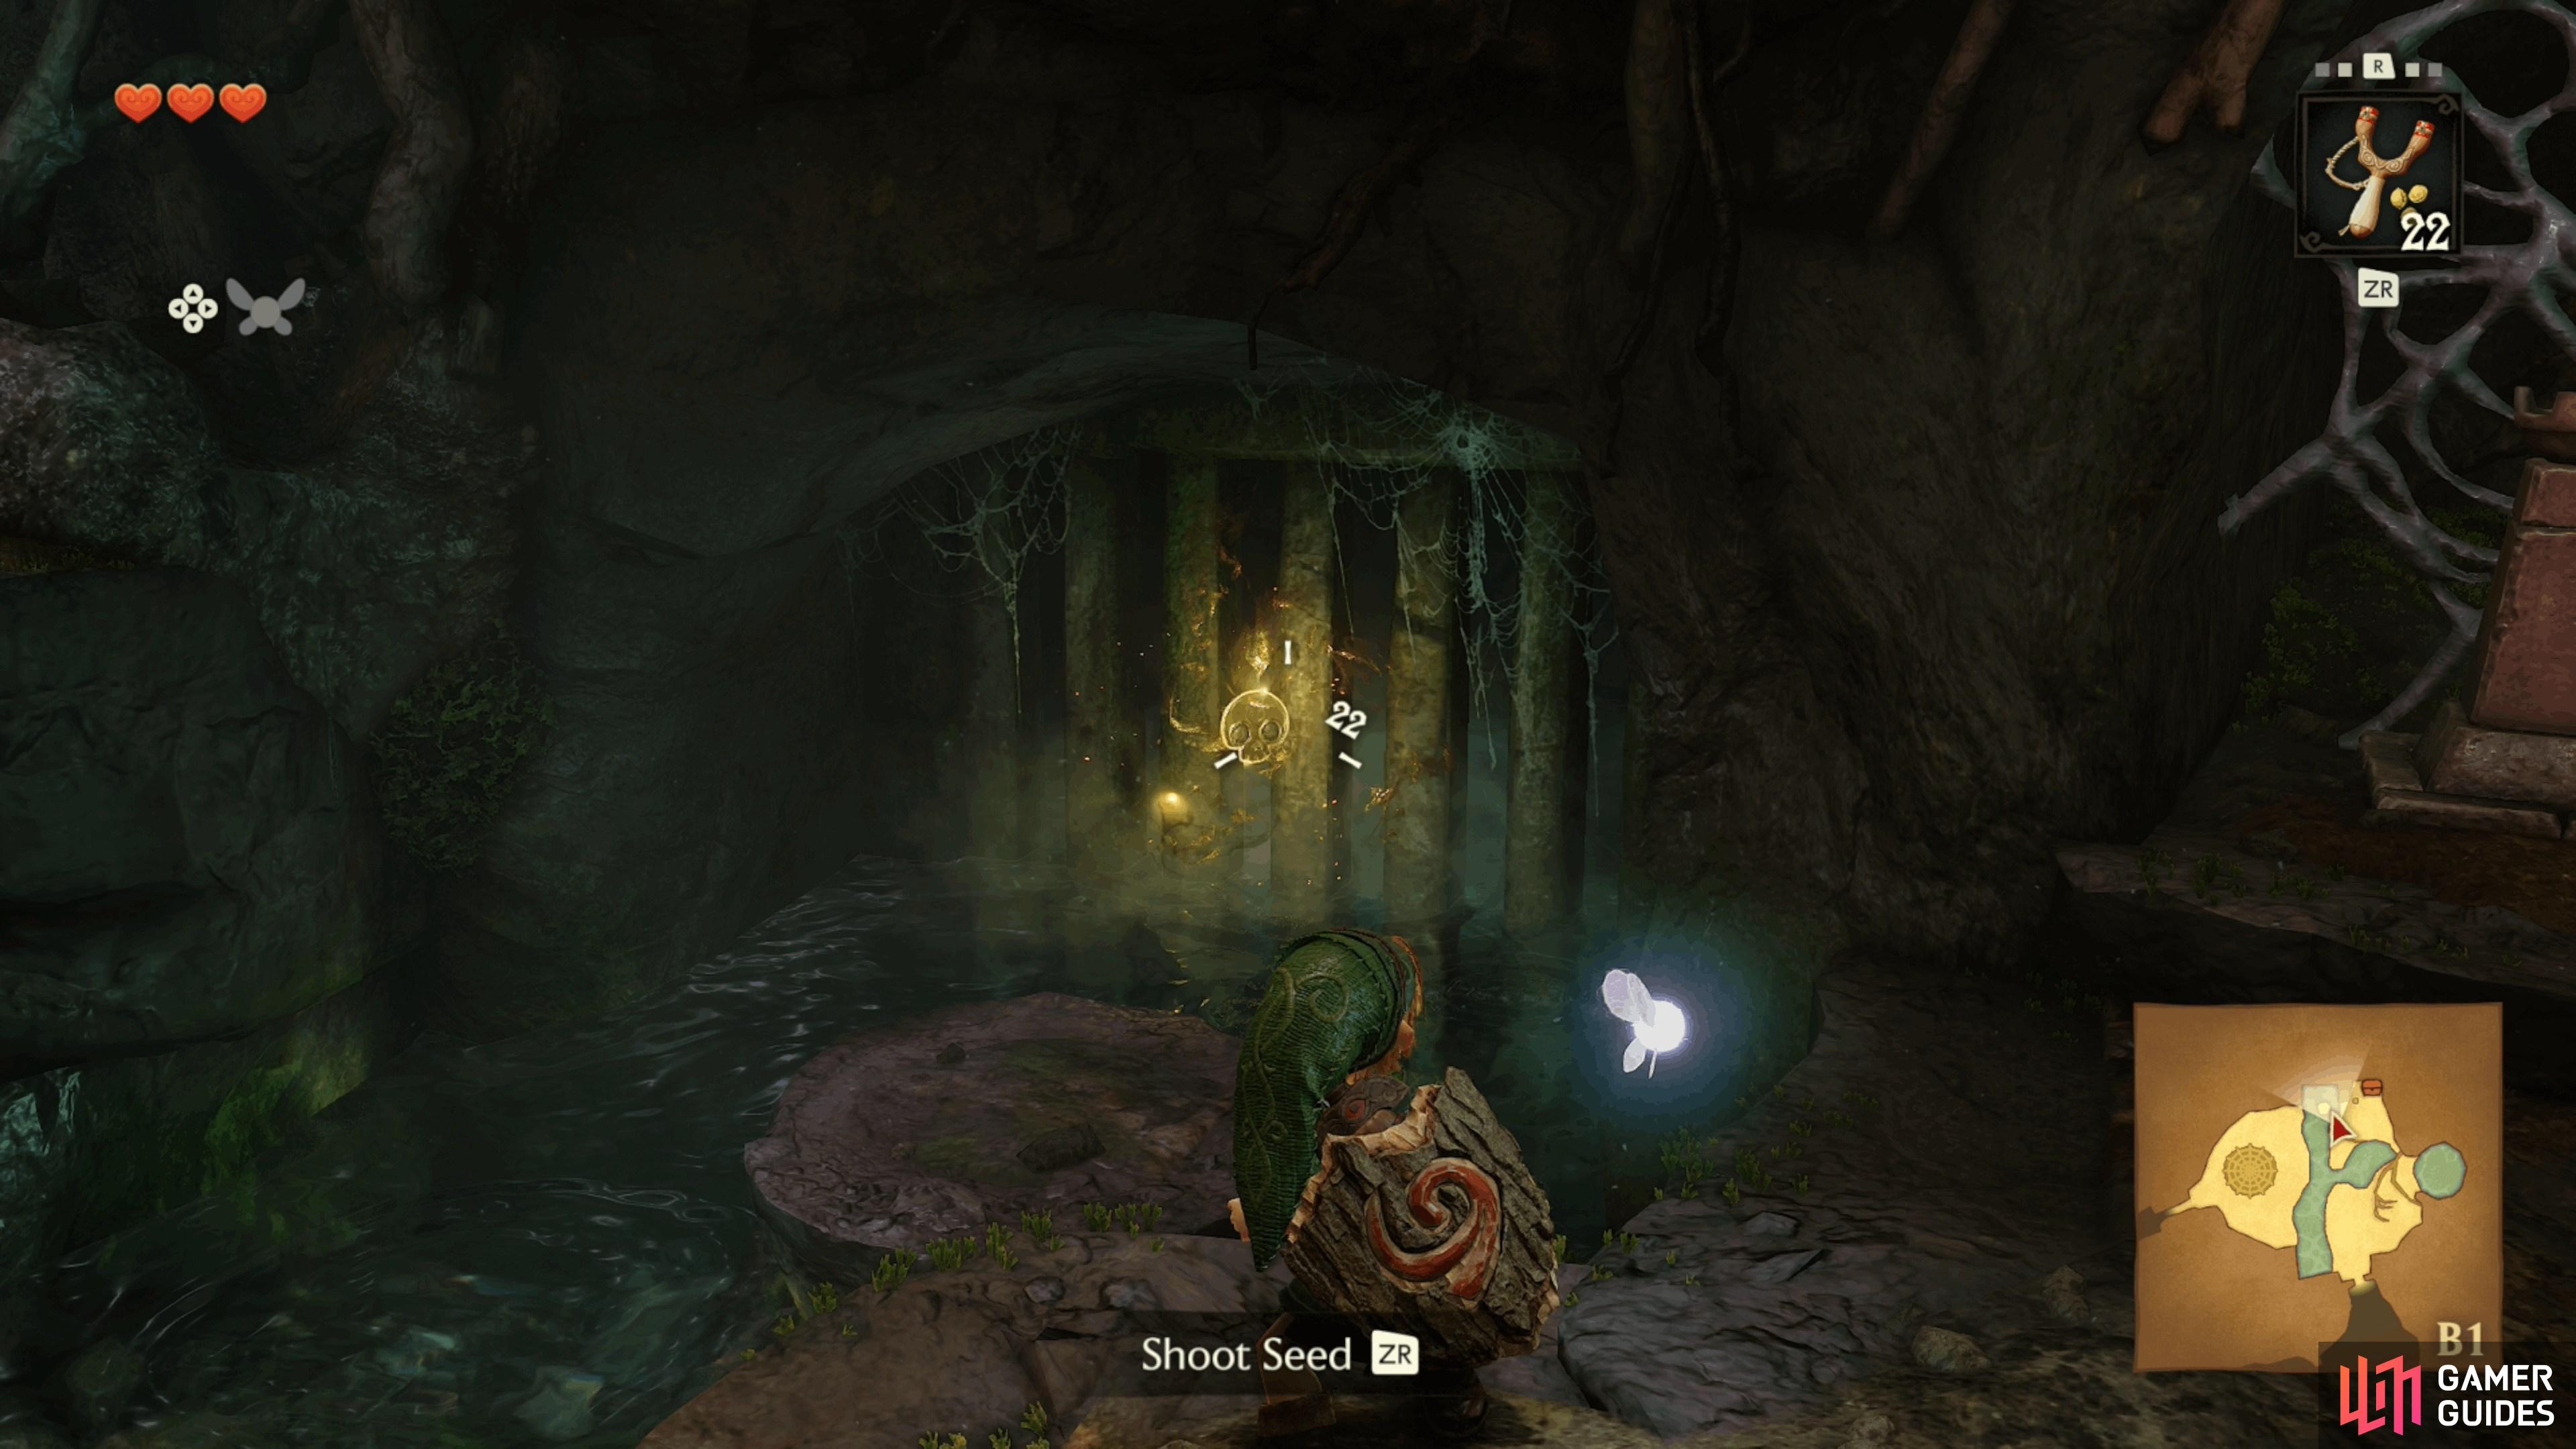
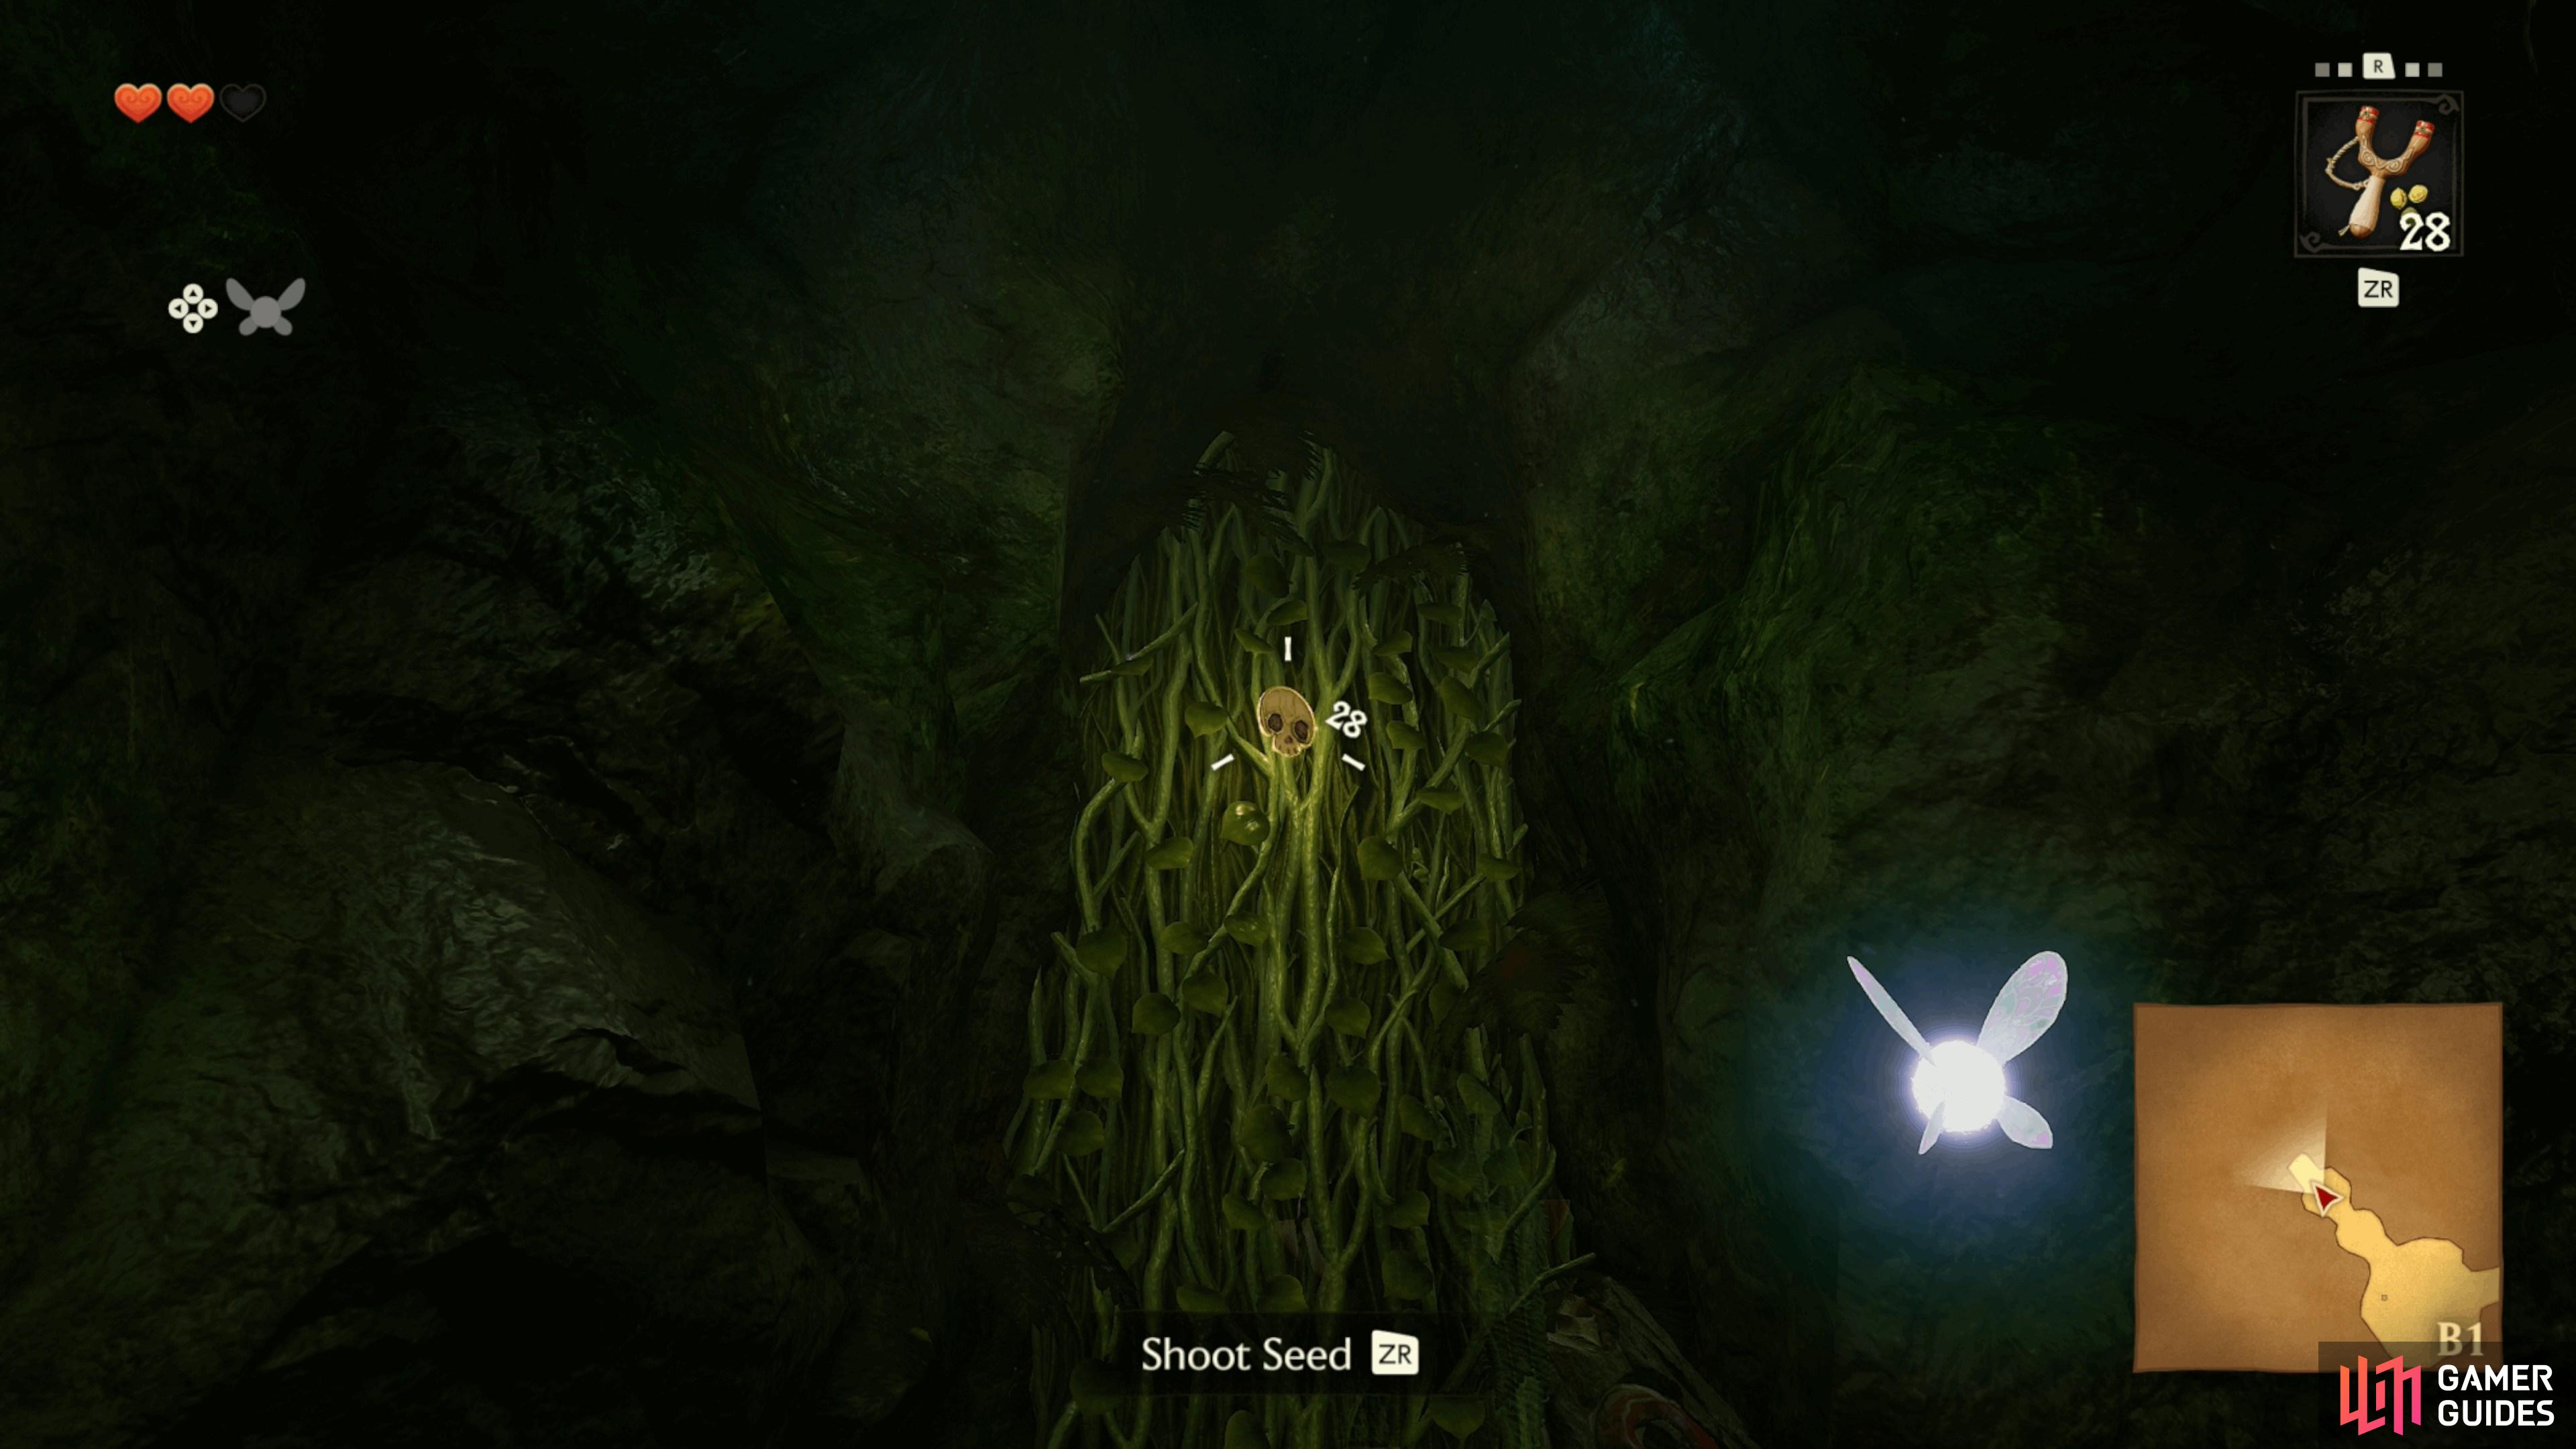
    After landing in the water from dropping through the spider web. Get out and aim the slingshot at the vines to find the "Gold Skulltula" iconGold Skulltula on it. Fire a nut at it and collect the token.

    View on map
  5. 5 Gold Skulltula Token

    Gold Skulltula Token

    Located on the metal bars above the north part of the stream. Attack it with the slingshot and then jump over to pick up the token.

    View on map
  6. 6 Gold Skulltula Token

    Gold Skulltula Token

    Use the slingshot to hit the "Gold Skulltula" iconGold Skulltula at the top of the vines to get a token.

    View on map
  7. 7

    Gold Skulltula Token

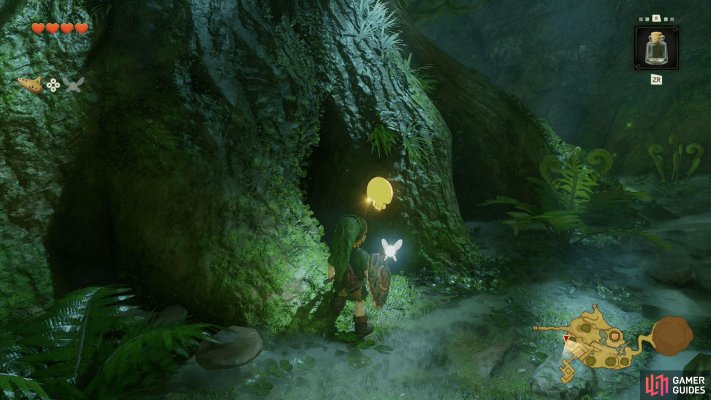
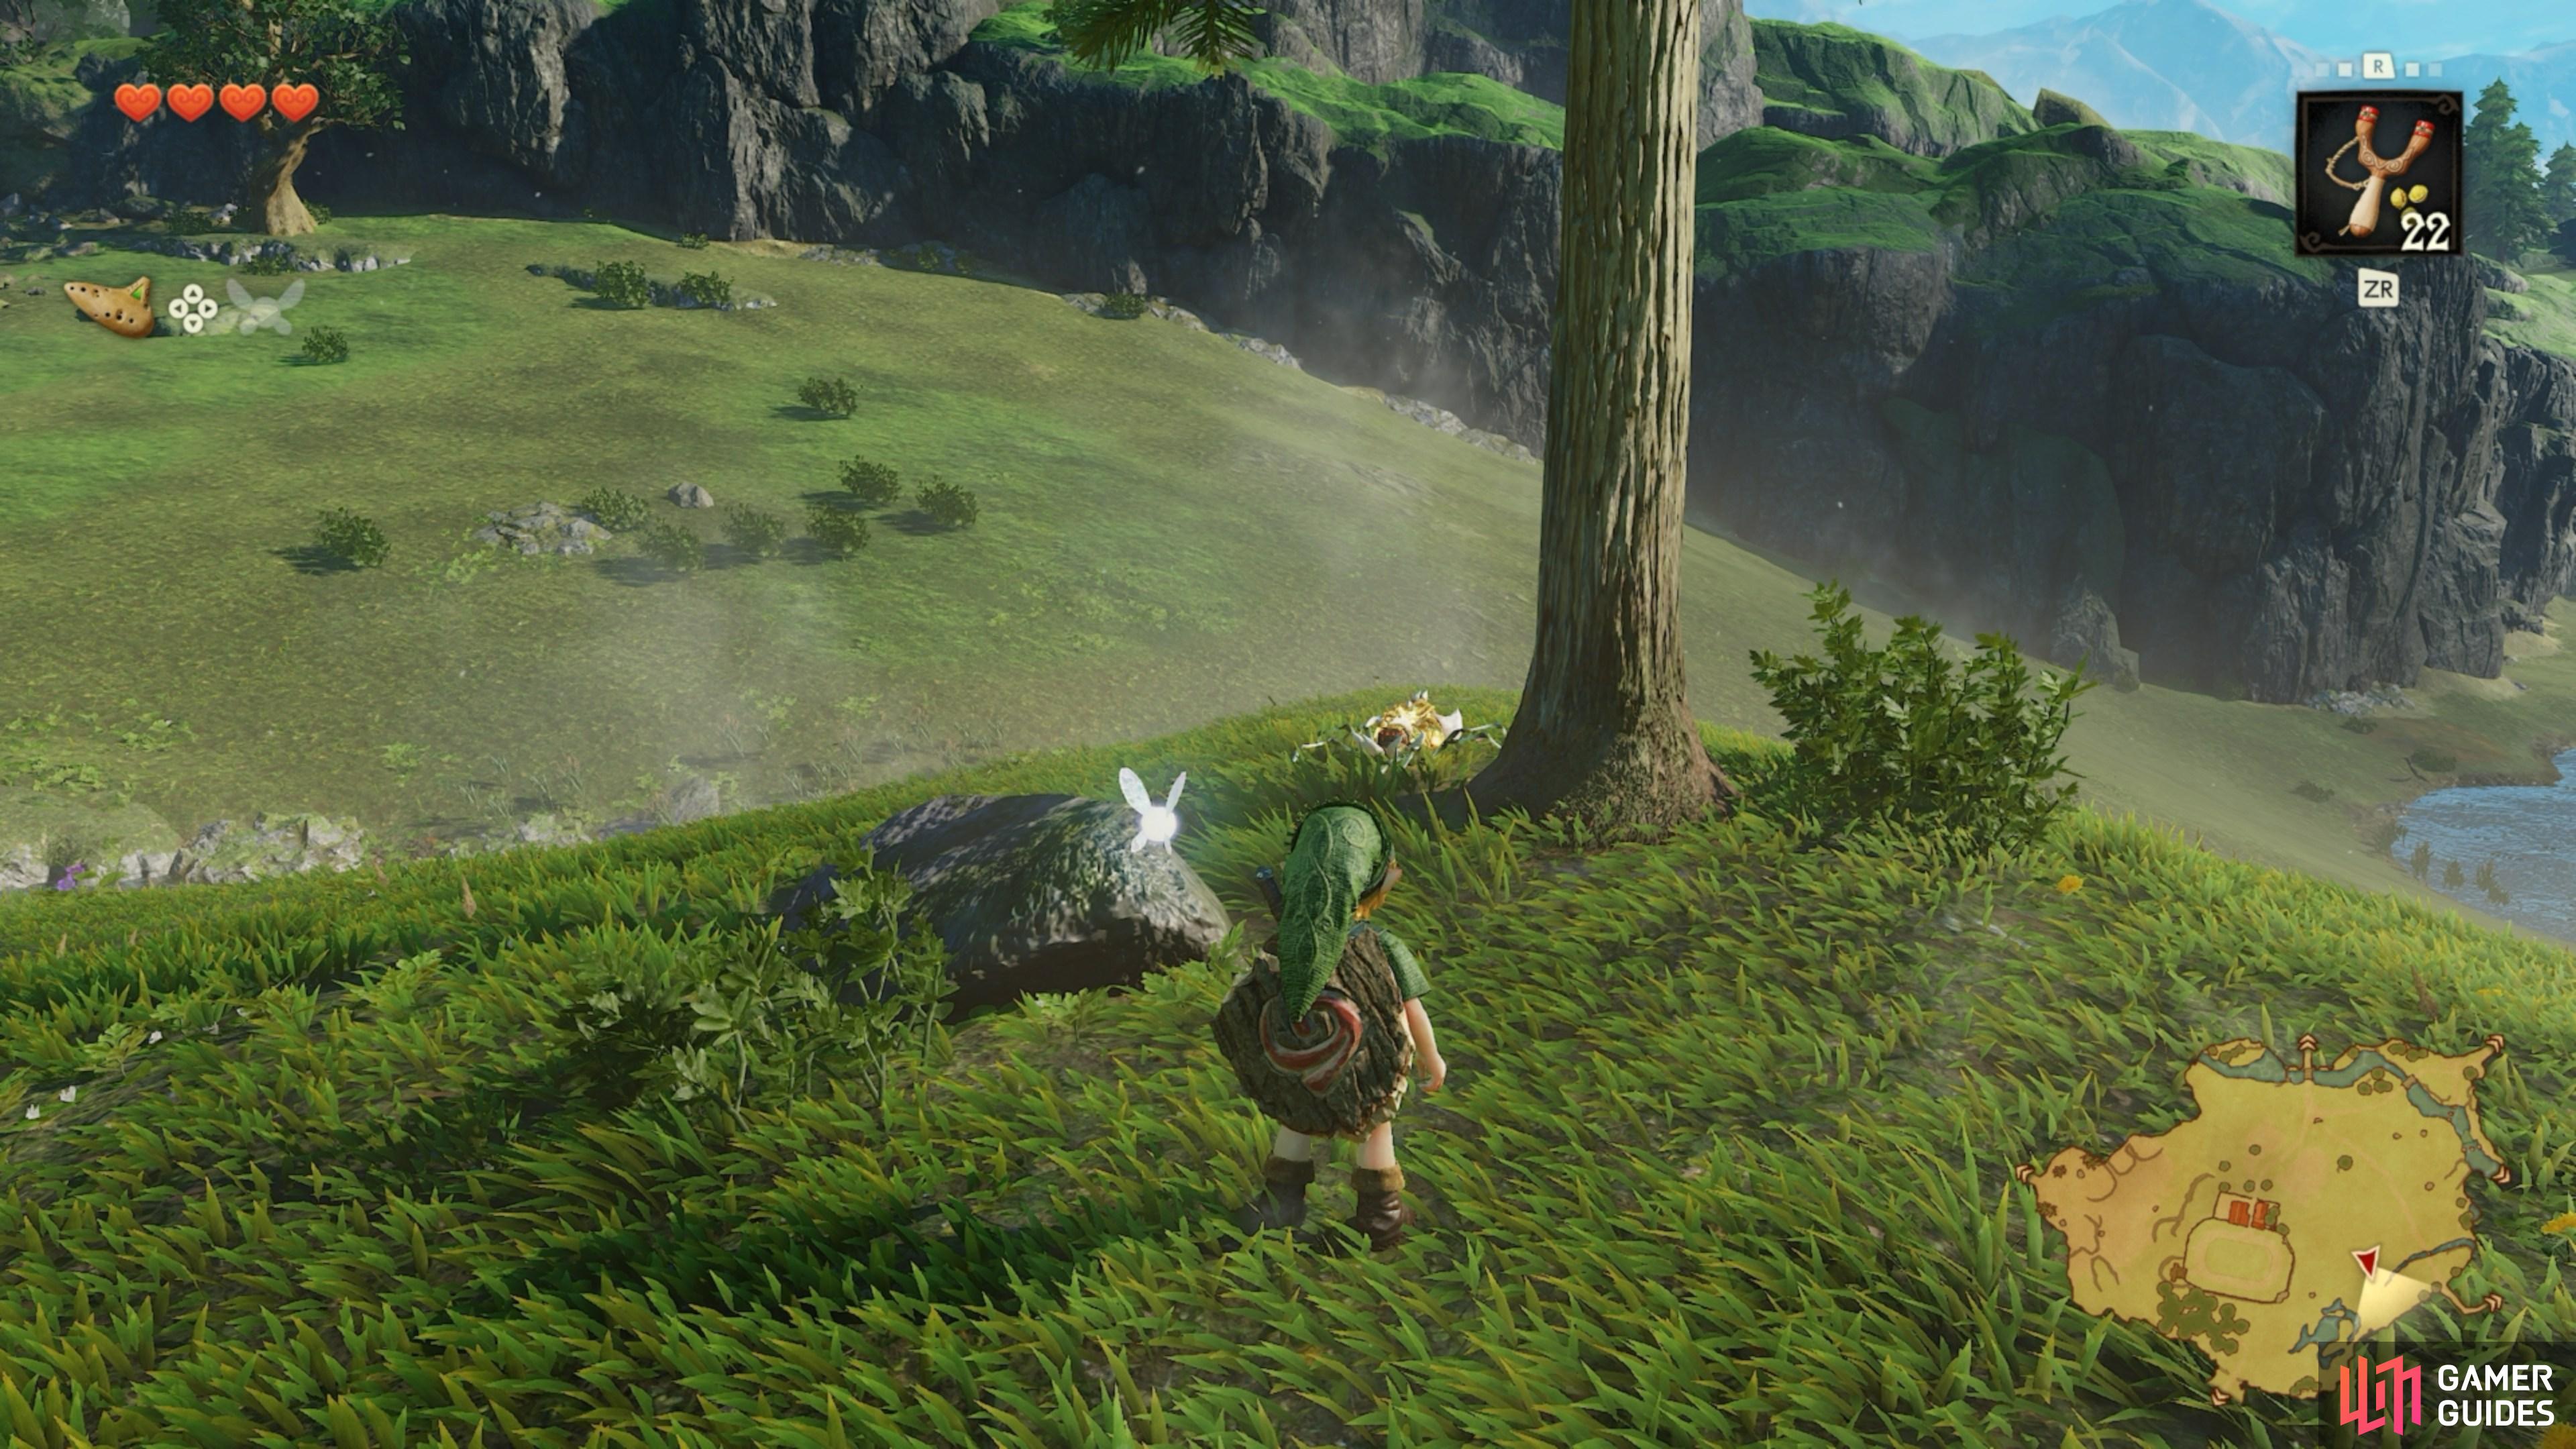
    Roll into the tree

    View on map
  8. 8 Gold Skulltula Token

    Gold Skulltula Token

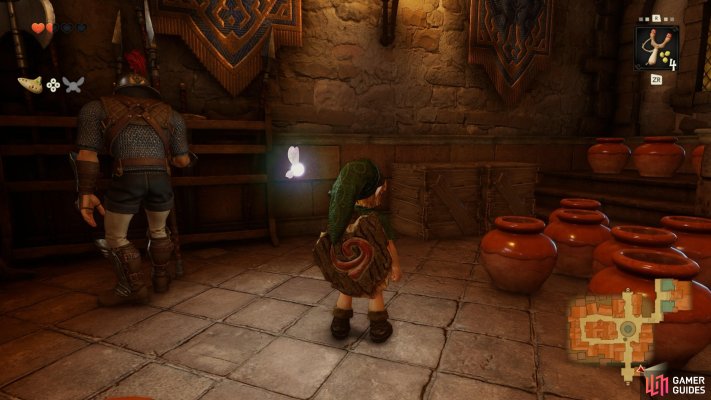
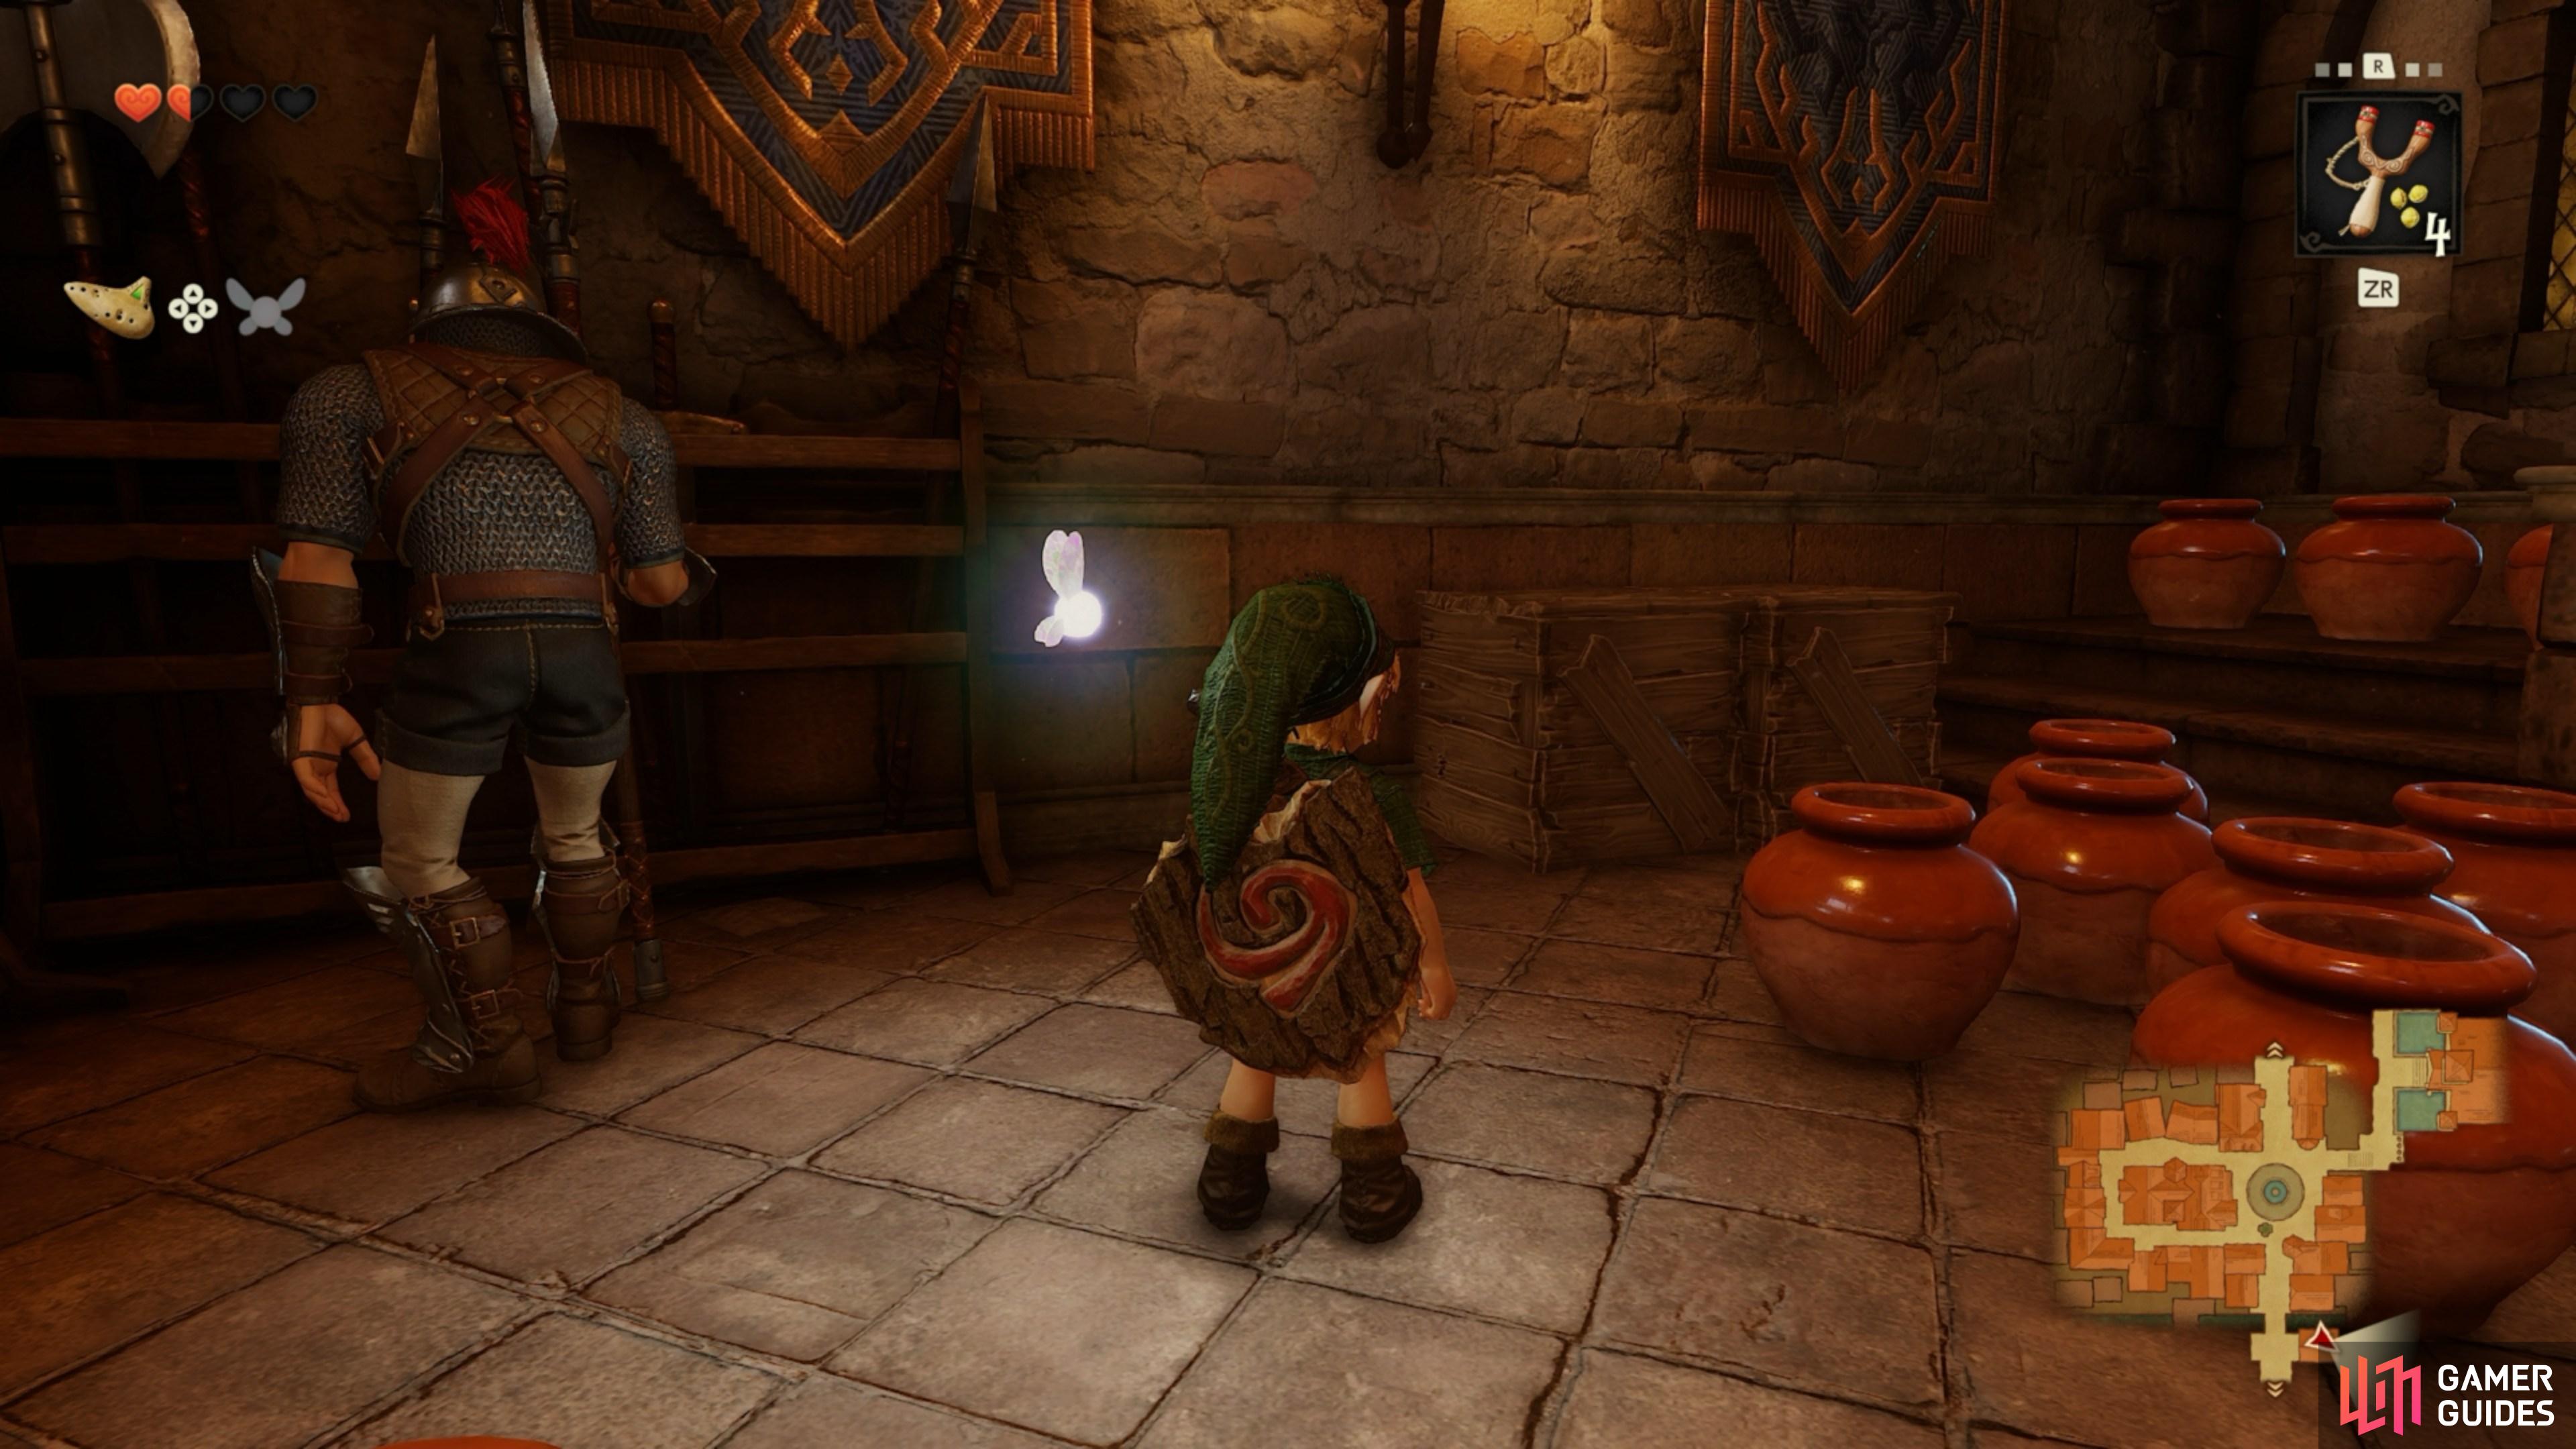
    Smash the Wooden Crate at the wall at the back.

    View on map
  9. 9

    Gold Skulltula Token

    Up on the building’s window at night-time. "Boomerang" iconBoomerang required.

    View on map
  10. 10 Gold Skulltula Token

    Gold Skulltula Token

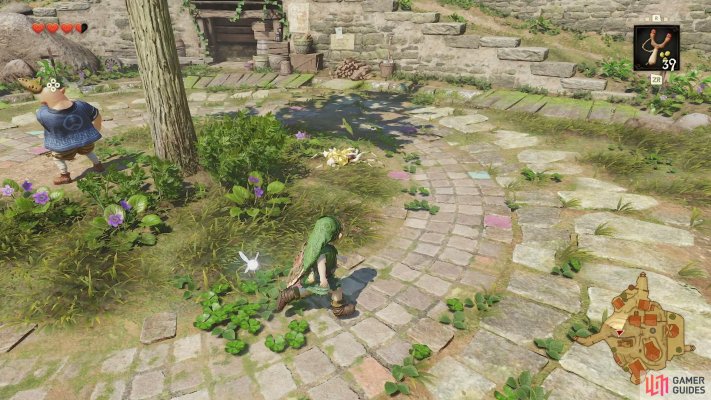
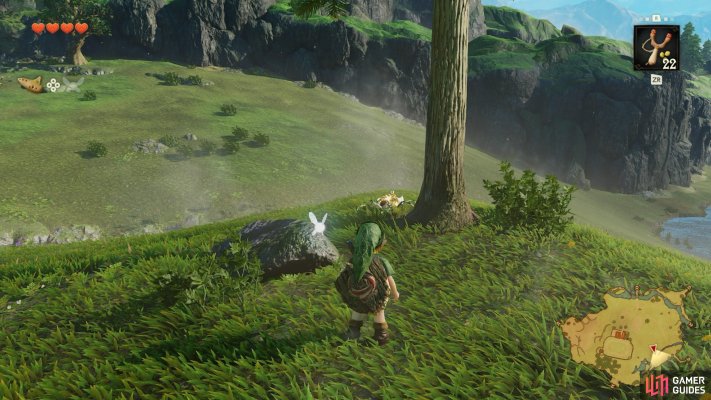
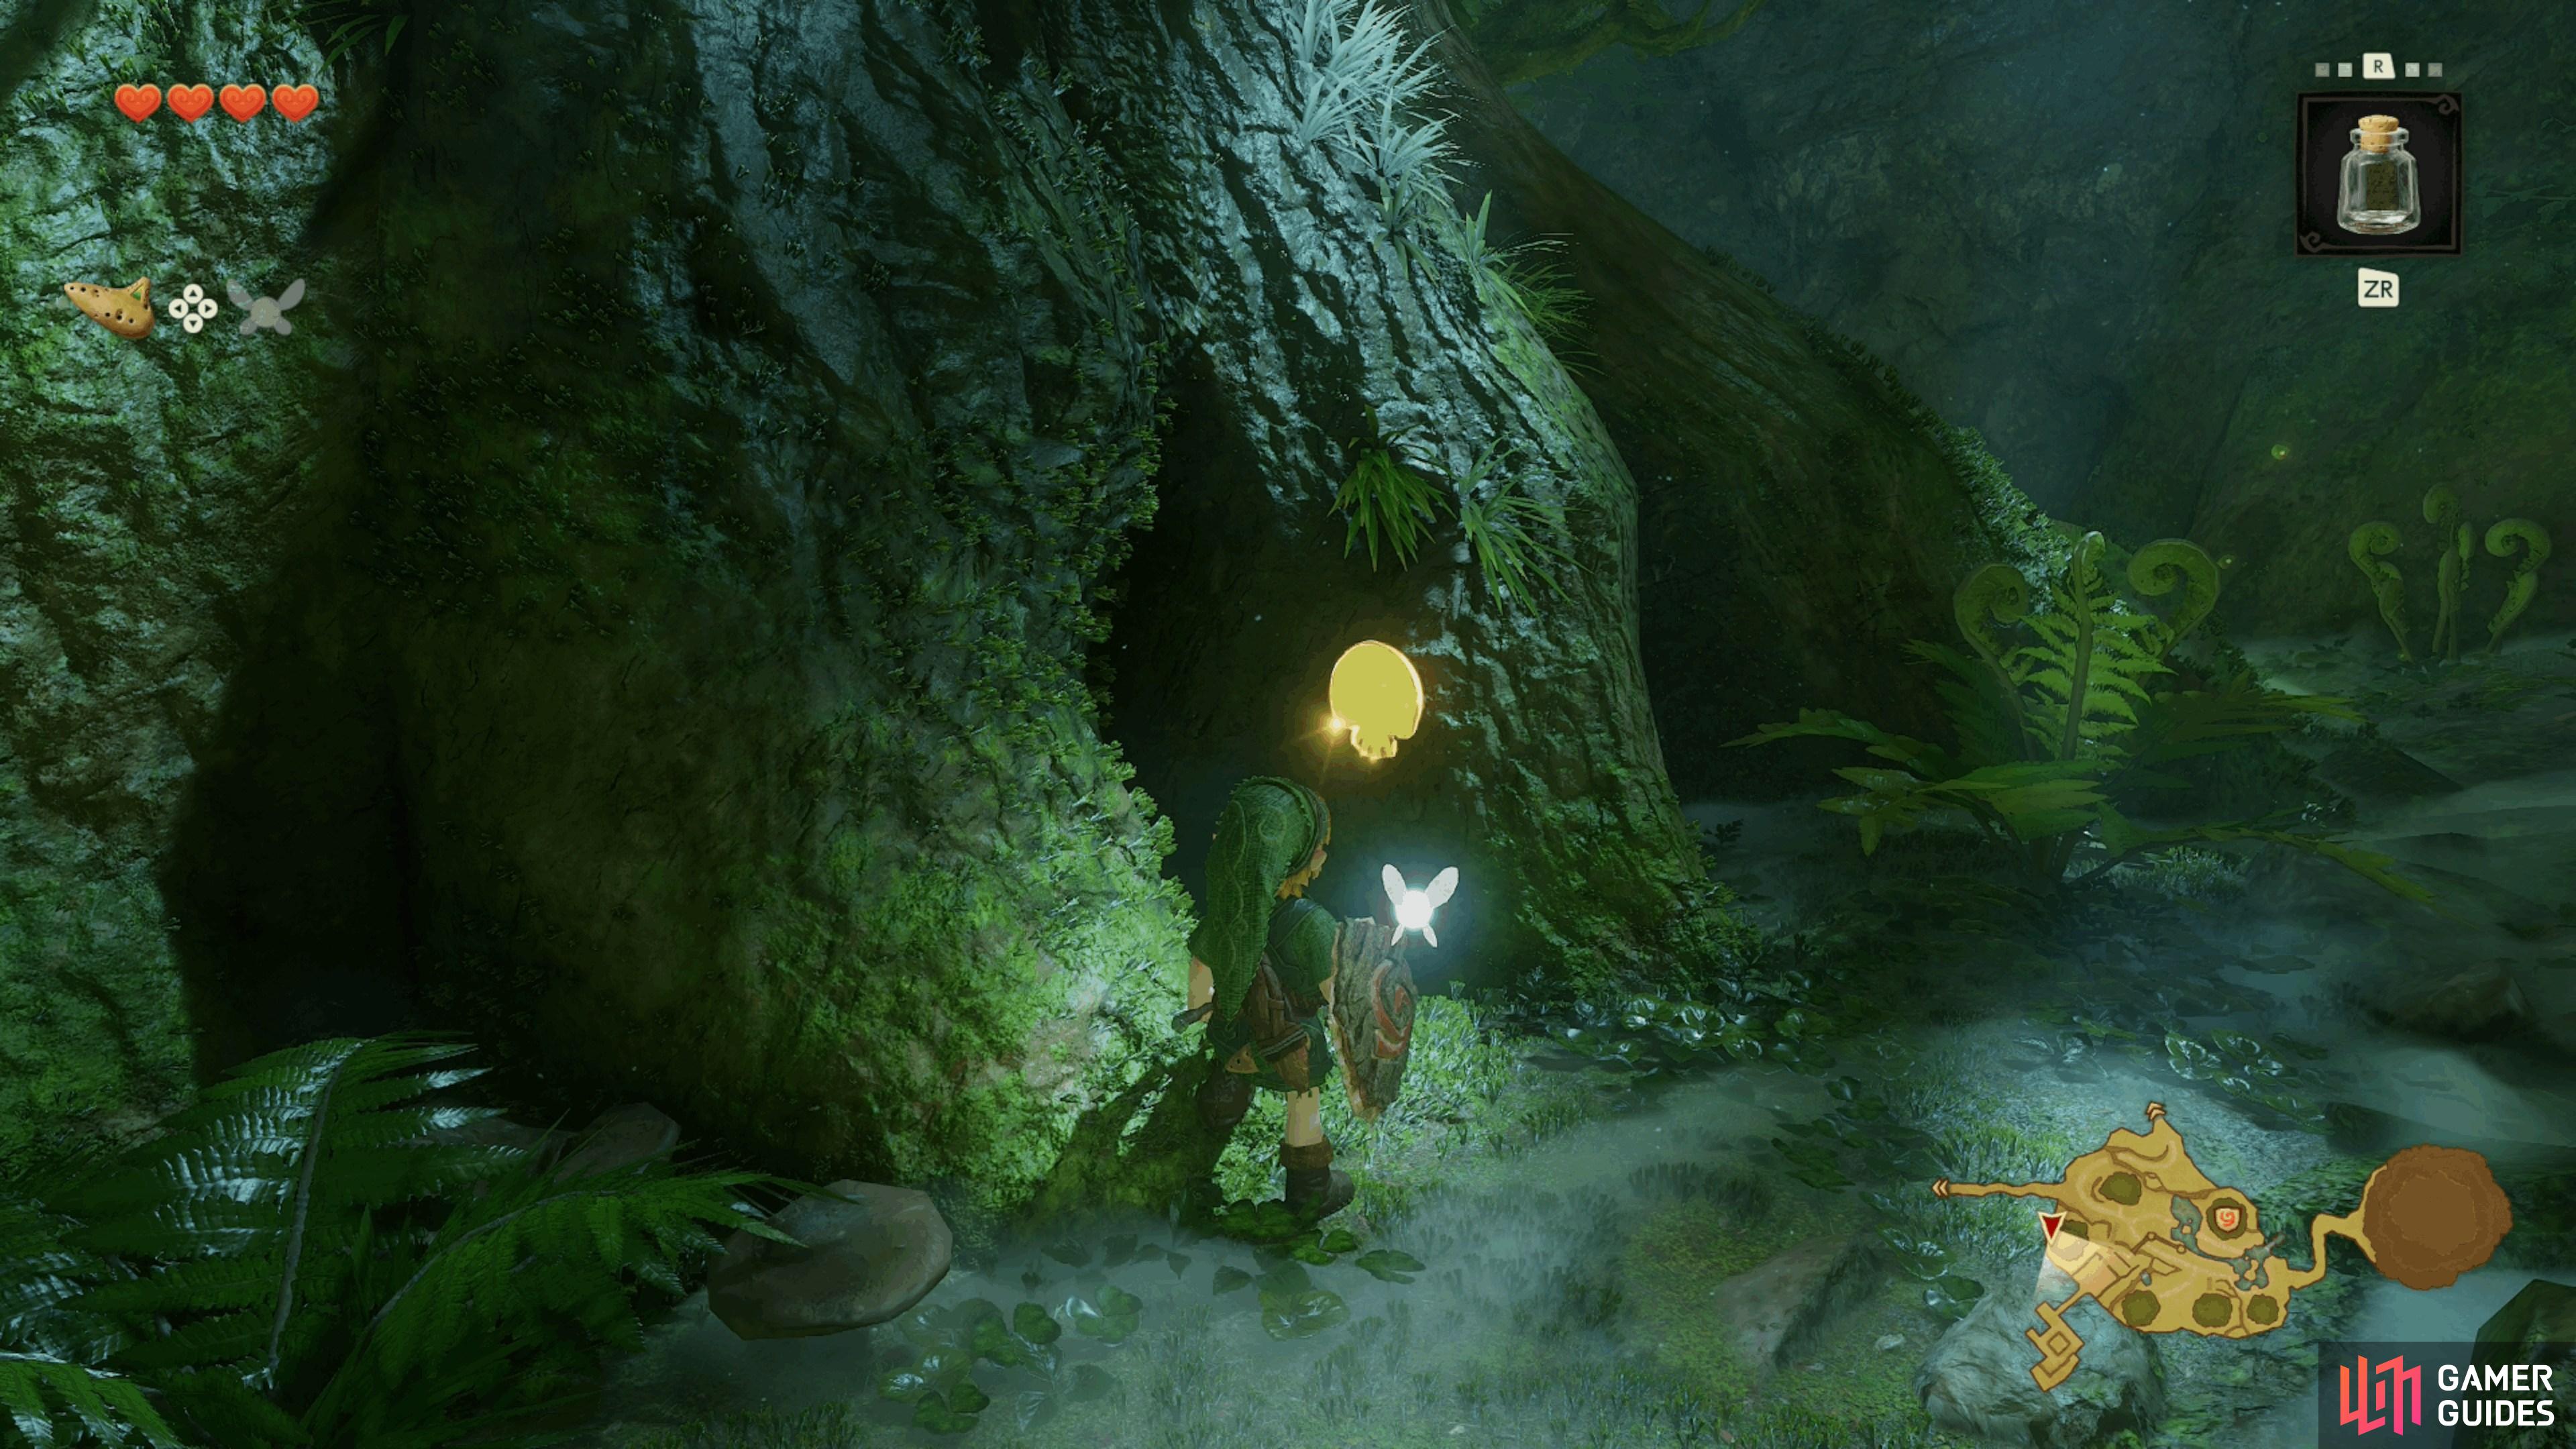
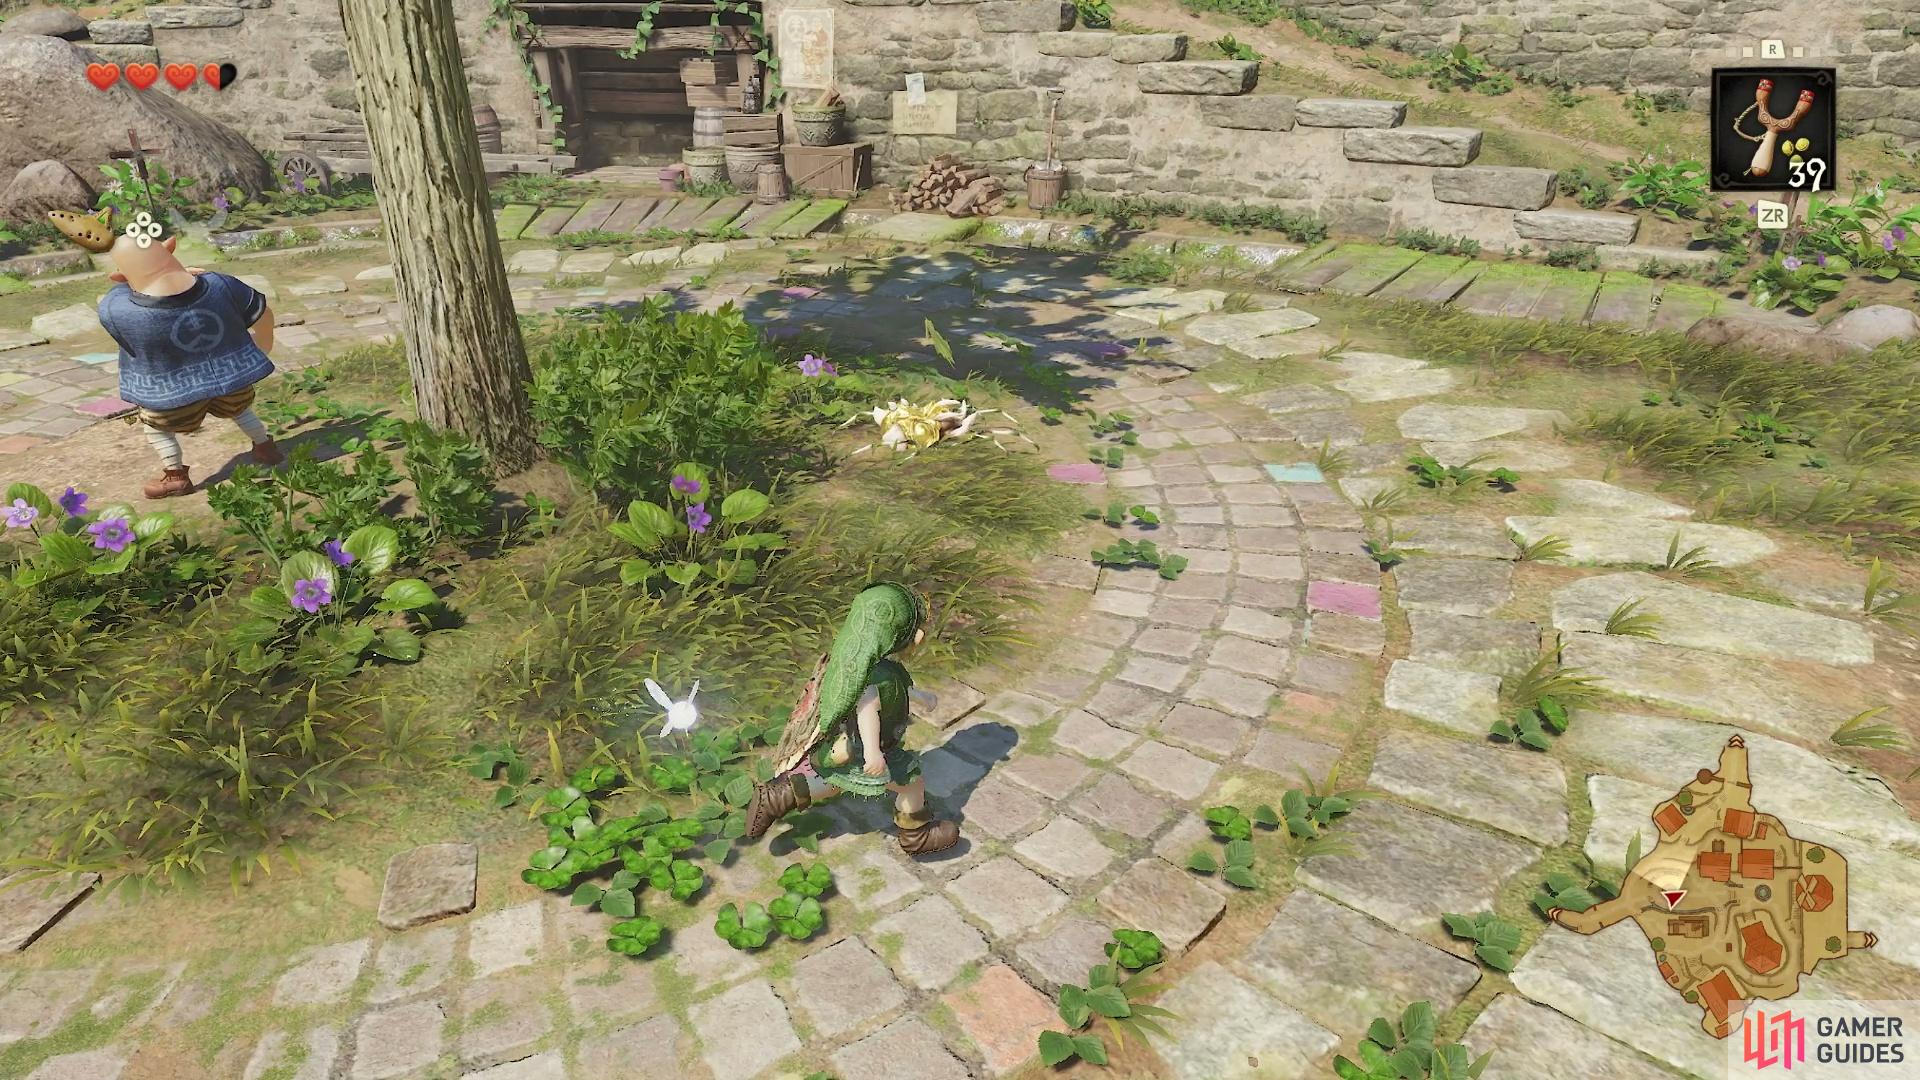
    Roll into the tree to make this "Gold Skulltula" iconGold Skulltula fall to the ground.

    View on map
  11. 11 Gold Skulltula Token

    Gold Skulltula Token

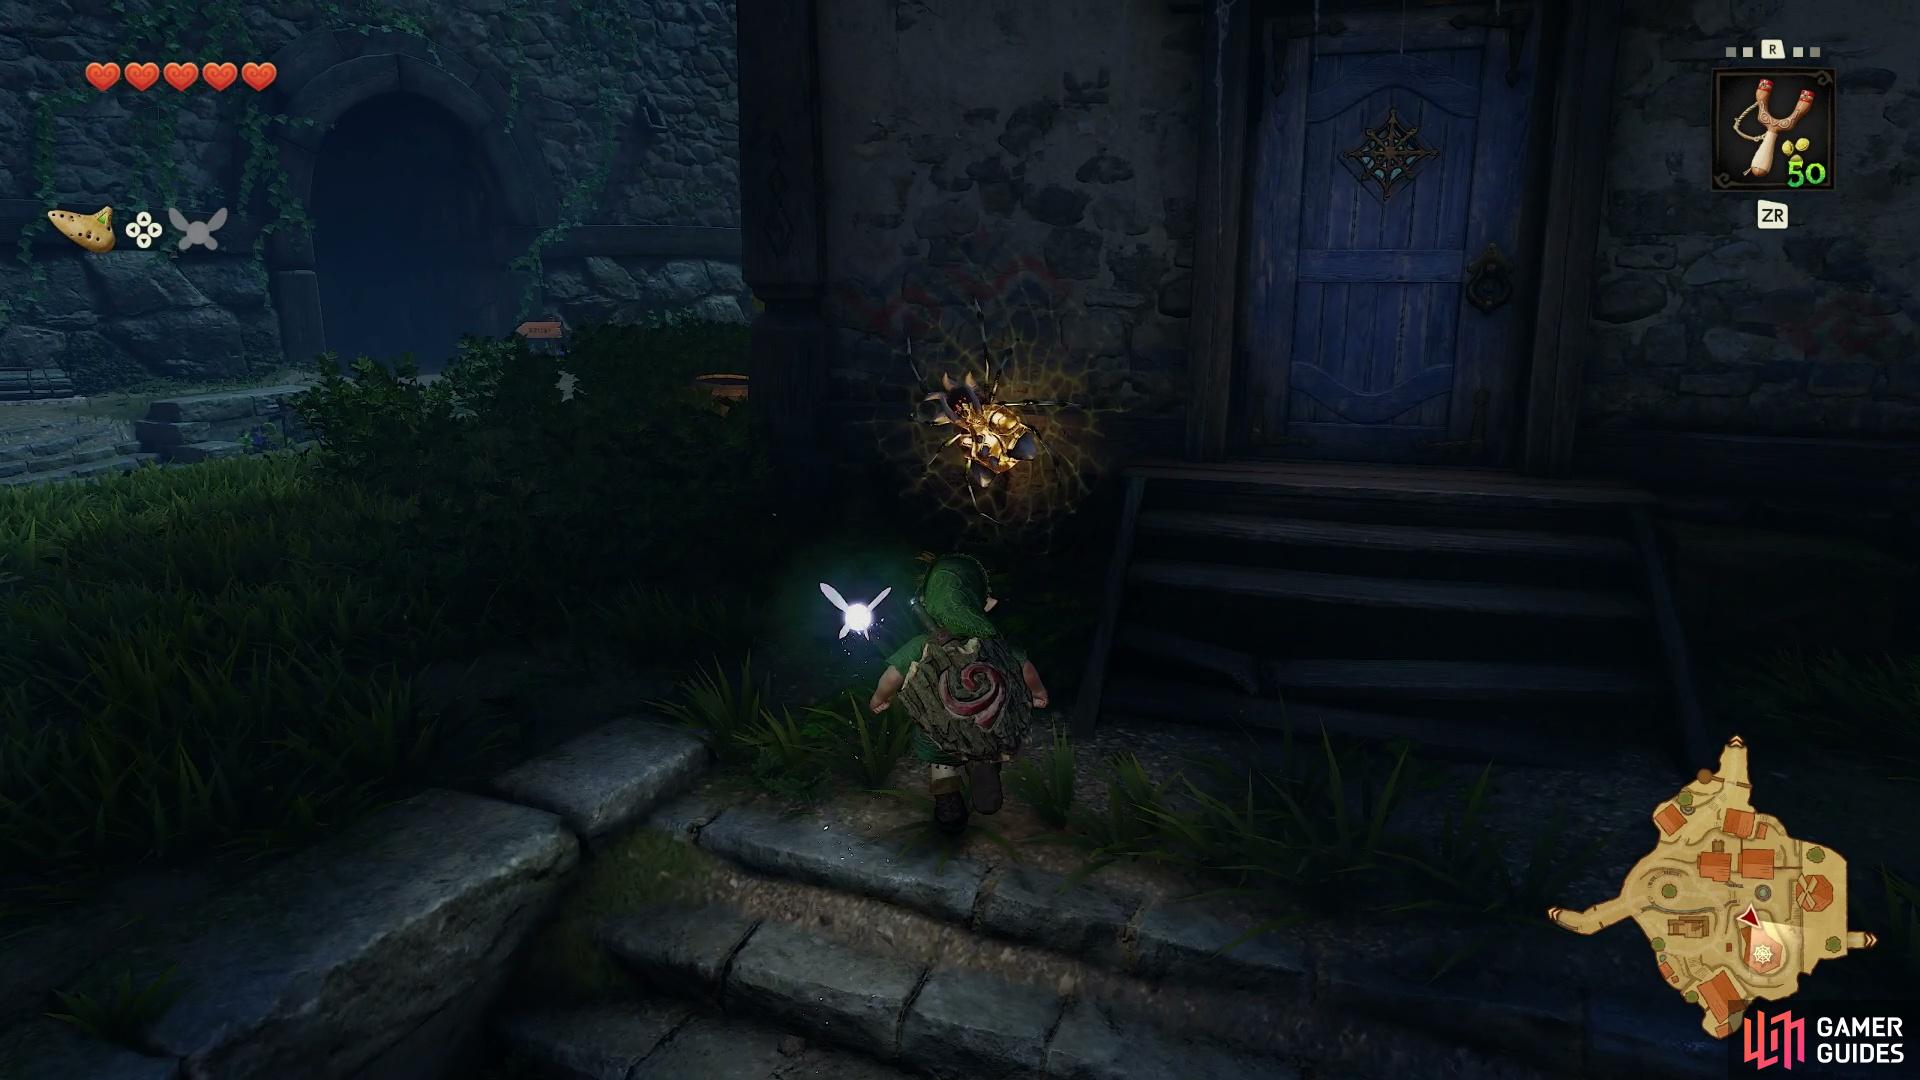
    Night-time only

    View on map
  12. 12 Gold Skulltula Token

    Gold Skulltula Token

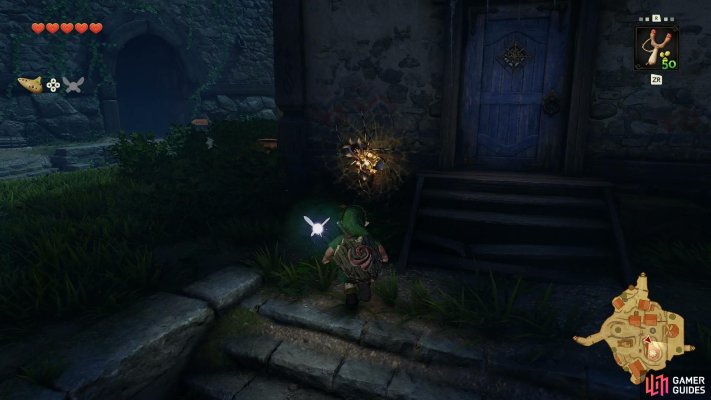
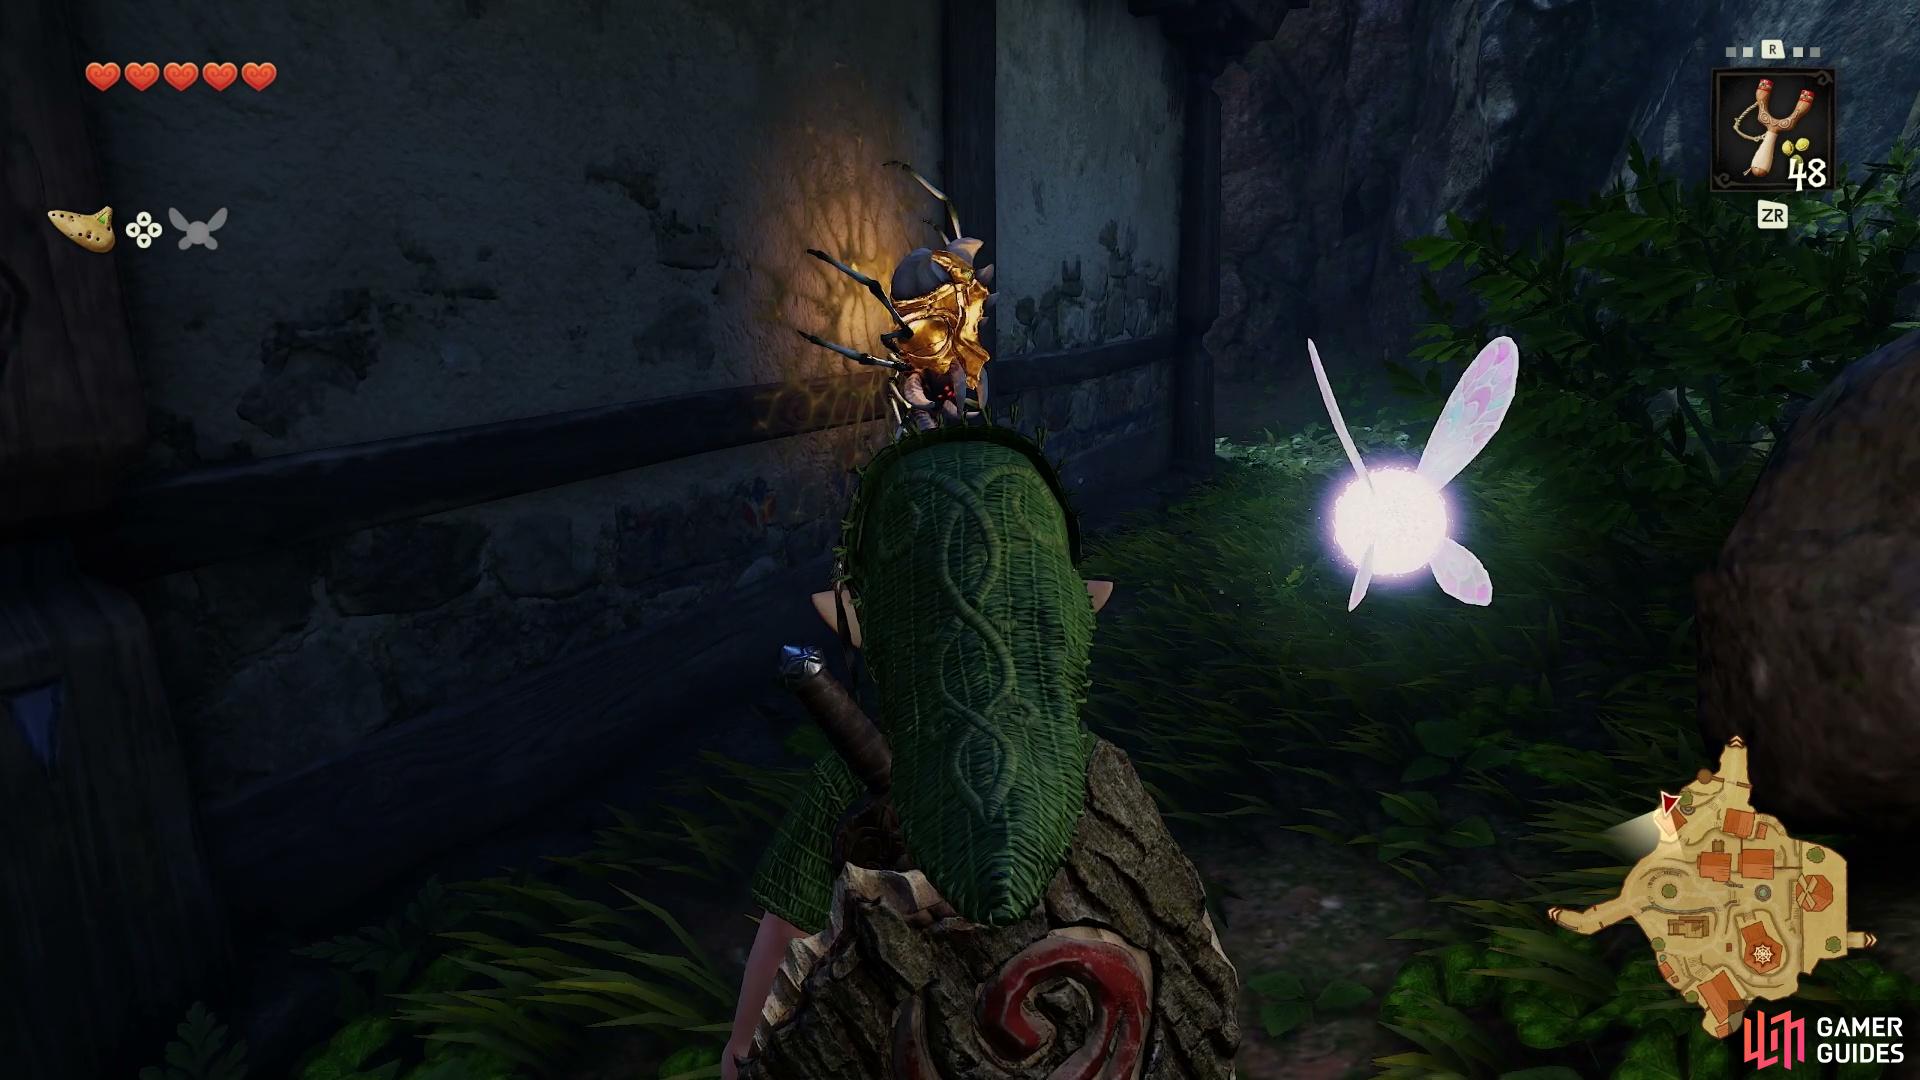
    Night-time only. On the back wall of the house.

    View on map
  13. 13 Gold Skulltula Token

    Gold Skulltula Token

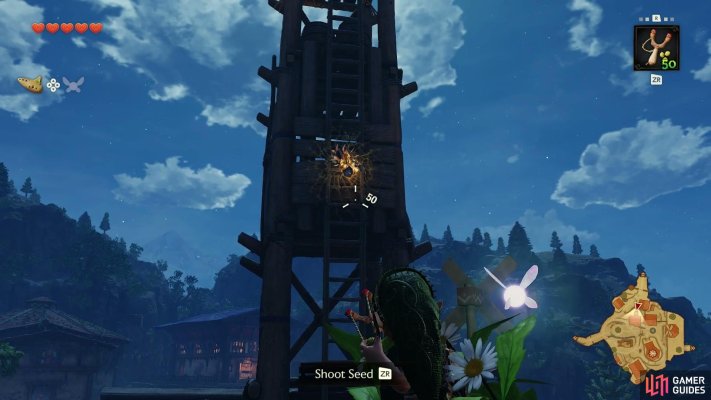
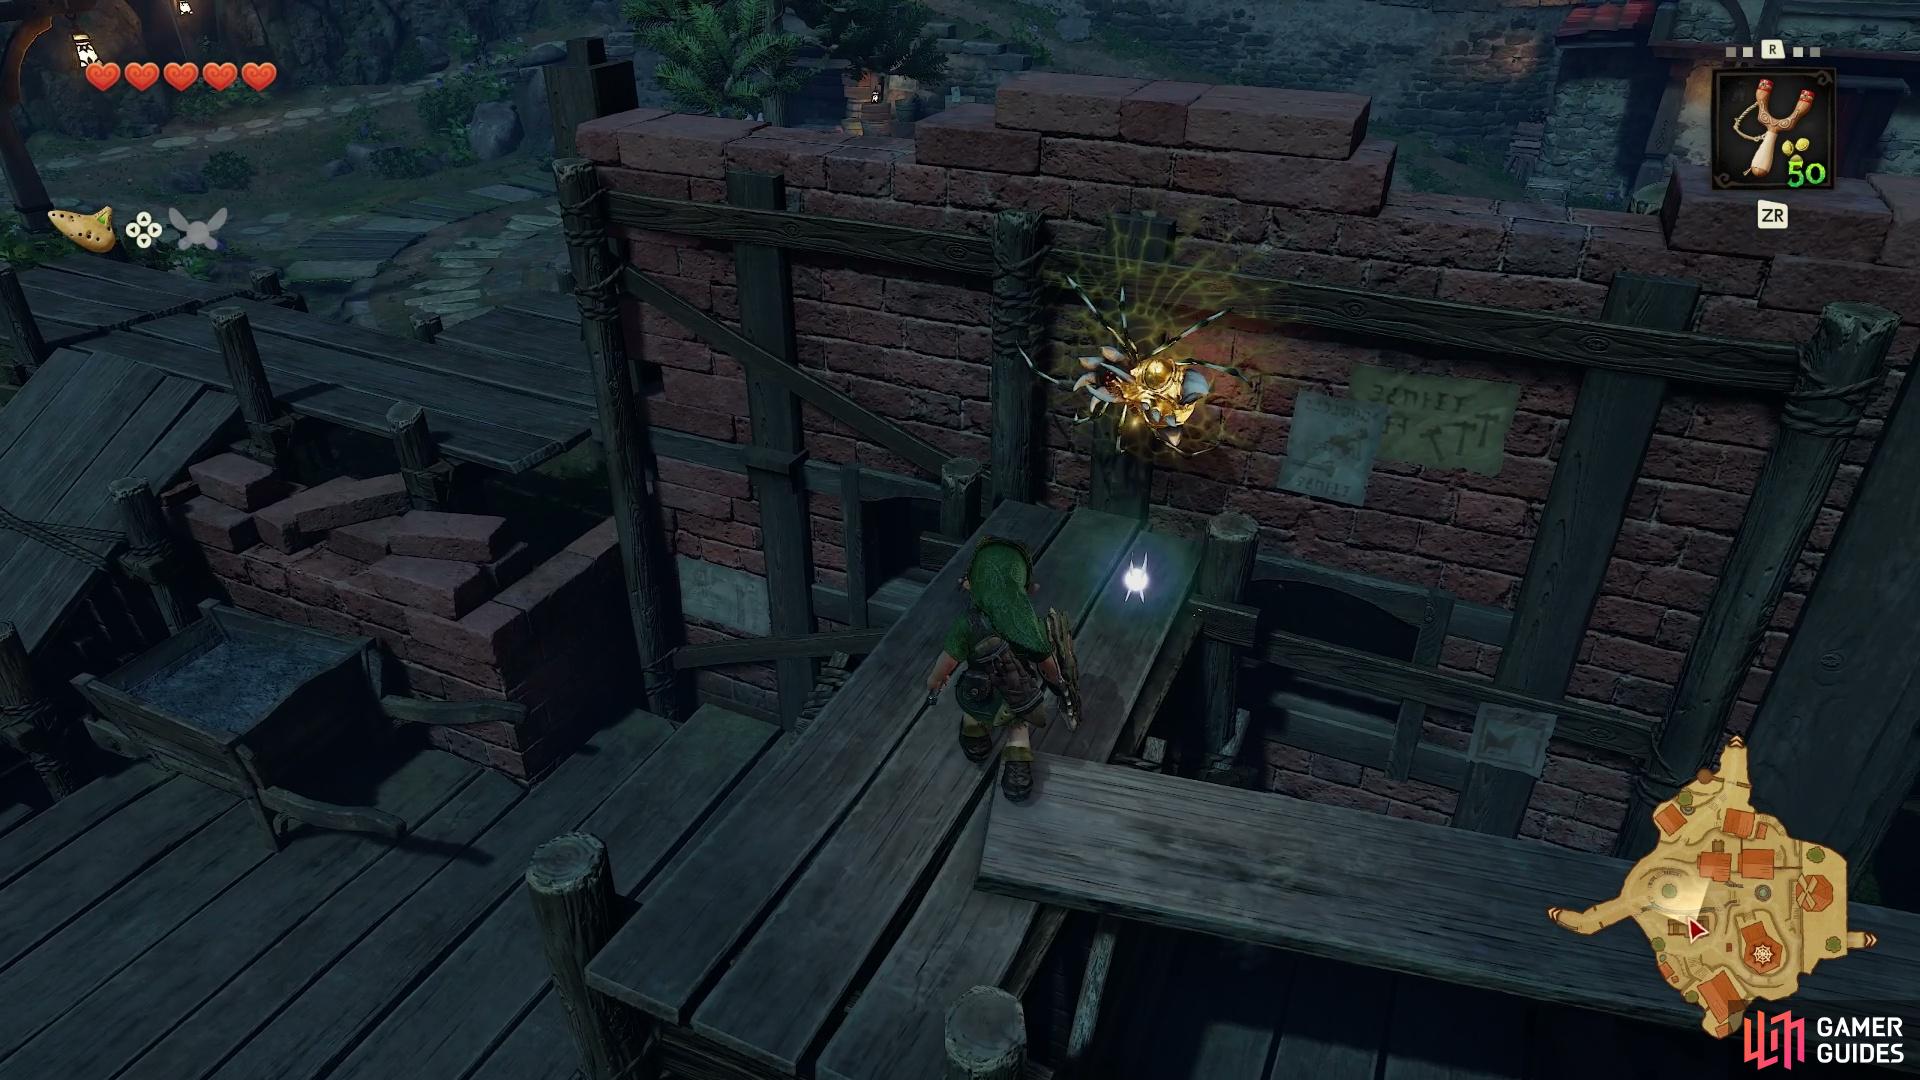
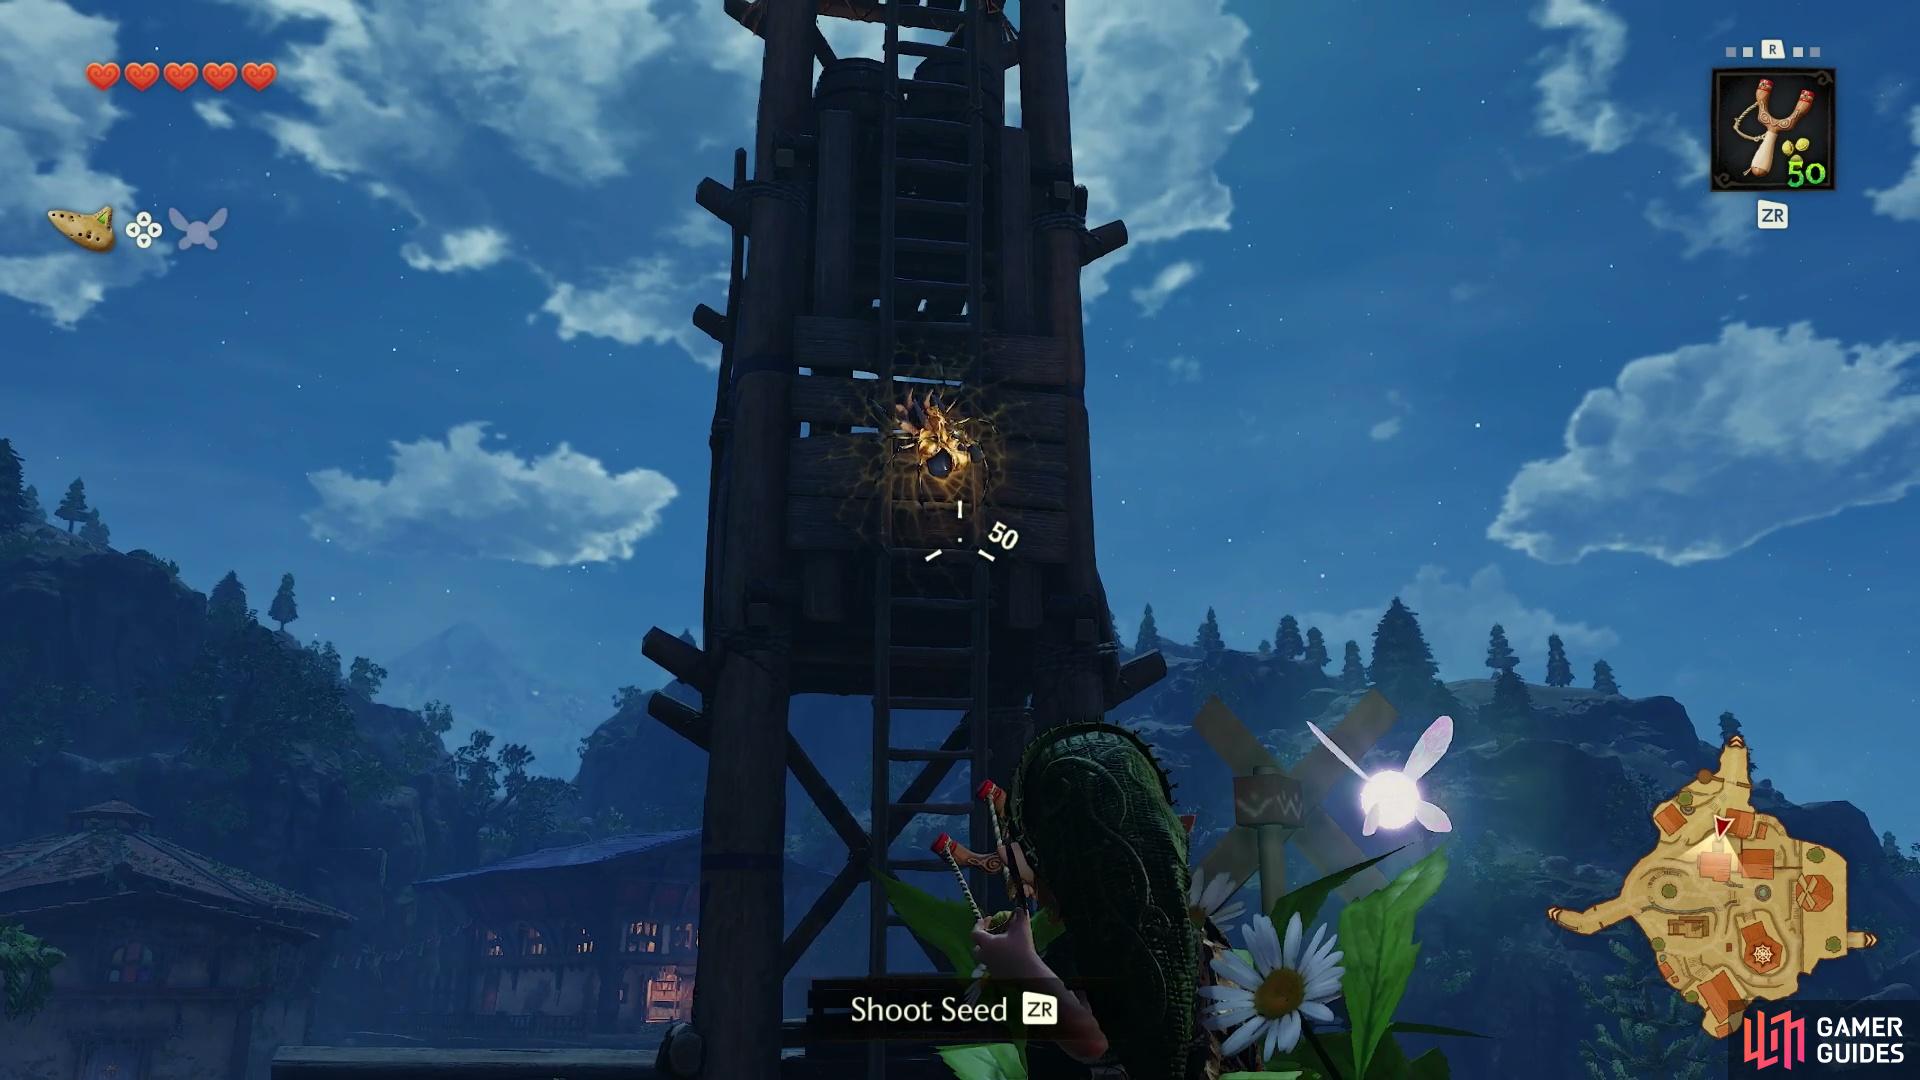
    On the ladder at night-time. Defeat with the "Fairy Slingshot" iconFairy Slingshot or "Boomerang" iconBoomerang.

    View on map
  14. 14 Gold Skulltula Token

    Gold Skulltula Token

    Night-time only

    View on map
  15. 15 Gold Skulltula Token

    Gold Skulltula Token

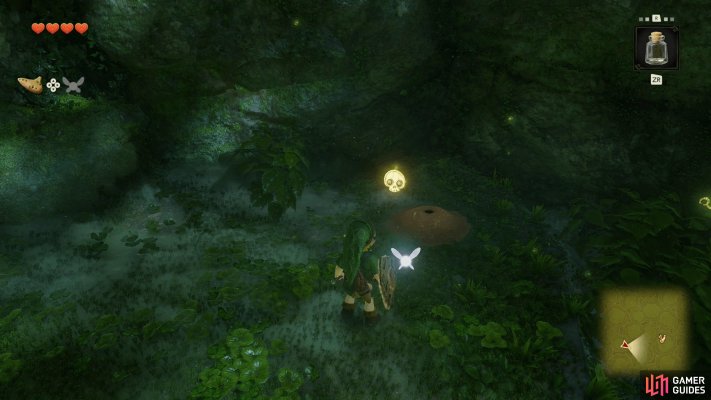
    Release a bug on top of the soft soil

    View on map
  16. 16 Gold Skulltula Token

    Gold Skulltula Token

    Requires "Bug" iconBug

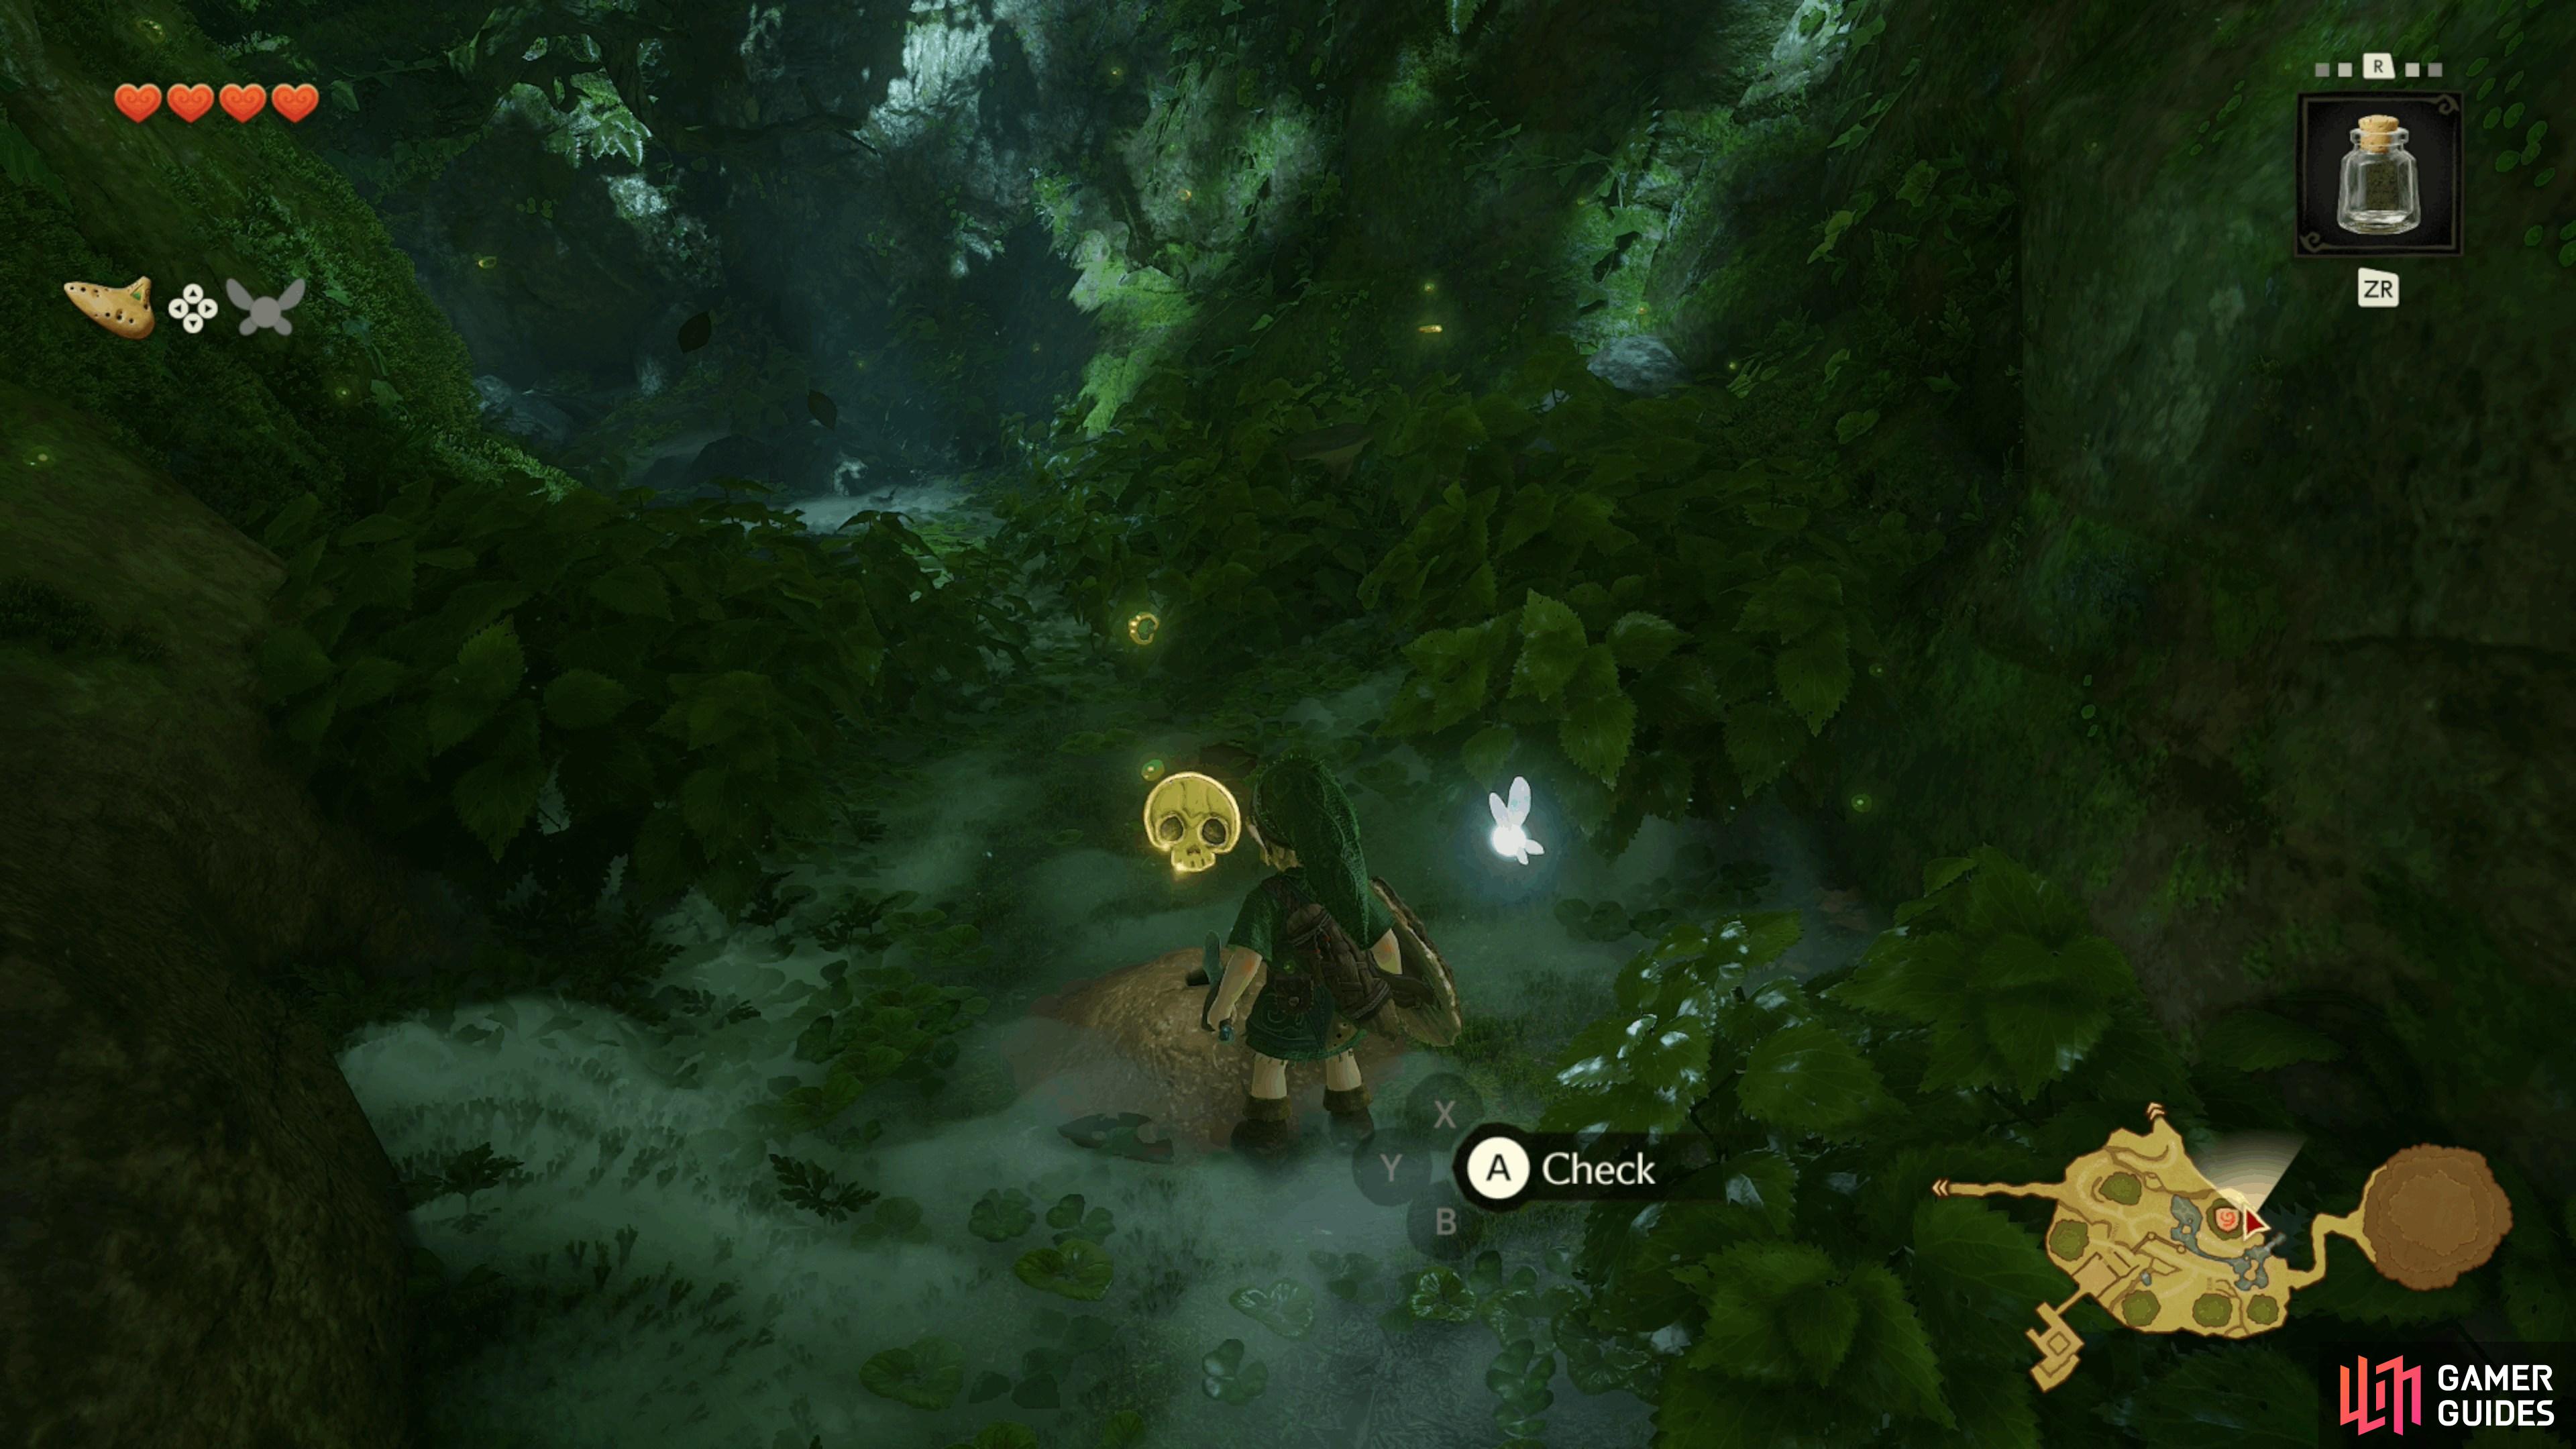
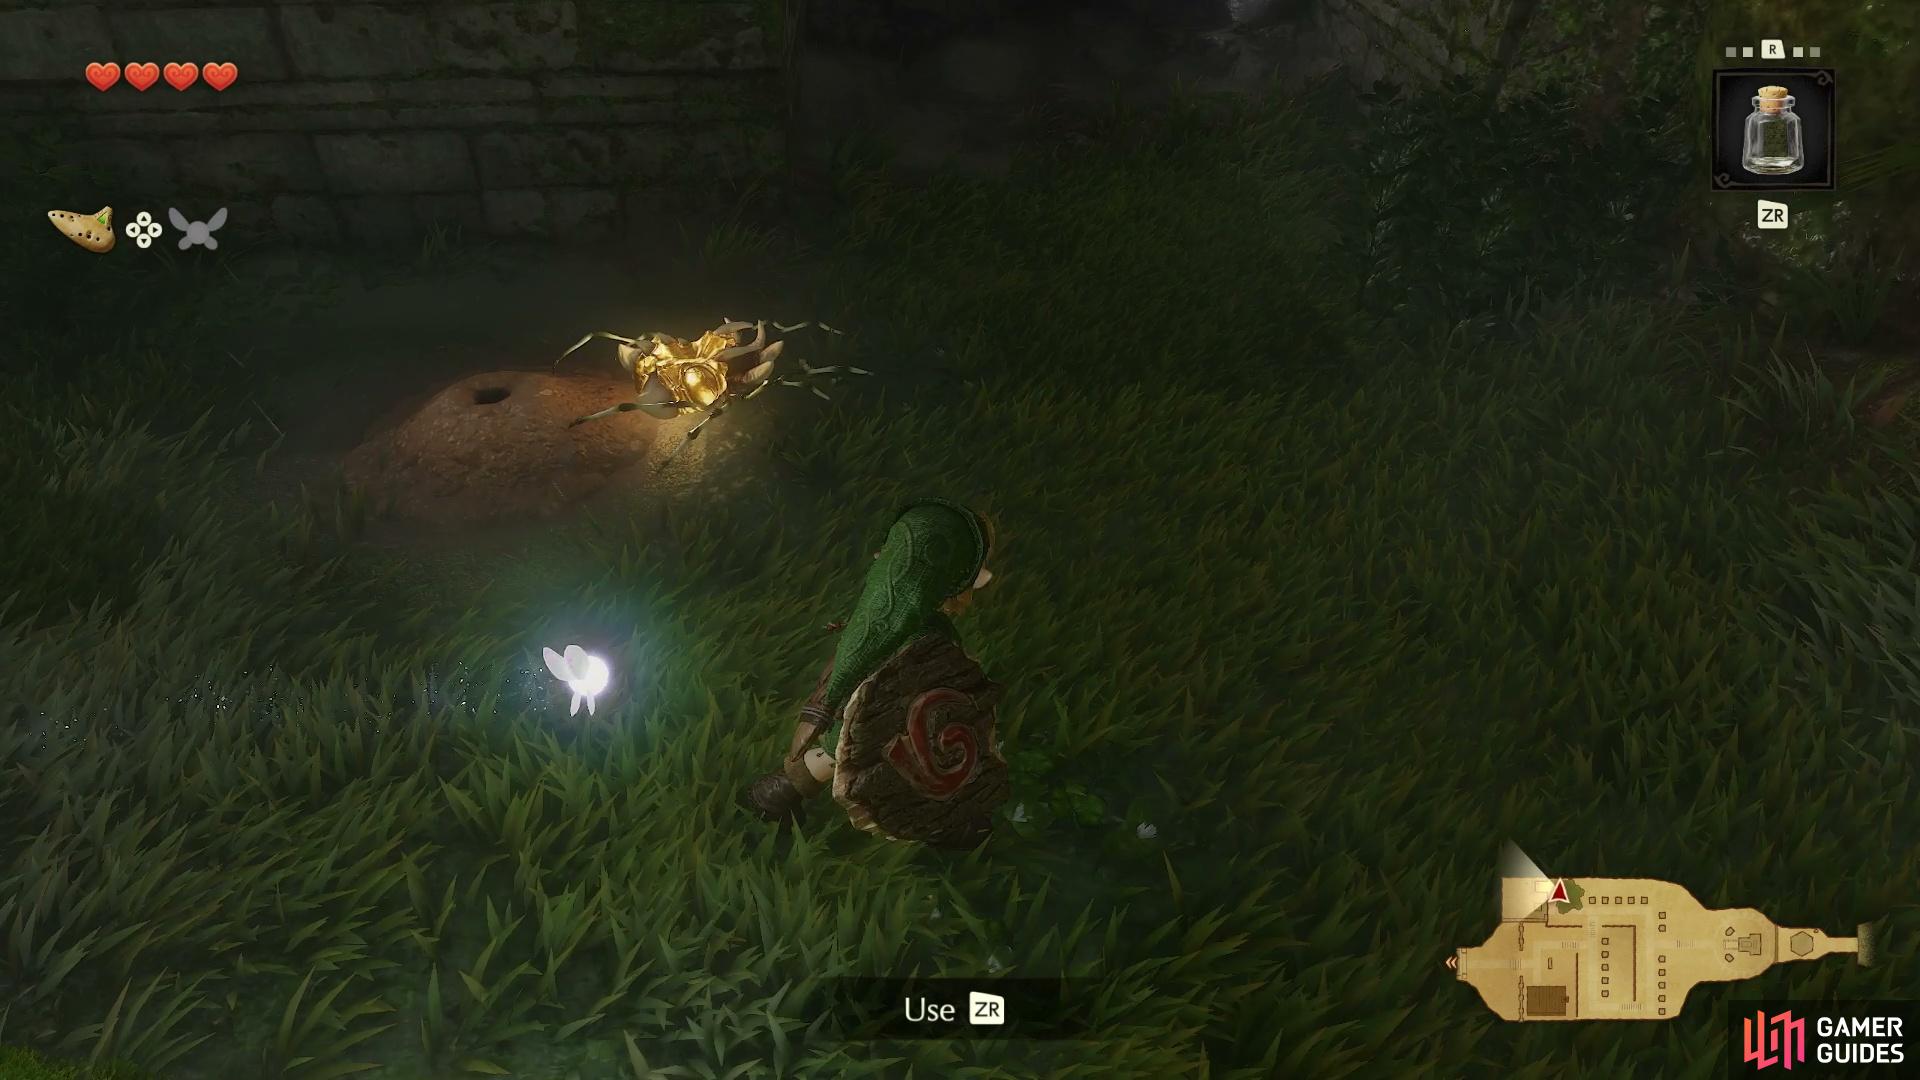
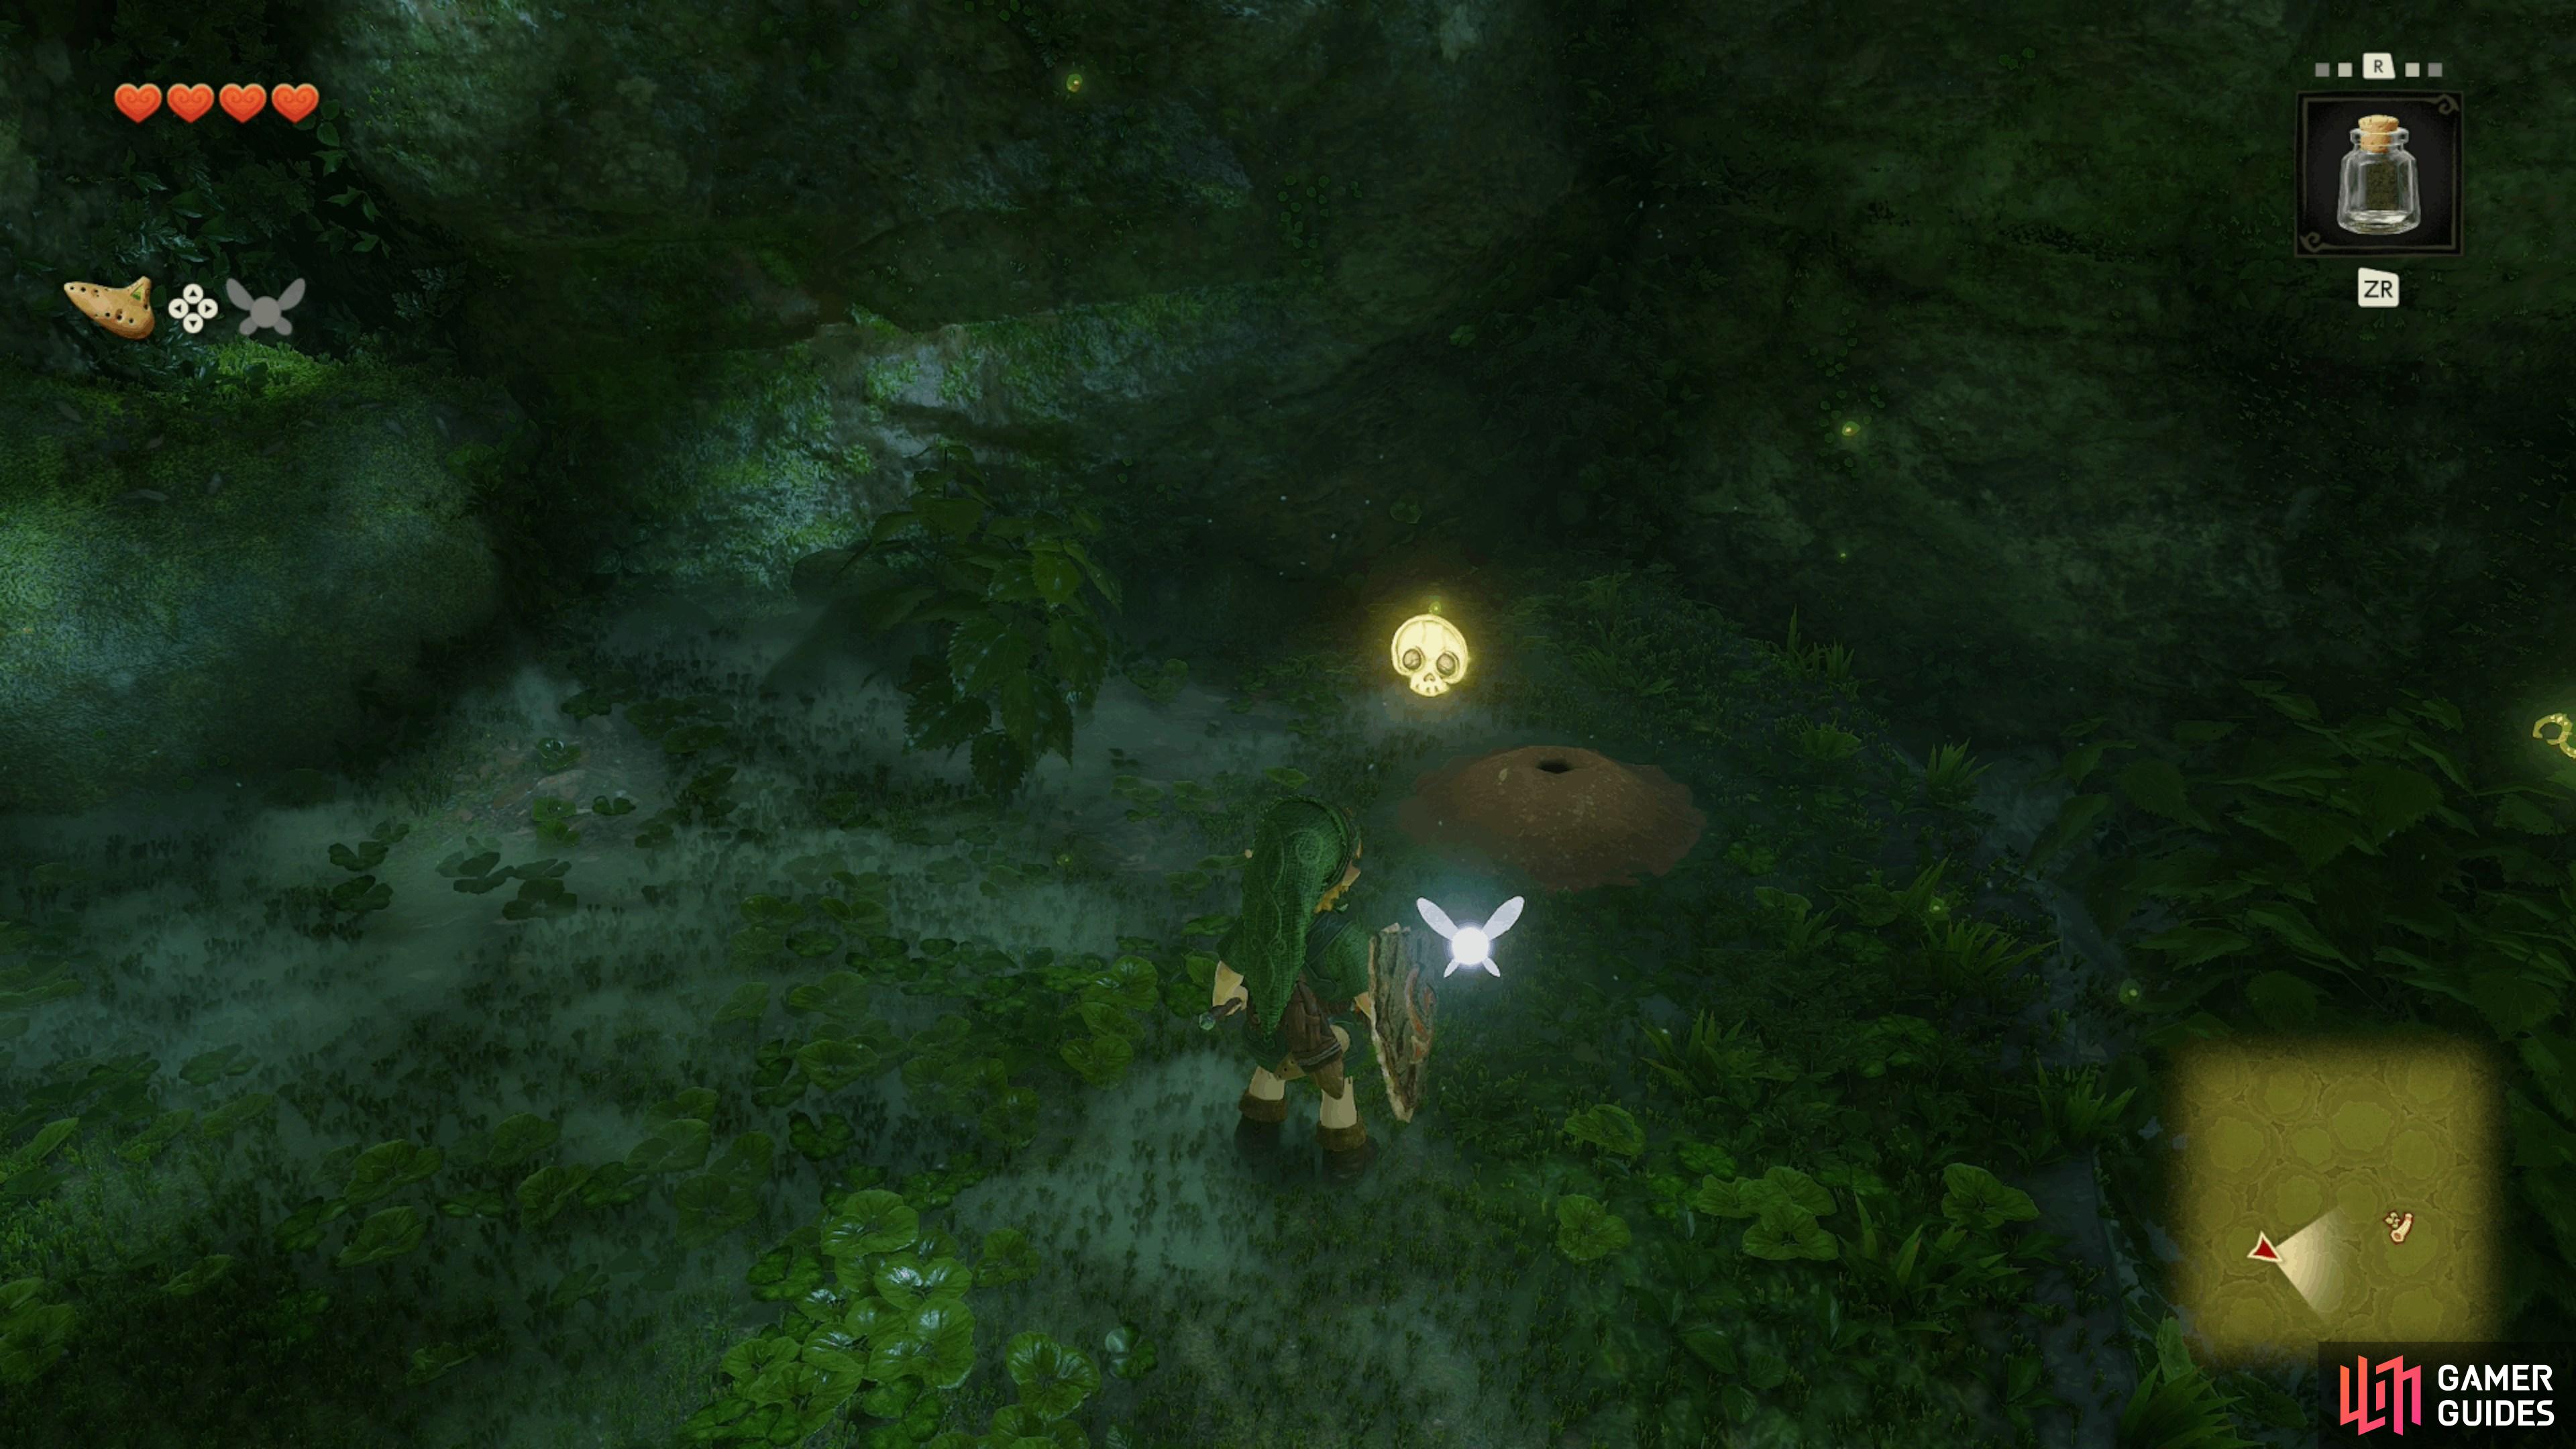
    From the lone "Skull Kid" iconSkull Kid playing the flute, take the nearby path to end up here. Place a Bug (Requires "Empty Bottle" iconEmpty Bottle) into the soil to spawn a "Gold Skulltula" iconGold Skulltula.

    View on map
  17. 17

    Gold Skulltula Token

    Drop a "Bug" iconBug onto the soft soil

    View on map
  18. 18

    Gold Skulltula Token

    Drop a "Bug" iconBug onto the soft soil

    View on map
  19. 19

    Gold Skulltula Token

    Behind a bombable wall

    View on map
  20. 20

    Gold Skulltula Token

    Inside a crate behind a series of bombable rocks

    View on map
  21. 21

    Gold Skulltula Token

    Drop a "Bug" iconBug onto the soft soil

    View on map
  22. 22

    Gold Skulltula Token

    Behind a crawl space

    View on map
  23. 23 Gold Skulltula Token

    Gold Skulltula Token

    Roll into the tree to knock it down

    View on map
  24. 24

    Gold Skulltula Token

    Drop a bug onto the soft soil at the bottom of the canyon.

    View on map
  25. 25

    Gold Skulltula Token

    Drop a "Bug" iconBug onto the soft soil

    View on map
  26. 26

    Gold Skulltula Token

    Night-time only

    View on map
  27. 27

    Gold Skulltula Token

    Roll into the tree to knock it down

    View on map
  28. 28

    Gold Skulltula Token

    "Gold Skulltula" iconGold Skulltula on the wall. "Boomerang" iconBoomerang required. Night-time only.

    View on map
  29. 29 Gold Skulltula Token

    Gold Skulltula Token

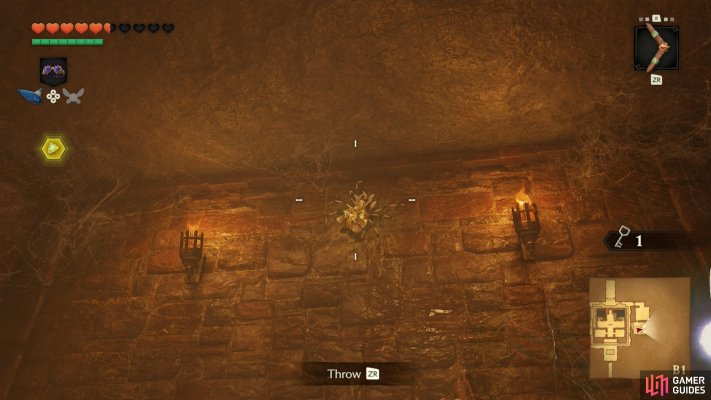
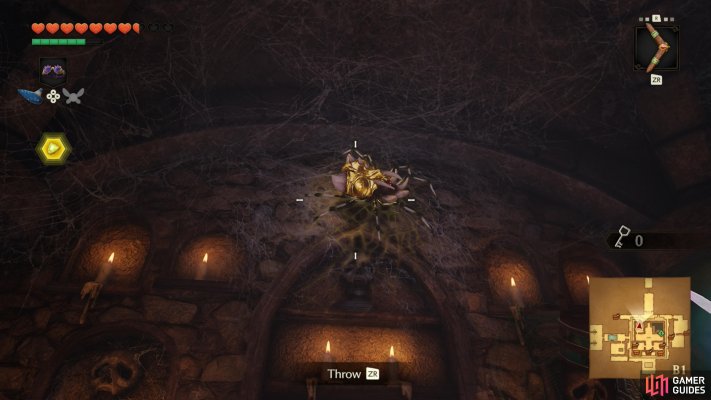
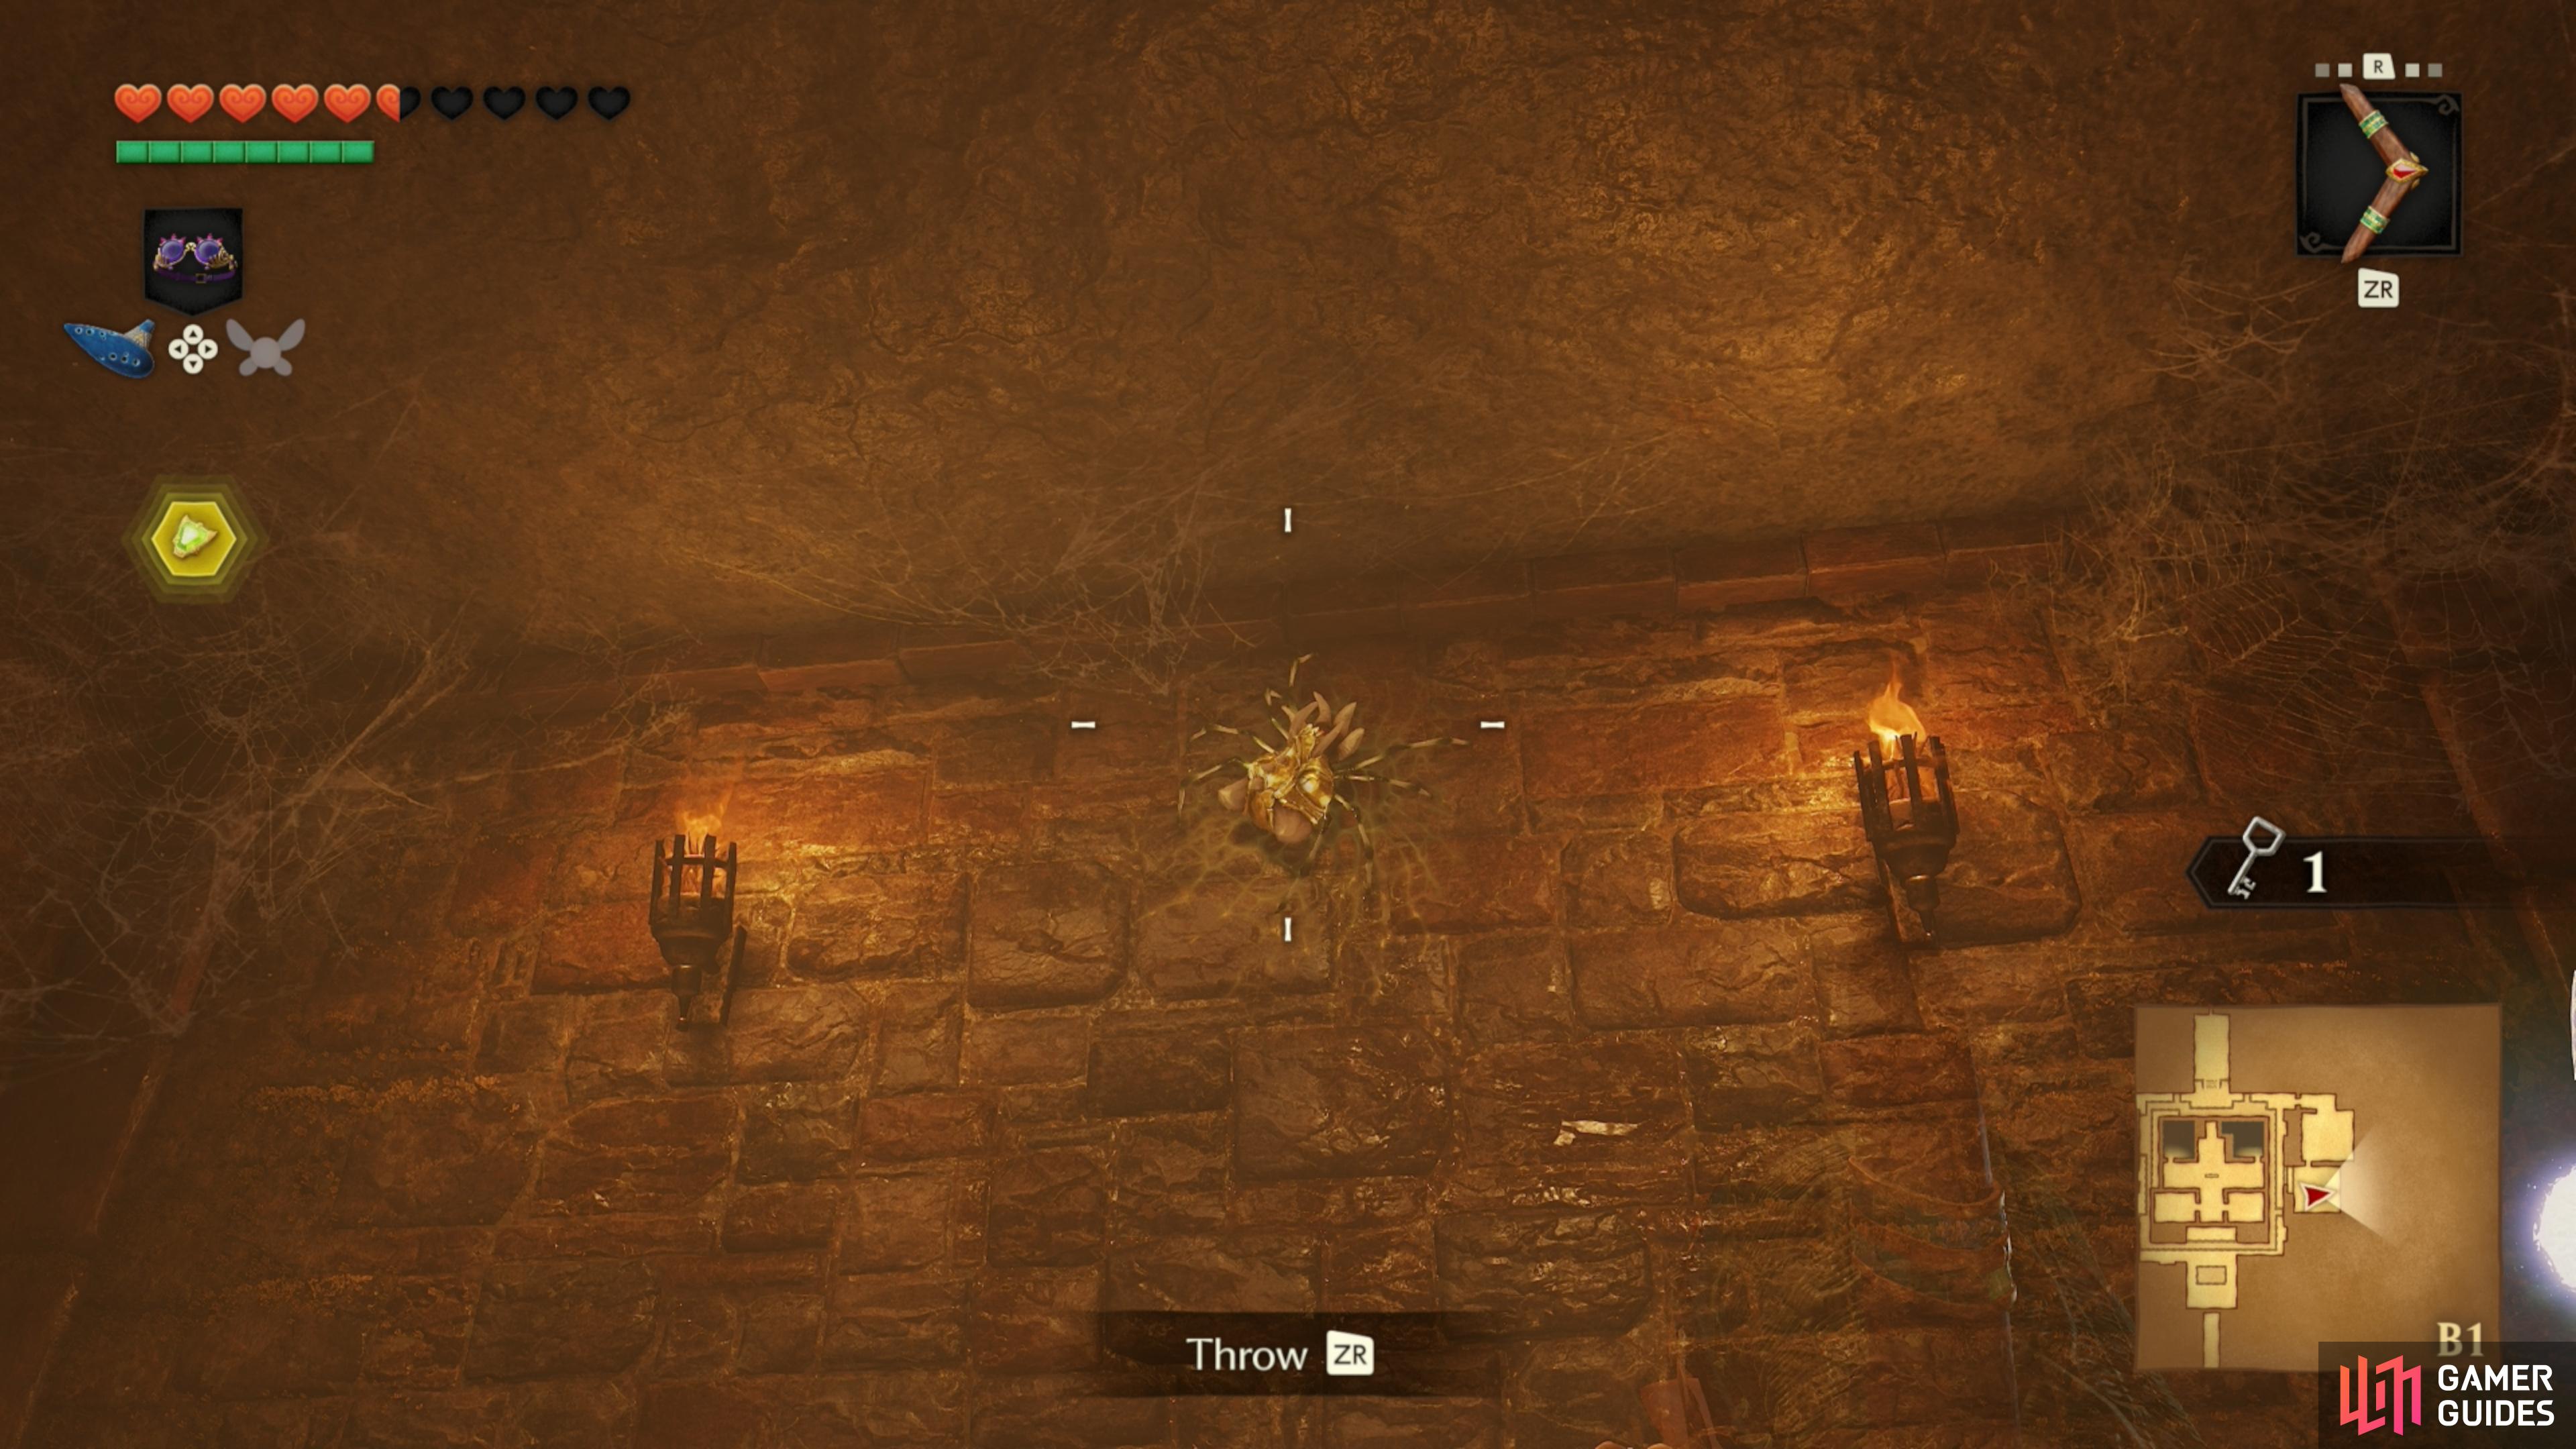
    East room with a "Like Like" iconLike Like, high up on the wall.

    View on map
  30. 30 Gold Skulltula Token

    Gold Skulltula Token

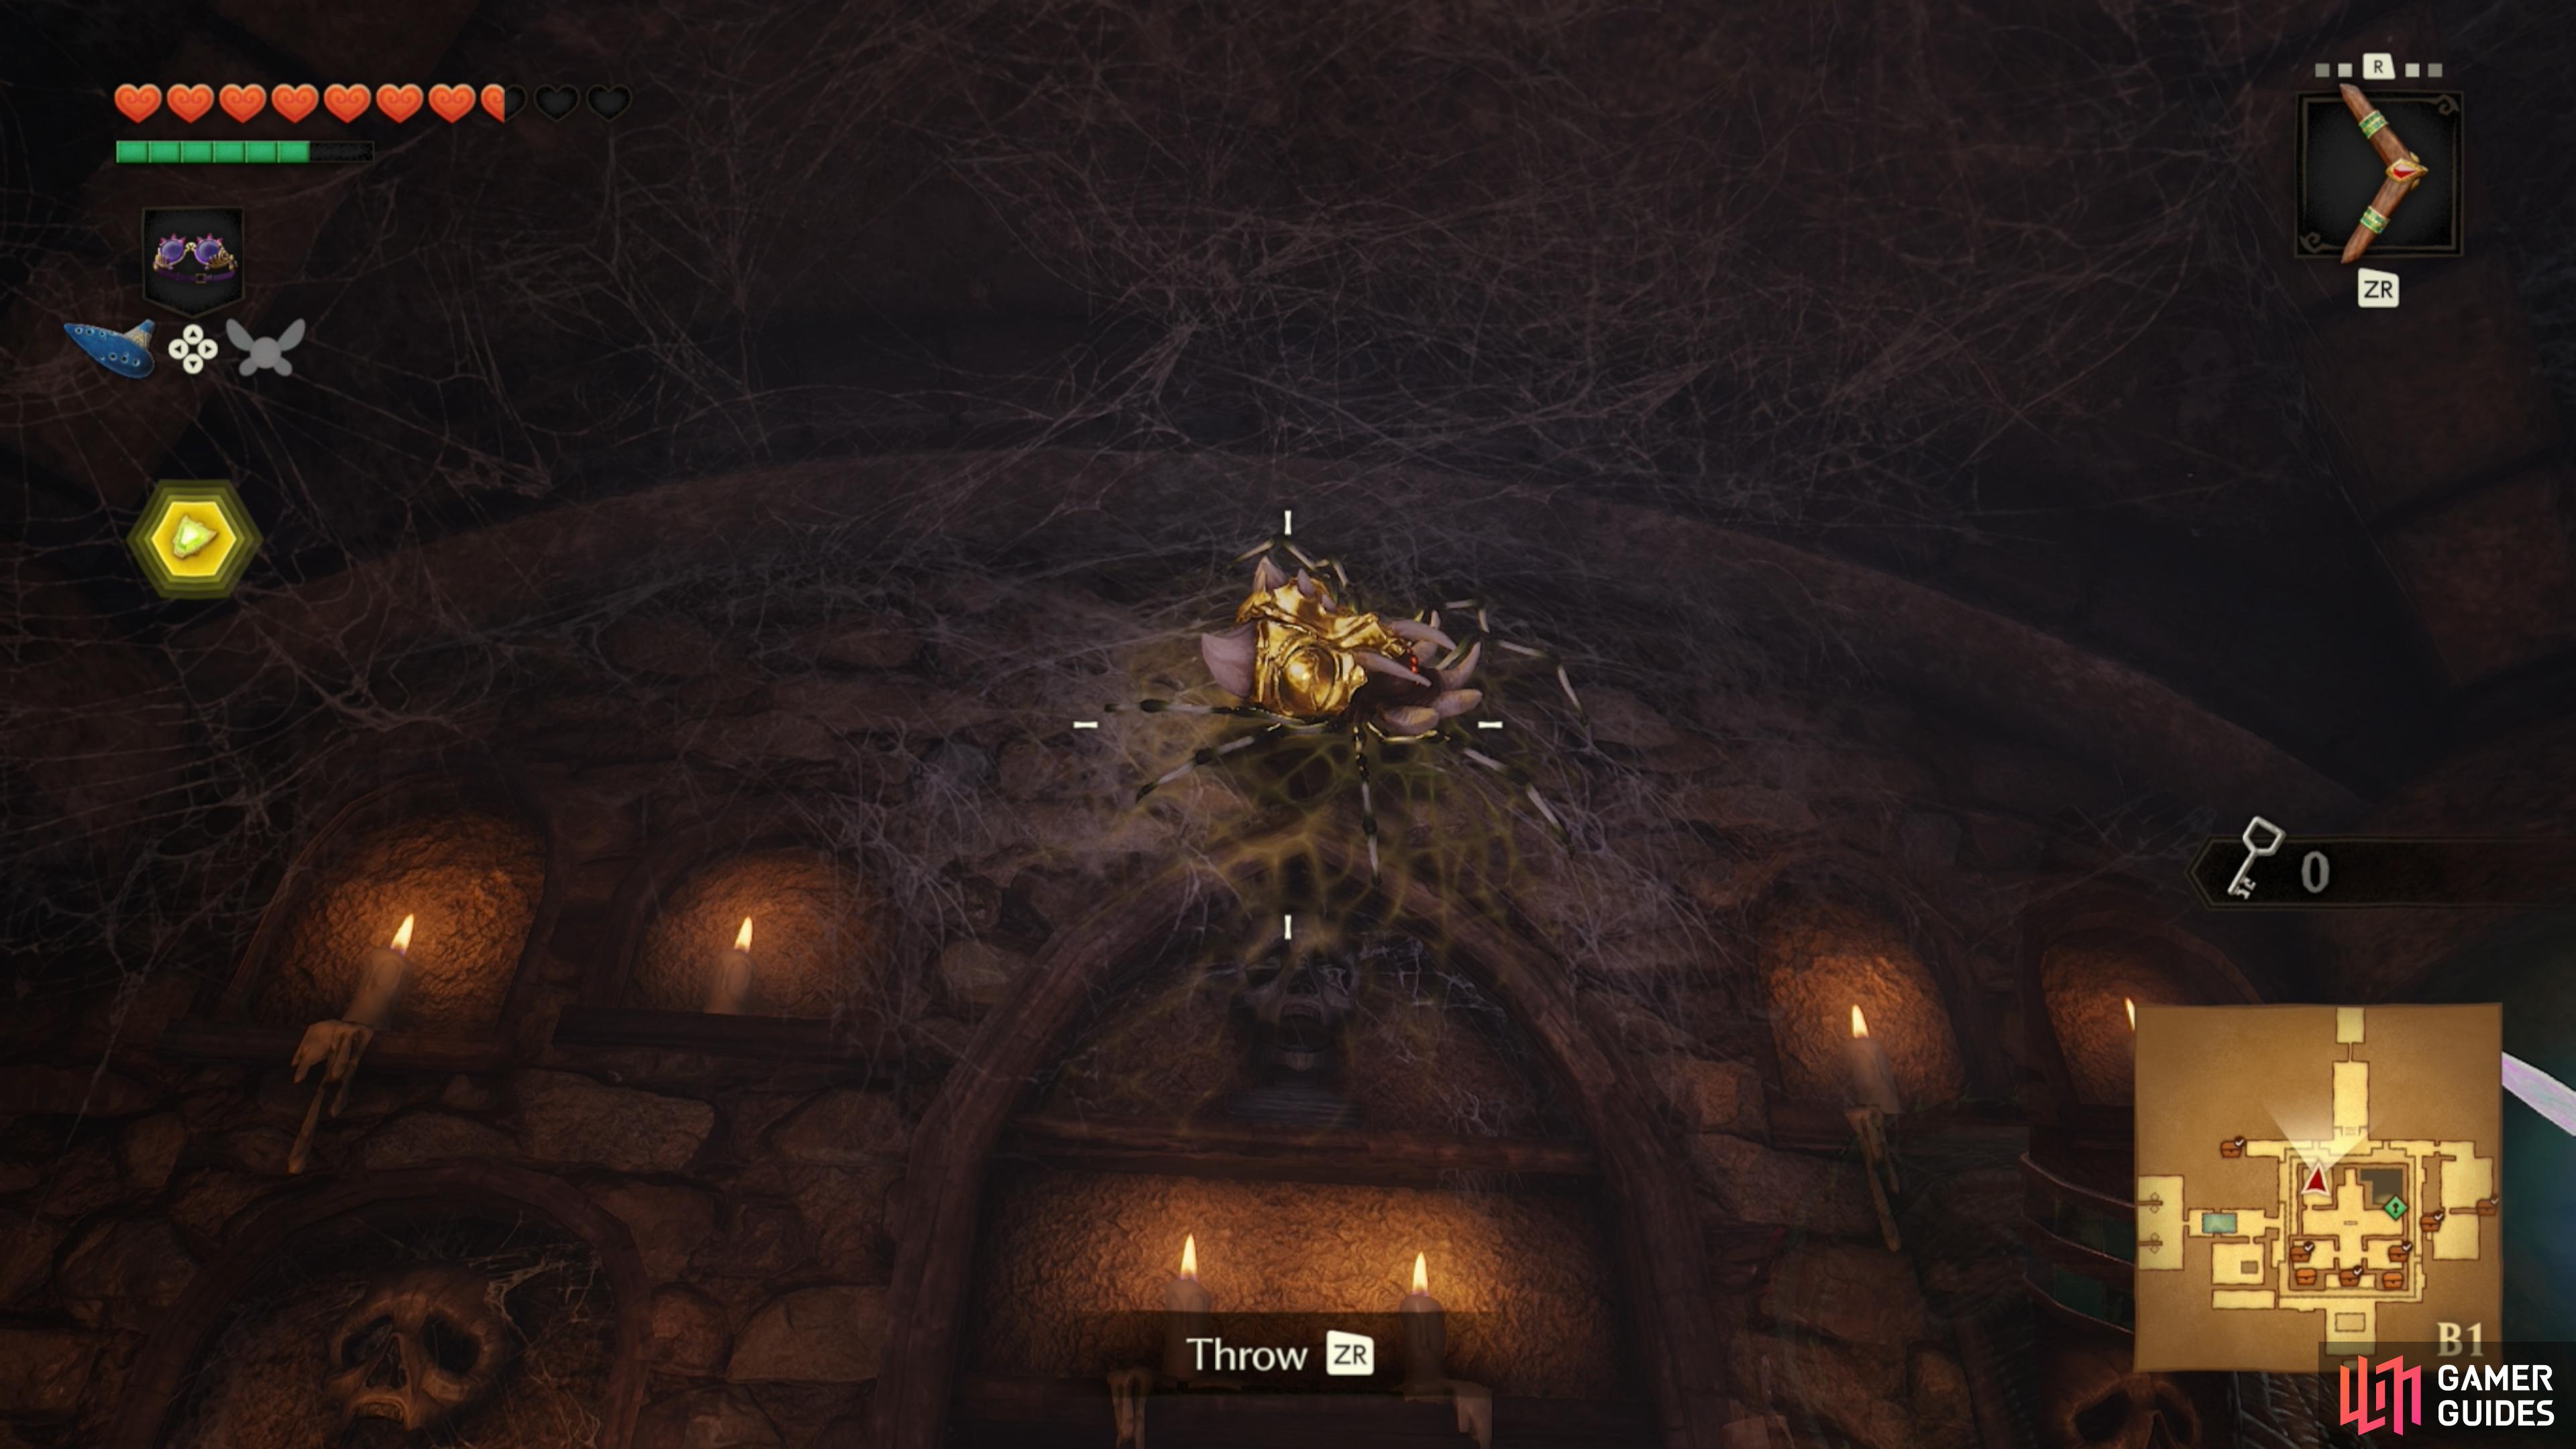
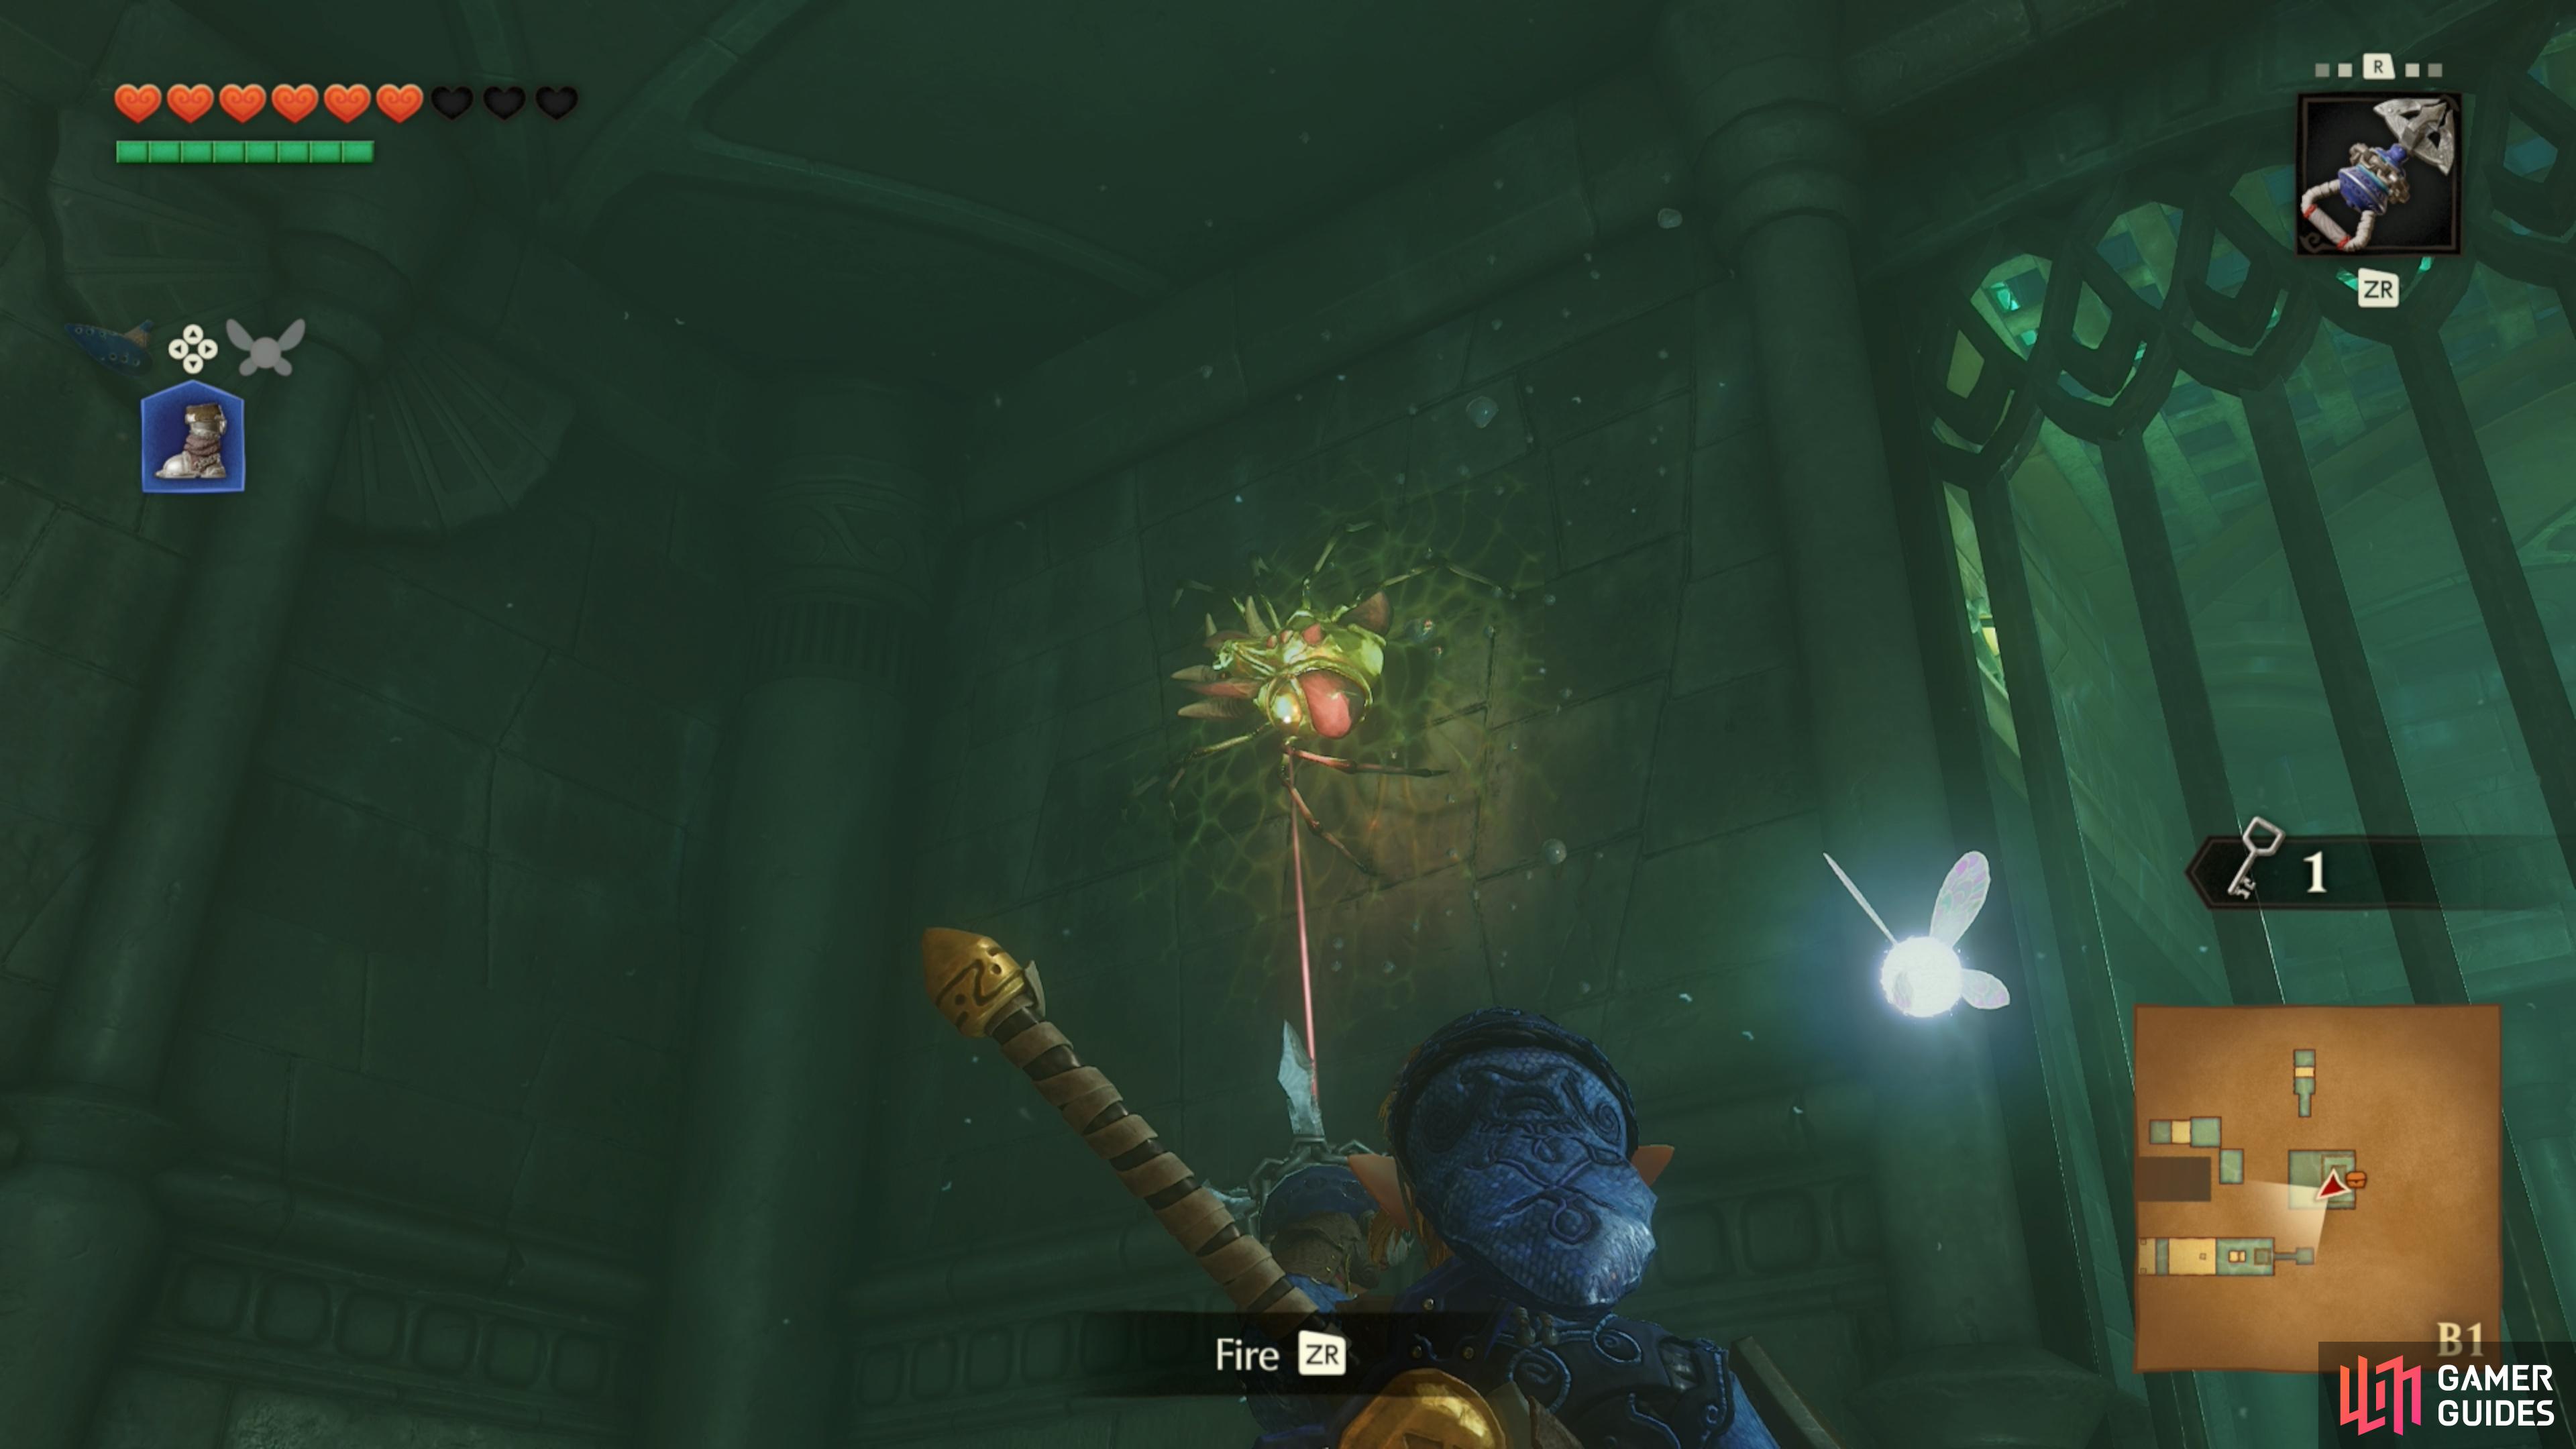
    Floor B1, inside west locked room.

    View on map
  31. 31

    Gold Skulltula Token

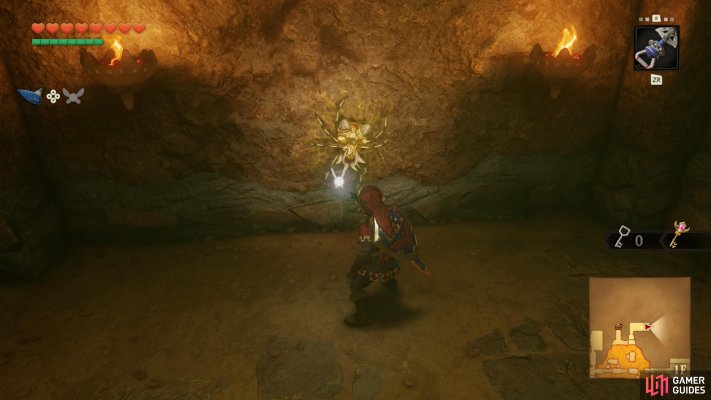
    On the wall above. "Boomerang" iconBoomerang required. Night-time only.

    View on map
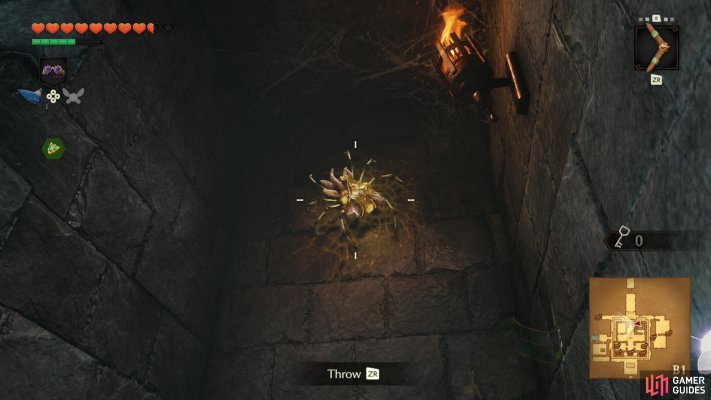
  32. 32 Gold Skulltula Token

    Gold Skulltula Token

    Floor B1. At the back of the east locked room.

    View on map
  33. 33

    Gold Skulltula Token

    On the side of the building. "Boomerang" iconBoomerang required. Night-time only.

    View on map
  34. 34

    Gold Skulltula Token

    Up on some vines inside the building. "Boomerang" iconBoomerang required. Night-time only.

    View on map
  35. 35

    Gold Skulltula Token

    Roll into the tree to knock it down.

    View on map
  36. 36

    Gold Skulltula Token

    Inside the hidden hole. "Boomerang" iconBoomerang required.

    View on map
  37. 37

    Gold Skulltula Token

    Underneath the bridge. "Boomerang" iconBoomerang required. Night-time only.

    View on map
  38. 38 Gold Skulltula Token

    Gold Skulltula Token

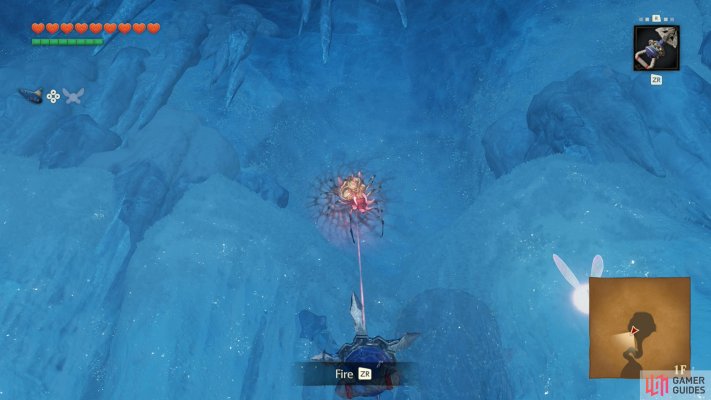
    On the vines near the top of the first room. Use your "Hookshot" iconHookshot to snag it.

    View on map
  39. 39 Gold Skulltula Token

    Gold Skulltula Token

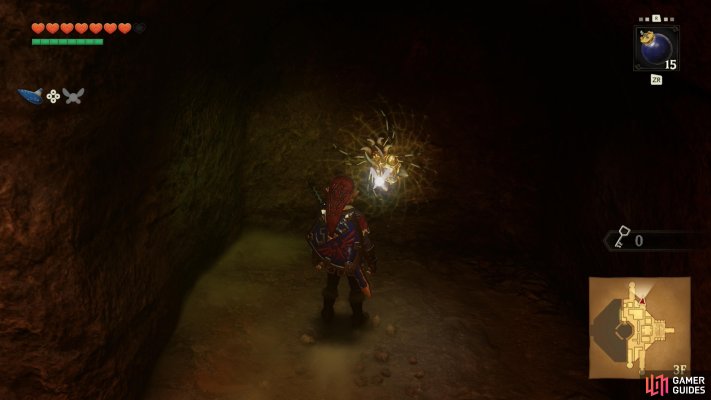
    Rolling boulder room, towards the north, behind a cracked wall.

    View on map
  40. 40 Gold Skulltula Token

    Gold Skulltula Token

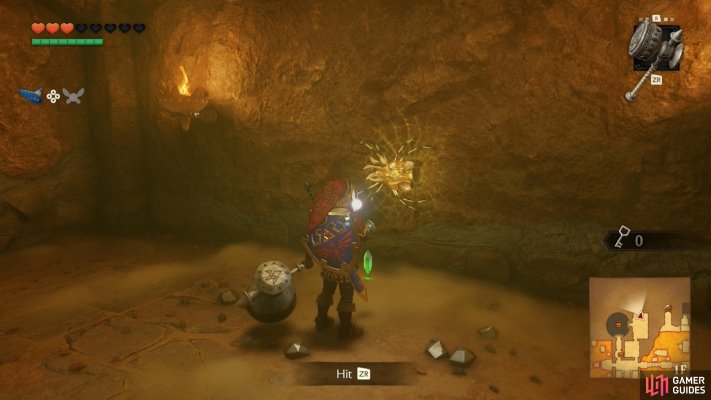
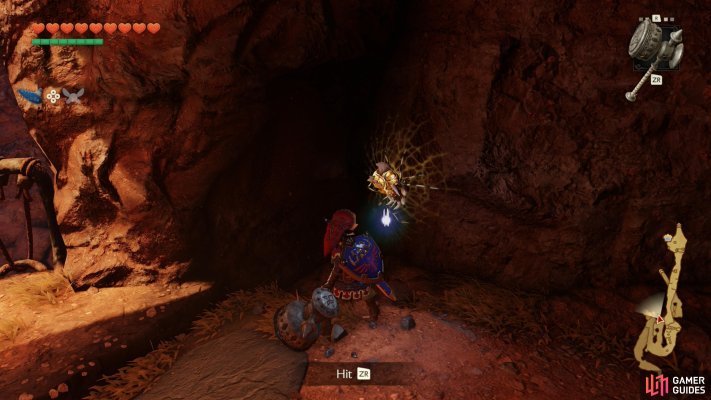
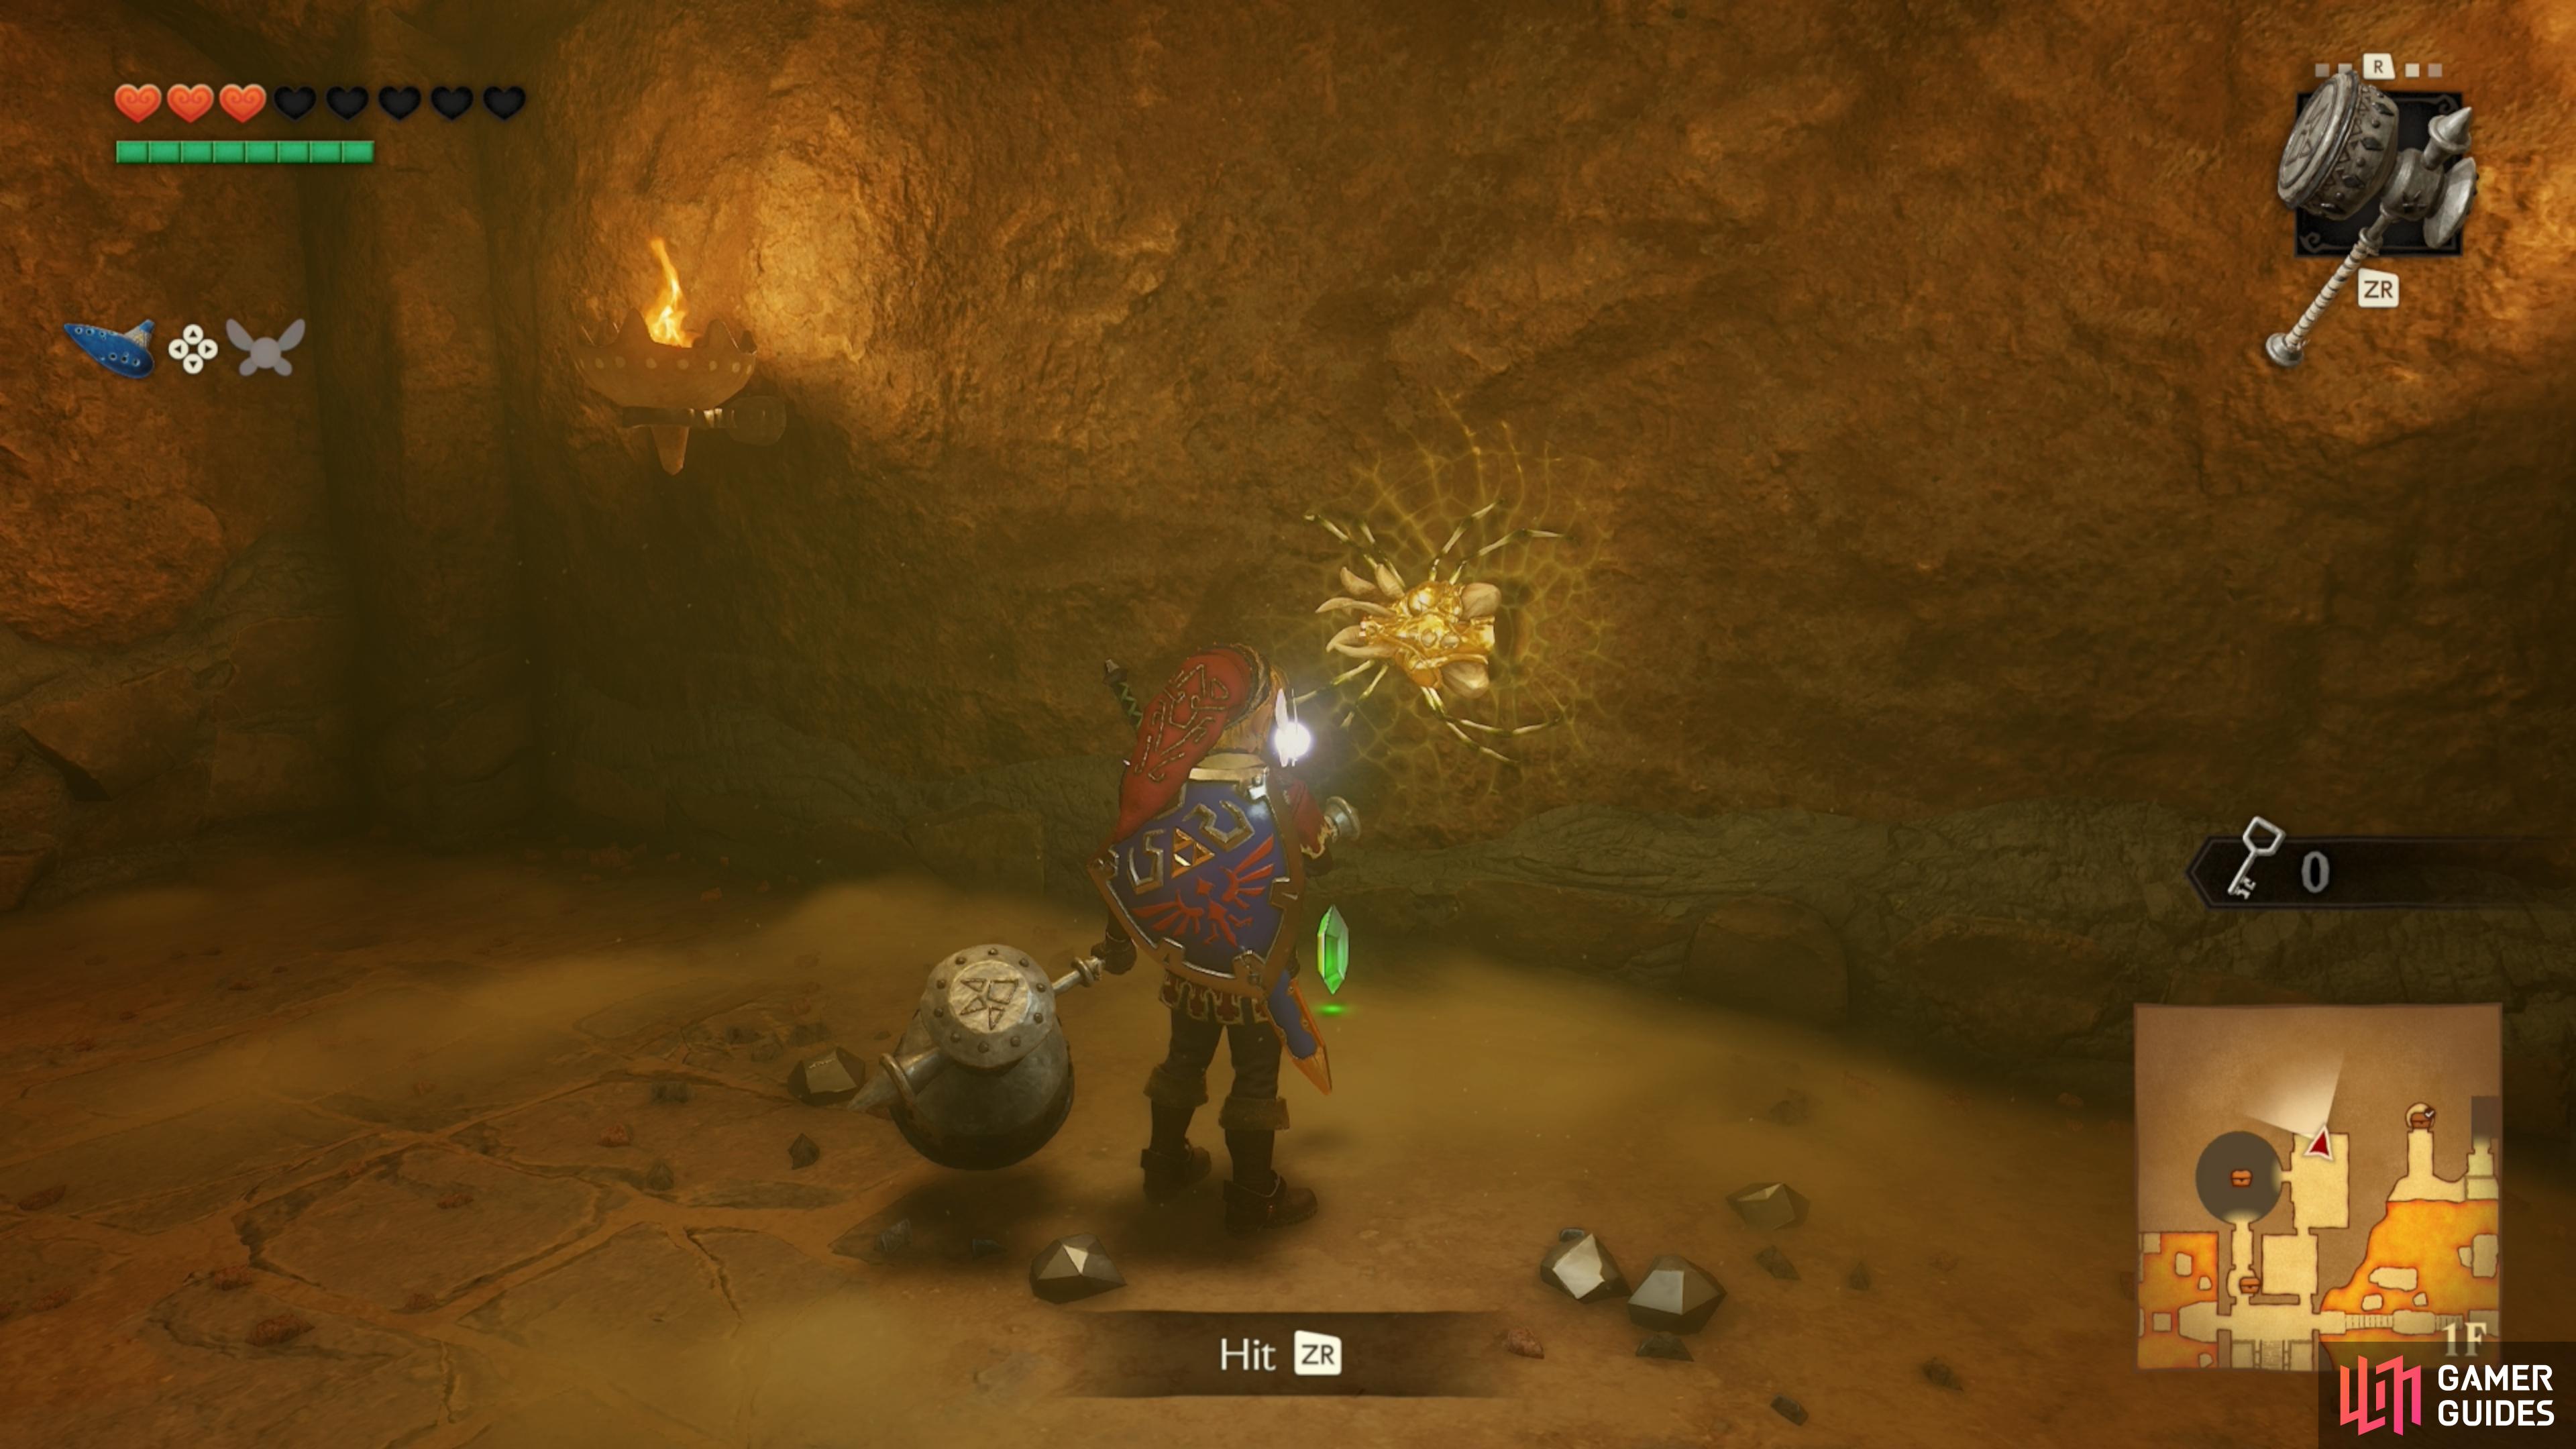
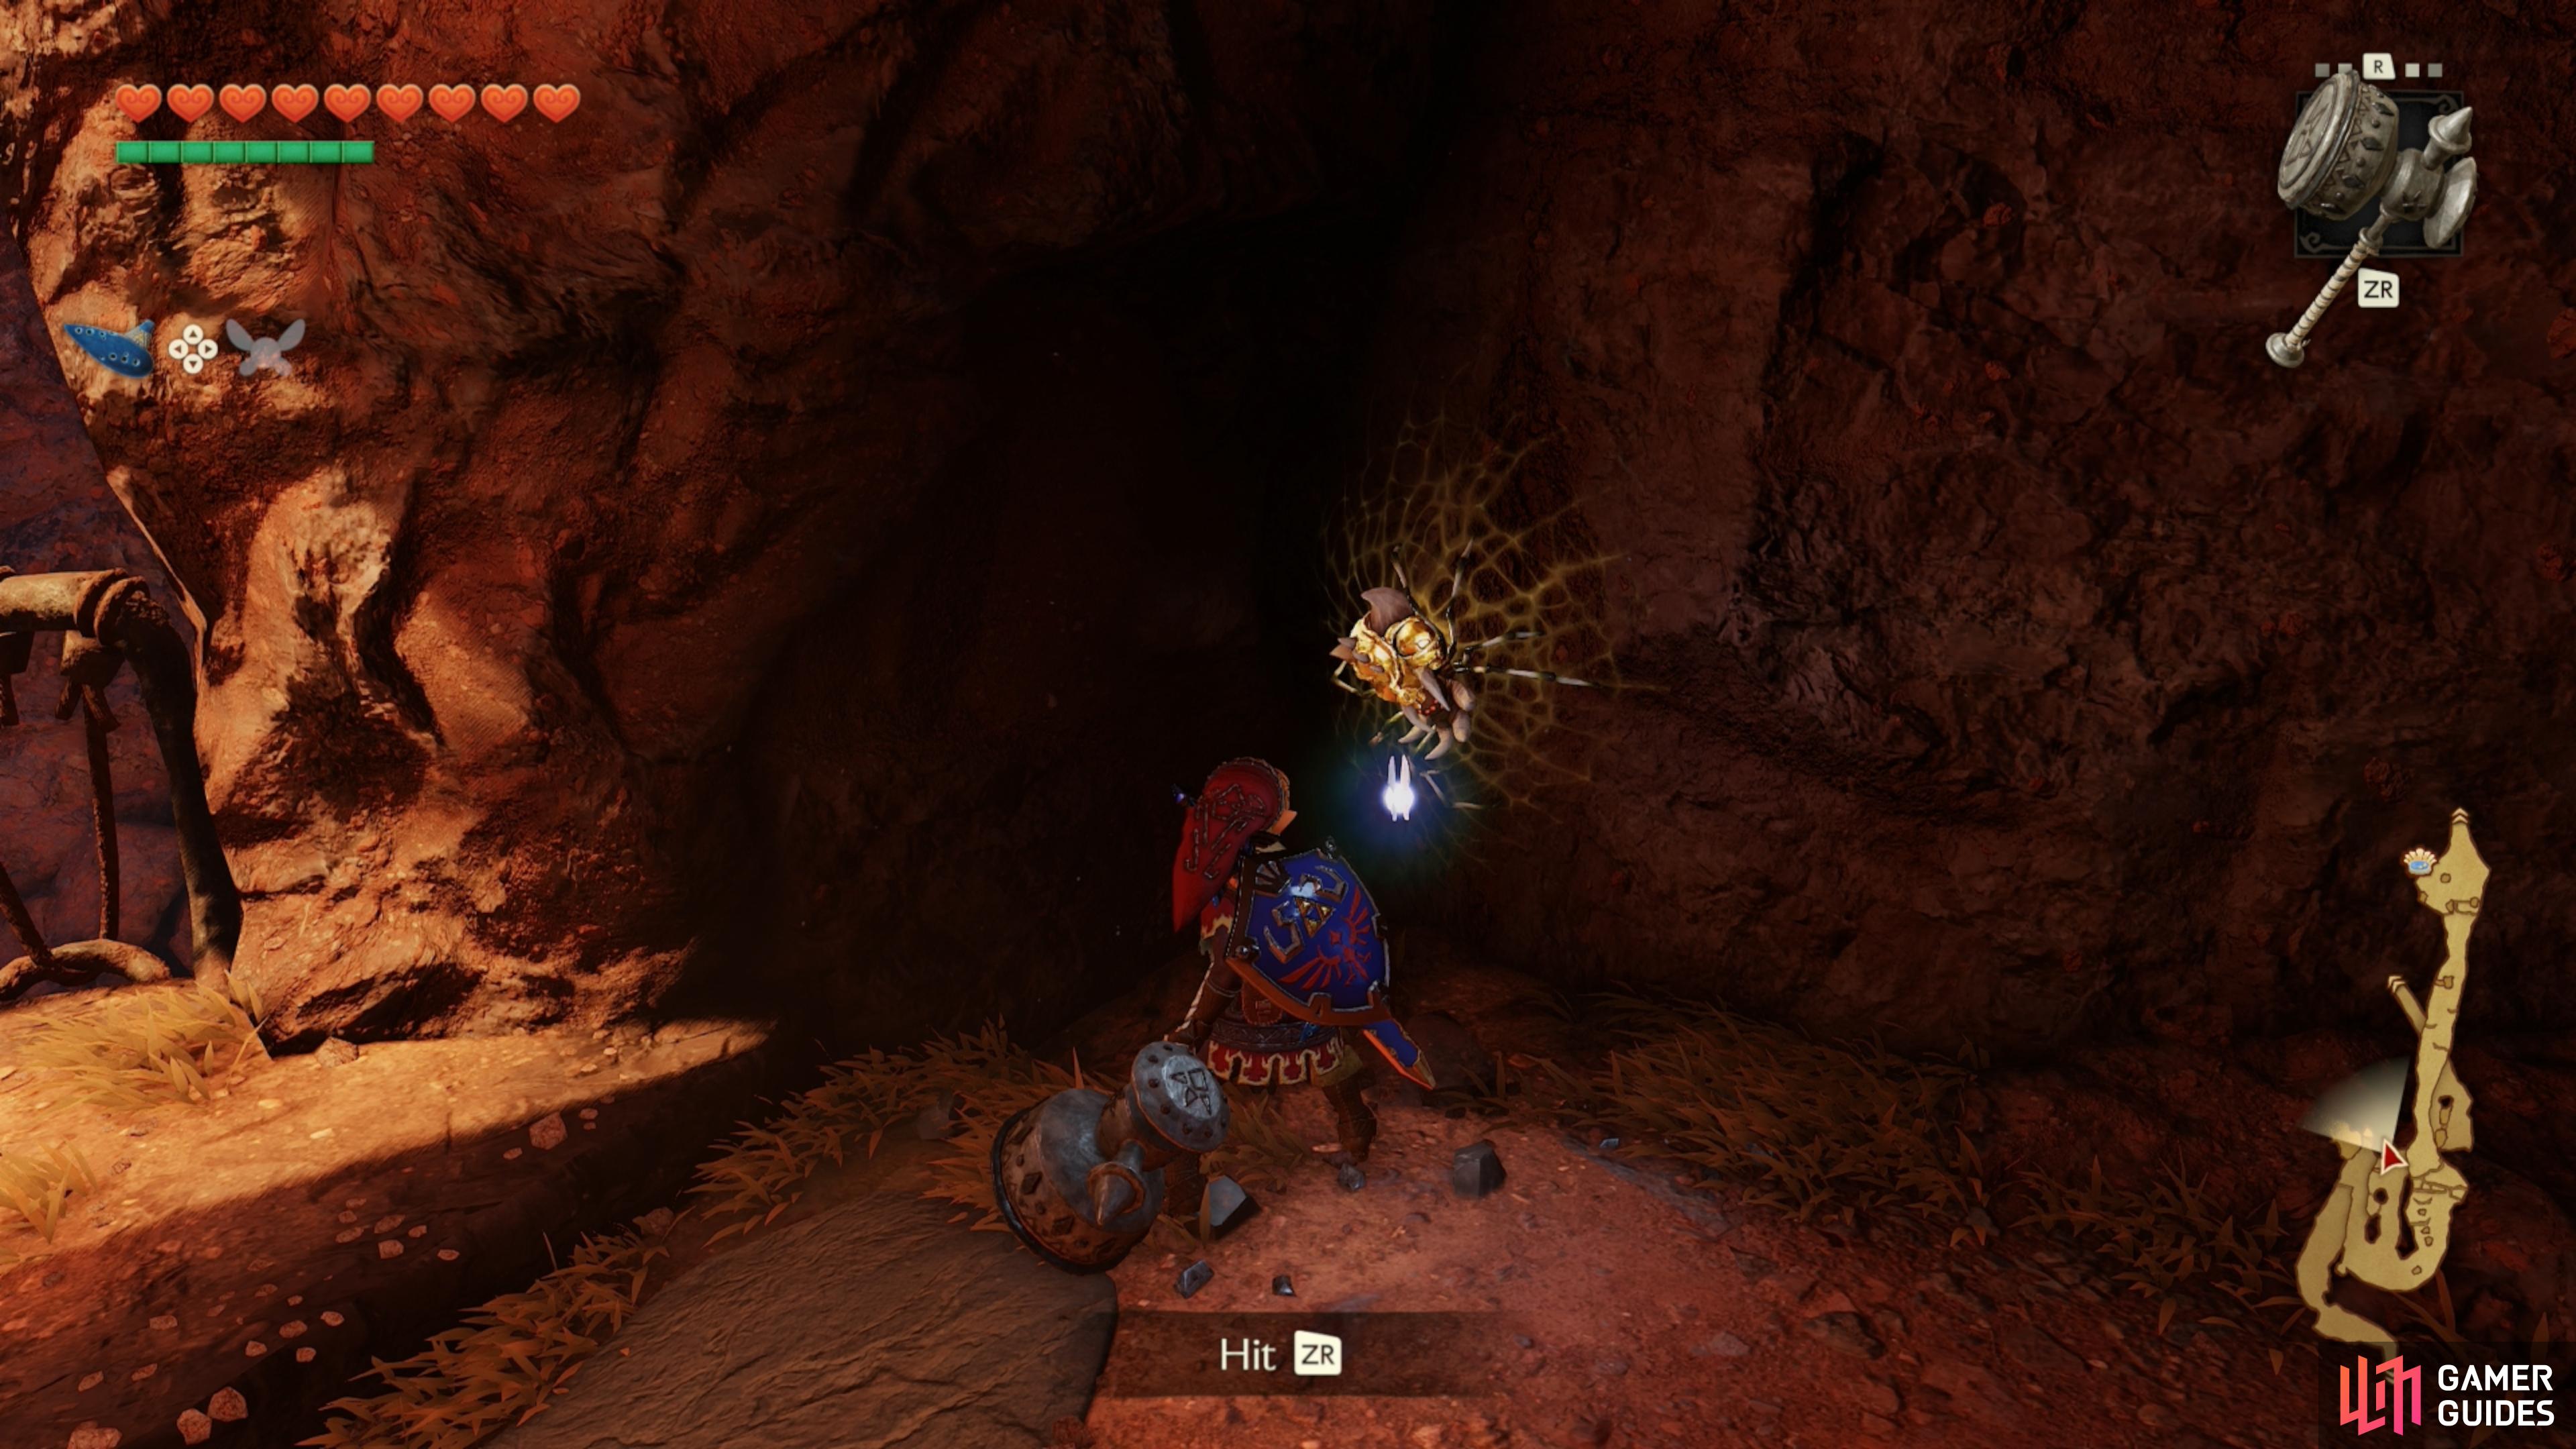
    Behind a boulder you can smash with the "Megaton Hammer" iconMegaton Hammer.

    View on map
  41. 41 Gold Skulltula Token

    Gold Skulltula Token

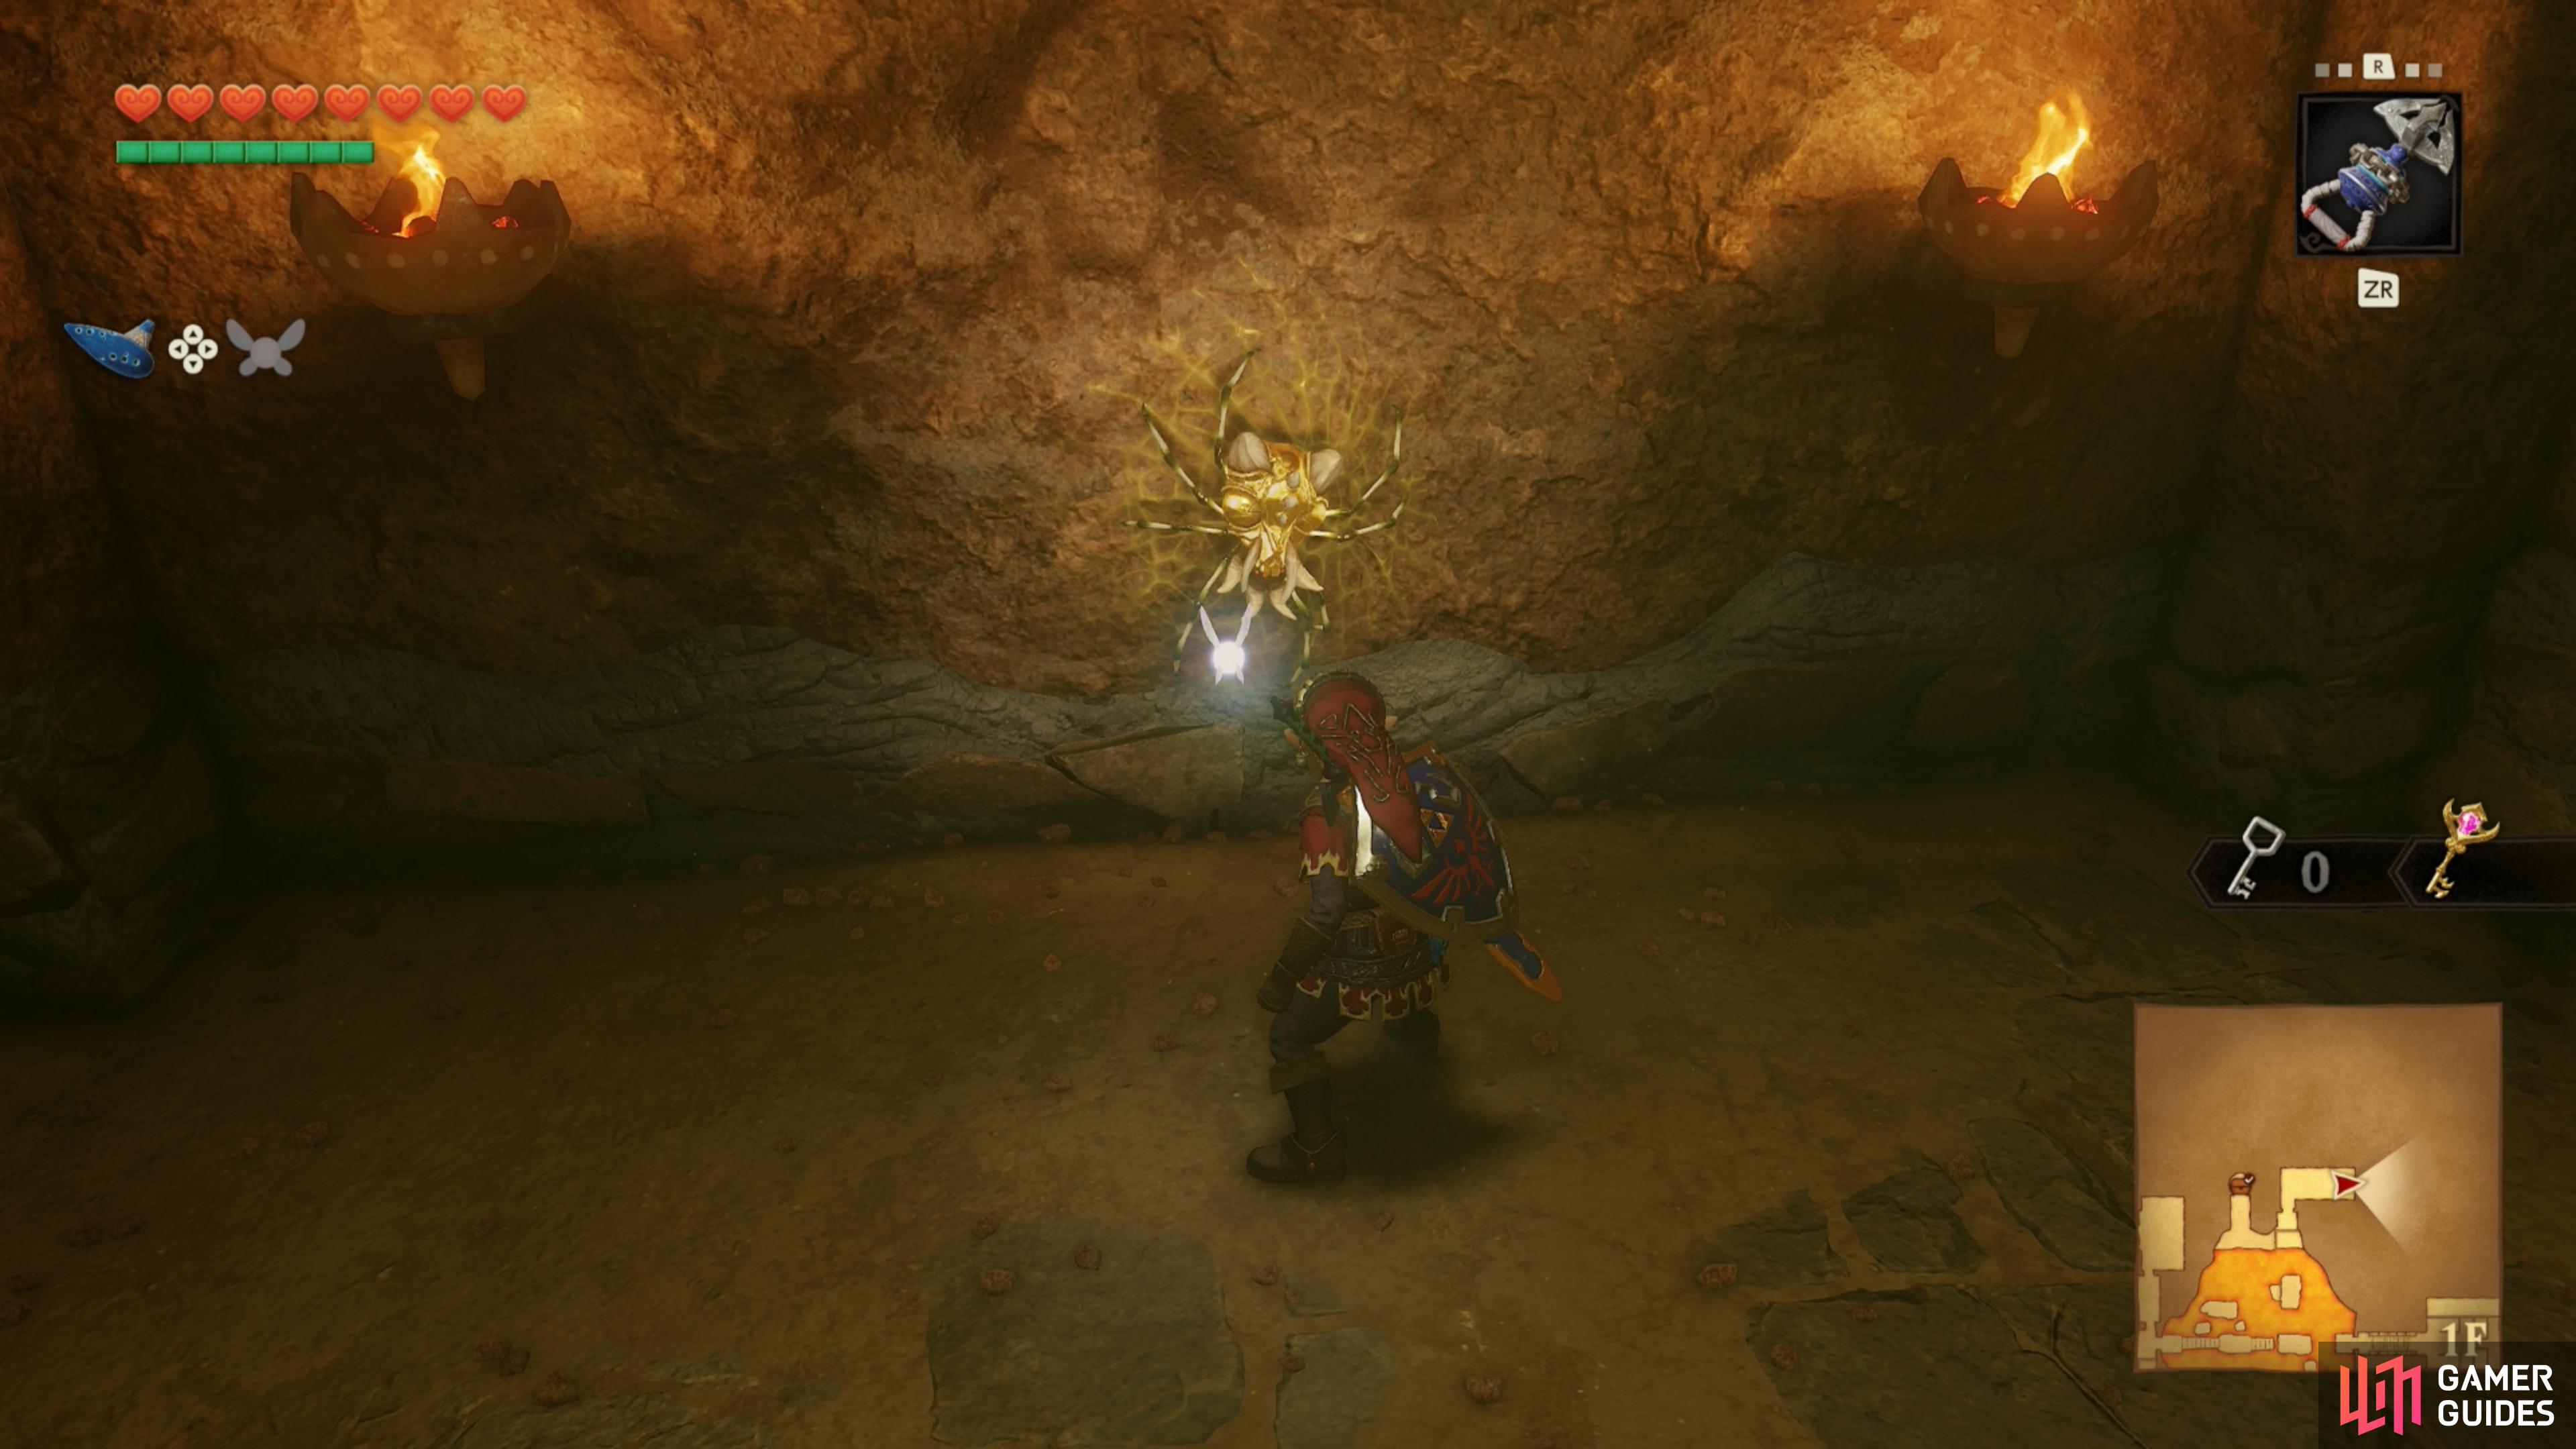
    Floor 1F, towards the north. Use a lava platform to get up, then play the "Song of Time" iconSong of Time to move the block down, so you can step on it.

    View on map
  42. 42 Gold Skulltula Token

    Gold Skulltula Token

    Along the way to Goron City. Use the "Megaton Hammer" iconMegaton Hammer to smash a boulder by a corner.

    View on map
  43. 43 Gold Skulltula Token

    Gold Skulltula Token

    Up on the wall in the spinning blade room.

    View on map
  44. 44 Gold Skulltula Token

    Gold Skulltula Token

    End of the east tunnel, behind a pillar.

    View on map
  45. 45 Gold Skulltula Token

    Gold Skulltula Token

    West room, near the ceiling on the entrance side.

    View on map
  46. 46 Gold Skulltula Token

    Gold Skulltula Token

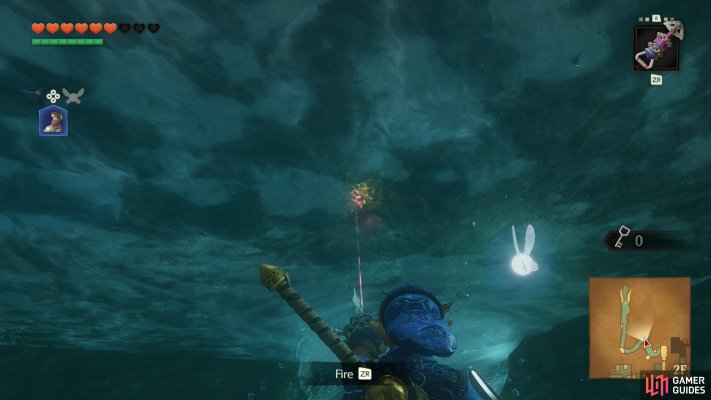
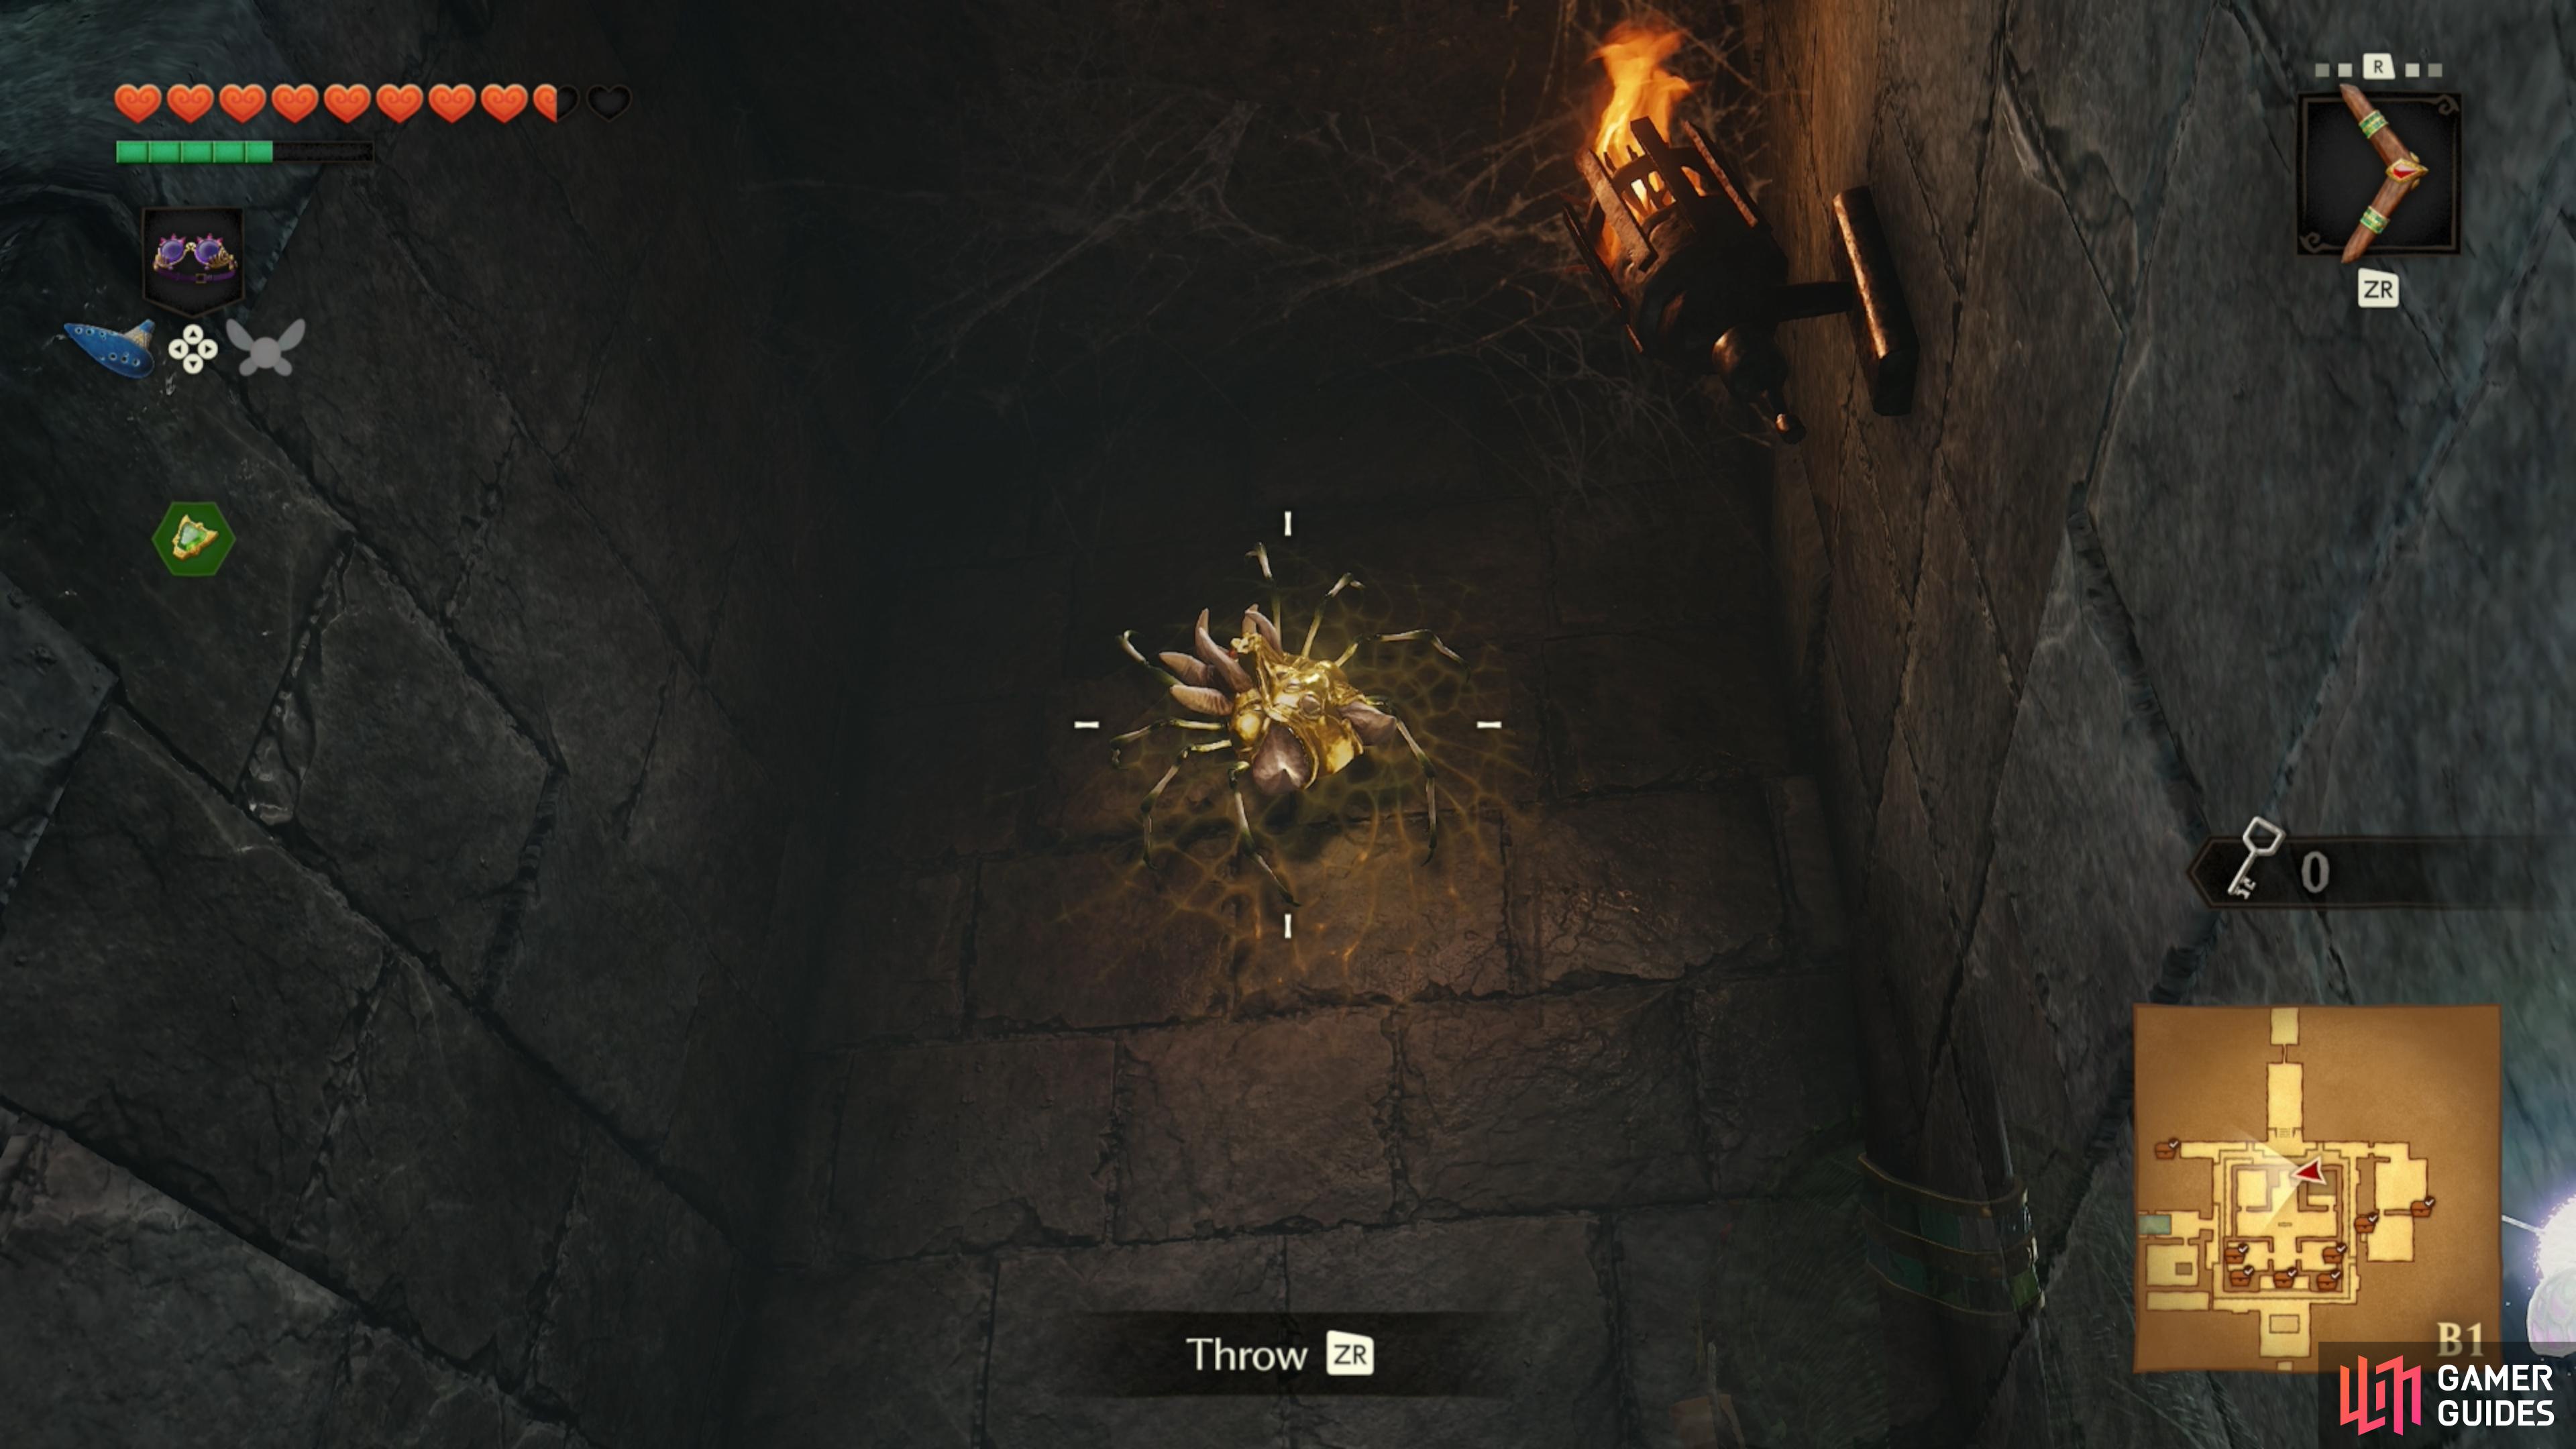
    Floor B1, east isolated room. On the wall in the treasure chest room. Accessible by passing through the gap in the middle of the main/central area on Floor 1F when the water level is not at the lowest.

    View on map
  47. 47 Gold Skulltula Token

    Gold Skulltula Token

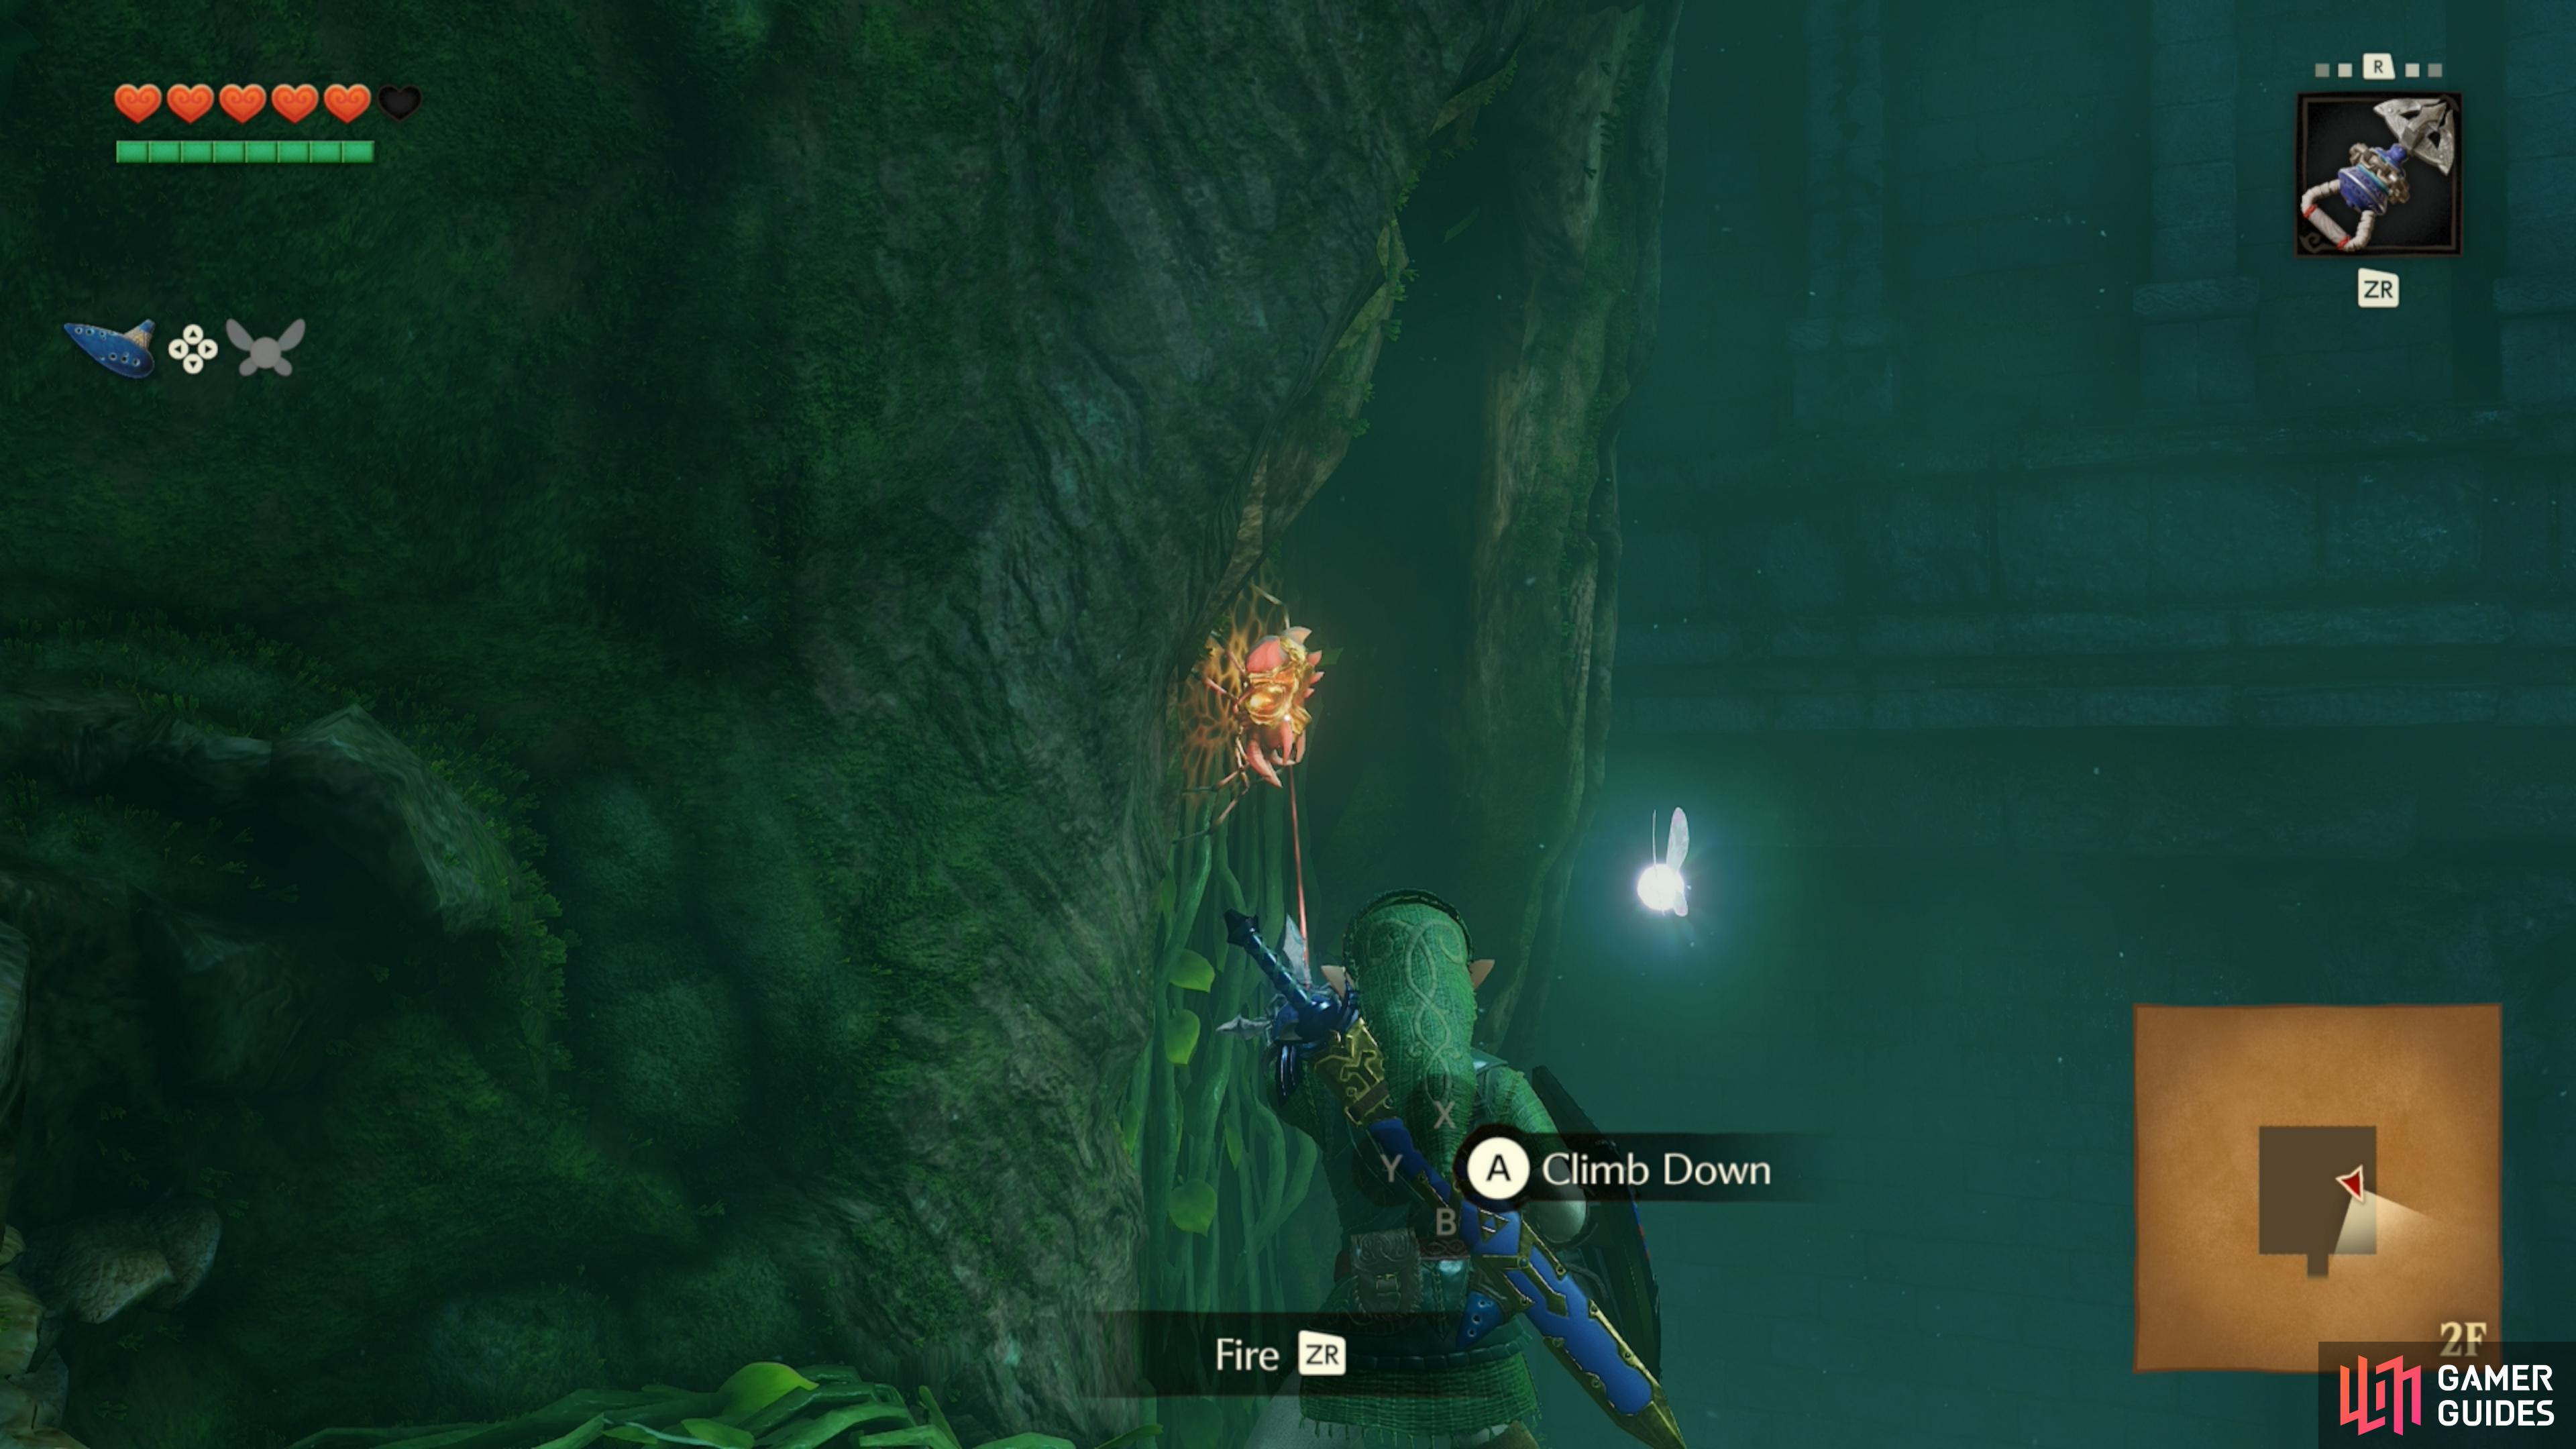
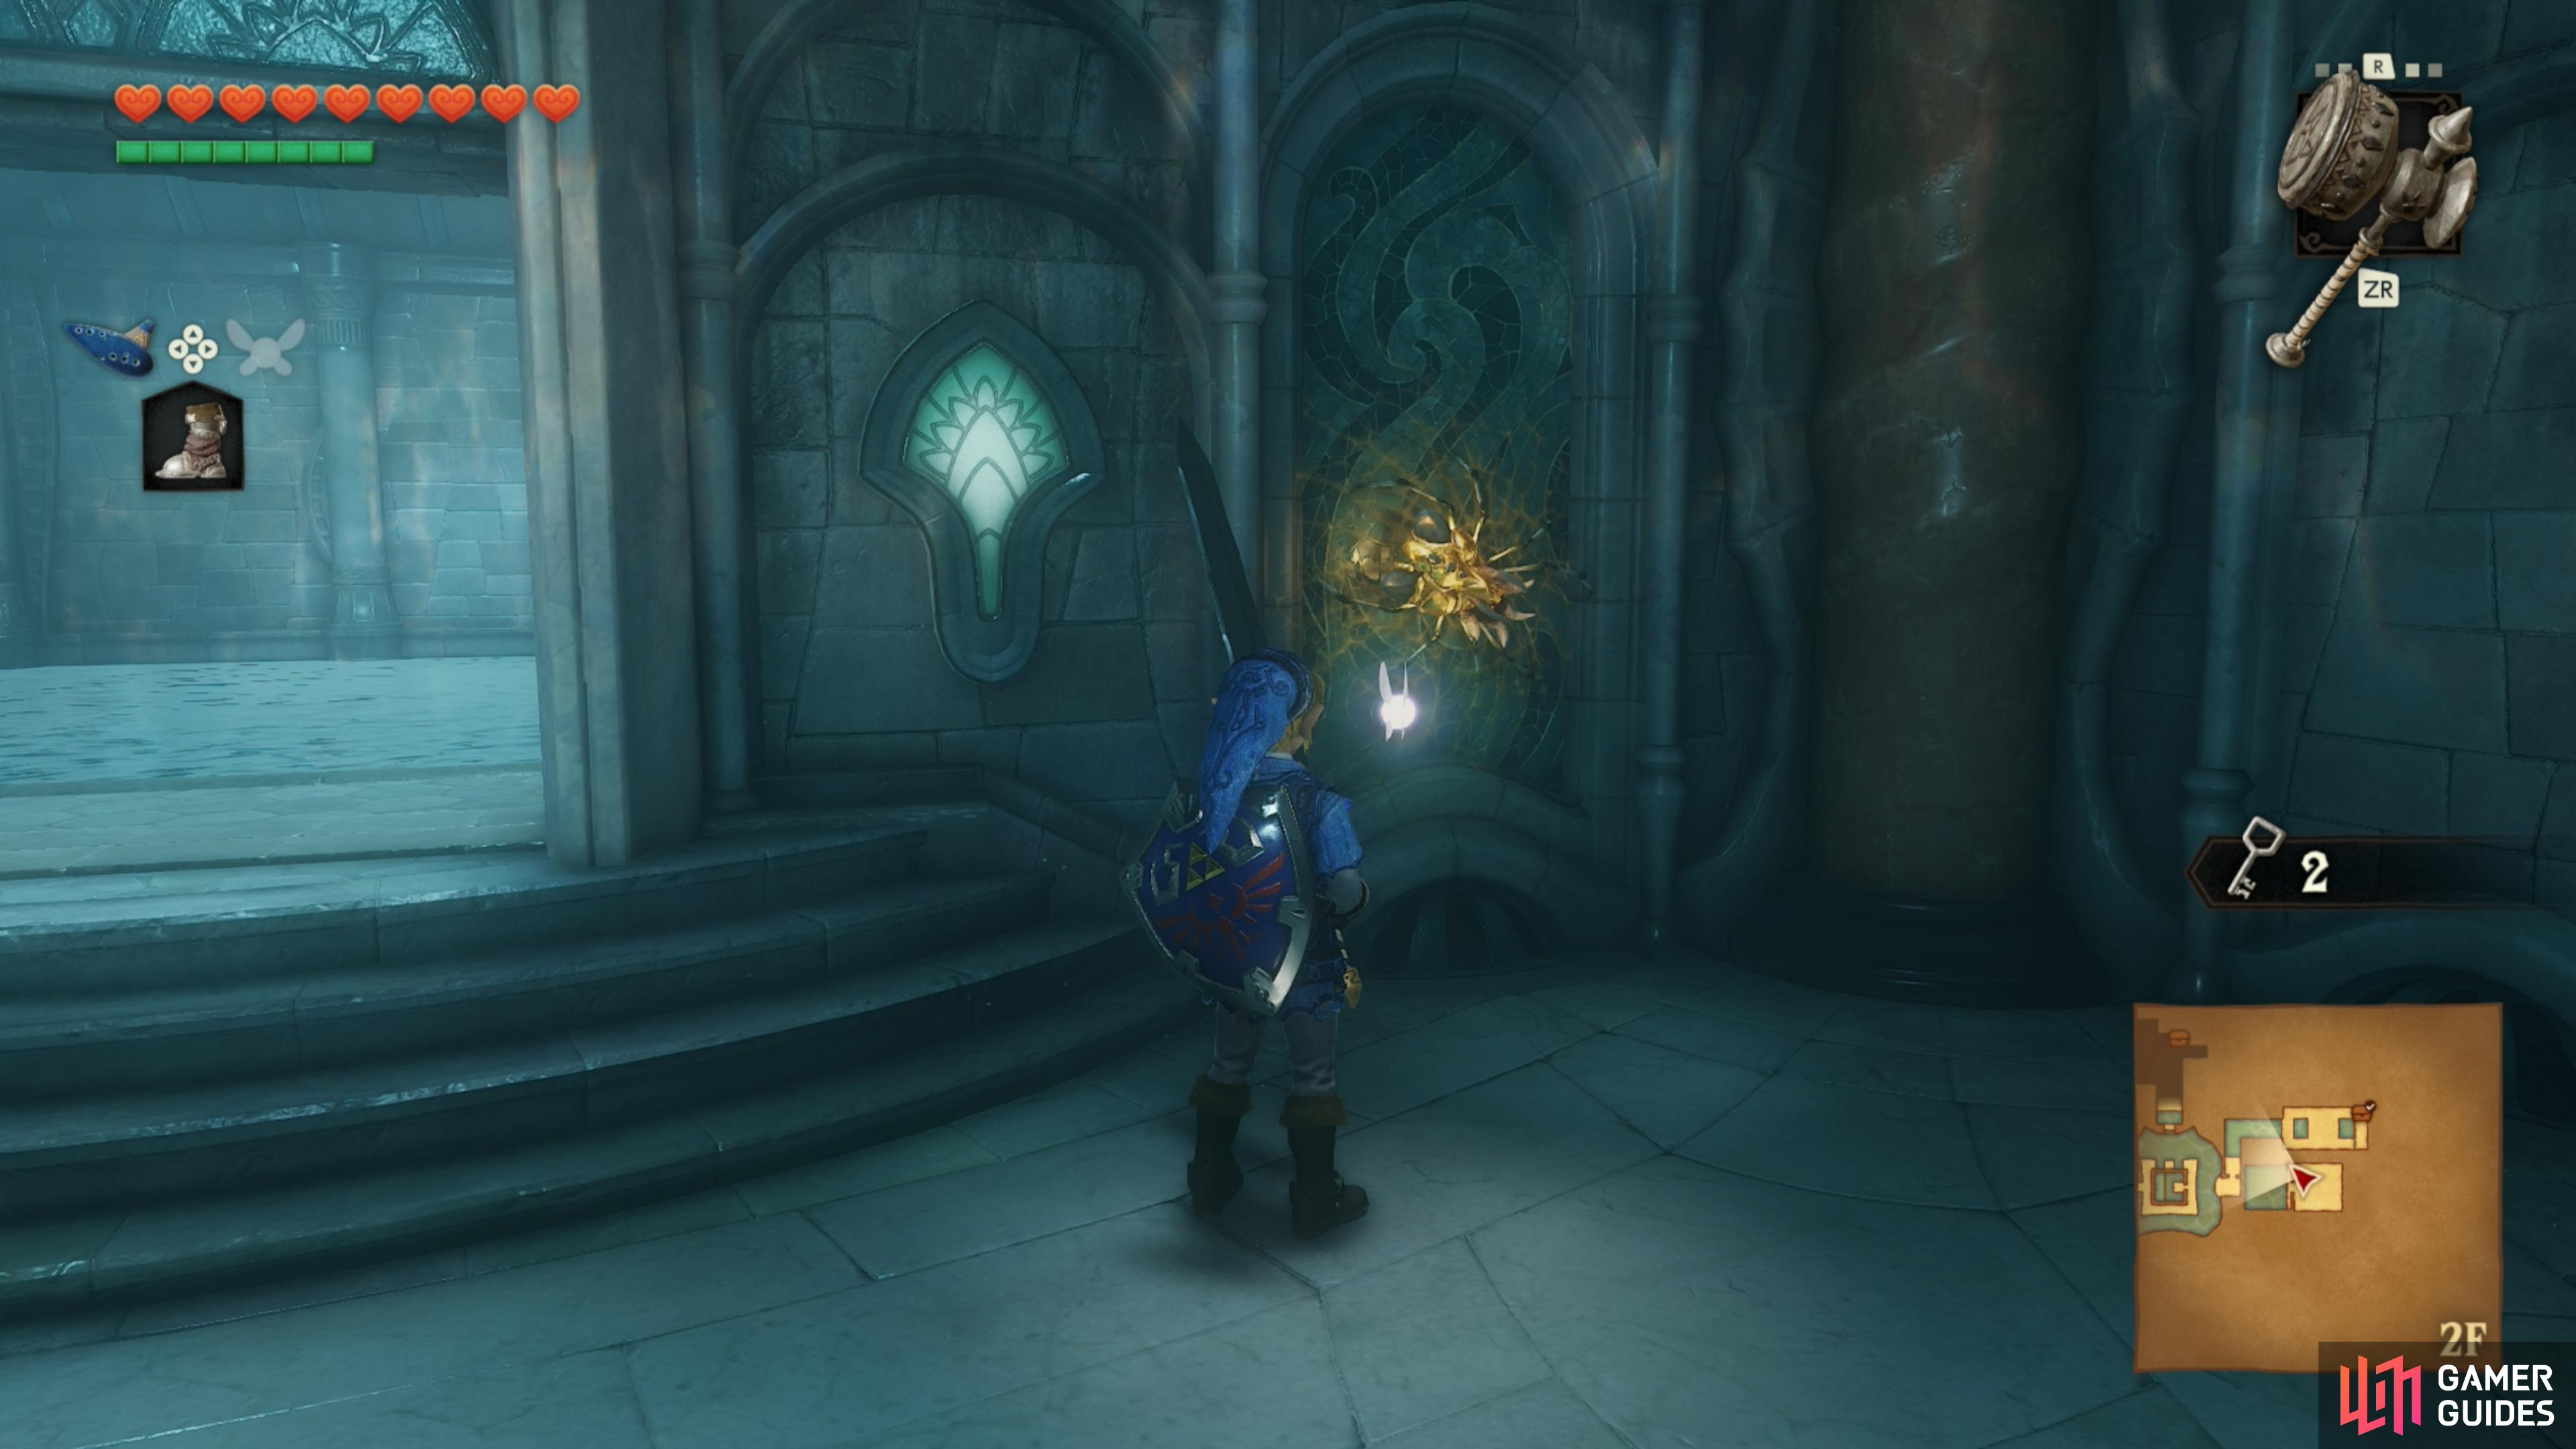
    Floor 2F, east isolated room. Back of the wall. You can access from Floor 1F when the water is at the middle level.

    View on map
  48. 48 Gold Skulltula Token

    Gold Skulltula Token

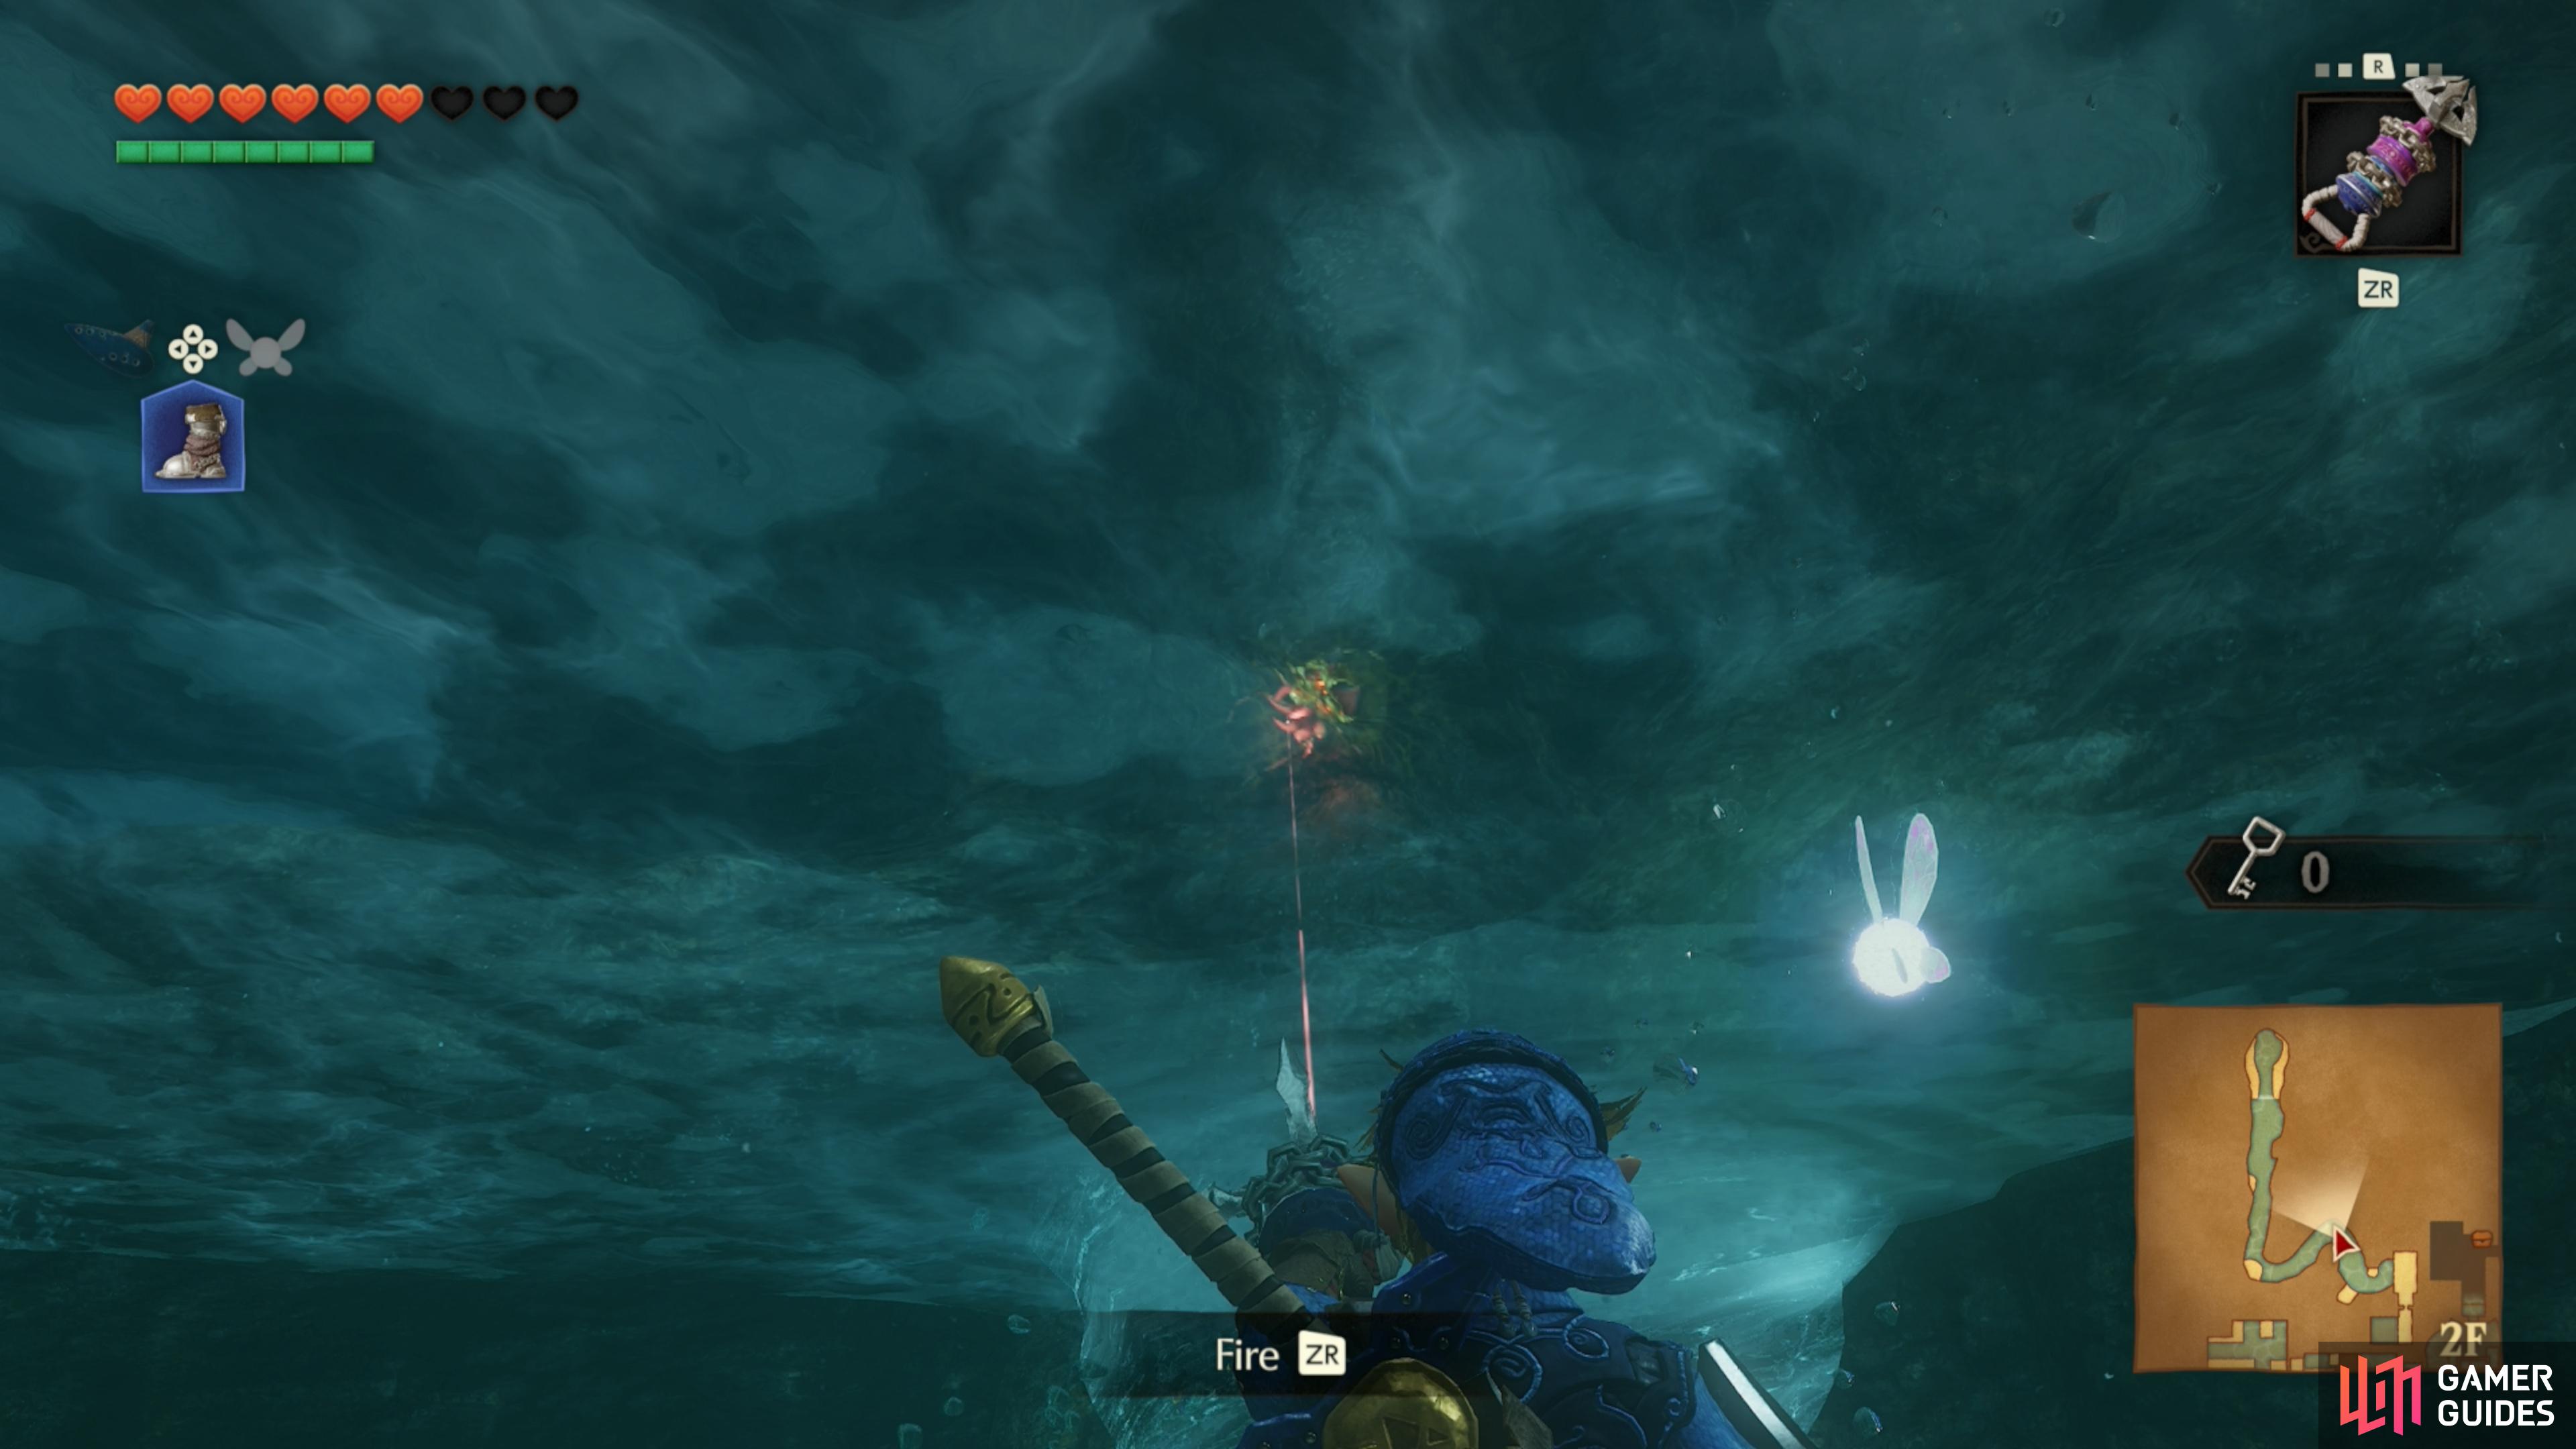
    Floor 2F, whirlpool tunnel. You can reach here from the "Dark Link" iconDark Link boss room.

    View on map
  49. 49 Gold Skulltula Token

    Gold Skulltula Token

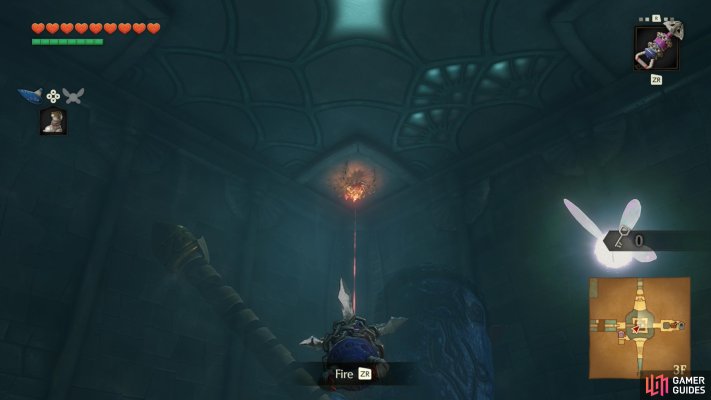
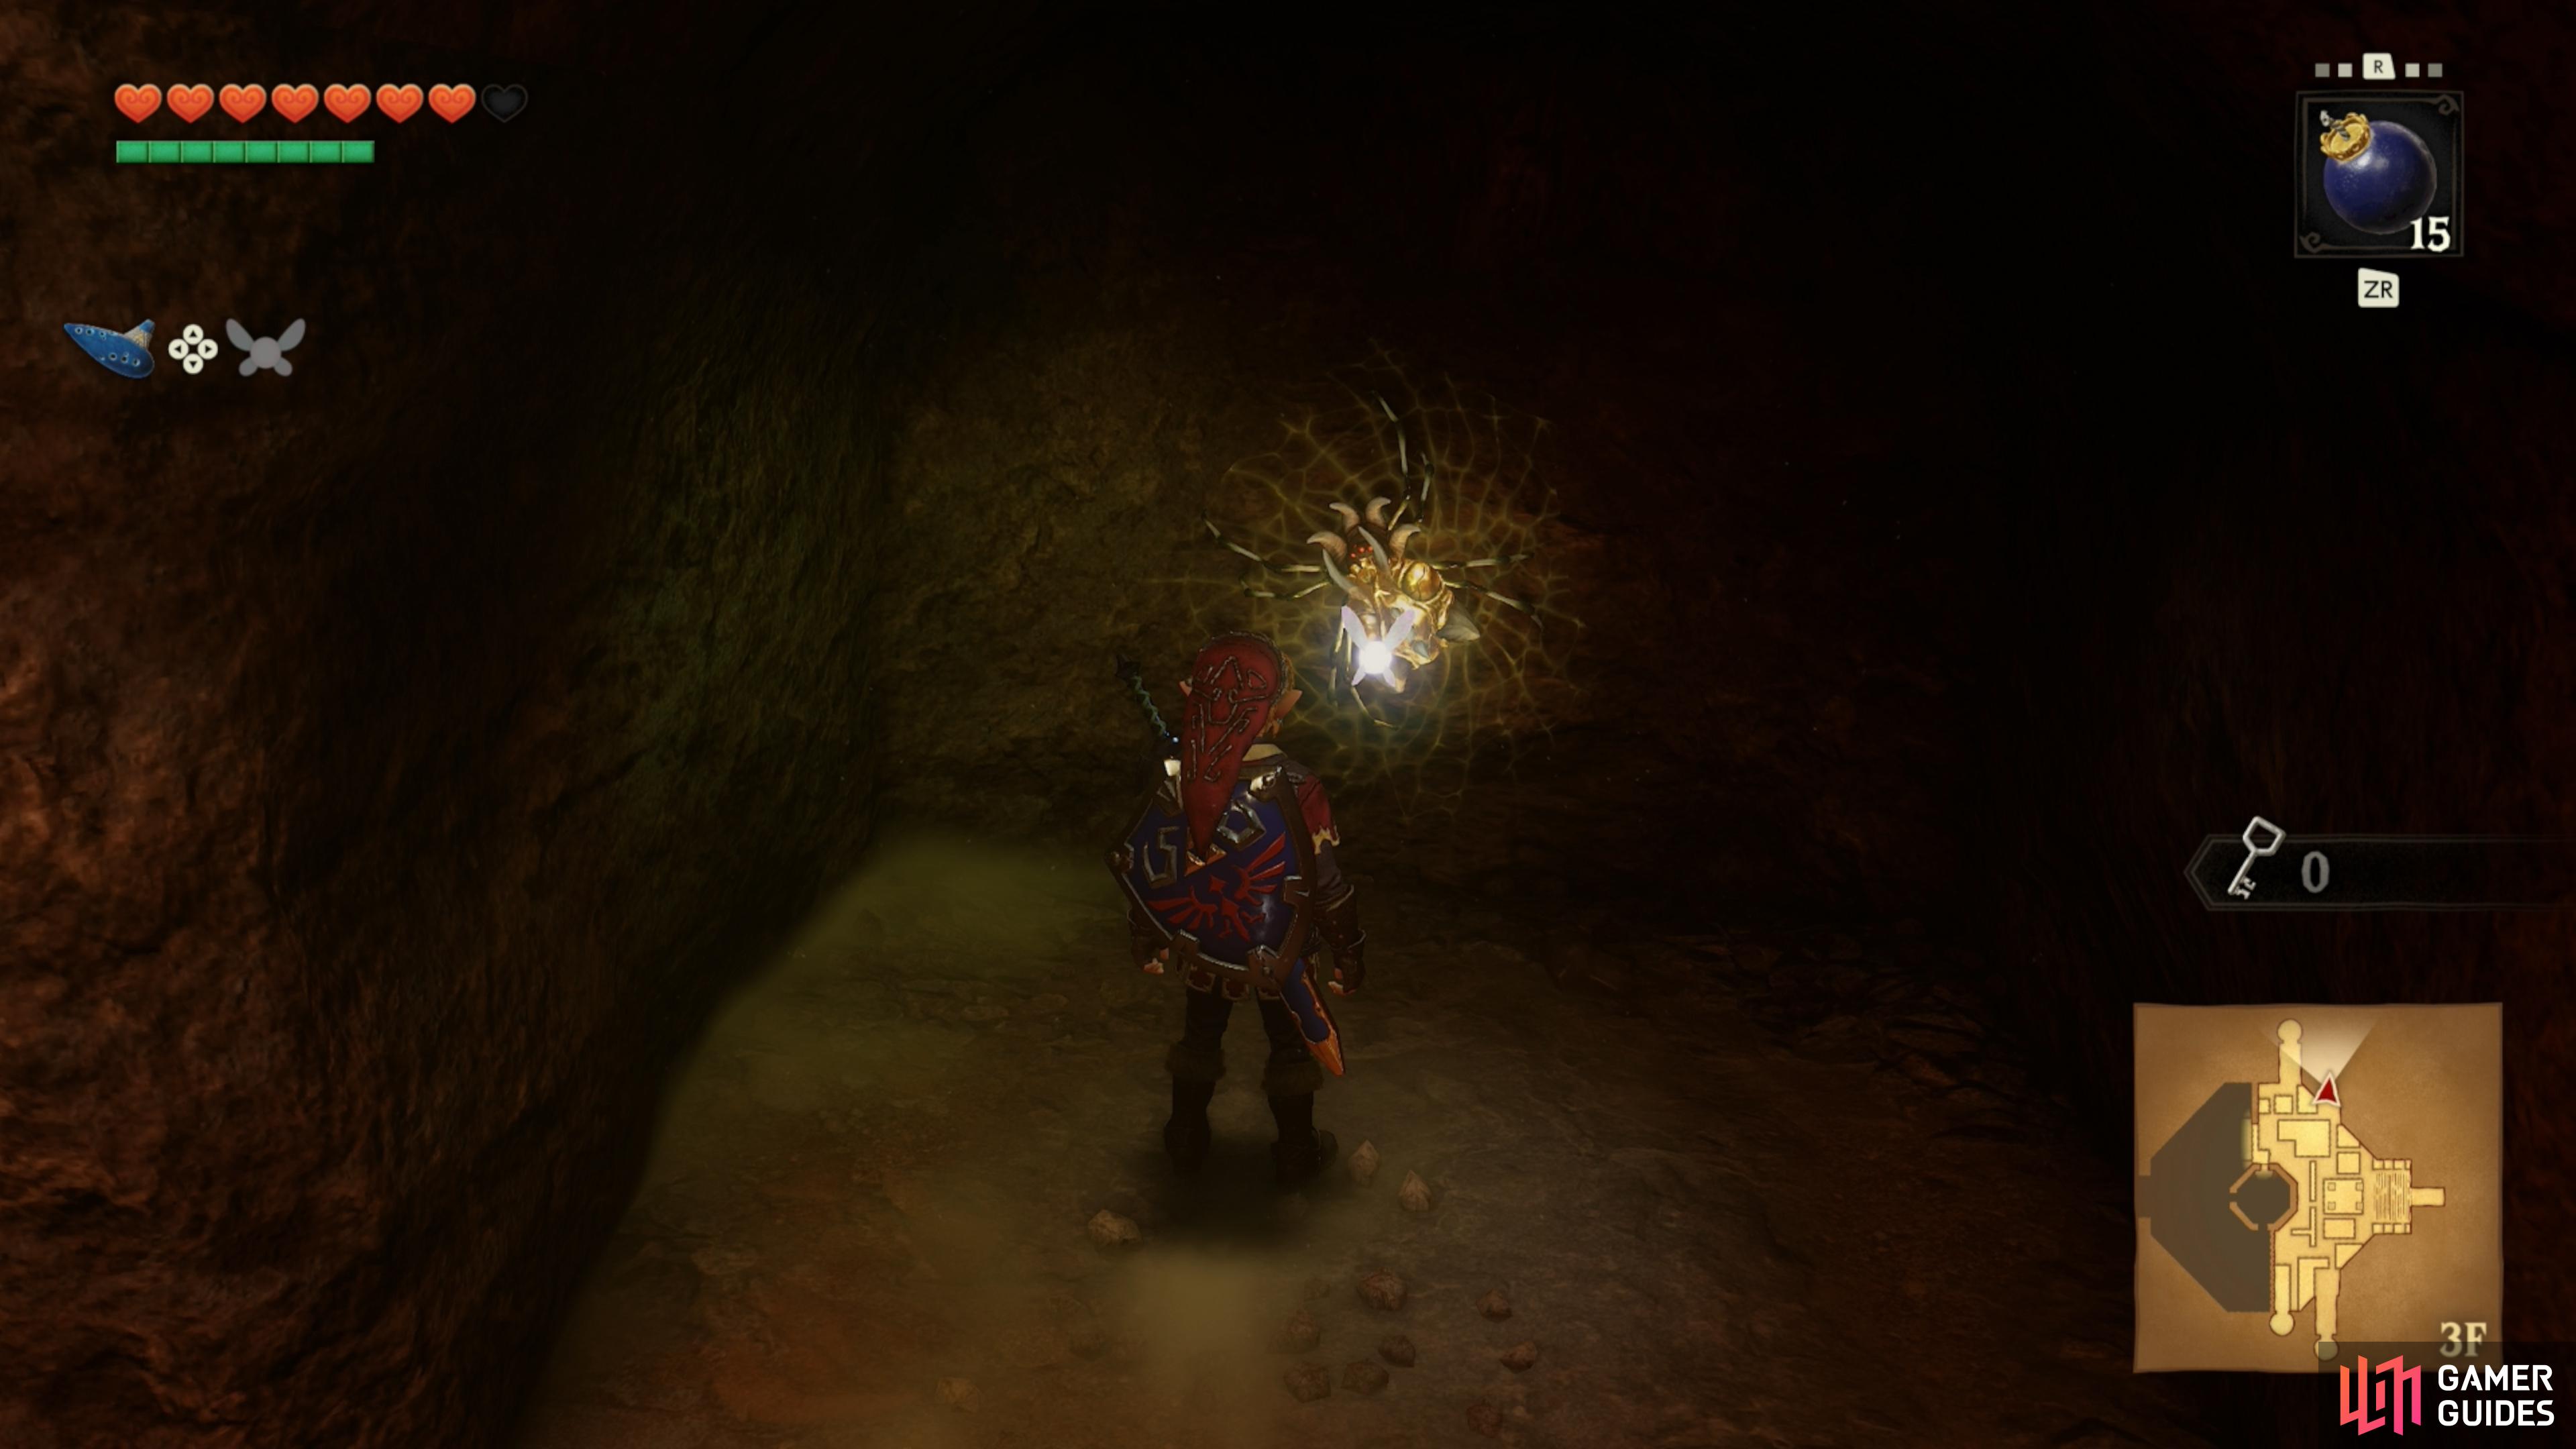
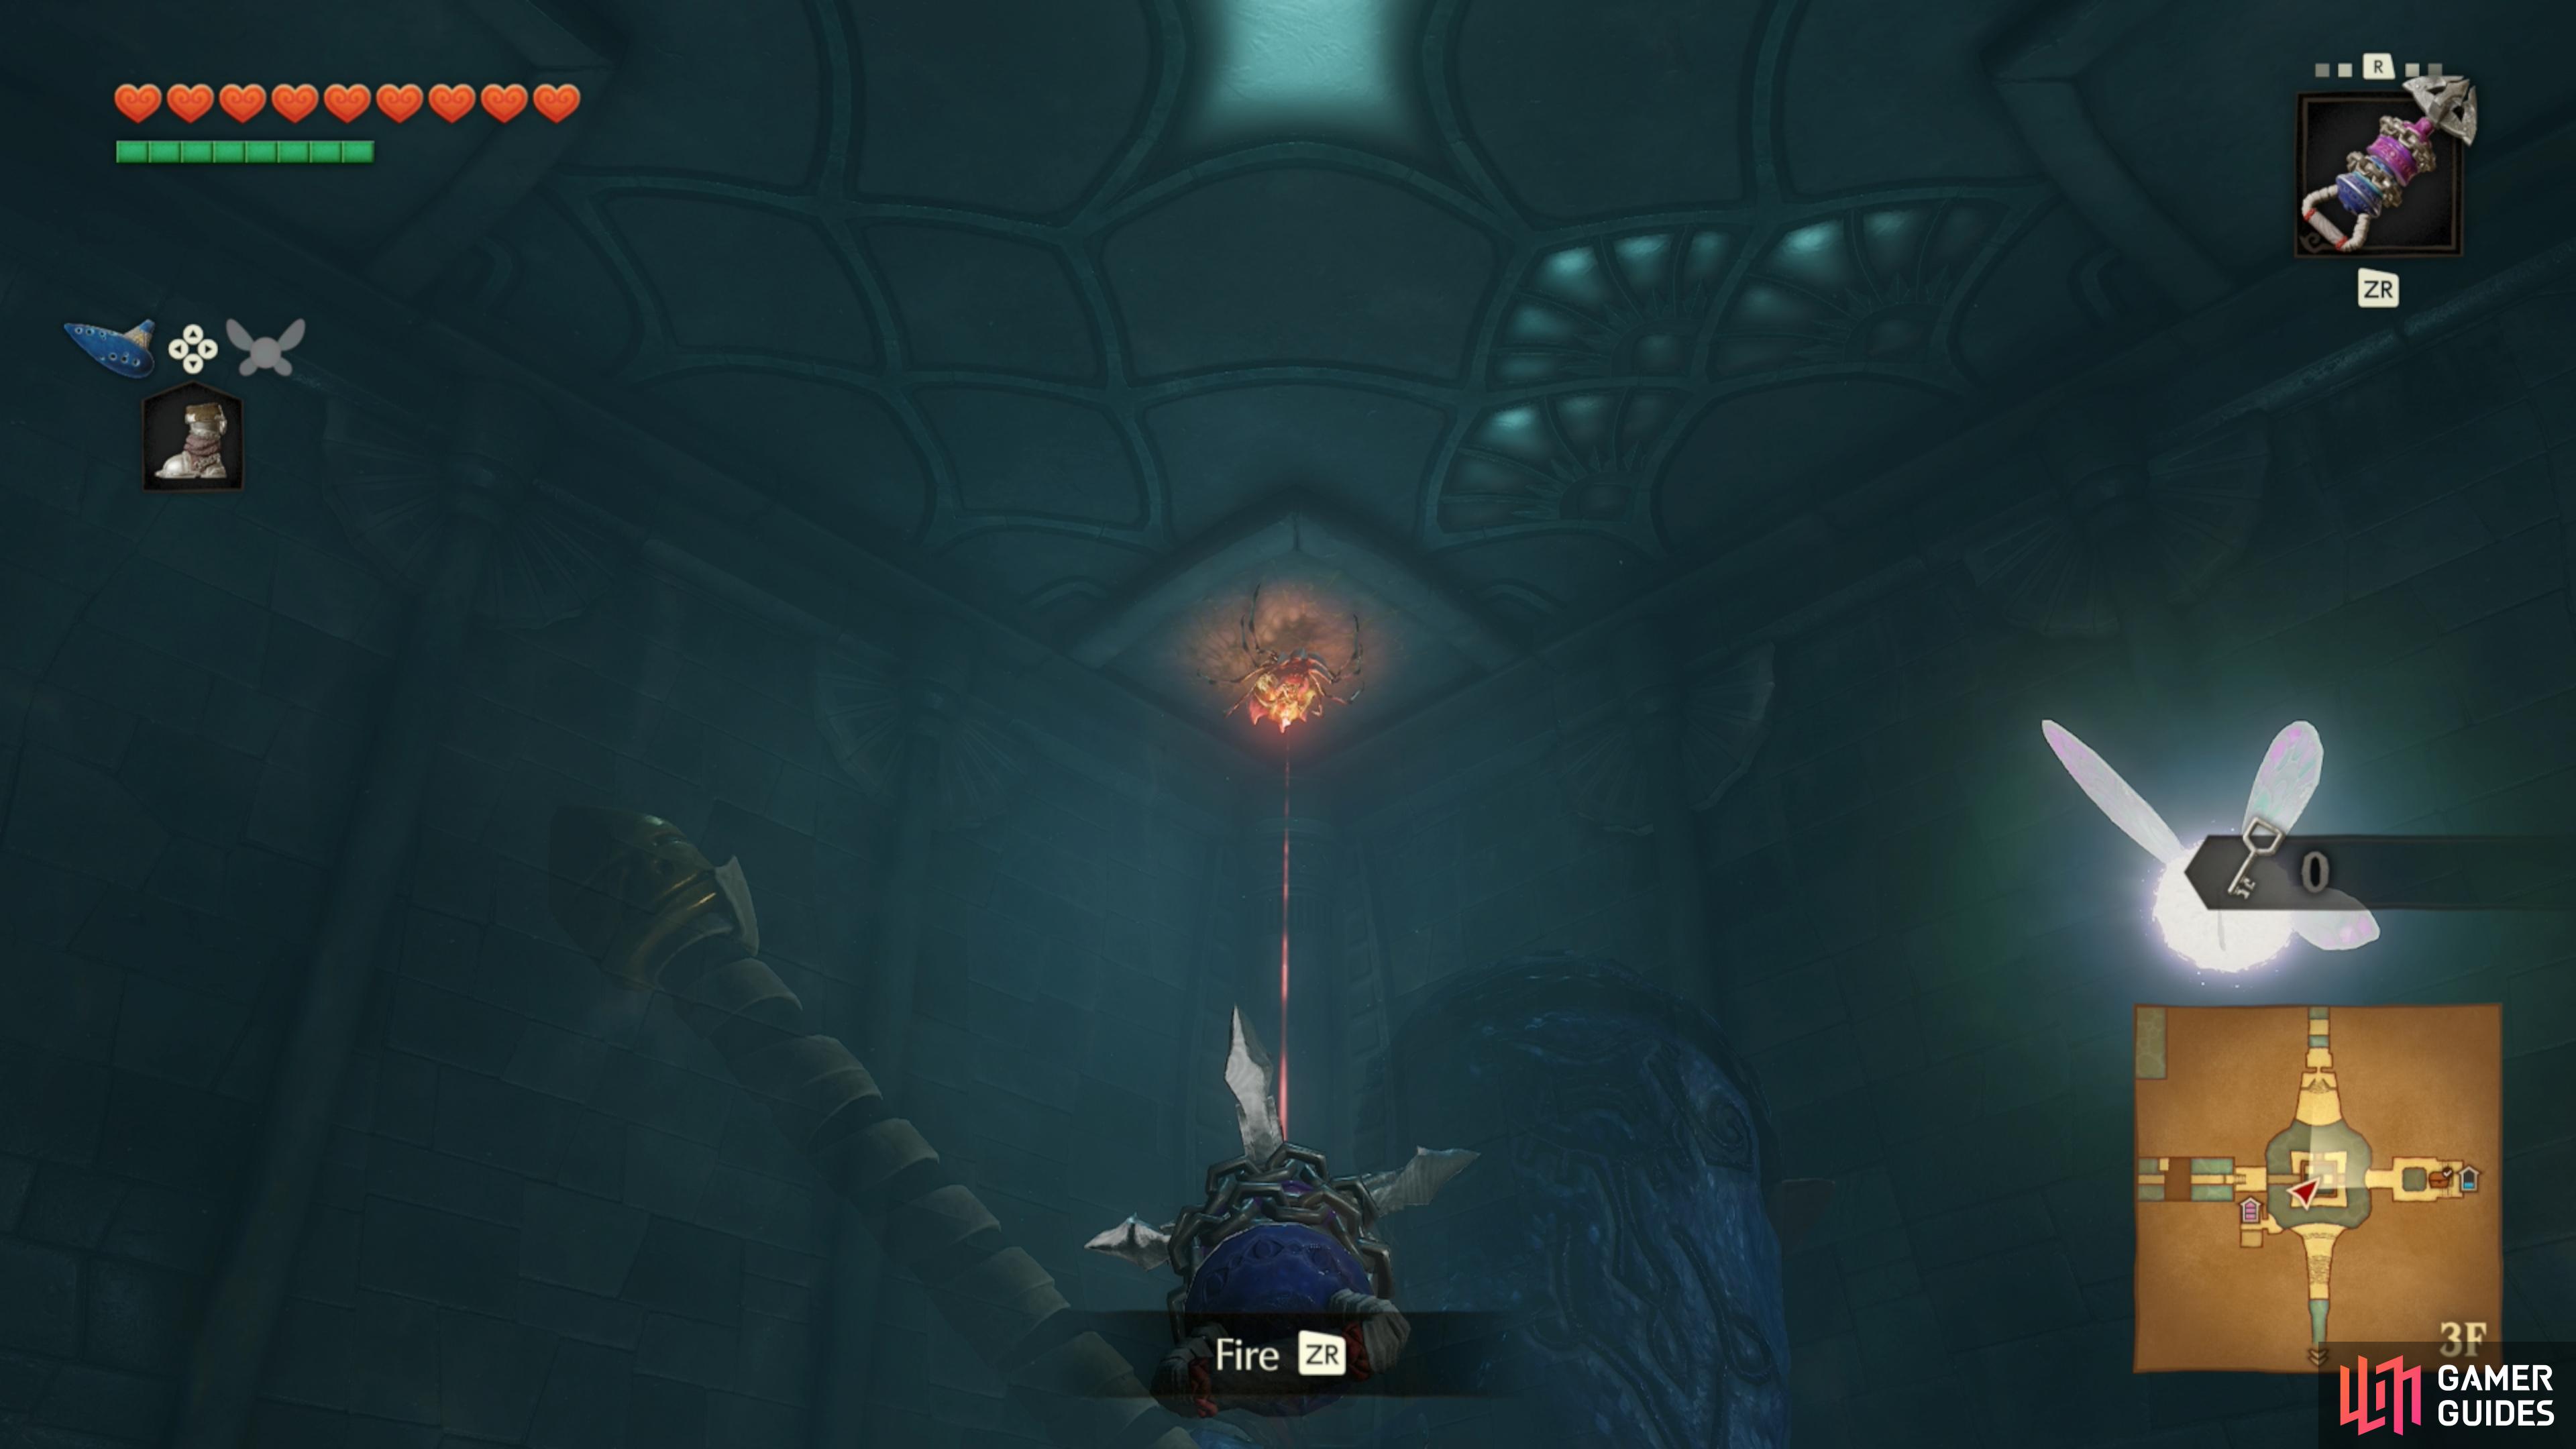
    Floor 3F, inside the tower-like building in the main/central area. Requires the "Longshot" iconLongshot to climb up and reach.

    View on map
  50. 50

    Gold Skulltula Token

    Inside the laboratory, sink to the bottom of the pool with "Iron Boots" iconIron Boots and destroy the crate to reveal the "Gold Skulltula" iconGold Skulltula.

    View on map
  51. 51

    Gold Skulltula Token

    Ride the magic bean plant up to the ledge

    View on map
  52. 52 Gold Skulltula Token

    Gold Skulltula Token

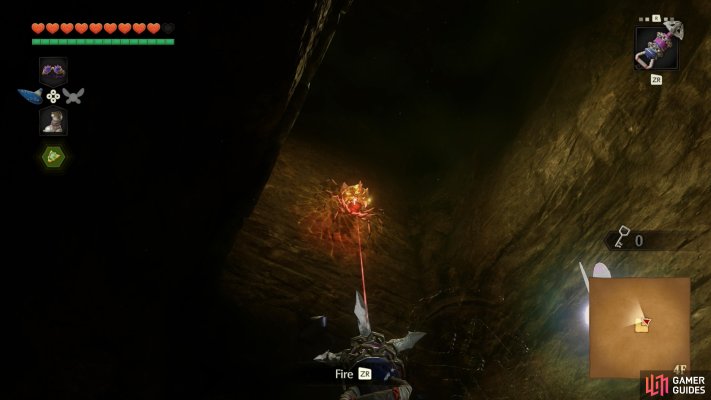
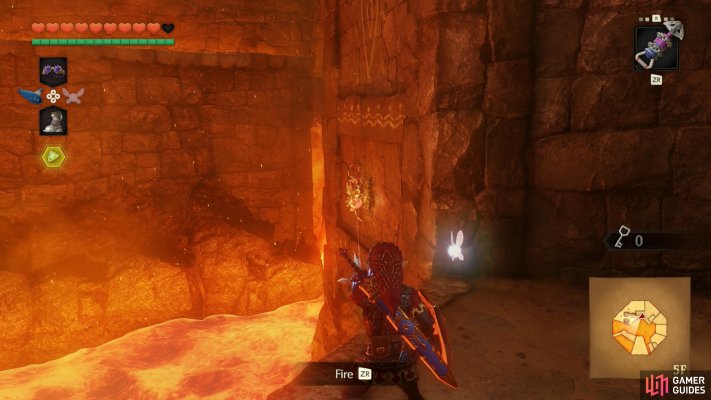
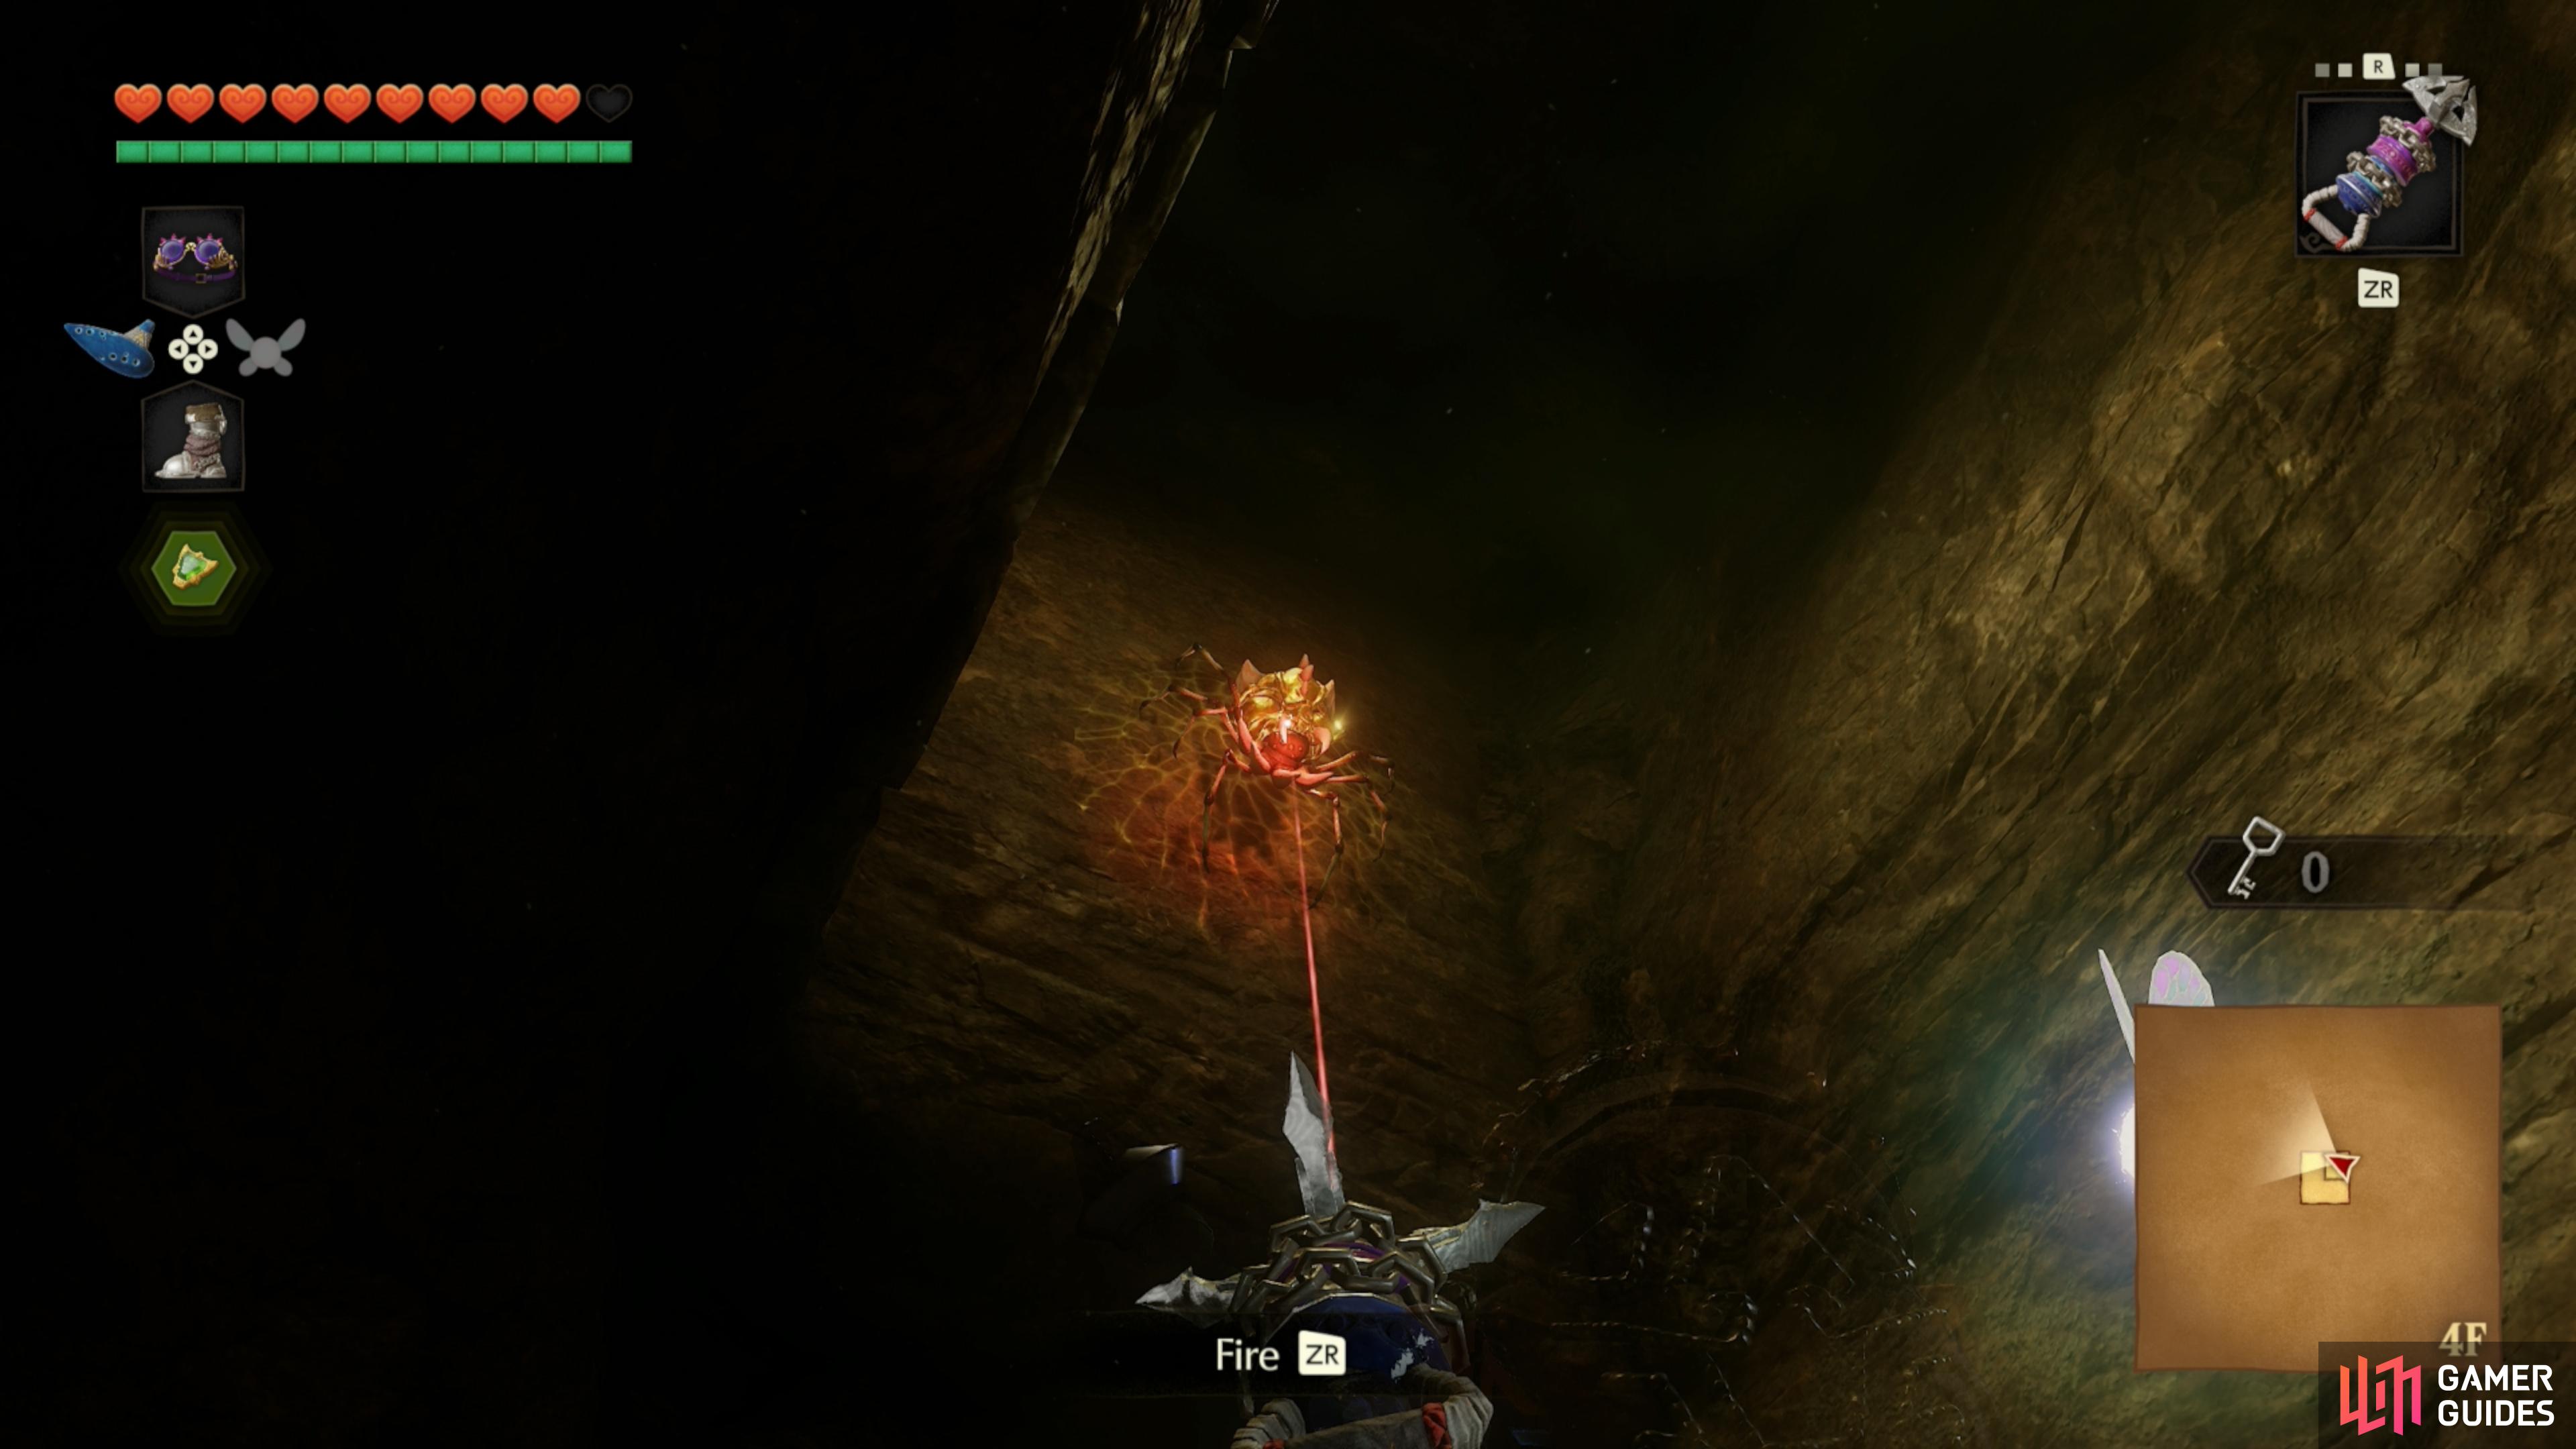
    Floor 5F, east isolated room, opposite the climbable walls. Accessible by playing the "Scarecrow Song" iconScarecrow Song on Floor 3F.
    View on map
  53. 53 Gold Skulltula Token

    Gold Skulltula Token

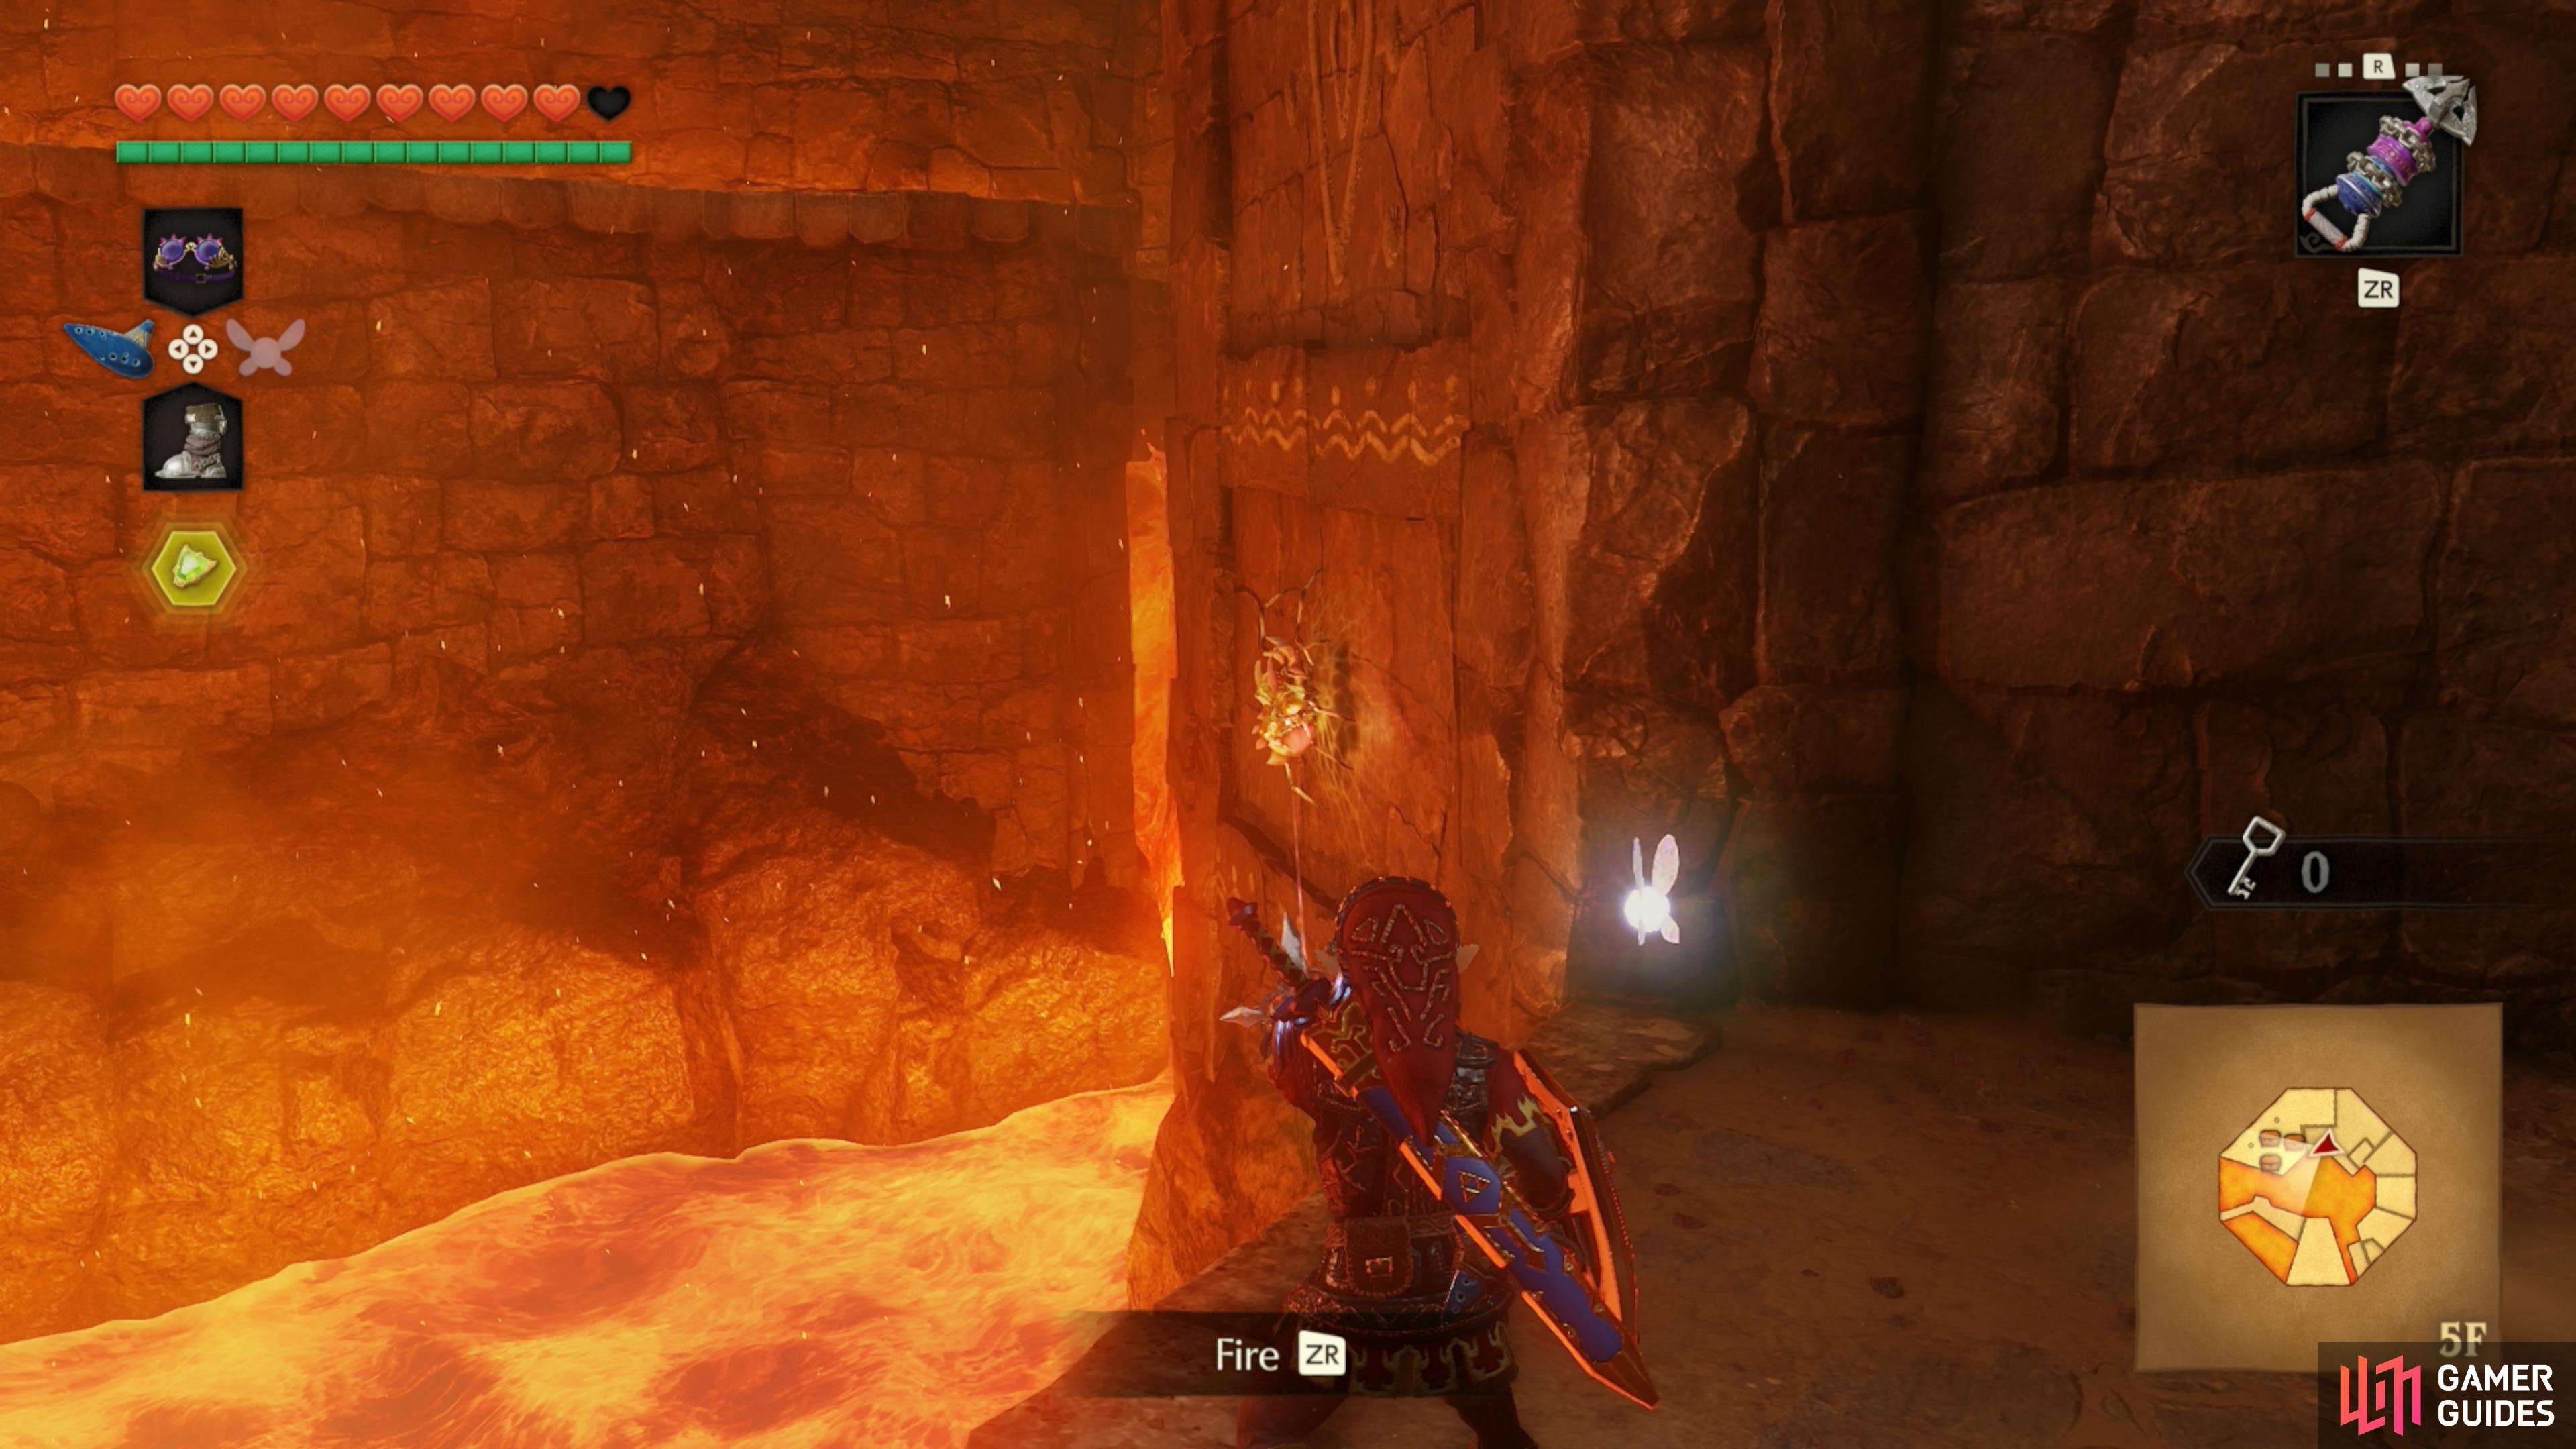
    Floor 5F, east isolated room. On your right when entering the main area. Accessible by playing the "Scarecrow Song" iconScarecrow Song on Floor 3F.
    View on map
Pencil icon Sign up

Or

Updated Title Publisher
Updated Title
Published Title Score Editor's Choice Publisher
Published Title Publisher
GG logo

Register to continue…

Already have an account?

Log in to continue…

Forgot?

Don’t have an account?


Account Created

Select username:

Gamer Guides Premium


Find out more