
Foothill Monster Den
Description
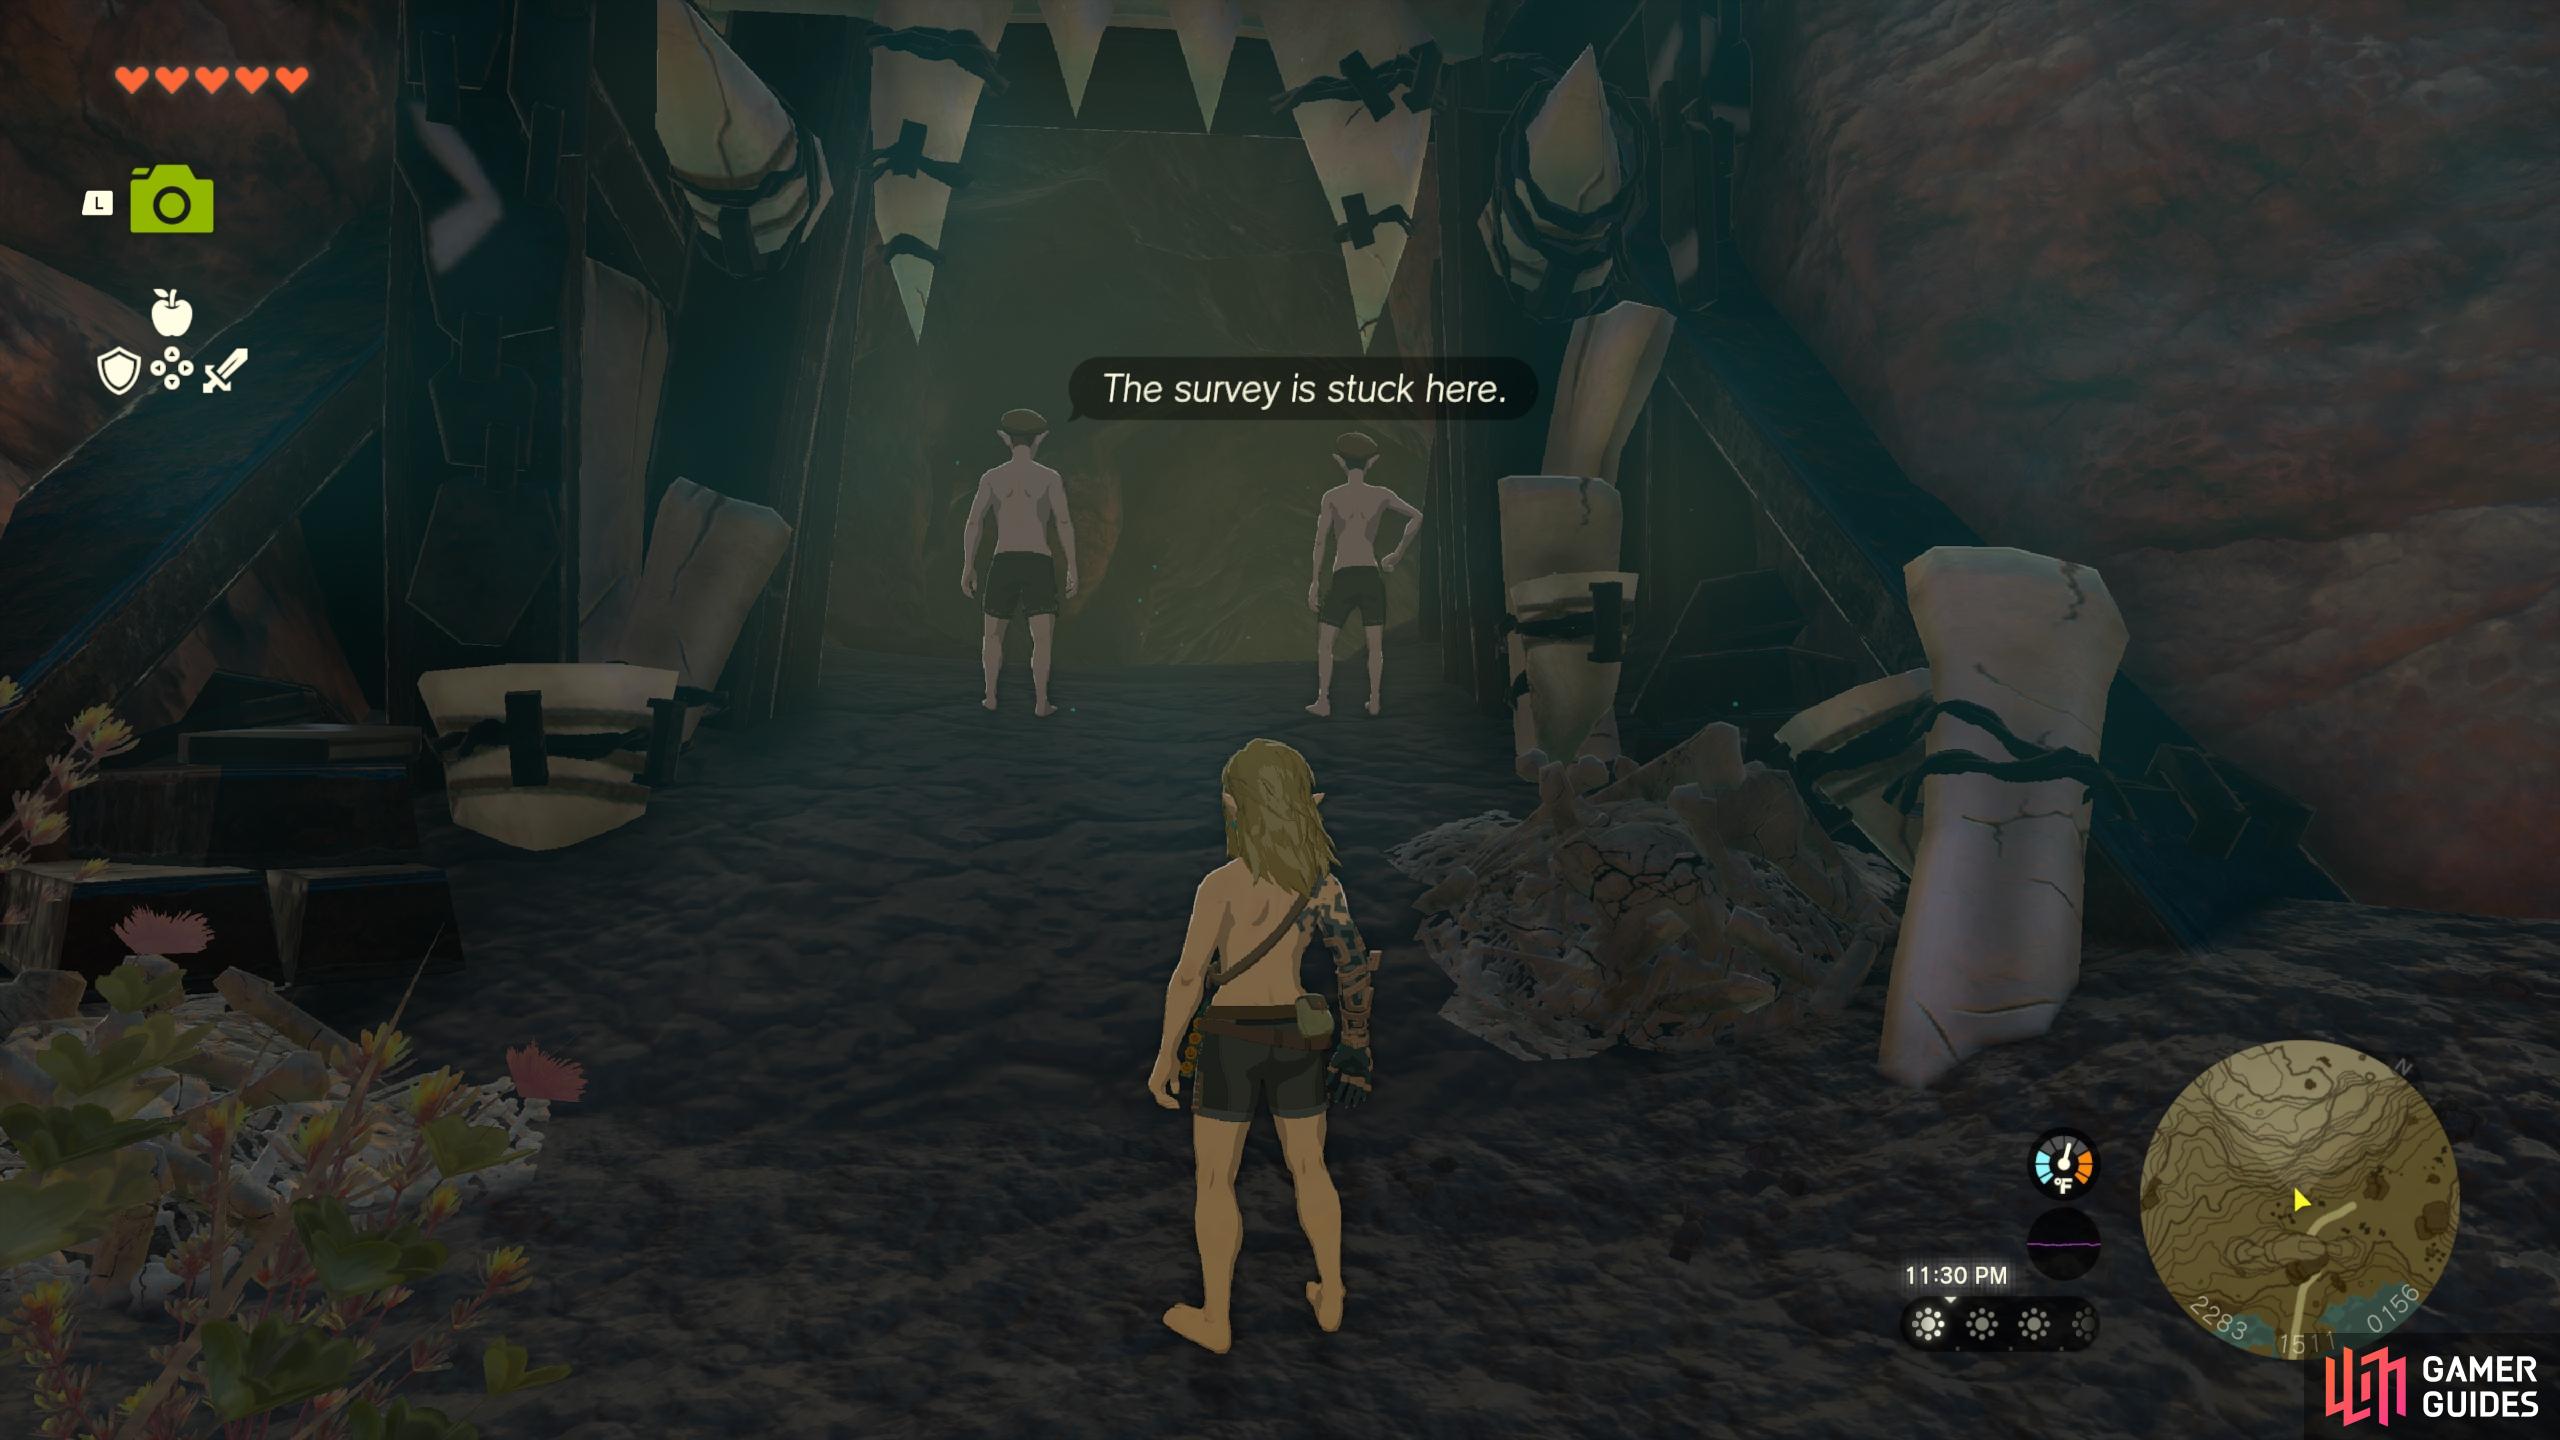
At the entrance to the ![]() Foothill Monster Den you’ll encounter two NPCs named Sango and Drant. They won’t let you enter until you have the
Foothill Monster Den you’ll encounter two NPCs named Sango and Drant. They won’t let you enter until you have the ![]() For Our Princess! quest, which can be acquired by speaking with
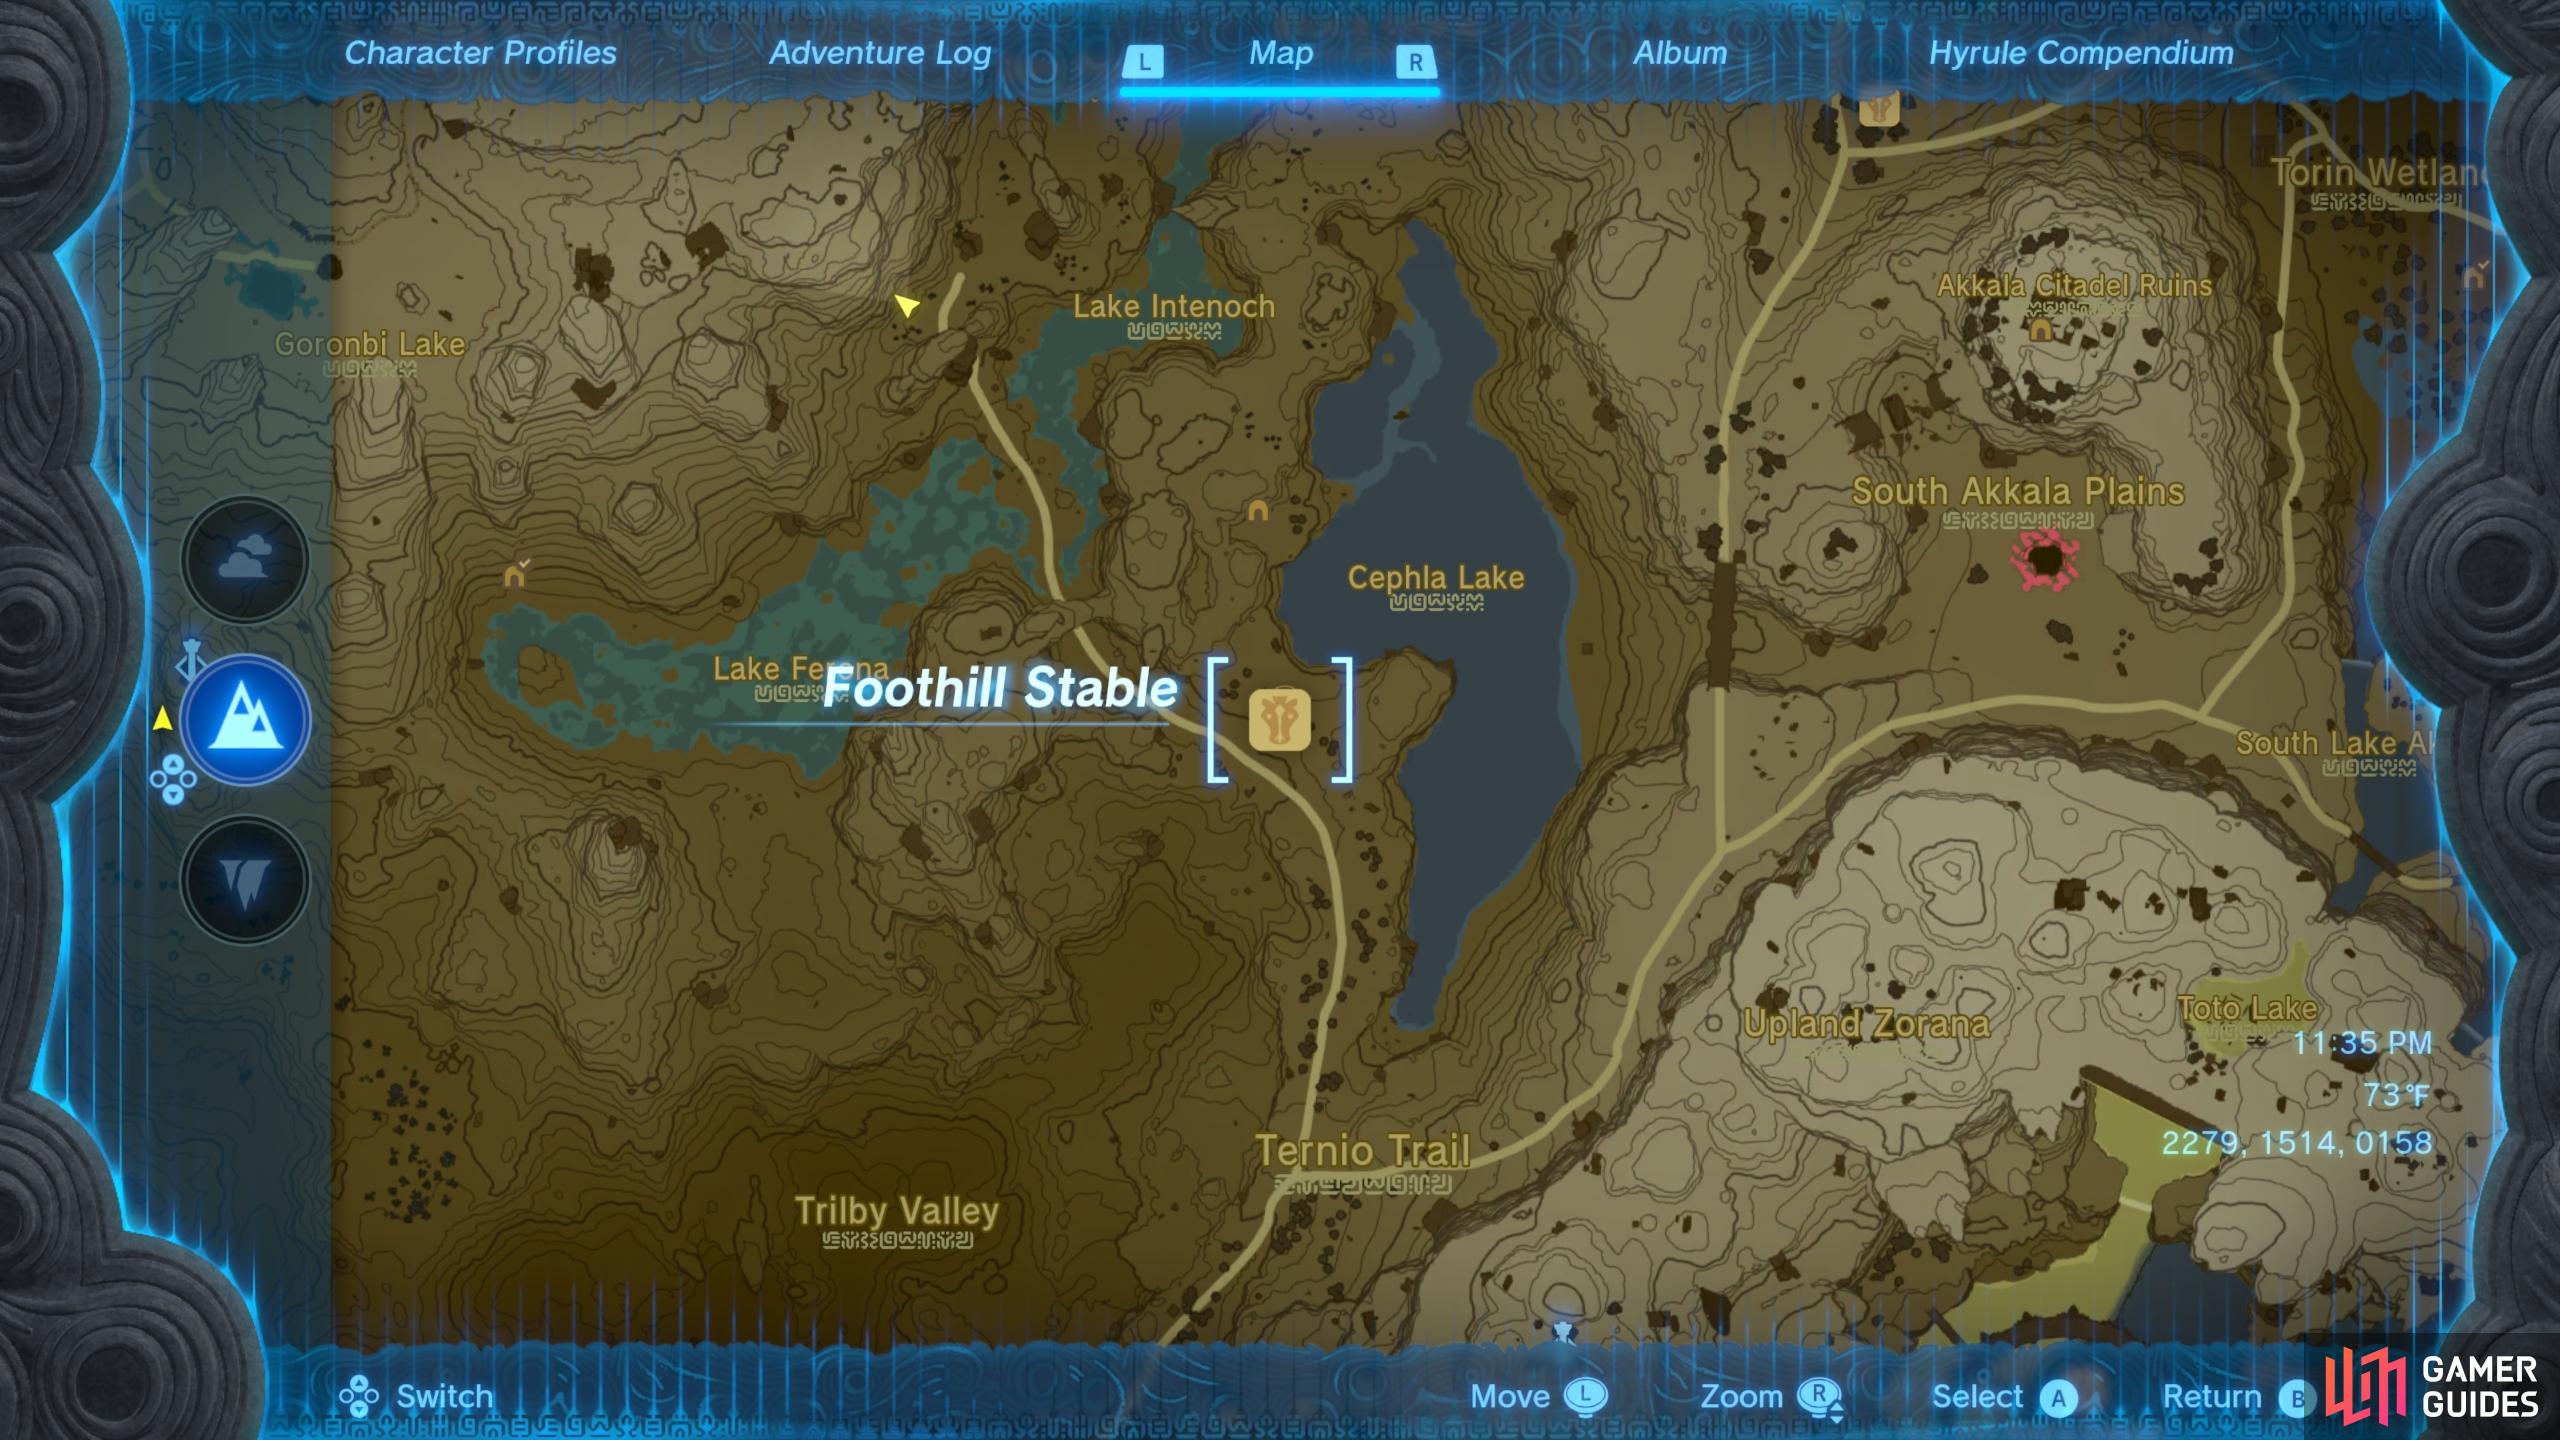
For Our Princess! quest, which can be acquired by speaking with ![]() Penn, the bird that can be found at the Foothill Stable to the southeast. If you want a more detailed guide to this quest, see our page on it here.
Penn, the bird that can be found at the Foothill Stable to the southeast. If you want a more detailed guide to this quest, see our page on it here.
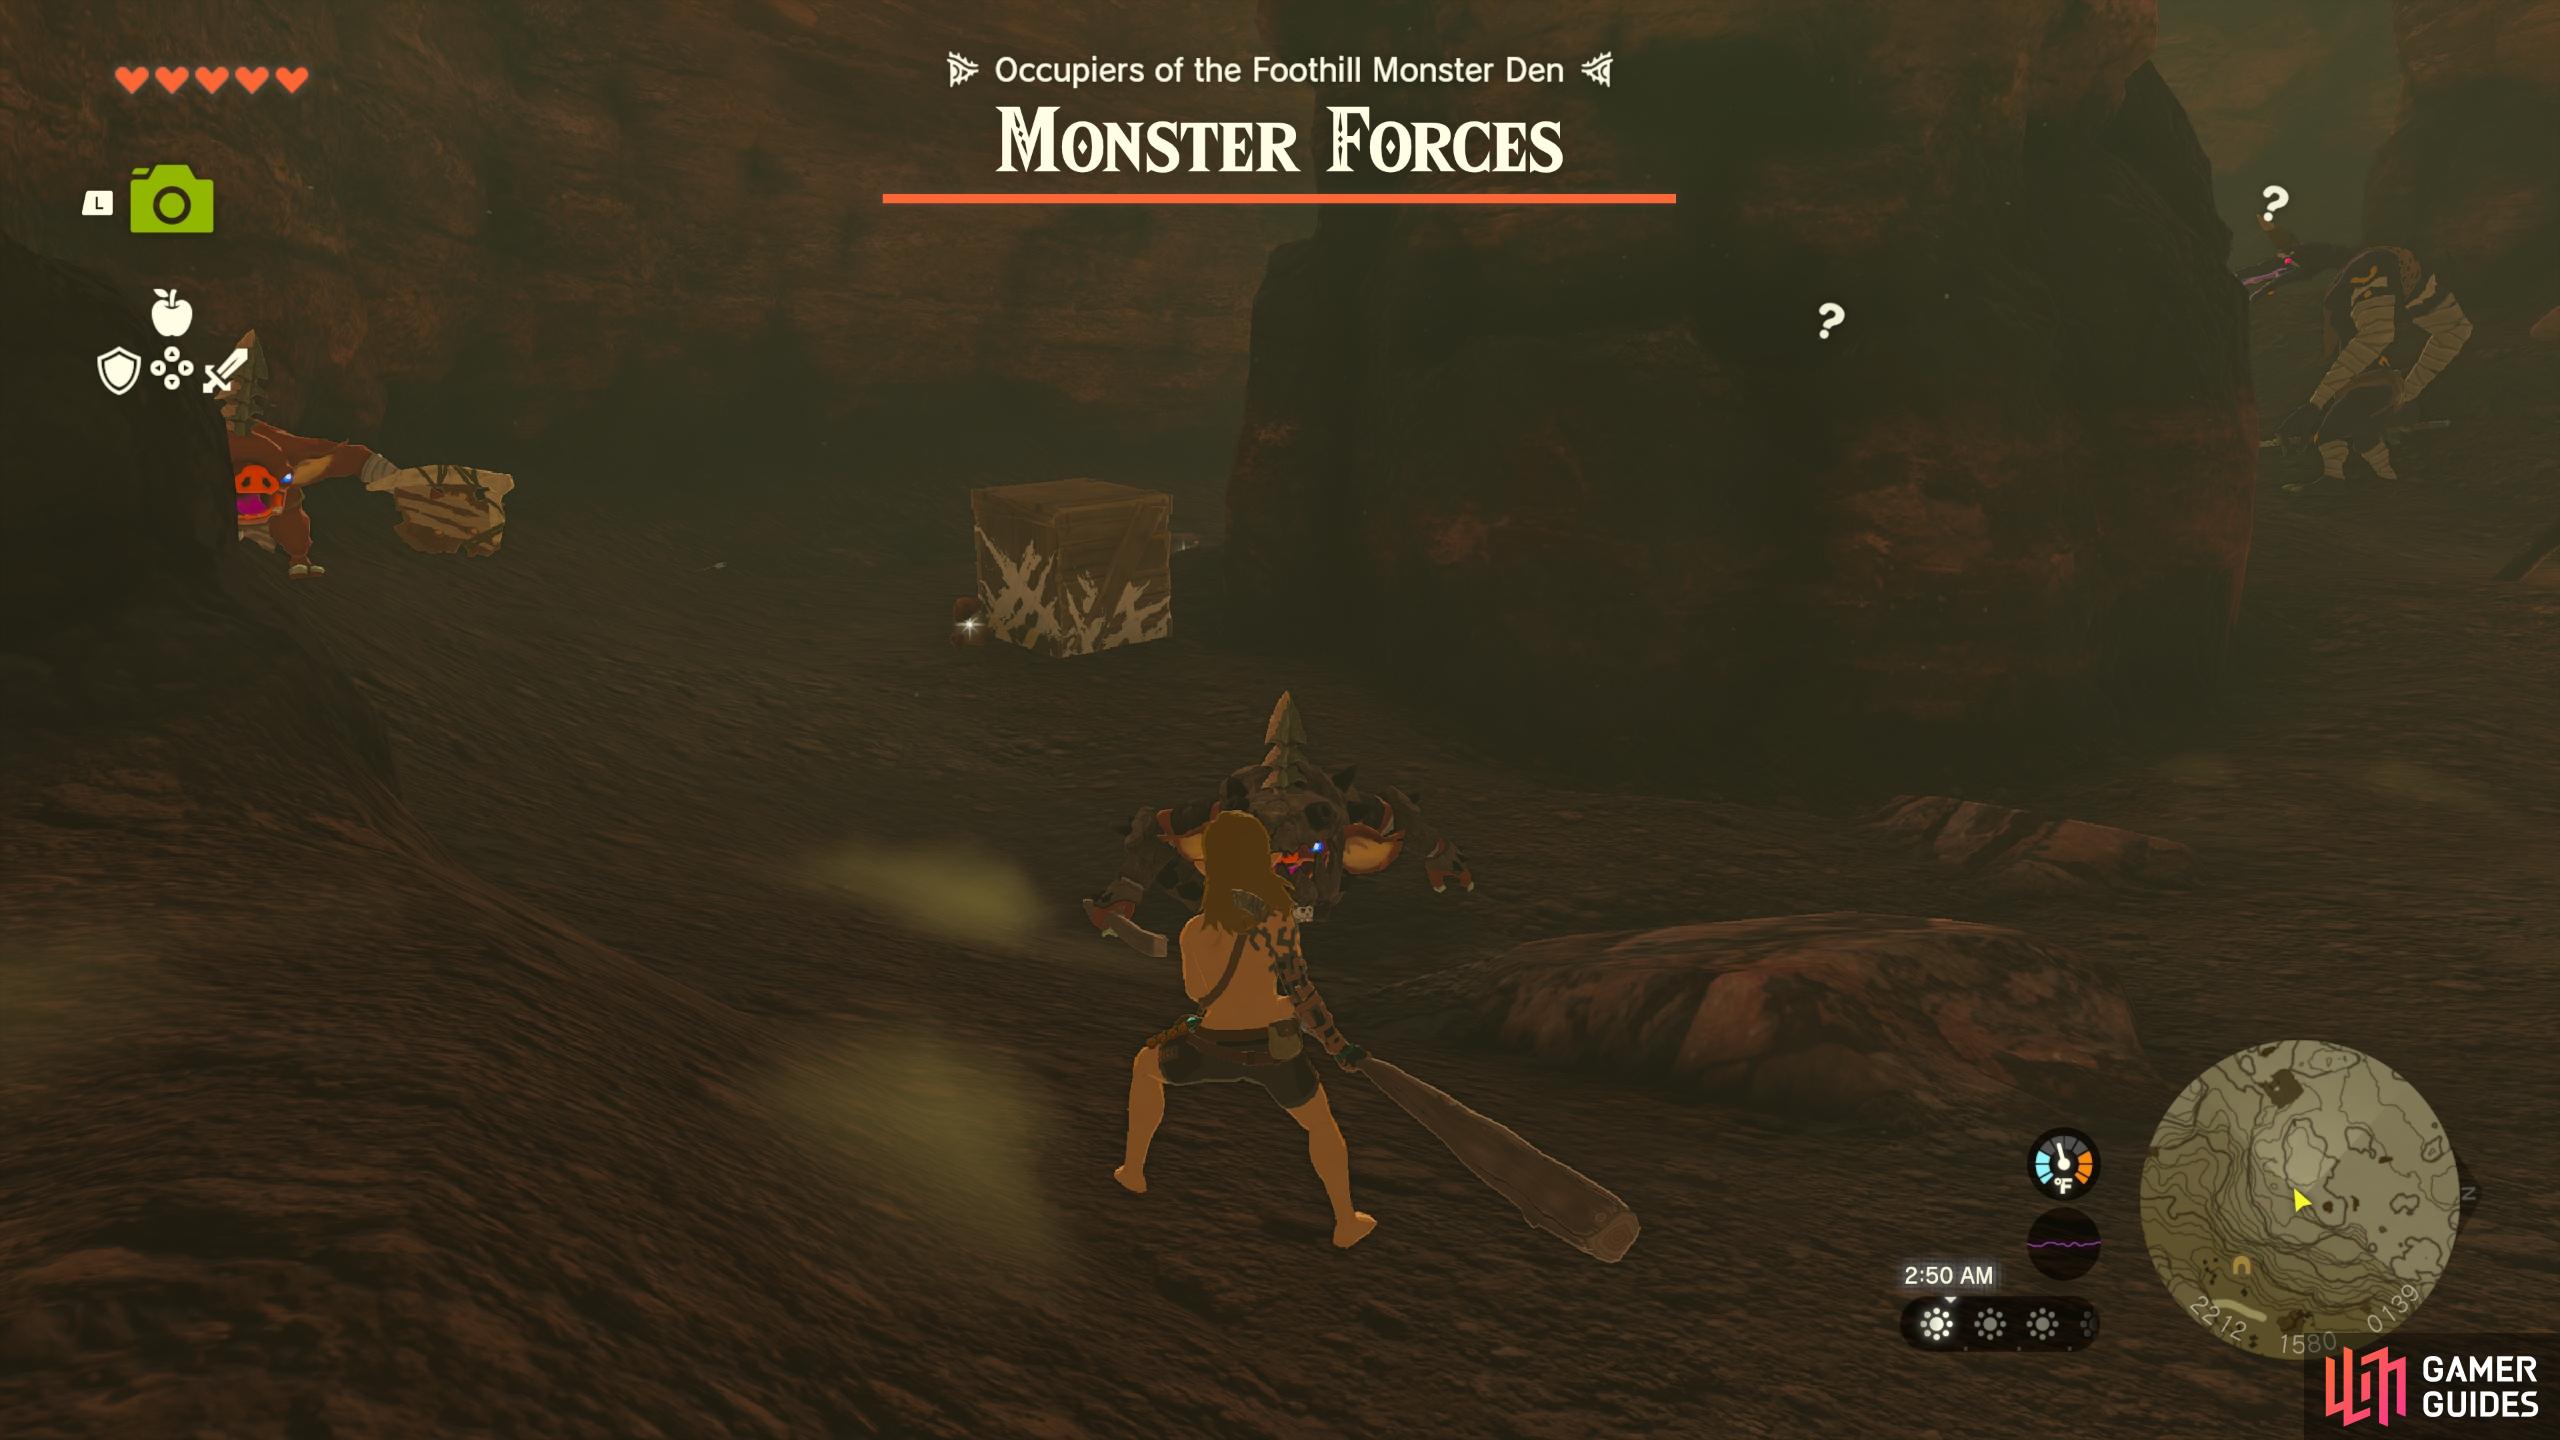
Once you have the quest, return to the cave and speak with the NPCs, at which point you’ll be stripped of your equipment so that you can enter the cave. Inside you’ll soon find a ![]() Thick Stick, which you can use as your primary weapon. There are three
Thick Stick, which you can use as your primary weapon. There are three ![]() Bokoblins here, one of which is heavily armored and one with a bow. You will also encounter a large
Bokoblins here, one of which is heavily armored and one with a bow. You will also encounter a large ![]() Blue Moblin, so be ready to fight them with nothing but your new Thick Stick.
Blue Moblin, so be ready to fight them with nothing but your new Thick Stick.
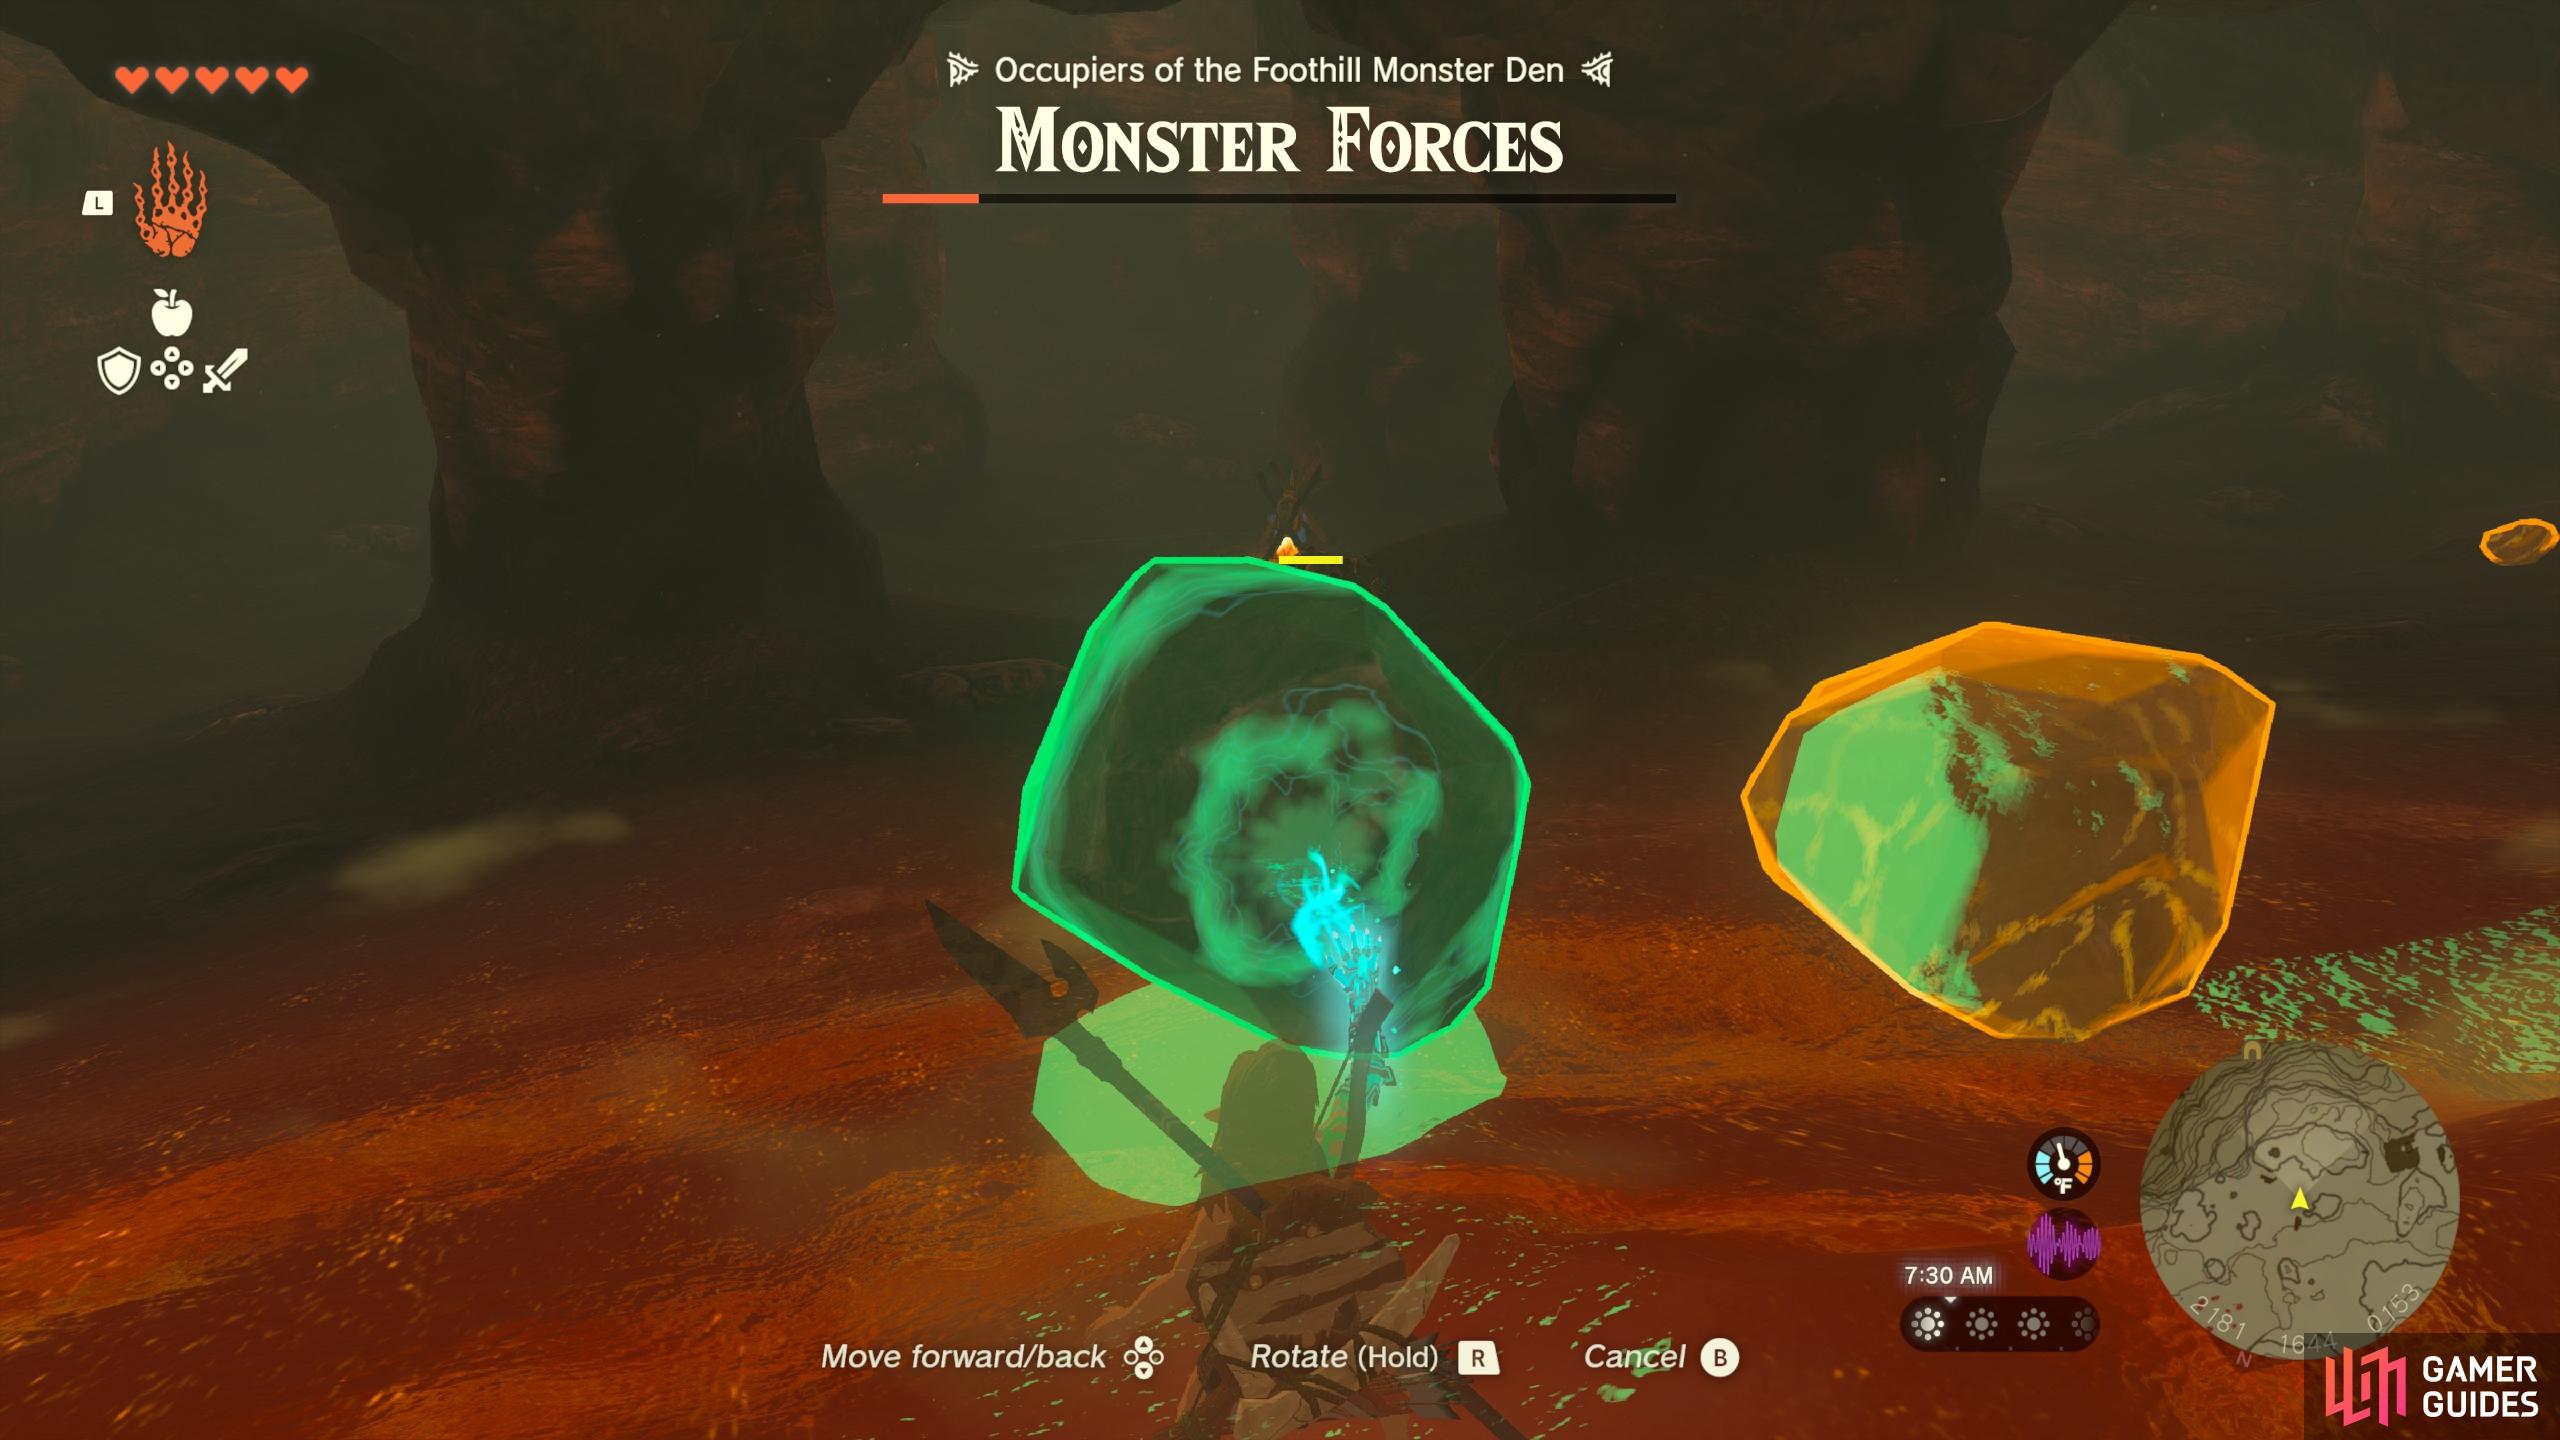
Although the Blue ![]() Moblin has the most health out of these enemies, the armored Bokoblin is much tougher to kill since you can’t break through its defences easily. However, you’ll find some large boulders at the back of the cave on the northern side, which can be picked up using
Moblin has the most health out of these enemies, the armored Bokoblin is much tougher to kill since you can’t break through its defences easily. However, you’ll find some large boulders at the back of the cave on the northern side, which can be picked up using ![]() Ultrahand and then dropped on the Bokoblin to destroy its armor. You can then finish it off as with any other regular Bokoblin.
Ultrahand and then dropped on the Bokoblin to destroy its armor. You can then finish it off as with any other regular Bokoblin.
If you need healing while fighting the monster forces, you’ll find some Toasty ![]() Sunshrooms and
Sunshrooms and ![]() Apples, but also Toasty
Apples, but also Toasty ![]() Stamella Shrooms, Roasted Bird Drumsticks, and
Stamella Shrooms, Roasted Bird Drumsticks, and ![]() Seared Steak, all of which provide some healing when consumed.
Seared Steak, all of which provide some healing when consumed.
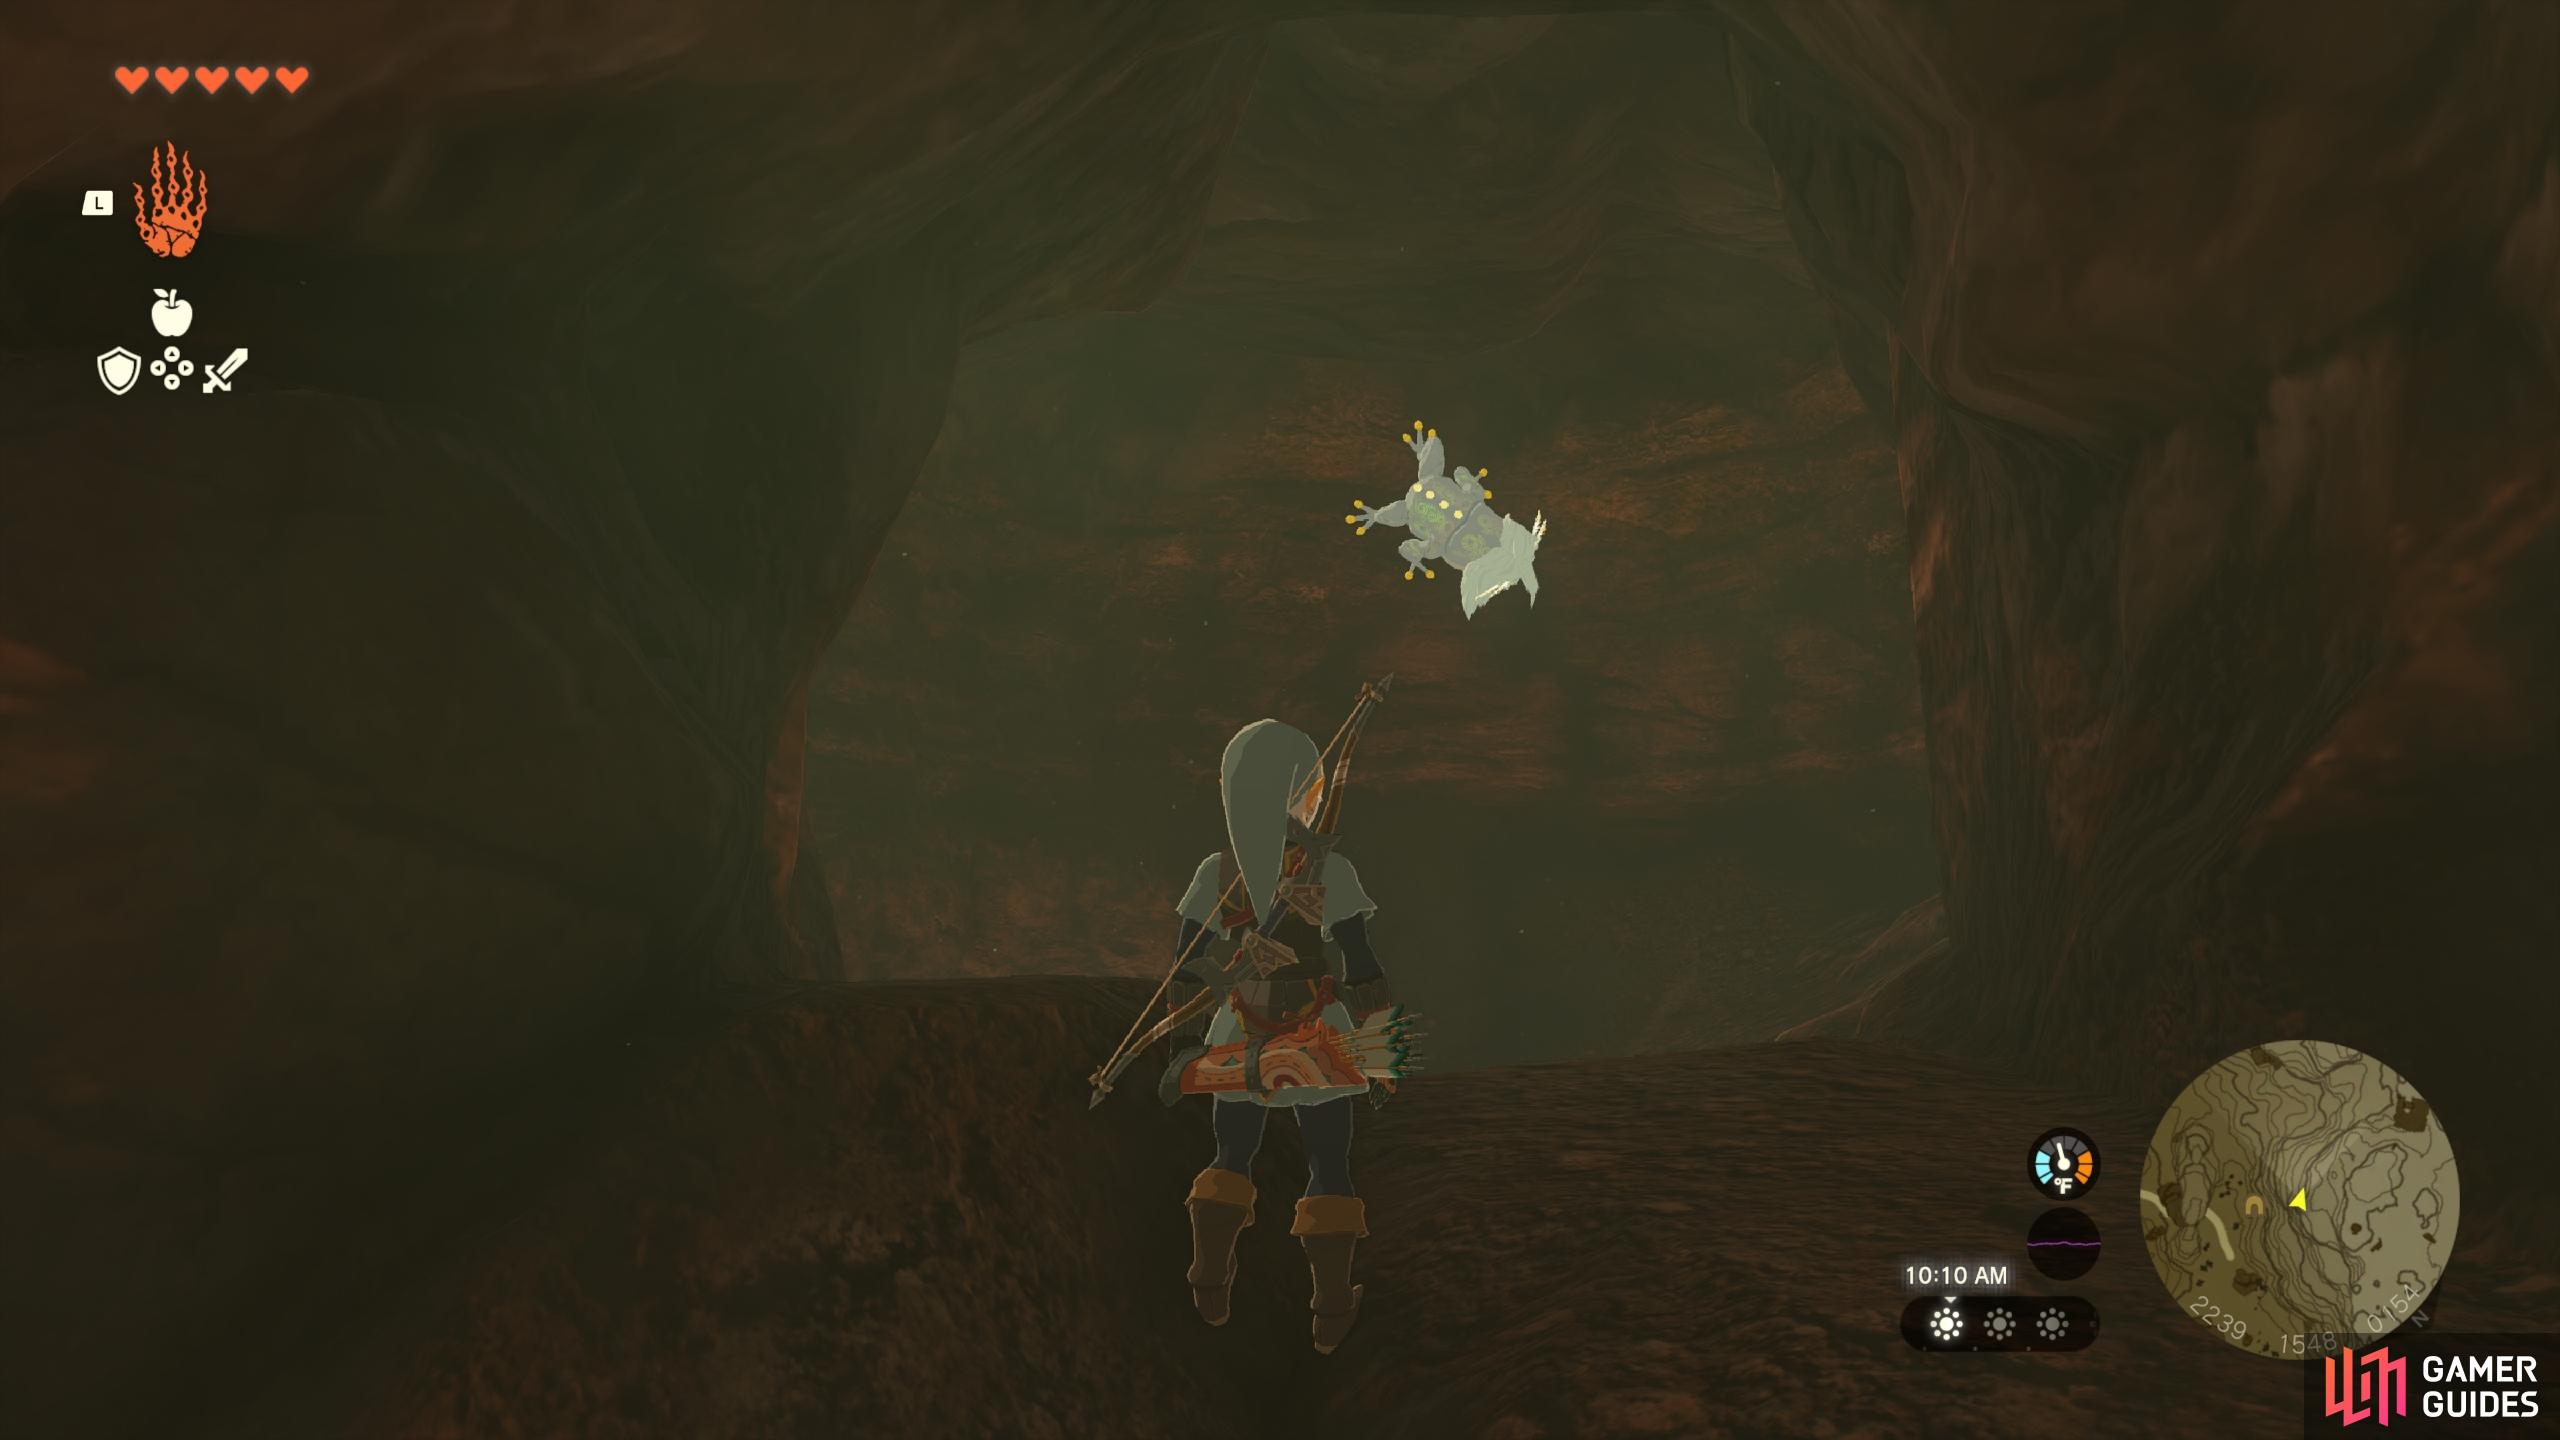
To find the ![]() Bubbulfrog in this cave, it’s best to wait until you’ve completed the quest mentioned above. You can then renter the cave with all your gear, but look to your left where you see a pit before you enter the main chamber. You’ll see some rubble on the wall here, which can be destroyed using
Bubbulfrog in this cave, it’s best to wait until you’ve completed the quest mentioned above. You can then renter the cave with all your gear, but look to your left where you see a pit before you enter the main chamber. You’ll see some rubble on the wall here, which can be destroyed using ![]() Bomb Flowers or any other explosive device. You can then climb through the hole to find the Bubbulfrog in the small chamber on the other side.
Bomb Flowers or any other explosive device. You can then climb through the hole to find the Bubbulfrog in the small chamber on the other side.
Detailed Location(s)
At the end of the road just northwest from the Foothill Stable, west of Cephla Lake or south of Death Mountain in the Eldin region.
Screenshots

Interactive Map Locations

55733. Hyrule Surface Map
To enter, you must begin the ![]() For Our Princess side adventure at Foothill Stable, towards the south-east.
For Our Princess side adventure at Foothill Stable, towards the south-east.
No Comments