Surface Cave - The Legend of Zelda: Tears of the Kingdom Database
| Icon | Title | Category | Subcategory |
|---|
Surface Cave
| Icon | Title | Details | Screenshots | |||||||||||||||||||||||||||||||||||||||||||||||||||||||||||||||||||||||||||||||||||||||||||||||
|---|---|---|---|---|---|---|---|---|---|---|---|---|---|---|---|---|---|---|---|---|---|---|---|---|---|---|---|---|---|---|---|---|---|---|---|---|---|---|---|---|---|---|---|---|---|---|---|---|---|---|---|---|---|---|---|---|---|---|---|---|---|---|---|---|---|---|---|---|---|---|---|---|---|---|---|---|---|---|---|---|---|---|---|---|---|---|---|---|---|---|---|---|---|---|---|---|---|---|

|
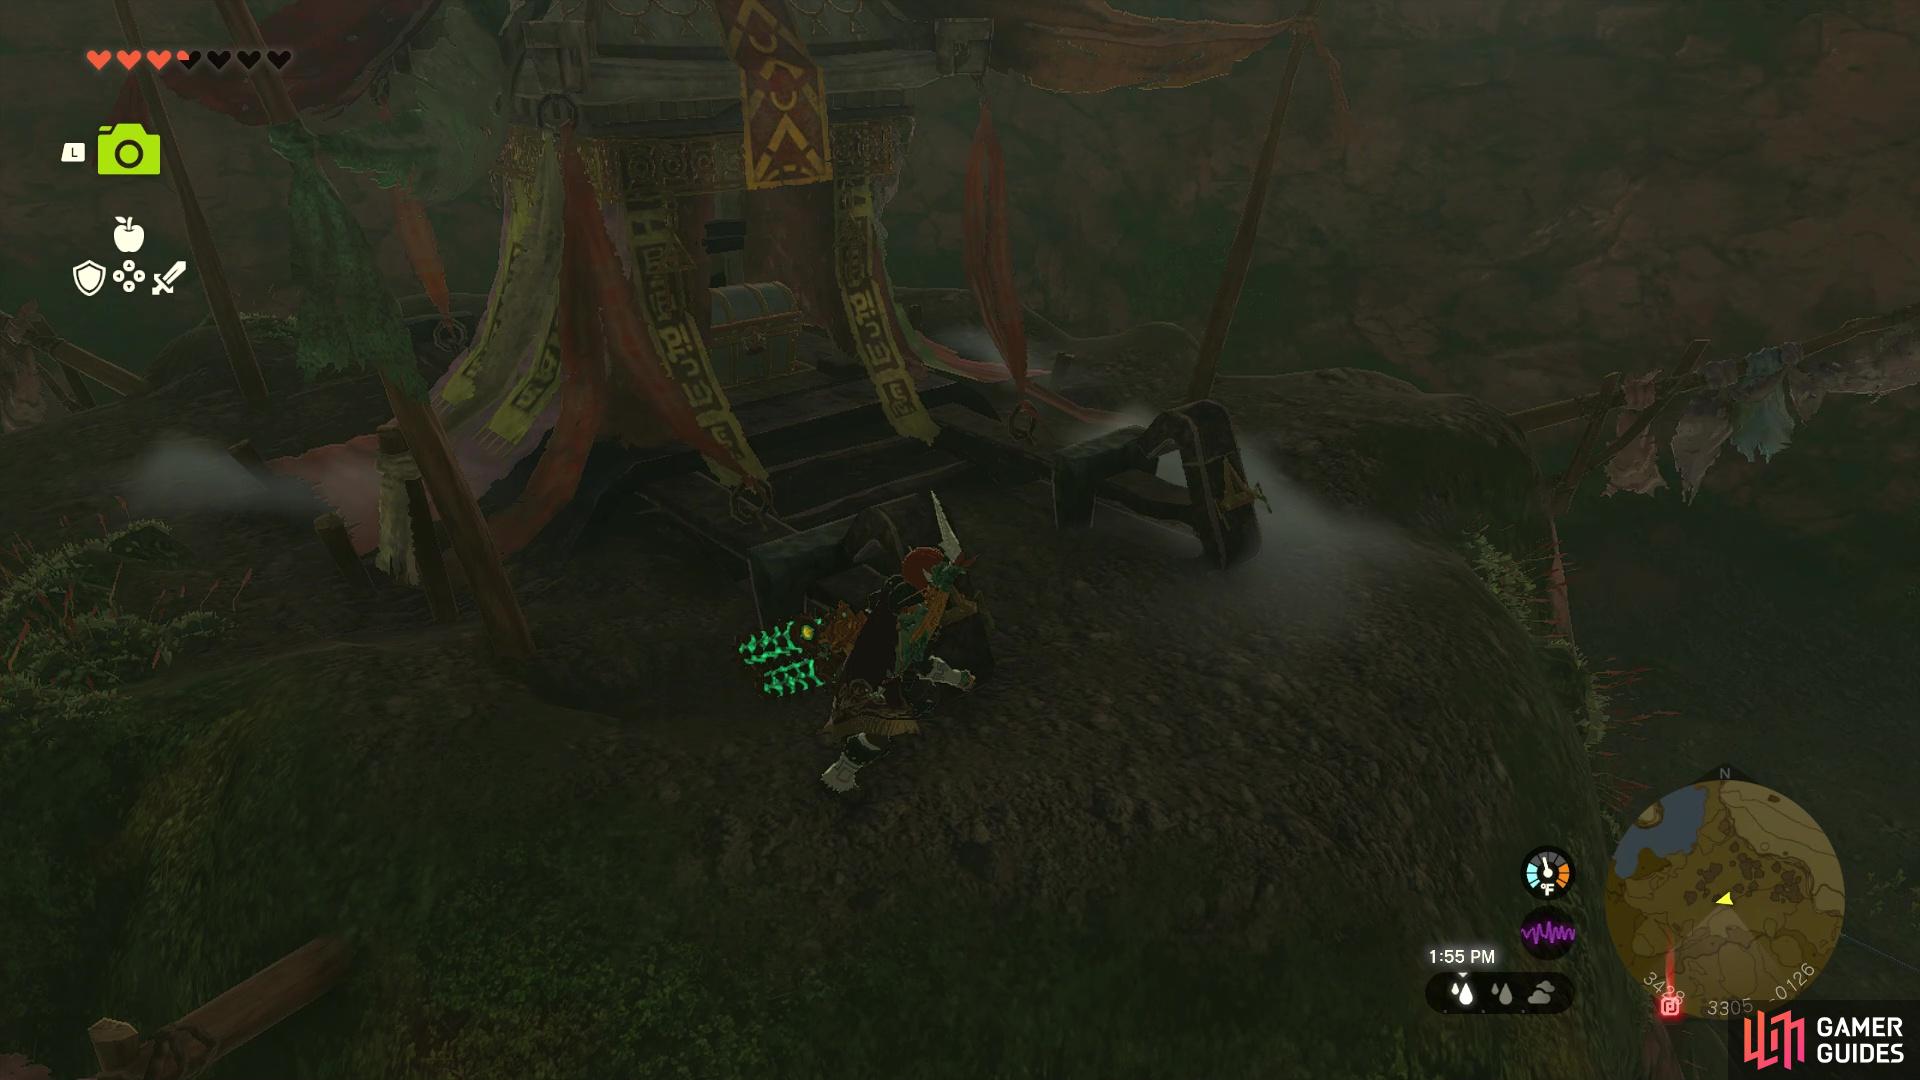
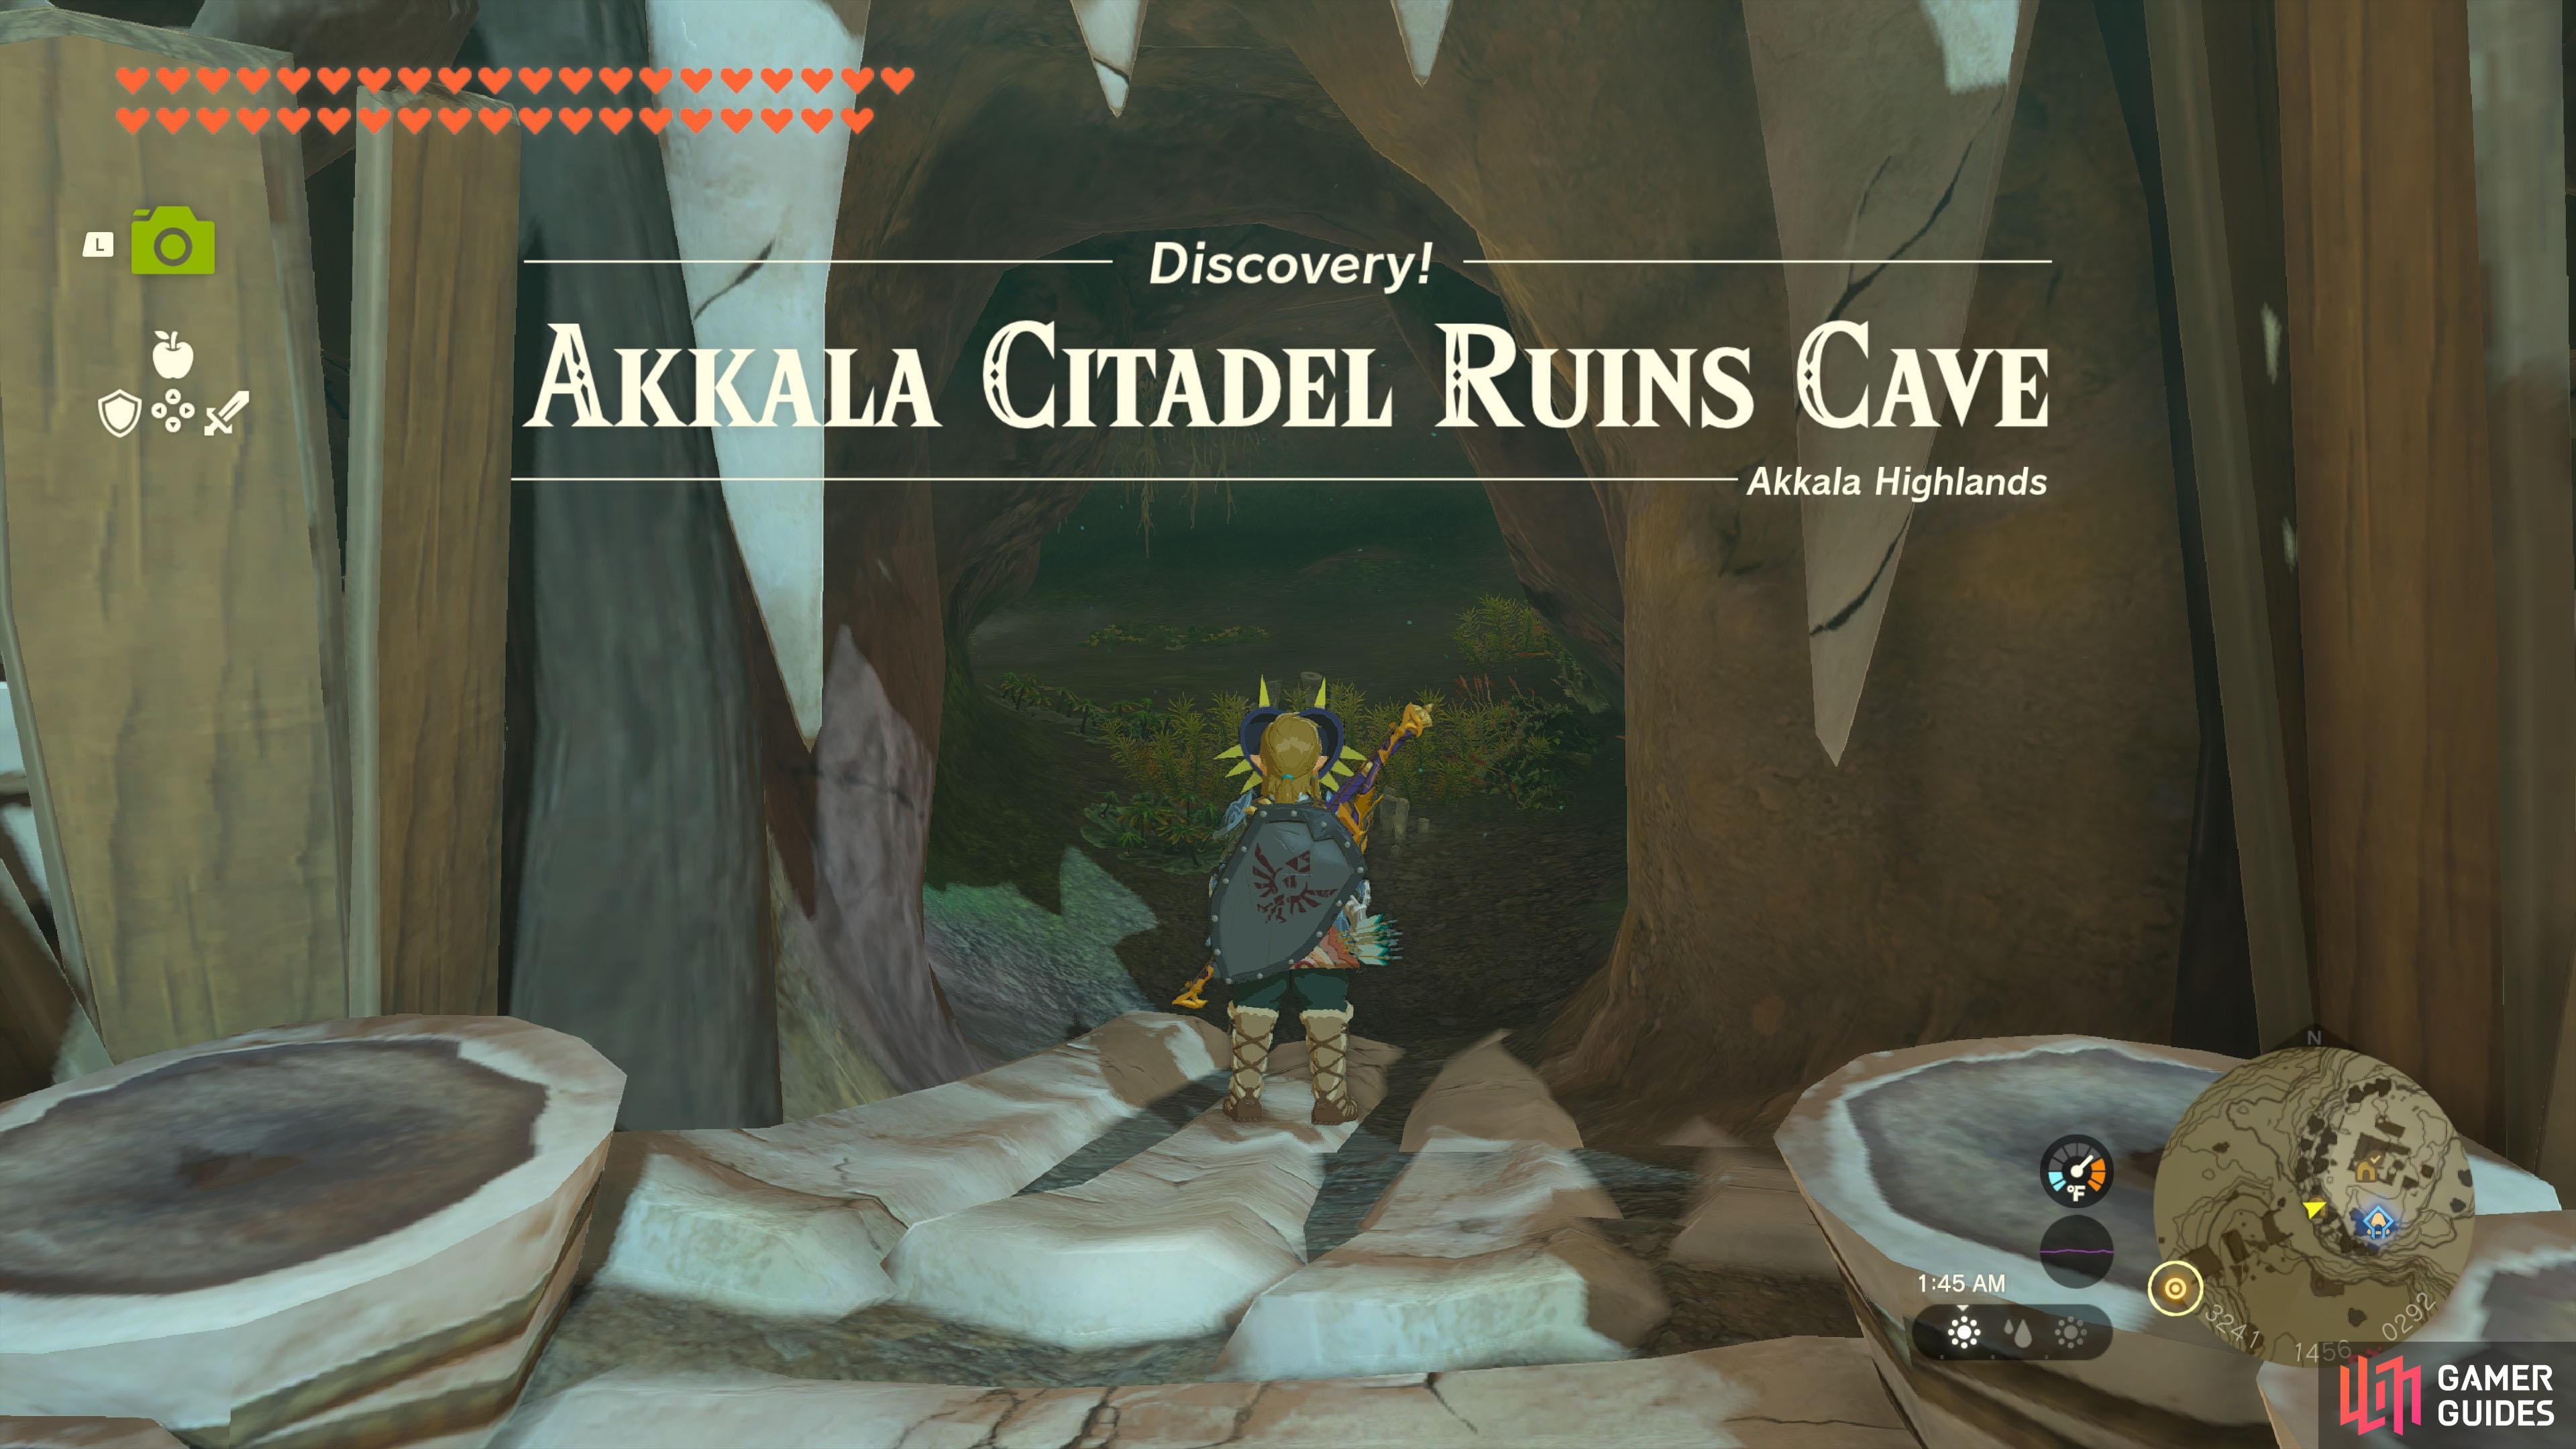
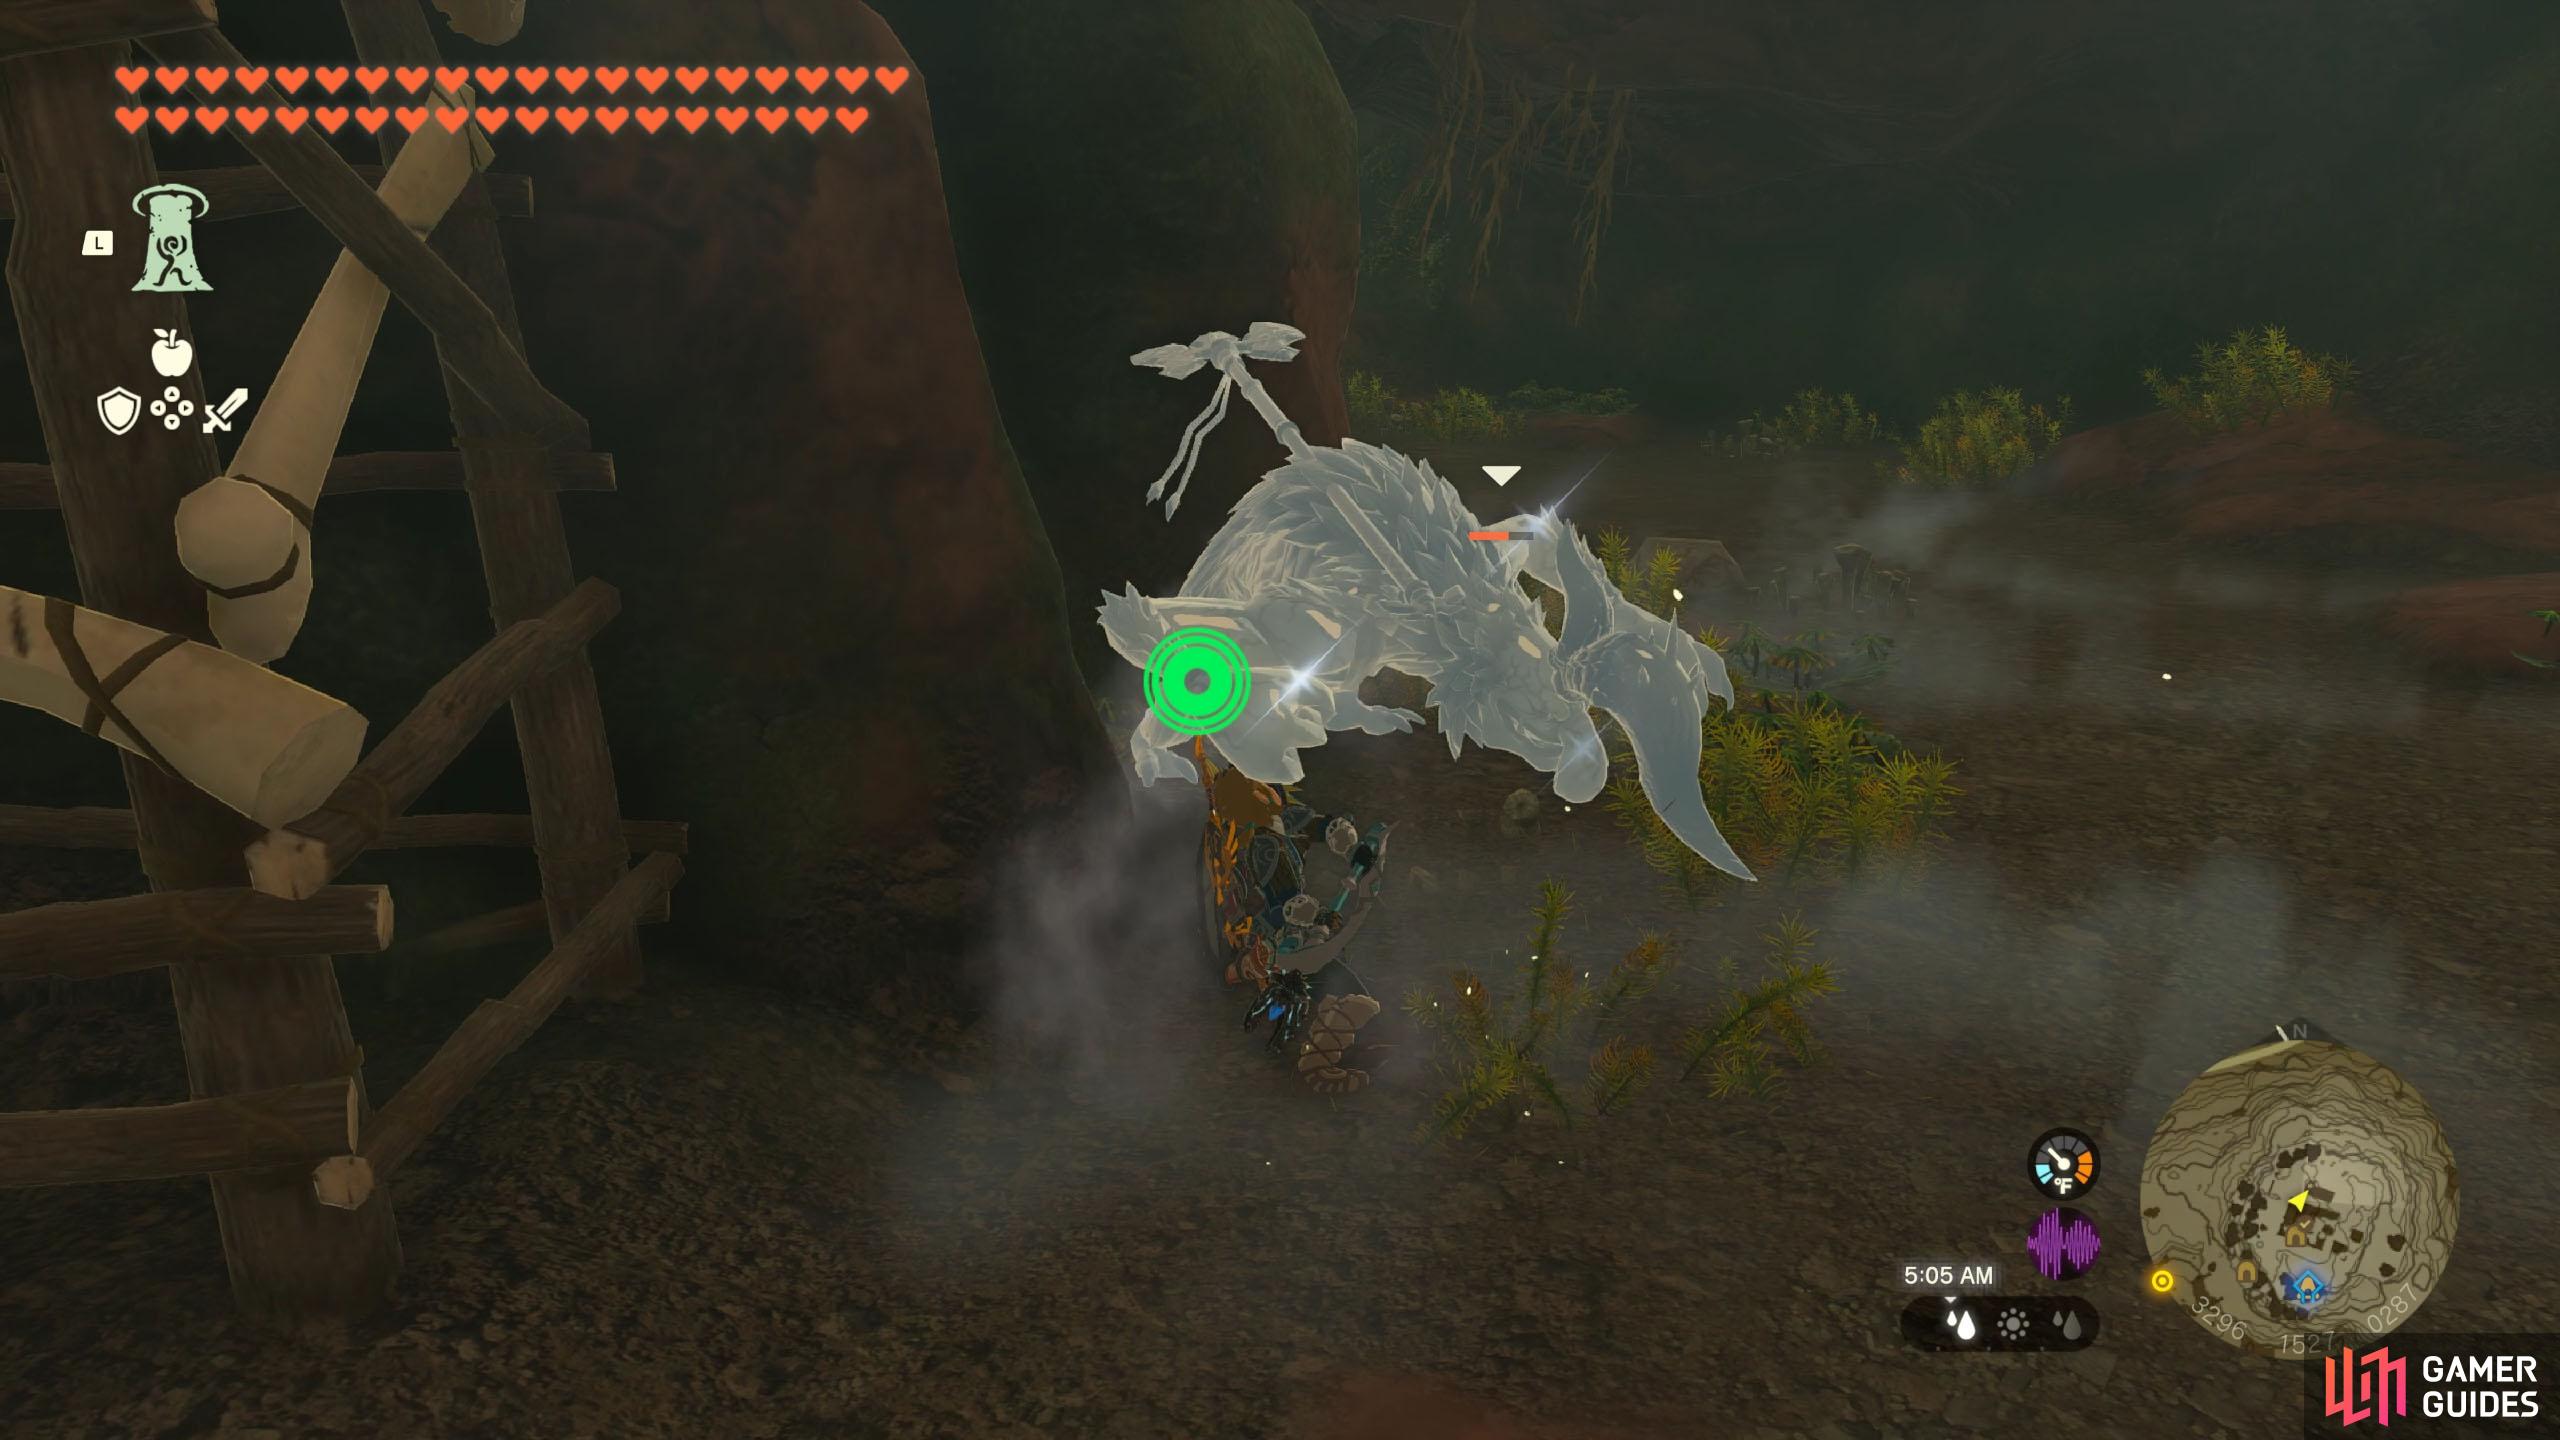
Akkala Citadel Ruins Cave |
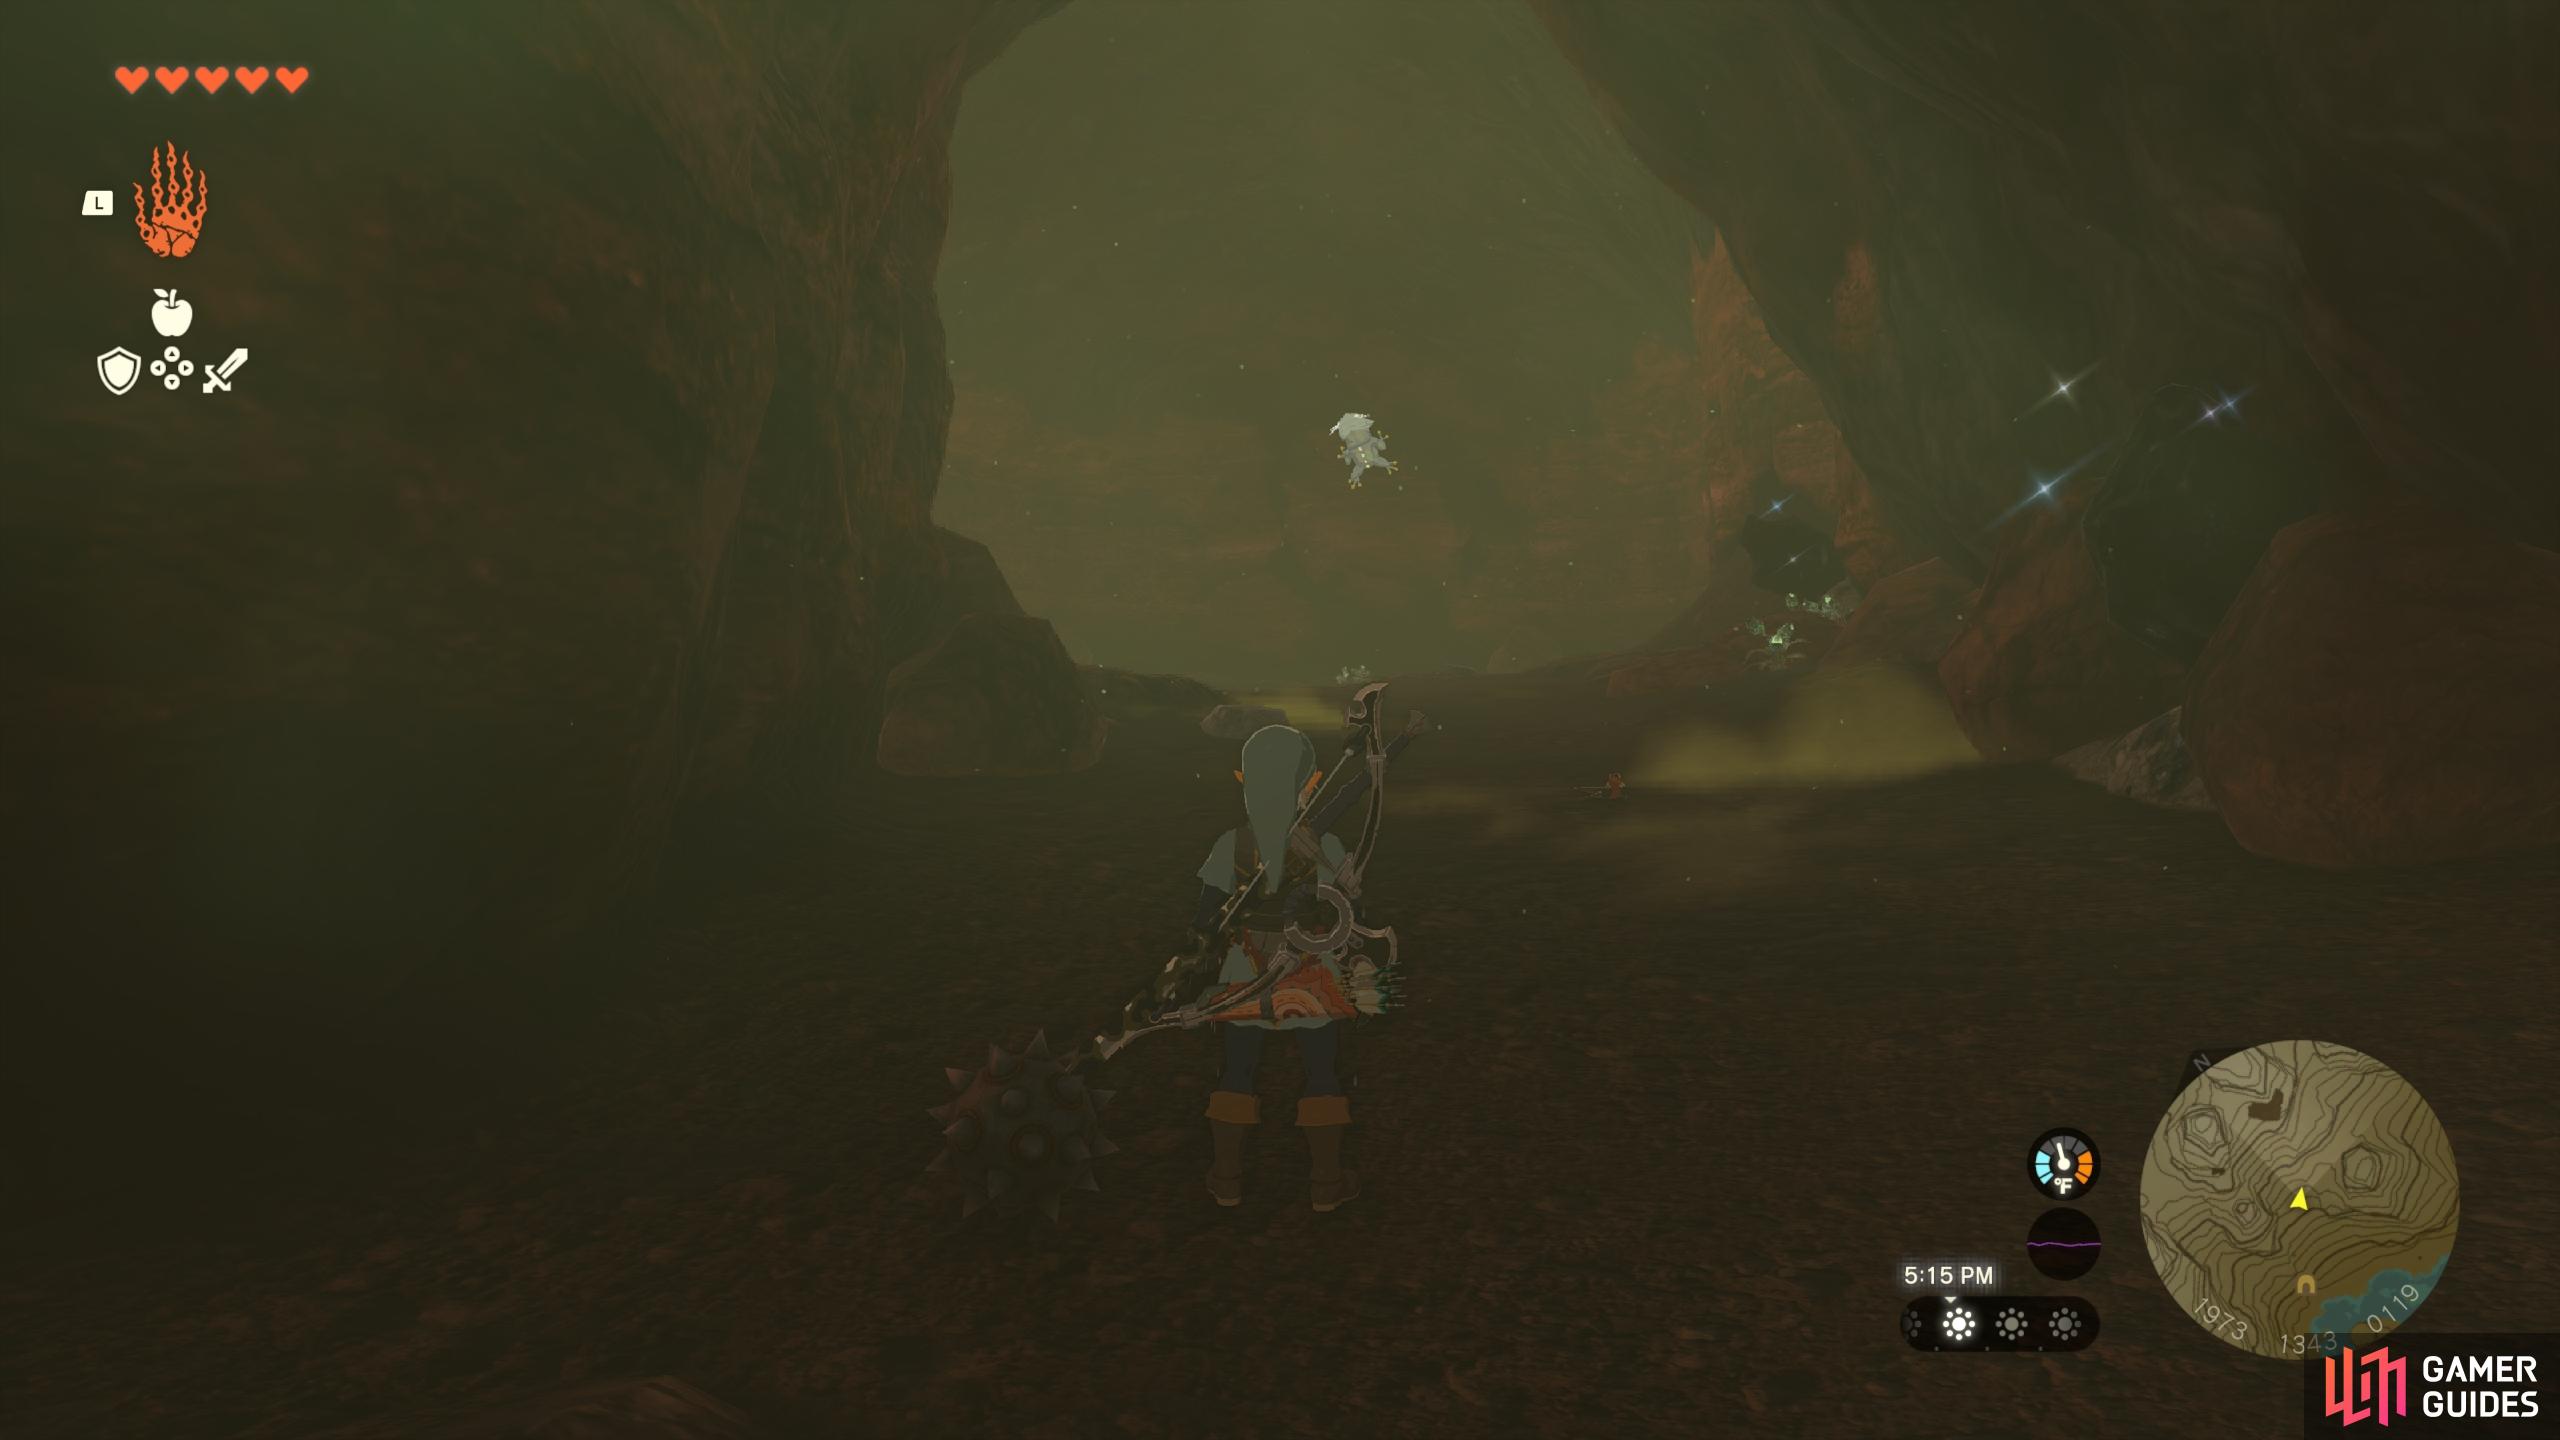
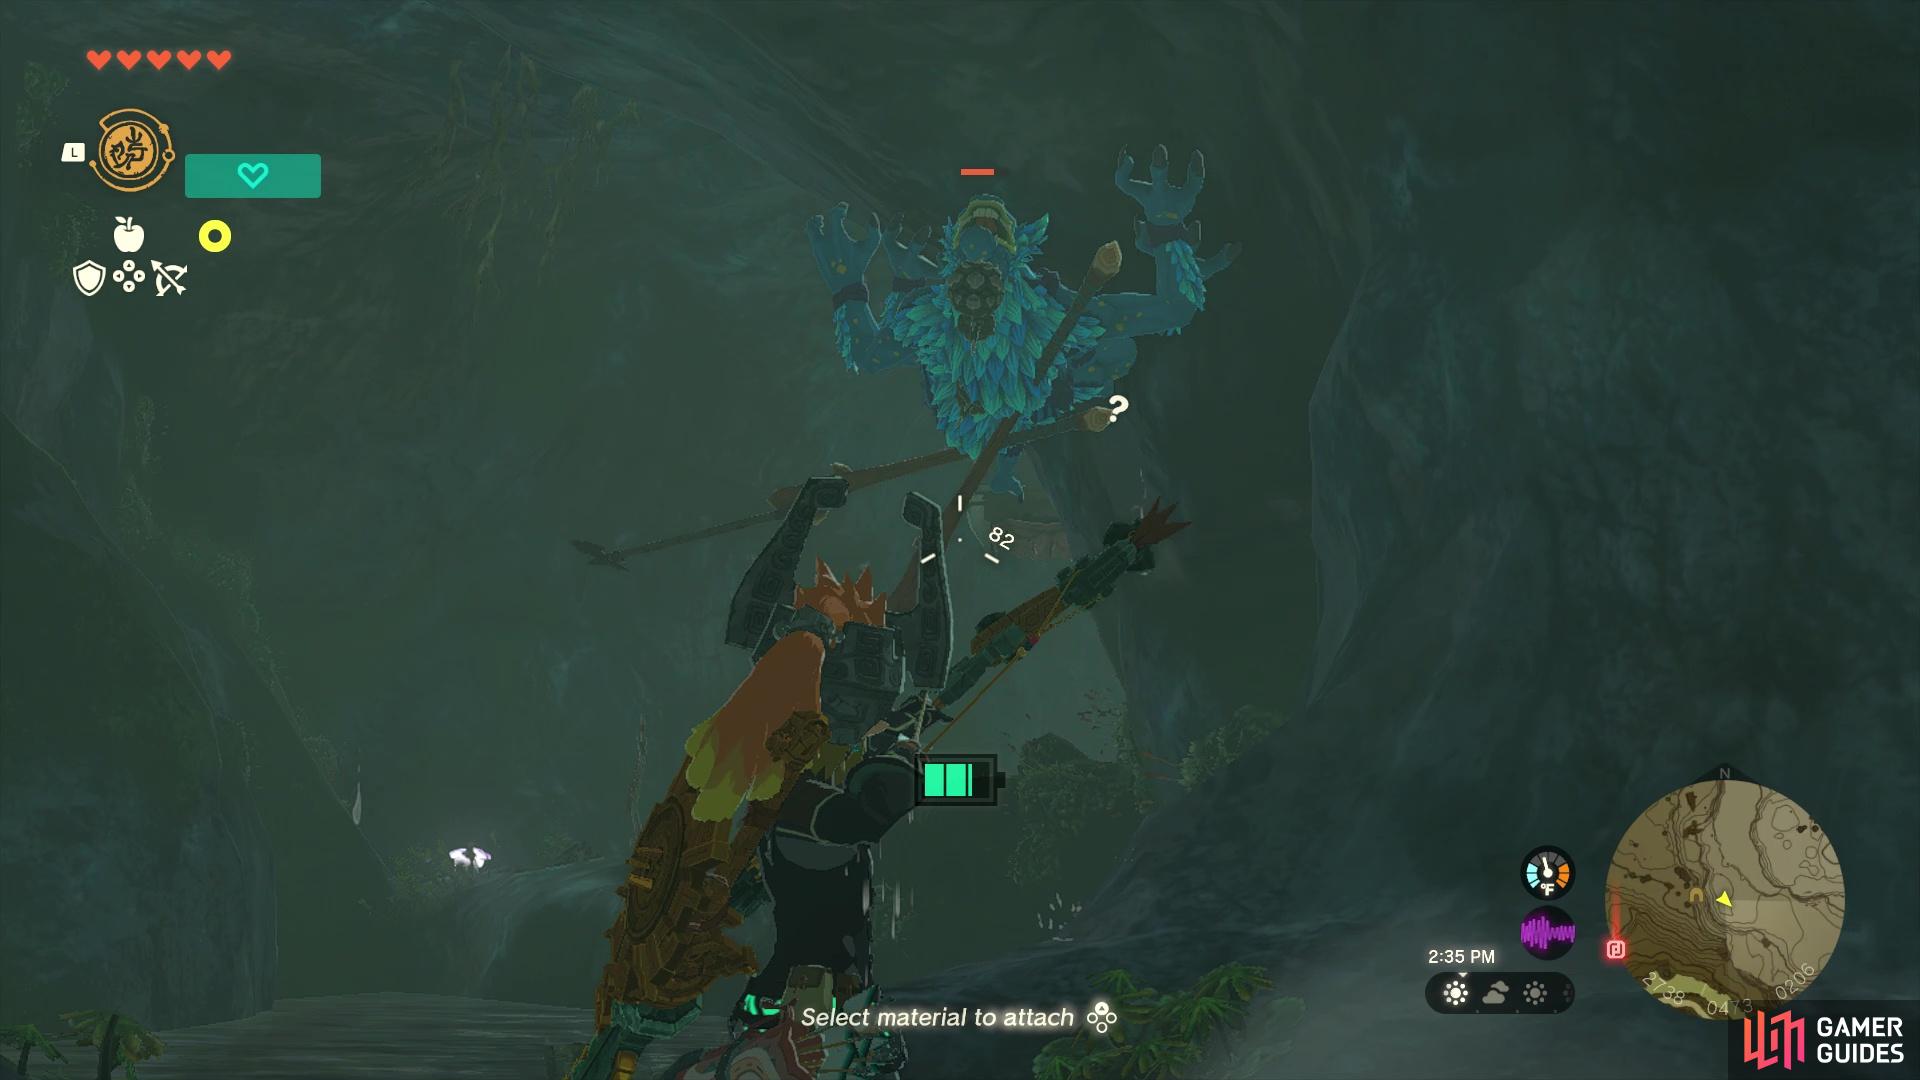
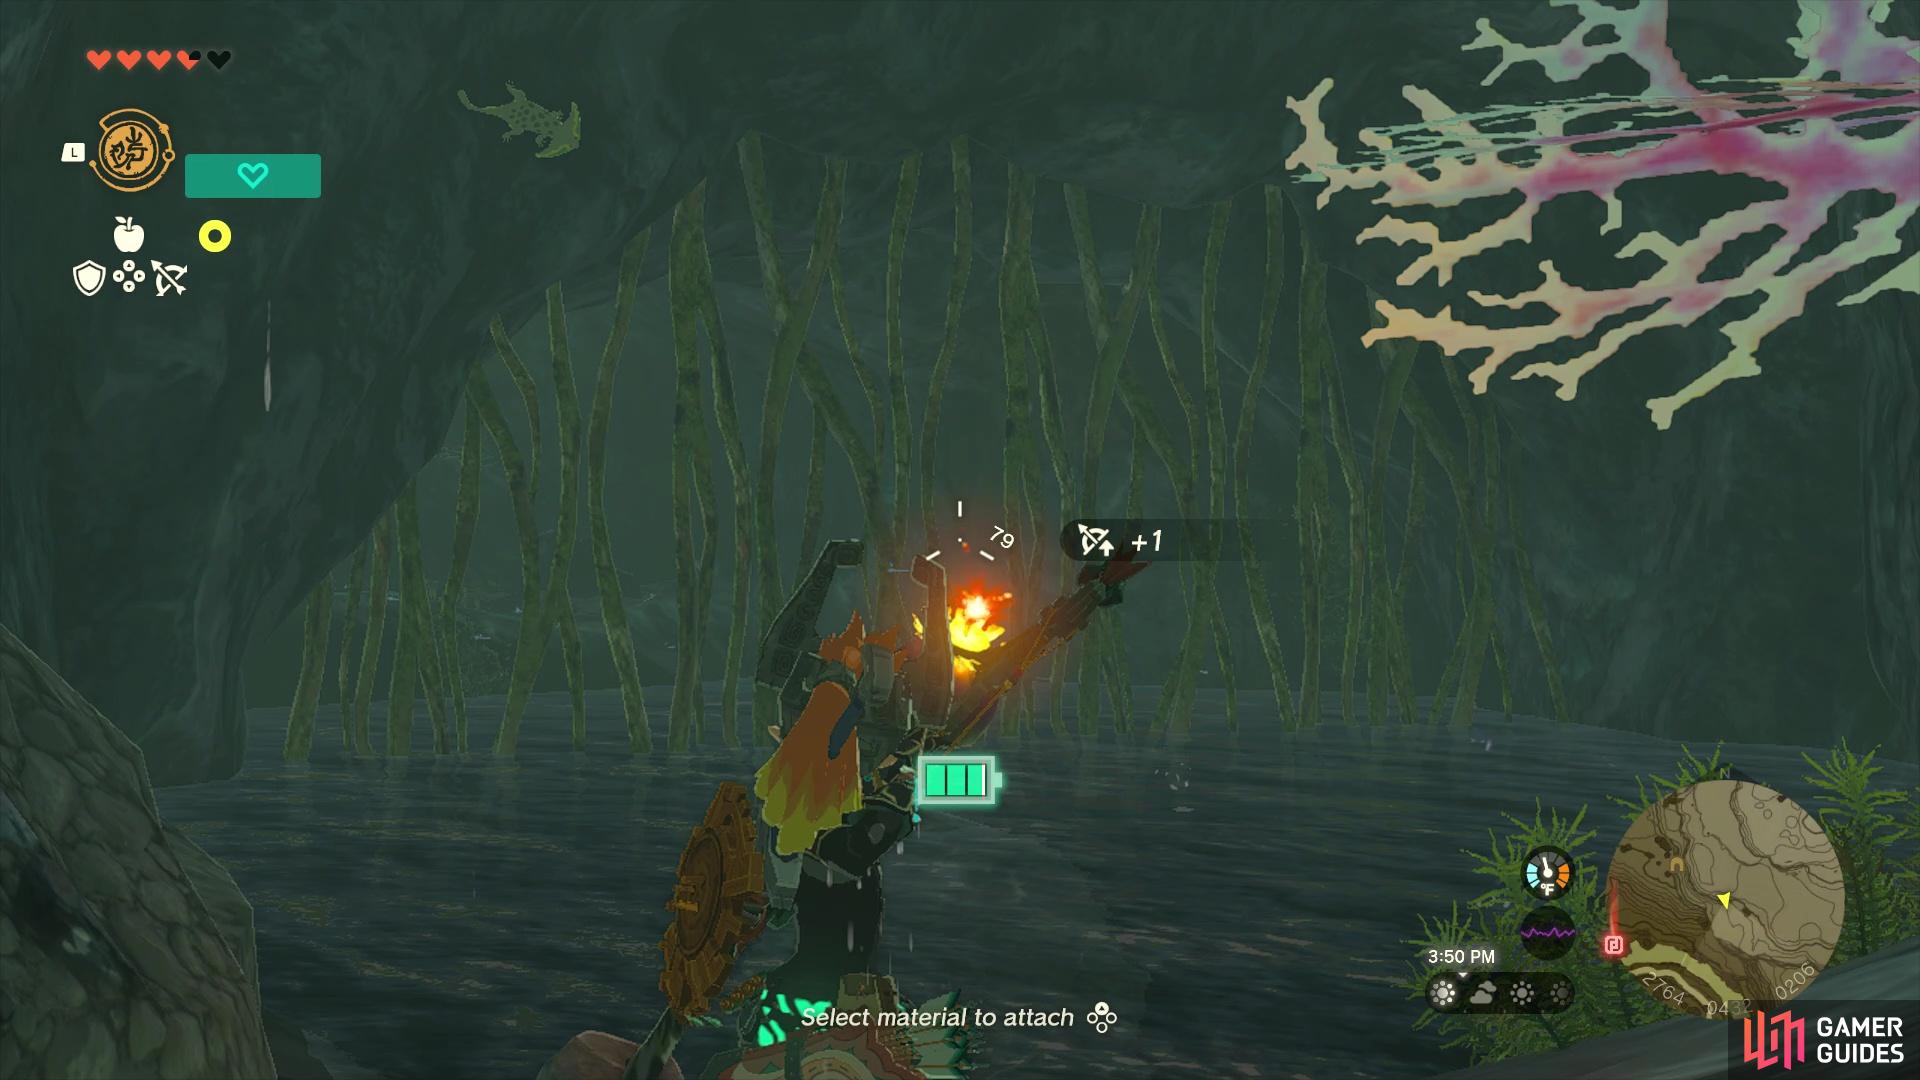
Inside, there’s a multi-tiered Elemental weapons are especially useful, especially against the higher level Horriblin. These can stun lock them, rendering them far less dangerous. Climbing the den may not be easy for Hylians like yourself, but you can make things easier by using Near the top of the den, there are some breakable rocks, hiding a small cavern where the resident
Map(s)
Creatures/Enemies in this Cave
|


|
|||||||||||||||||||||||||||||||||||||||||||||||||||||||||||||||||||||||||||||||||||||||||||||||

|
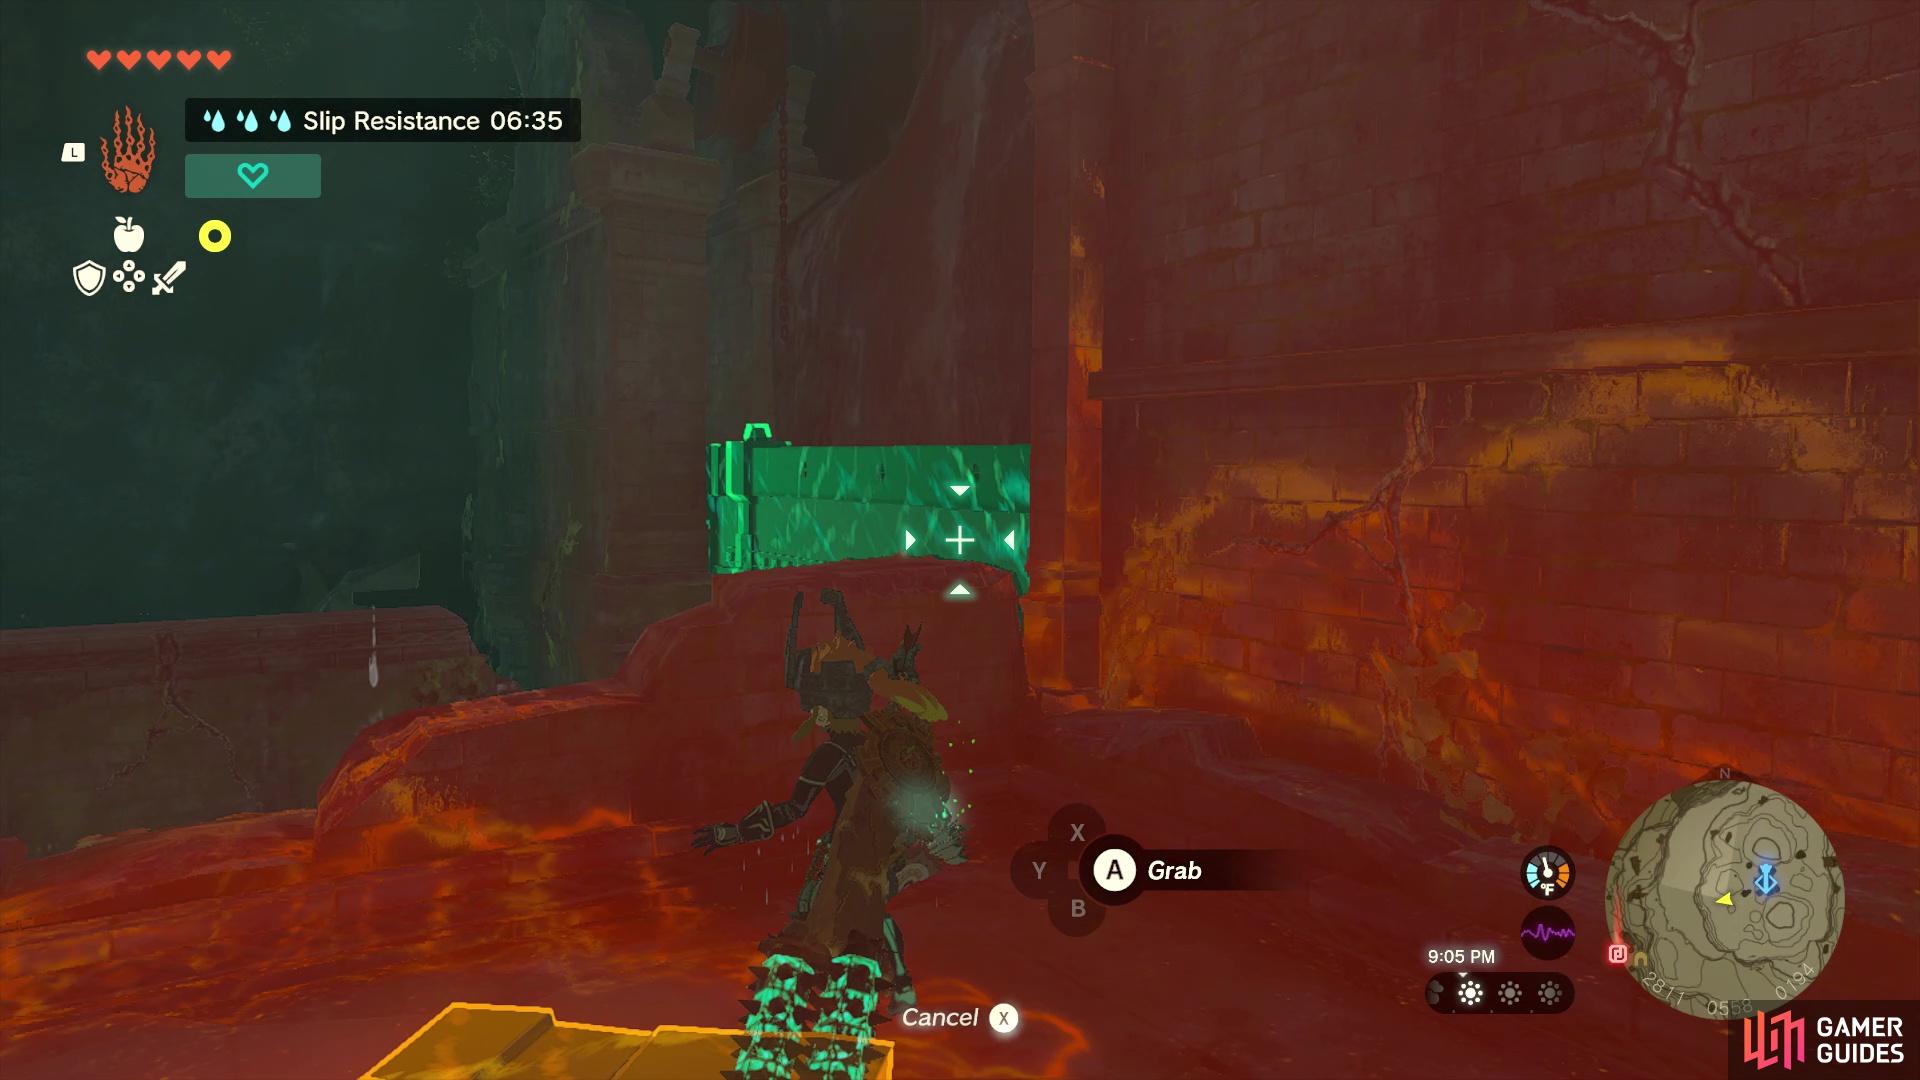
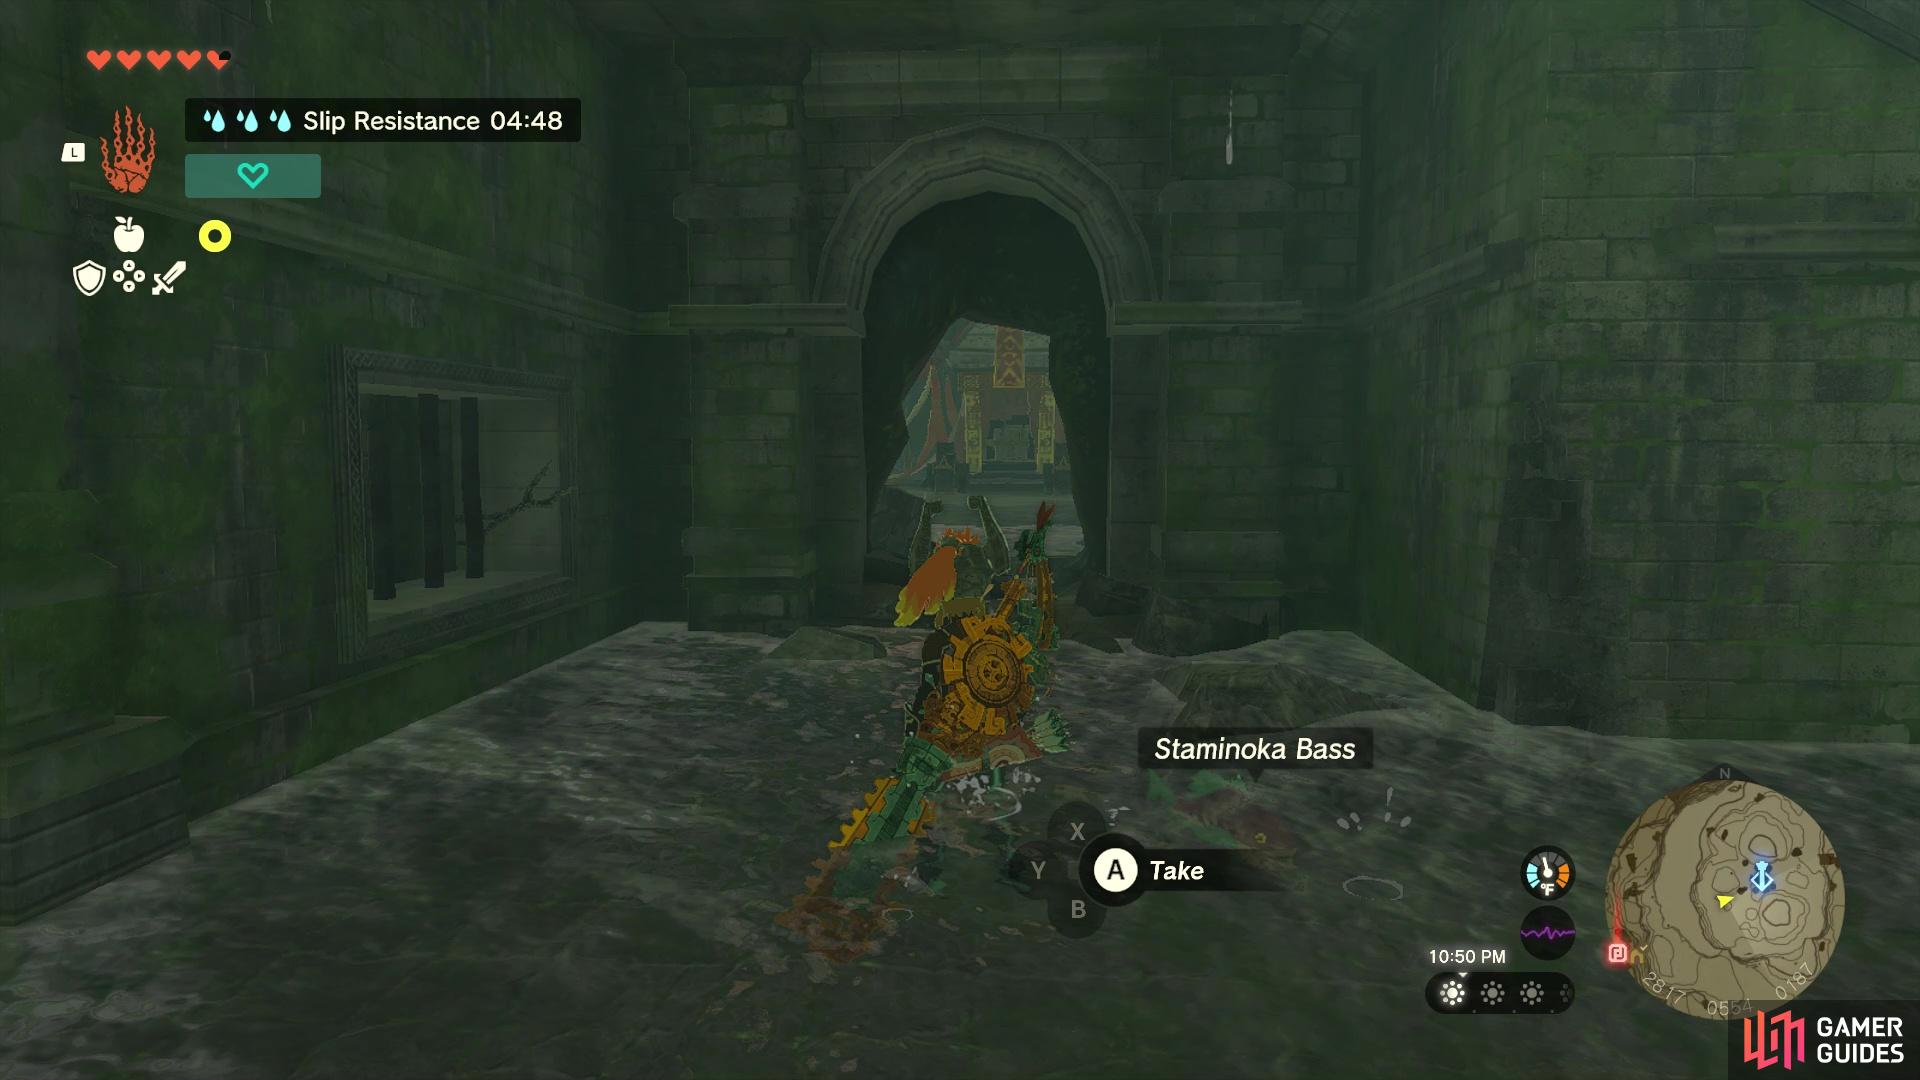
Akkala Citadel Ruins Summit Cave |
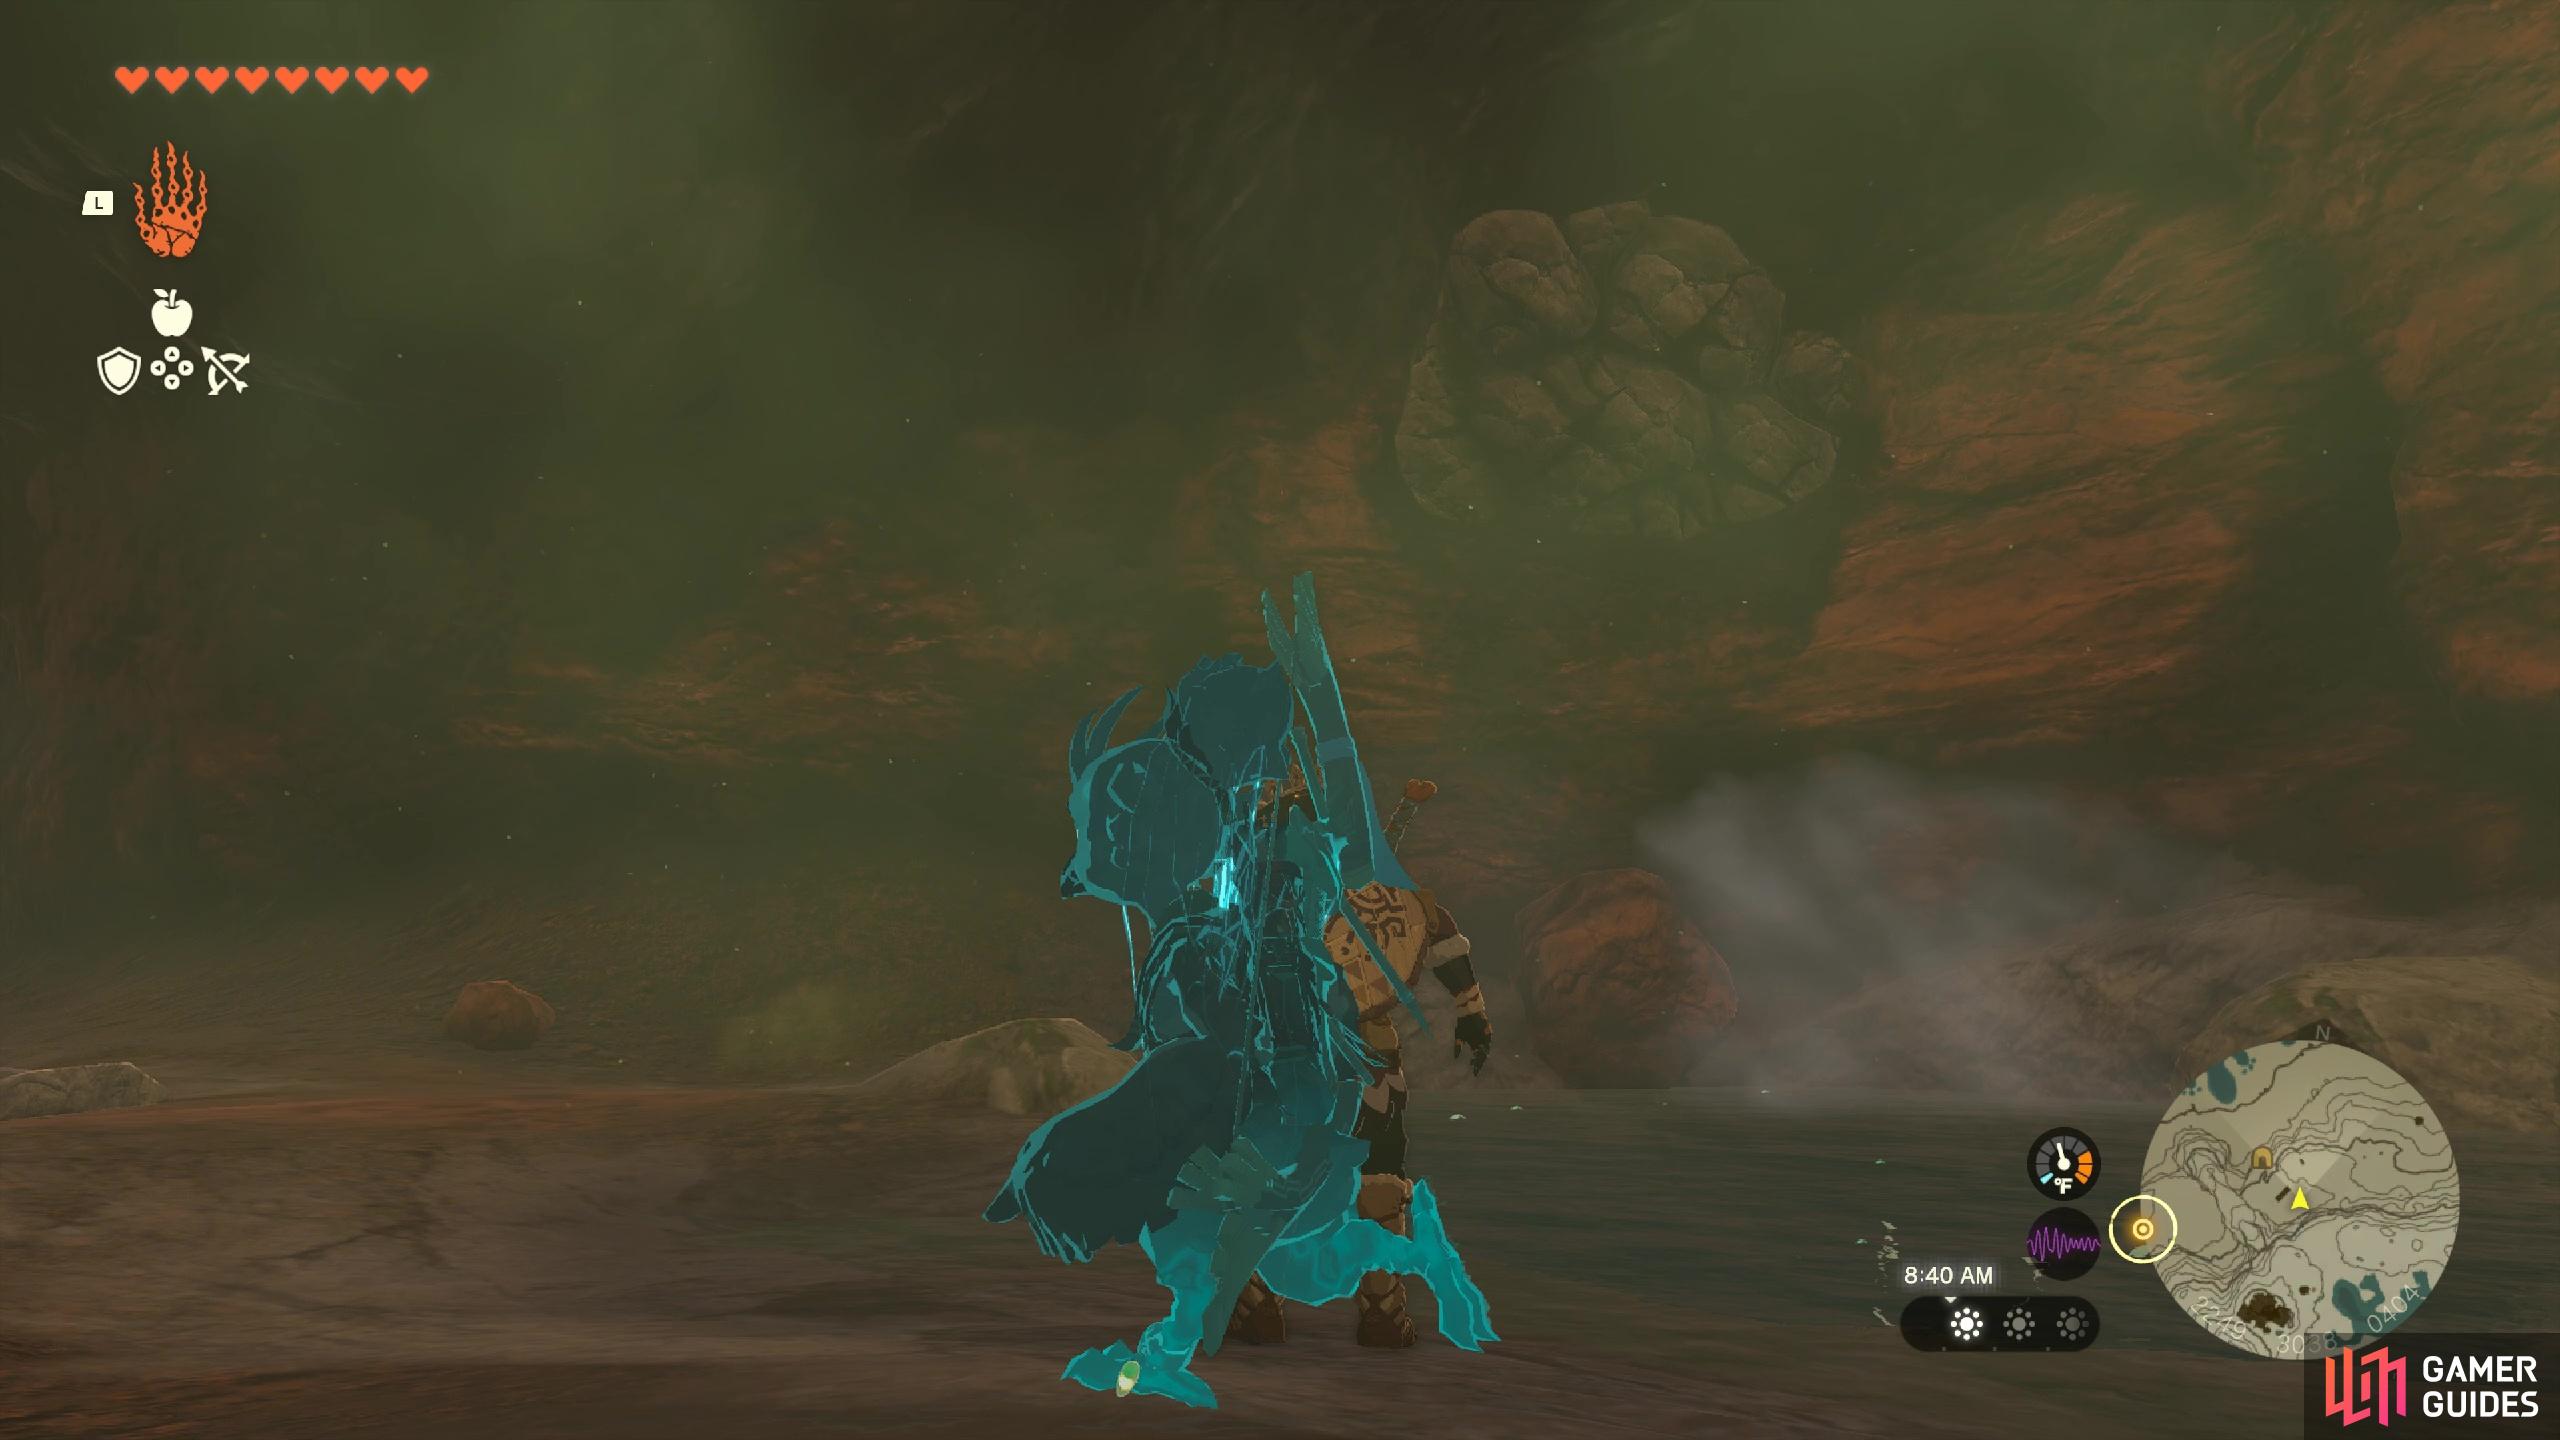
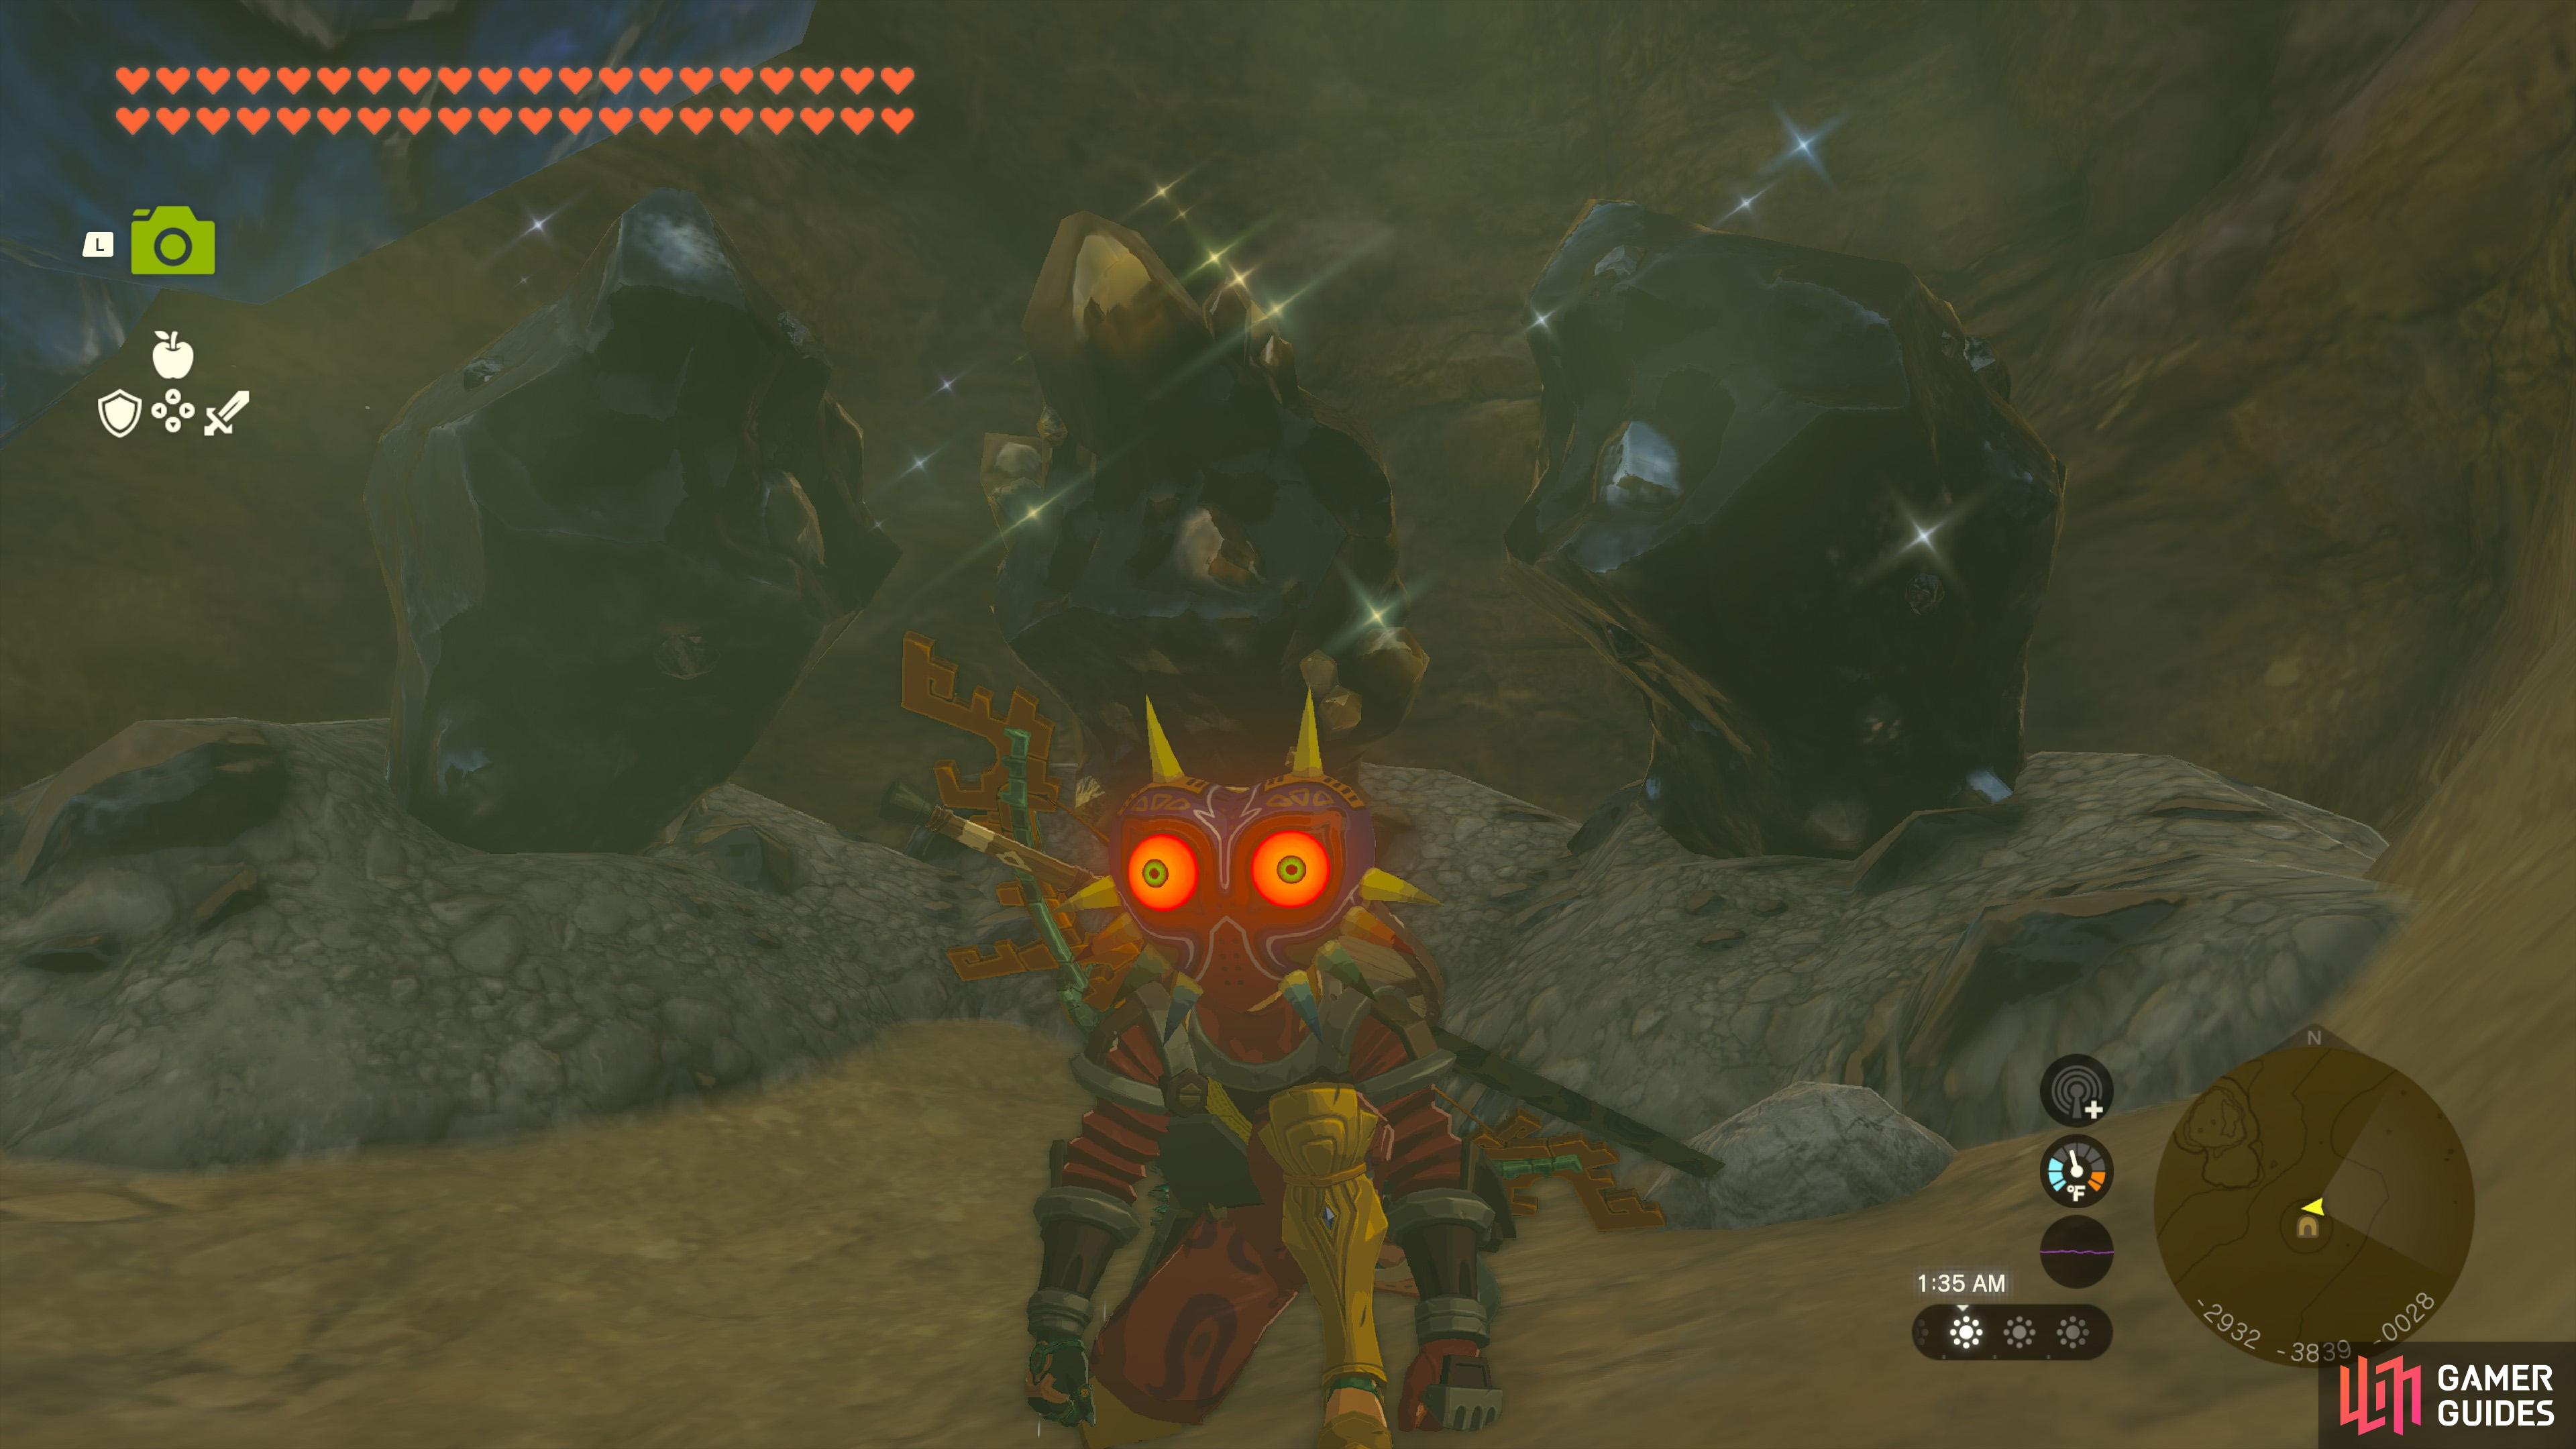
You need to move some large rocks using
Map(s)
Creatures/Enemies in this Cave
|
||||||||||||||||||||||||||||||||||||||||||||||||||||||||||||||||||||||||||||||||||||||||||||||||

|
Ancient Altar Ruins |
The You can also find
Map(s)
Creatures/Enemies in this Cave
|
||||||||||||||||||||||||||||||||||||||||||||||||||||||||||||||||||||||||||||||||||||||||||||||||

|
Ancient Columns Cave |
The You’ll find some
Map(s)
Creatures/Enemies in this Cave
|
||||||||||||||||||||||||||||||||||||||||||||||||||||||||||||||||||||||||||||||||||||||||||||||||

|
Ancient Prison Ruins |
The In the room with the chest, remove the stone slabs behind it using
Map(s)
Creatures/Enemies in this Cave
|
||||||||||||||||||||||||||||||||||||||||||||||||||||||||||||||||||||||||||||||||||||||||||||||||

|
Ancient Tree Stump Cave |
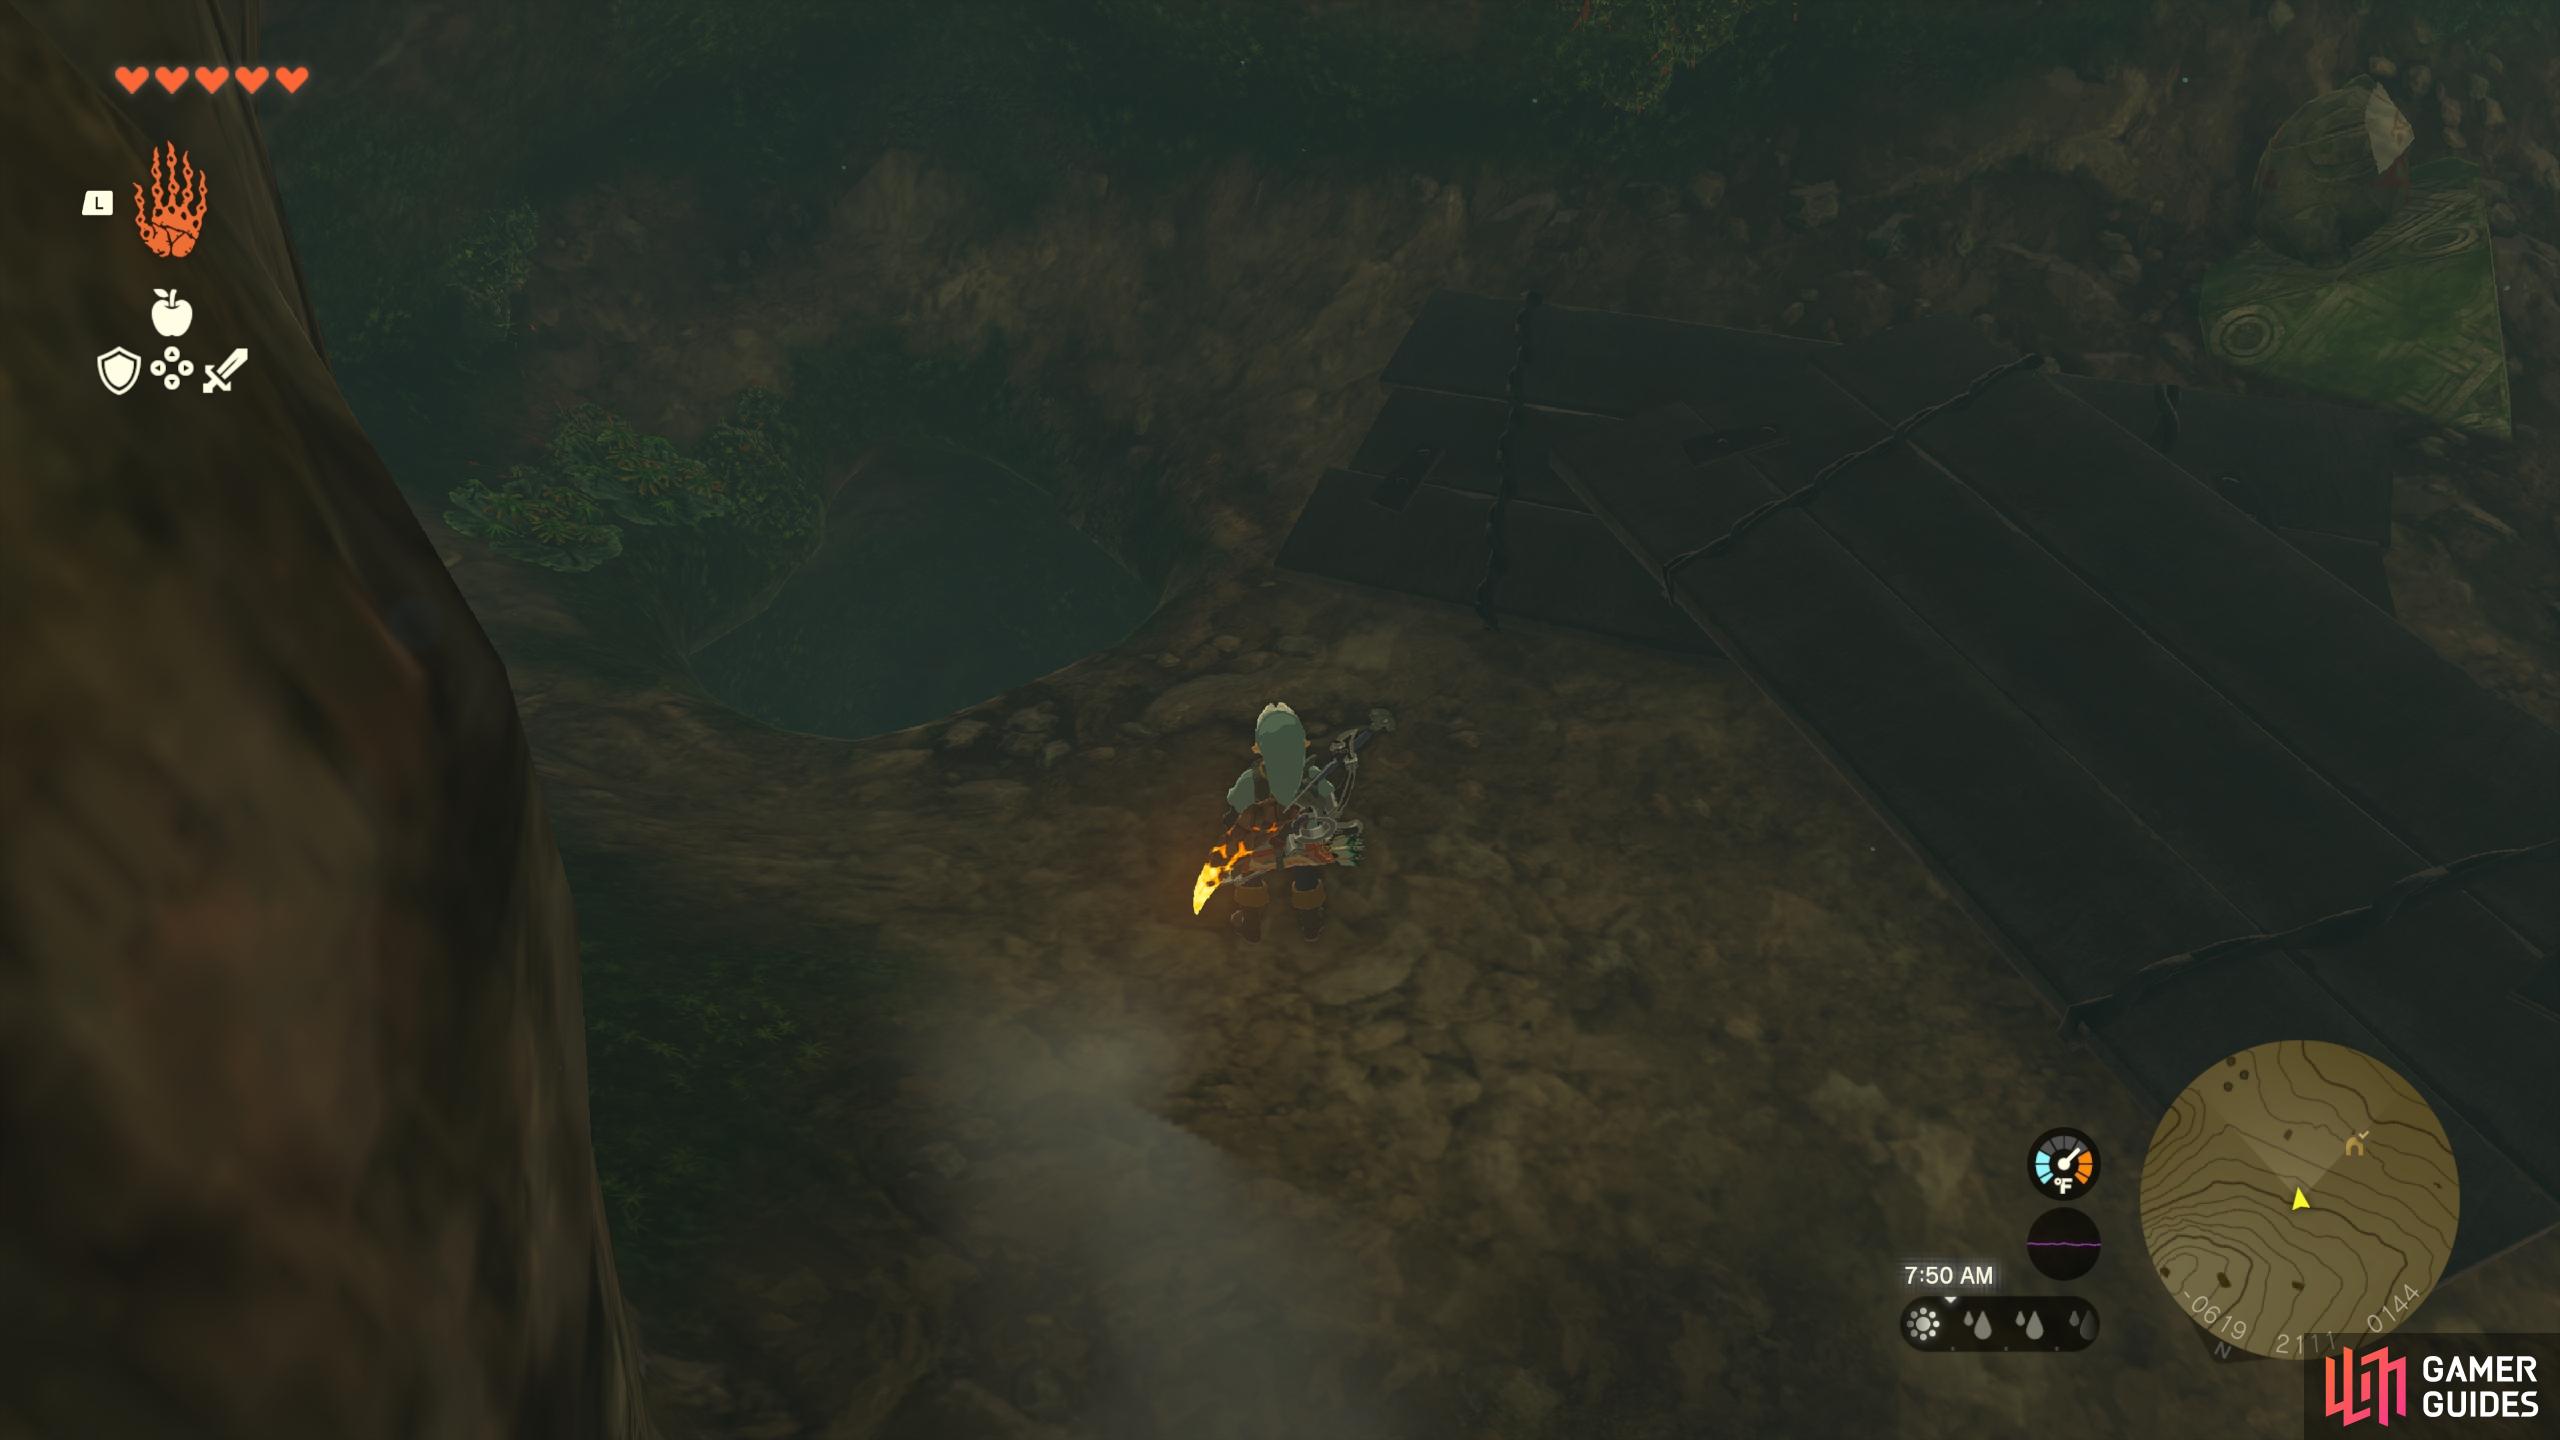
You need to drop into the hole on the massive tree stump located here to enter this cave. Inside you’ll find
Map(s)
Creatures/Enemies in this Cave
|
||||||||||||||||||||||||||||||||||||||||||||||||||||||||||||||||||||||||||||||||||||||||||||||||

|
Ancient Zora Waterworks |
The To enter it, you must progress the main story quest,
Inside, you need to change the water level to reach a Zonai terminal that allows you to cleanse a waterfall near Mipha Court, allowing you to reach the Water Temple. After completing the Water Temple, you can return here to discover the water has been drained. You’ll be able to enter a hole in the ground leading to a
Map(s)
Creatures/Enemies in this Cave
|
||||||||||||||||||||||||||||||||||||||||||||||||||||||||||||||||||||||||||||||||||||||||||||||||

|
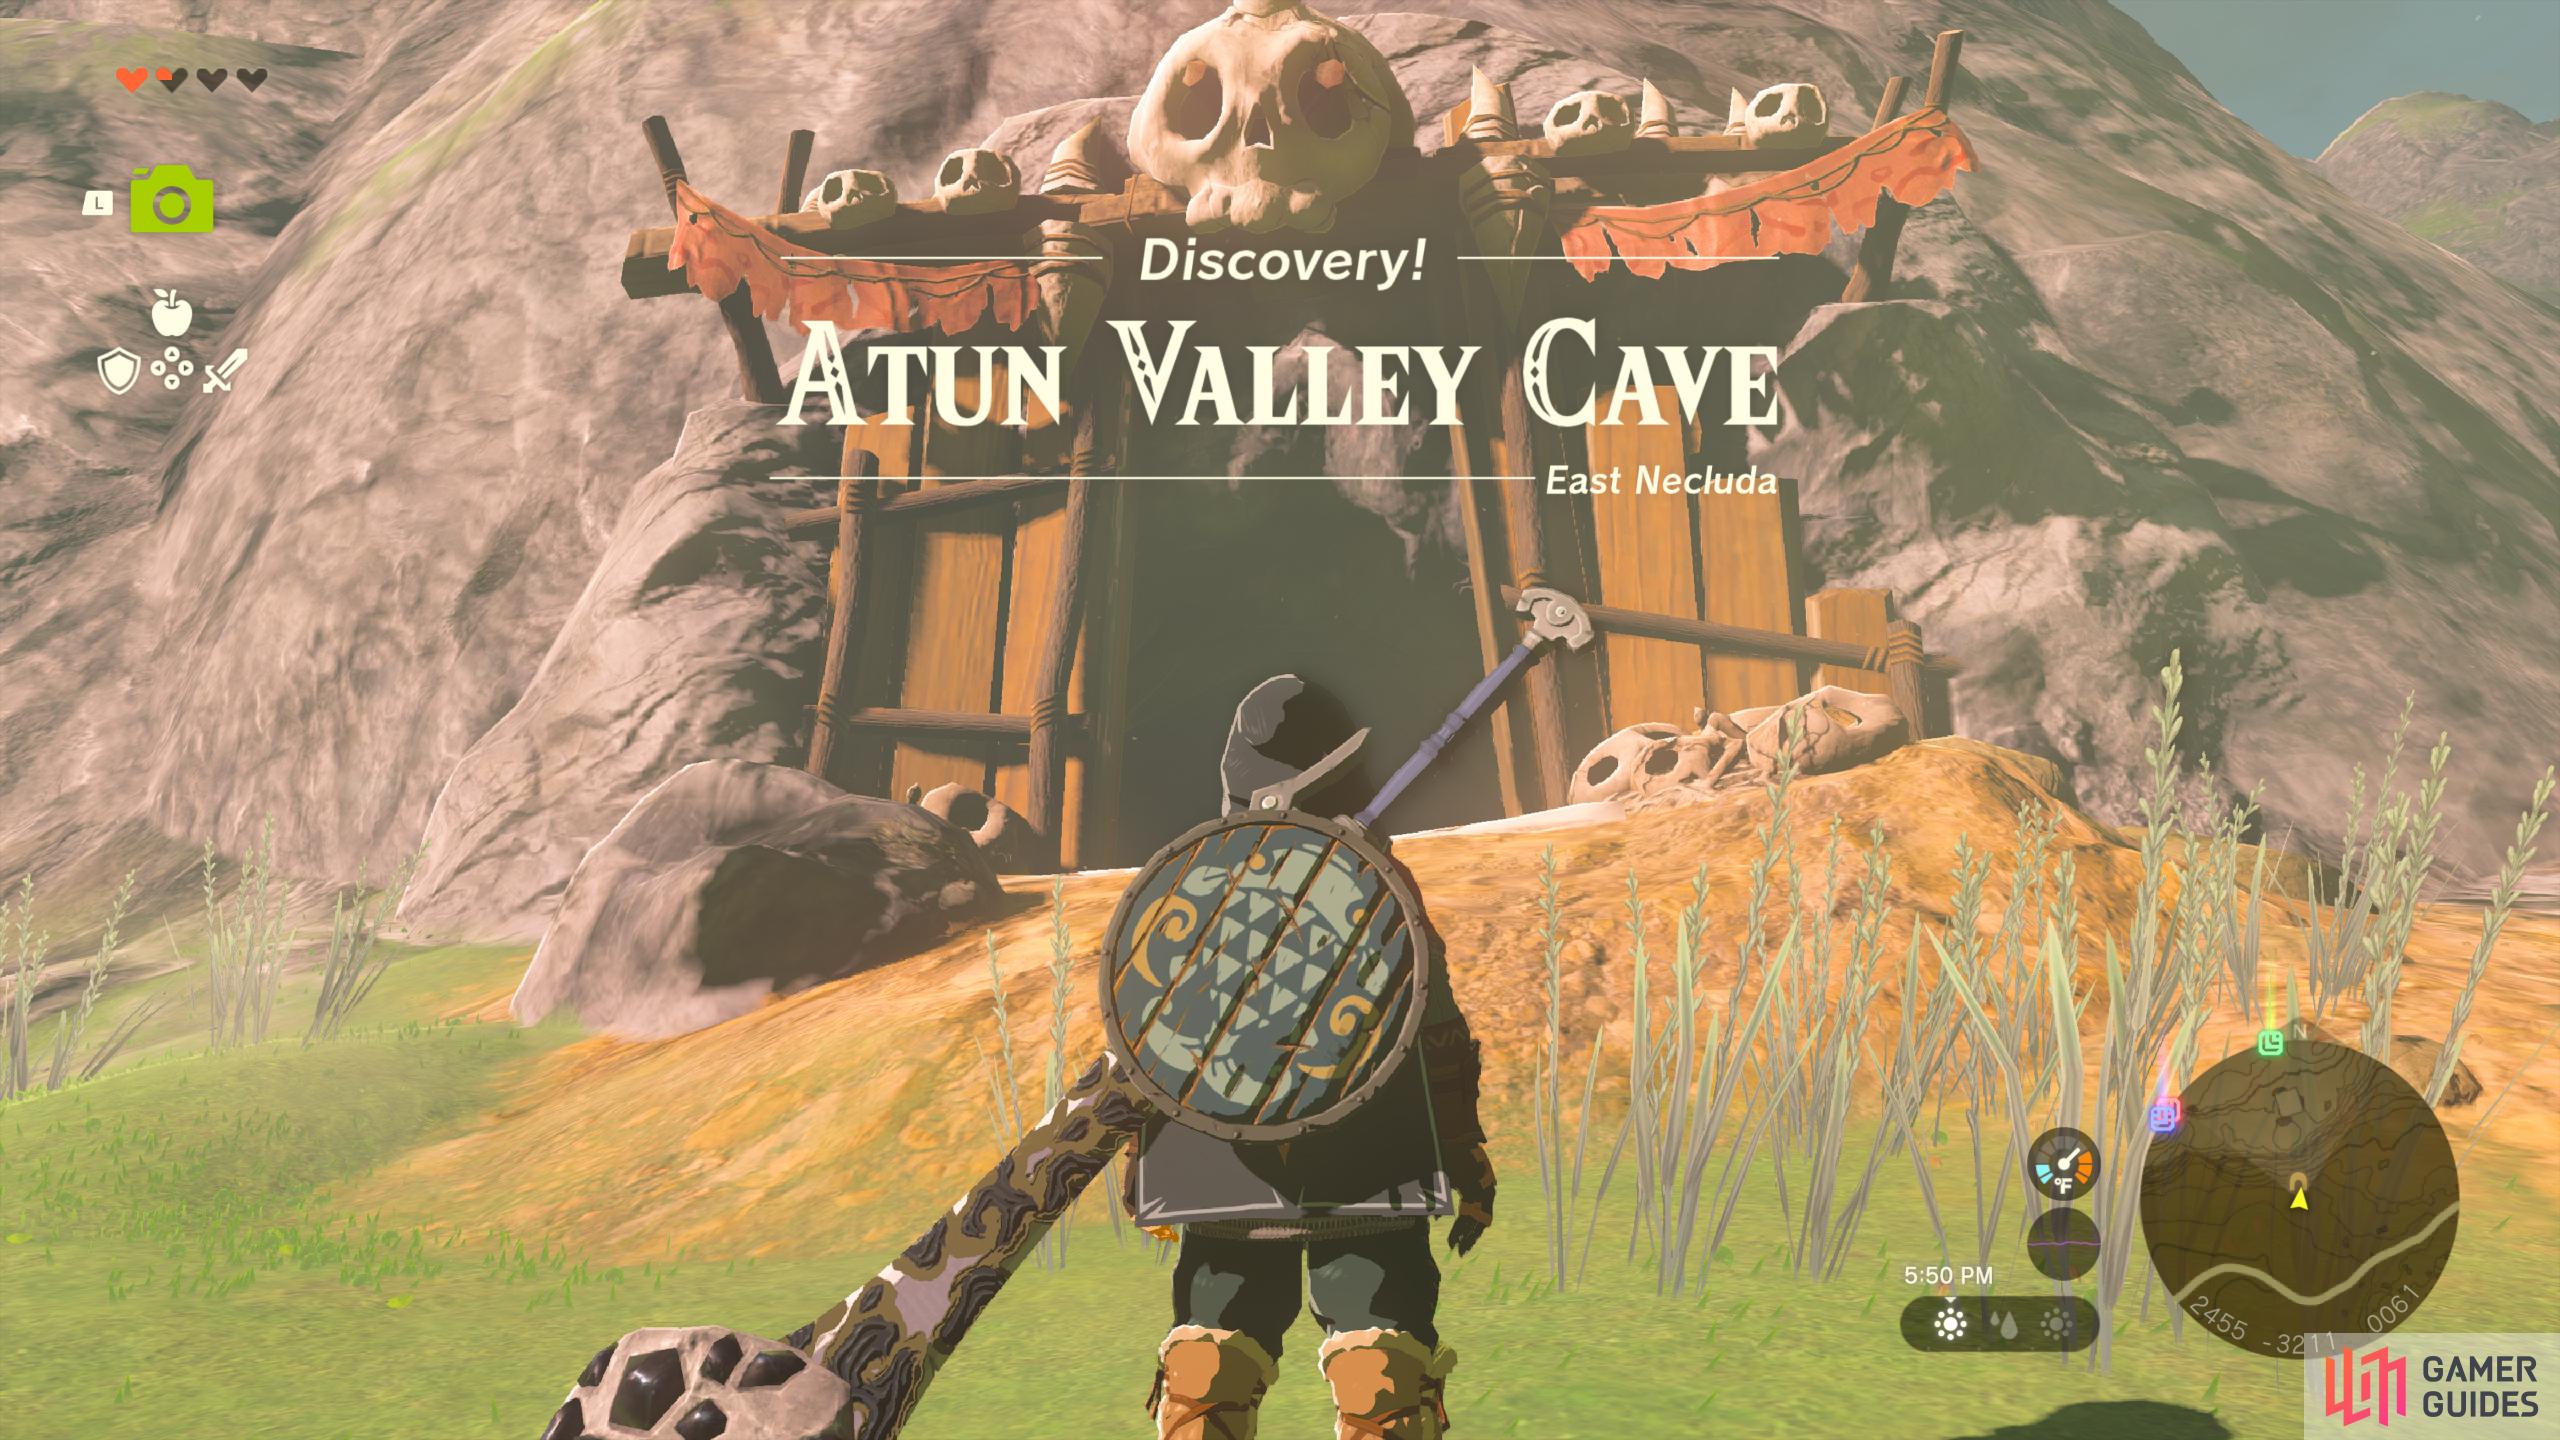
Atun Valley Cave |
In the middle of the valley, on the lower level, you’ll find the This is a fairly small cave which contains
Map(s)
Creatures/Enemies in this Cave
|
|
|||||||||||||||||||||||||||||||||||||||||||||||||||||||||||||||||||||||||||||||||||||||||||||||

|
Boné Pond East Cave |
The Inside, you can find the Maoikes Shrine, alongside plenty of There’s also an NPC named
Map(s)
Creatures/Enemies in this Cave
|
||||||||||||||||||||||||||||||||||||||||||||||||||||||||||||||||||||||||||||||||||||||||||||||||

|
Brightcap Cave |
You’ll find
Map(s)
Creatures/Enemies in this Cave
|
||||||||||||||||||||||||||||||||||||||||||||||||||||||||||||||||||||||||||||||||||||||||||||||||

|
Calora Lake Cave |
Found at the base of a cliff at the waterfalls in You’ll find
Map(s)
Cave Location
1×
Creatures/Enemies in this Cave
|
||||||||||||||||||||||||||||||||||||||||||||||||||||||||||||||||||||||||||||||||||||||||||||||||

|
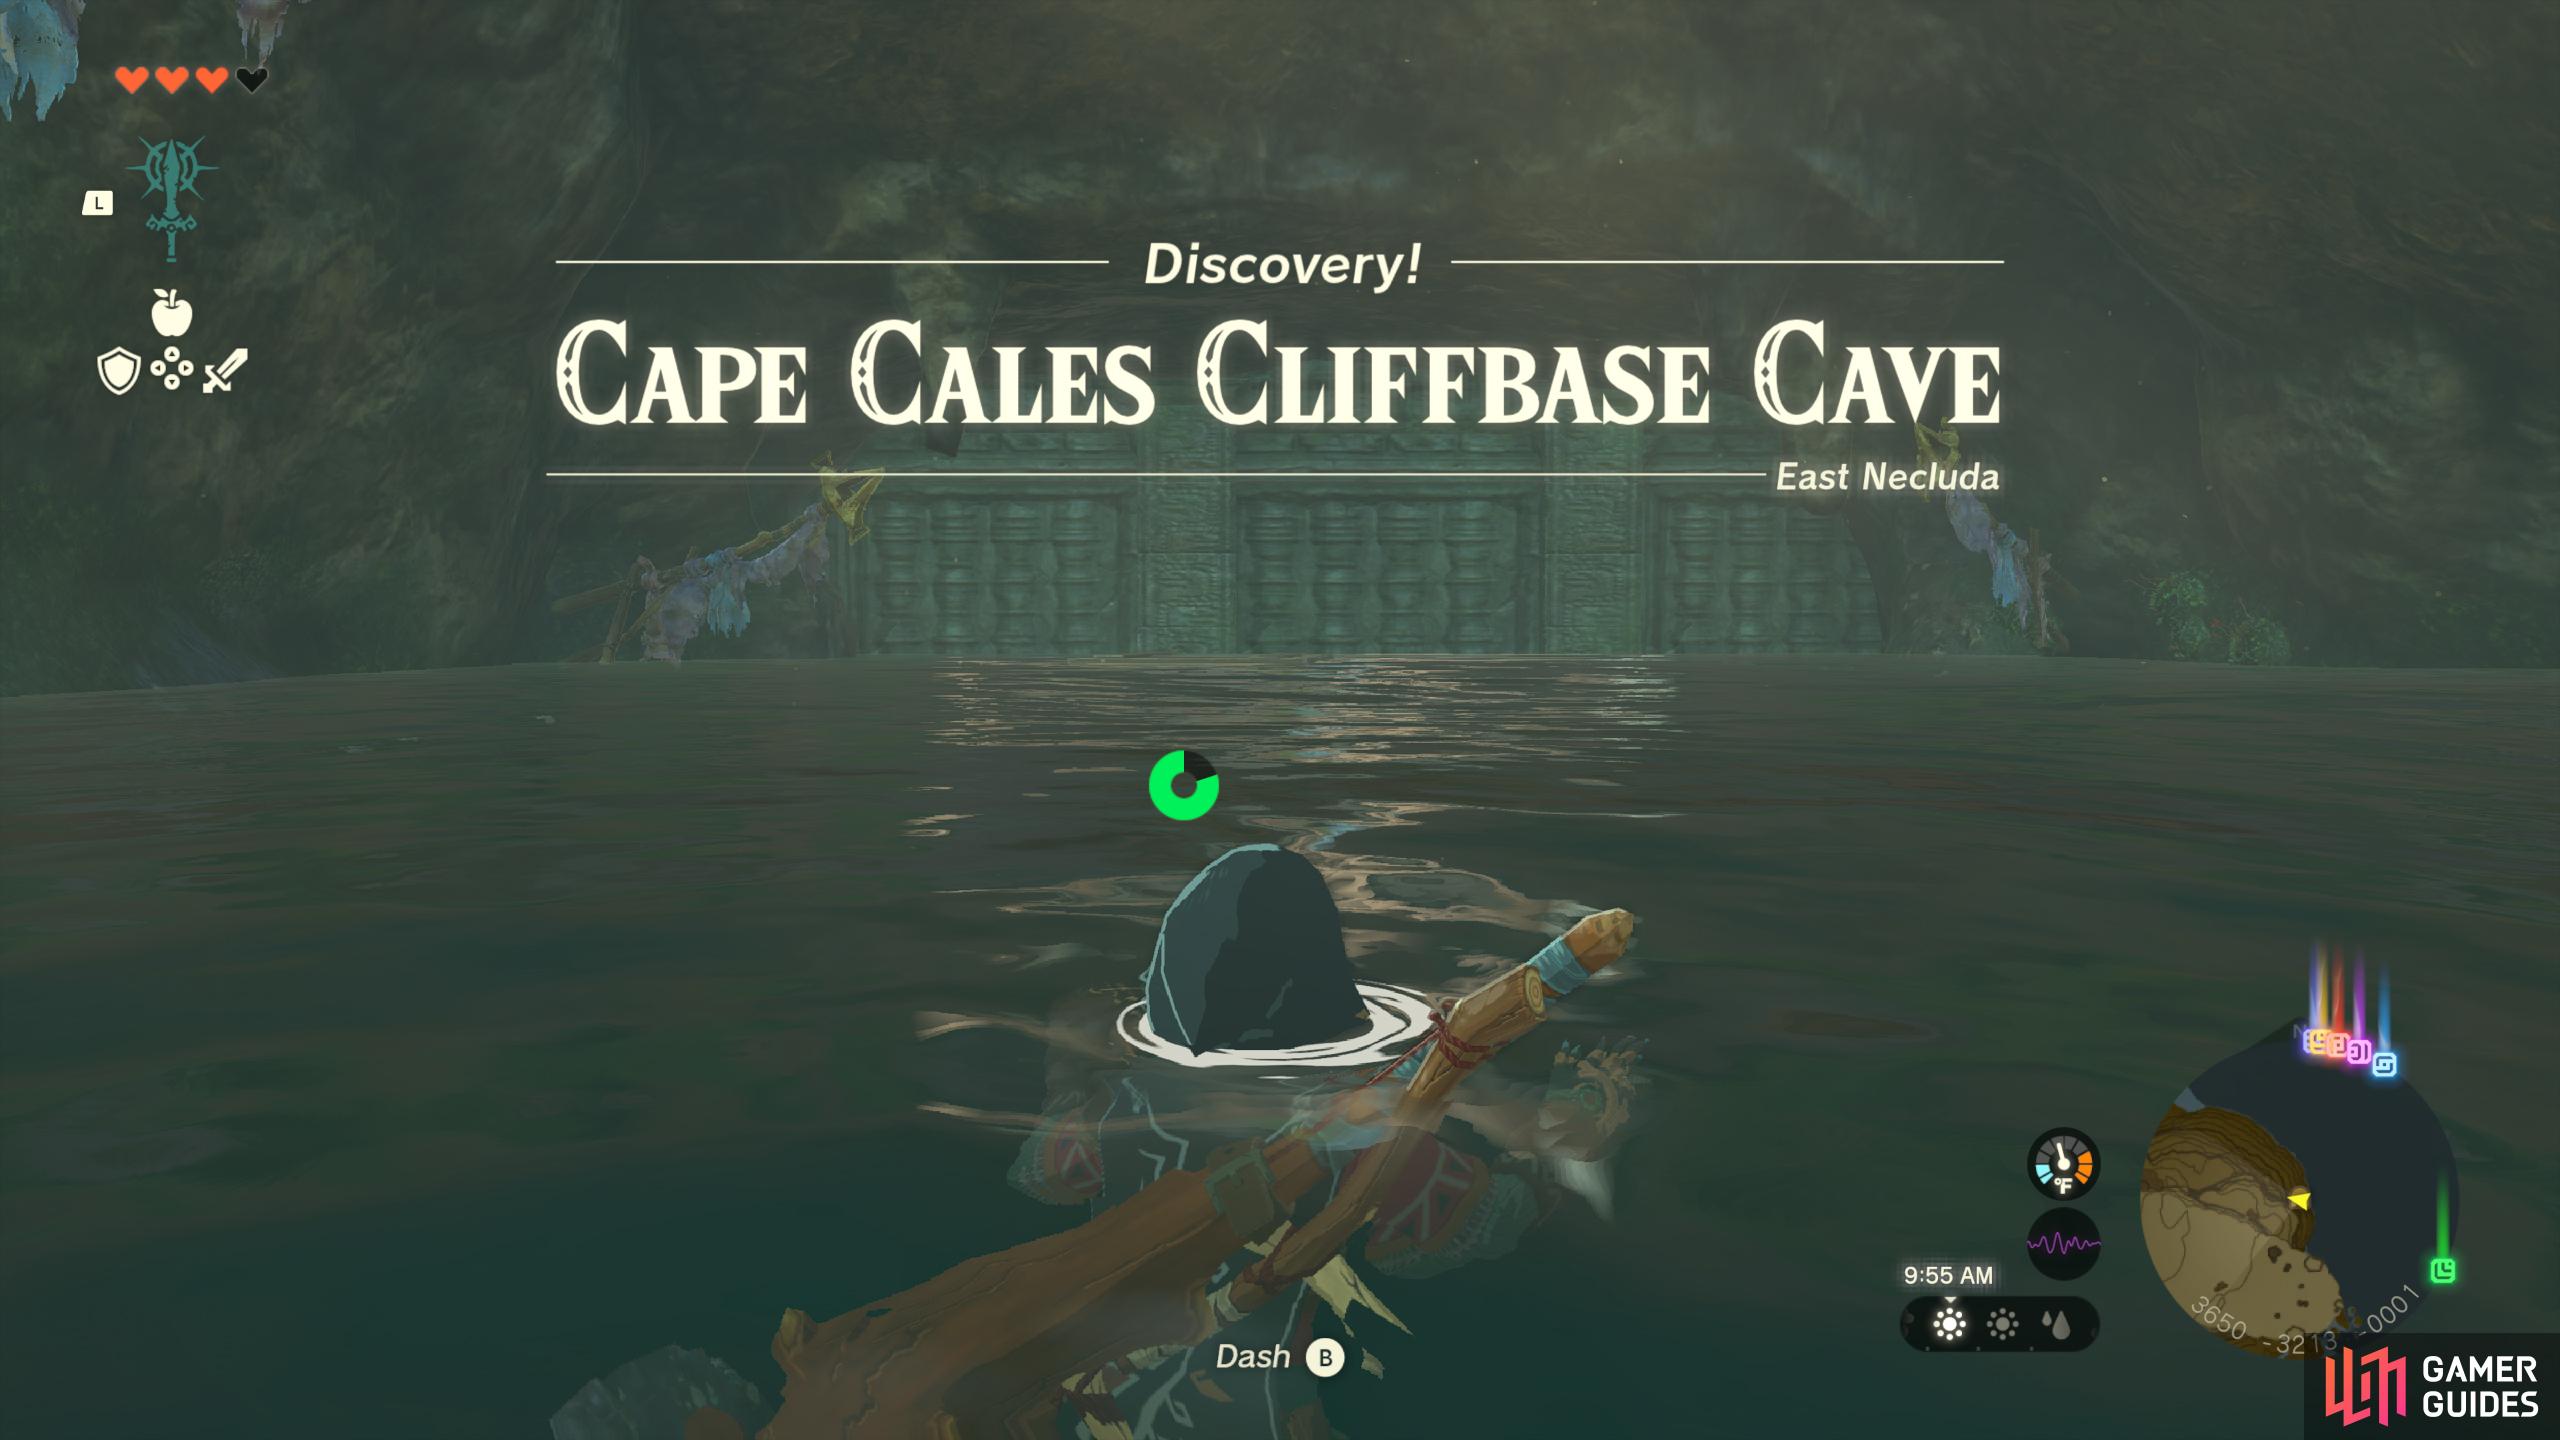
Cape Cales Cliffbase Cave |
A hidden cave found in the Necluda Sea, northeast of the Cape Cales plateau. Rumor is that a quick whistle will open the way. As mentioned above, you can open this cave by whistling from the wooden board in the water in front of the entrance. You’ll find You can get onto the large ship by swimming to one of the wooden boards beneath it and using
Map(s)
Creatures/Enemies in this Cave
|
|
|||||||||||||||||||||||||||||||||||||||||||||||||||||||||||||||||||||||||||||||||||||||||||||||

|
Cave Under Zora's Domain |
The Inside the cave you’ll find
Map(s)
Creatures/Enemies in this Cave
|
||||||||||||||||||||||||||||||||||||||||||||||||||||||||||||||||||||||||||||||||||||||||||||||||

|
Cephla Lake Cave |
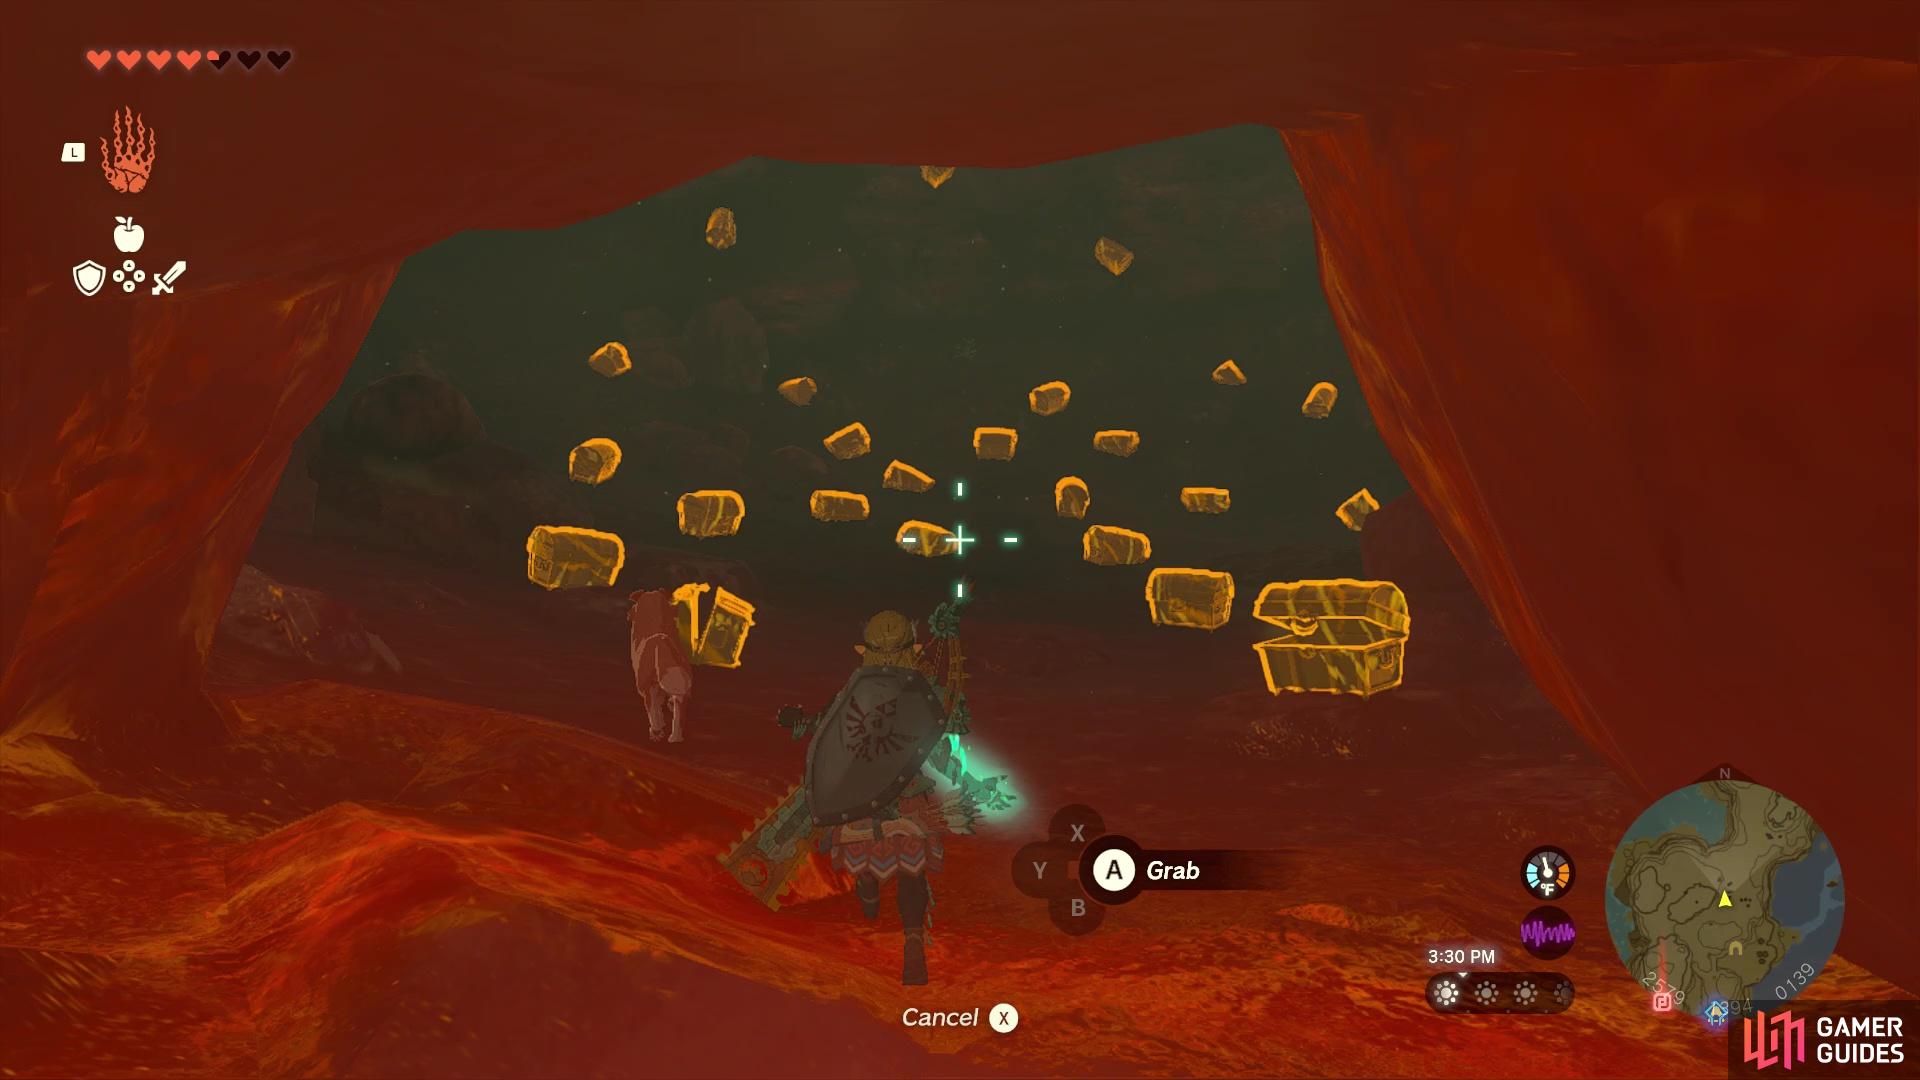
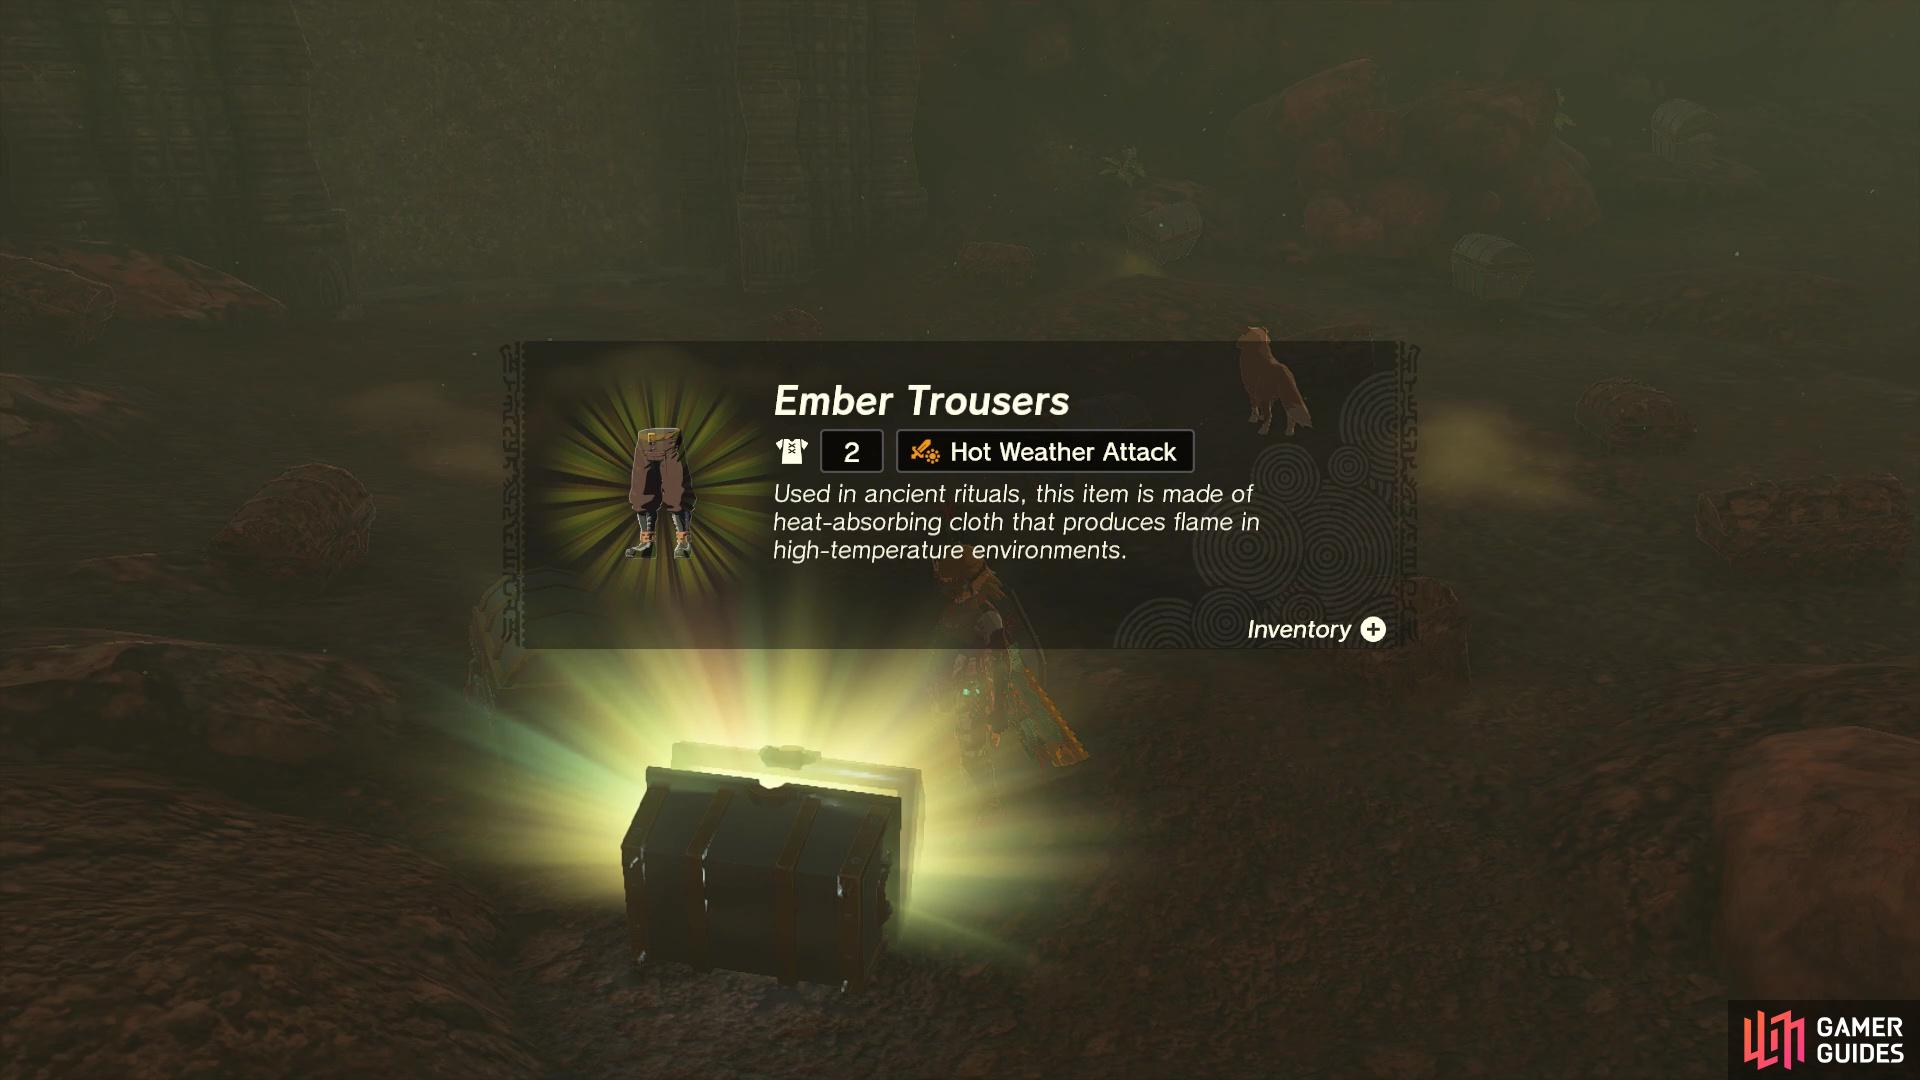
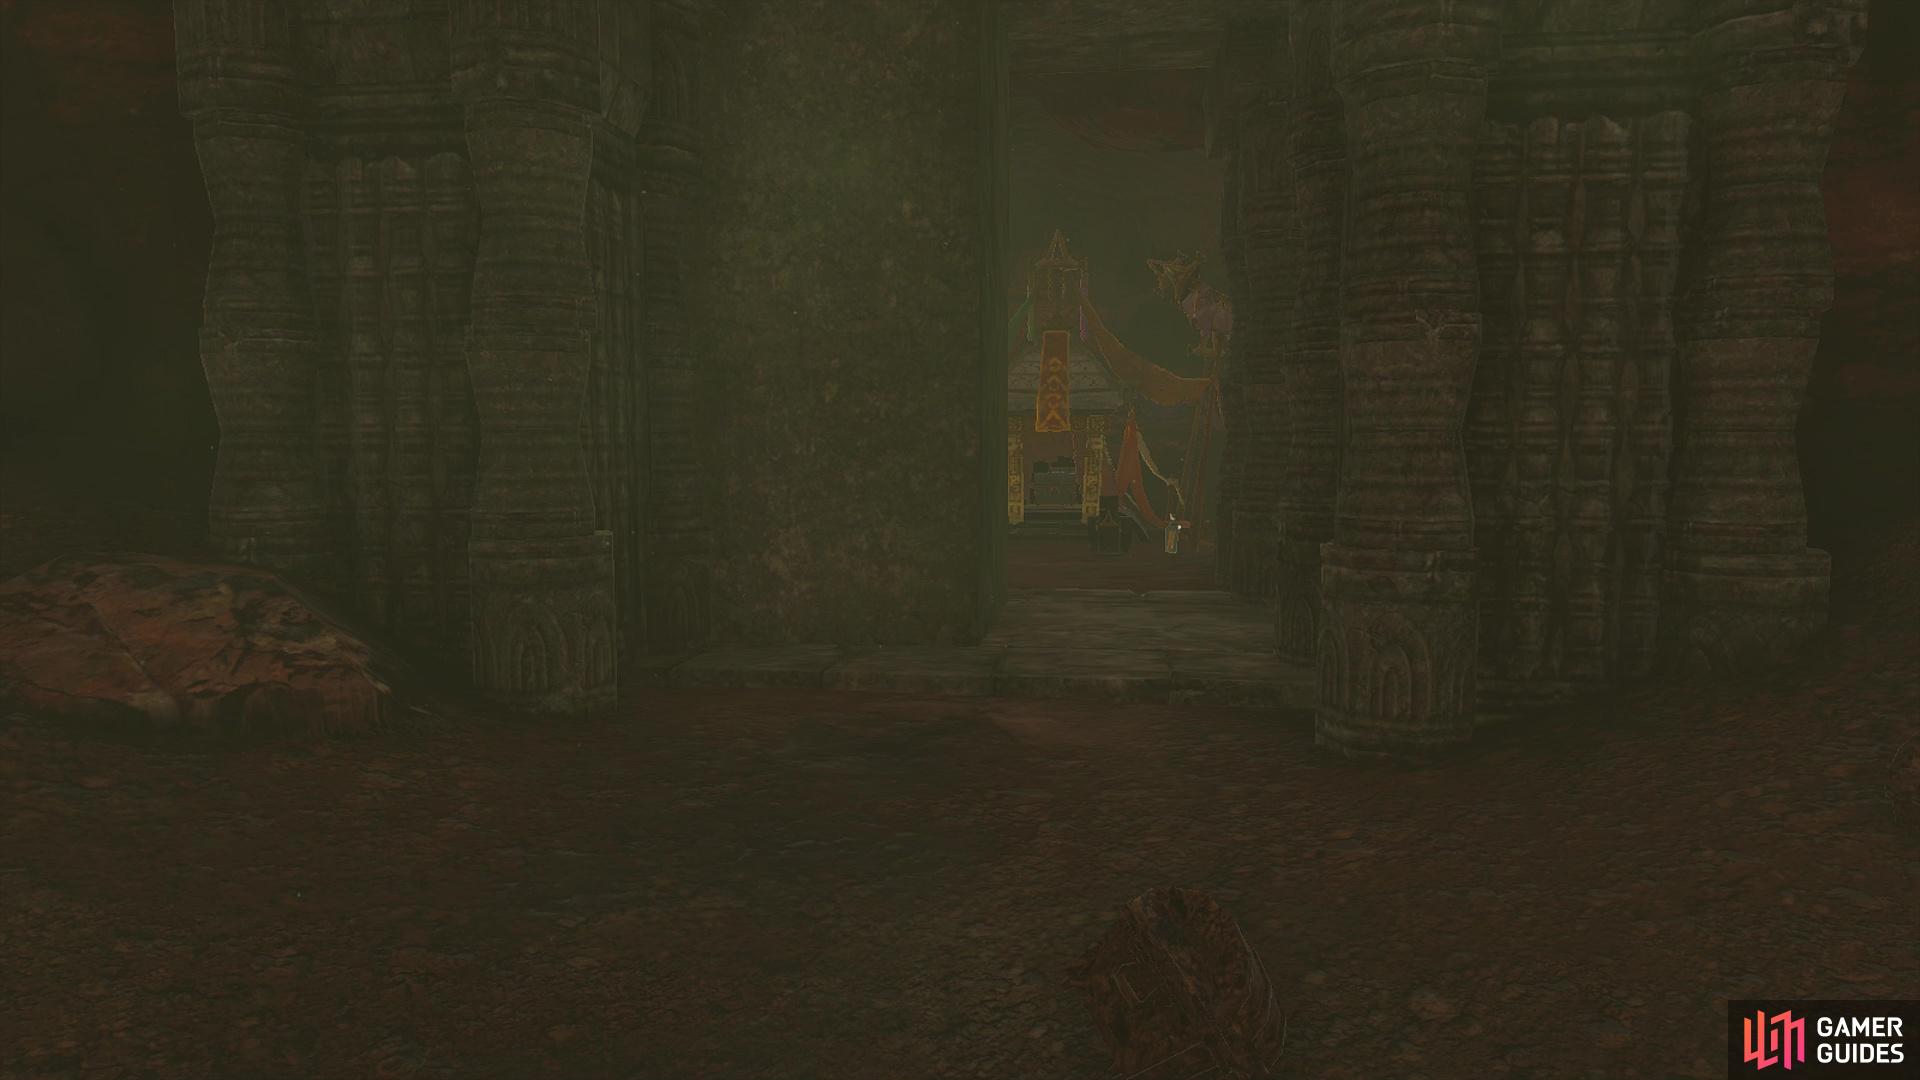
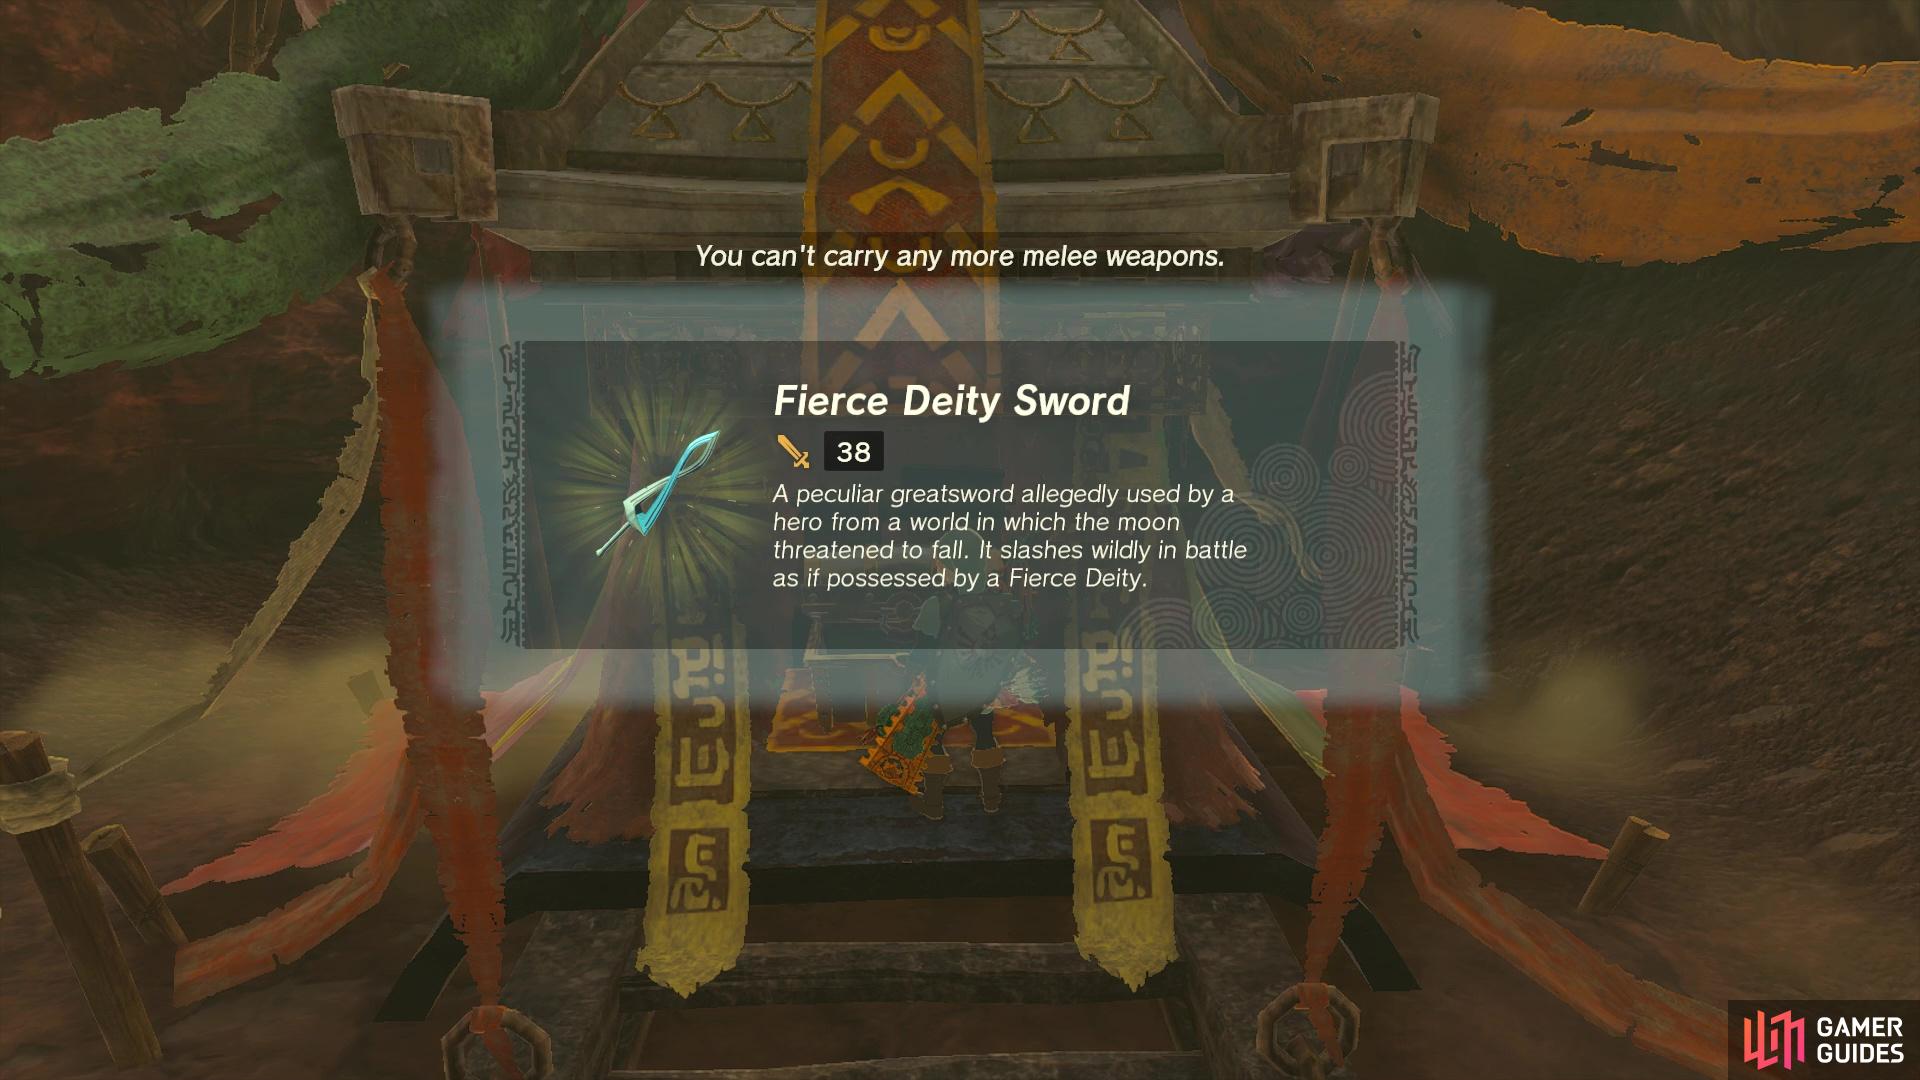
You can find two NPCs right outside the cave, Domidak and Prissen. Speaking to them will begin the Misko’s Cave of Chests side quest. Inside the cave are a bunch of chests, but only a single one will contain actual treasure. To find the right one easily, give the dog just outside some food, until it goes inside and lays down in front of the correct chest. Doing this will give you the Return to the cave with all three pieces of the Fierce Deity armor to open a wall that reveals a chest, containing the
Map(s)
Creatures/Enemies in this Cave
|
|
|||||||||||||||||||||||||||||||||||||||||||||||||||||||||||||||||||||||||||||||||||||||||||||||

|
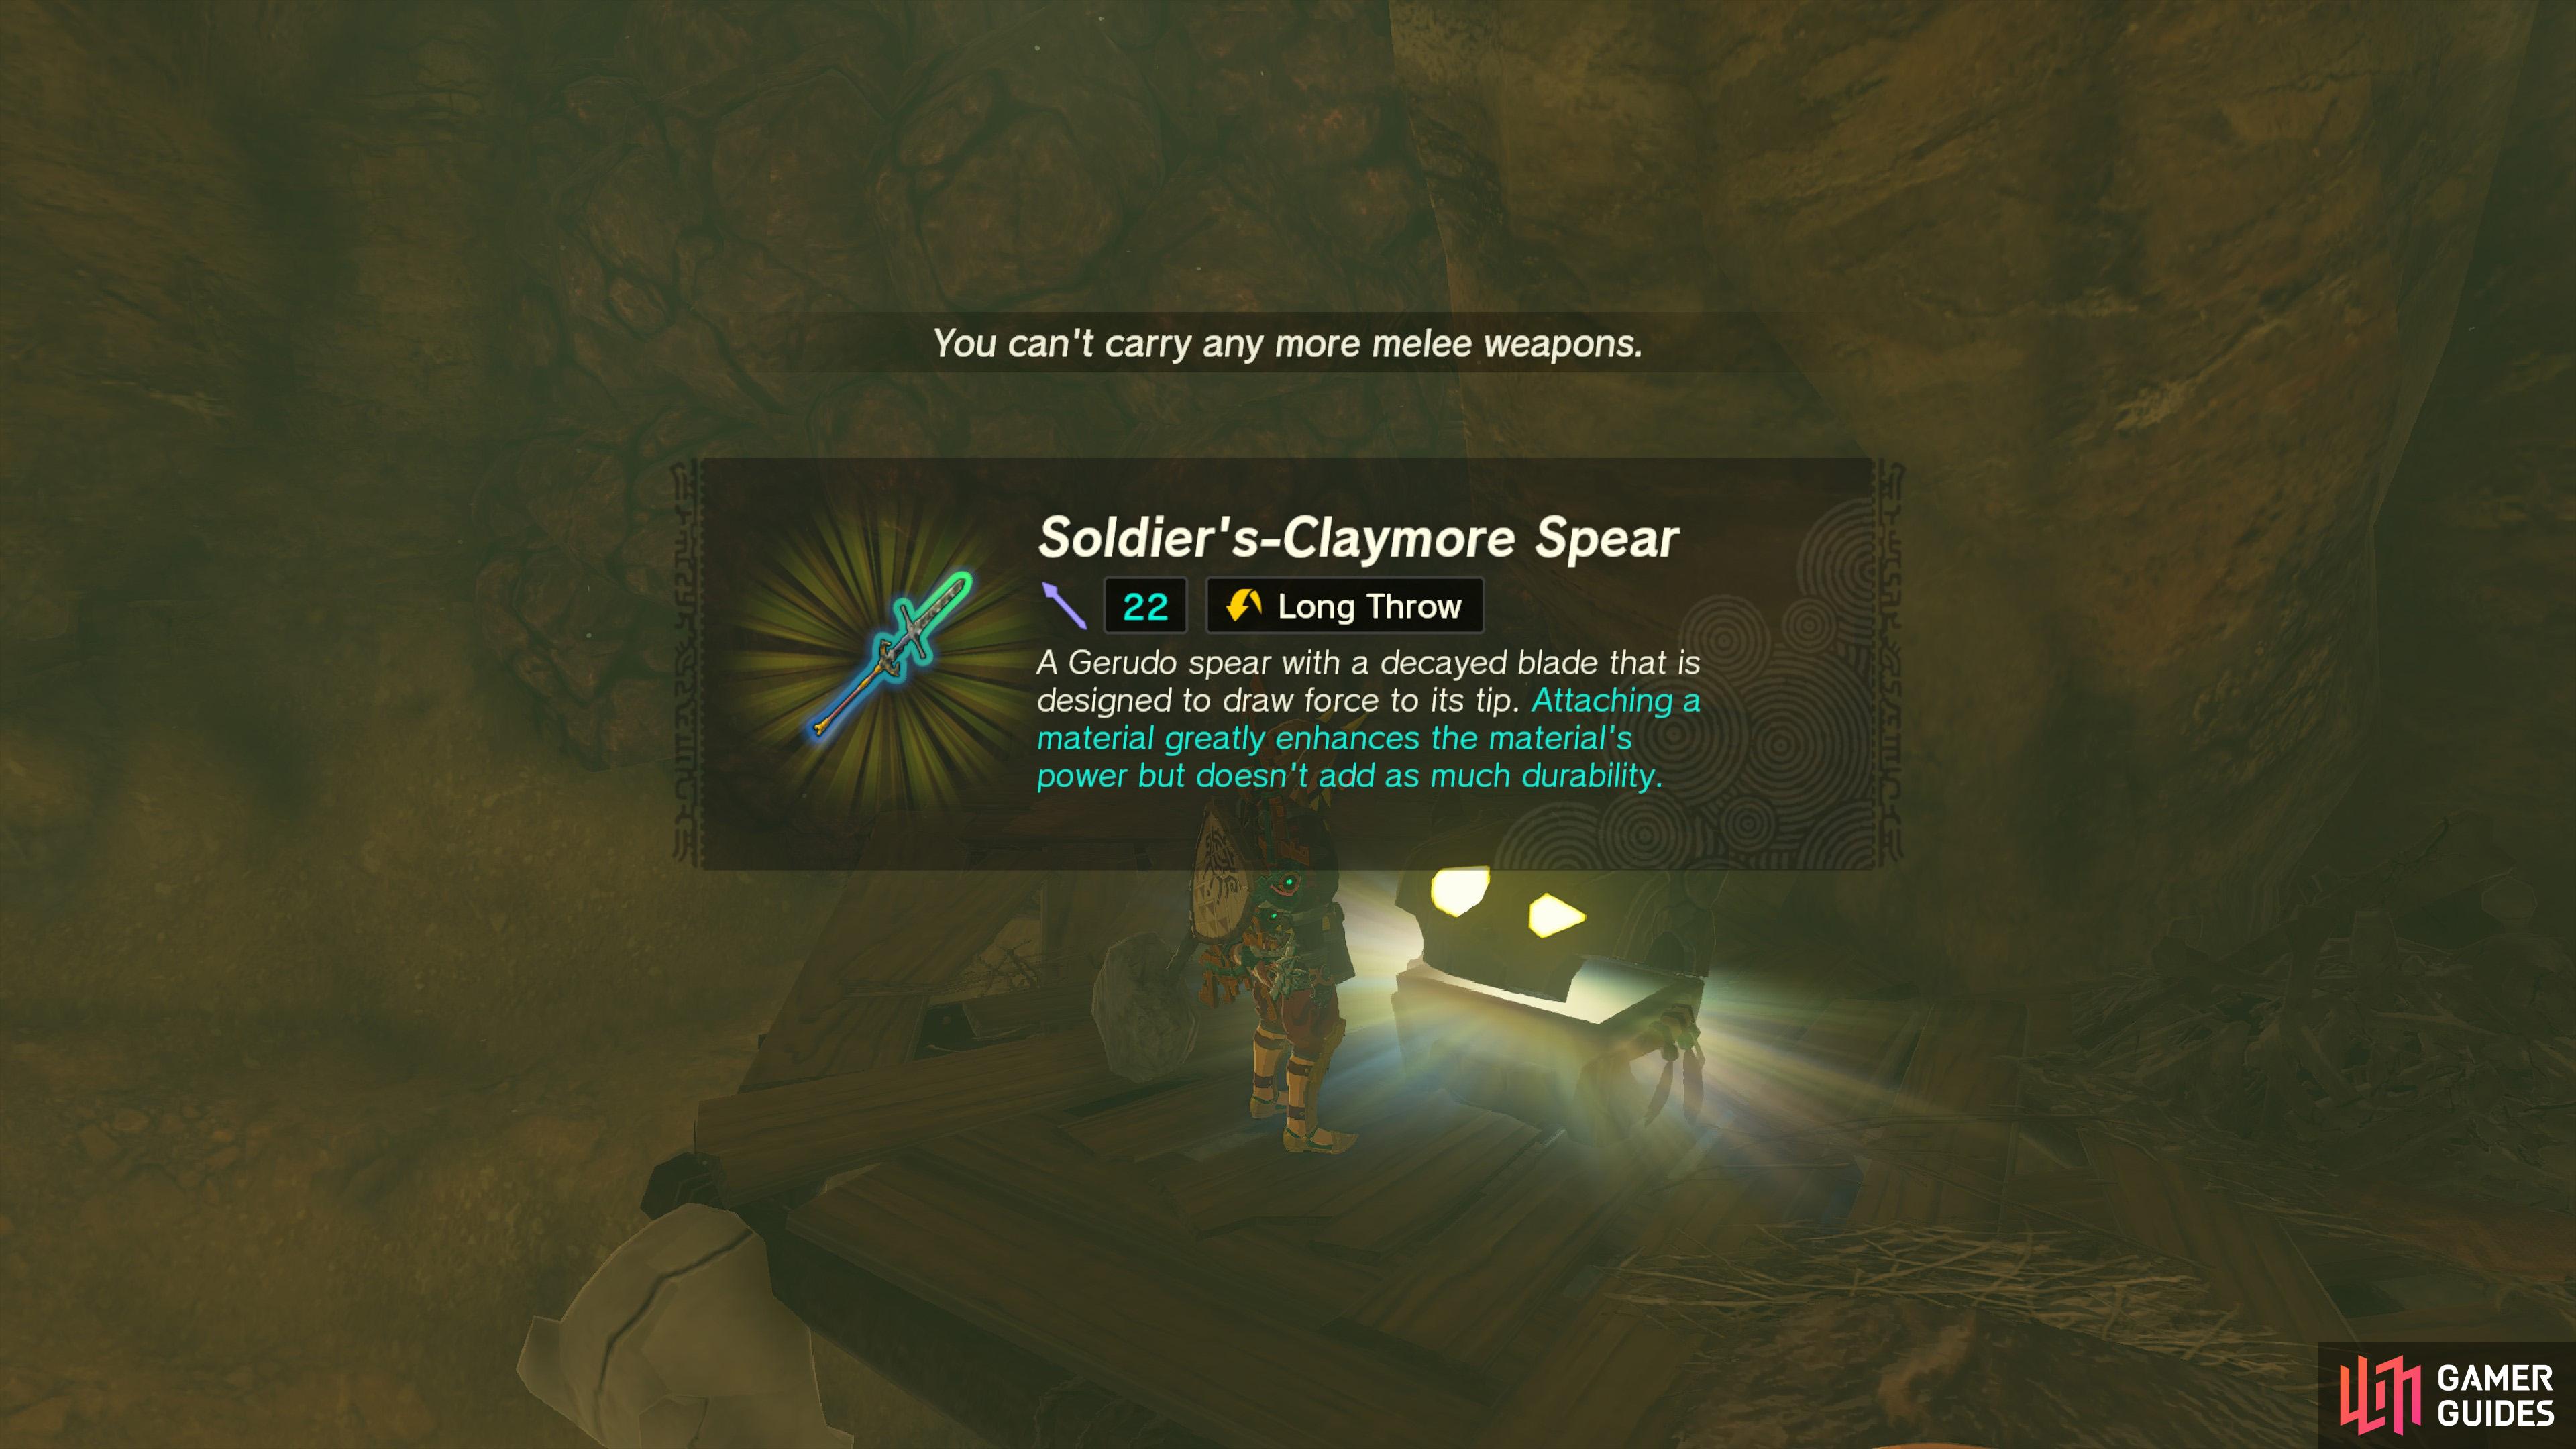
Coliseum Ruins Cave |
To open the Once inside you’ll find a bunch of swords,
Map(s)
Creatures/Enemies in this Cave
|
||||||||||||||||||||||||||||||||||||||||||||||||||||||||||||||||||||||||||||||||||||||||||||||||

|
Construction Site Cave |
You’ll find
Map(s)
Creatures/Enemies in this Cave
|
||||||||||||||||||||||||||||||||||||||||||||||||||||||||||||||||||||||||||||||||||||||||||||||||

|
Cora Lakefront Cave |
A cave found in the cliffside of Cora Lake. Inside you’ll find
Map(s)
Creatures/Enemies in this Cave
|
||||||||||||||||||||||||||||||||||||||||||||||||||||||||||||||||||||||||||||||||||||||||||||||||

|
Crenel Hills Cave |
You’ll find
Map(s)
Creatures/Enemies in this Cave
|
||||||||||||||||||||||||||||||||||||||||||||||||||||||||||||||||||||||||||||||||||||||||||||||||

|
Crenel Peak Cave |
In this cave you’ll find a
Map(s)
Creatures/Enemies in this Cave
|
||||||||||||||||||||||||||||||||||||||||||||||||||||||||||||||||||||||||||||||||||||||||||||||||

|
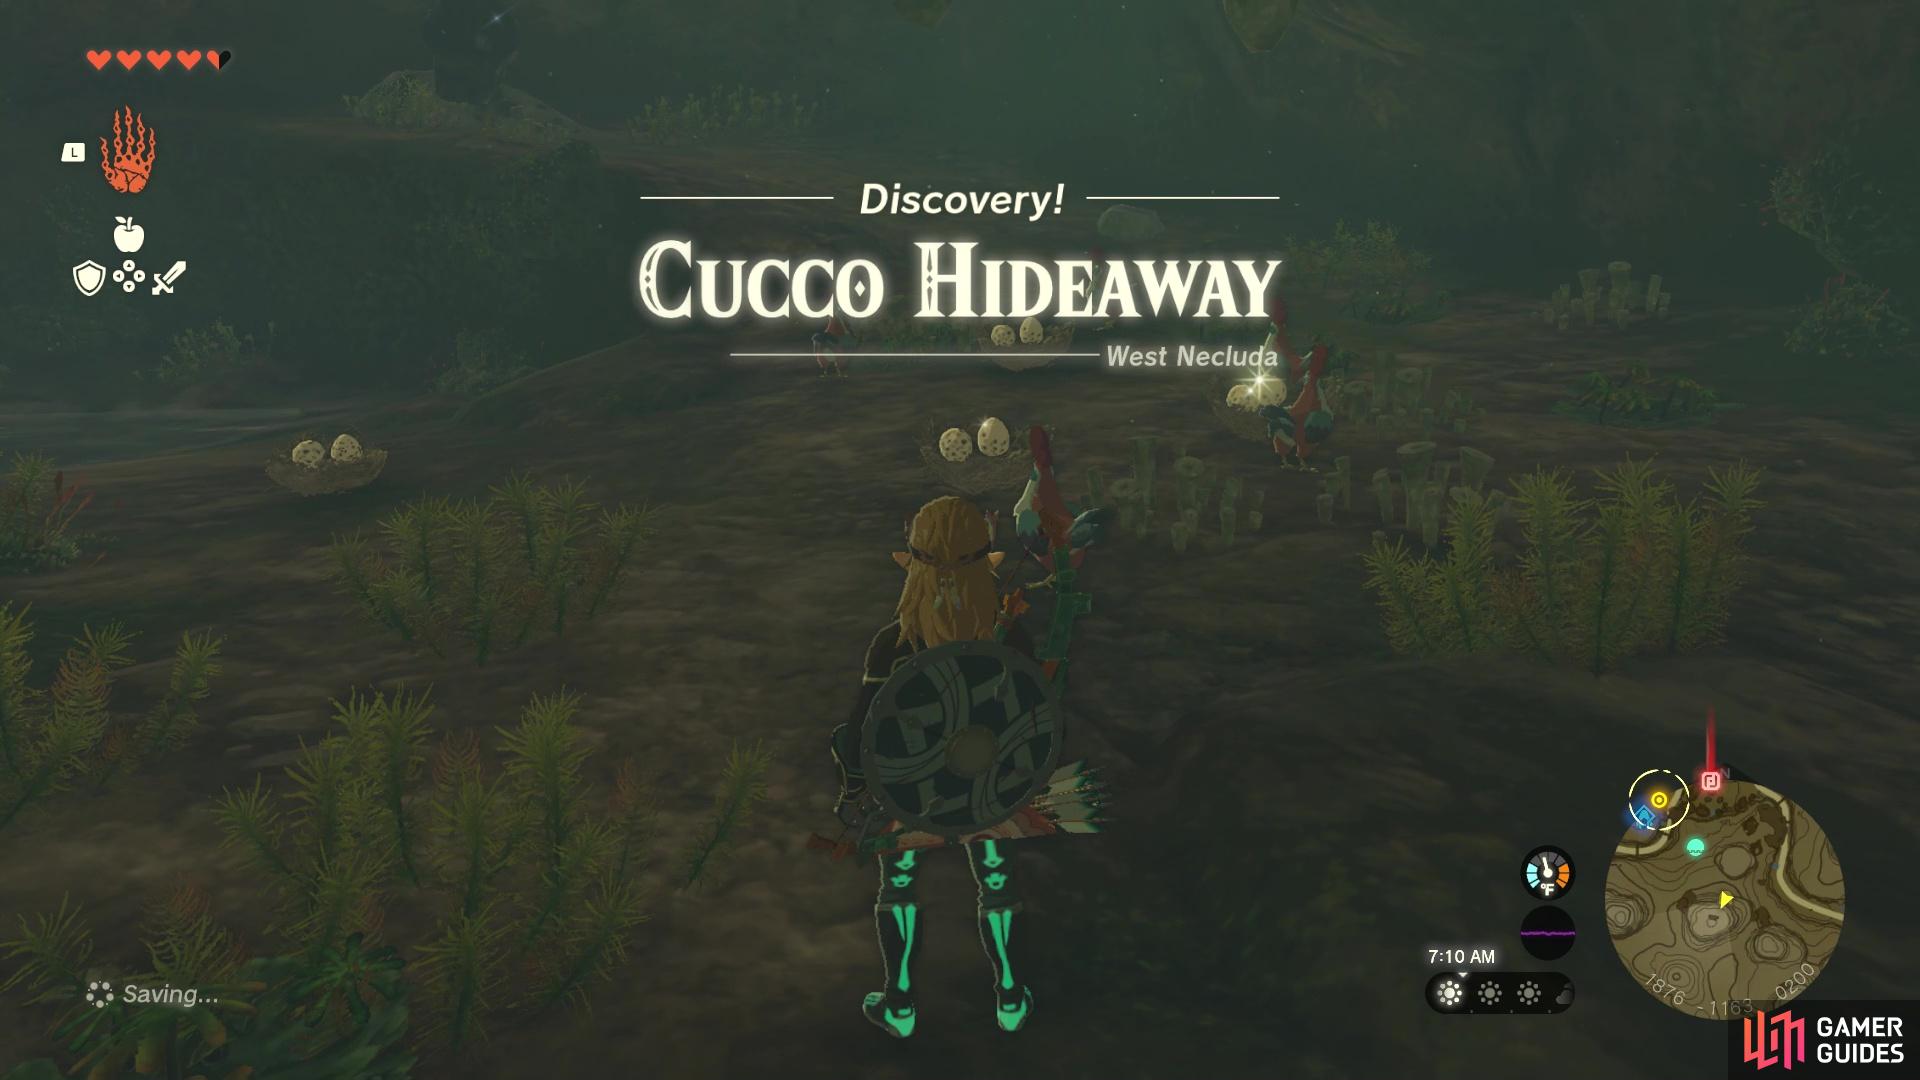
Cucco Hideaway |
The entrance to the
Map(s)
Creatures/Enemies in this Cave
|
|
|||||||||||||||||||||||||||||||||||||||||||||||||||||||||||||||||||||||||||||||||||||||||||||||

|
Death Mountain East Tunnel |
You need to smash through the rubble at the entrance to get inside the You will find a number of carts and fans that you need to construct to travel along the tracks in this cave. Inside you’ll find The central chamber in this cave also contains a
Map(s)
Creatures/Enemies in this Cave
|
||||||||||||||||||||||||||||||||||||||||||||||||||||||||||||||||||||||||||||||||||||||||||||||||

|
Death Mountain Foothill Cave |
At the entrance to the Once you’re in the cave you’ll need to eat something which provides heat resistance if you don’t have enough from your armor. Inside you’ll find To find the
Map(s)
Creatures/Enemies in this Cave
|
||||||||||||||||||||||||||||||||||||||||||||||||||||||||||||||||||||||||||||||||||||||||||||||||

|
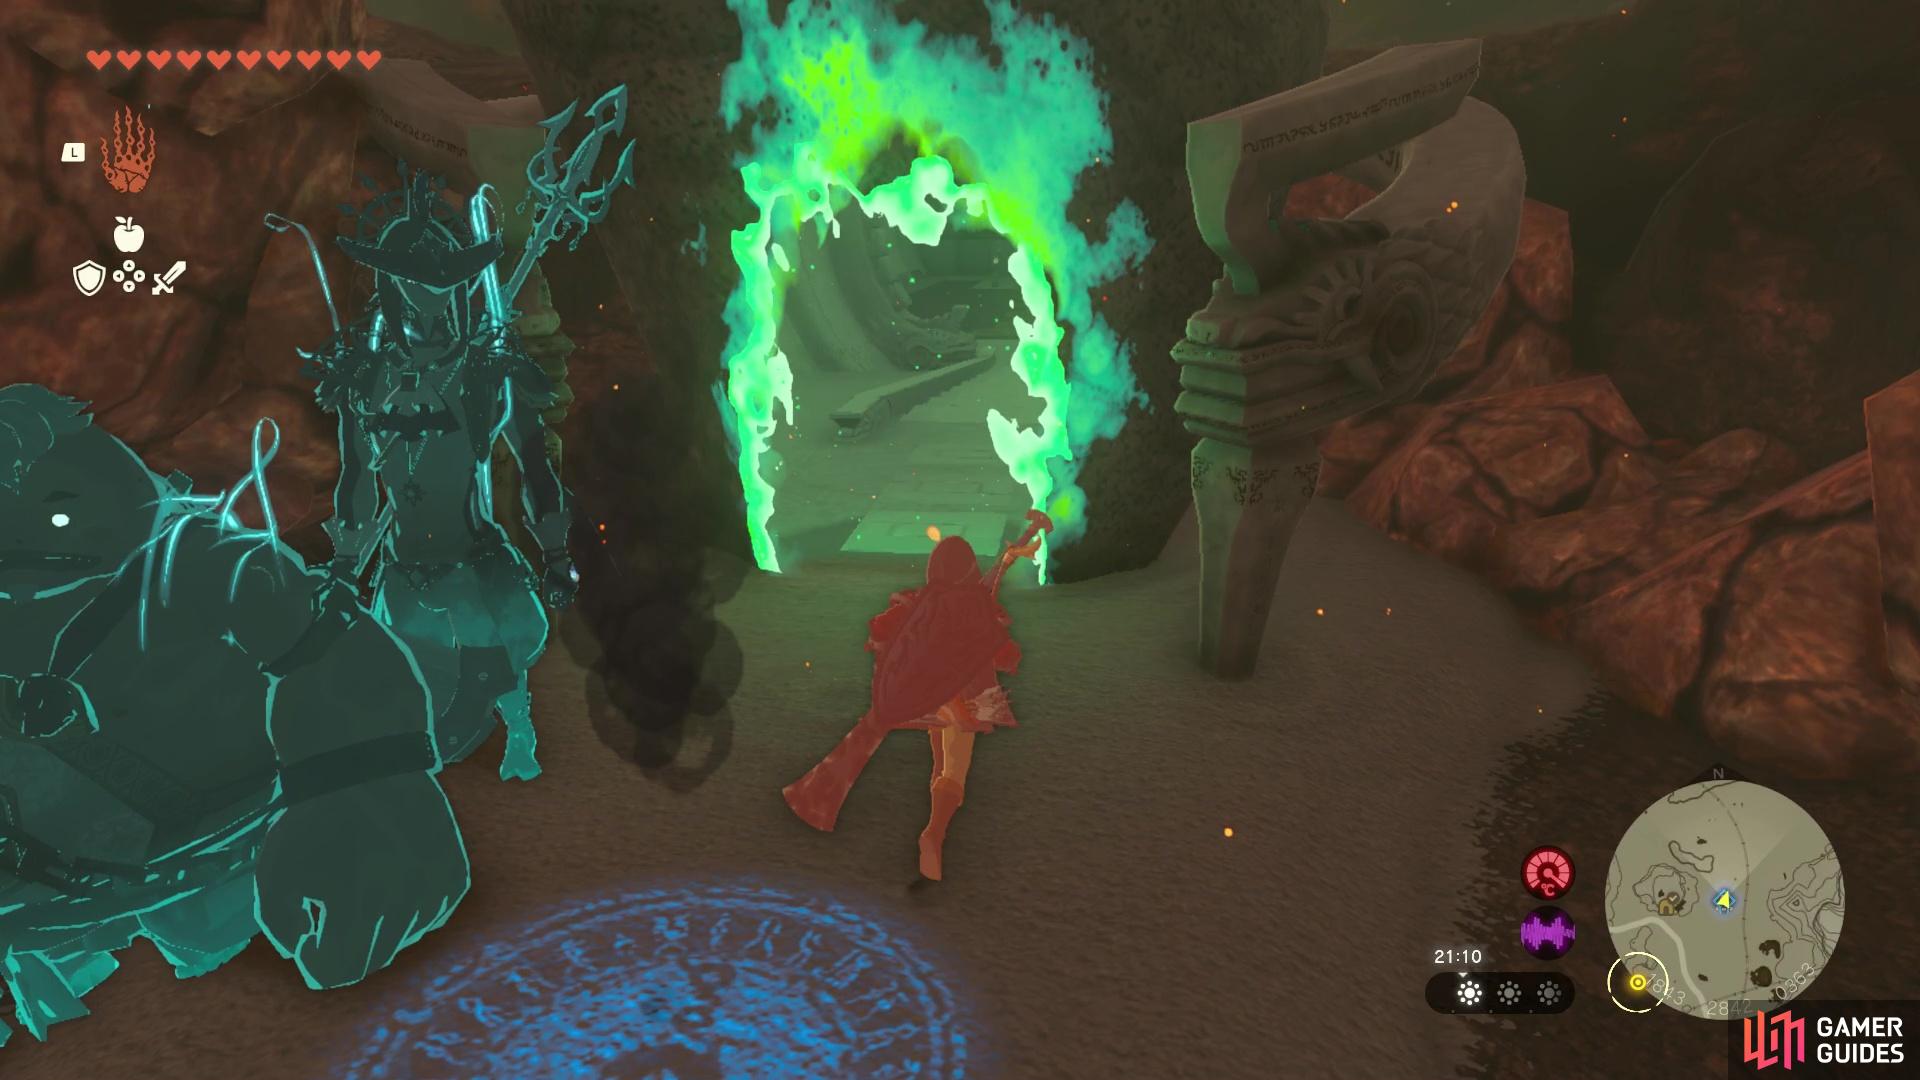
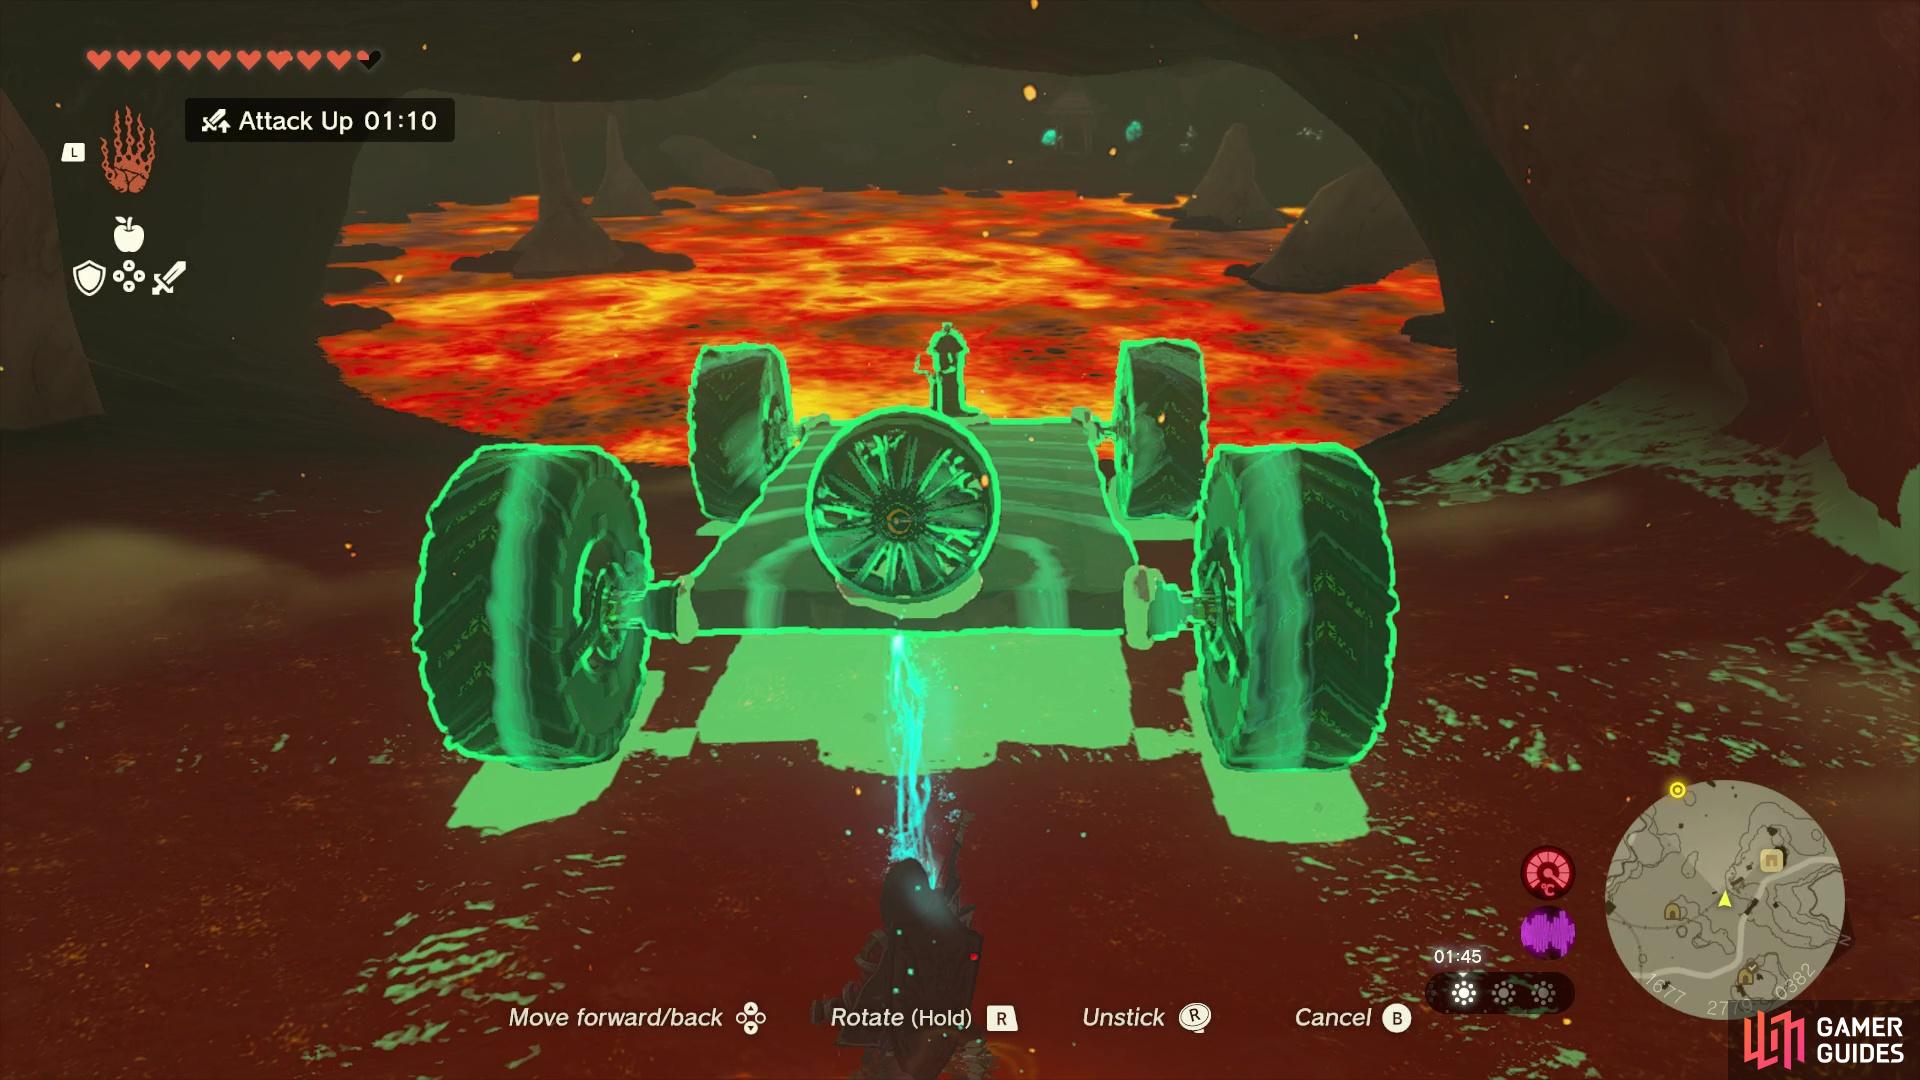
Death Mountain West Tunnel |
To survive in the You can find a number of carts just outside the cave, and a couple of Fans which you can attach to one before placing it on the tracks. However, the tracks will break as you go over the first magma pit, so be ready to climb up the side of the rock face if this happens. Once you’re in the cave you’ll find an NPC named Mota, and you can start To advance deeper into the cave, you need to use Yunobo to smash through the rock which is blocking the path to the east. On the other side you’ll find
Map(s)
Creatures/Enemies in this Cave
|
||||||||||||||||||||||||||||||||||||||||||||||||||||||||||||||||||||||||||||||||||||||||||||||||

|
Deepback Bay Cave |
In the
Map(s)
Creatures/Enemies in this Cave
|
||||||||||||||||||||||||||||||||||||||||||||||||||||||||||||||||||||||||||||||||||||||||||||||||

|
Deplian Badlands Cave |
You’ll find
Map(s)
Creatures/Enemies in this Cave
|
||||||||||||||||||||||||||||||||||||||||||||||||||||||||||||||||||||||||||||||||||||||||||||||||

|
Dueling Peaks North Cave |
In the
Map(s)
Creatures/Enemies in this Cave
|
||||||||||||||||||||||||||||||||||||||||||||||||||||||||||||||||||||||||||||||||||||||||||||||||

|
Dueling Peaks South Cave |
In the Once you’ve solved the puzzle, the door ahead will be opened and you’ll find the
Map(s)
Creatures/Enemies in this Cave
|

|
|||||||||||||||||||||||||||||||||||||||||||||||||||||||||||||||||||||||||||||||||||||||||||||||

|
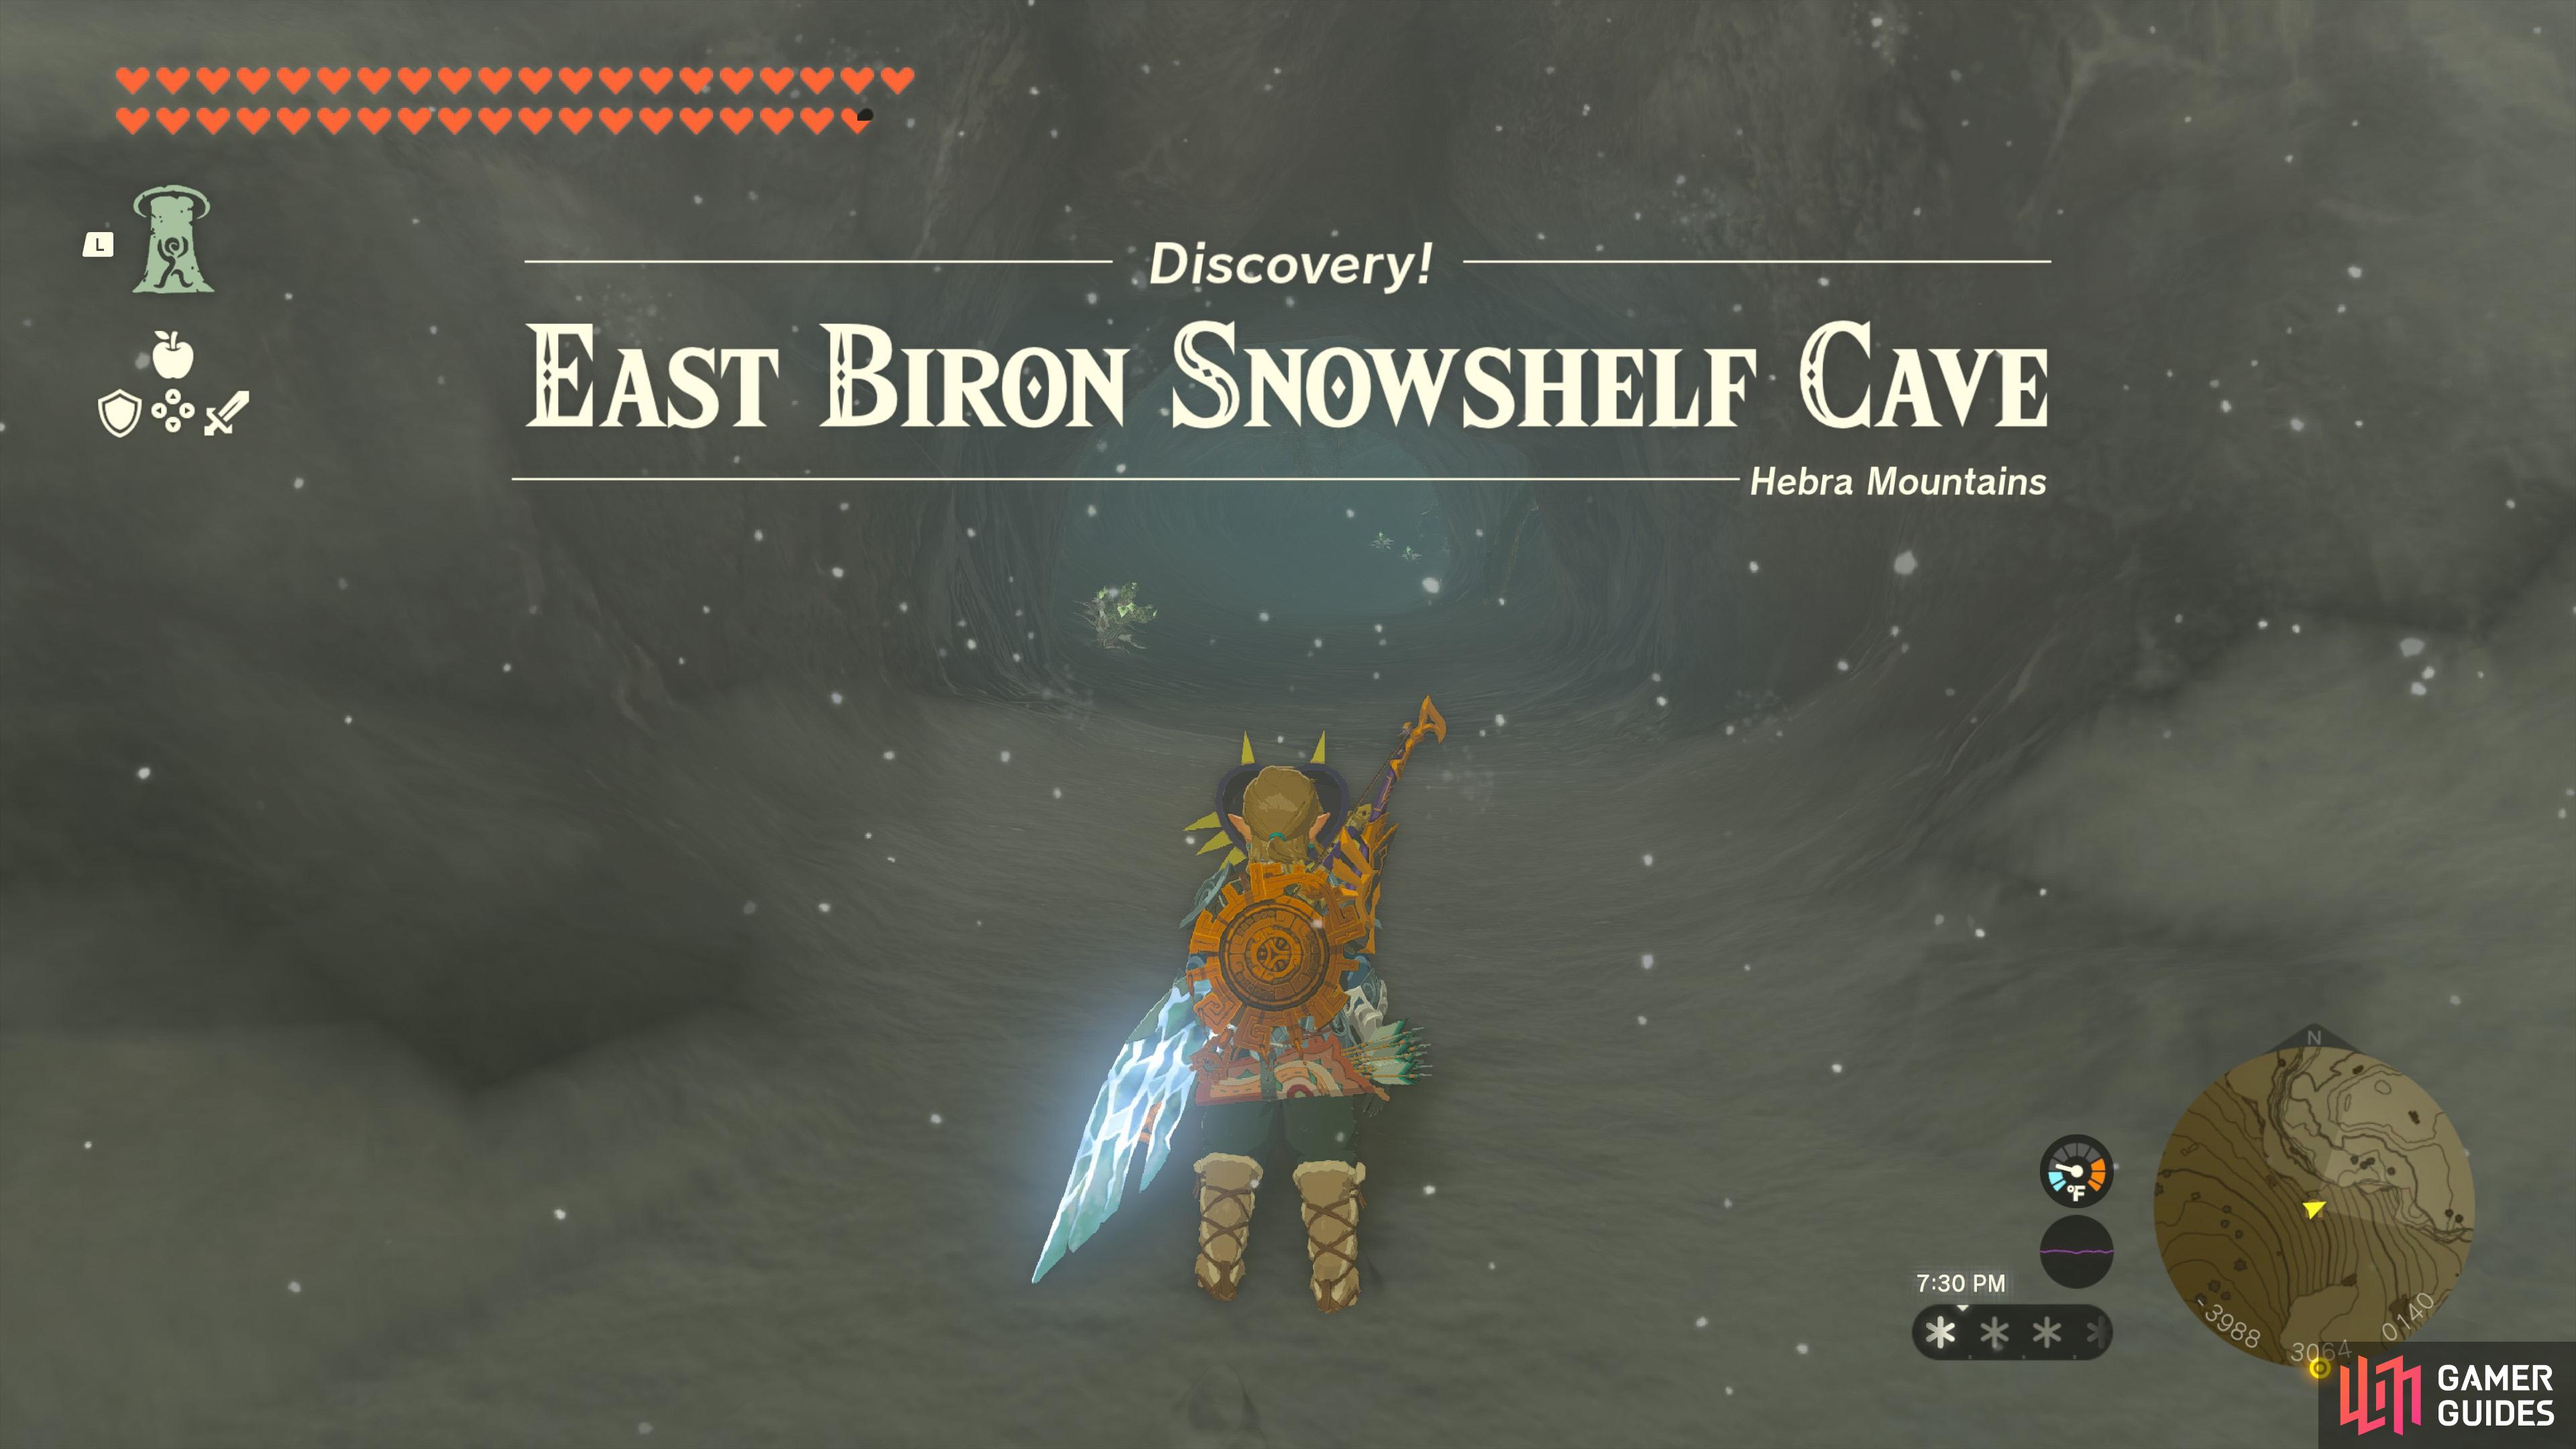
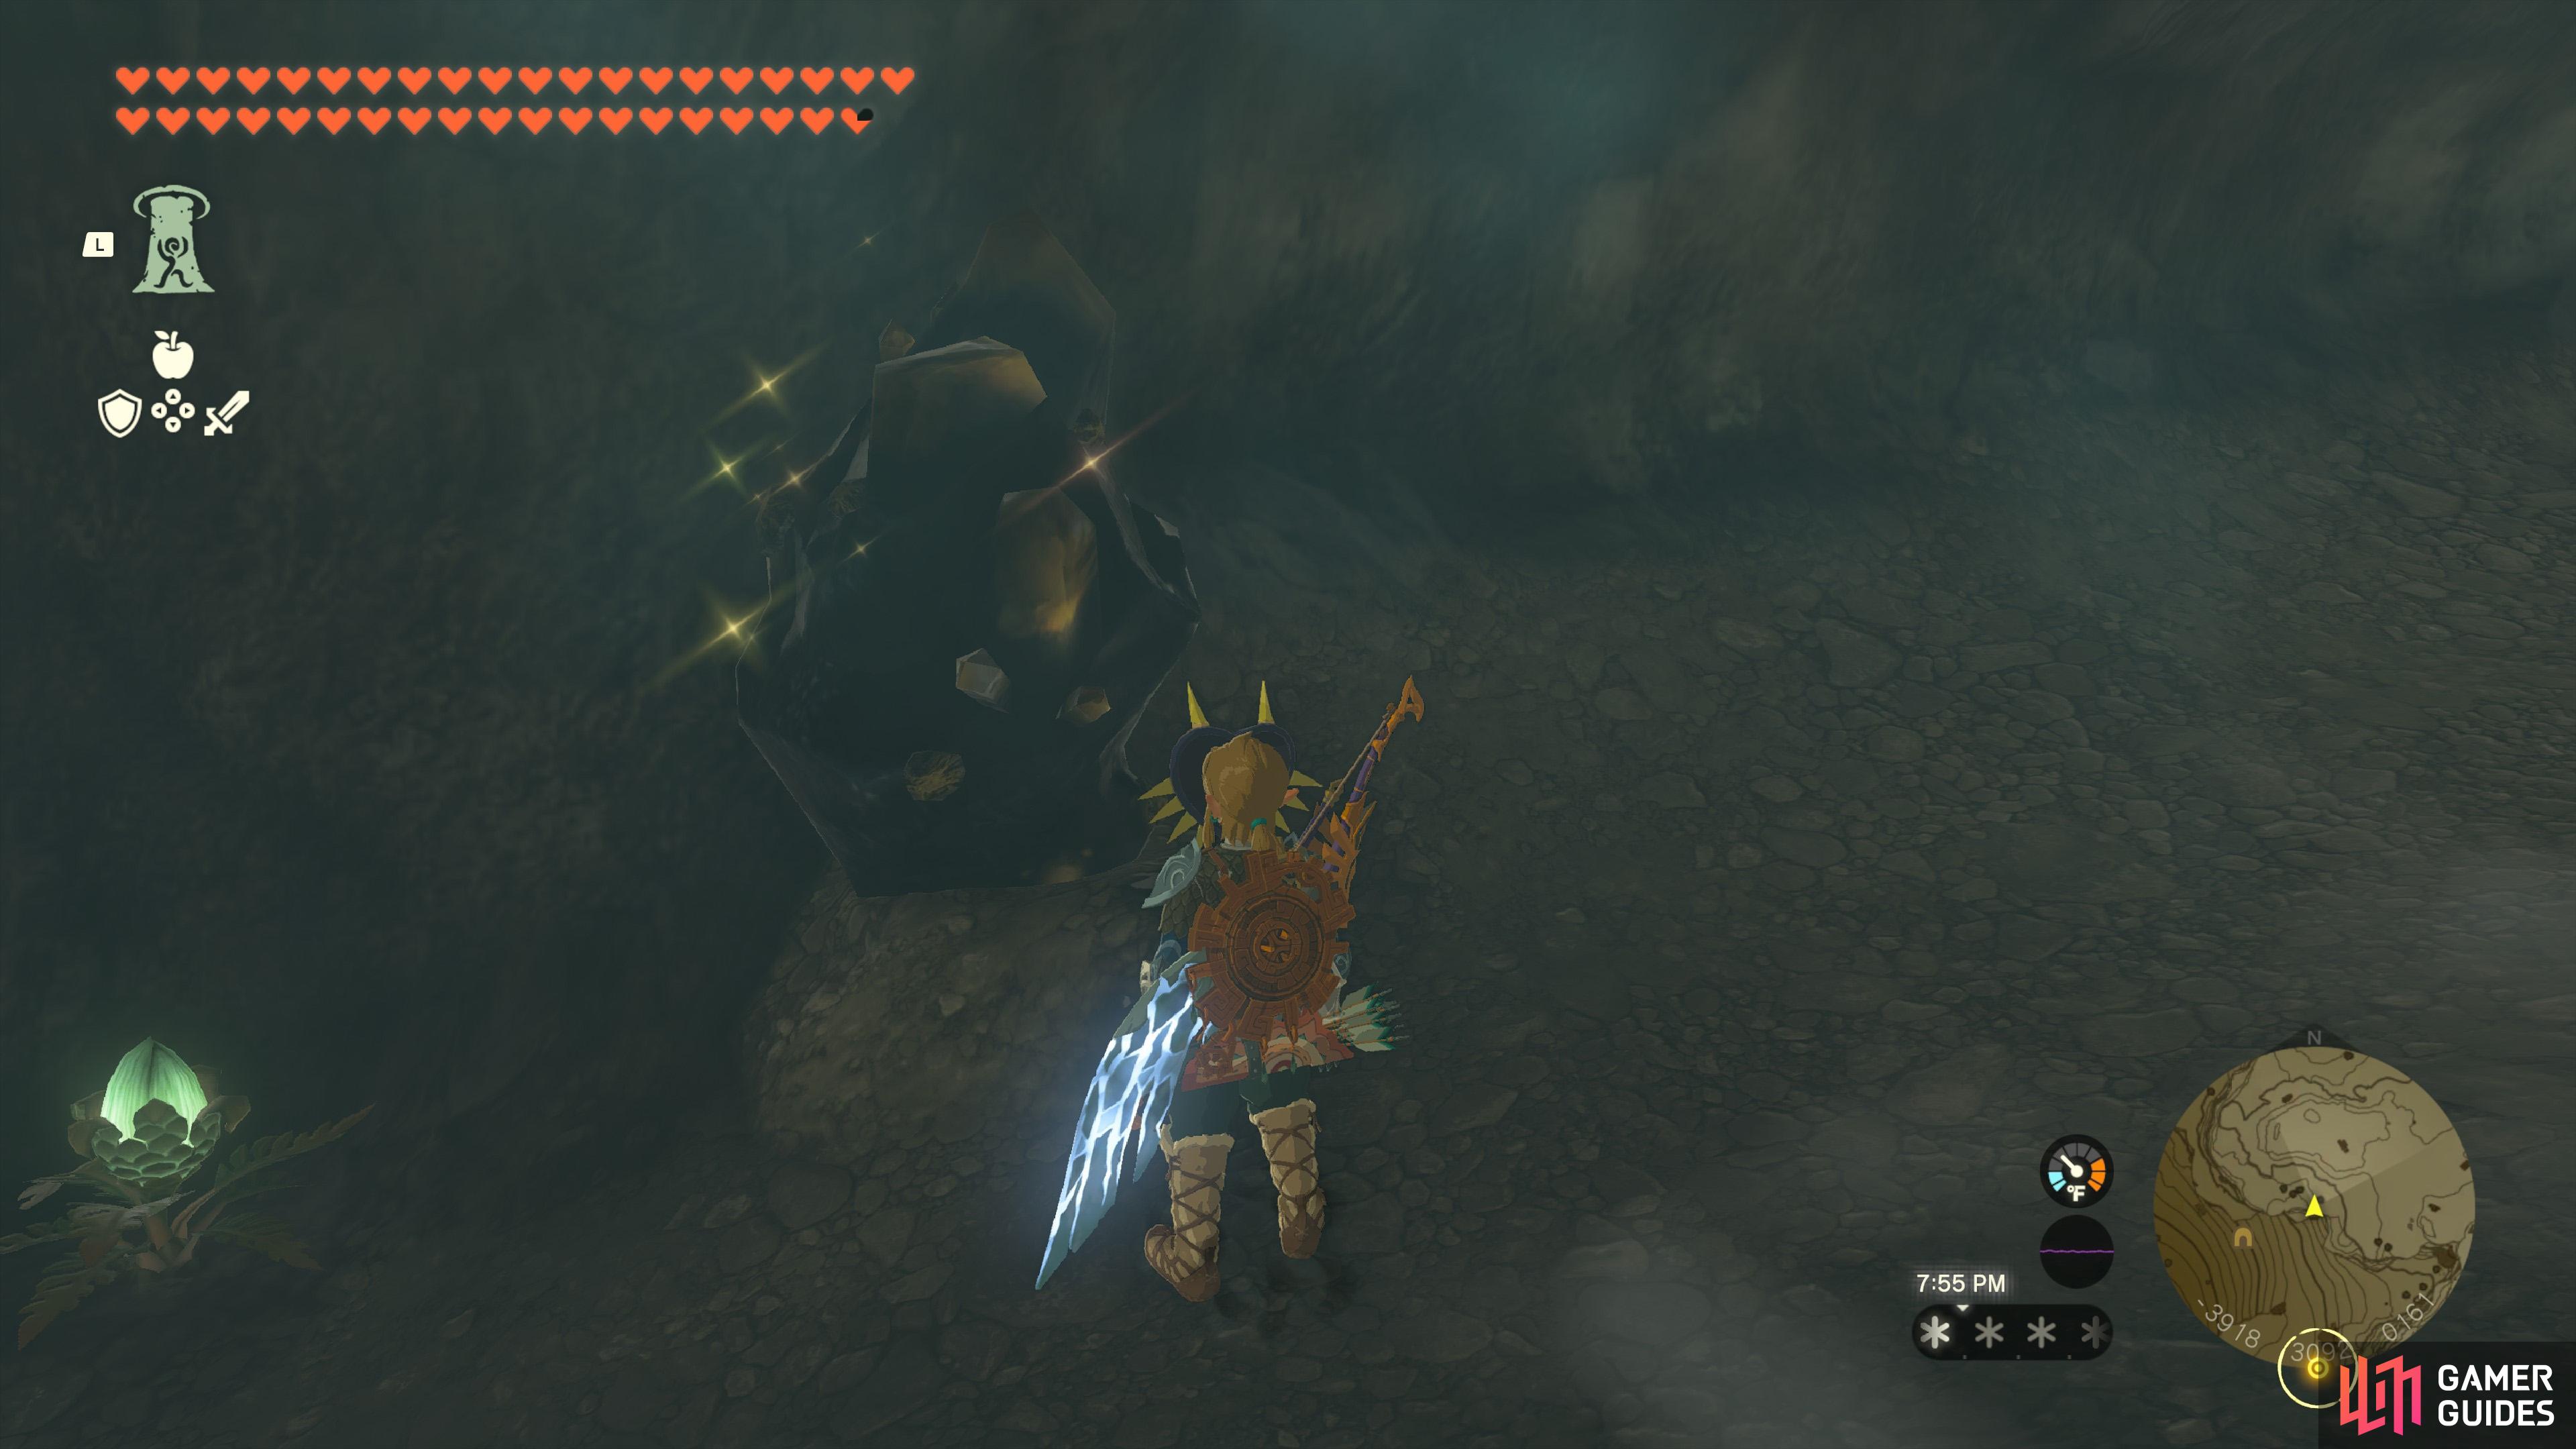
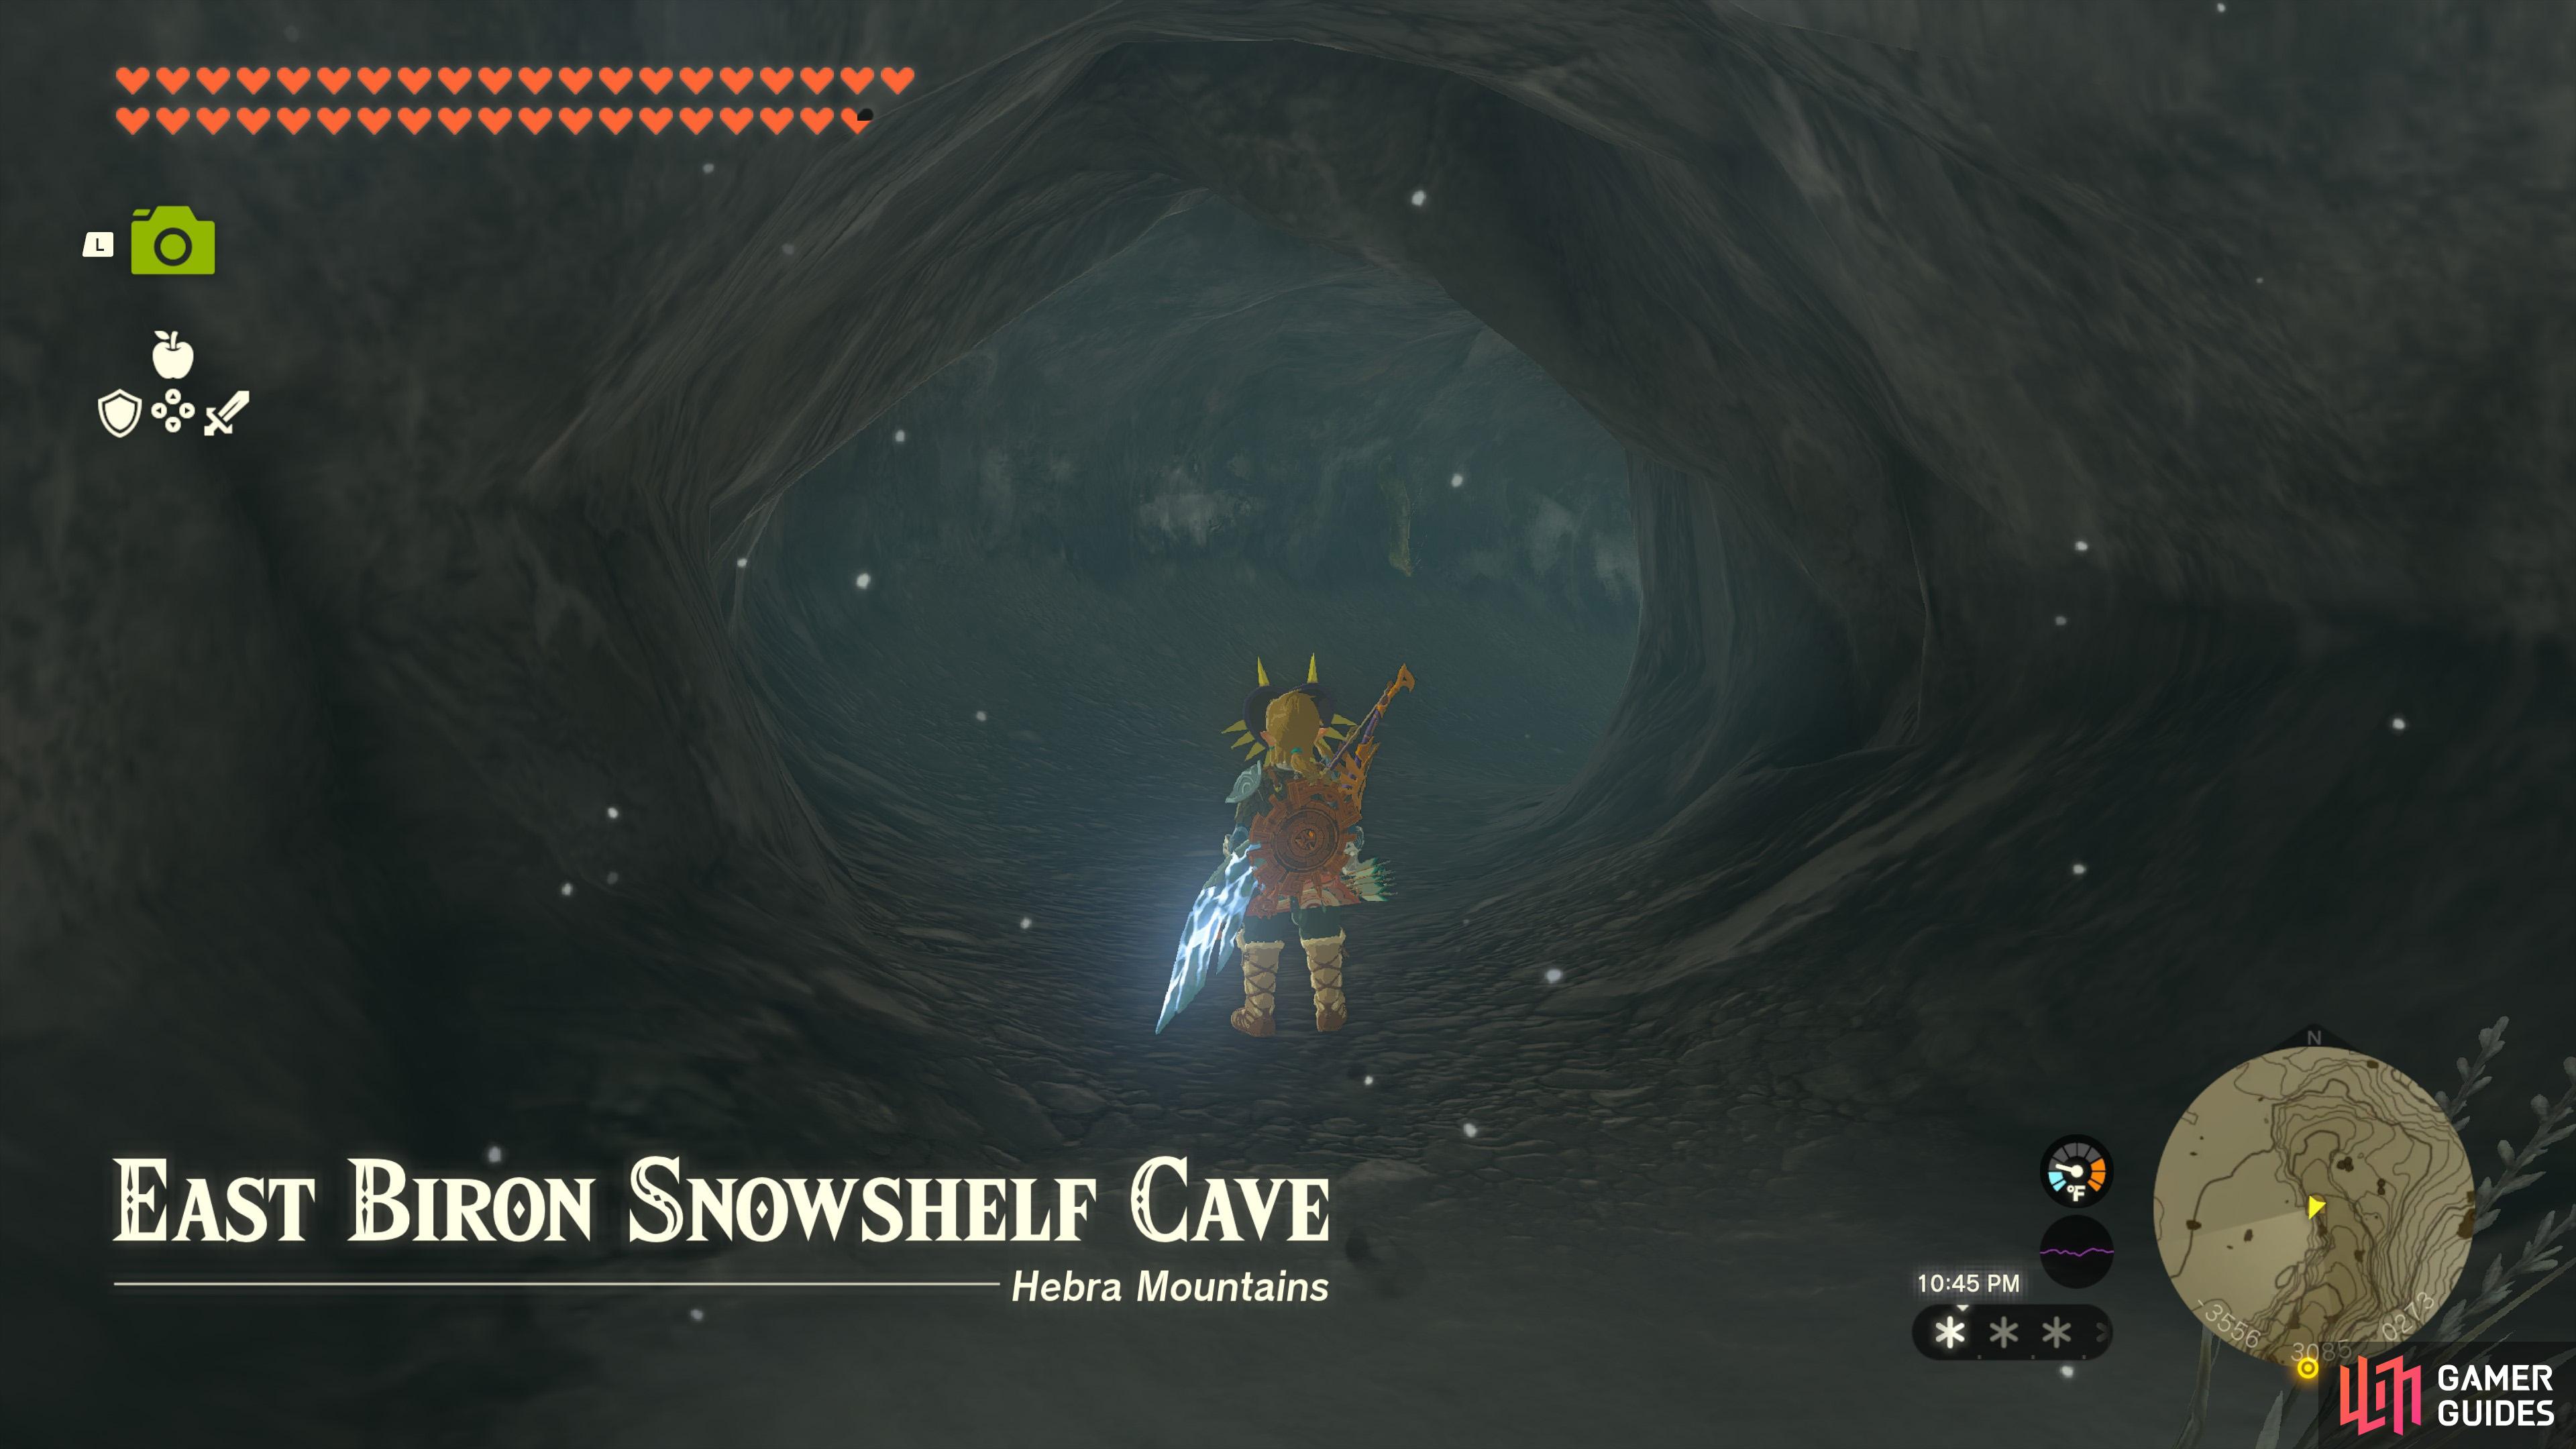
East Biron Snowshelf Cave |
Inside, there are no foes to be found, but plenty of
Map(s)
Creatures/Enemies in this Cave
|
|
|||||||||||||||||||||||||||||||||||||||||||||||||||||||||||||||||||||||||||||||||||||||||||||||

|
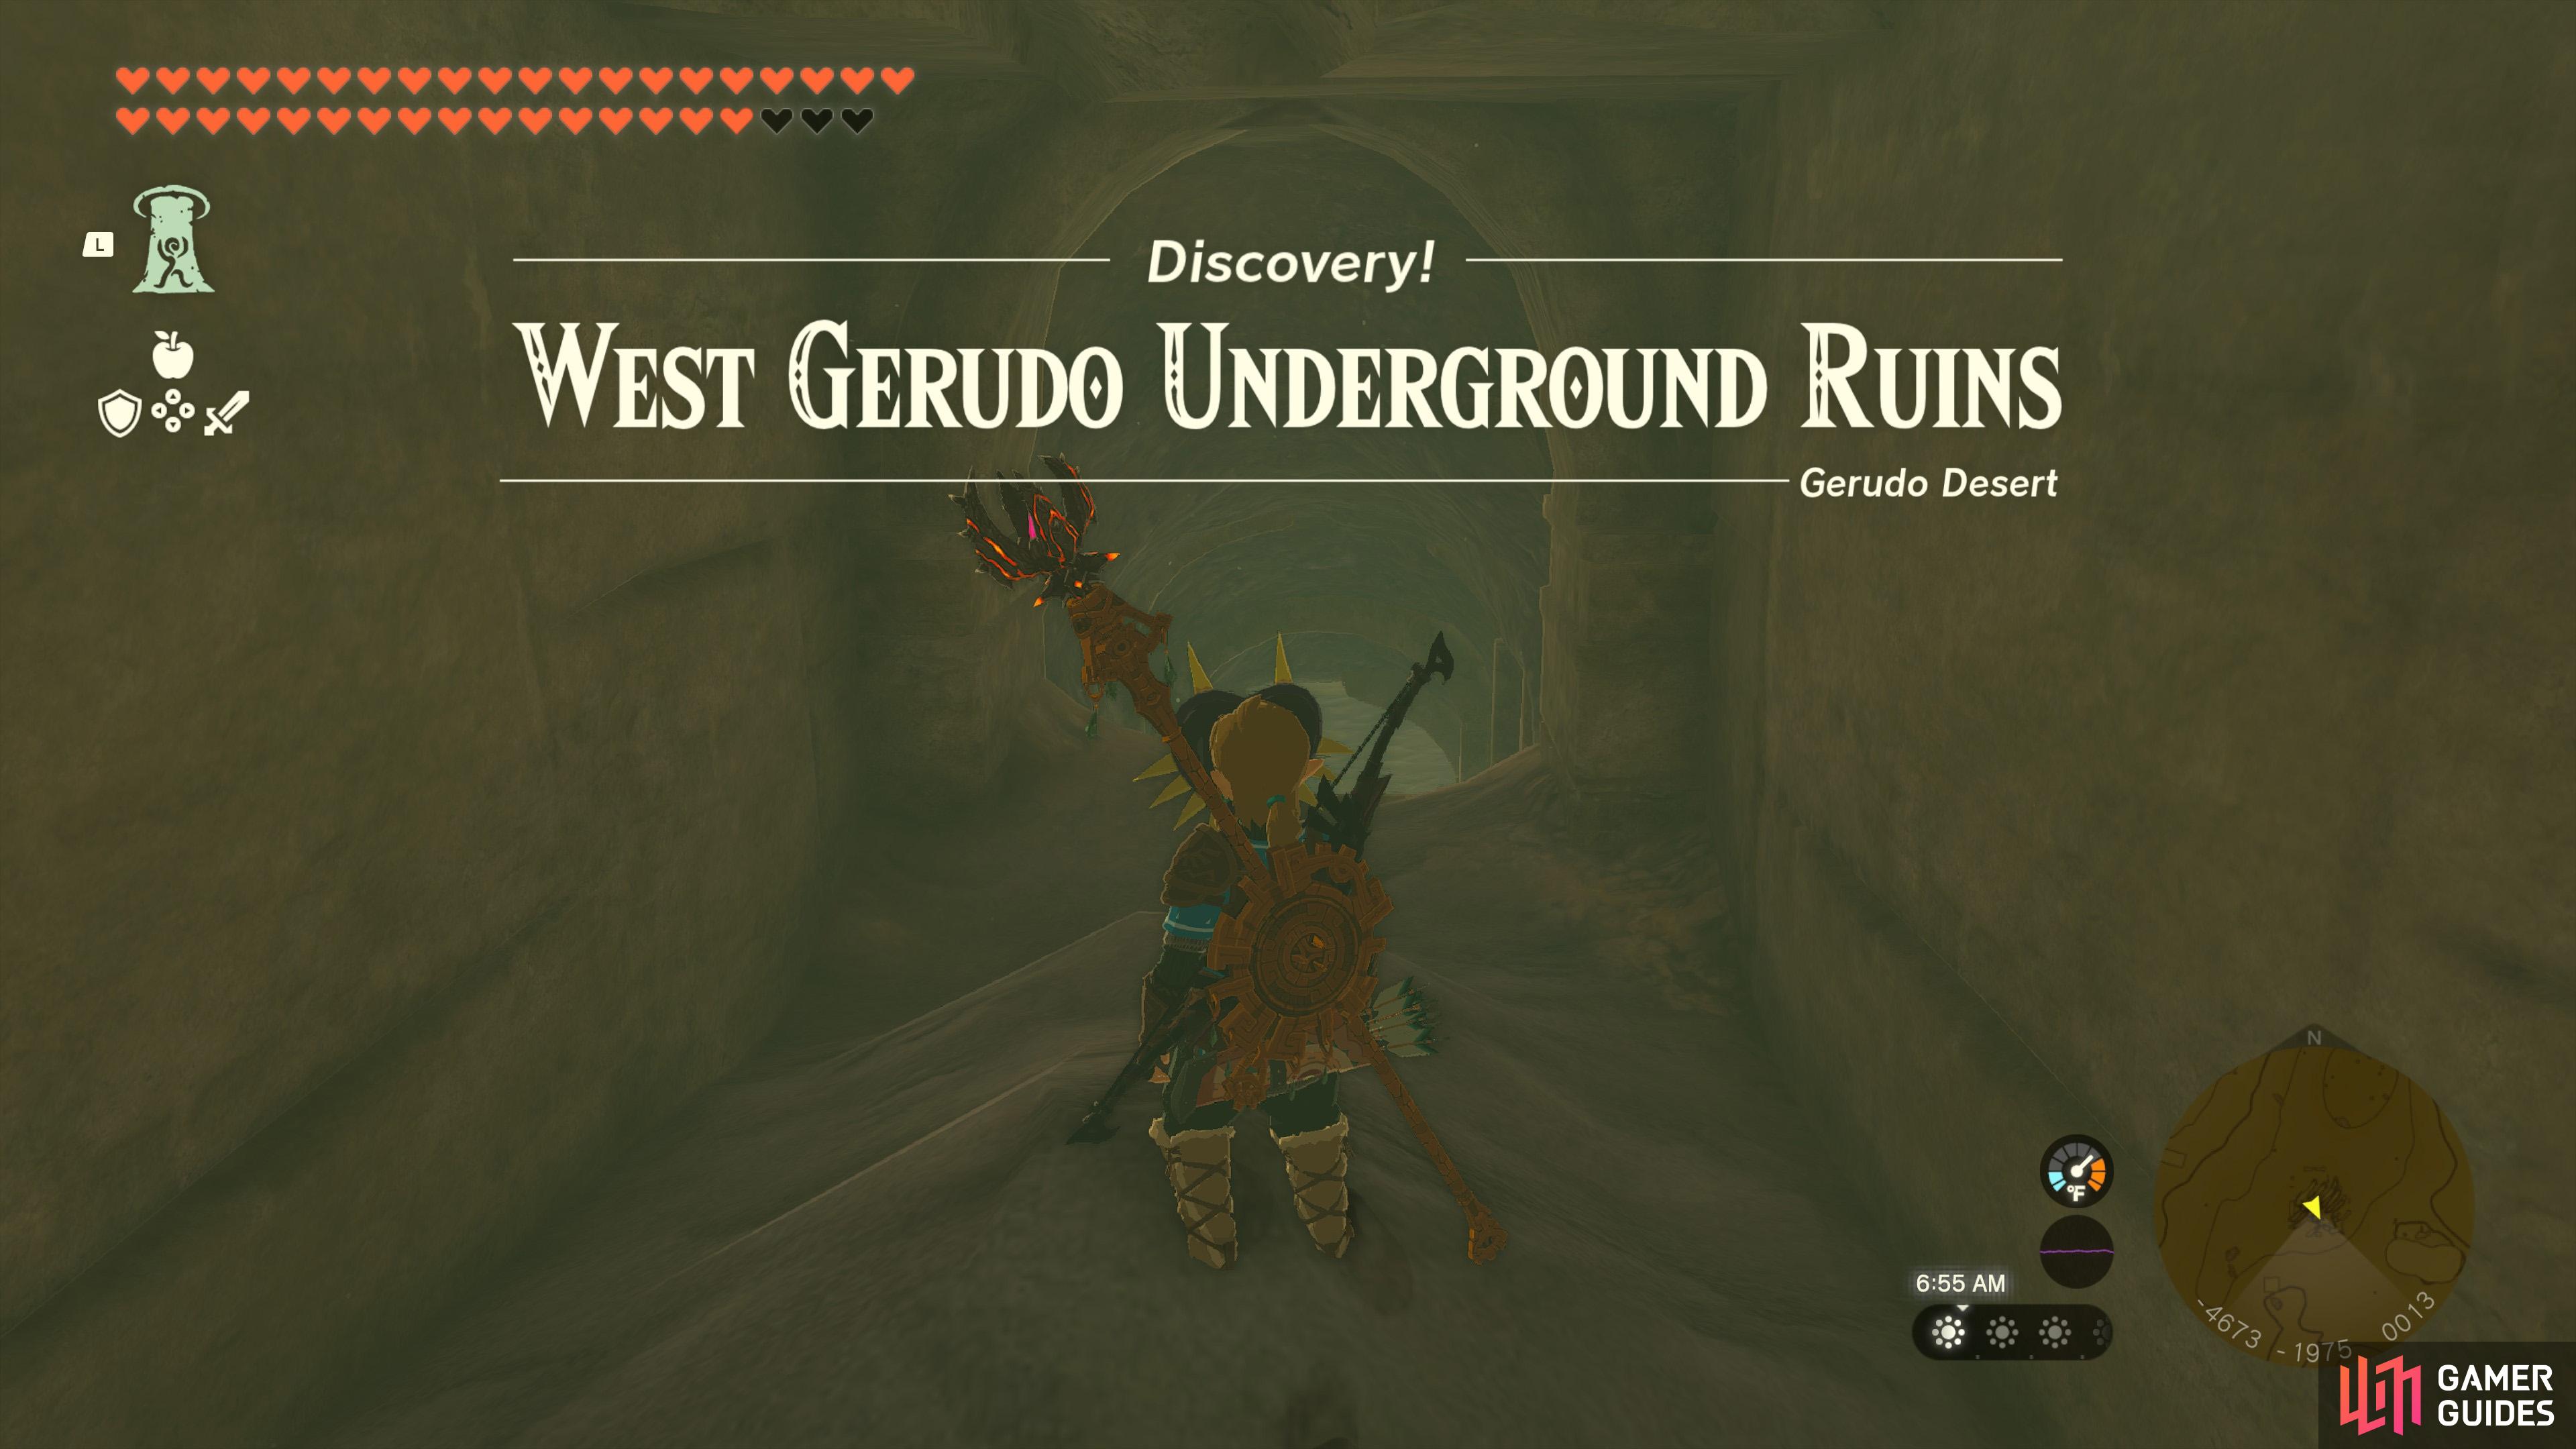
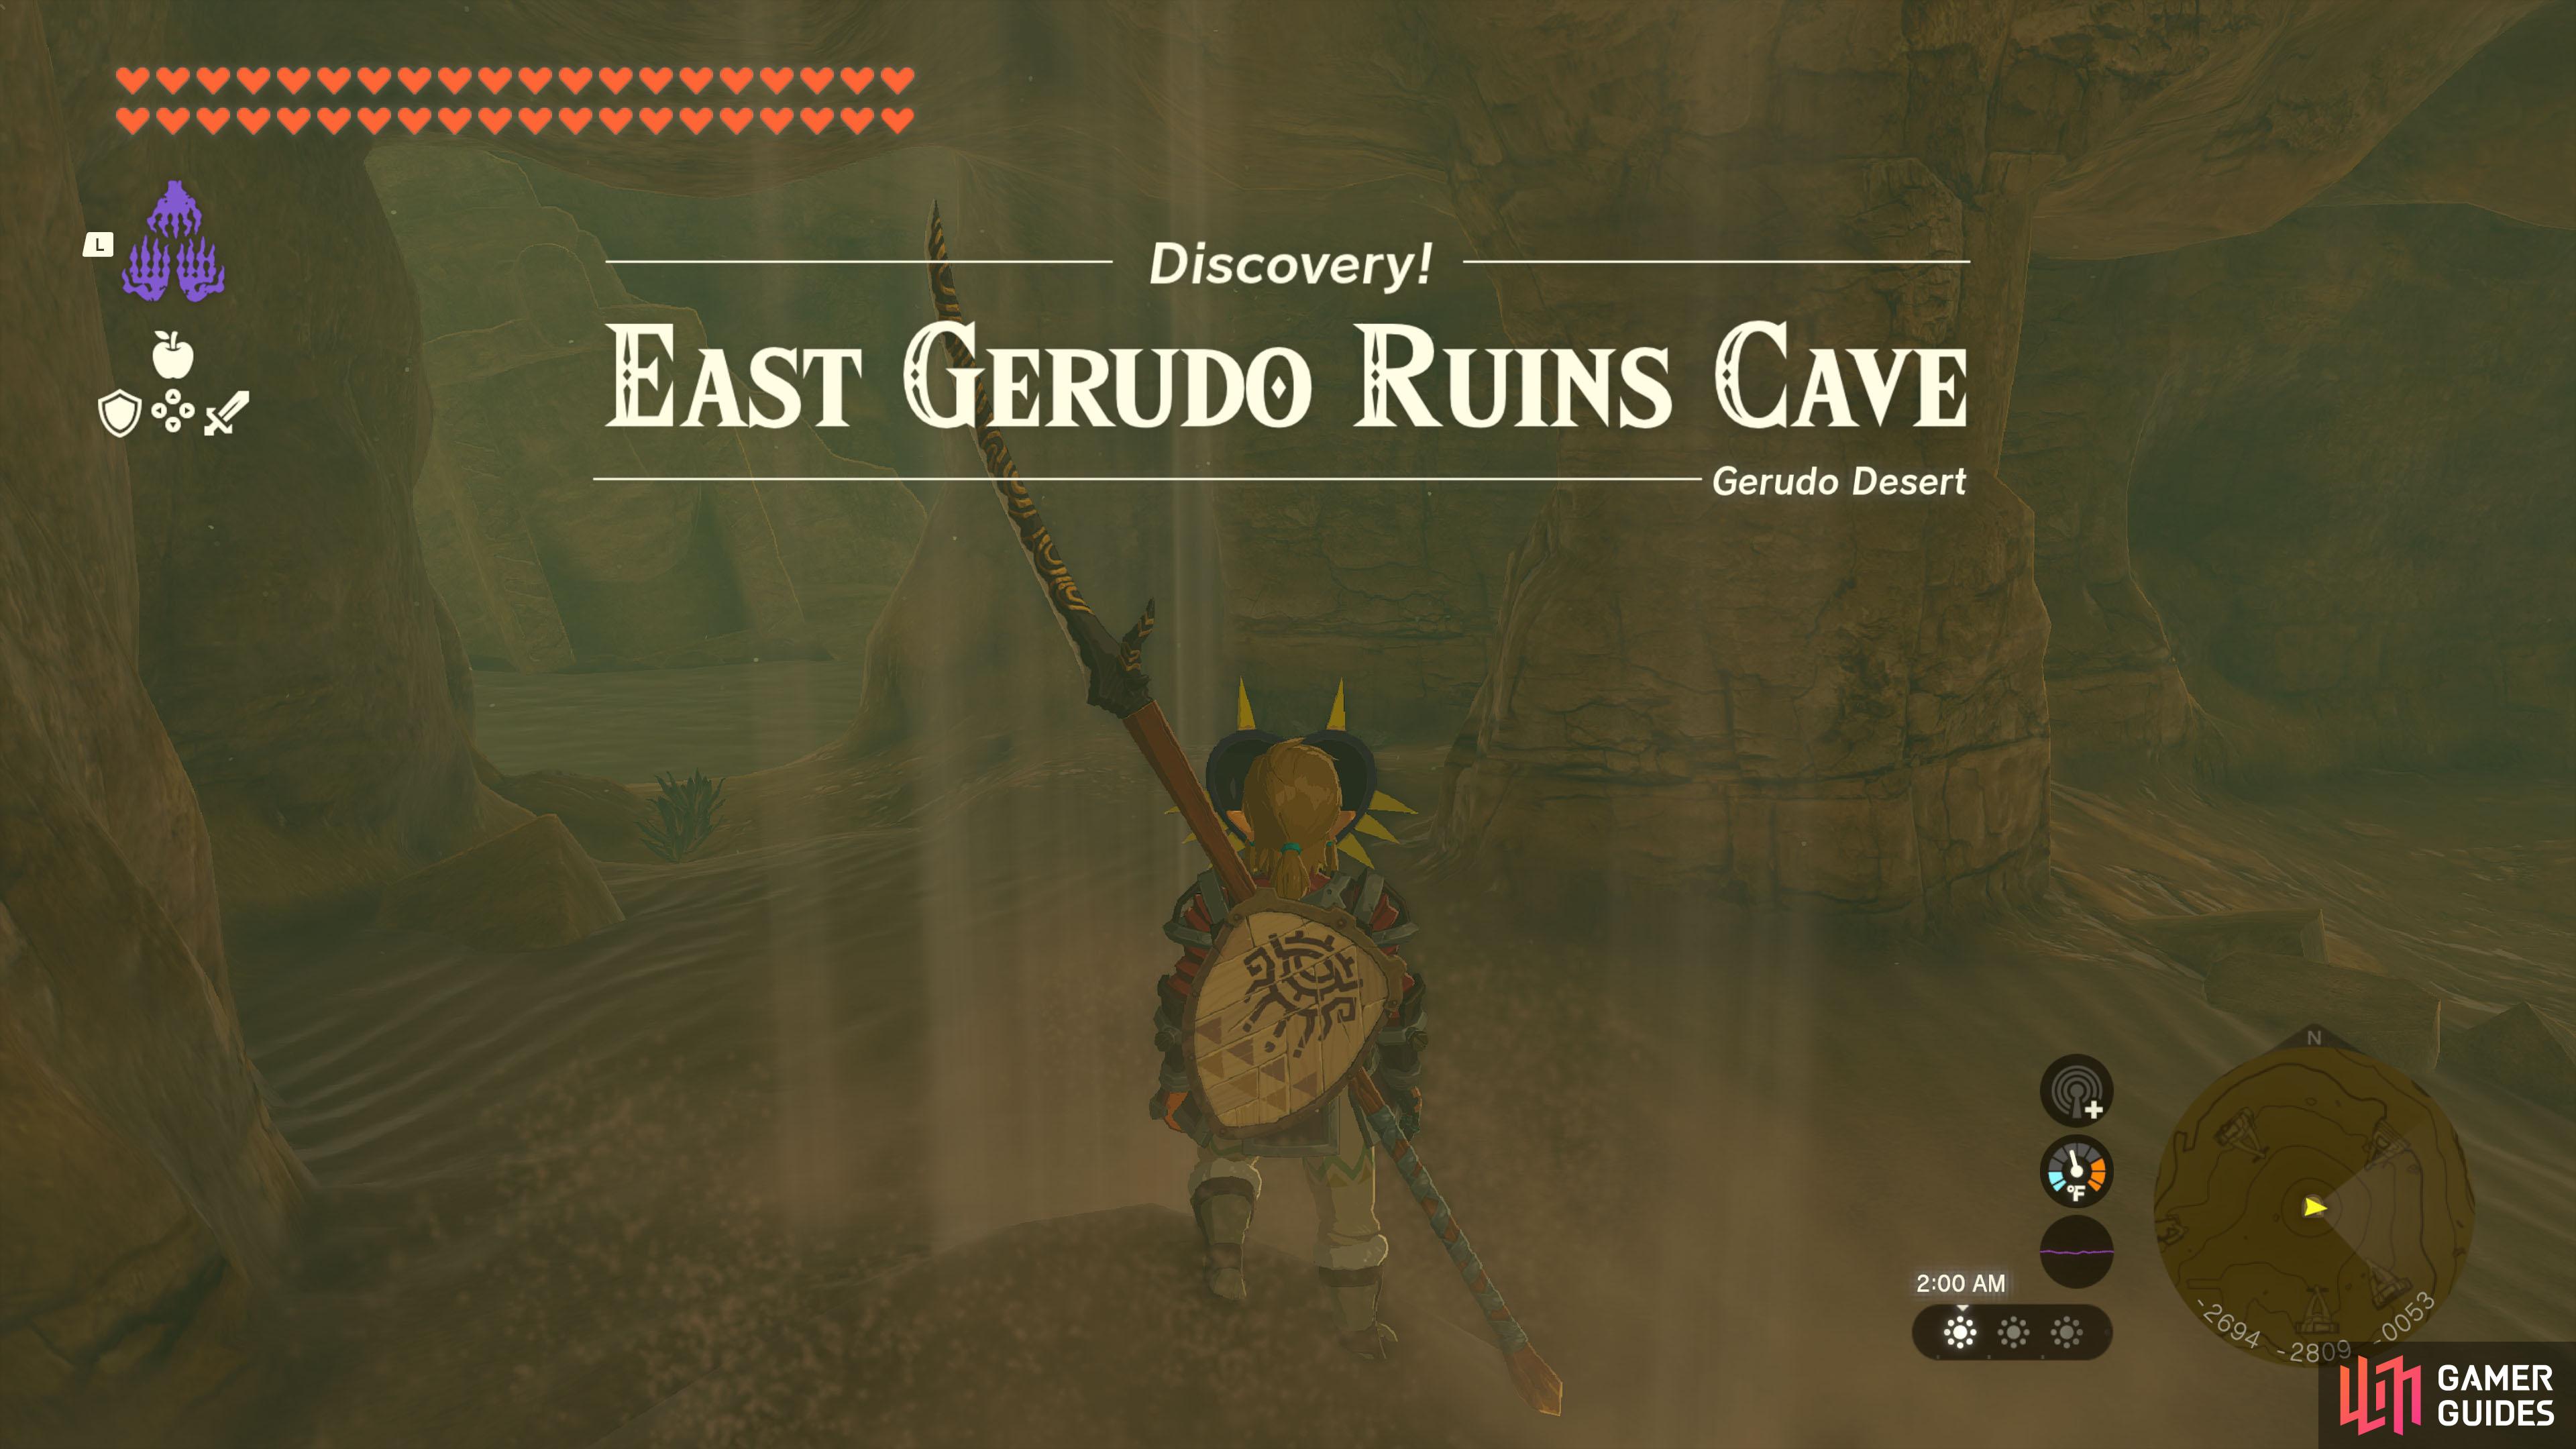
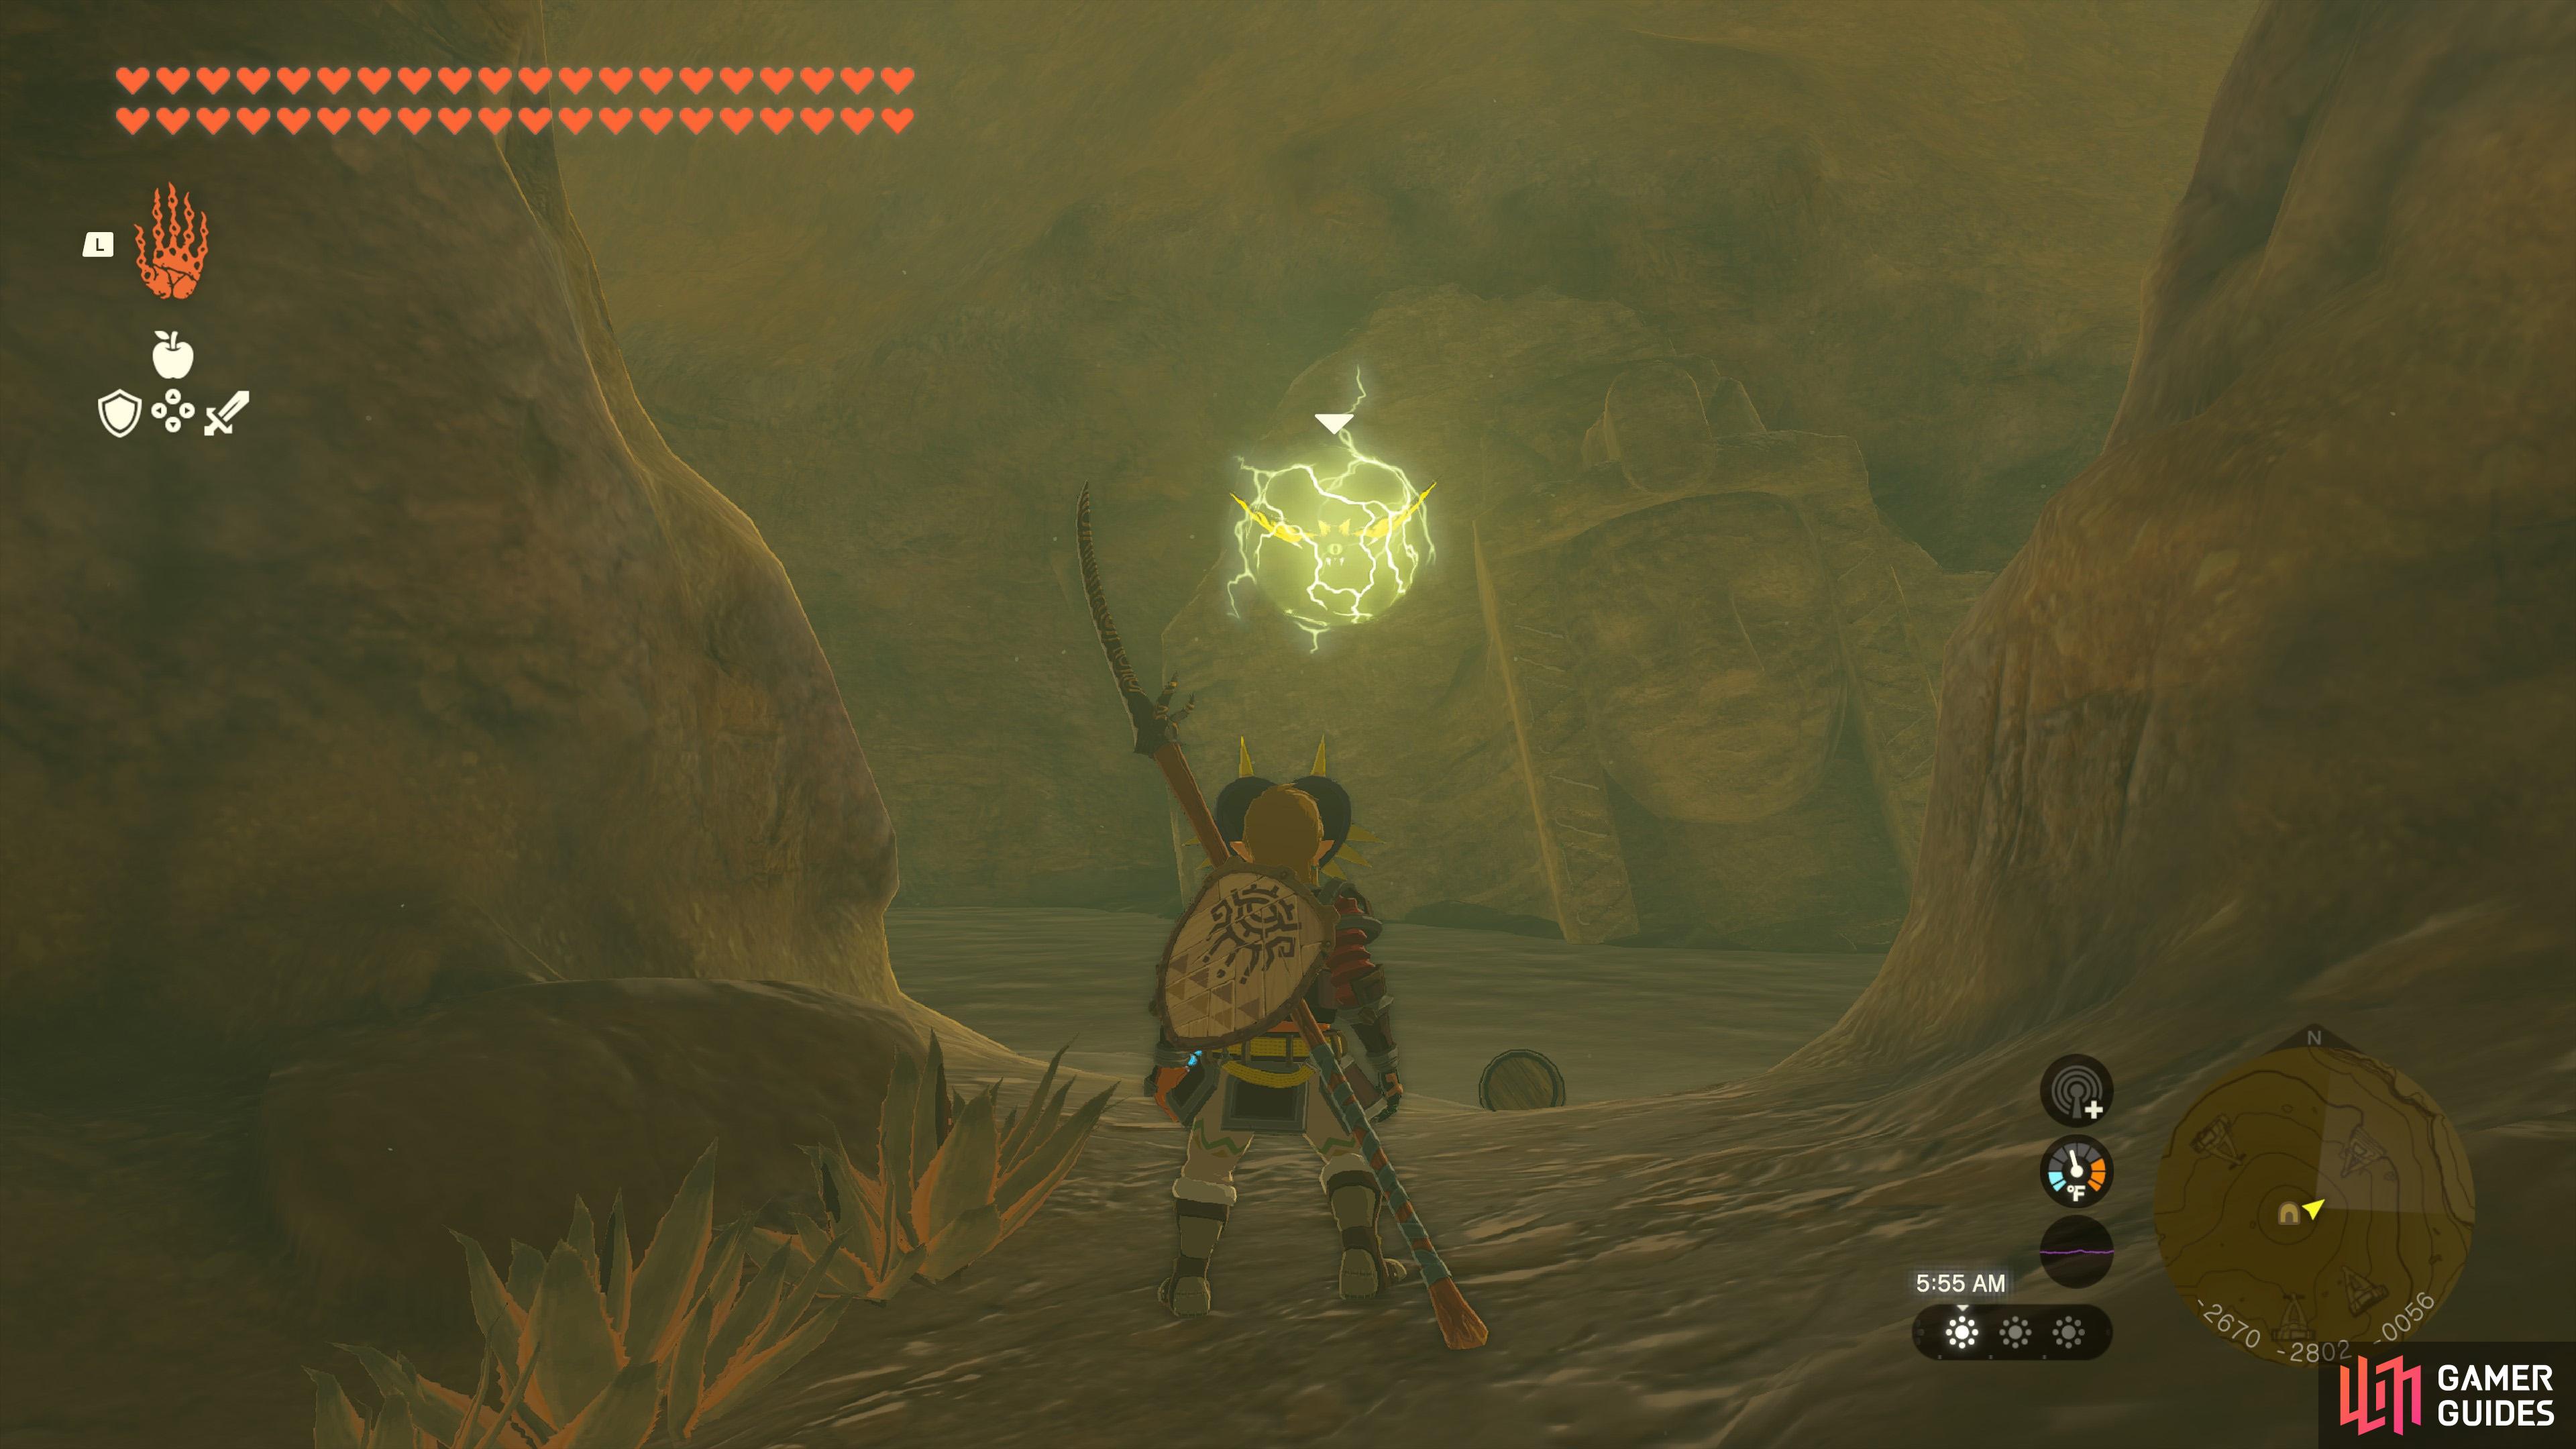
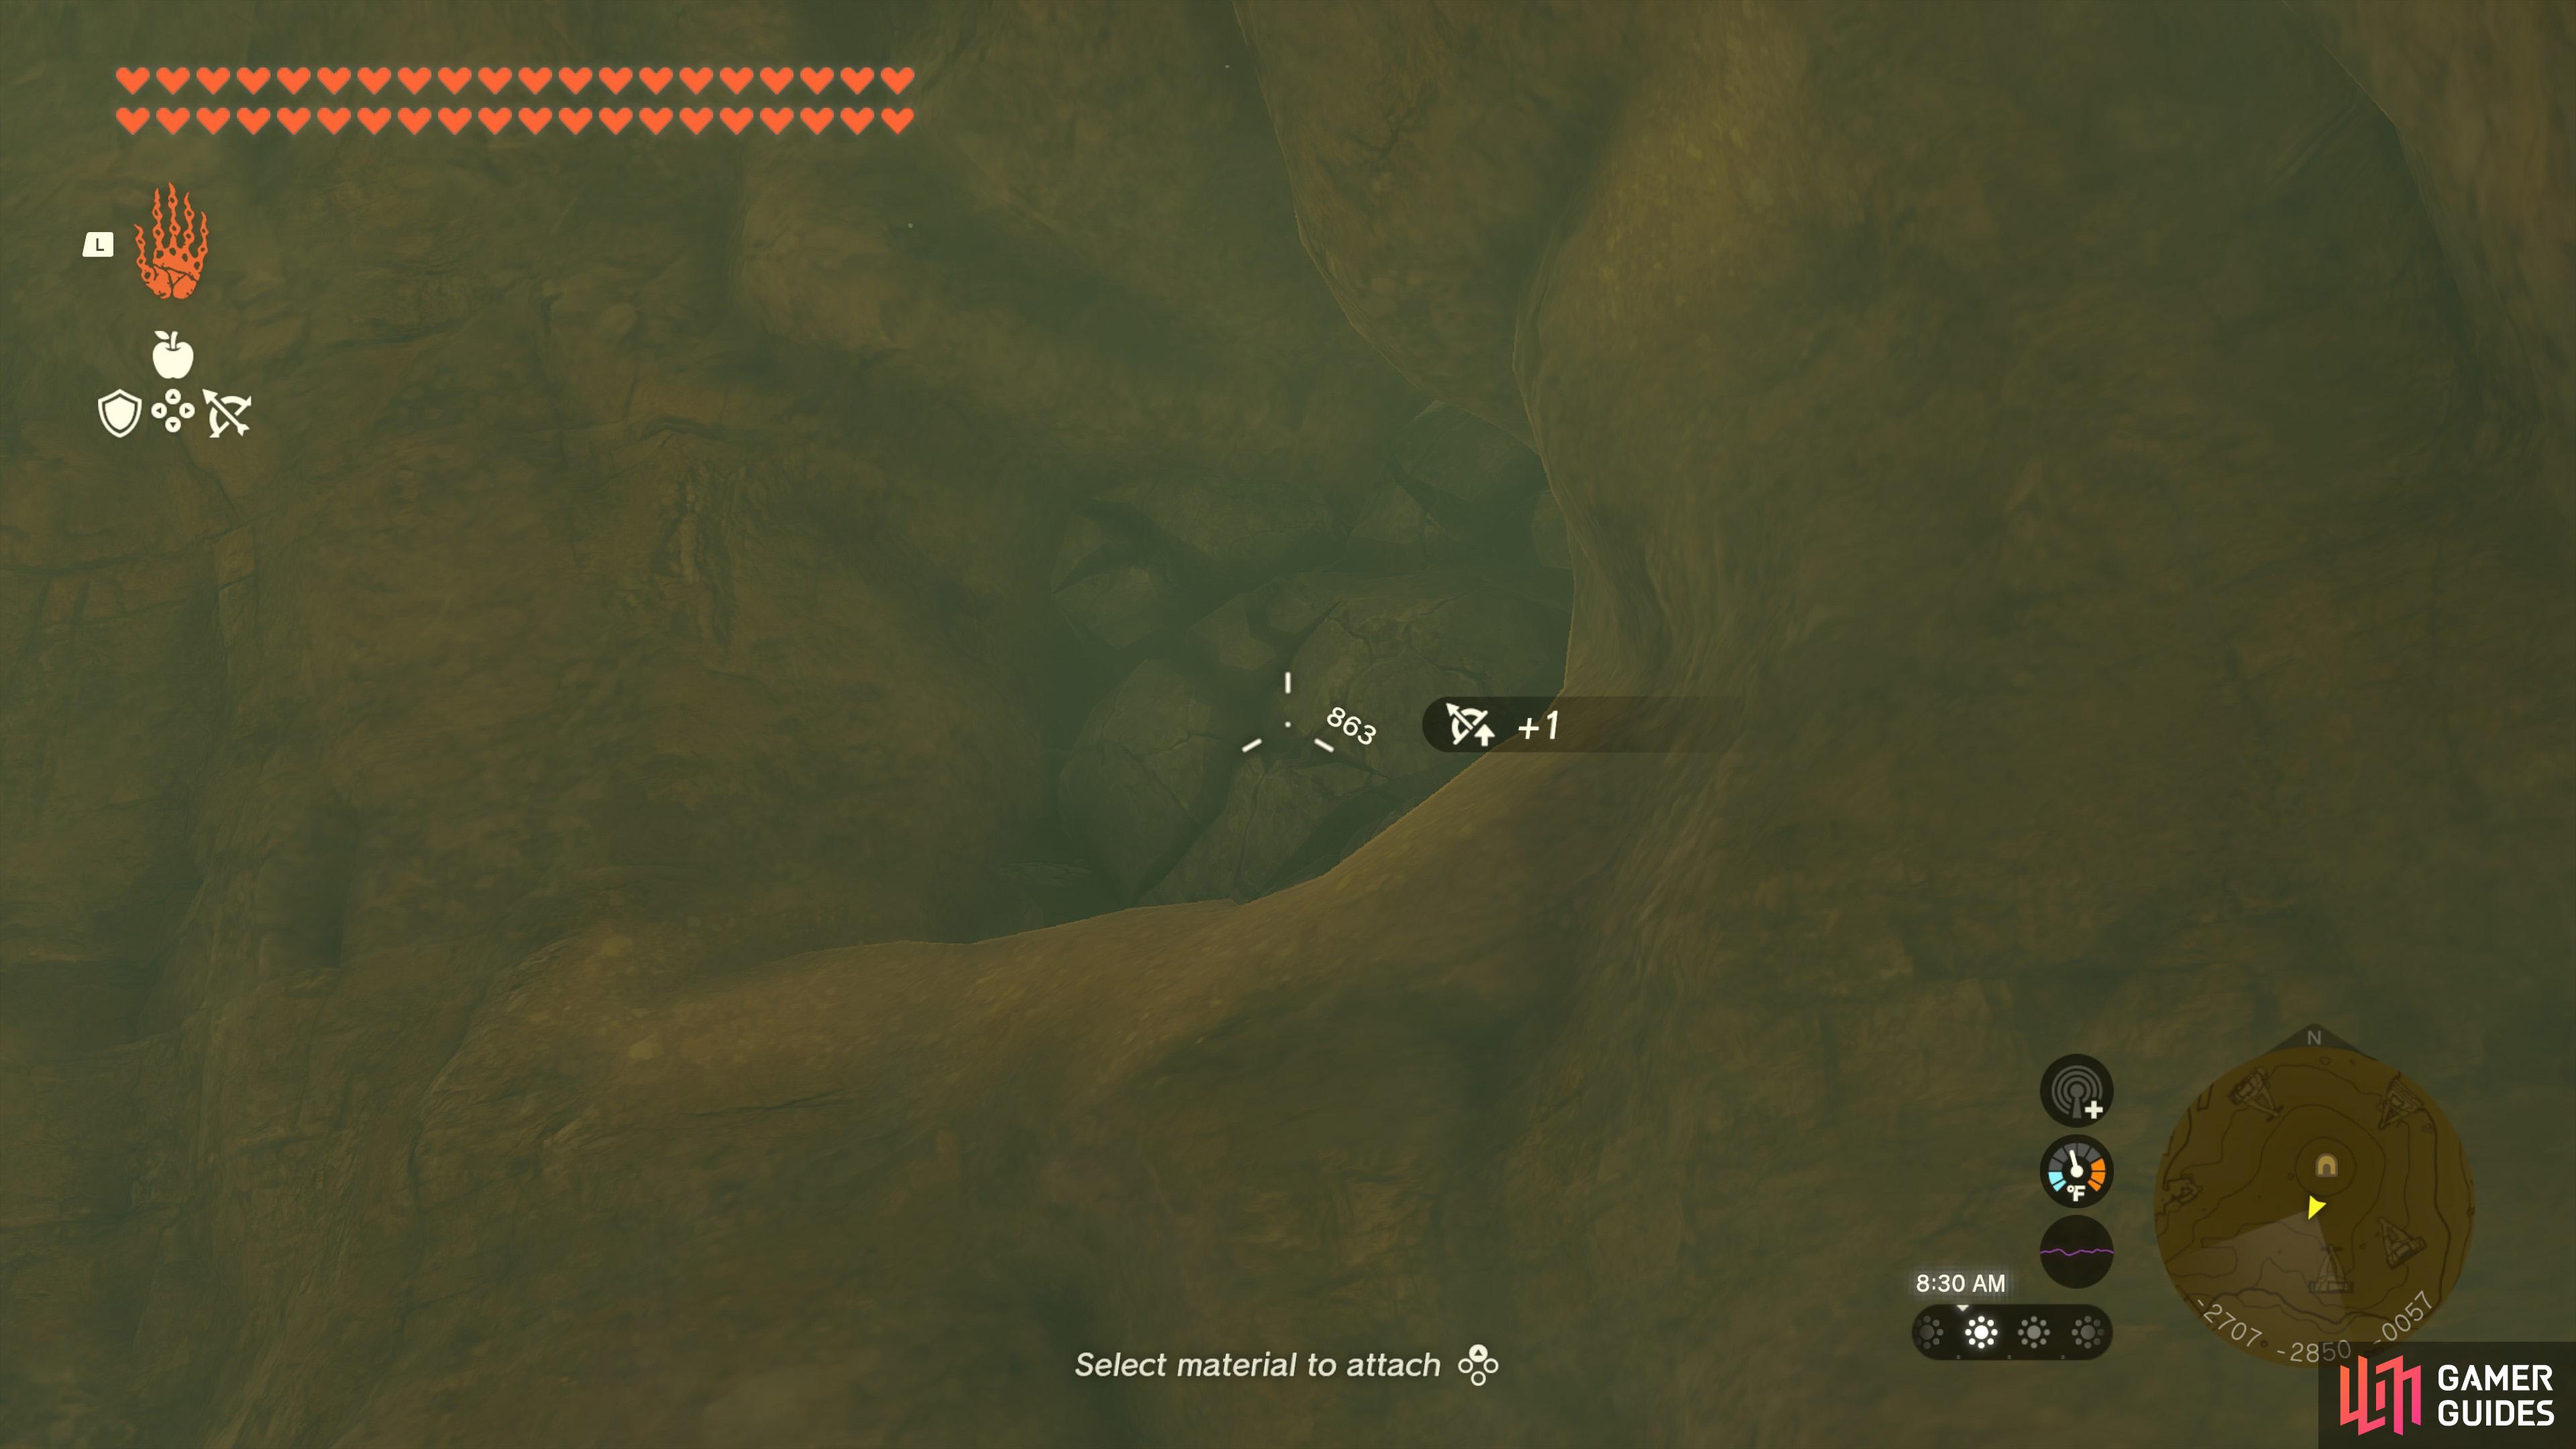
East Gerudo Ruins Cave |
Inside, there’s a quicksand river that goes counter-clockwise around the center. If you try and walk through the quicksand, you’ll rapidly stamina. We recommend creating some kind of small raft to travel on. If you have a spare At the end, when you reach the other side of the metal grating fence, there’s a hidden cavern if you destroy the breakable rocks high up on the wall. Otherwise, watch out for the occasional
Map(s)
Creatures/Enemies in this Cave
|
|
|||||||||||||||||||||||||||||||||||||||||||||||||||||||||||||||||||||||||||||||||||||||||||||||

|
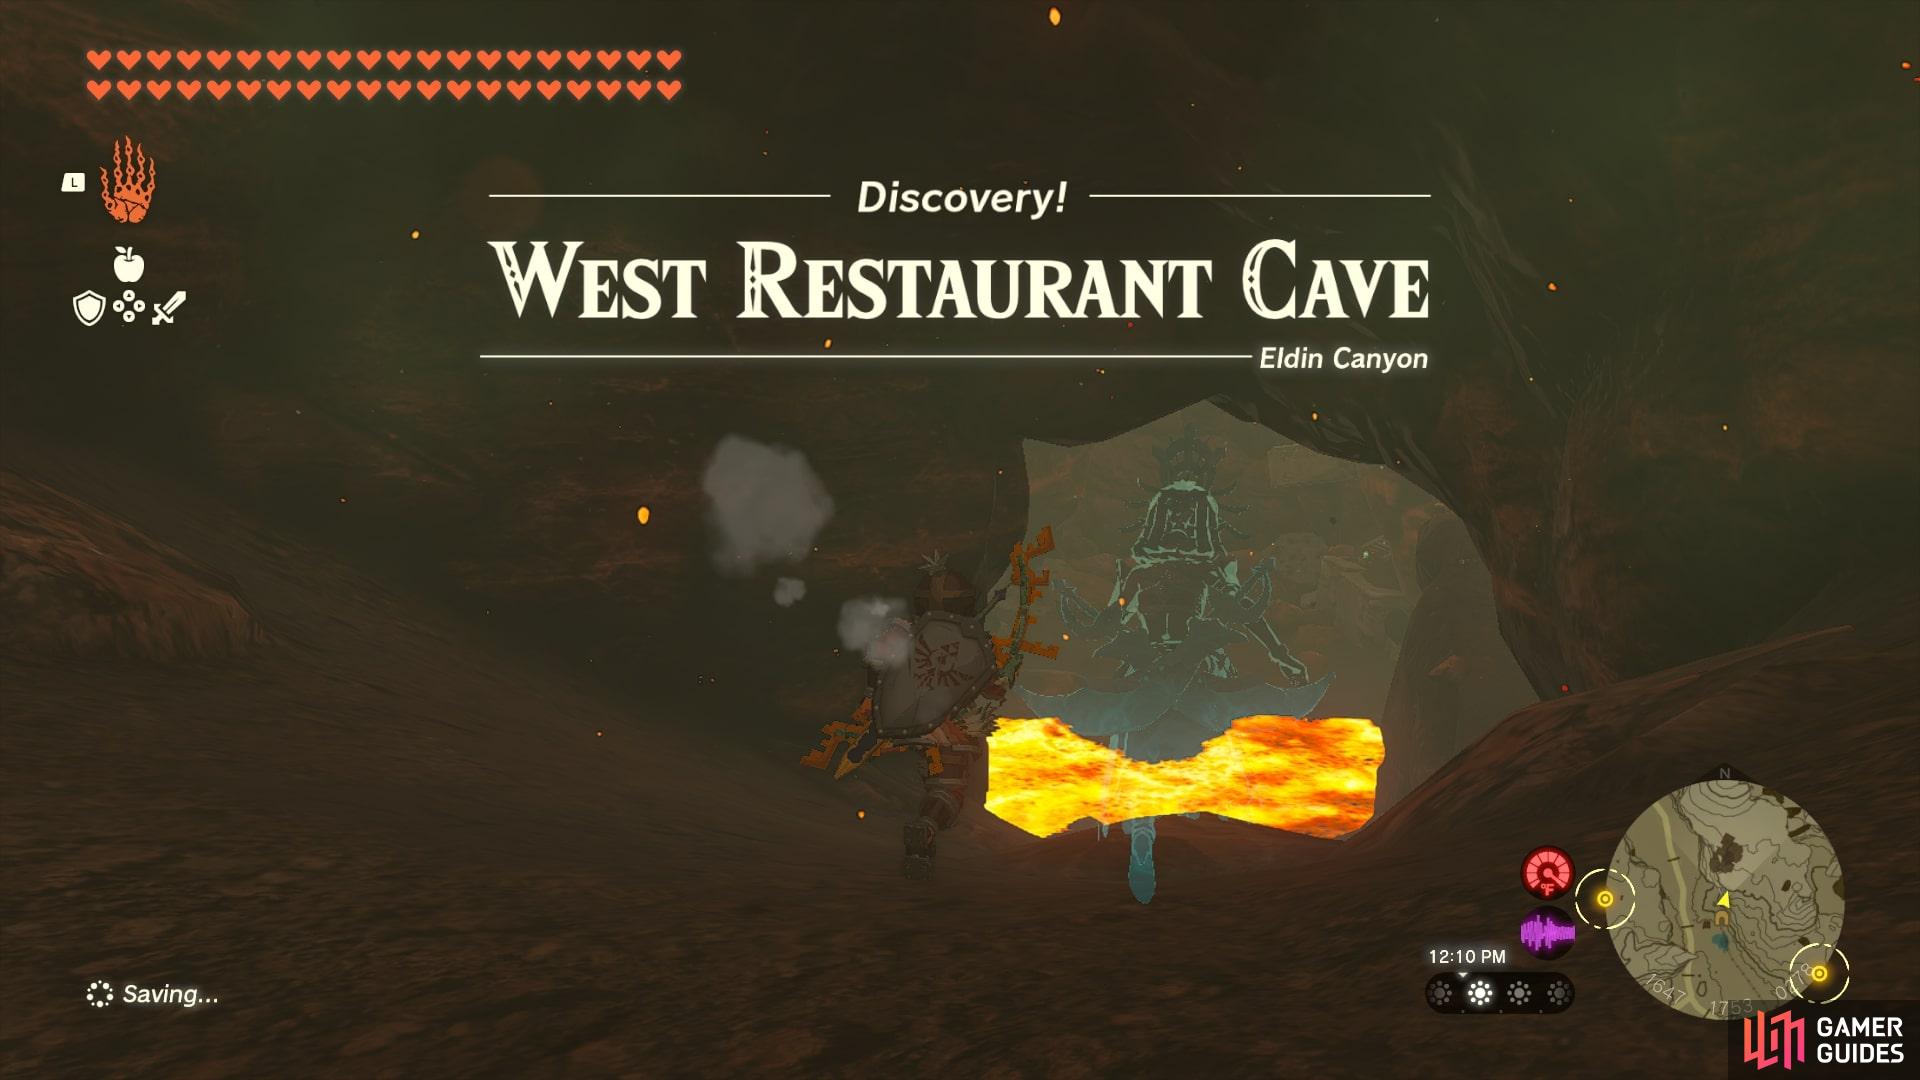
East Restaurant Cave |
To survive in the You should look at either side of the tracks for some rubble in the walls of this cave, which you can destroy to access hidden chambers, one of which contains a chest with a Ruby. Almost directly opposite this you’ll find an upturned abandoned cart. Move this using If you destroy the rubble wall next to this chest, you’ll reveal a final chamber where a
Map(s)
Creatures/Enemies in this Cave
|
||||||||||||||||||||||||||||||||||||||||||||||||||||||||||||||||||||||||||||||||||||||||||||||||

|
Eventide Island Cave |
In the
Map(s)
Creatures/Enemies in this Cave
|
||||||||||||||||||||||||||||||||||||||||||||||||||||||||||||||||||||||||||||||||||||||||||||||||

|
Finra Woods Excavation Site |
This cave can be found deep in the Finra After you’ve looted the chest, use
Map(s)
Cave Location
1×
Creatures/Enemies in this Cave
|
||||||||||||||||||||||||||||||||||||||||||||||||||||||||||||||||||||||||||||||||||||||||||||||||

|
Floria River Upstream Excavation |
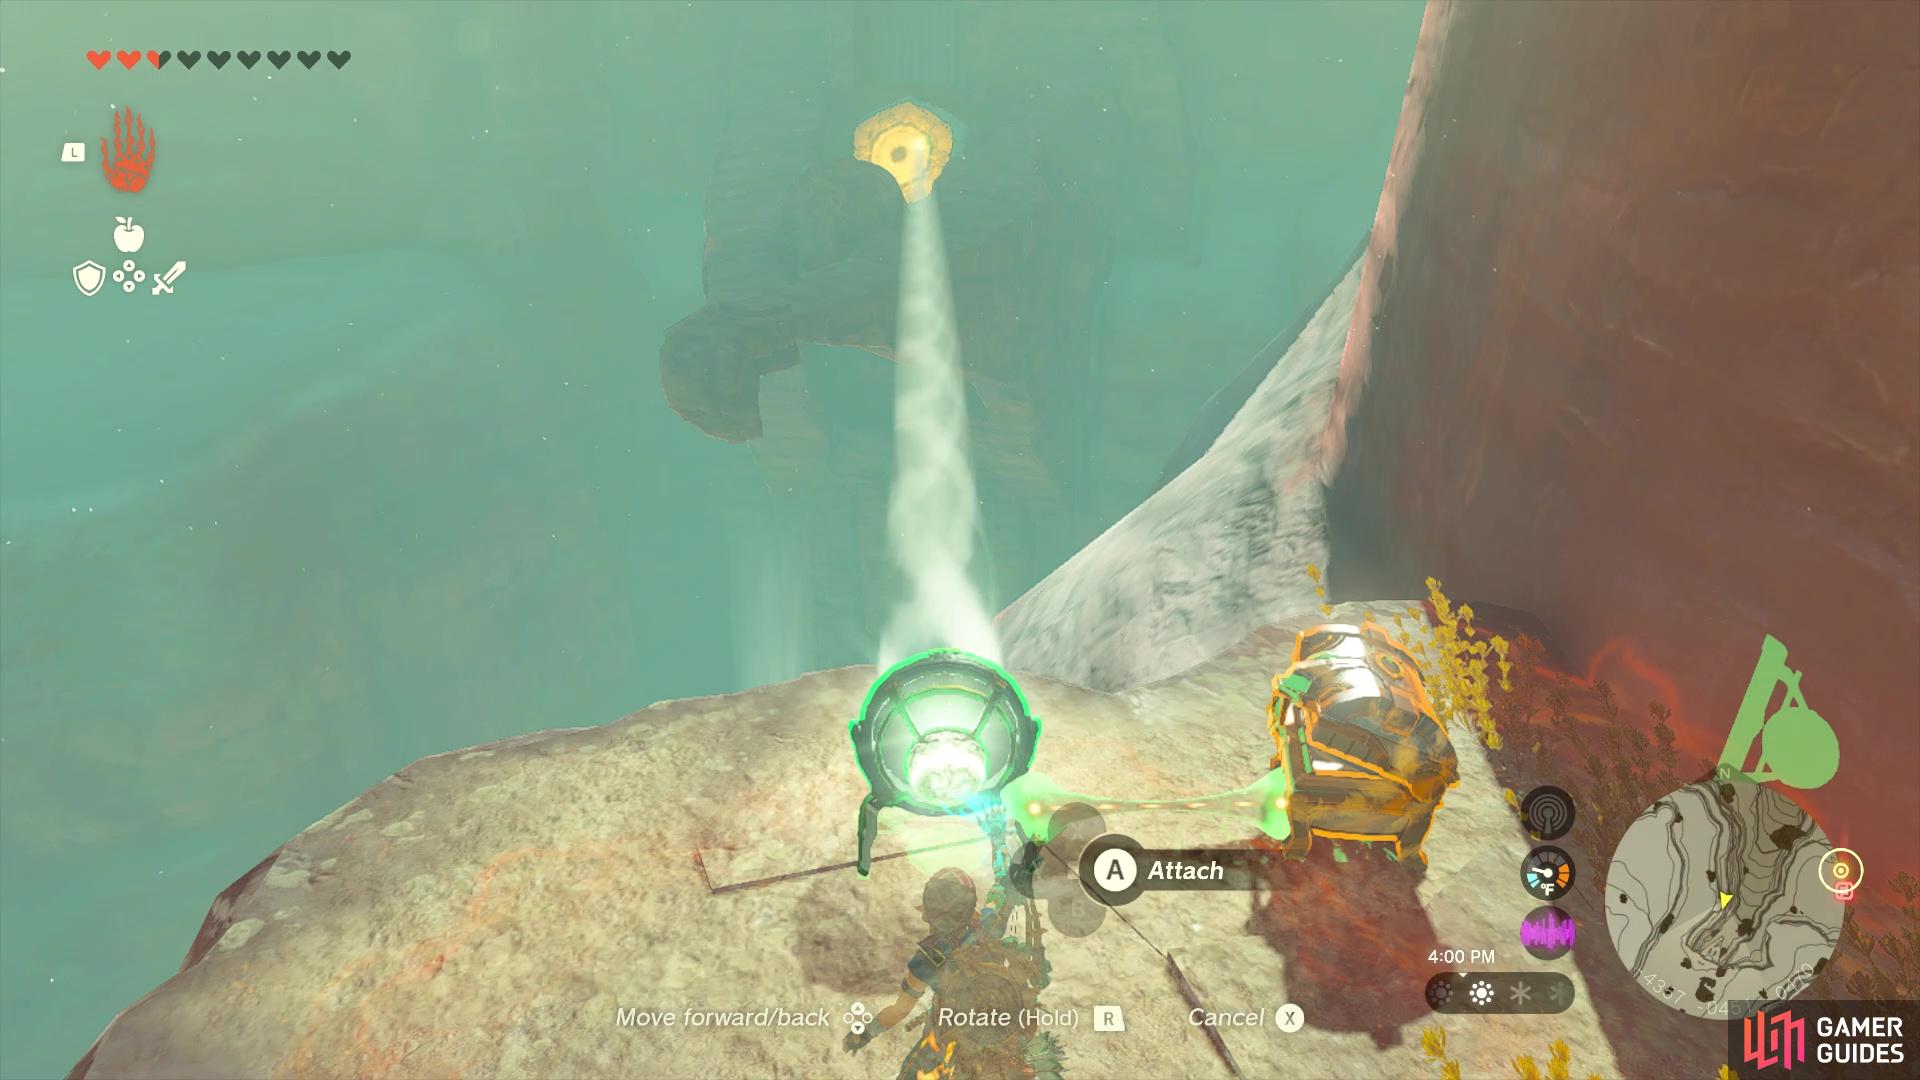
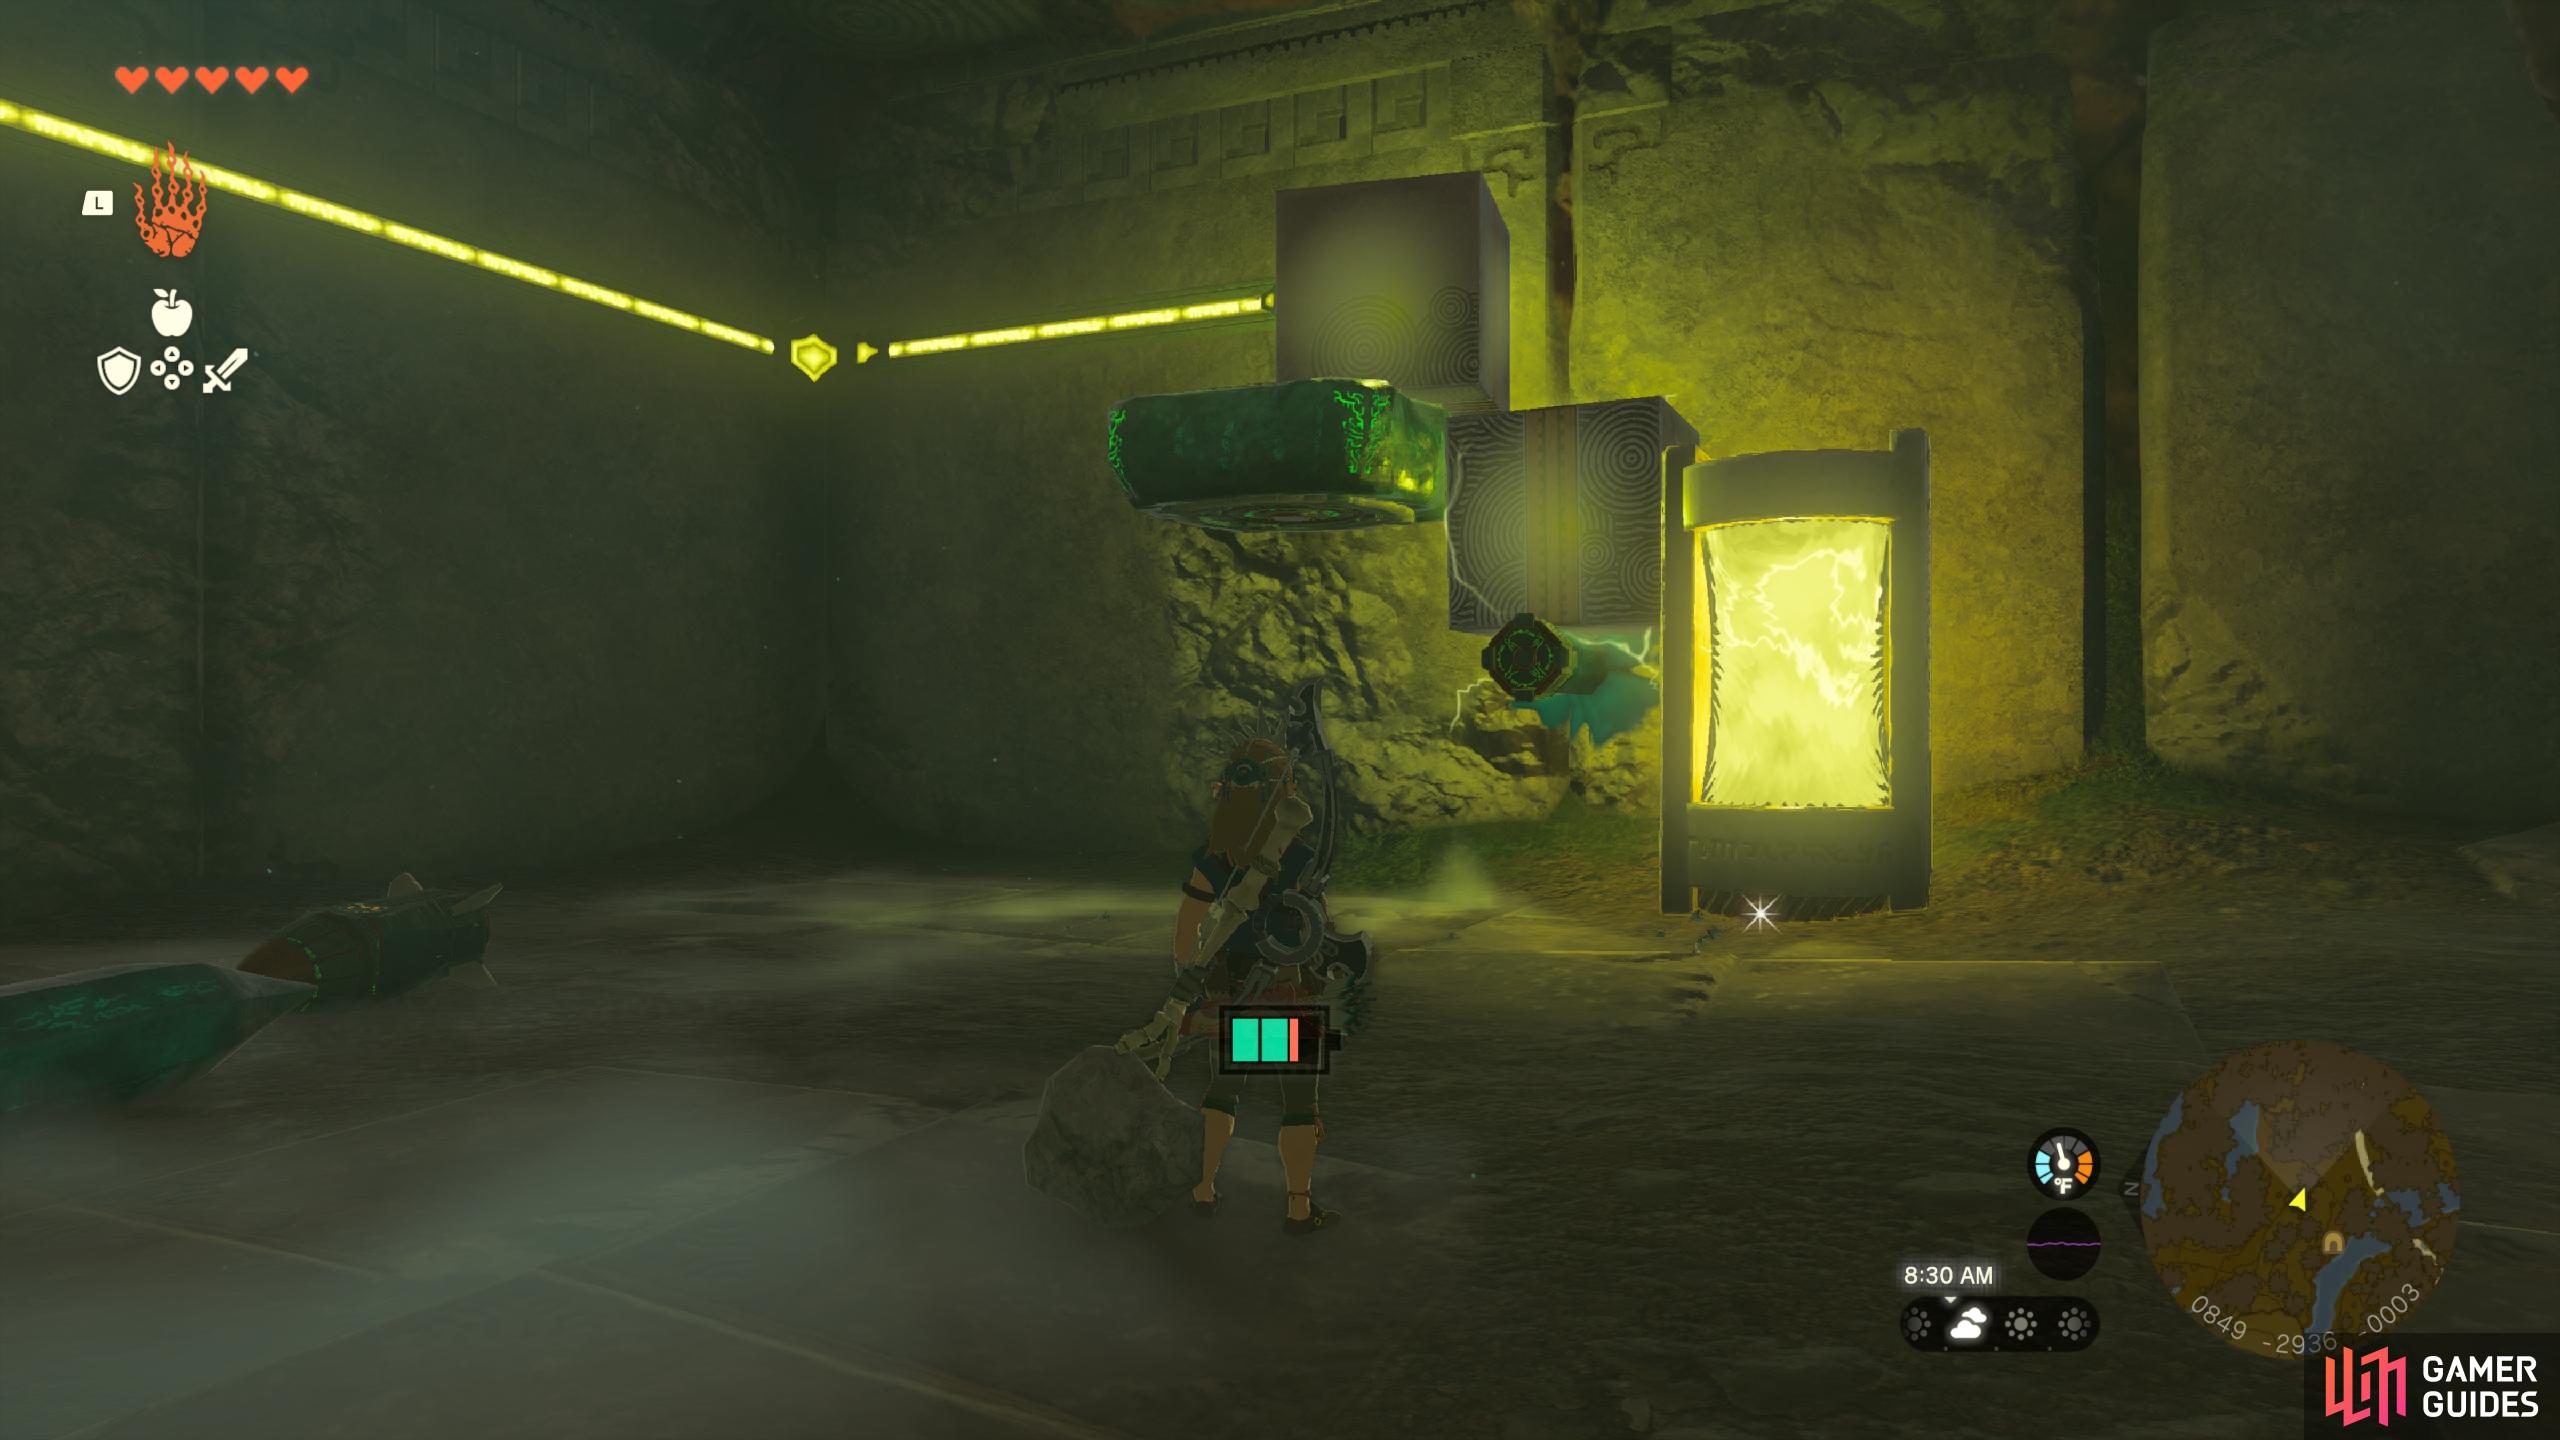
This cave can be found near the waters edge and leads to a puzzle with a Chest behind it. To get through the gate and access the chest, you need to connect the electric charge from the point above the gate, to the one located in the object to the east. You’ll notice a line running from just above the gate towards the object, and it’s this line that you need to connect using the blocks next to the object, along with any Zonai Devices that you can make use of in the room. The easiest way to do this is by taking a Stake and placing it in the wall to the left of the object. Now place one of the boxes on top of the stake, and take a Hover Stone to drop to the left of it. Hit the Hover Stone so that it levitates in the air, giving you another platform to place the other box on, thereby establishing the connection that will open the gate. If you need help with how this looks, see the screenshot below.
Map(s)
Cave Location
1×
Creatures/Enemies in this Cave
|
|
|||||||||||||||||||||||||||||||||||||||||||||||||||||||||||||||||||||||||||||||||||||||||||||||

|
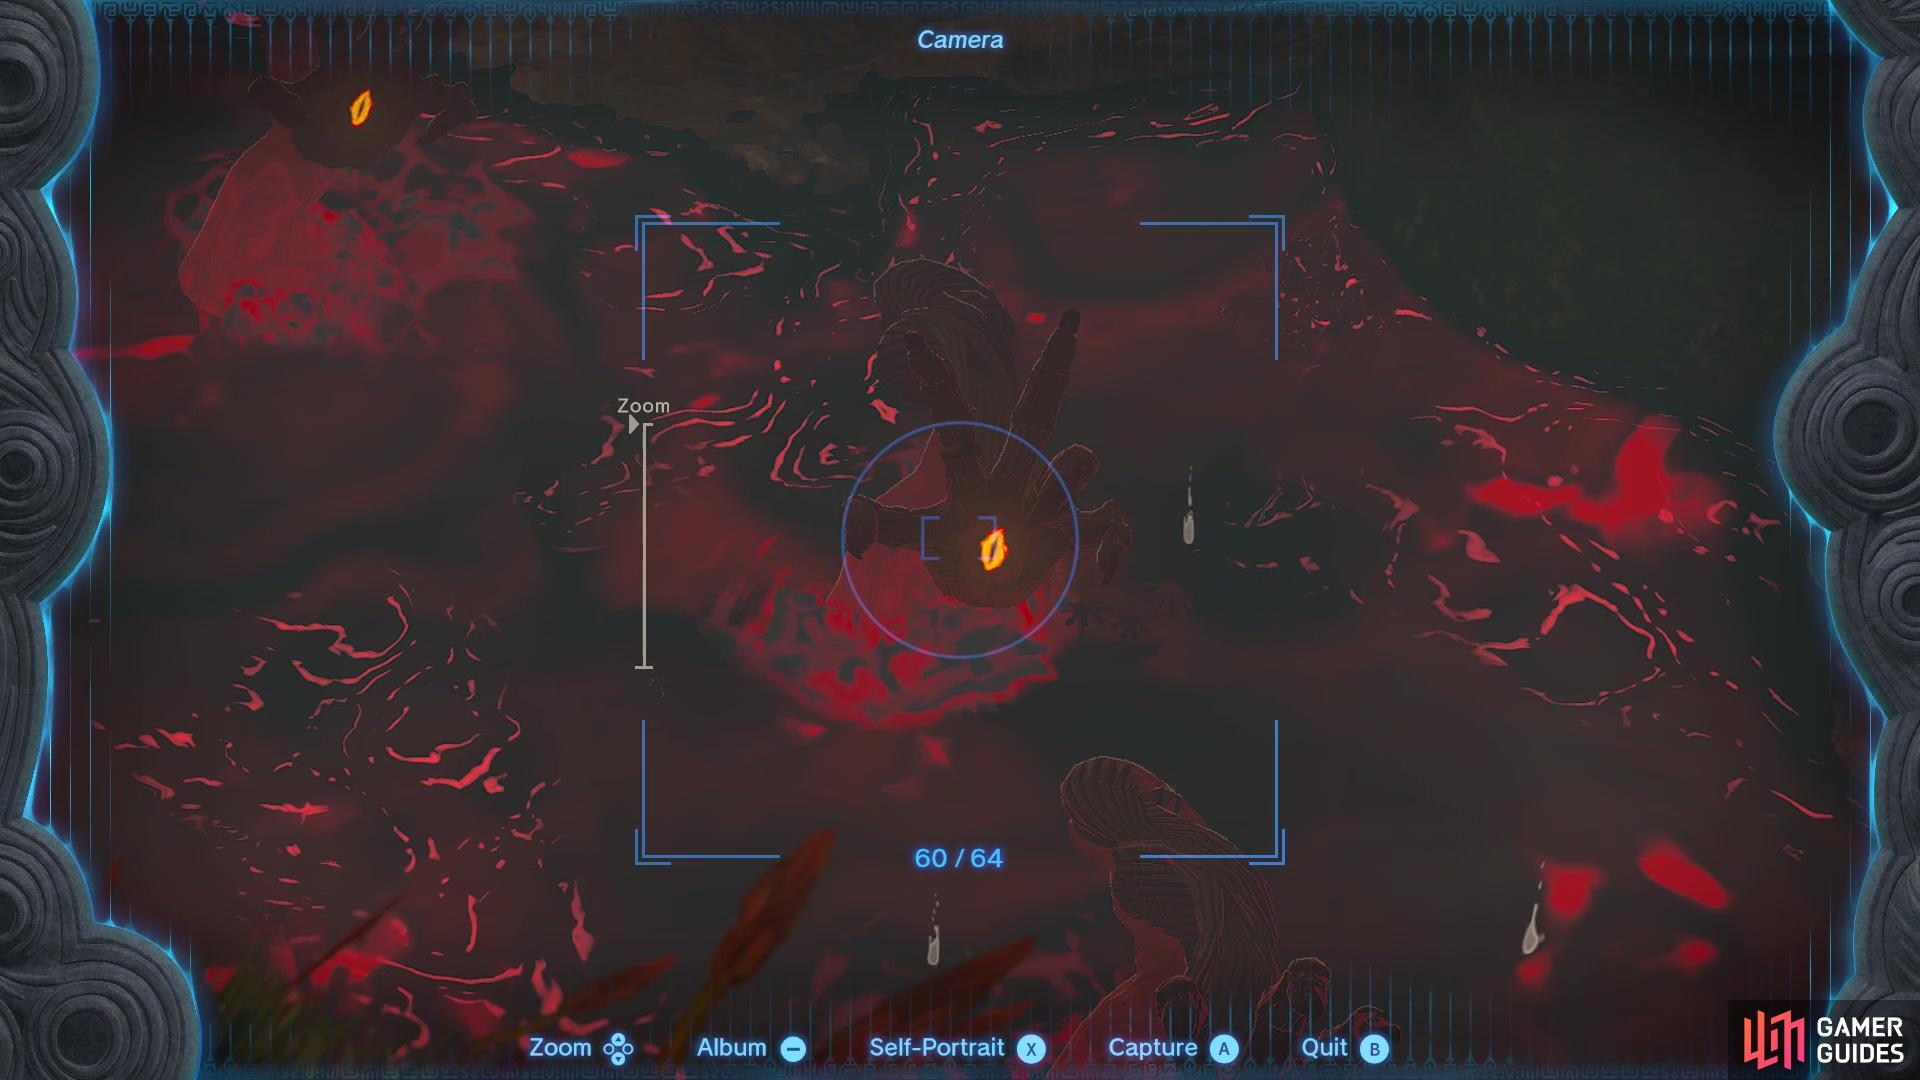
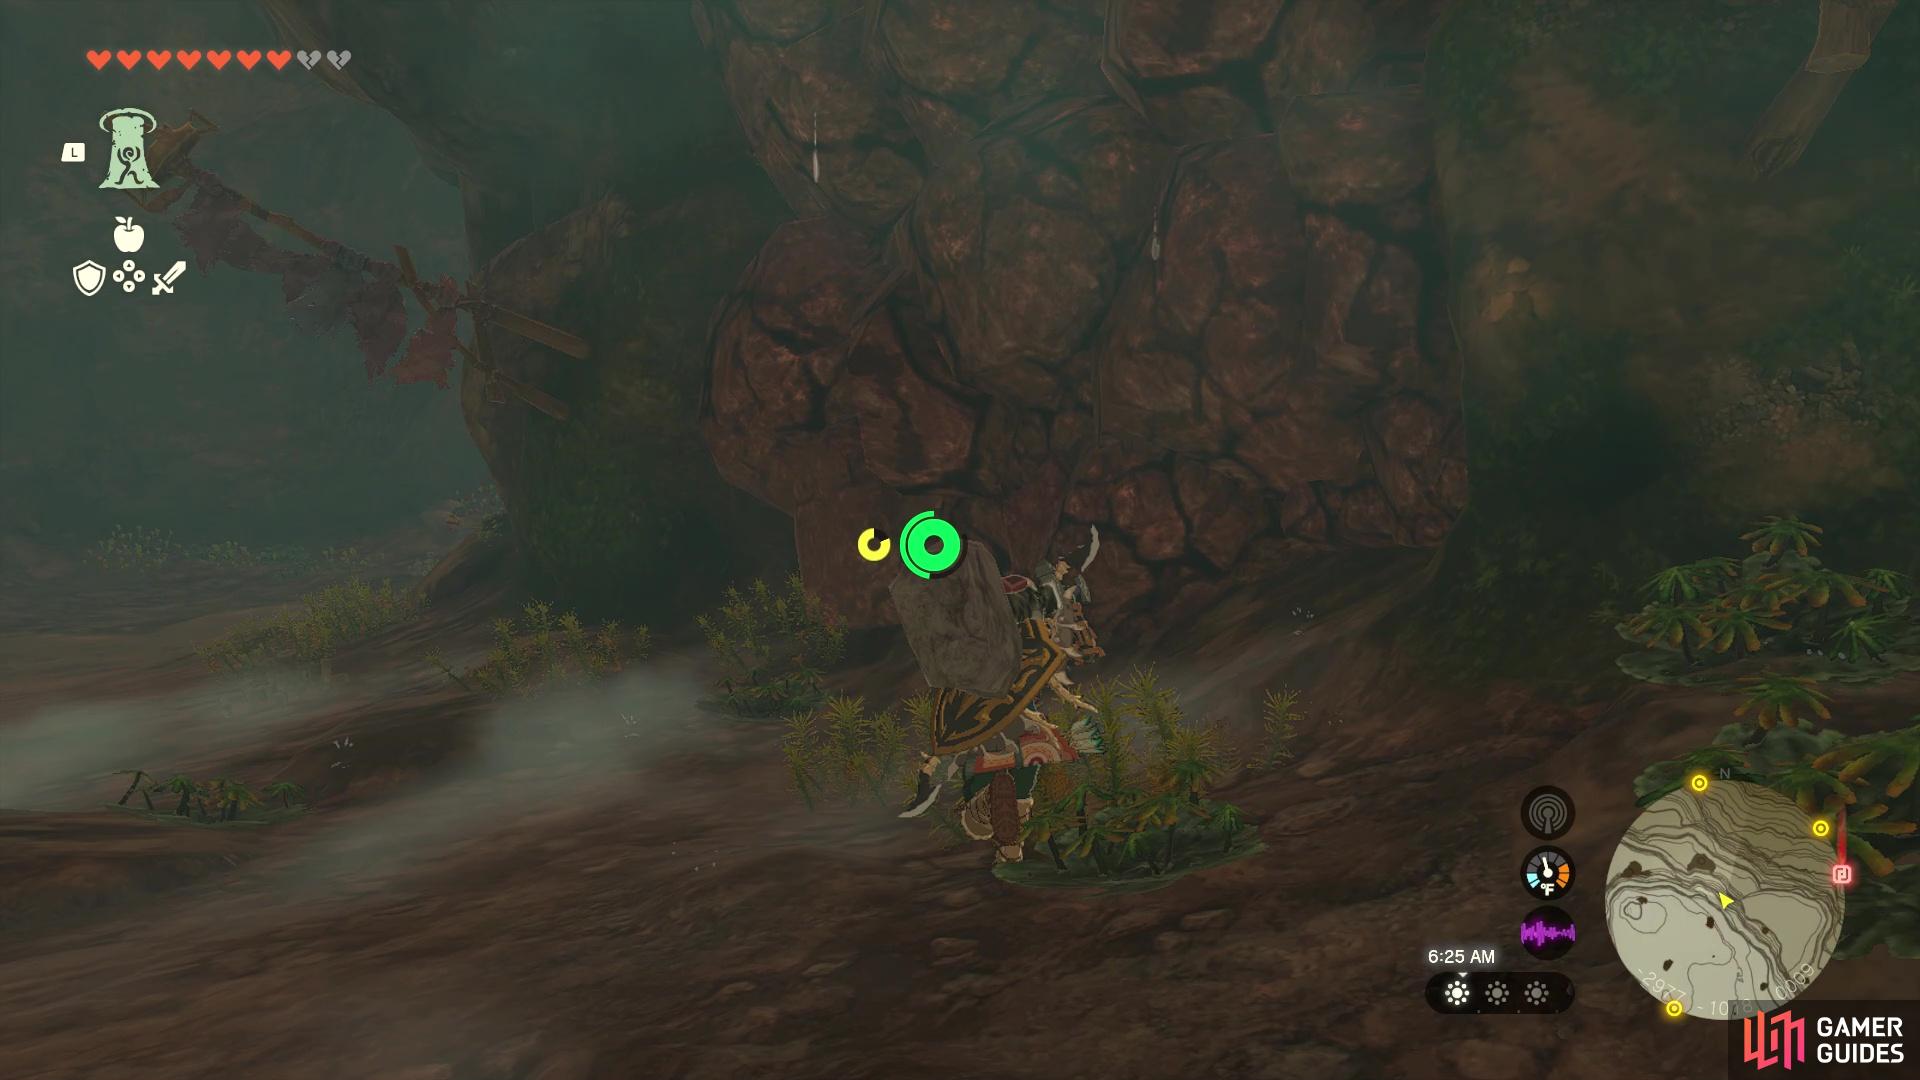
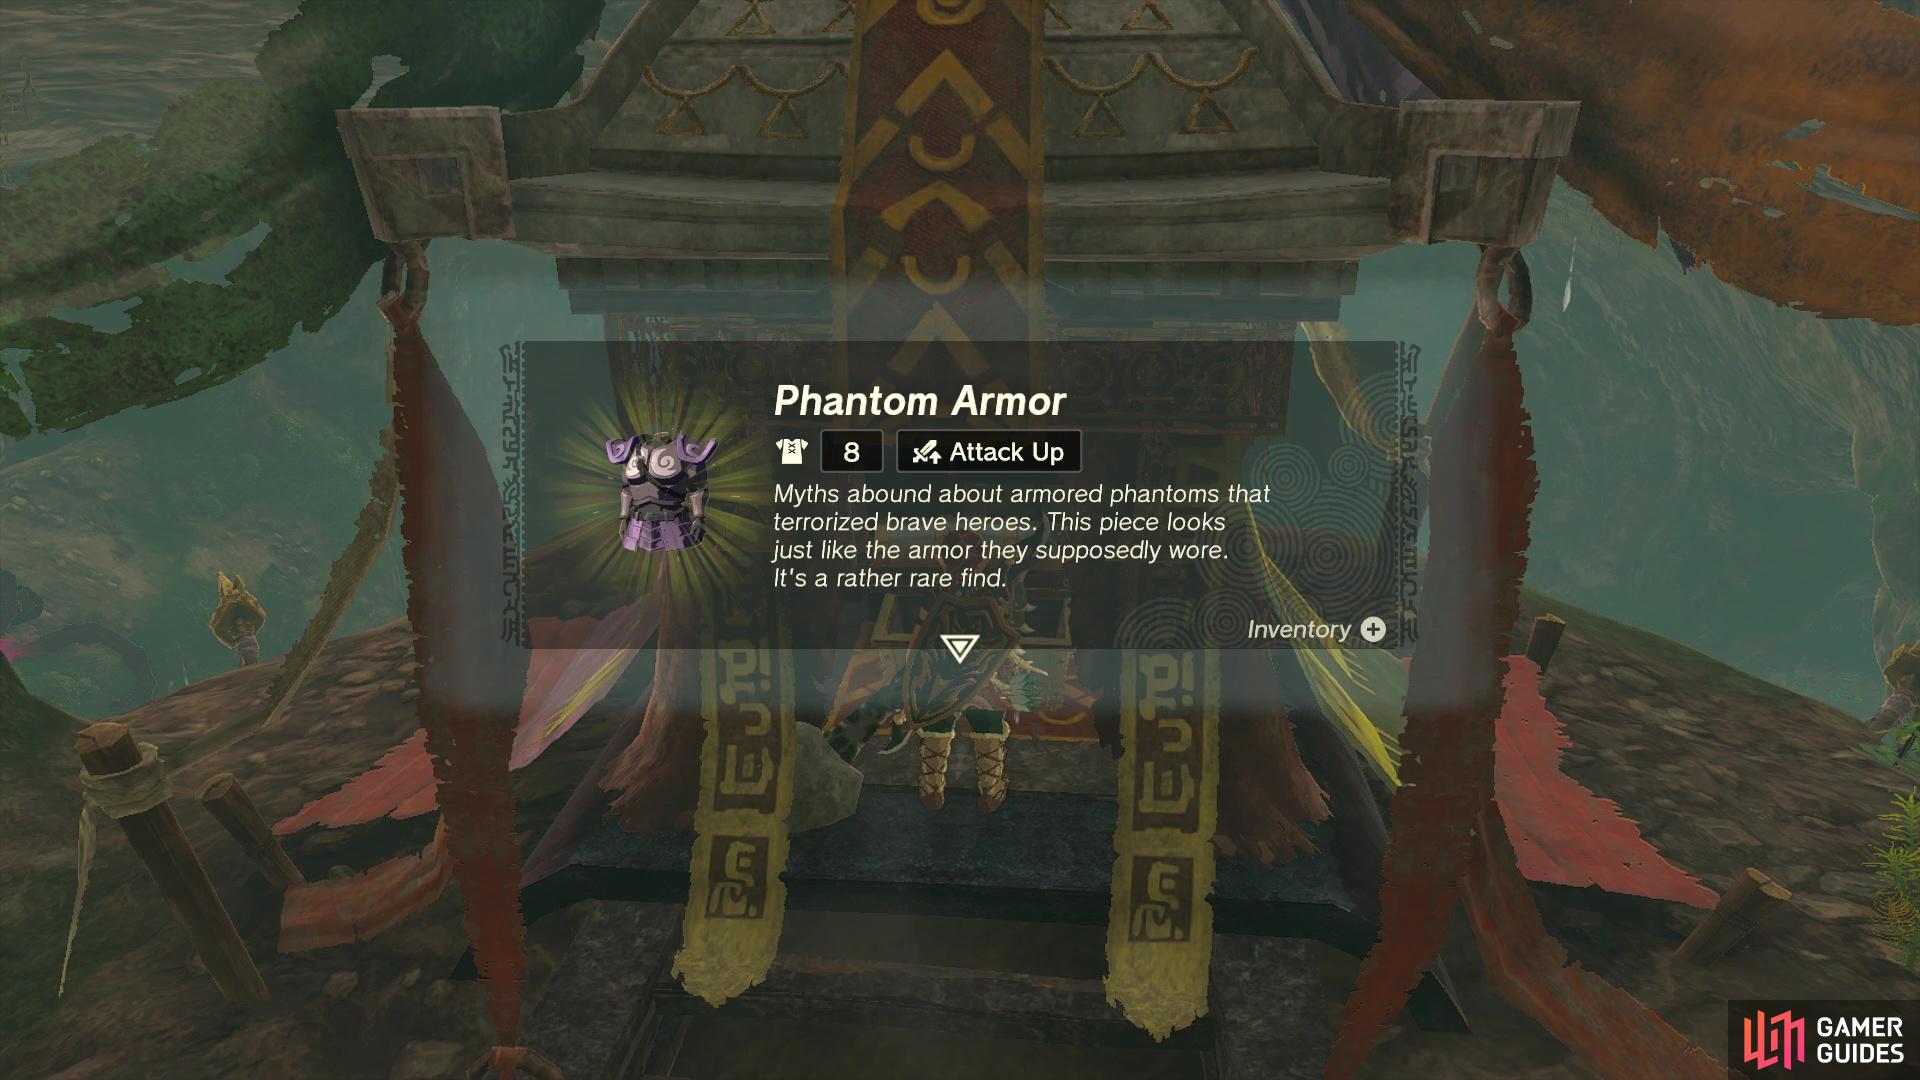
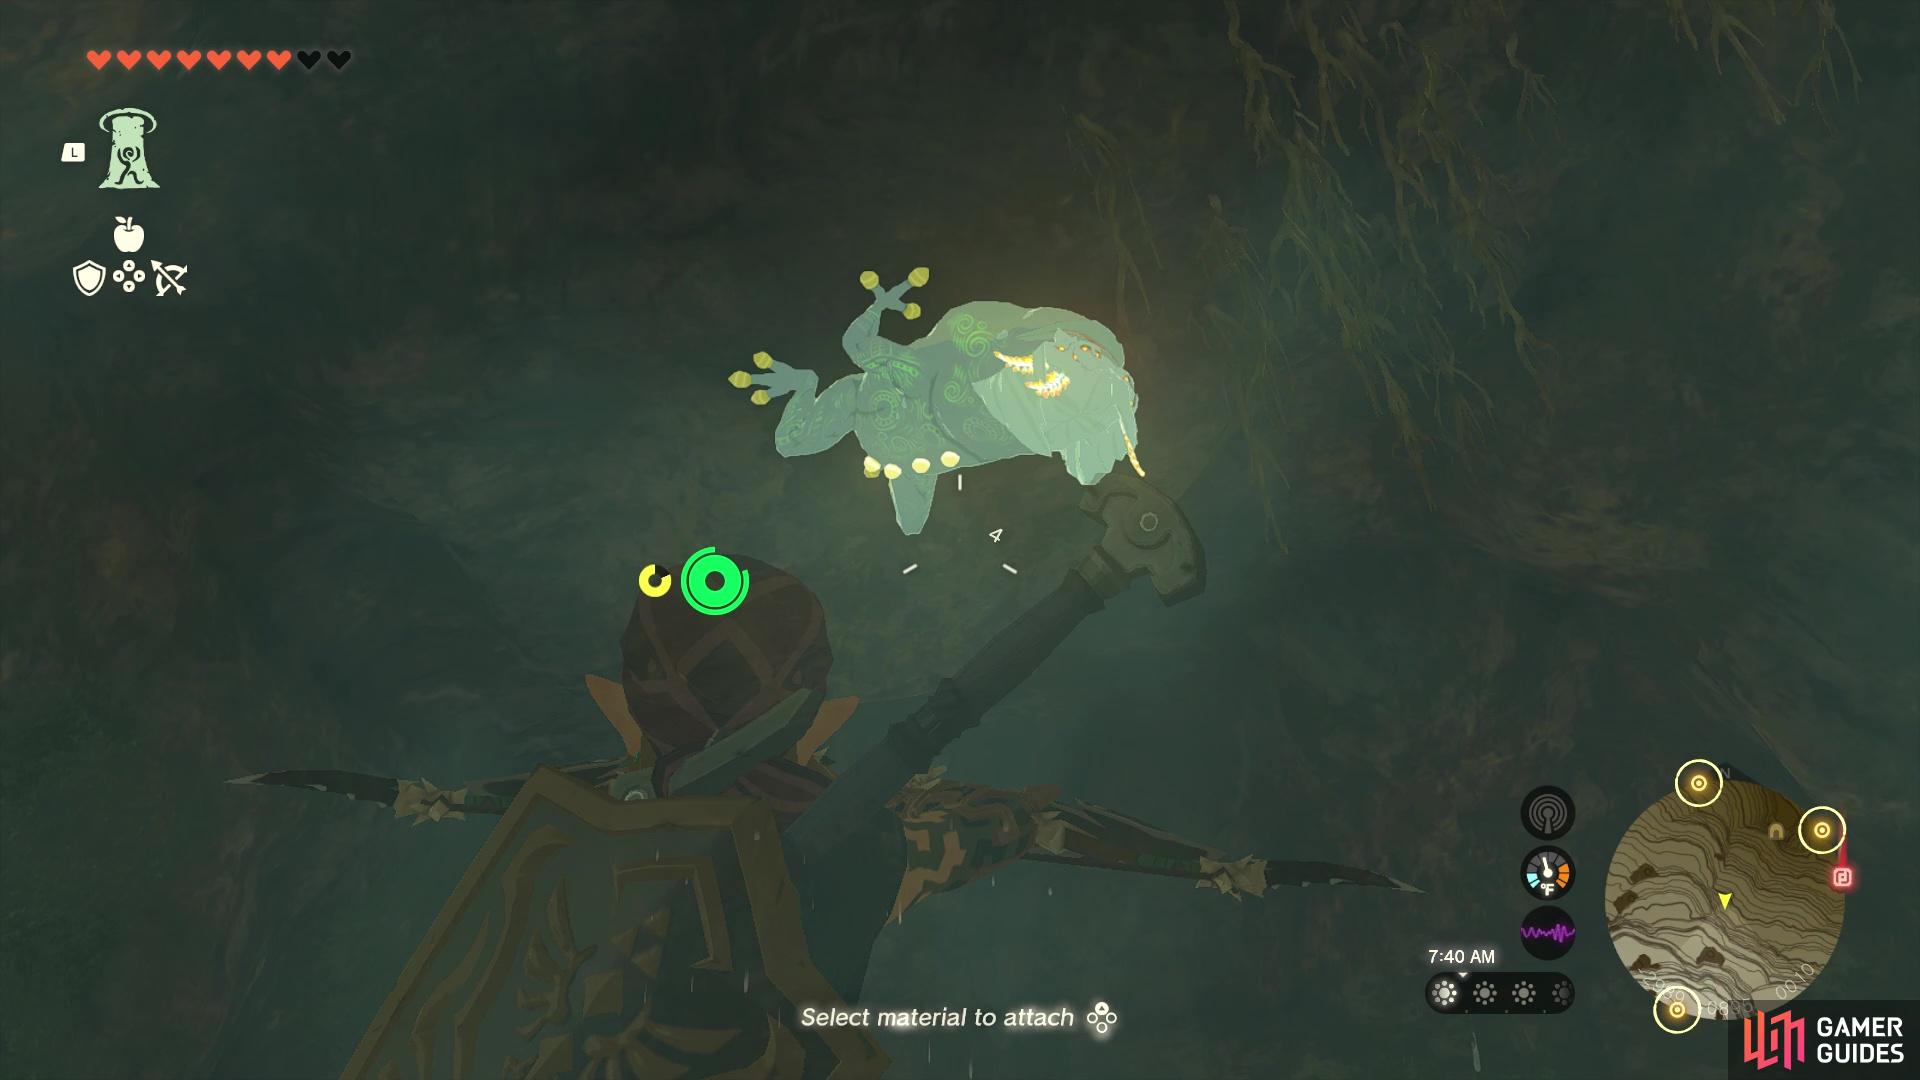
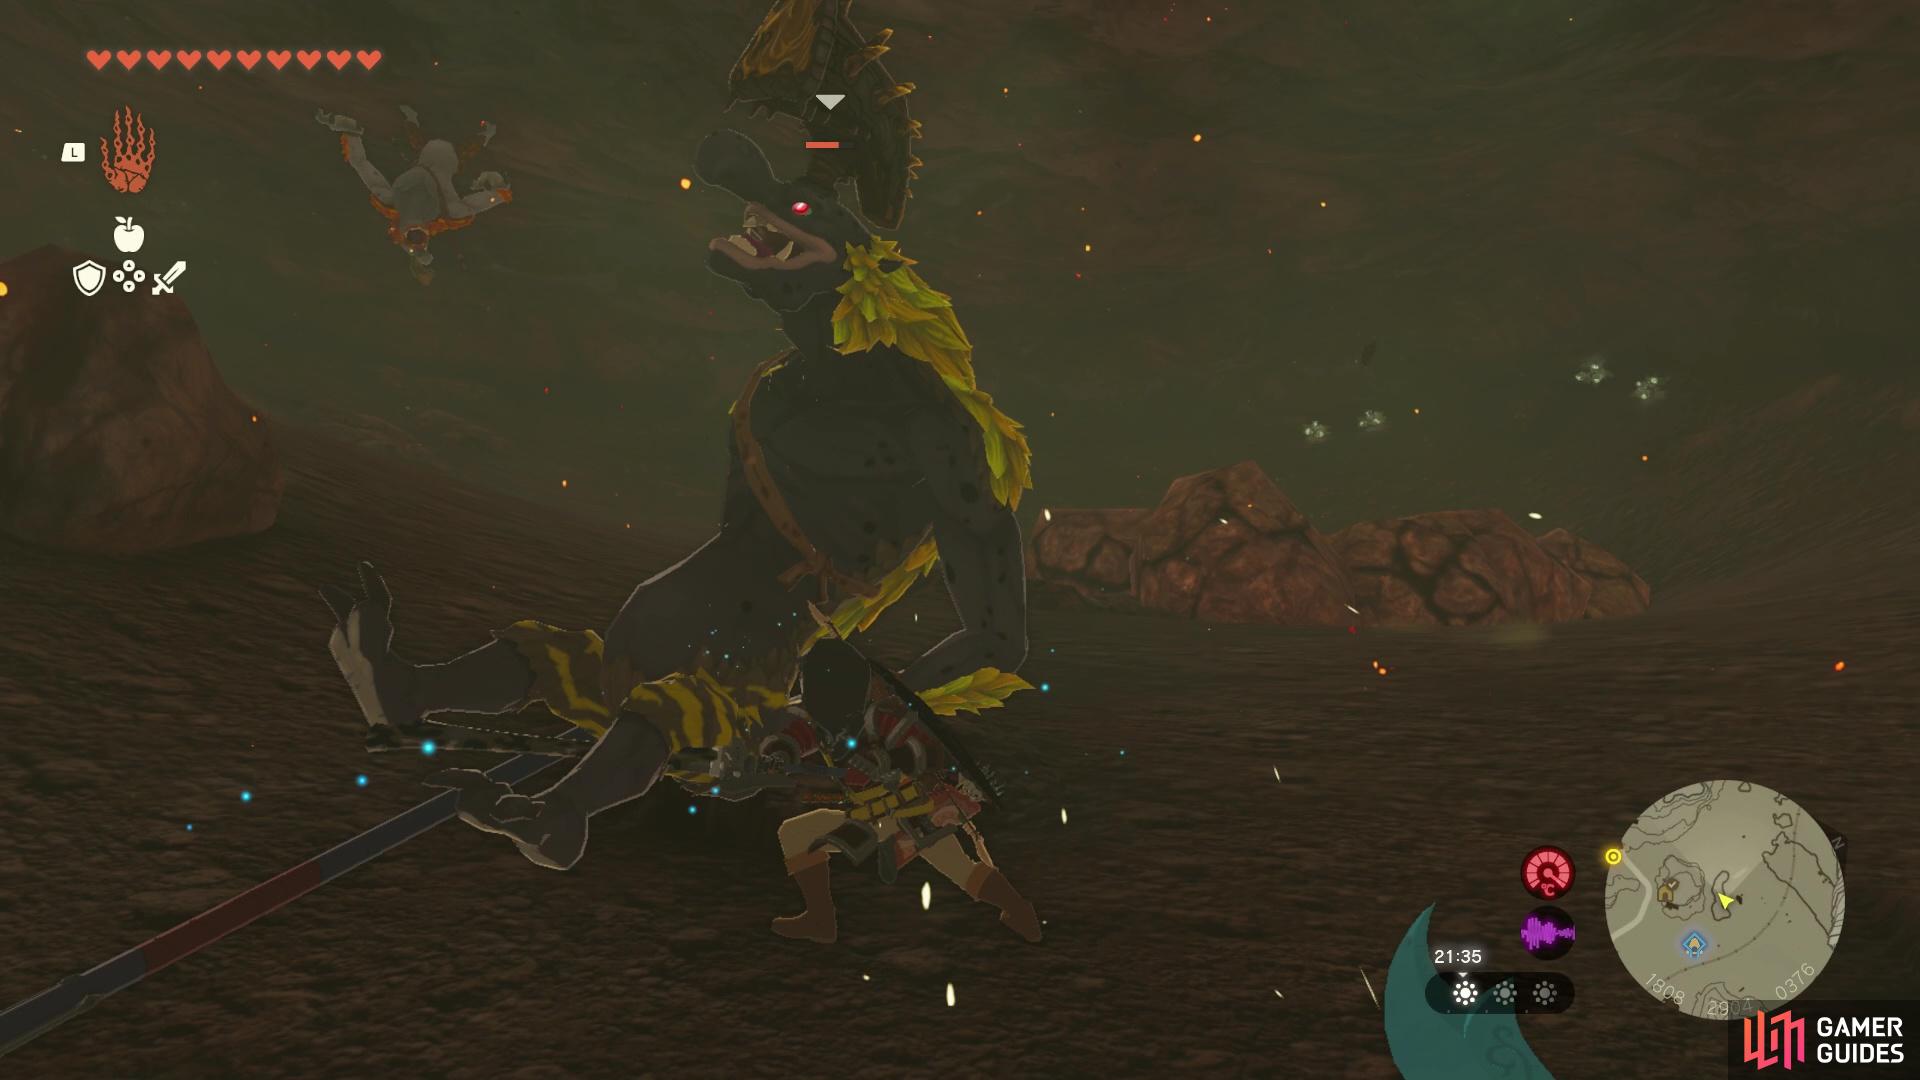
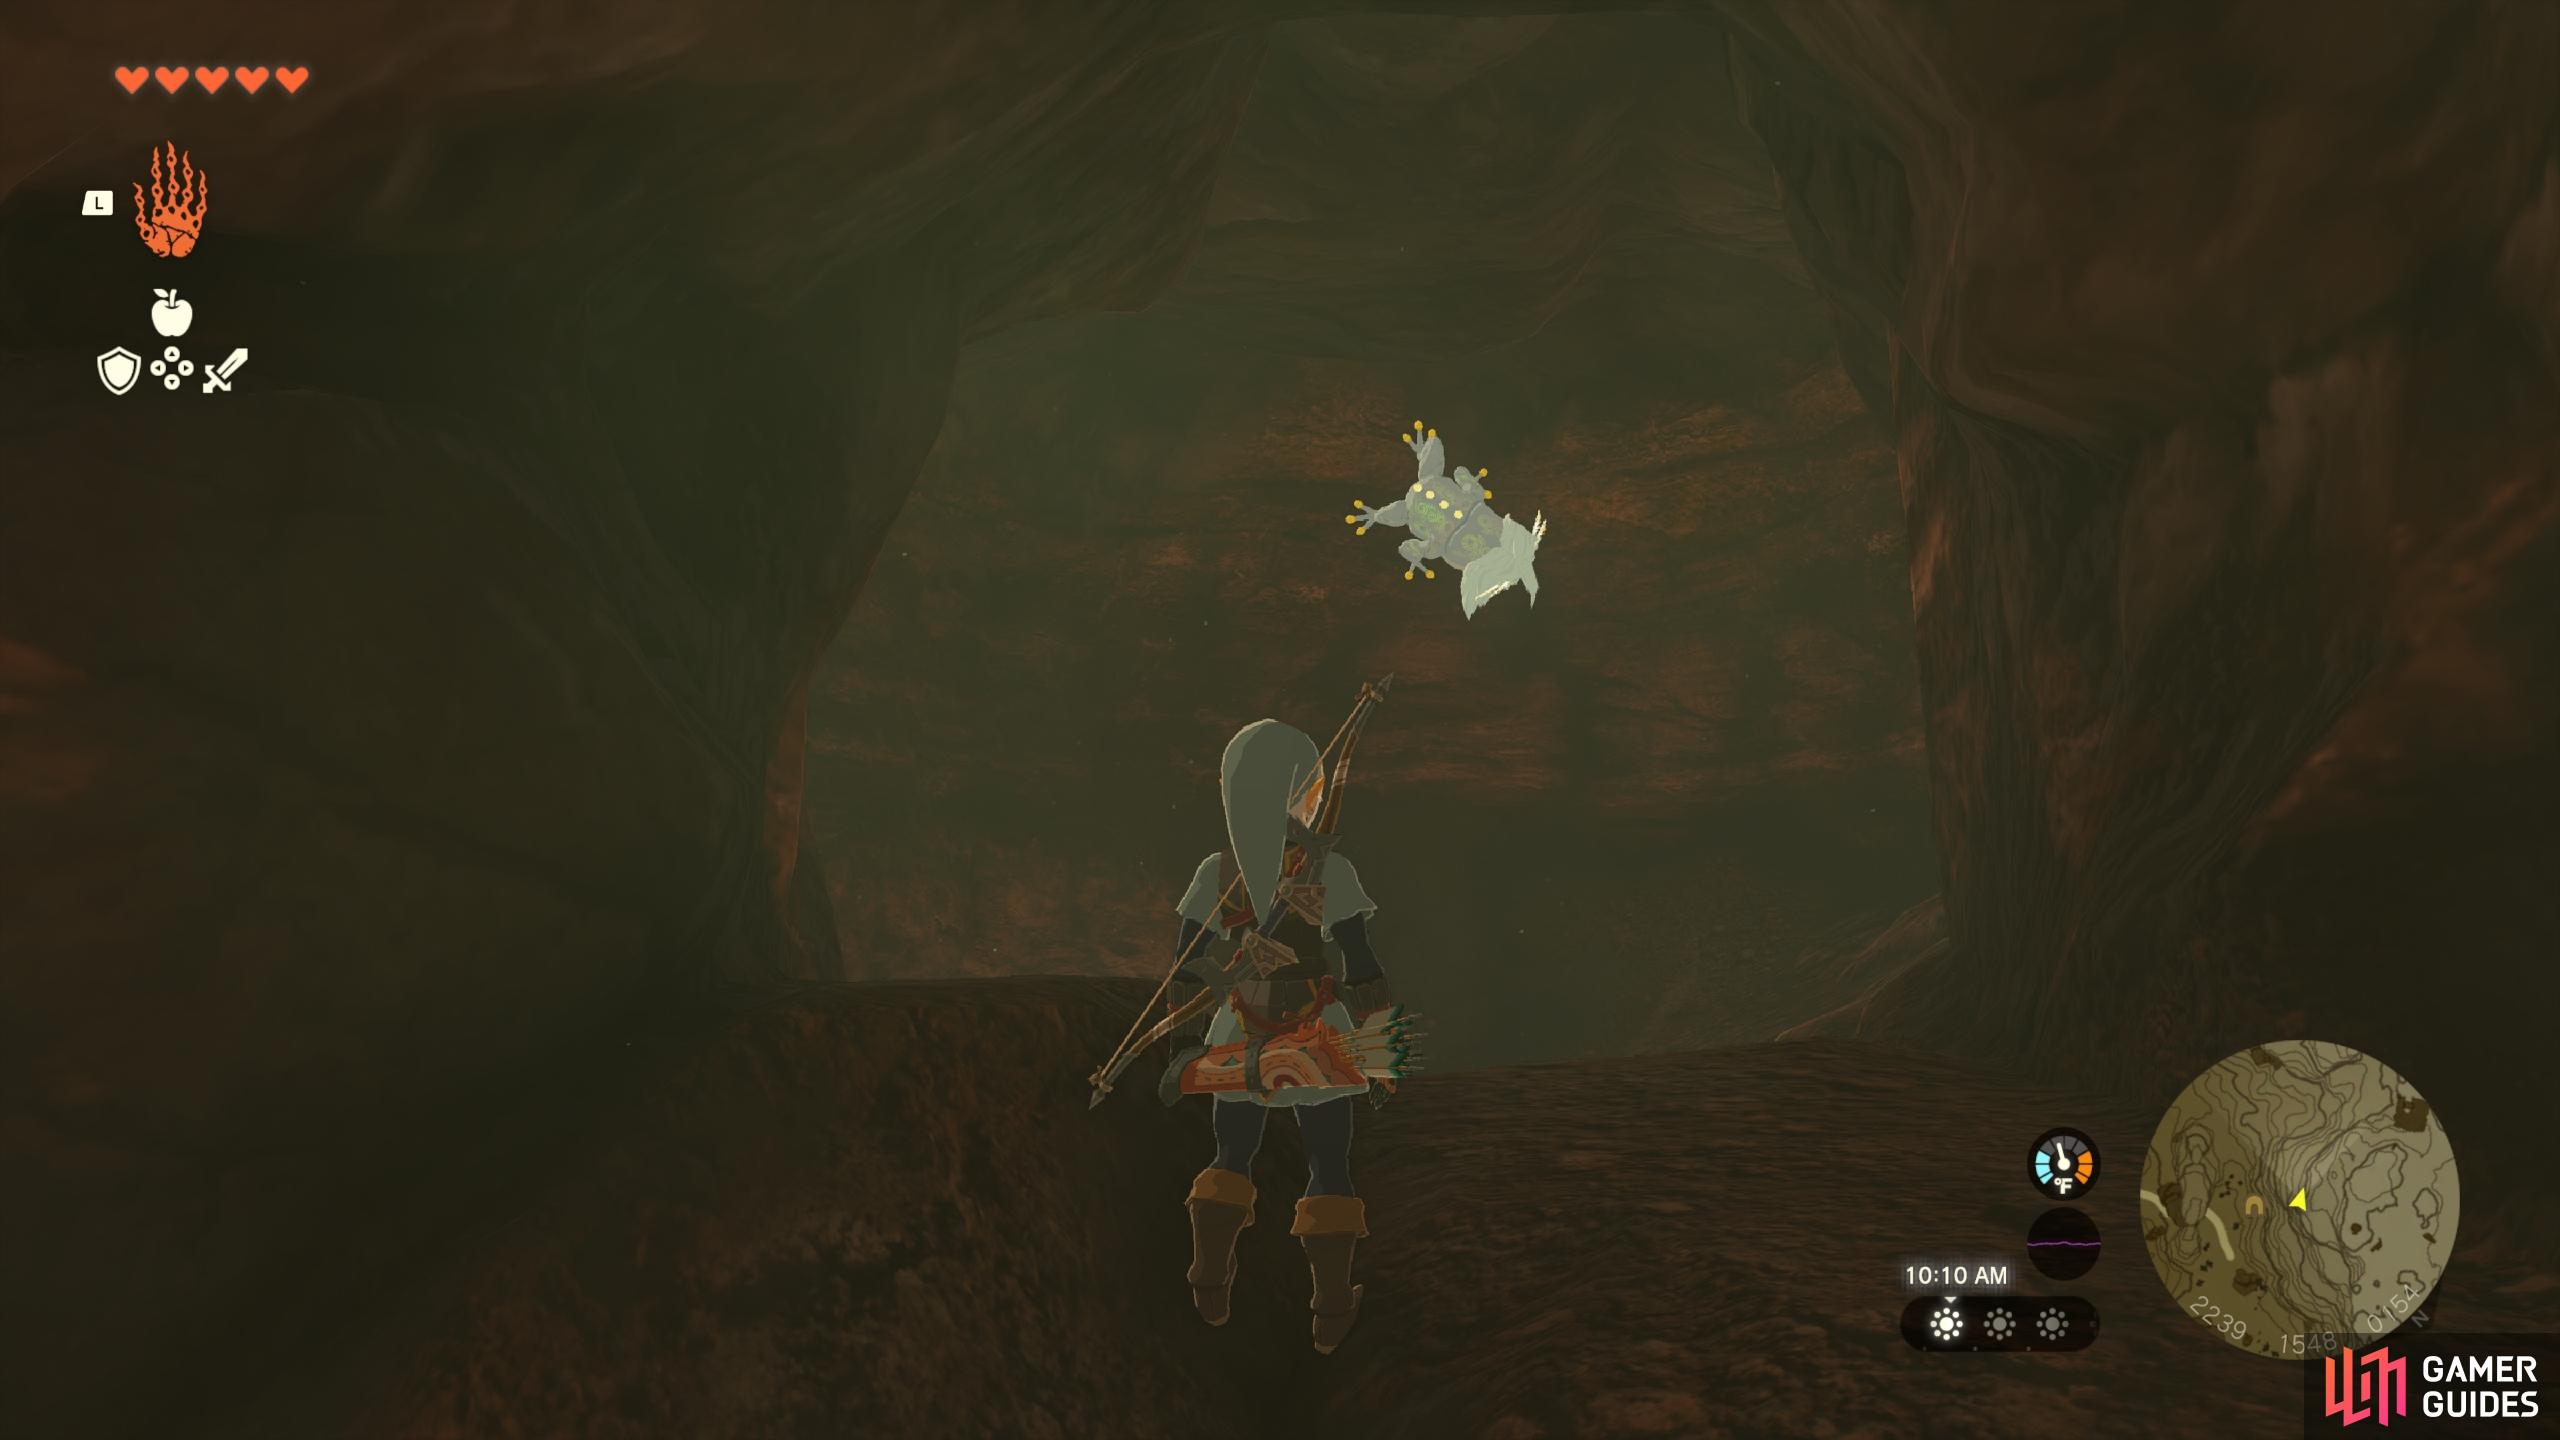
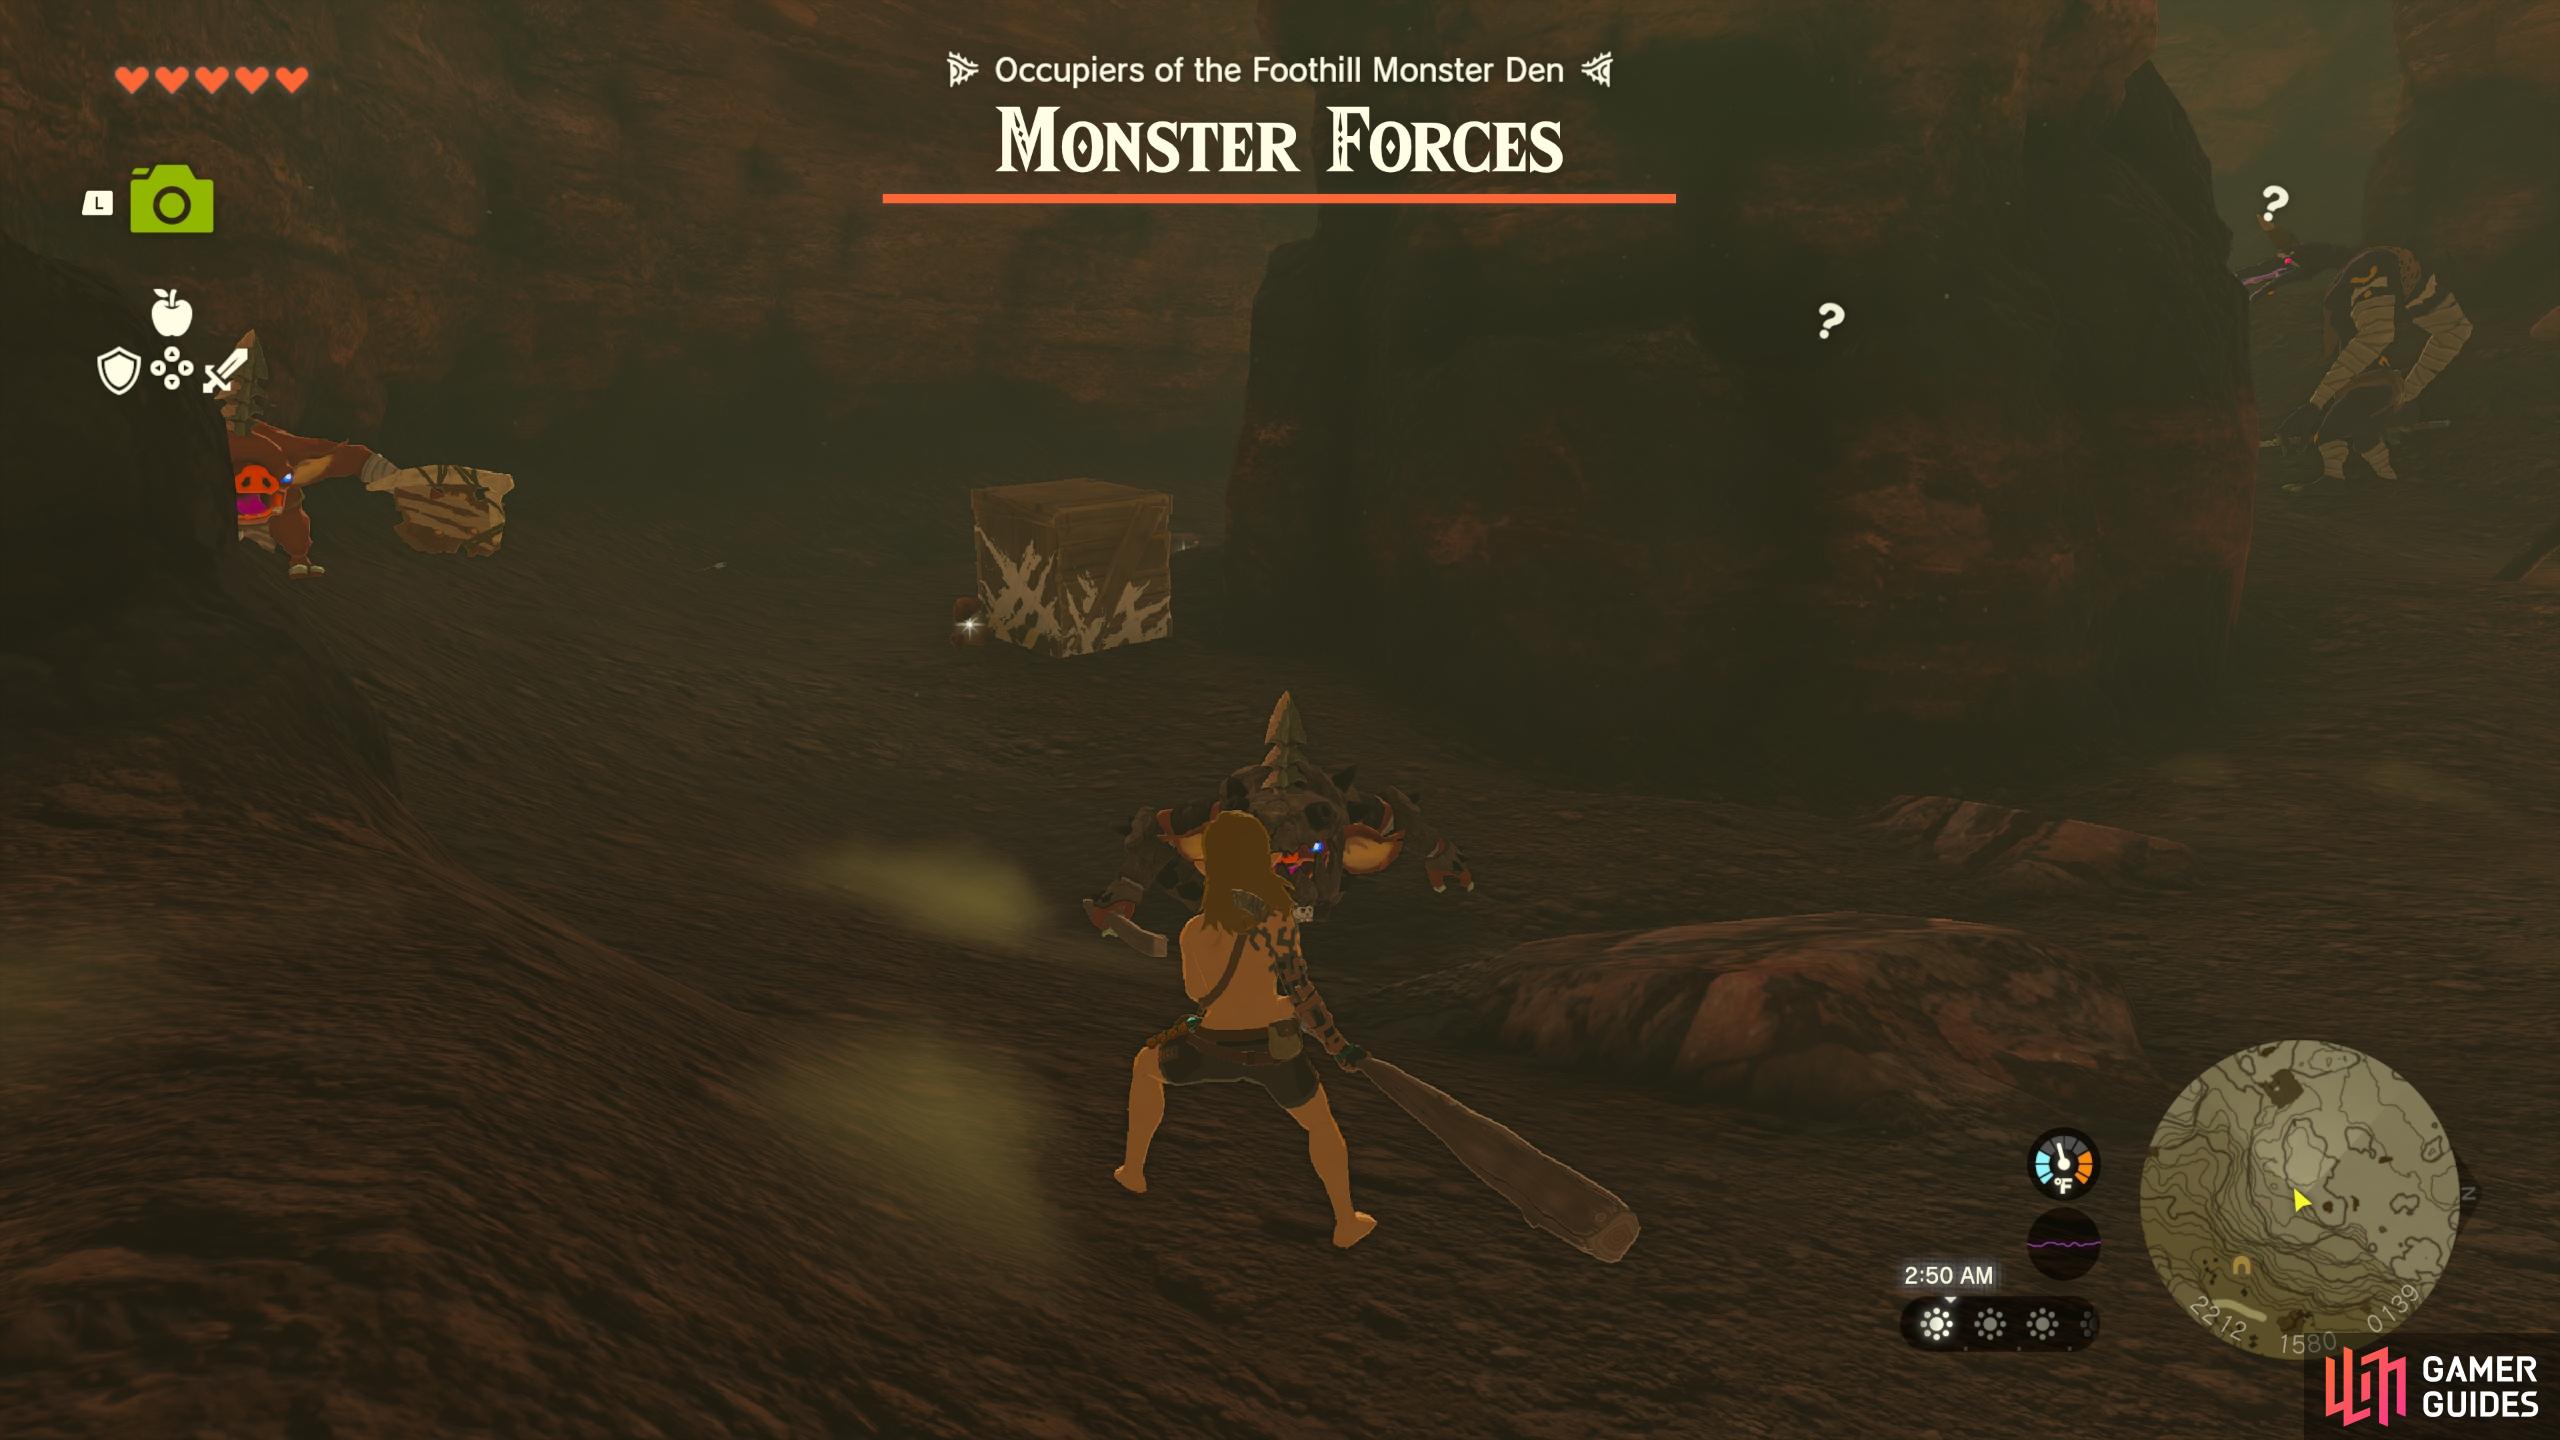
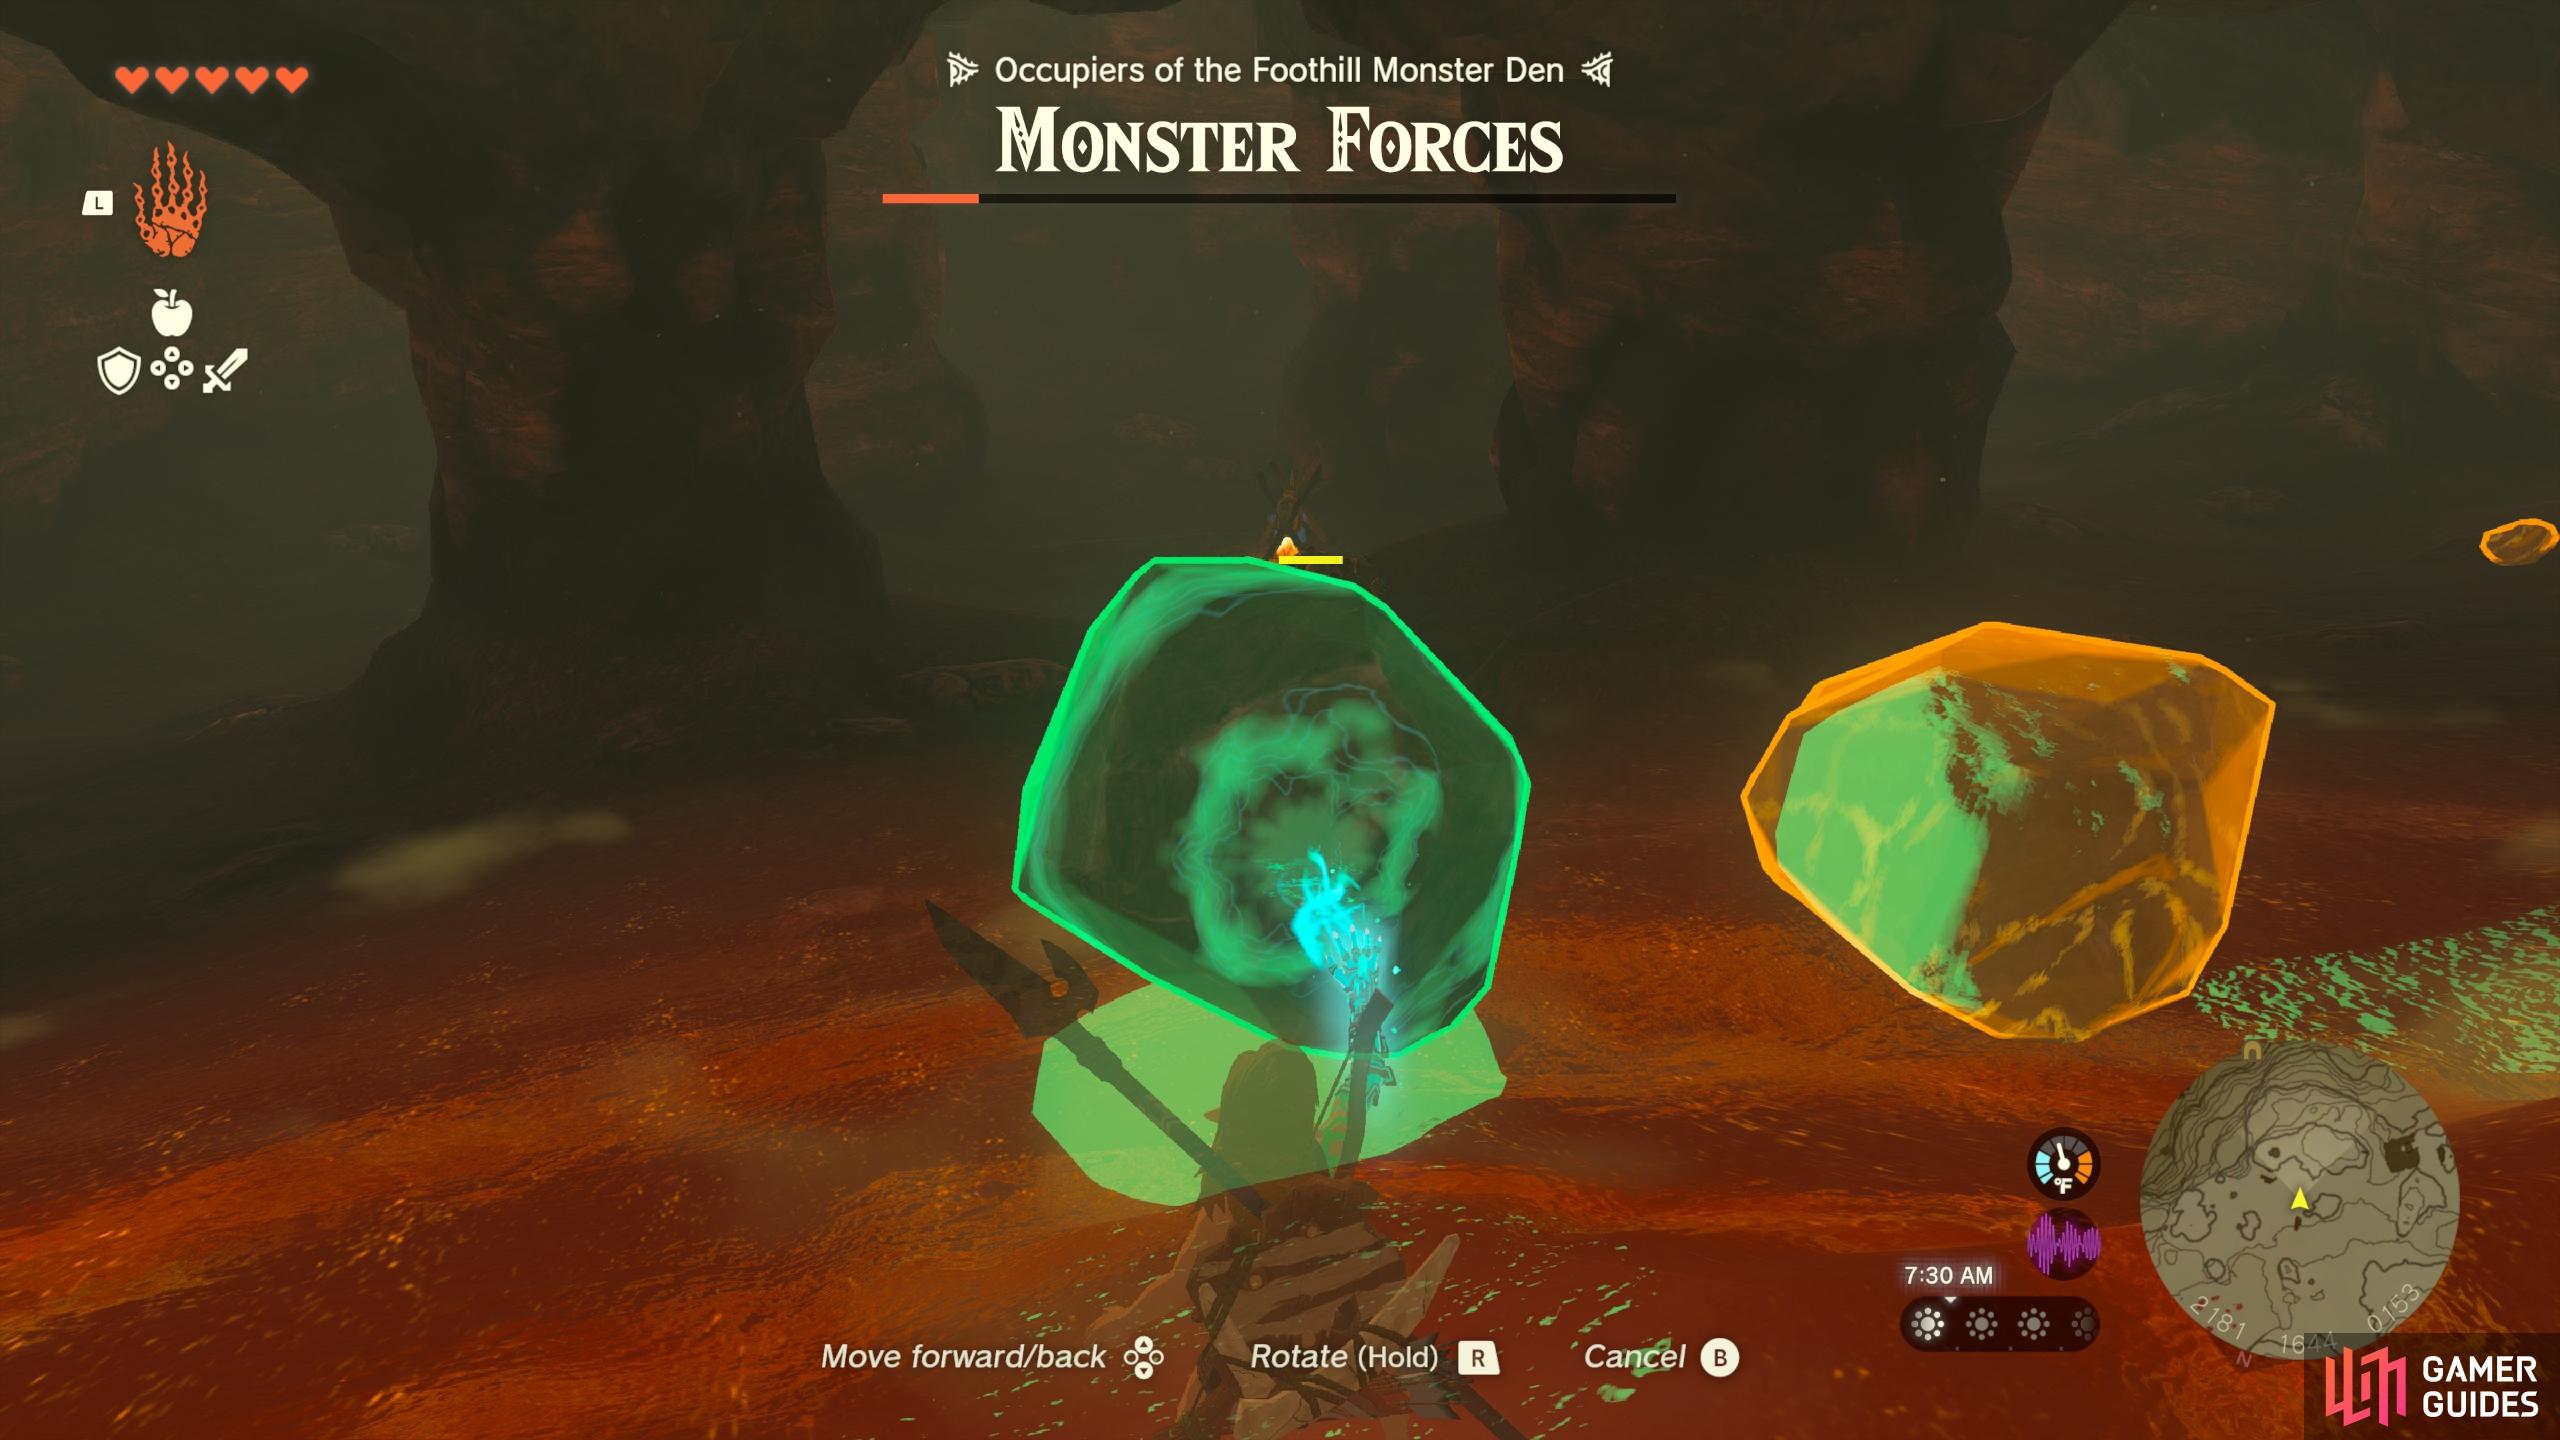
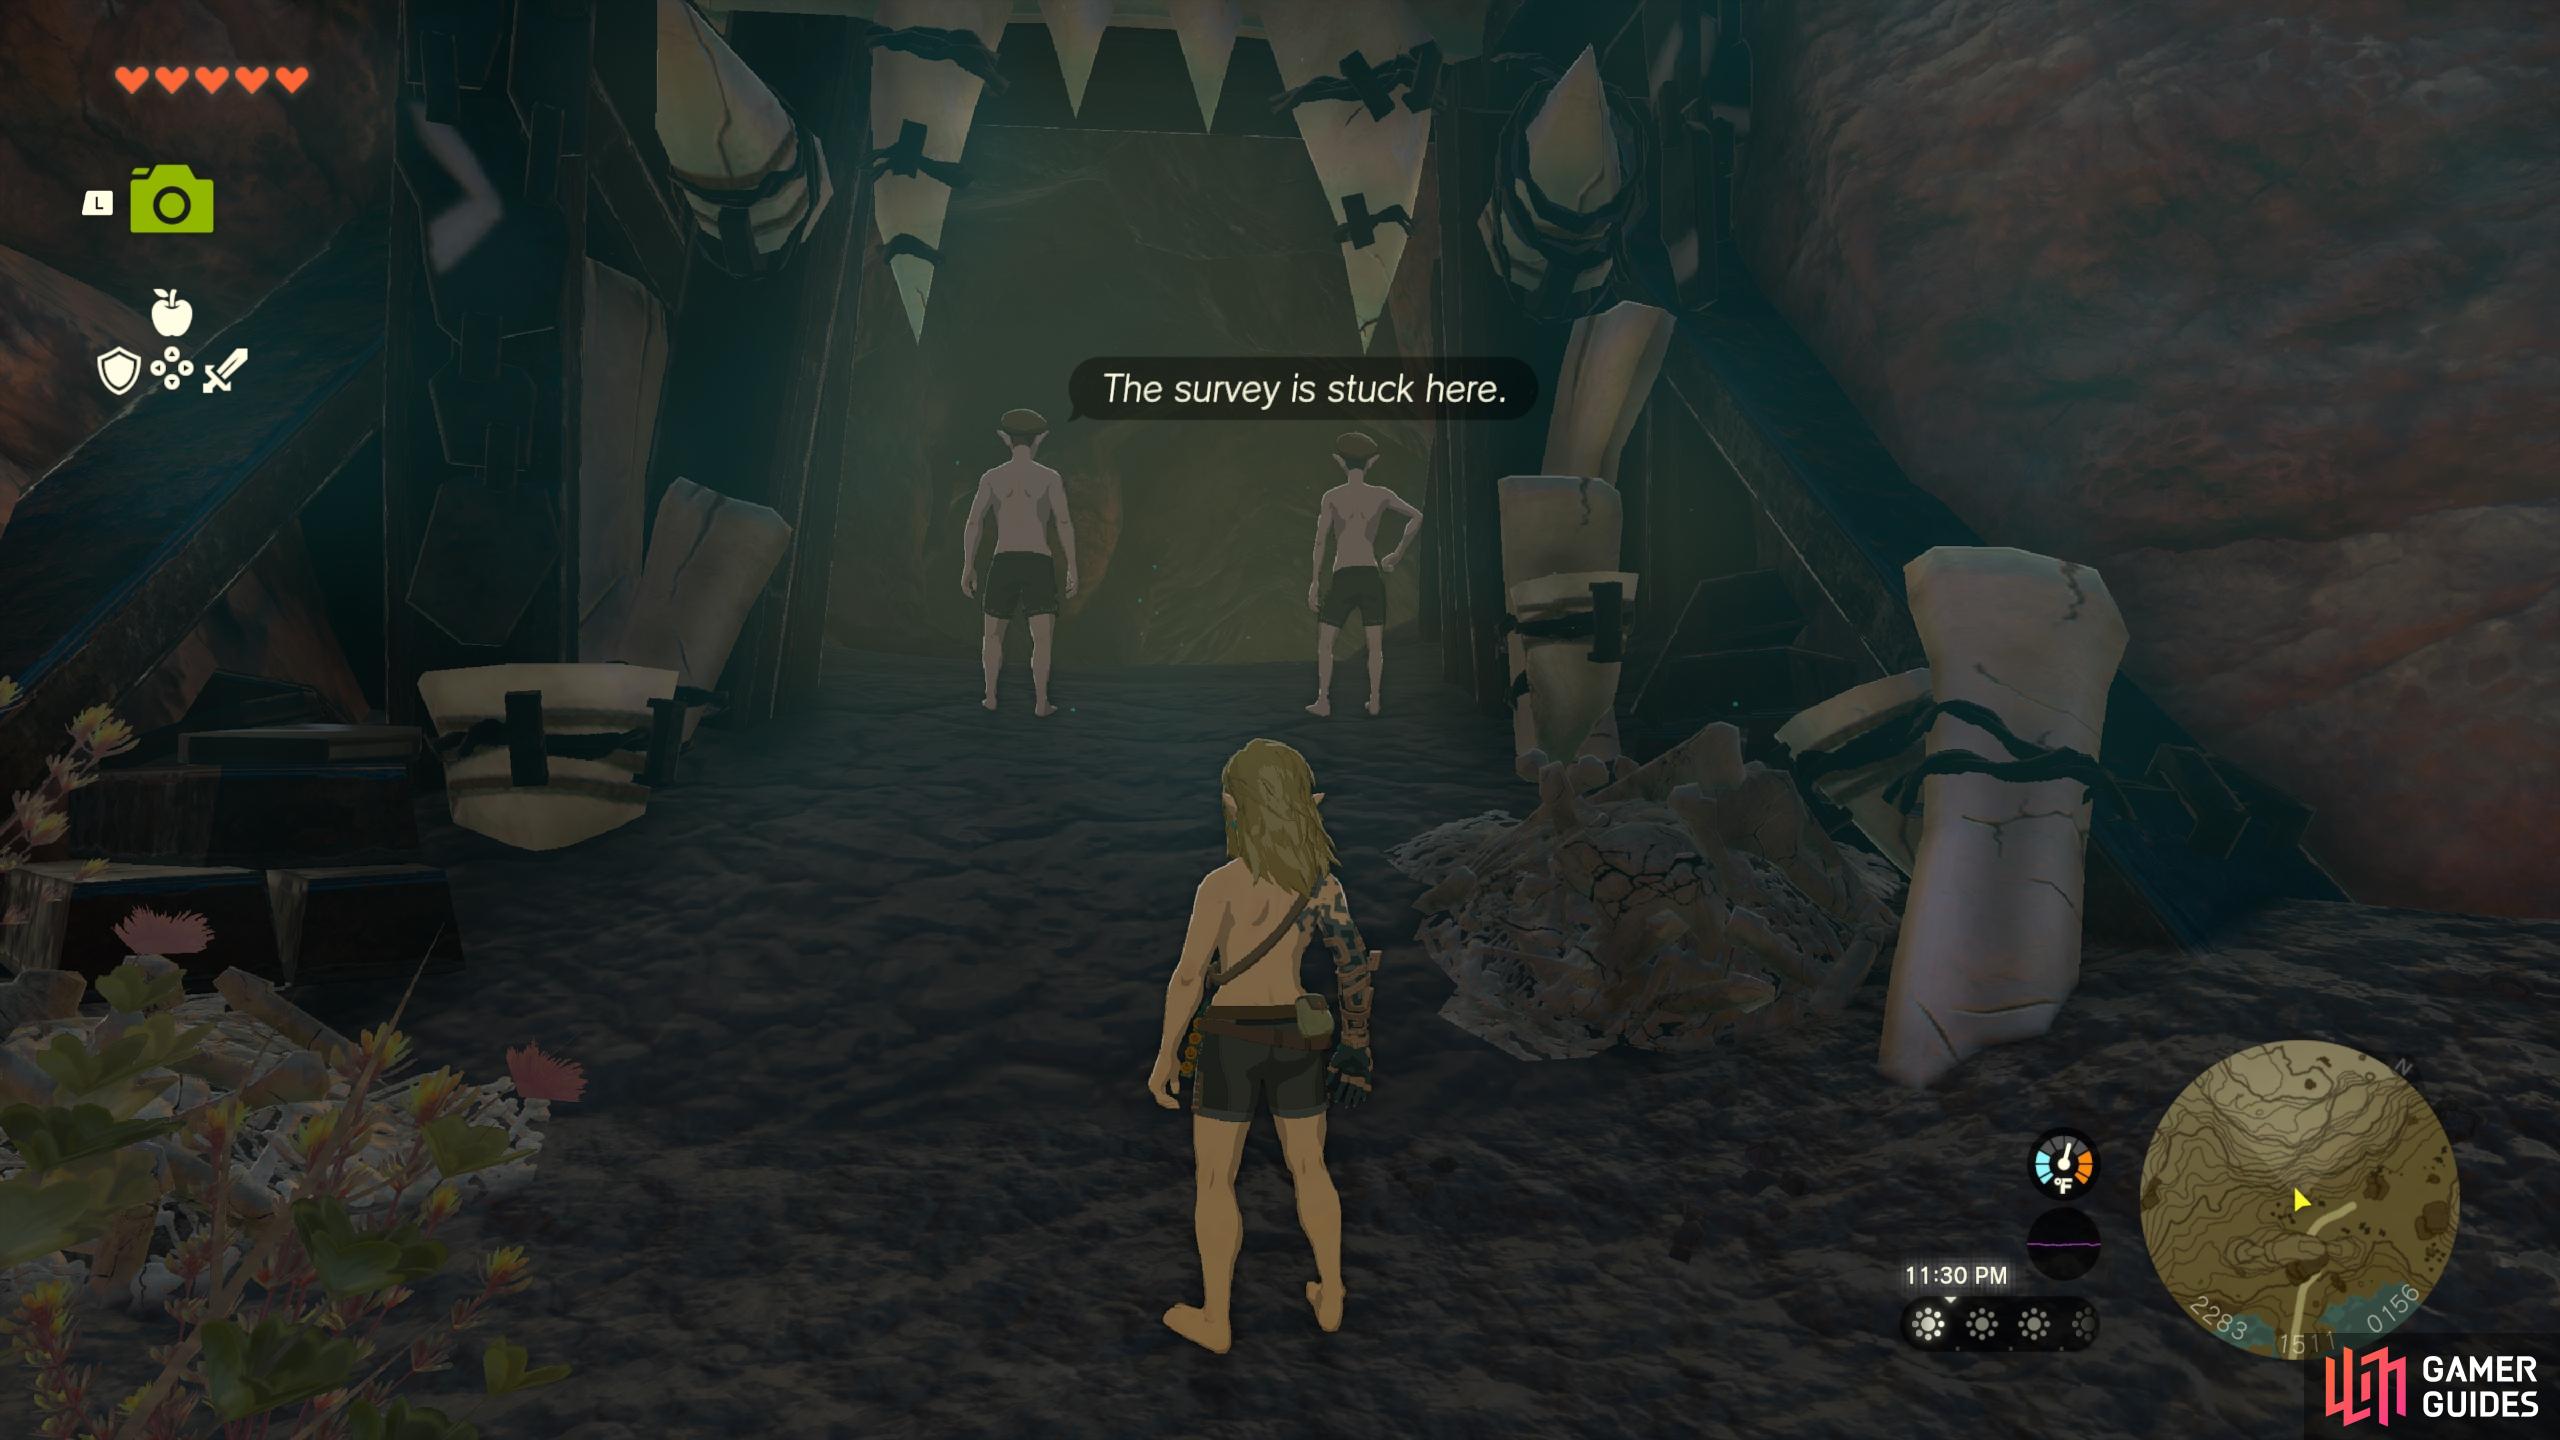
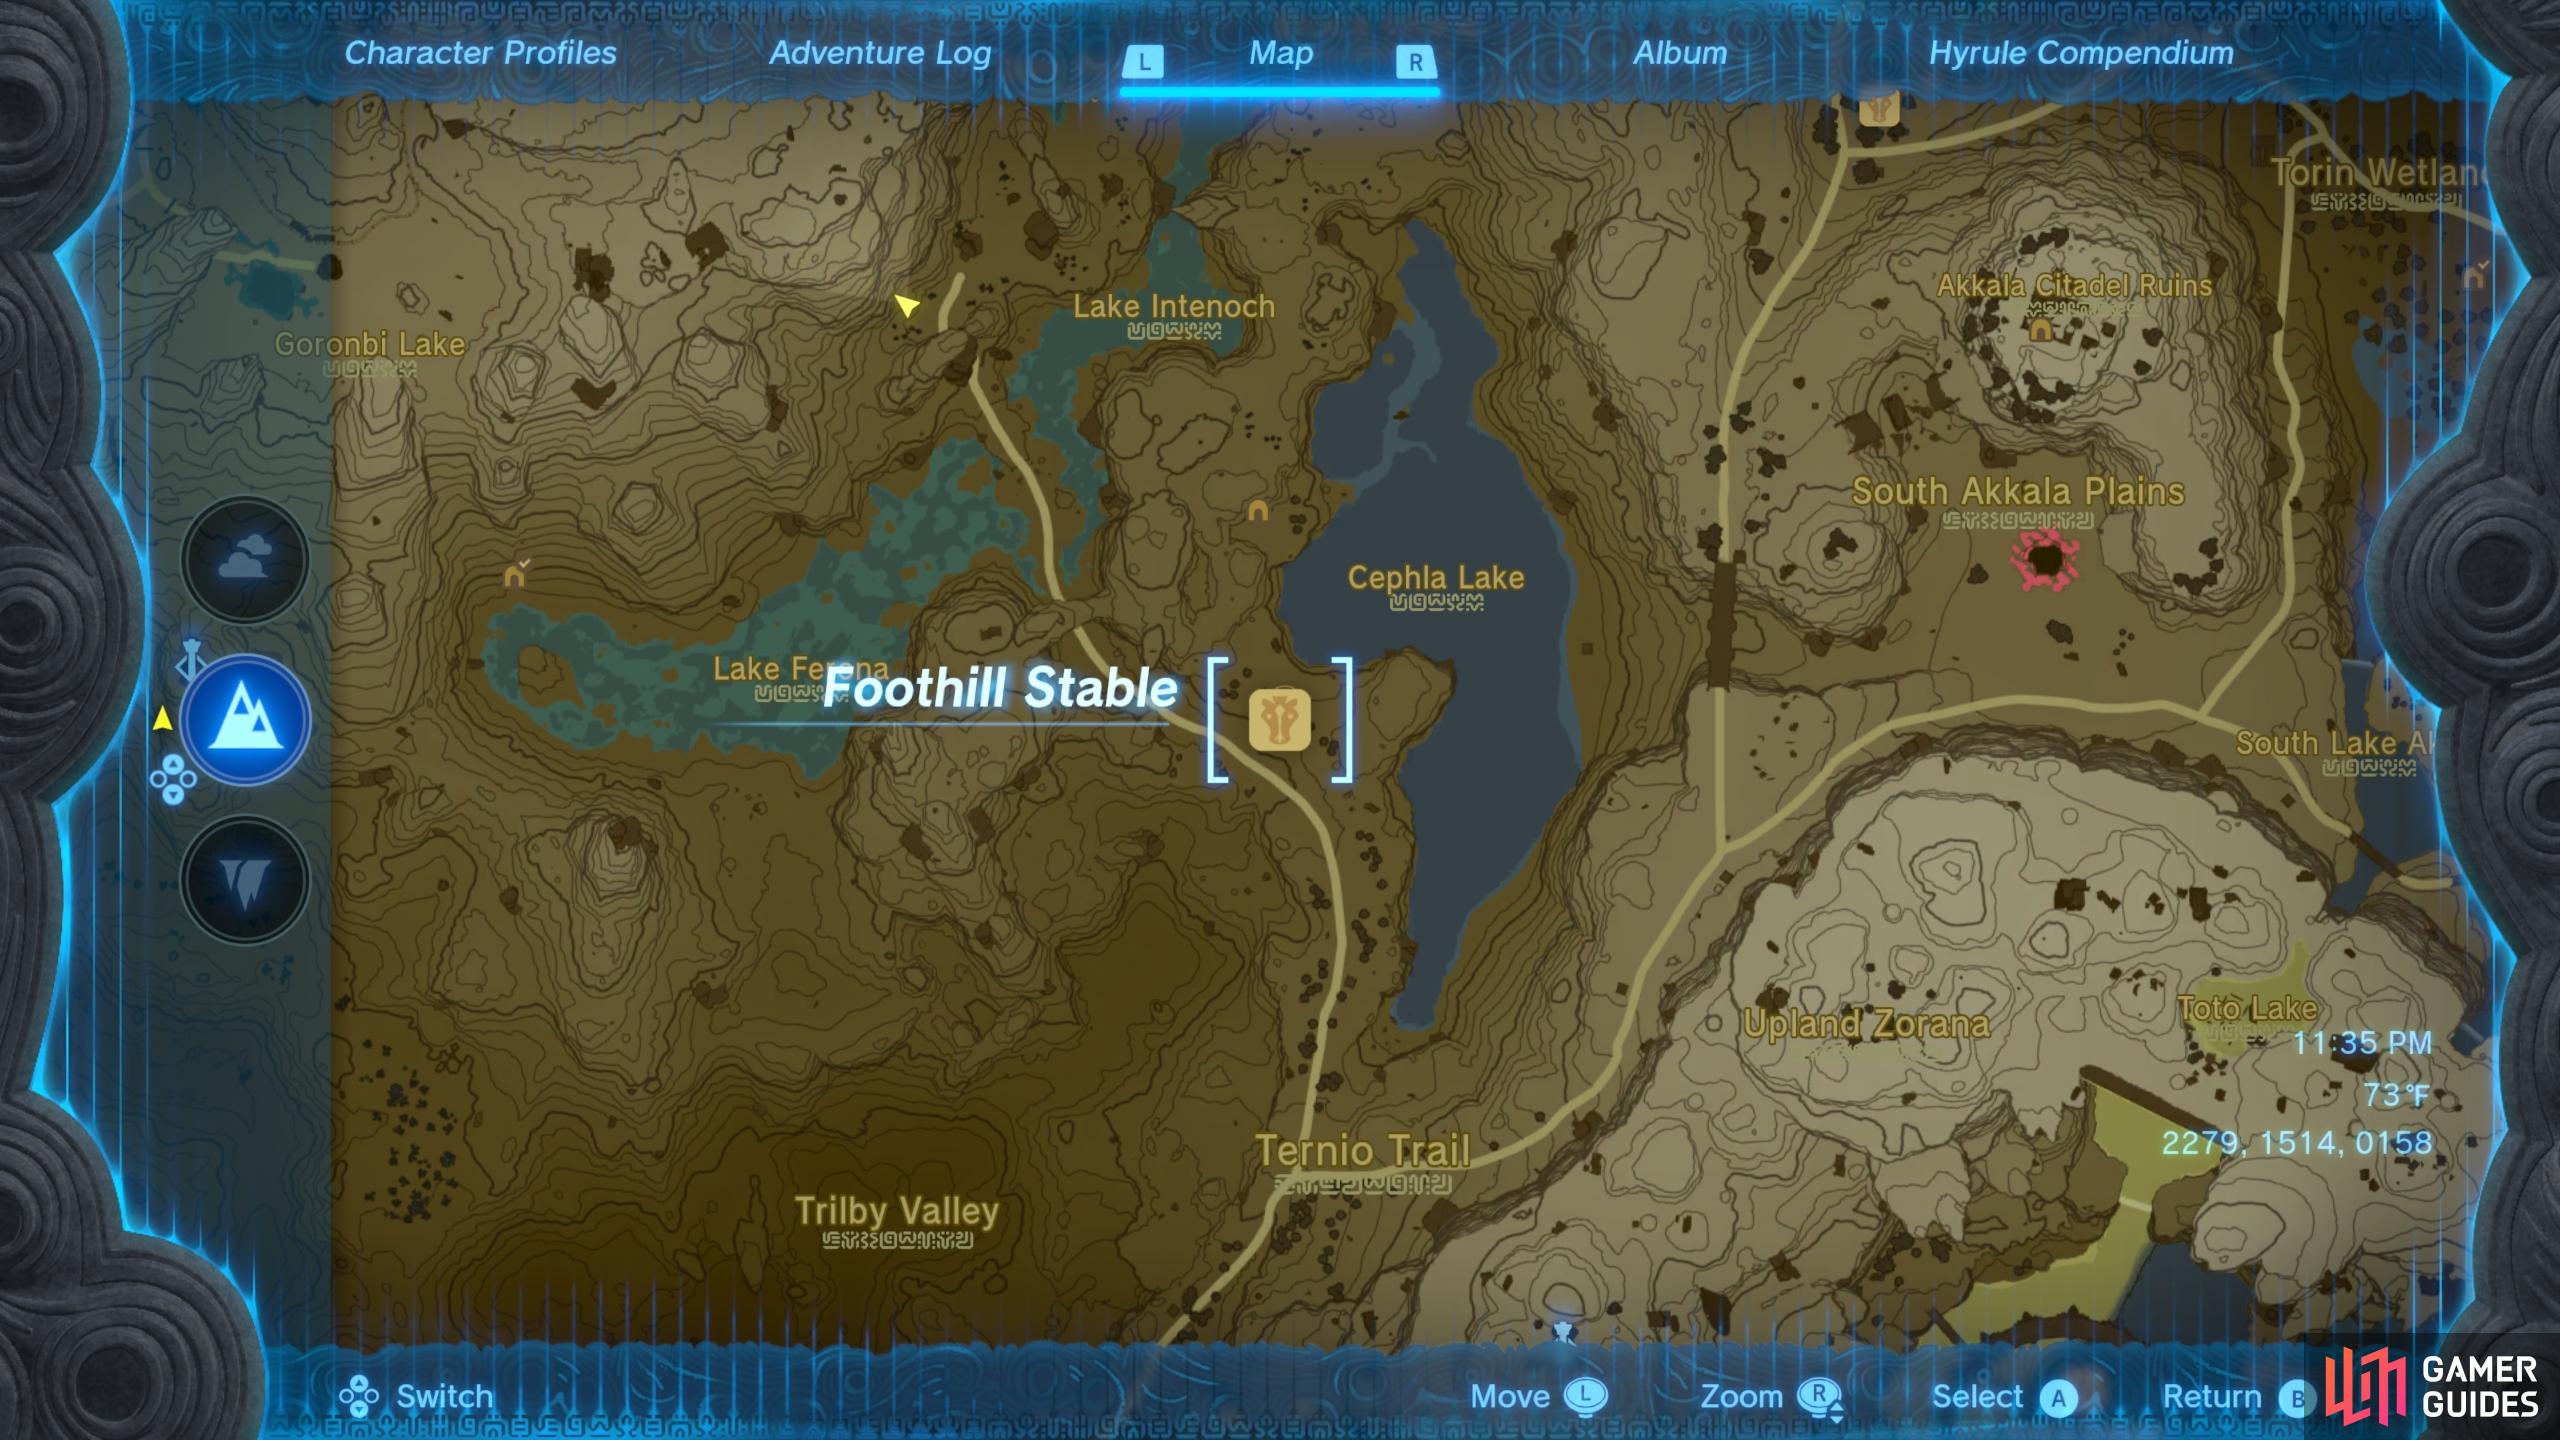
Foothill Monster Den |
At the entrance to the Once you have the quest, return to the cave and speak with the NPCs, at which point you’ll be stripped of your equipment so that you can enter the cave. Inside you’ll soon find a Although the Blue If you need healing while fighting the monster forces, you’ll find some Toasty To find the
Detailed Location(s)
At the end of the road just northwest from the Foothill Stable, west of Cephla Lake or south of Death Mountain in the Eldin region.
Map(s)
Creatures/Enemies in this Cave
|

|
|||||||||||||||||||||||||||||||||||||||||||||||||||||||||||||||||||||||||||||||||||||||||||||||

|
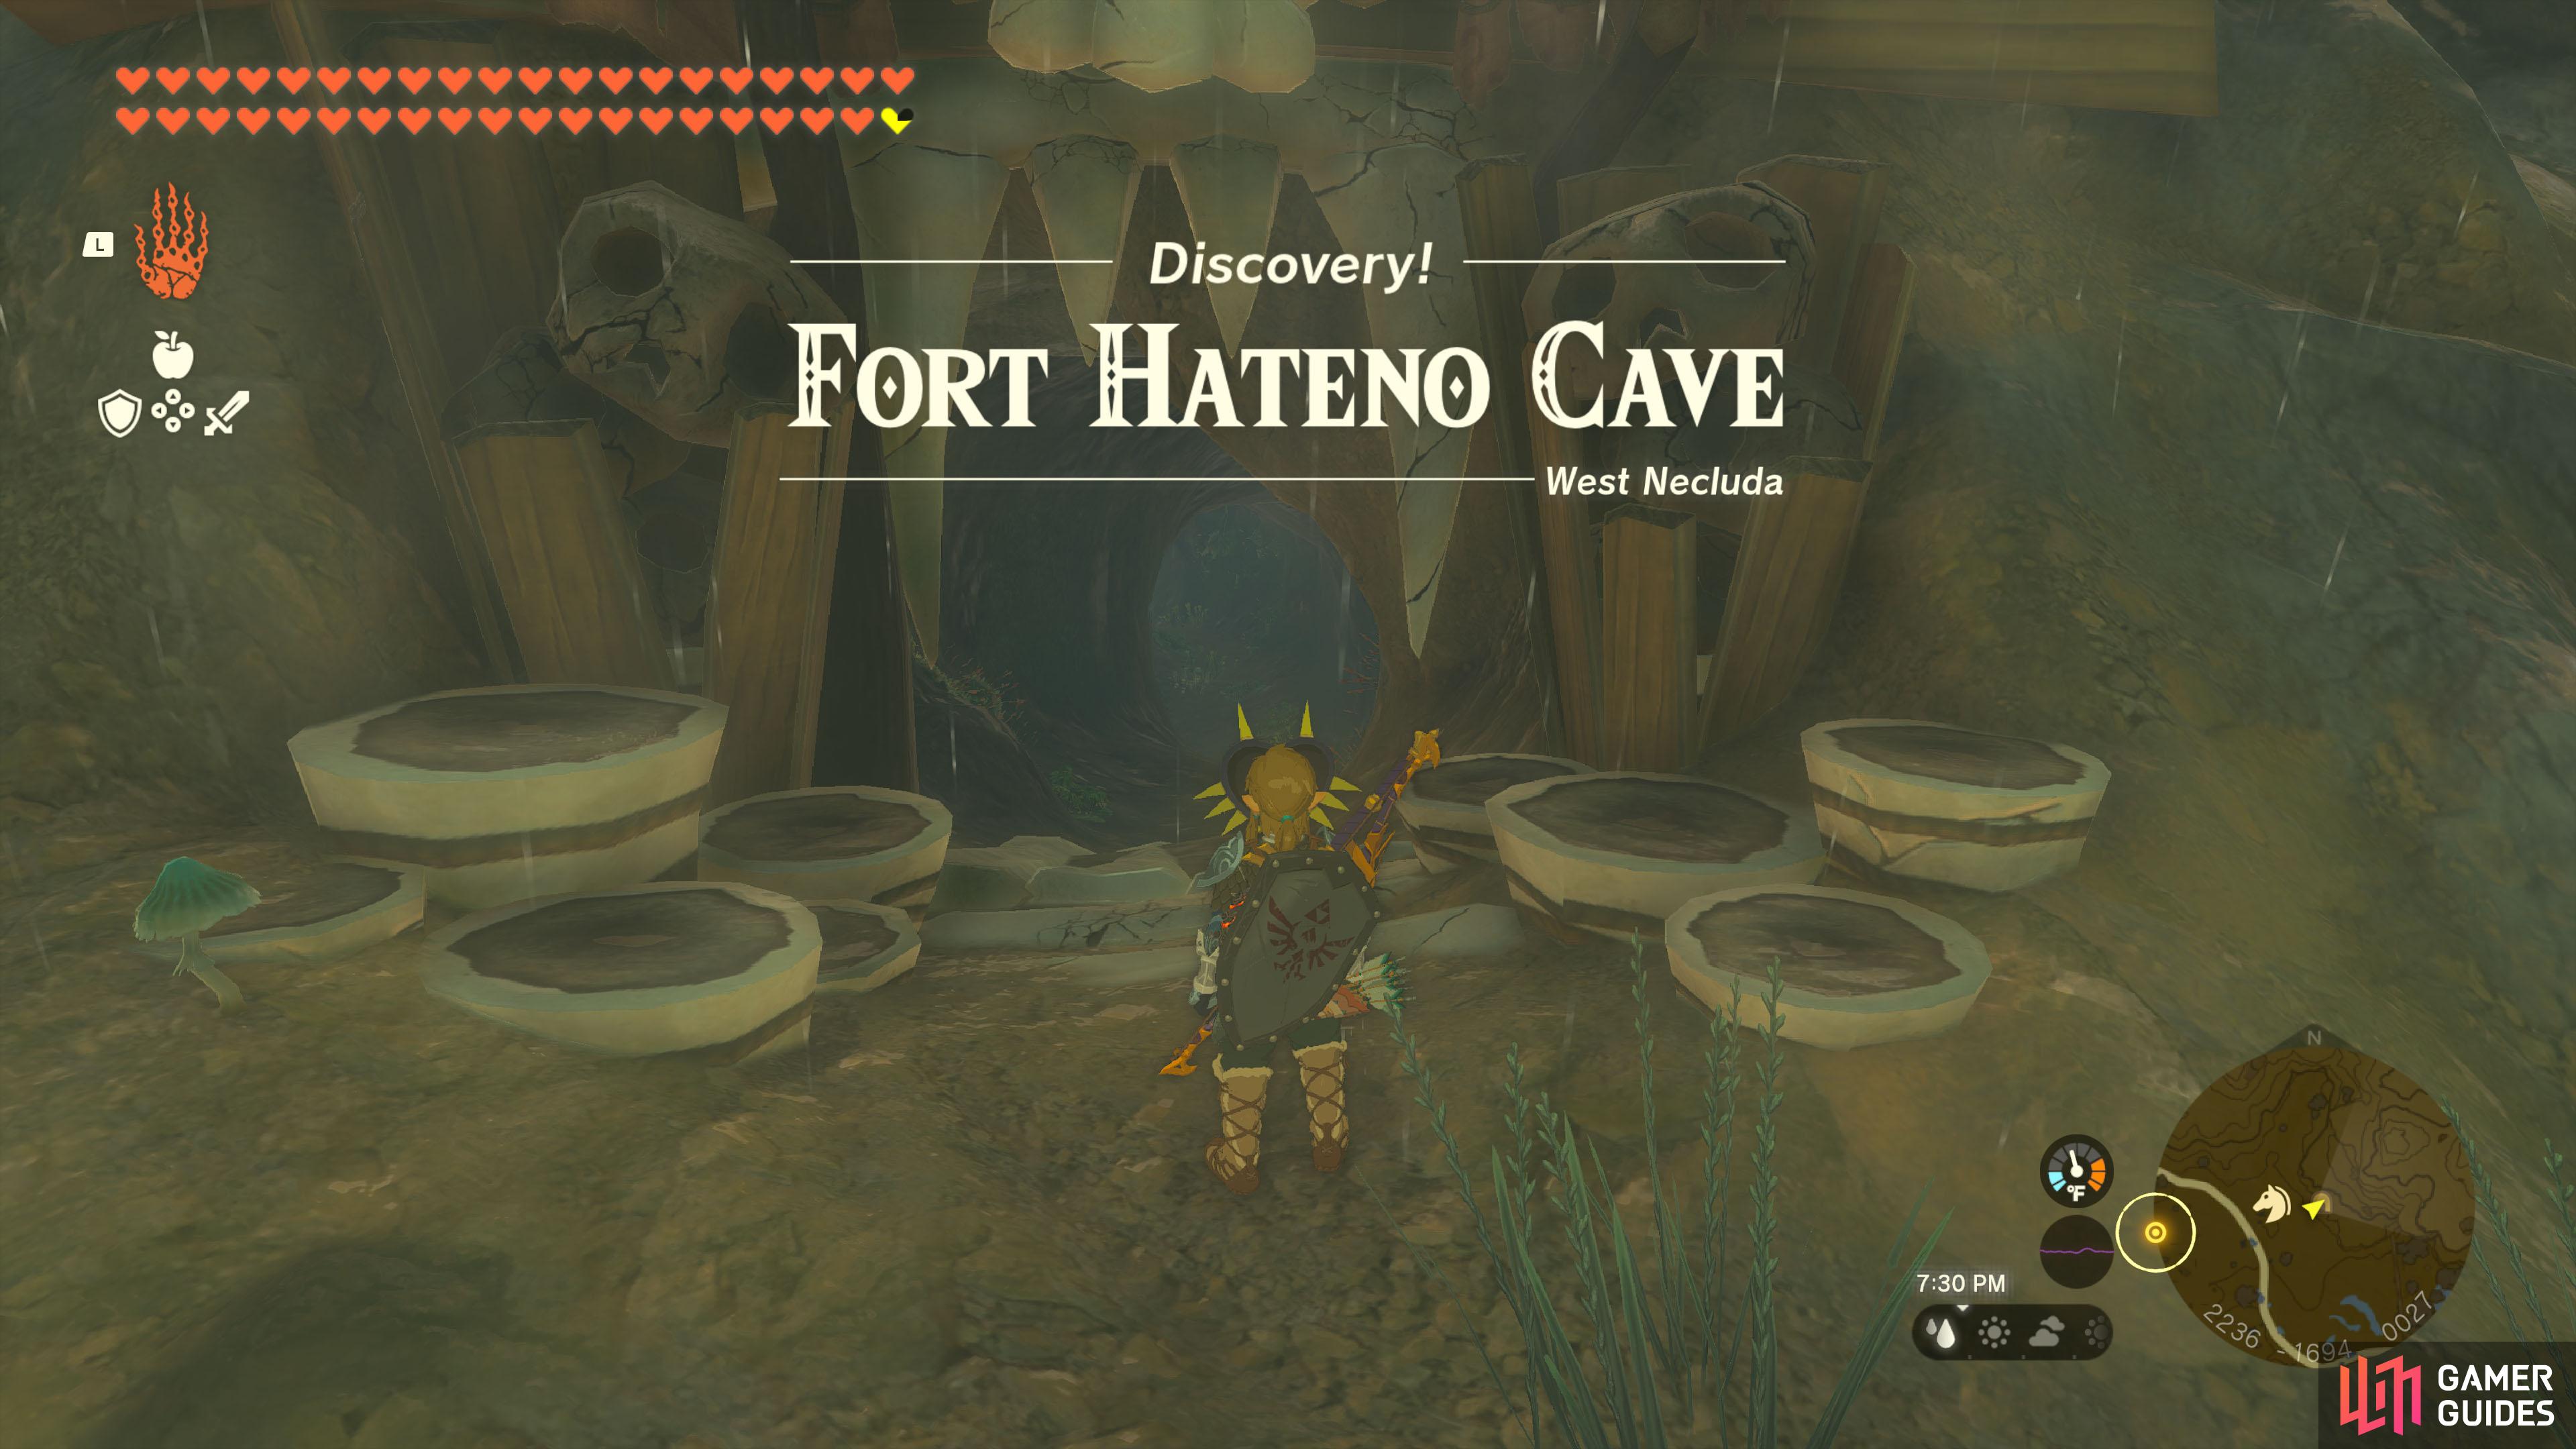
Fort Hateno Cave |
Inside, you’ll encounter a pack of We suggest teaching them a lesson with some Once the coast’s clear, you can rummage around for ore,
Map(s)
Creatures/Enemies in this Cave
|
|
|||||||||||||||||||||||||||||||||||||||||||||||||||||||||||||||||||||||||||||||||||||||||||||||

|
Gerudo Canyon Mine (Cave) |
In this cave, you’ll find
Map(s)
Creatures/Enemies in this Cave
|
||||||||||||||||||||||||||||||||||||||||||||||||||||||||||||||||||||||||||||||||||||||||||||||||

|
Gerudo Great Skeleton |
Located south-west from the Lightning Temple. Inside, there’s a giant leviathan fossil. You’ll be asked to come here during the
Map(s)
Creatures/Enemies in this Cave
|

|
|||||||||||||||||||||||||||||||||||||||||||||||||||||||||||||||||||||||||||||||||||||||||||||||

|
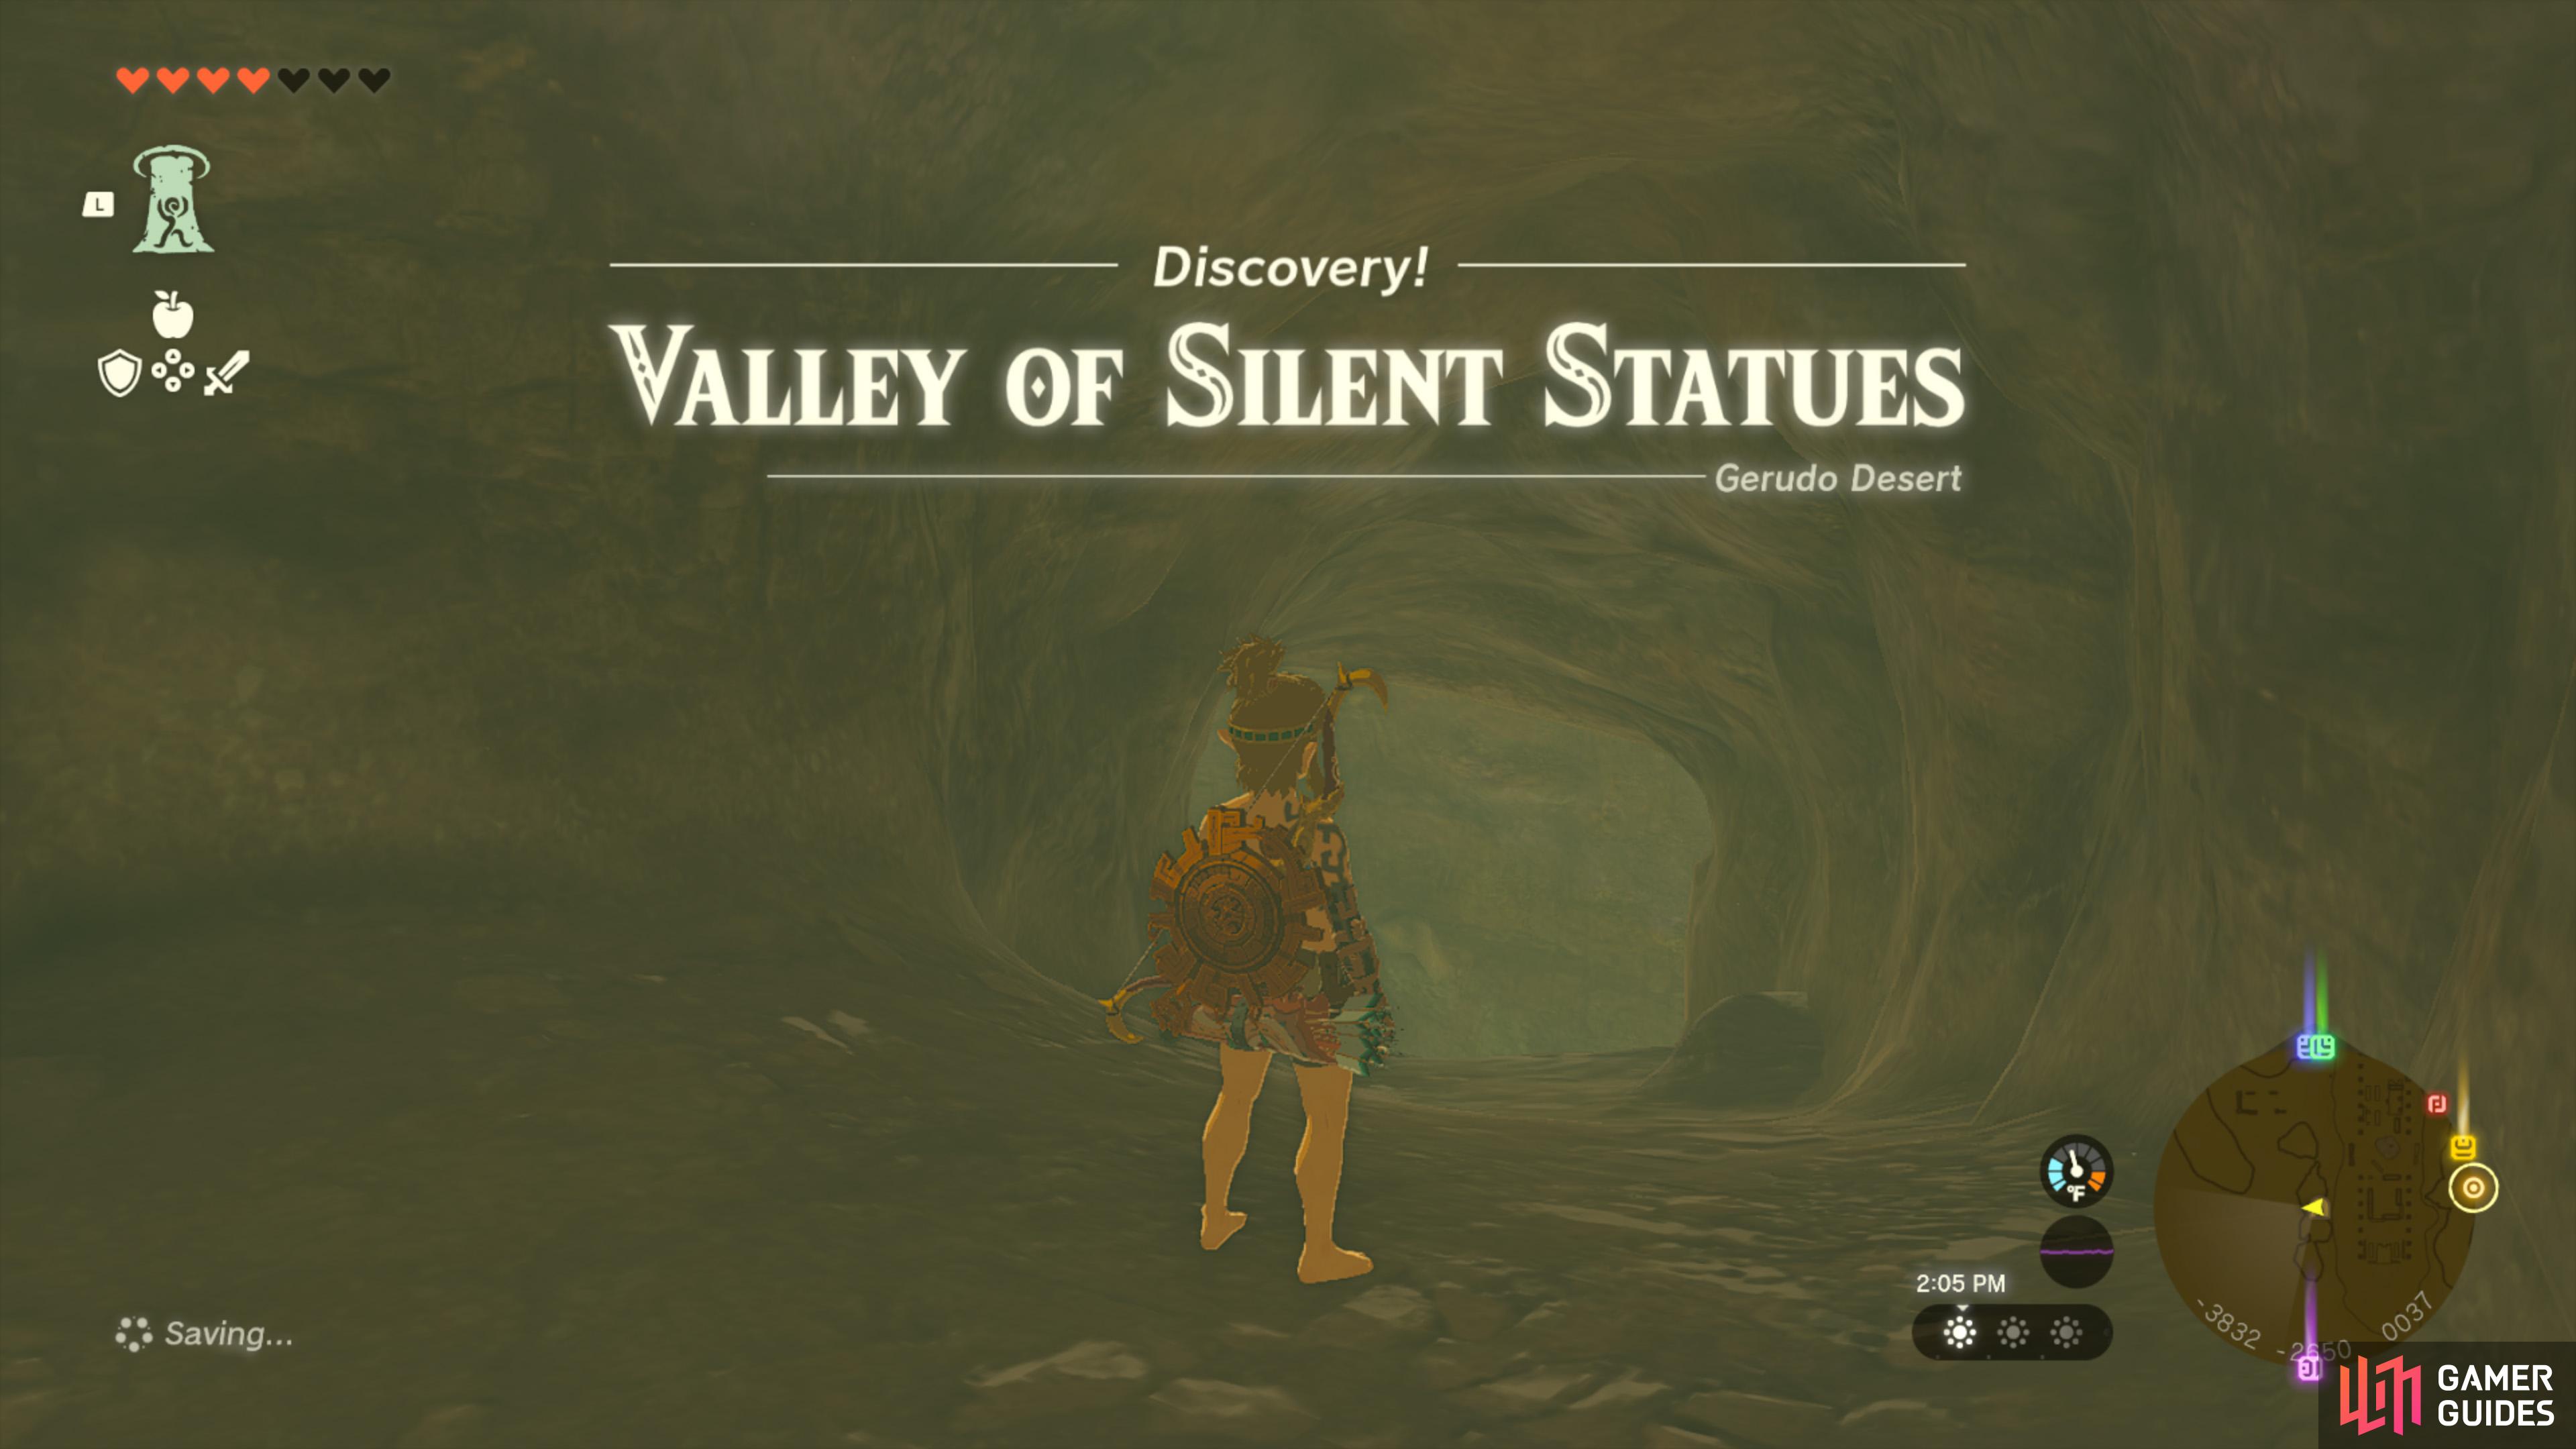
Gerudo Sanctuary |
Located at the North Gerudo Ruins. There are two entrances–at the north and south. Both are accessible via holes in the ground. The south entrance is smaller and easier to miss. This path is short and leads to a The north entrance is the main entrance, but the path is blocked until you access the 8th At the end of this path is The Statue of the Eighth Heroine Room.
Map(s)
Creatures/Enemies in this Cave
|
||||||||||||||||||||||||||||||||||||||||||||||||||||||||||||||||||||||||||||||||||||||||||||||||

|
Gisa Crater Cave |
The
Map(s)
Creatures/Enemies in this Cave
|
||||||||||||||||||||||||||||||||||||||||||||||||||||||||||||||||||||||||||||||||||||||||||||||||

|
Gorko Tunnel (Cave) |
The Gorko Tunnel cave has some Once inside you’ll find ore deposits, A chamber to the north leads to the NPC named Kima, who you’ll meet after stepping into the The chamber east leads to a chest containing an
Map(s)
Creatures/Enemies in this Cave
|
||||||||||||||||||||||||||||||||||||||||||||||||||||||||||||||||||||||||||||||||||||||||||||||||

|
Goronbi River Cave |
You’ll need heat resistance to survive in the You can interact with the stone at the end of the cave to begin the side quest
Map(s)
Creatures/Enemies in this Cave
|
||||||||||||||||||||||||||||||||||||||||||||||||||||||||||||||||||||||||||||||||||||||||||||||||

|
Great Plateau Foothill Cave |
This cave sits below the Great Plateau, and is an excellent way for Link to reach the Plateau by using To get in the cave, you need to smash through the rubble at the entrance, or destroy it using any material or device that can cause an explosion. Inside you’ll find Black Horroblin,
Map(s)
Creatures/Enemies in this Cave
|
||||||||||||||||||||||||||||||||||||||||||||||||||||||||||||||||||||||||||||||||||||||||||||||||

|
Hebra Great Skeleton |
In the
Map(s)
Creatures/Enemies in this Cave
|
||||||||||||||||||||||||||||||||||||||||||||||||||||||||||||||||||||||||||||||||||||||||||||||||

|
Hebra Headspring Cave |
In the
Map(s)
Creatures/Enemies in this Cave
|
||||||||||||||||||||||||||||||||||||||||||||||||||||||||||||||||||||||||||||||||||||||||||||||||

|
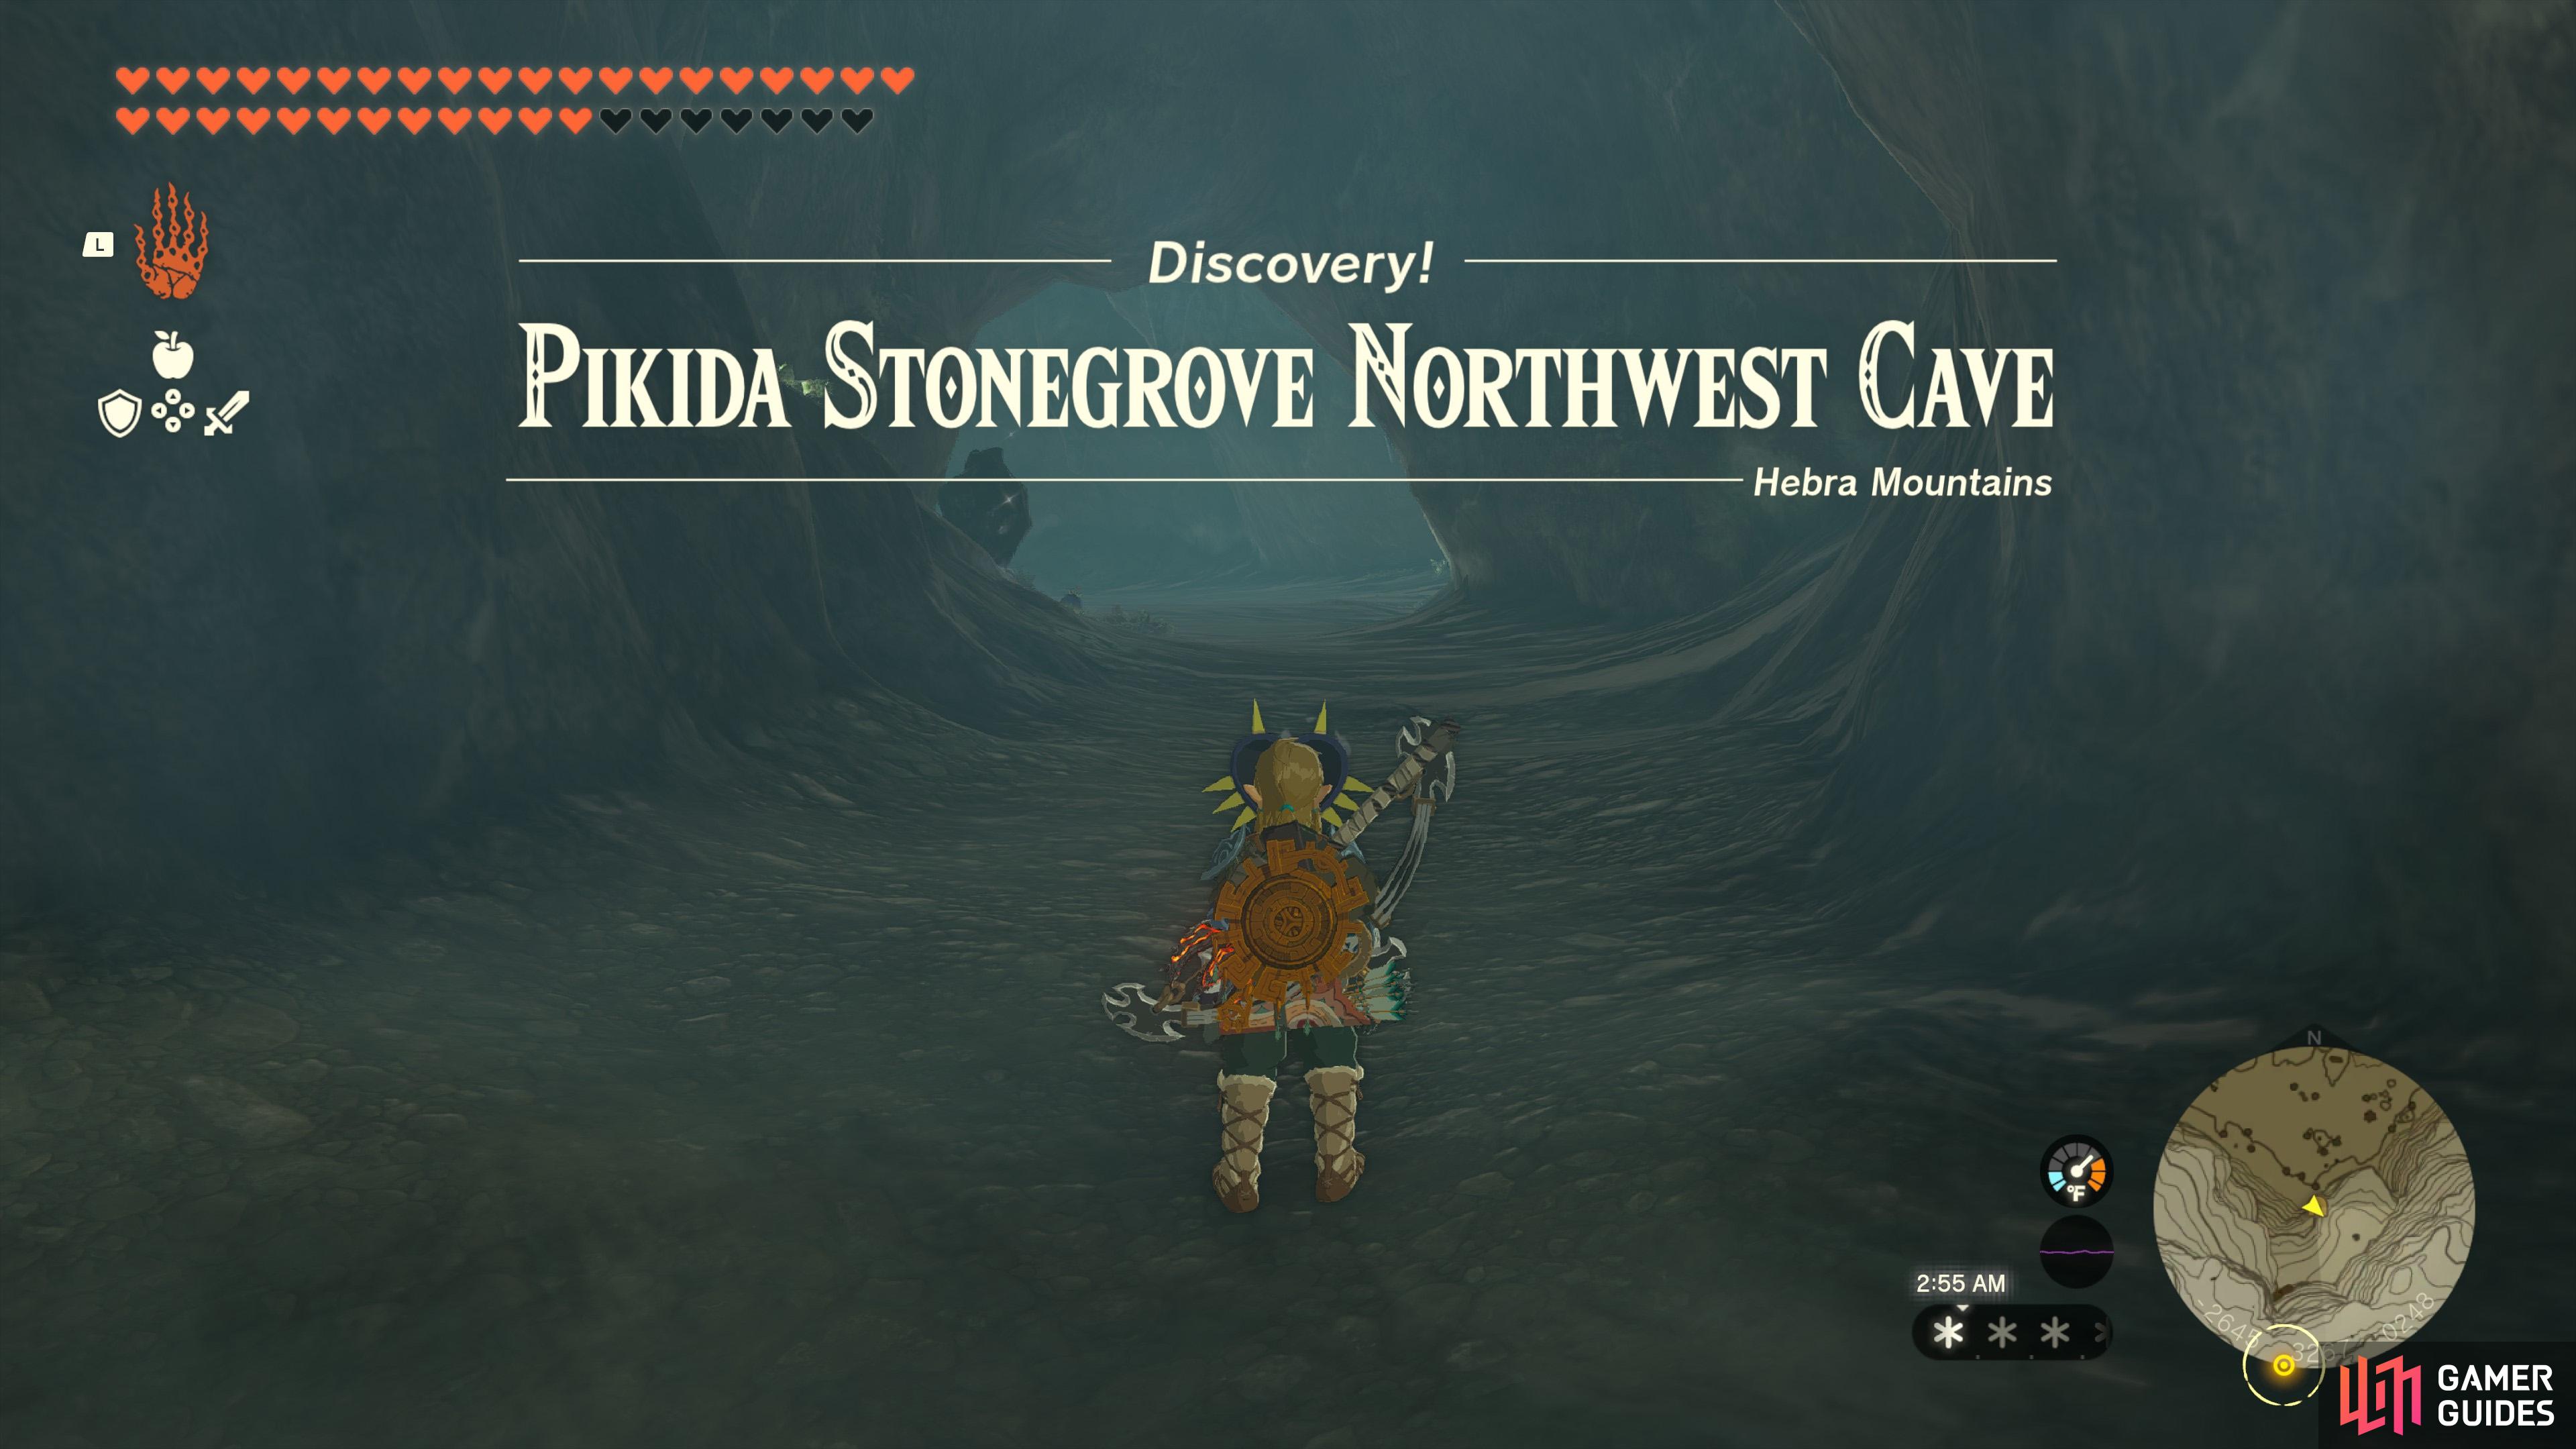
Hebra Mountains Northwest Cave |
In the
Map(s)
Creatures/Enemies in this Cave
|
||||||||||||||||||||||||||||||||||||||||||||||||||||||||||||||||||||||||||||||||||||||||||||||||

|
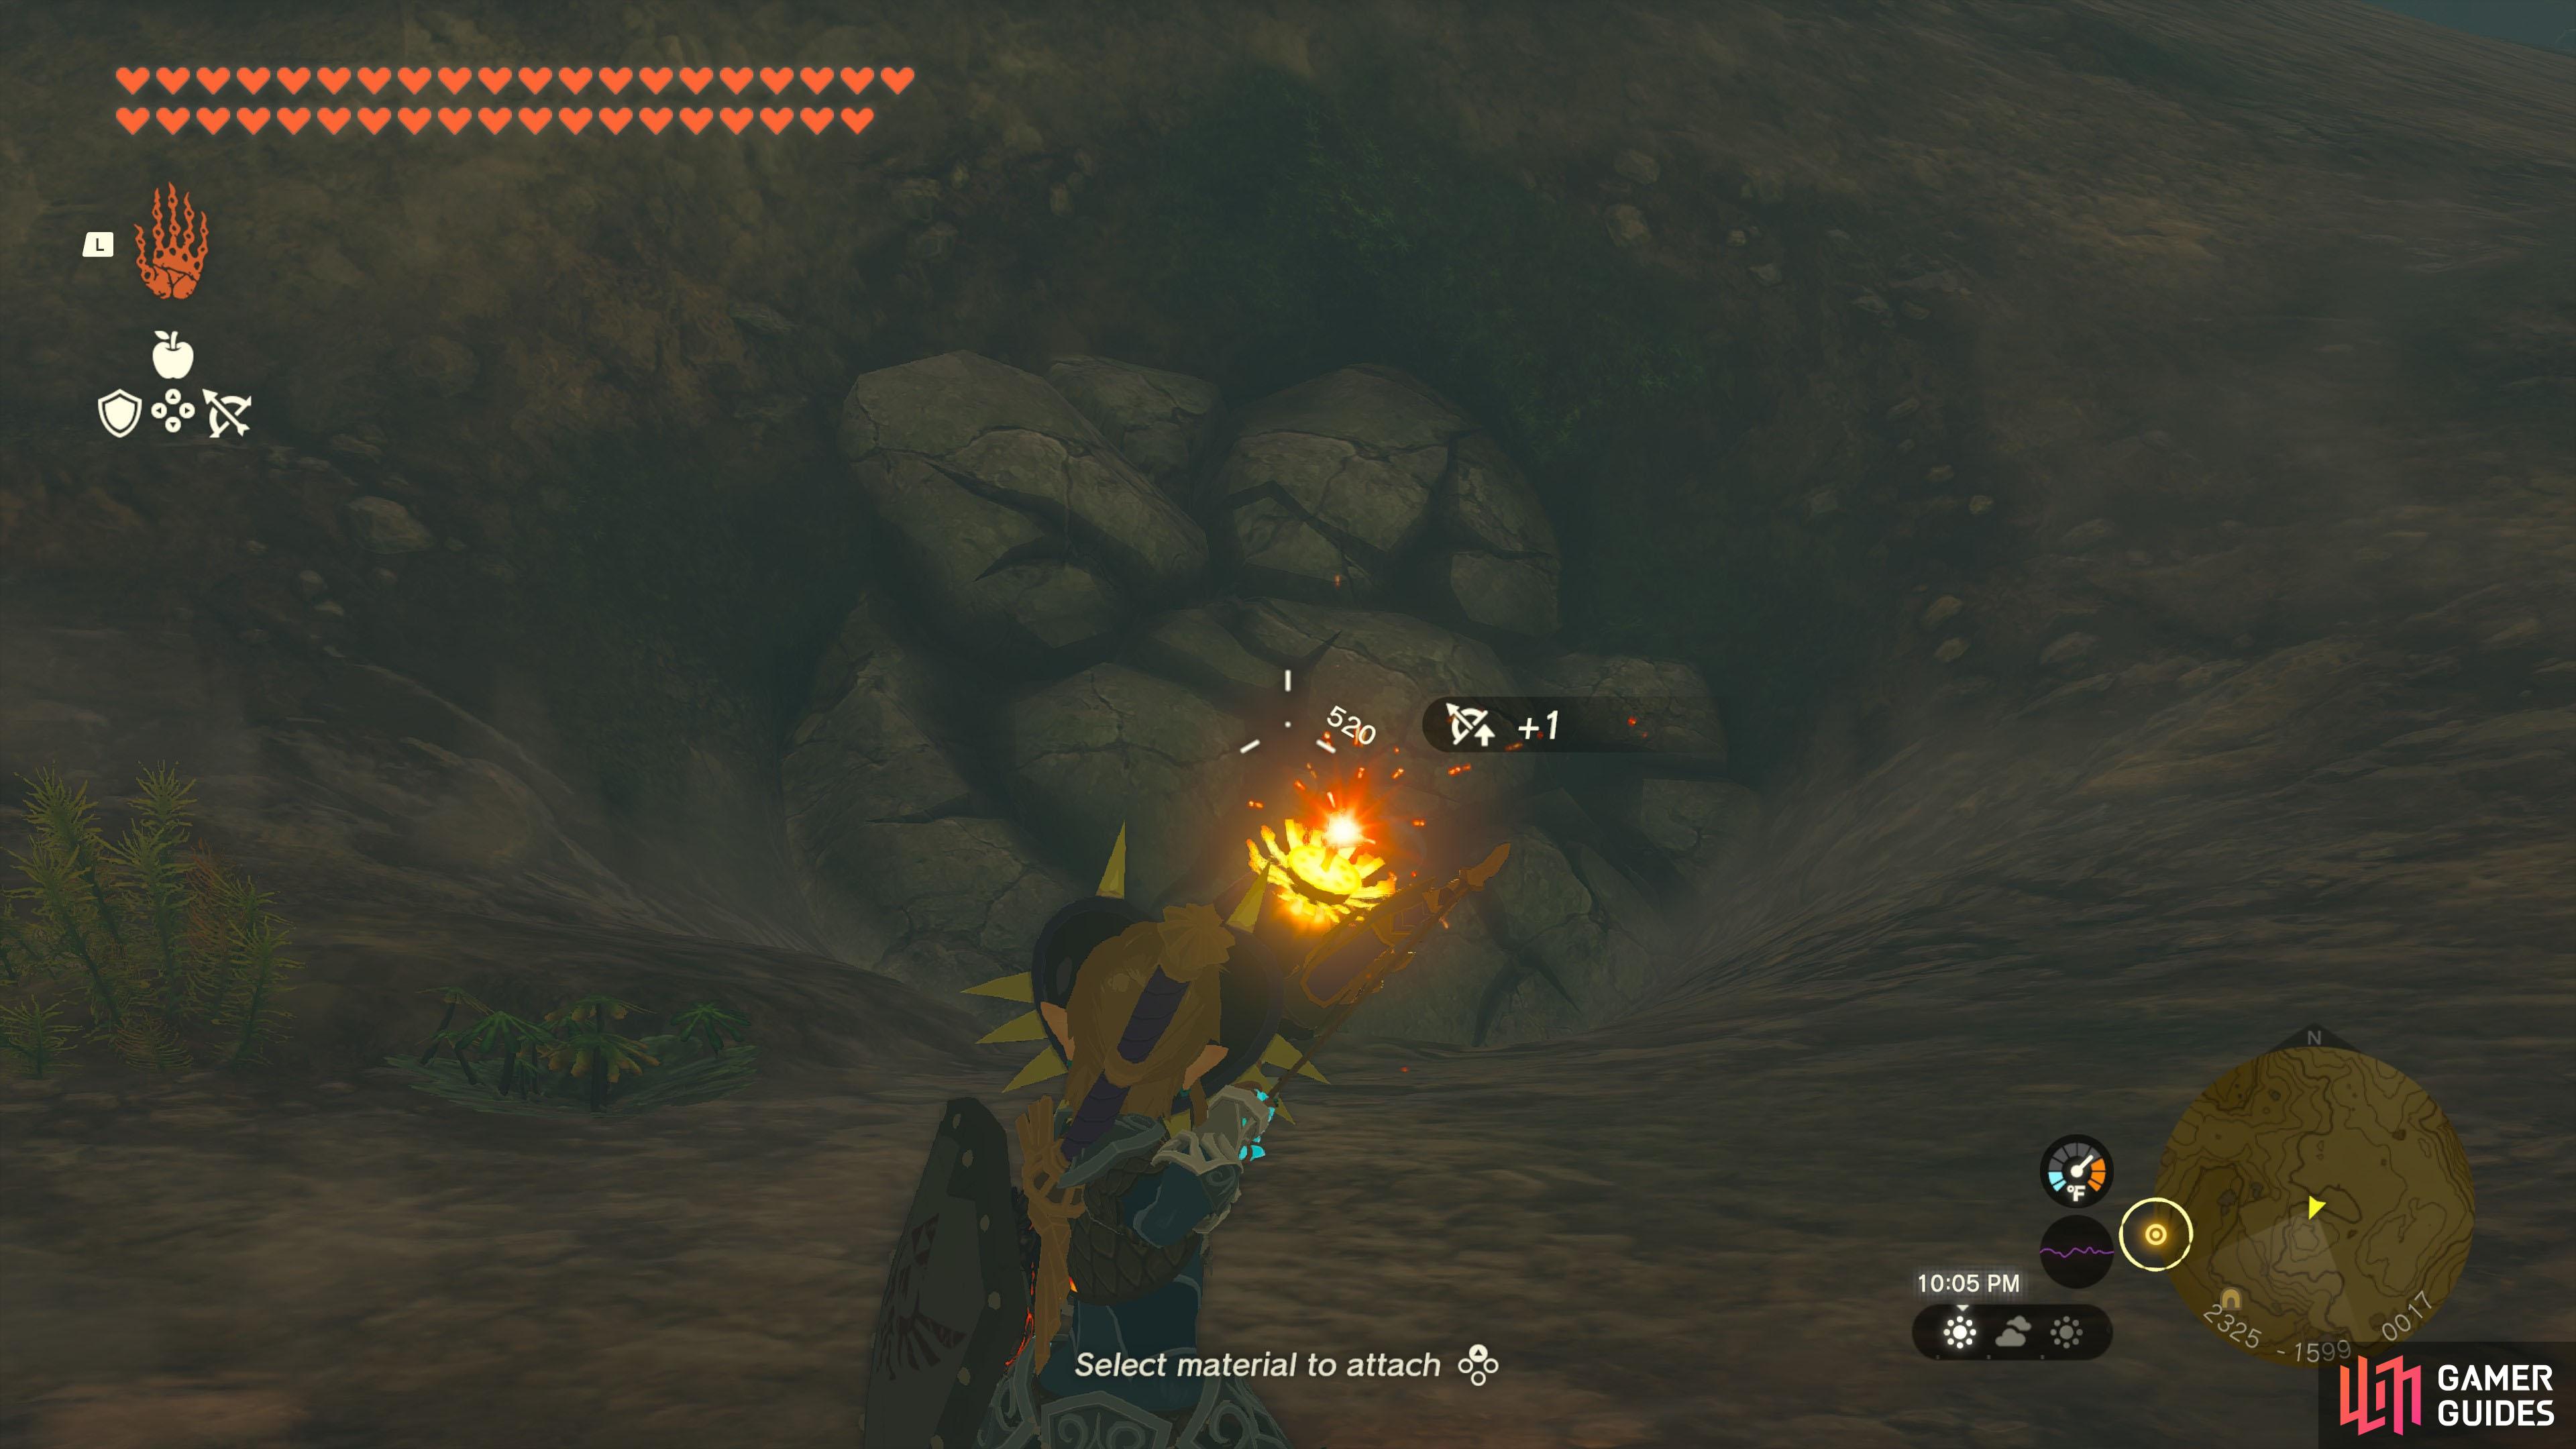
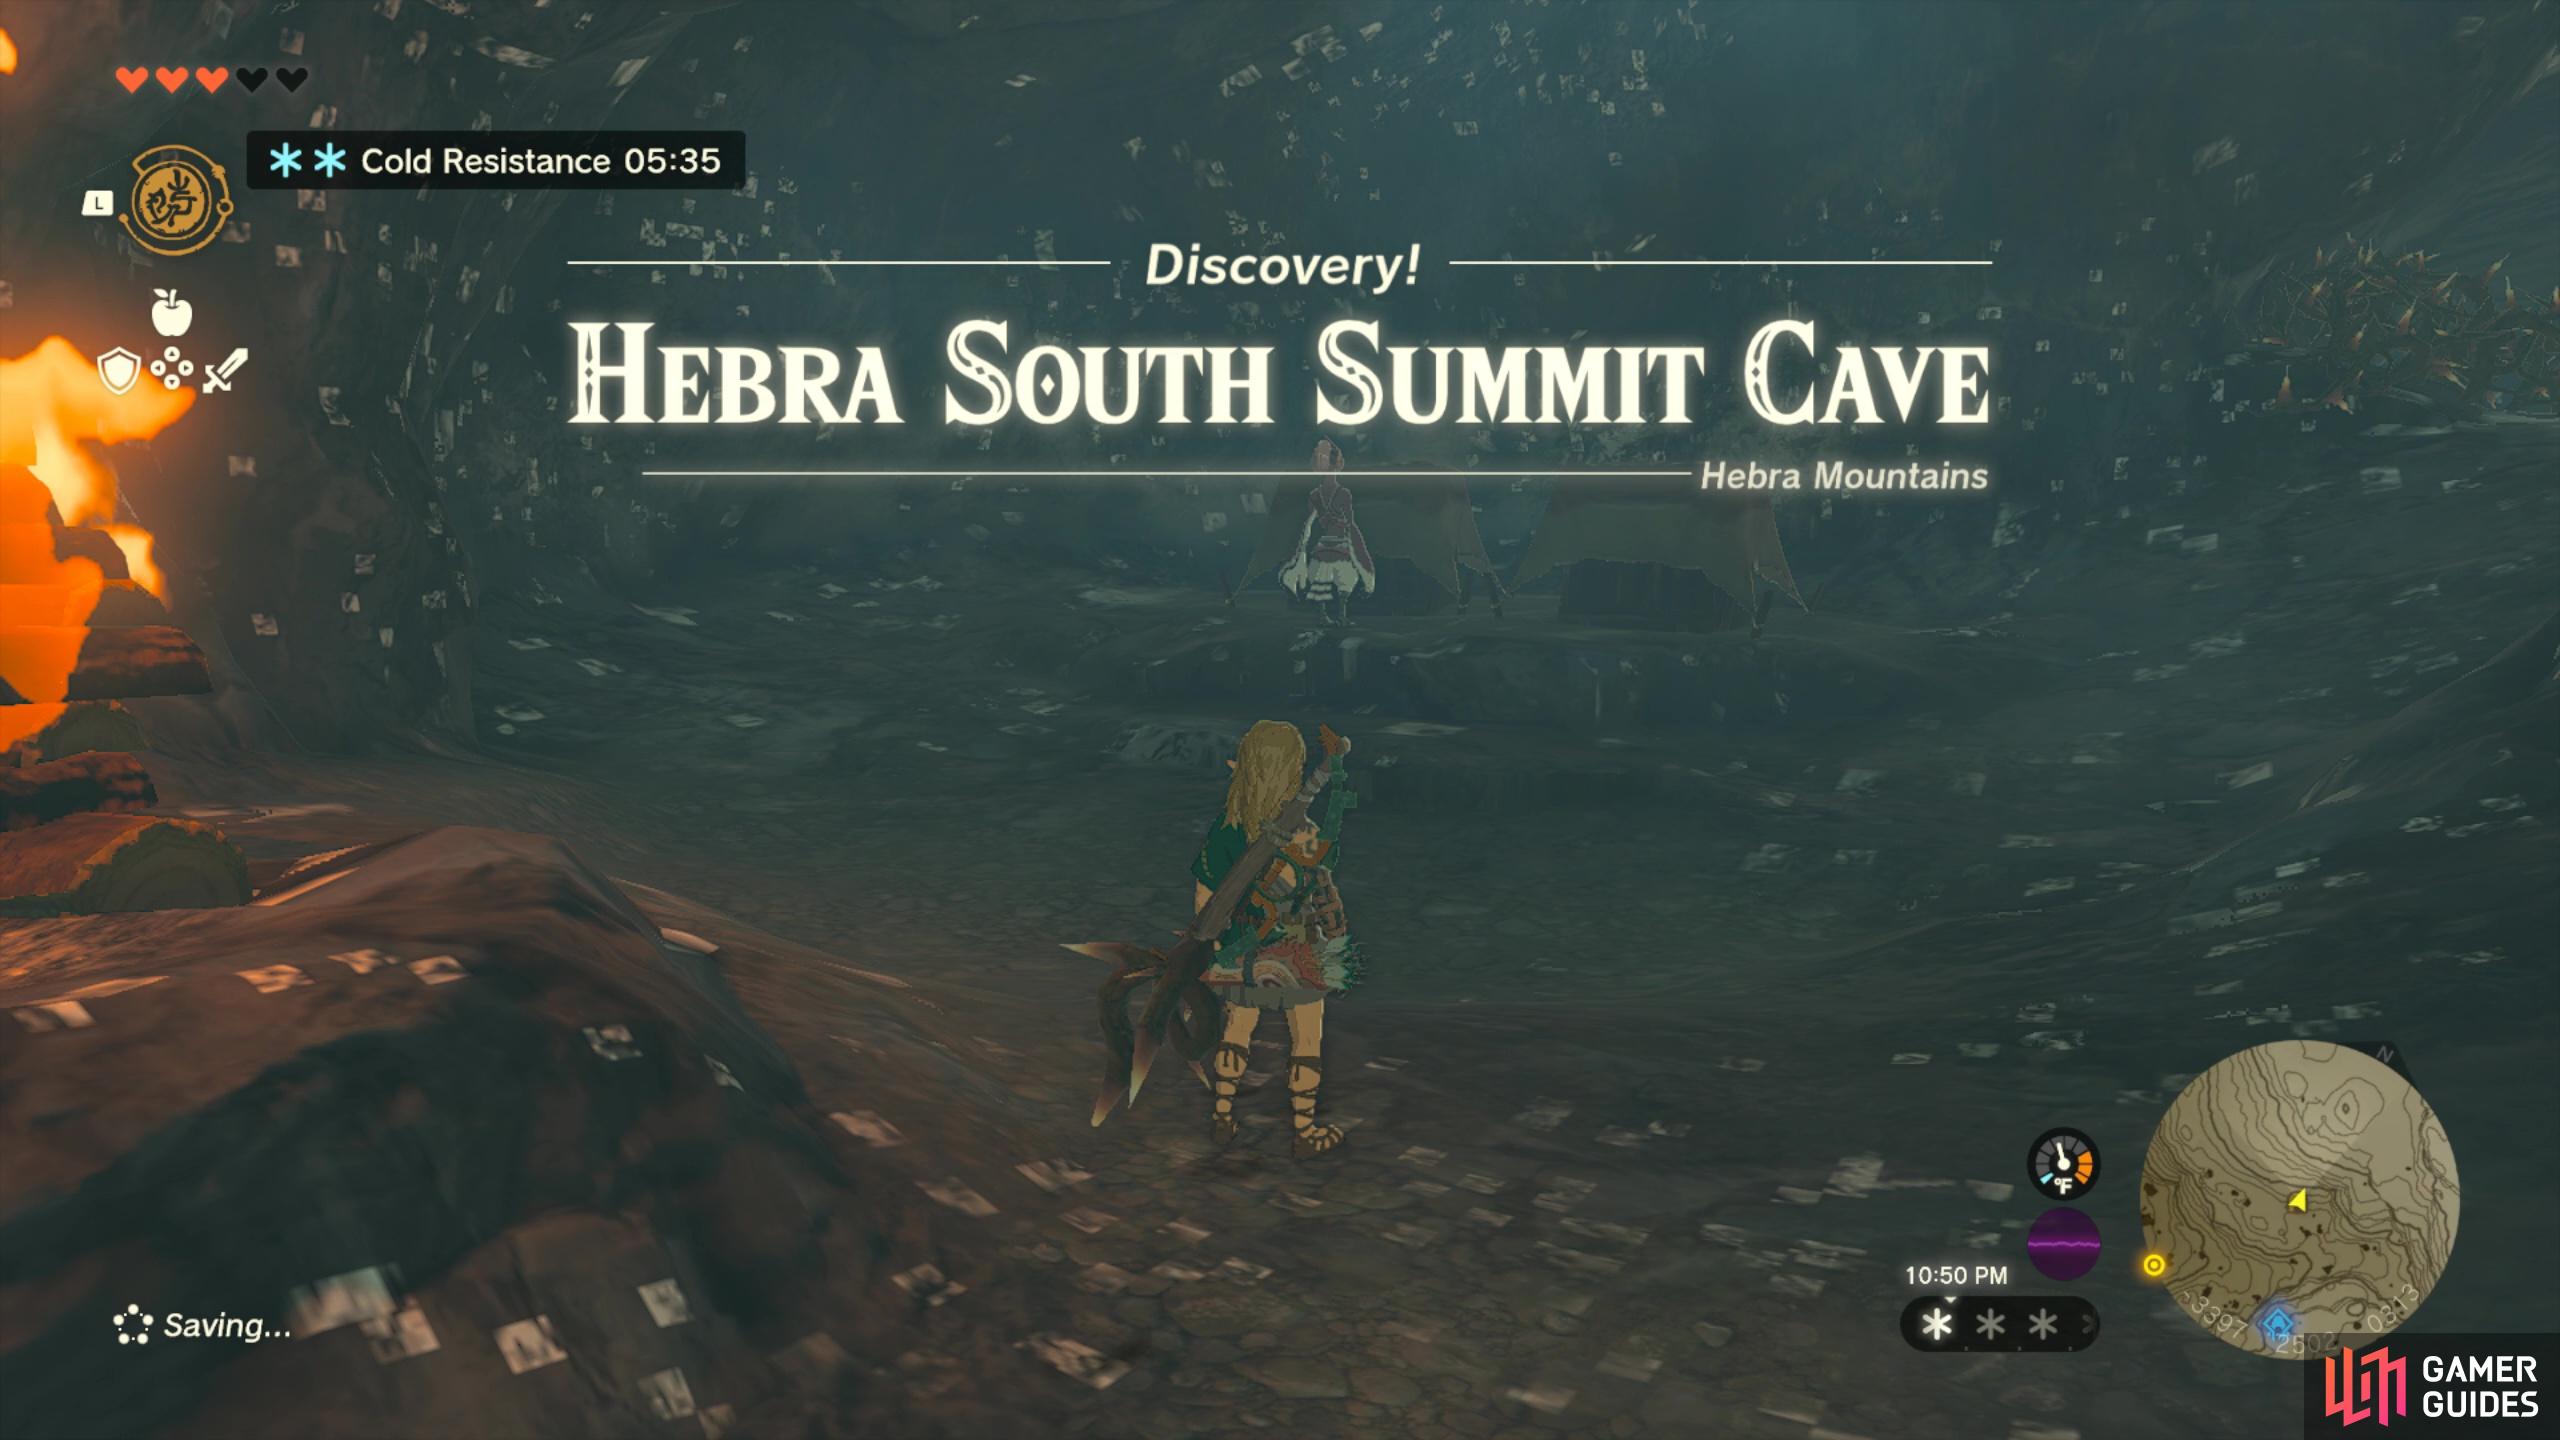
Hebra South Summit Cave |
You’ll find
Creatures/Enemies in this Cave
|
|
|||||||||||||||||||||||||||||||||||||||||||||||||||||||||||||||||||||||||||||||||||||||||||||||

|
Horon Lagoon Cave |
In the
Map(s)
Creatures/Enemies in this Cave
|
||||||||||||||||||||||||||||||||||||||||||||||||||||||||||||||||||||||||||||||||||||||||||||||||

|
Icefall Foothills Cave |
To enter the In this cave you’ll find
Map(s)
Creatures/Enemies in this Cave
|
||||||||||||||||||||||||||||||||||||||||||||||||||||||||||||||||||||||||||||||||||||||||||||||||

|
Isle of Rabac Gallery |
You’ll need heat resistance to survive in the
Map(s)
Creatures/Enemies in this Cave
|
||||||||||||||||||||||||||||||||||||||||||||||||||||||||||||||||||||||||||||||||||||||||||||||||

|
Kakariko Village Cave |
You can enter the
Map(s)
Creatures/Enemies in this Cave
|
||||||||||||||||||||||||||||||||||||||||||||||||||||||||||||||||||||||||||||||||||||||||||||||||