Bubbulfrog Creature
In-game Description
These mysterious creatures dwell in caves all around the world. They like to stay hidden and will spew bubbles when threatened. When overcome, they disappear and leave behind mysterious objects.
Recoverable Materials
Map(s)
![]() Surface
Surface
Interactive Map Locations
| # | Title | Screenshot | Description | Coords |
| 1 |
Hyrule Sky Islands Map Map Link |
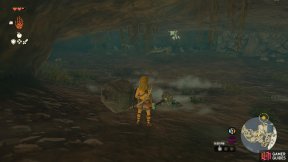
|
Inside the Pondside Cave |
X: 10312 Y: 12361 |
| 2 |
Hyrule Sky Islands Map Map Link |
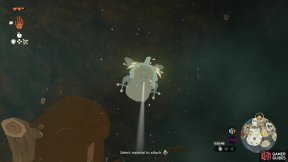
|
Inside the Mining Cave. |
X: 10540 Y: 12495 |
| 3 |
Hyrule Sky Islands Map Map Link |
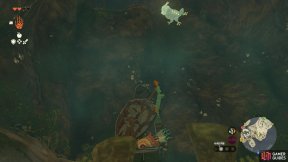
|
Found inside the |
X: 10811 Y: 12401 |
| 4 |
Hyrule Sky Islands Map Map Link |
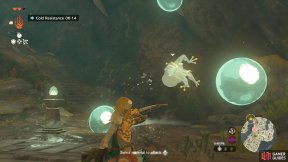
|
In the |
X: 10949 Y: 12152 |
| 5 |
Hyrule Surface Map Map Link |
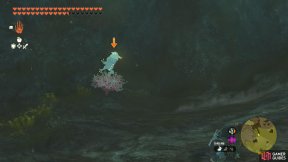
|
Near end of the |
X: 14809 Y: 9740 |
| 6 |
Hyrule Surface Map Map Link |
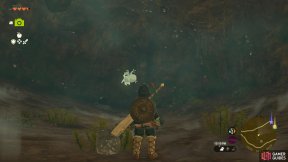
|
Inside the Break the rocks in the corner with a hammer type weapon to find the area with this |
X: 9316 Y: 9932 |
| 7 |
Hyrule Surface Map Map Link |
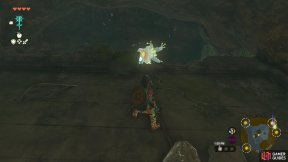
|
Inside the You must break the rocks in the center of the cave to find some stairs leading up to it. |
X: 8217 Y: 10496 |
| 8 |
Hyrule Surface Map Map Link |
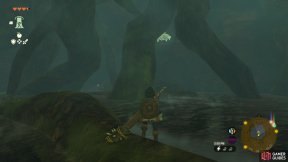
|
Inside the Found at the bottom of the cave. Defeat it to obtain a |
X: 8550 Y: 10780 |
| 9 |
Hyrule Surface Map Map Link |
|
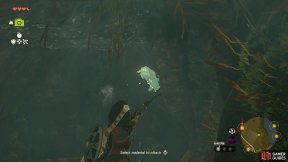
Inside |
X: 8386 Y: 9145 |
| 10 |
Hyrule Surface Map Map Link |
|
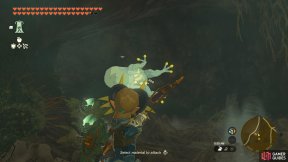
Found inside the highest point of the It will drop a |
X: 10067 Y: 10396 |
| 11 |
Hyrule Surface Map Map Link |
|
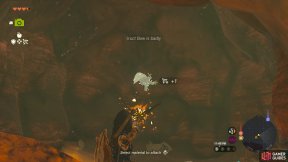
Inside |
X: 11706 Y: 8513 |
| 12 |
Hyrule Surface Map Map Link |
|
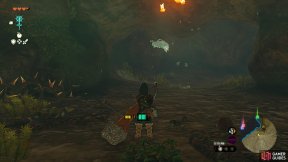
Inside the Either get the car or use a nearby wooden barricade to climb over the thorns. In the next room, destroy another breakable wall to find the frog. |
X: 12604 Y: 13787 |
| 13 |
Hyrule Surface Map Map Link |
|
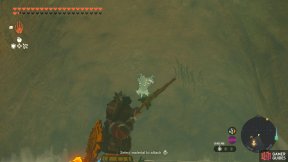
Inside |
X: 4738 Y: 11803 |
| 14 |
Hyrule Surface Map Map Link |
|
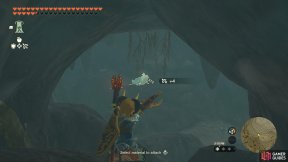
Inside At the far end of the cave. |
X: 5393 Y: 6855 |
| 15 |
Hyrule Surface Map Map Link |
|
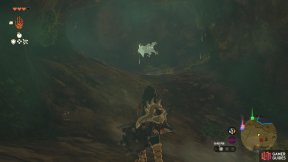
In
|
X: 14398 Y: 14467 |
| 16 |
Hyrule Surface Map Map Link |
|
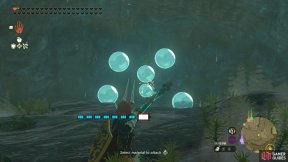
Underground, accessible via the |
X: 14010 Y: 9633 |
| 17 |
Hyrule Surface Map Map Link |
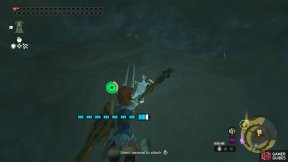
|
Accessible via |
X: 14463 Y: 9450 |
| 18 |
Hyrule Surface Map Map Link |
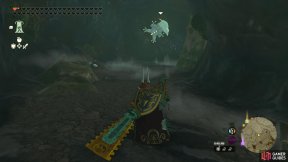
|
Accessible via |
X: 14107 Y: 9172 |
| 19 |
Hyrule Surface Map Map Link |
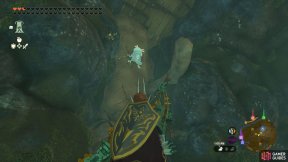
|
Inside Enter via one of the two lower entrances. |
X: 13003 Y: 10048 |
| 20 |
Hyrule Surface Map Map Link |
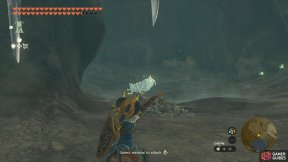
|
Inside Ride the air vent to its highest position, then enter the entrance with the icicles hanging towards the south (behind you). |
X: 4795 Y: 6355 |
| 21 |
Hyrule Surface Map Map Link |
|
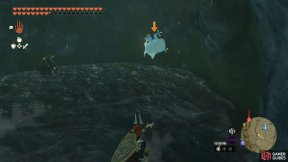
Accessible via Halfway along the byroad, there’s a side passage along the east side. Near the end, there are some sunken ruins. Use Cut down the tree roots on one of the cavern walls and this sneaky frog is lurking in the chamber beyond. |
X: 13778 Y: 9482 |
| 22 |
Hyrule Surface Map Map Link |
|
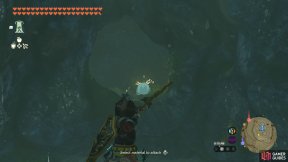
Accessible via In a cove directly above the entrance. Use |
X: 13824 Y: 9515 |
| 23 |
Hyrule Surface Map Map Link |
|
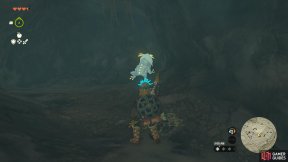
Inside Enter the very first gap while descending the cave. |
X: 6026 Y: 5897 |
| 24 |
Hyrule Surface Map Map Link |
|
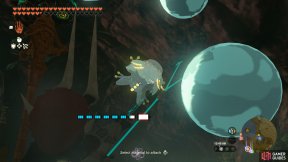
Accessible via |
X: 14574 Y: 5681 |
| 25 |
Hyrule Surface Map Map Link |
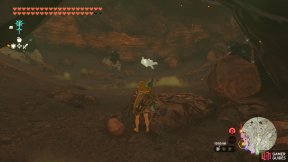
|
Inside |
X: 13611 Y: 6654 |
| 26 |
Hyrule Surface Map Map Link |
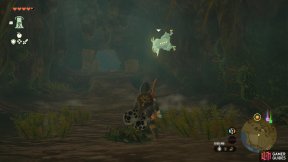
|
Inside the |
X: 8557 Y: 12670 |
| 27 |
Hyrule Surface Map Map Link |
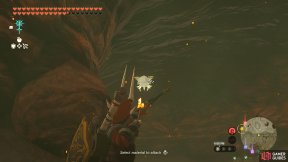
|
Inside |
X: 13278 Y: 7576 |
| 28 |
Hyrule Surface Map Map Link |
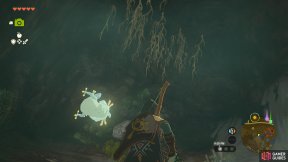
|
Found inside the |
X: 8975 Y: 12264 |
| 29 |
Hyrule Surface Map Map Link |
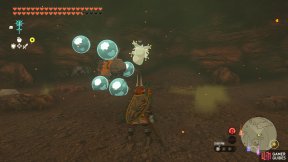
|
Inside |
X: 12413 Y: 6275 |
| 30 |
Hyrule Surface Map Map Link |
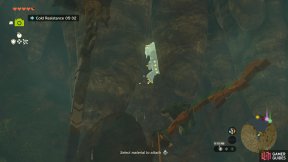
|
Found inside the |
X: 8548 Y: 13084 |
| 31 |
Hyrule Surface Map Map Link |
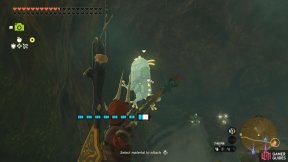
|
Inside |
X: 10485 Y: 5477 |
| 32 |
Hyrule Surface Map Map Link |
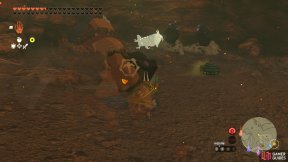
|
Inside |
X: 12325 Y: 6242 |
| 33 |
Hyrule Surface Map Map Link |
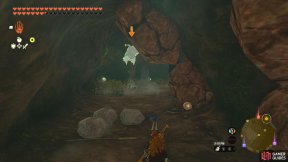
|
Halfway through |
X: 11703 Y: 9837 |
| 34 |
Hyrule Surface Map Map Link |
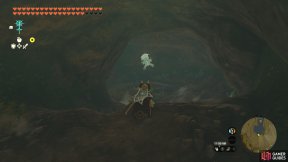
|
Inside |
X: 13622 Y: 12110 |
| 35 |
Hyrule Surface Map Map Link |
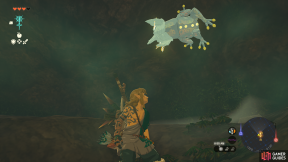
|
Inside |
X: 11787 Y: 11754 |
| 36 |
Hyrule Surface Map Map Link |
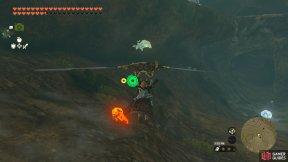
|
Halfway through |
X: 15471 Y: 12656 |
| 37 |
Hyrule Surface Map Map Link |
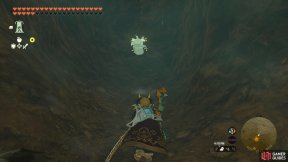
|
Inside |
X: 15651 Y: 13010 |
| 38 |
Hyrule Surface Map Map Link |
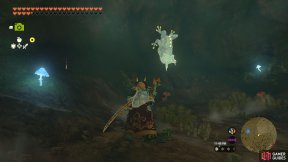
|
Inside |
X: 14586 Y: 11742 |
| 39 |
Hyrule Surface Map Map Link |
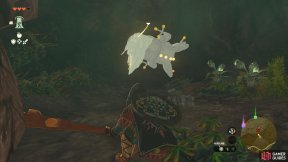
|
Inside |
X: 13280 Y: 14408 |
| 40 |
Hyrule Surface Map Map Link |
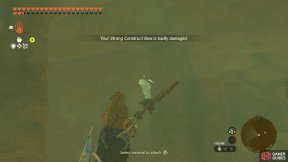
|
Inside |
X: 5576 Y: 14101 |
| 41 |
Hyrule Surface Map Map Link |
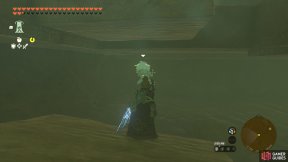
|
Inside |
X: 5749 Y: 14291 |
| 42 |
Hyrule Surface Map Map Link |
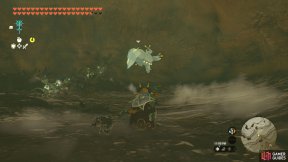
|
Inside |
X: 6629 Y: 12467 |
| 43 |
Hyrule Surface Map Map Link |
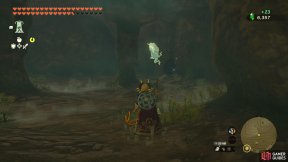
|
Inside the |
X: 9165 Y: 7363 |
| 44 |
Hyrule Surface Map Map Link |
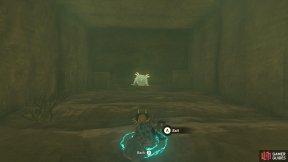
|
Inside |
X: 6532 Y: 13440 |
| 45 |
Hyrule Surface Map Map Link |
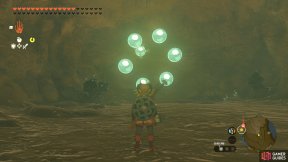
|
Halfway through |
X: 7501 Y: 12785 |
| 46 |
Hyrule Surface Map Map Link |
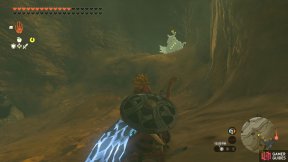
|
Inside the After going through the door, crouch through the gap to the right. |
X: 6710 Y: 12485 |
| 47 |
Hyrule Surface Map Map Link |
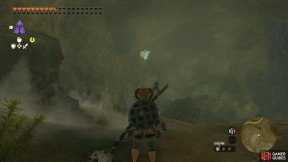
|
Inside |
X: 5383 Y: 9189 |
| 48 |
Hyrule Surface Map Map Link |
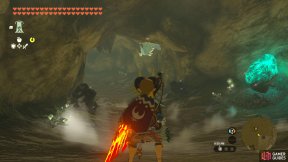
|
Inside |
X: 4814 Y: 8805 |
| 49 |
Hyrule Surface Map Map Link |
|
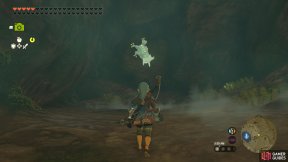
Inside |
X: 7626 Y: 8509 |
| 50 |
Hyrule Surface Map Map Link |
|
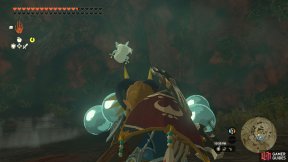
Inside |
X: 14401 Y: 8224 |
| 51 |
Hyrule Surface Map Map Link |
|
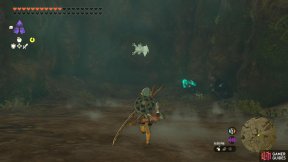
Inside |
X: 7139 Y: 10974 |
| 52 |
Hyrule Surface Map Map Link |
|
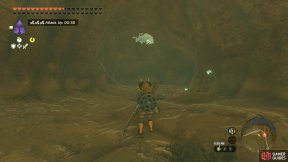
Inside |
X: 7076 Y: 12591 |
| 53 |
Hyrule Surface Map Map Link |
|
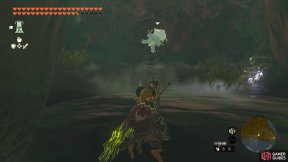
Inside |
X: 16180 Y: 15201 |
| 54 |
Hyrule Surface Map Map Link |
|
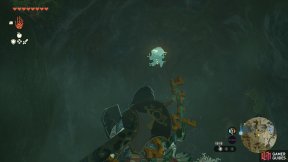
Found inside |
X: 14928 Y: 9481 |
| 55 |
Hyrule Surface Map Map Link |
|
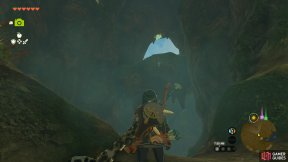
Inside You can |
X: 9747 Y: 14185 |
| 56 |
Hyrule Surface Map Map Link |
|
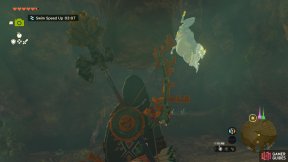
Found inside |
X: 10403 Y: 15228 |
| 57 |
Hyrule Surface Map Map Link |
|
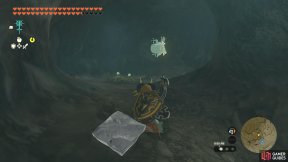
Inside |
X: 6922 Y: 7150 |
| 58 |
Hyrule Surface Map Map Link |
|
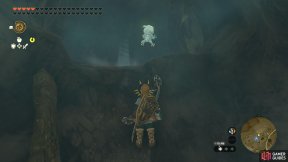
Inside |
X: 4633 Y: 7459 |
| 59 |
Hyrule Surface Map Map Link |
|
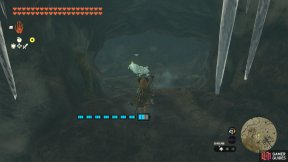
Inside If you lack materials, you could try creating some ice platforms by using ice-based weapons/materials near the water. Then use |
X: 6072 Y: 6836 |
| 60 |
Hyrule Surface Map Map Link |
|
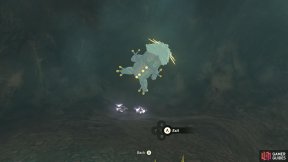
Inside |
X: 5985 Y: 8080 |
| 61 |
Hyrule Surface Map Map Link |
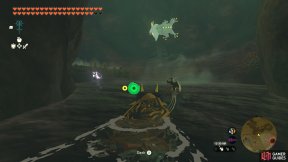
|
Inside |
X: 13235 Y: 13294 |
| 62 |
Hyrule Surface Map Map Link |
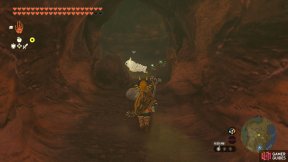
|
Inside |
X: 13398 Y: 8376 |
| 63 |
Hyrule Surface Map Map Link |
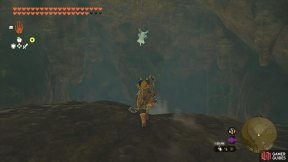
|
Inside |
X: 11533 Y: 13289 |
| 64 |
Hyrule Surface Map Map Link |
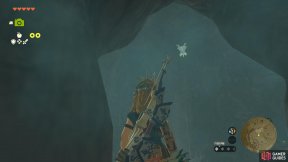
|
Inside |
X: 4750 Y: 5916 |
| 65 |
Hyrule Surface Map Map Link |
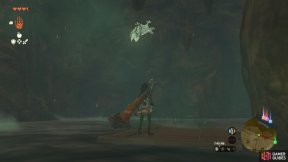
|
Inside |
X: 14609 Y: 14438 |
| 66 |
Hyrule Surface Map Map Link |
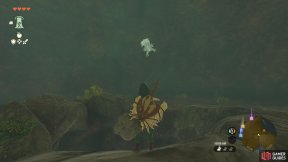
|
Inside
|
X: 16077 Y: 13238 |
| 67 |
Hyrule Surface Map Map Link |
|
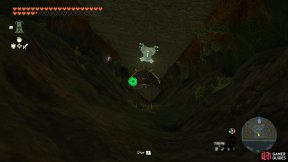
At the north entrance/exit of the If you came from the south entrance, it’s on the side of the stone pillar that you If you came from North Lomei Labyrinth, you need to enter the basement via the hole in the floor near the As you descend into the North Akkala Beach Cave, you should spot the frog on the side of the pillar. |
X: 16235 Y: 5407 |
| 68 |
Hyrule Surface Map Map Link |
|
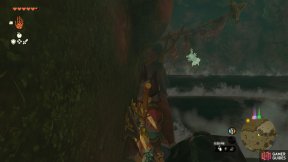
Found at the end of |
X: 12084 Y: 14169 |
| 69 |
Hyrule Surface Map Map Link |
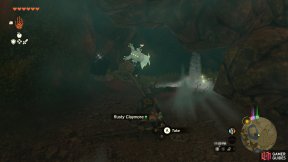
|
Found inside Behind a layer of breakable rocks with a bunch of explosive barrels nearby. Ka-boom! |
X: 12707 Y: 14231 |
| 70 |
Hyrule Surface Map Map Link |
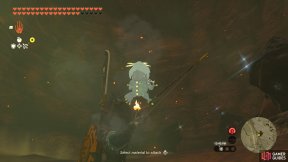
|
Inside |
X: 12208 Y: 7773 |
| 71 |
Hyrule Surface Map Map Link |
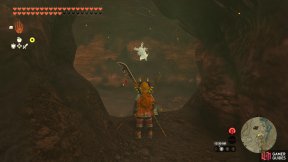
|
Inside |
X: 11901 Y: 7237 |
| 72 |
Hyrule Surface Map Map Link |
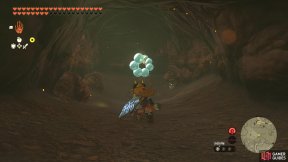
|
Inside |
X: 12123 Y: 6563 |
| 73 |
Hyrule Surface Map Map Link |
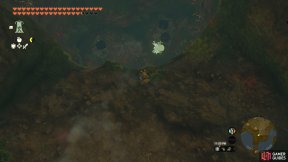
|
Inside In the tall cavern with the tree roots, head north-east. |
X: 9730 Y: 9222 |
| 74 |
Hyrule Surface Map Map Link |
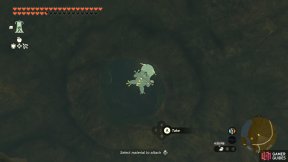
|
Inside You can |
X: 11226 Y: 10091 |
| 75 |
Hyrule Surface Map Map Link |
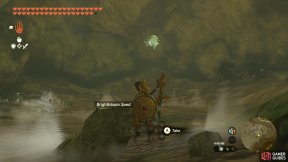
|
Inside the |
X: 5340 Y: 9628 |
| 76 |
Hyrule Surface Map Map Link |
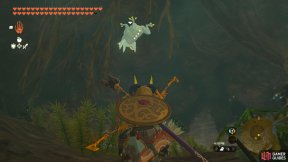
|
Inside the |
X: 8534 Y: 11883 |
| 77 |
Hyrule Surface Map Map Link |
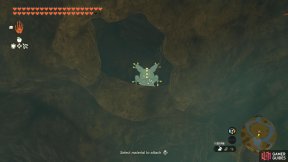
|
Inside |
X: 6997 Y: 9015 |
| 78 |
Hyrule Surface Map Map Link |
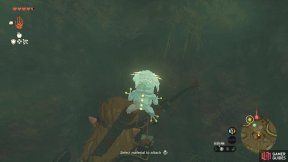
|
Found inside the You need to destroy the breakable rocks to the left of the entrance, then more rocks near a |
X: 12537 Y: 11748 |
| 79 |
Hyrule Surface Map Map Link |
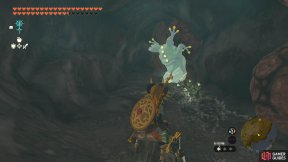
|
Inside |
X: 4621 Y: 6793 |
| 80 |
Hyrule Surface Map Map Link |
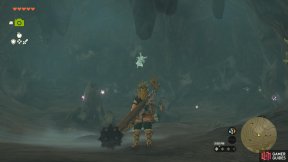
|
Inside At the far end of the cave, accessible after smashing through the rubble. |
X: 8115 Y: 6152 |
| 81 |
Hyrule Surface Map Map Link |
|
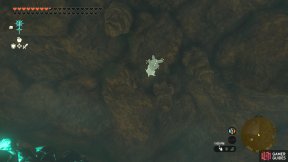
Ceiling near the center of |
X: 10771 Y: 9177 |
| 82 |
Hyrule Surface Map Map Link |
|
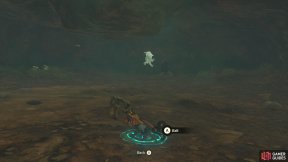
Inside In the cavern above the You can also reach this cavern from where the |
X: 13386 Y: 12174 |
| 83 |
Hyrule Surface Map Map Link |
|
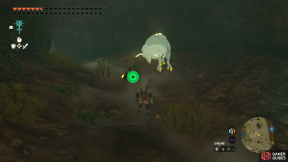
Inside |
X: 15867 Y: 9146 |
| 84 |
Hyrule Surface Map Map Link |
|
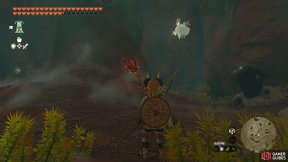
Inside After dropping down a hole, there’s a bridge with a Go in the opposite direction of the Blupee. |
X: 6979 Y: 10791 |
| 85 |
Hyrule Surface Map Map Link |
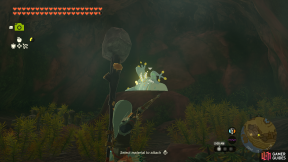
|
Inside |
X: 15288 Y: 8071 |
| 86 |
Hyrule Surface Map Map Link |
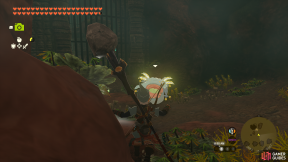
|
Inside |
X: 14954 Y: 8129 |
| 87 |
Hyrule Surface Map Map Link |
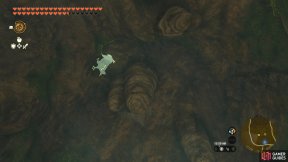
|
Inside |
X: 9852 Y: 11561 |
| 88 |
Hyrule Surface Map Map Link |
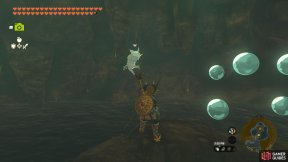
|
Inside |
X: 15650 Y: 10608 |
| 89 |
Hyrule Surface Map Map Link |
|
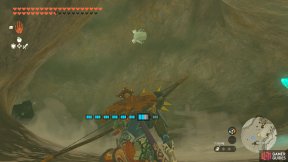
Inside the To the right of But you first need to remove the sand using a Fan. |
X: 4162 Y: 11007 |
| 90 |
Hyrule Surface Map Map Link |
|
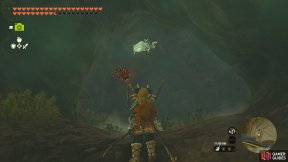
Inside |
X: 11606 Y: 12570 |
| 91 |
Hyrule Surface Map Map Link |
|
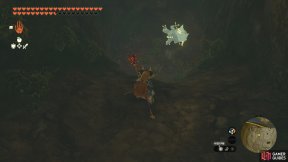
Inside Behind the destructible rocks to the right after entering. |
X: 11571 Y: 12781 |
| 92 |
Hyrule Surface Map Map Link |
|
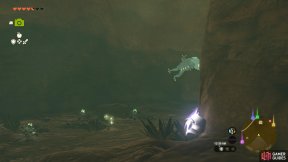
Break through the dark rock wall to find the |
X: 5682 Y: 13756 |
| 93 |
Hyrule Surface Map Map Link |
|
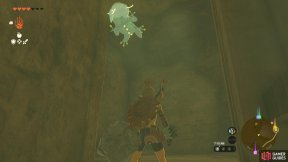
Inside the The |
X: 4946 Y: 13837 |
| 94 |
Hyrule Surface Map Map Link |
|
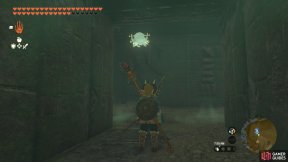
Inside Opposite the Topaz chest, there’s a passageway if you climb up a bit. |
X: 10853 Y: 13059 |
| 95 |
Hyrule Surface Map Map Link |
|
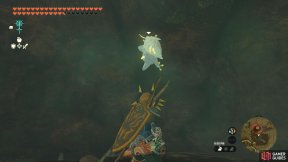
Inside |
X: 12683 Y: 11388 |
| 96 |
Hyrule Surface Map Map Link |
|
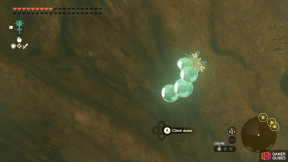
Inside |
X: 3376 Y: 15338 |
| 97 |
Hyrule Surface Map Map Link |
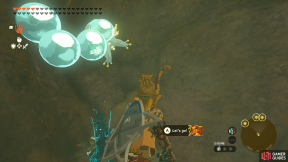
|
Inside Central Gerudo Cave. At the base of the cave, blow up the blue breakable rocks. |
X: 5131 Y: 14529 |
| 98 |
Hyrule Surface Map Map Link |
|
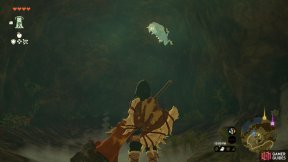
Inside |
X: 15040 Y: 12959 |
| 99 |
Hyrule Surface Map Map Link |
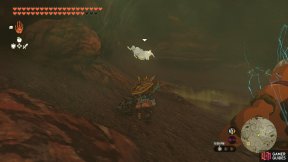
|
Inside the Southern Mine (Cave), behind some destructible rocks. From the entrance, keep turning left. |
X: 12374 Y: 7460 |
| 100 |
Hyrule Surface Map Map Link |
|
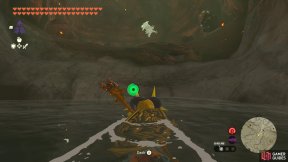
Inside |
X: 13007 Y: 7359 |
| 101 |
Hyrule Surface Map Map Link |
|
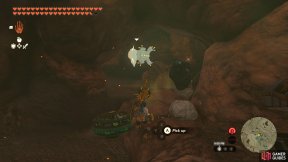
Inside Near the end of the minecart track, there’s a gap you can crawl through next to a derailed minecart. The frog is lurking behind some destructible rocks. |
X: 12530 Y: 7756 |
| 102 |
Hyrule Surface Map Map Link |
|
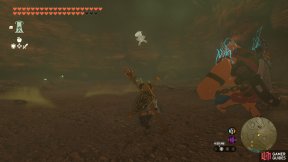
Inside Look for some destructible rocks towards the east, just before the water. The frog is lurking in the small cavern beyond. |
X: 12703 Y: 8315 |
| 103 |
Hyrule Surface Map Map Link |
|
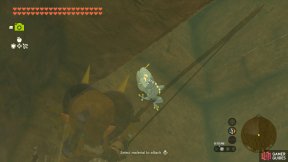
Inside the |
X: 4958 Y: 13553 |
| 104 |
Hyrule Surface Map Map Link |
|
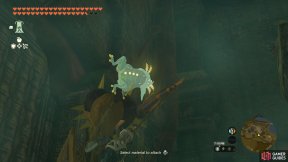
Inside Easiest way to reach it is to find the lowest point to In which case you can |
X: 12319 Y: 15118 |
| 105 |
Hyrule Surface Map Map Link |
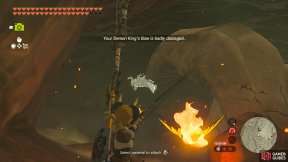
|
Inside In cavern beyond the destructible rocks towards the east. |
X: 12876 Y: 6600 |
| 106 |
Hyrule Surface Map Map Link |
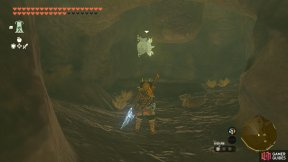
|
Inside In the upper cavern. |
X: 7622 Y: 13048 |
| 107 |
Hyrule Surface Map Map Link |
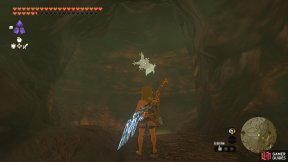
|
Inside From the entrance, look for some destructible rocks on the left-hand side wall, slightly high up. Probably easier to destroy the rocks after obtaining your equipment back. |
X: 12994 Y: 8122 |
| 108 |
Hyrule Surface Map Map Link |
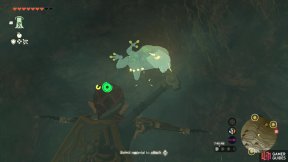
|
Found inside the |
X: 6038 Y: 11383 |
| 109 |
Hyrule Surface Map Map Link |
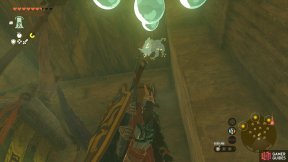
|
Inside the In same chamber as the chest with the |
X: 6653 Y: 15153 |
| 110 |
Hyrule Surface Map Map Link |
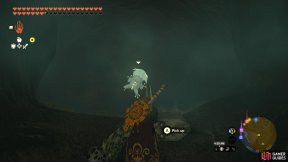
|
Inside About halfway up the cave, there are some destructible rocks along the west side. The frog is found beyond. |
X: 15913 Y: 11199 |
| 111 |
Hyrule Surface Map Map Link |
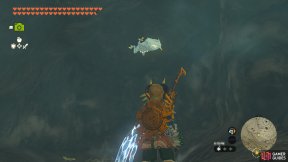
|
Inside You can climb up or use |
X: 5740 Y: 6733 |
| 112 |
Hyrule Surface Map Map Link |
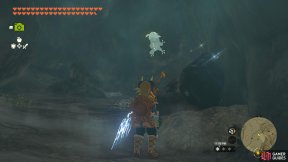
|
Inside If you entered from the west, you’ll need to head east for a bit. |
X: 5236 Y: 6050 |
| 113 |
Hyrule Surface Map Map Link |
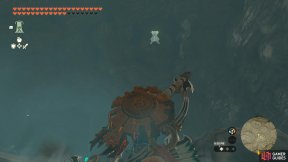
|
Inside the cave with the On the ceiling near the entrance. You may have to turn around to see it. |
X: 4887 Y: 5327 |
| 114 |
Hyrule Surface Map Map Link |
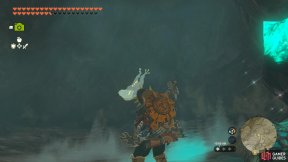
|
Inside In the air vent cavern with the Ice Like, look for some destructible rocks halfway up. You can destroy them by fusing |
X: 6700 Y: 5886 |
| 115 |
Hyrule Surface Map Map Link |
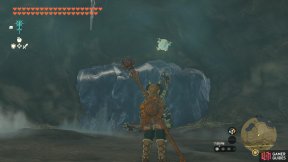
|
Inside At the top of a slippery slope. You can climb around it though. |
X: 6188 Y: 7710 |
| 116 |
Hyrule Surface Map Map Link |
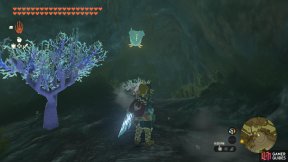
|
Inside At the upper cavern. |
X: 13912 Y: 10254 |
| 117 |
Hyrule Surface Map Map Link |
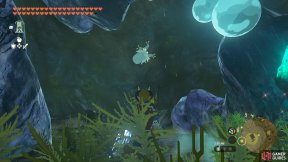
|
Inside At the end of a high up tunnel on the opposite side of the river. |
X: 14070 Y: 10455 |
| 118 |
Hyrule Surface Map Map Link |
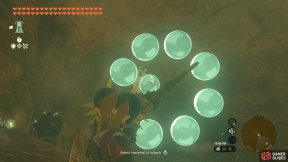
|
Inside At the endpoint. |
X: 5985 Y: 15258 |
| 119 |
Hyrule Surface Map Map Link |
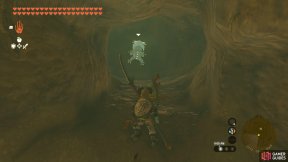
|
Inside In a cavern behind some breakable rocks. |
X: 6381 Y: 14022 |
| 120 |
Hyrule Surface Map Map Link |
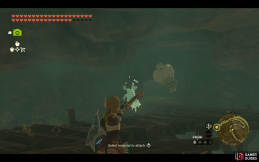
|
Inside Tabahl |
X: 13556 Y: 9818 |
| 121 |
Hyrule Surface Map Map Link |
|
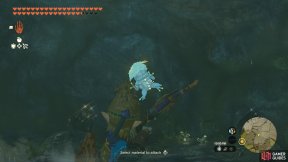
Inside Reservoir Lakefront Cavern. In a small cavern behind a barrier of tree roots. |
X: 15252 Y: 9675 |
| 122 |
Hyrule Surface Map Map Link |
|
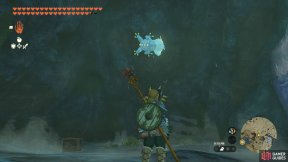
Inside the Near the back of sanctum, if you go left from the base of the waterfall. |
X: 14953 Y: 9321 |
| 123 |
Hyrule Surface Map Map Link |
|
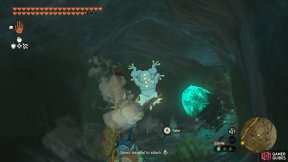
Inside Upland Zorana Mountainside Cave. In a small cavern near the upper entrance/exit, behind some breakable rocks. |
X: 13515 Y: 9426 |
| 124 |
Hyrule Surface Map Map Link |
|
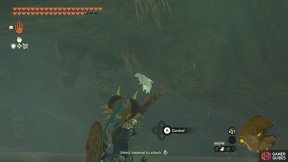
Inside Byroad to Lanayru Wetlands. On ceiling near north entrance/exit. |
X: 12083 Y: 11307 |
| 125 |
Hyrule Surface Map Map Link |
|
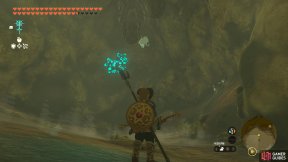
Inside Tanagar Canyon East Cave. From the entrance, look for some ruin walls on the right hand side. Shoot In the tunnel, go along the left side and break through some more rocks to reach a cavern with this frog. |
X: 7151 Y: 8111 |
| 126 |
Hyrule Surface Map Map Link |
|
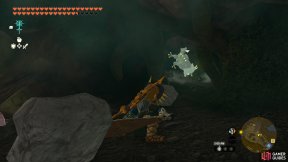
Inside Near the treasure chest at the end, there’s a small gap in the wall hidden by the breakable rocks. |
X: 11926 Y: 14805 |
| 127 |
Hyrule Surface Map Map Link |
|
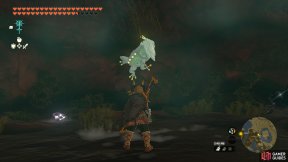
Inside Rodai Lakefront Tunnel. In the dark underground section, there’s a mound with a hole inside that leads to a hidden cavern. |
X: 12559 Y: 14224 |
| 128 |
Hyrule Surface Map Map Link |
|
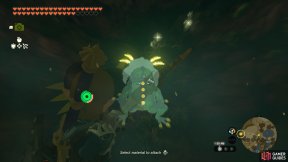
Inside Corta Lake Cave. North from the entrance, there’s a bunch of breakable rocks covering air vents. This frog is lurking high up near one of these air vents in a somewhat isolated area. |
X: 12282 Y: 14089 |
| 129 |
Hyrule Surface Map Map Link |
|
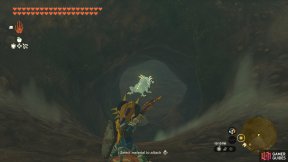
Inside In a small cavern behind some breakable rocks. |
X: 13104 Y: 12363 |
| 130 |
Hyrule Surface Map Map Link |
|
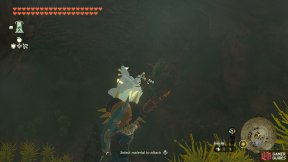
Inside At top level of the This frog is in a small cavern behind those rocks. |
X: 14468 Y: 8130 |
| 131 |
Hyrule Surface Map Map Link |
|
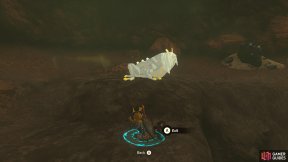
Inside Lake Darman Monster Den. At the far east end of the den, there’s a hole in the ceiling.
|
X: 13361 Y: 6221 |
| 132 |
Hyrule Surface Map Map Link |
|
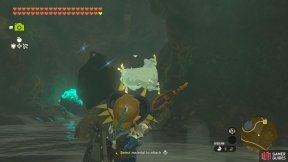
Inside In the cavern with The frog is sleeping inside the hidden cavern beyond. |
X: 10658 Y: 14920 |
| 133 |
Hyrule Surface Map Map Link |
|
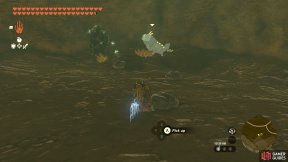
Inside Lower Spectacle Rock Cave. Use The frog lurks in the cavern below. |
X: 7665 Y: 13384 |
| 134 |
Hyrule Surface Map Map Link |
|
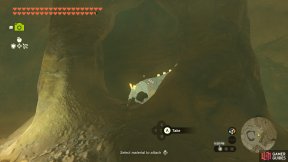
Inside Spectacle Rock Cave. In the first cavern with the two You can probably hear the frog behind the rocks… |
X: 7040 Y: 13431 |
| 135 |
Hyrule Surface Map Map Link |
|
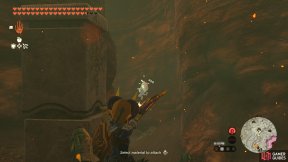
Inside To the left of the buried Rockets etc. on the other side of the marbled rock that requires Yunobo’s charge attack to break. |
X: 13190 Y: 6523 |
| 136 |
Hyrule Surface Map Map Link |
|
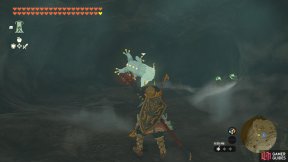
Inside In the first cavern, before going down, look for a thin ice sheet at the nearby ceiling. Melt it with a The frog lurks in the small cavern above. |
X: 4090 Y: 5215 |
| 137 |
Hyrule Surface Map Map Link |
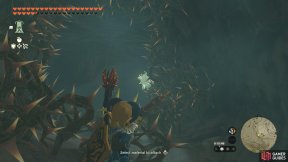
|
Inside In the tall cavern with no air vent, near the east entrance/exit, look for a ledge towards the north side. It’s easier to see it from the top of the cavern. |
X: 5651 Y: 6632 |
| 138 |
Hyrule Surface Map Map Link |
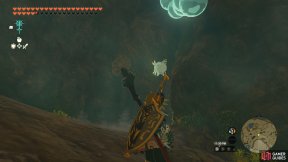
|
Inside Past the blue breakable rocks. |
X: 15626 Y: 9391 |
| 139 |
Hyrule Surface Map Map Link |
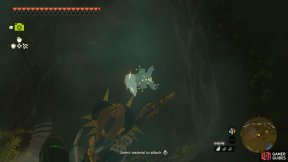
|
Inside At the end of a tunnel accessible through a hole in the ground. |
X: 10777 Y: 14345 |
| 140 |
Hyrule Surface Map Map Link |
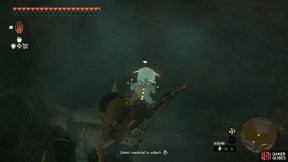
|
Inside After solving the electricity puzzle, continue all the way to the end to find this frog. |
X: 11169 Y: 14023 |
| 141 |
Hyrule Surface Map Map Link |
|
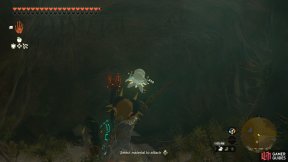
Inside In the puzzle room, there’s a hole in the ceiling near one of the corners. Climb up or |
X: 10831 Y: 14128 |
| 142 |
Hyrule Surface Map Map Link |
|
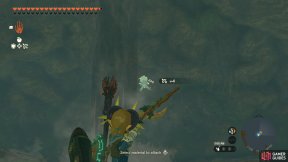
Inside Behind the waterfall coming from the surface. |
X: 10197 Y: 13479 |
| 143 |
Hyrule Surface Map Map Link |
|
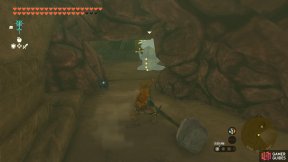
Inside the In a side path hidden by breakable rocks. Roughly halfway through the ruins. |
X: 3787 Y: 12923 |
| 144 |
Hyrule Surface Map Map Link |
|
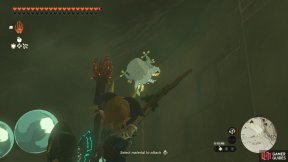
Inside From the entrance, take a left through the hole in the wall and go around towards the back. |
X: 4761 Y: 11158 |
| 145 |
Hyrule Surface Map Map Link |
|
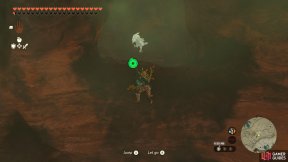
Inside Near the entrance, look for some cracked rocks high up the wall. Lo and behold, the frog is smirking behind the rocks. |
X: 13019 Y: 6063 |
| 146 |
Hyrule Surface Map Map Link |
|
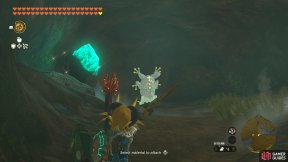
Inside From the entrance, take a right towards the swampy path. Halfway through that path, there are some breakable rocks. The frog can be found behind them. |
X: 11015 Y: 8296 |
| 147 |
Hyrule Surface Map Map Link |
|
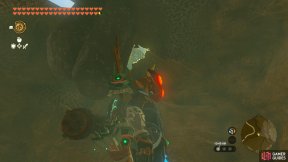
Inside On the ceiling, near some protruding rock. Difficult to miss since it’s a small cave. |
X: 7995 Y: 13150 |
 Sign up

No Comments