Directive: Clear a path to the carriage
We start off on the bridge AND with the Arc Rifle! Awesome! Start moving forward and you’ll have an armored Shotgunner running your way. Blast him a couple times with your Arc Rifle and continue. I recommend hugging the wall on the right and using the small room for cover. You have a good vantage point of the men dug in across the street from here. Kill all of the enemies from here and be careful of the enemies on the roof of the double-decker. Once they are all dead our objective will change:
Directive: Save Hastings
To save him, head to the overturned cart blocking the bridge and interact with it. We’ll jam on X for a bit and he’ll be safe. After saving him you’ll end up on your own, Rambo style.
Directive: Stop the rebel attack
Proceed to the right and kill some enemies on the other side of the wall. There will be an armored Shotgunner coming your way, so use your Blacksight and take him out. If you can’t kill him with the Blacksight, return to where you regained control and take him out from here. For some reason they don’t come this far. Alternately, you can kill hurt him a ton when he shows up by shooting the explosive barrel to his right… this probably won’t kill him, but may save the need for Blacksight. Wipe out the rest of the enemies in the area once he is dead. Jump over the fence to see a small scene.
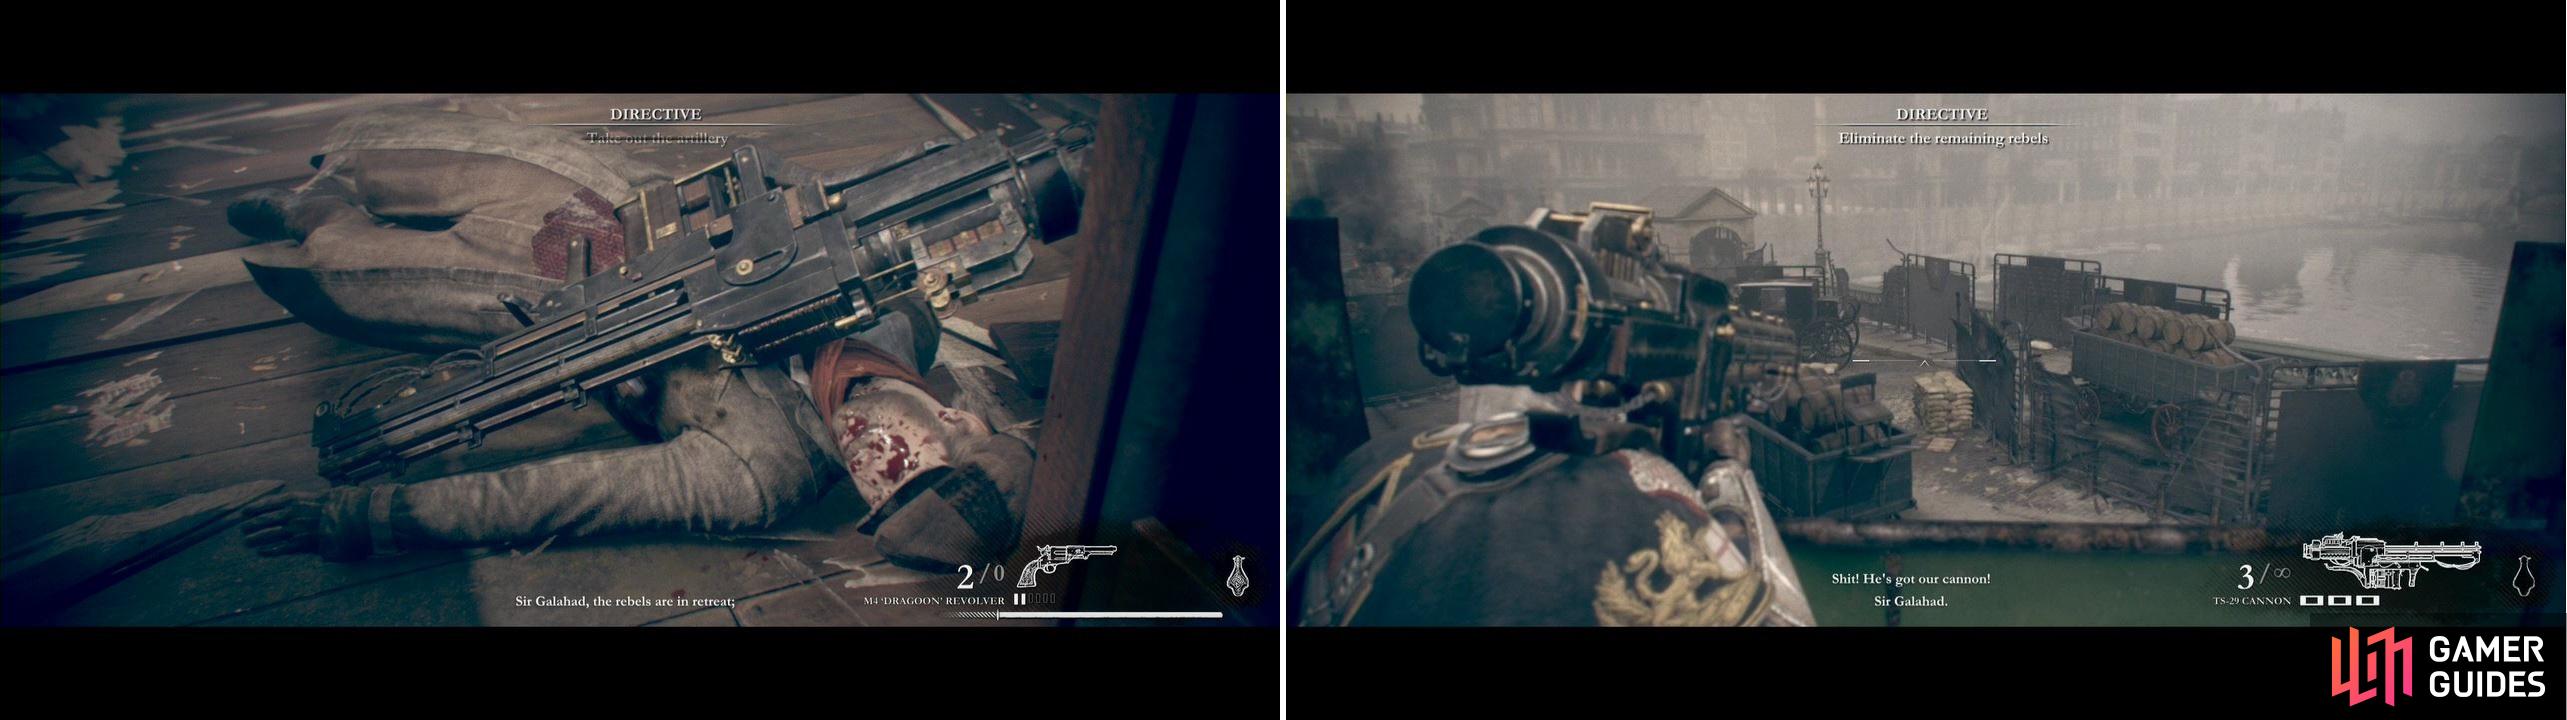
Directive: Take out the artillery
Move forward over the fence and you’ll have another group of rebels come at you. Pretty similar to the previous area only that there are a couple Shotgunners, but normal ones this time, not armored. Take out the two men who comes at you, then stick to the right and clear the small alley. Note that at the end a shotgunner comes out, so be ready for him. The room here also has a cache of flak grenades, so avail yourself of them. The hole in the wall near the shed is a good vantage point: use it to blow up the barrel in the distance to easily kill someone.
Now that you are close to the bridge blockage, an enemy with a cannon will be taking shots at you. Head to the center of the area and wipe out whoever you can. You’re fairly safe behind the center divide, but the cannon enemy is very elusive. He is on top of the double-decker, so kill him off when you can. Note that the shed on the left has an enemy that only comes out when you approach it, so be ready for him as well (in fact, if you kill the shed enemy, the cannon enemy is much less elusive since he’s the only one left alive, so you could kill the shed enemy for an easier shot at the cannon enemy although it is very risky). Once you do kill everyone, a scene will take place.
Directive: Eliminate the remaining rebels
Now we have a cannon. The TS-29 Cannon is an awesome beast, and is also the best way to get the next trophy.
The most powerful weapon in the game. Sadly we only get to use it once.


And if for some reason you haven’t yet, you’ll most likely get this trophy too.


Keep on killing the enemies until a scene triggers. If you do find yourself getting beat up, you can easily stand behind the metal barricade to your right (which is handy while waiting for three enemies in an ideal position for the Collateral Damage trophy). There will be many scenes once you kill everyone off, but all of them are good.
No Comments