Follow Dr. Whitman Up the Mountain
As Lara and Whitman head up the steps toward Roth they’ll discuss the mysteries surrounding the island and the goddess.
Avoid Detection While Attempting to Escape
Thanks to some stupidity on the part of the natives, Lara is free to wander around while bound. You’ll need to use the environment to avoid detection and since Lara will automatically take cover behind waist-high walls you shouldn’t have a problem avoiding detection with a bit of smart maneuvers.
Quickly hide behind the wall straight ahead, then head up the path after the man walks by. Hide behind the wall to the left and wait for the nearest guard to move away and then ignore the men to the right and head straight for the building marked with white boards.
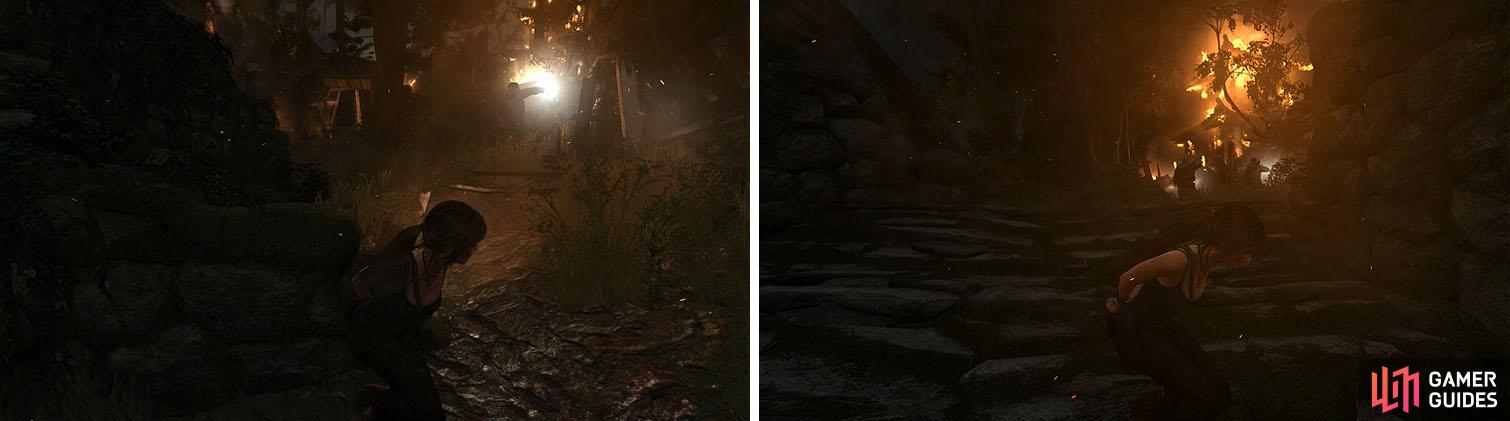
Avoid detection by waiting for guards to turn and looking out for buildings.
Exit the other side of the building and wait for the guard to pass by and head upstairs. Near the top, wait for the guards to move left, then run into the hiding spot across the road.
After a short scene you’ll need to prepare for another QTE to avoid death: Triangle/Y, Triangle/Y, aim at the target, wiggle the L Analog right and left, repeatedly tap Square/X, and then fire the gun.
Fight Back Against the Islands Inhabitants
With the Semi-Auto Pistol in hand, follow the path until you trigger a scene. You’ll encounter two guards here that you’ll have to take out, preferably with headshots, while Lara automatically hides behind cover. Loot the bodies of the guards to retrieve some more ammunition, making this a habit for the future.
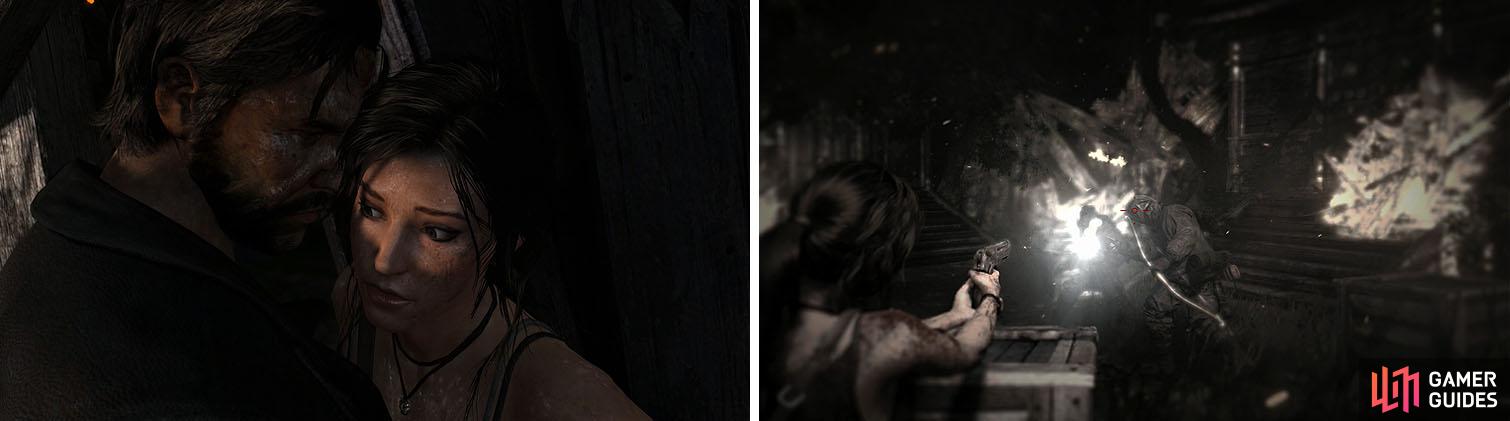
After snagging the gun from the man who sexually harassed Lara (left), kill the two Solarii further up the road (right).
Once inside the building hit Triangle/Y repeatedly to exit out the back (that was quick, huh?) and follow the walkway. Don’t miss the Food Cache before you hide behind the cart and then shoot the guard up ahead with an arrow to the head. This is a stealthy shot which grants bonus XP.
Scramble up the wall and leap across to the beams, shimmying around before climbing up. Hide behind the crates and wait for the two guards to fully finish their conversation, allowing one of them to move closer. Take the closest guard out with a headshot, then kill the second before a third comes climbing down the dropped ladder.
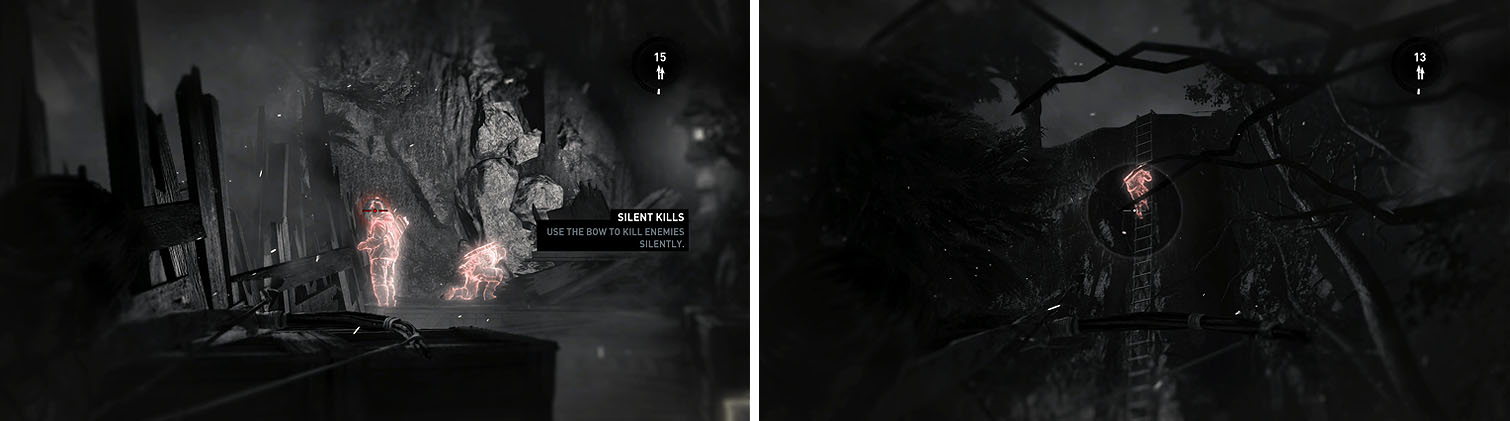
Kill the guards quickly to take out the third guard before he reaches the ground.
Continue Up the Mountain to Regroup with Roth
Make sure to grab the Food Cache near the ladder and then climb up while you speak to Roth. At the top, grab the Salvage straight ahead and then jump into the nearby river to move through the crack behind the waterfall to find the Mountain Temple Treasure Map , as well as some salvage that needs some new gear.
Return to the ladder and wall scramble up the painted wall to reach the upper level of the building for the GPS Cache 1 and then circle around the building for a Food Cache and the Mountain Temple Base Camp , where you can now use Fast Travel to go back to previous camps and get Lara’s Journals: Nightmares.
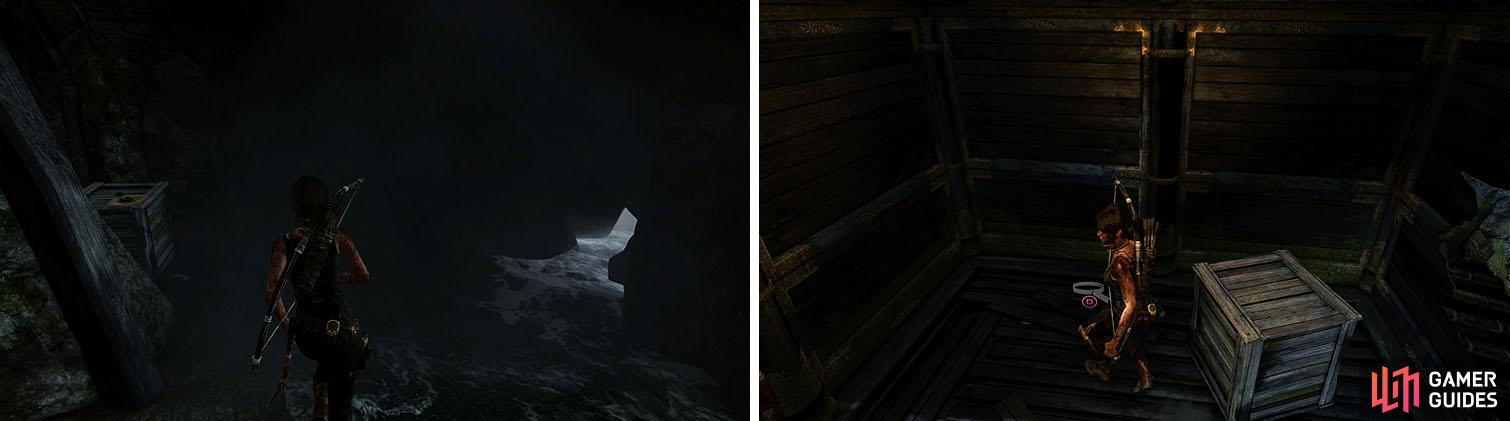
Don’t miss the Treasure Map behind the lower waterfall (left) and the GPS Cache in the building near the Base Camp (right).
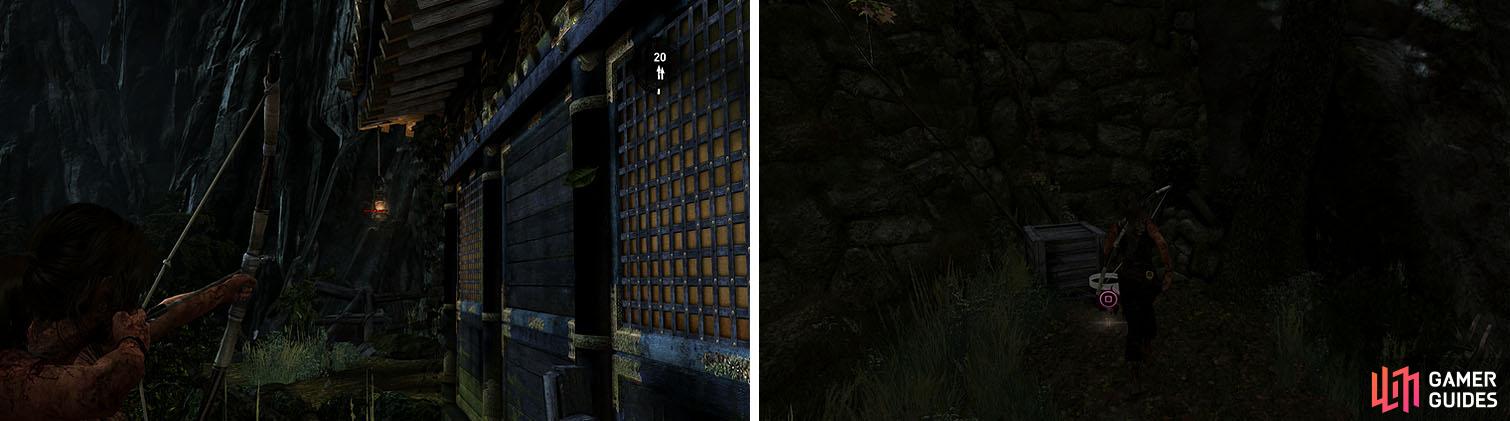
Enter the cave near the waterfall for Salvage and the Diaries of a Madman: Stranded document and then across the bridge and head up the steps to find two more enemies. It’s usually better to wait for guards to finish their entire conversation, but this is one of those exceptions where it’s wiser to shoot an arrow in the building behind them to distract them. Quickly shoot an arrow into the head of the left guard, then dispatch the other immediately afterward.
After this, head around the left side of the building to shoot down a Lantern (1/5) , starting the Challenge: Pyromaniac , and move over a tree bridge. From here, scramble up the wall and enter the upper level of the building for some Salvage and then head back to where you killed the two guards.
Head through the grassy area adjacent to the stairs to find a Plant and then climb the wall to find a Food Cache , checking the area behind the building for the GPS Cache 2 .
Shoot the Lantern to begin a new challenge (left). Don’t miss the GPS Cache behind the gazebo with a Food Cache (right).
When you’re ready, return to the top of the stairs and scramble up to enter the building via a small opening.
Grab the Food Cache before you shoot the Lantern (2/5) to clear the debris and sneak behind the first guard for a melee stealth kill by pressing Triangle/Y when you’re close enough to break and then tap Square/X to break his neck. Do the same with the second guard nearby, then hide behind the boxes.
There’s a guard with a flashlight up the higher walkway and you don’t want to be seen by him, yet, so move forward carefully. While there is a Lantern (3/5) across the way, shooting it will result in a firefight that can make it hectic to get out due to the mass of enemies.
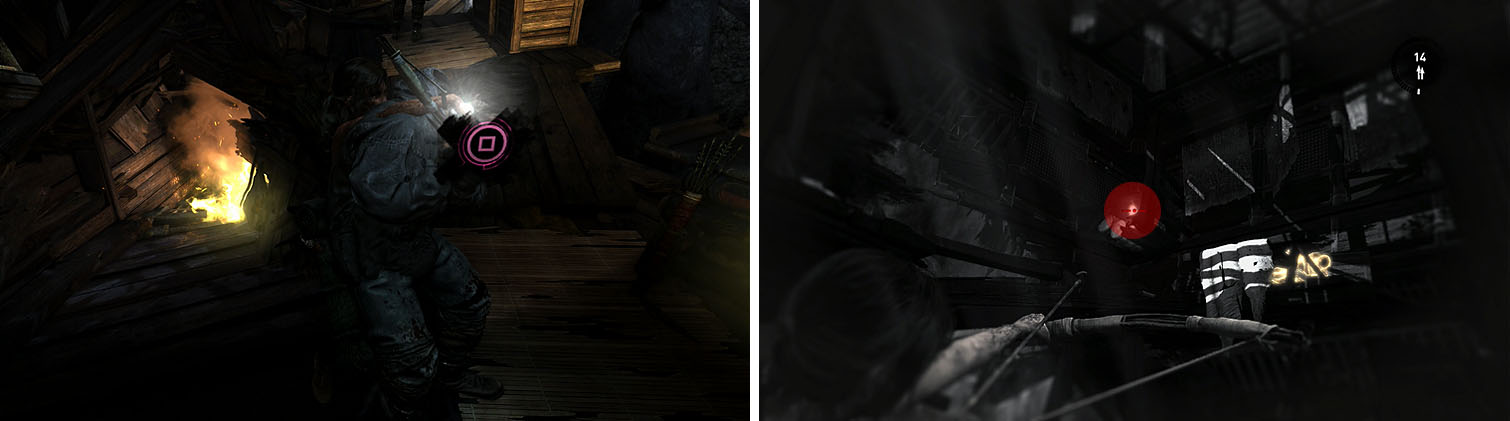
Sealth kill the first two guards and make sure to locate the missable Lantern.
Once you have defeated the majority of the enemies, shoot the lantern to ignite the building on fire and draw out any remaining enemies. Don’t stay too long in one place, as the building will begin to burn, and quickly defeat the remaining guards. After leaping over the gap, take the zipline to escape.
Grab the Confessions of a Solarii: Salvation immediately right of you as you drop from the zipline and then check the water for a Food Cache . Wade through the water and exit out the other side to find a Plant nearby and then return to where you dropped off the zipline.
Light your torch and scramble up the wooden wall to find some Salvage and enter the second floor of the building for the **** Green Folded Fan . Shoot the fourth Lantern (4/5) hanging from the roof and then drop off the ledge behind the nearby tree to find a gazebo with a Food Cache and the final Lantern (5/5) .
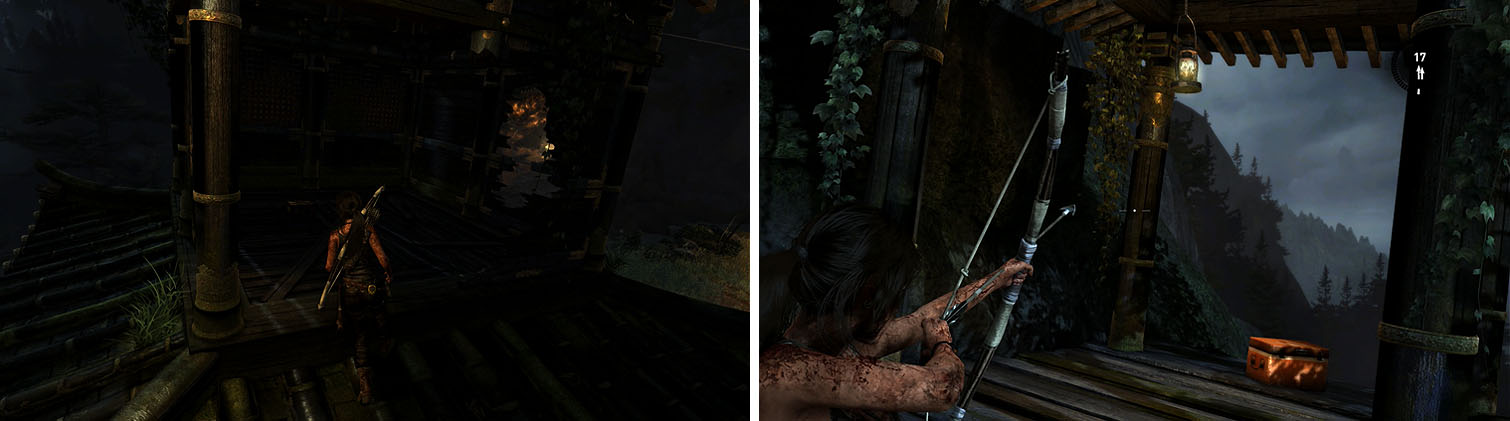
There is a Lantern above the Green Folded Fan and on the ledge nearby.
Return to the previous ledge and follow it around for a Plant and then then jump to the roof of the nearby building, which you can enter to find the Gunbai War Fan on the second floor. You can now return to the zipline and head through the arch to reach a thin crevice that leads to Roth.
No Comments