Find a Way Out of the Forest
Head back down into the forest and you’ll notice the door to the bunker is now mysteriously left open. Head indoors for a quick scene [100 XP] and then take the ladder down by pressing O/B.
Explore the Bunker
Climb down the ladder, then wade through the tunnel to reach a room. There’s a Food Cache in the corner that simply gives some XP when opened and a Hannya Mask on the table. You can now burn the wooden debris in the opposite corner to collect the Pry Axe . [250 XP]
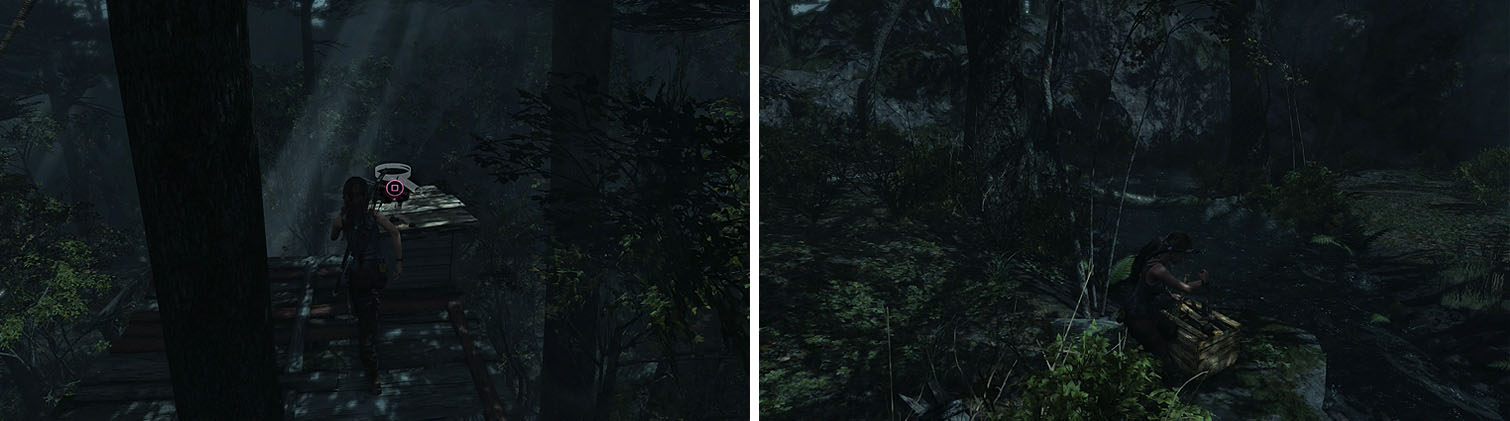
With your new tool in hand, pry the door by repeatedly pressing Square/X to open it.
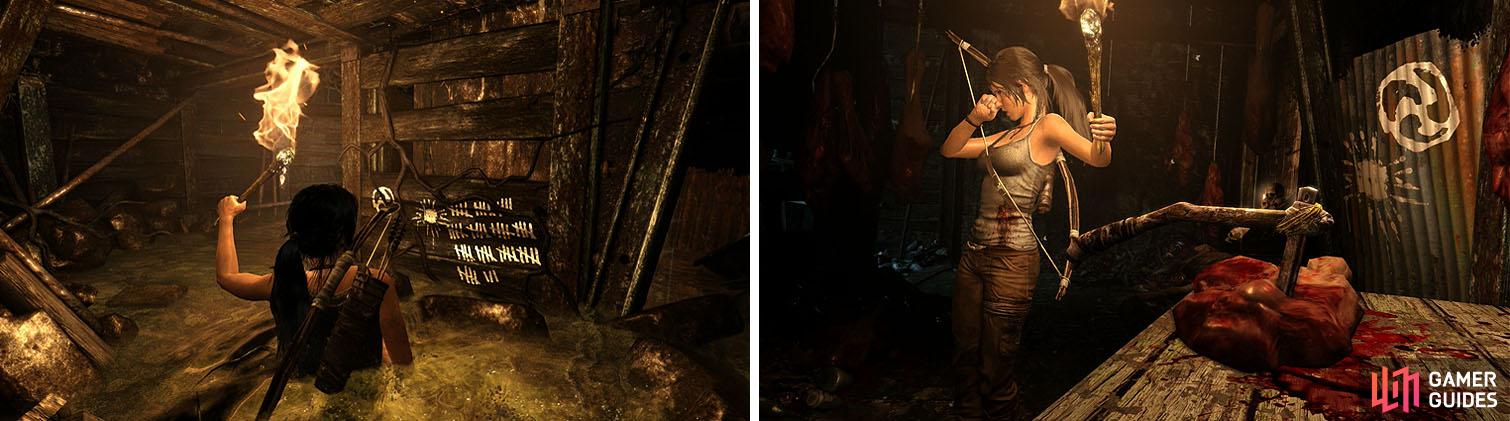
Enter the bunker to find the Pry Axe, which allows you to open salvage crates.
Exit the Bunker
To continue, head to the door near the relic to pry it open and follow the linear path to exit the bunker. [100 XP]
Investigate the Strange Voices
As you exit the bunker the objective will change, so follow the voices until you reach the Forest Ruins Base Camp for a scene.
Survive the Wolf Attack
Once you gain control you’ll be unable to move as the wolves circle in. Ready your bow and charge a shot, which will remain drawn until you fire, and follow the movement of the wolves. When you hear a growl, prepare to fire and defeat all three wolves. [100 XP]
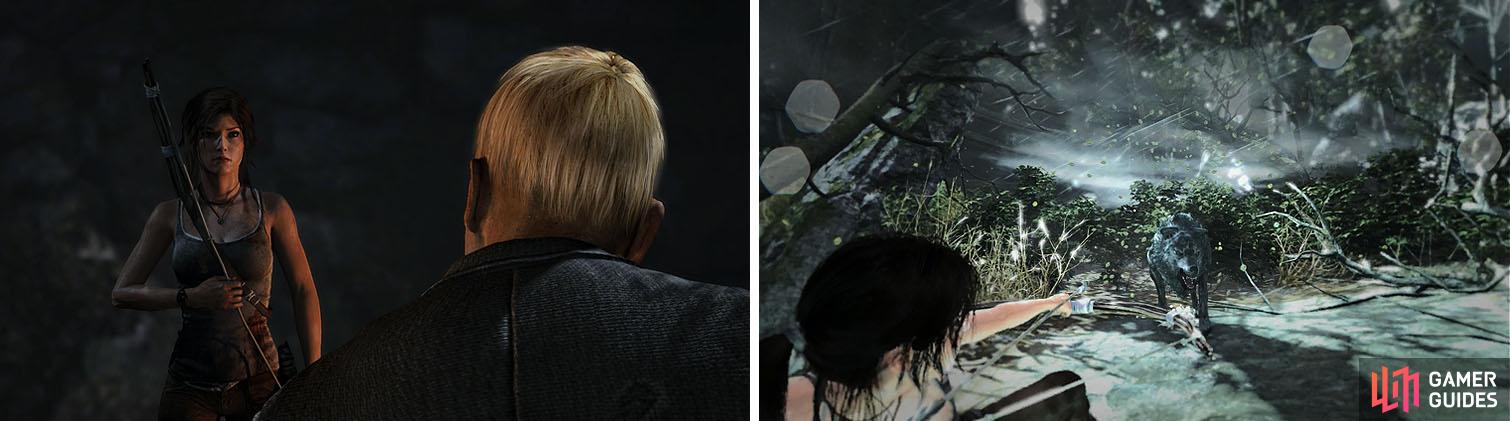
After finding the source of the voices (left) you’ll have to fend off some wolves that attack while Lara is stuck in a trap (right).
Catch Up with Whitman
Before going anywhere you should use the Base Camp to spend any skill points, while listening to Lara’s Journal: Shipwrecked document.
While your objective is to make your way to Whitman, there’s a forest full of goodies you’ll want to collect before speaking with him. Start by using the nearby flame to light your torch and then burn the netting hanging nearby to claim the Salvage inside before checking the nearby desk for the Endurance Crew - Sam: Family Story document.
Head toward the stairs behind the camp, but instead of taking the stairs you’ll want to take the path on the right. Follow the path to the wooden planks and jump down to the rocks below to find the GPS Cache 4 on the left side of the rock.
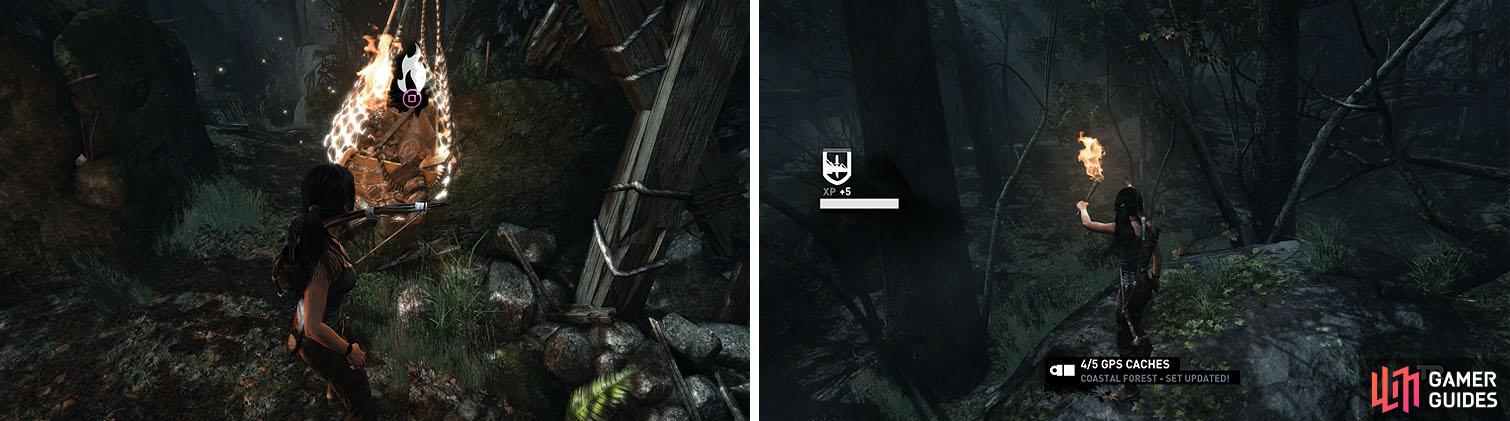
Burn the netting to release the salvage (left). The small path near the stairs leads to a landing with a GPS Cache (right).
Cross the tree toward the white markings on the far wall to find the Endurance Crew - Sam: Feelings of Unease on the crate and then drop under the bridge to find the Female Noh Mask relic in a box.
Exit from under the bridge toward the eastern wall and head north to encounter some more wolves. These can be shot with the bow or combated with QTE’s, but be prepared and use Survival Instinct to highlight them if you are having trouble spotting them.
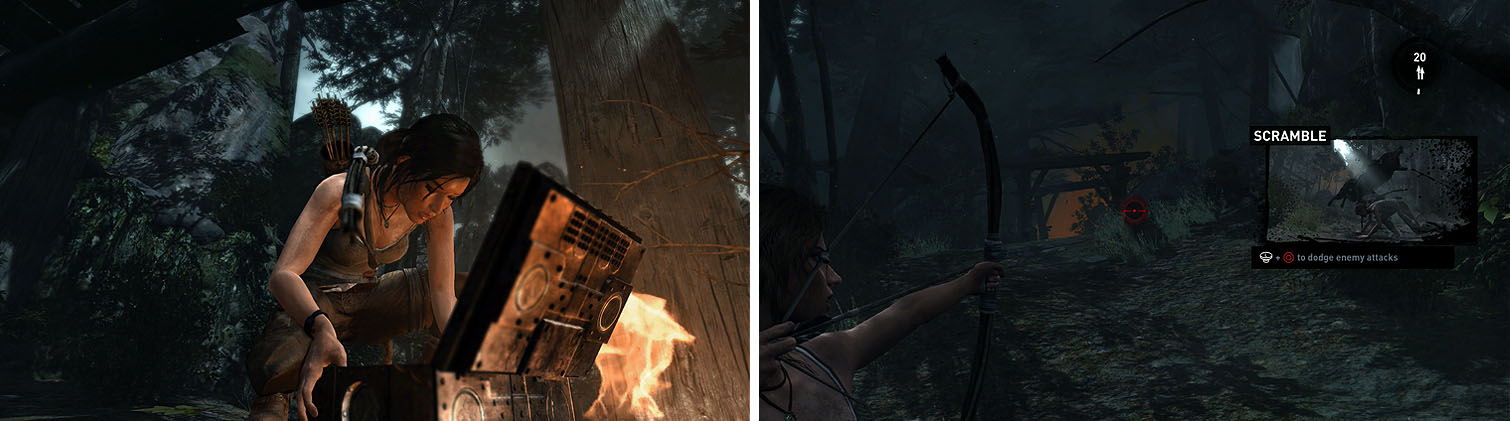
Head under the bridge for a relic and then defeat the wolves to the north.
Continue north to find some Salvage to the left of the broken bridge, at the base of a tree, and then take the small ridge to the right of the broken bridge to find more Salvage .
Look toward the gap in the bridge to spot a Totem (6/10) , using Survival Instincts if needed to highlight it, and then use the arches above the bridge to jump across to a platform in the trees with the Coastal Forest Treasure Map .
Take the zipline to find a Plant near the lantern and then follow the edge of the stream to the right, straight toward some Salvage . Follow the stream west to find more Salvage on the left side of the stream, just past the bridge, and check behind it for even more Salvage against the wall. Cross the stream for another crate with Salvage and then continue up the stone steps to the north.
After grabbing the Treasure Map (left), take the zipline to collect a bunch of salvage in the area below (right).
Collect the Endurance Crew - Sam: Filmmaker document off the ground and then shoot the Totem (7/10) hanging from the roofing. Make sure to light your torch via the fire on the other side of the statue and then burn down the Salvage before dropping into the courtyard below for more Salvage .
Follow the wall north to find a small cave with the Oni Noh Mask , but be careful because if you go to far you’ll encounter more wolves.
Return to the stream and check under the bridge for another Totem (8/10) and then look left to find more Salvage , another set of wolves, and a Plant . The tree on the north side of the bridge has the Totem (9/10) , so destroy it and then climb the rocks to the west to find the GPS Cache 5 .

There are two Totems near the bridge: one under it and one in the tree nearby.
Drop off the rocks on the left side and follow the path up to find some Salvage in the bushes and even more Salvage as you turn the corner around the rocks to the right.
You can now head to the day camp to use your skill points before heading to the gate to catch up with Whitman. [100 XP]
No Comments