Make your way through the tunnel to a camp and then collect the Plant , GPS Cache 1 , and Salvage . Create a rope bridge to the rocky wall across the way and shimmy along the outside of the area to enter the bunker.
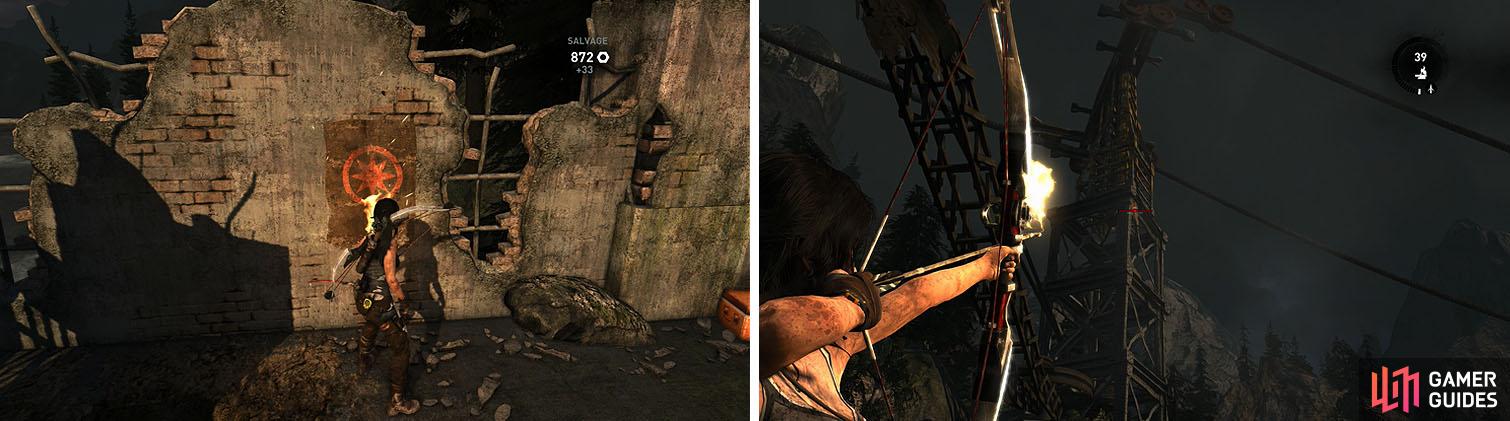
Collect the Salvage at the back of the room and then check the wall near the roped doorway for a Flag (1/4) with an octagram (eight-pointed star) and burn it to begin the Challenge: Previous Inhabitants .
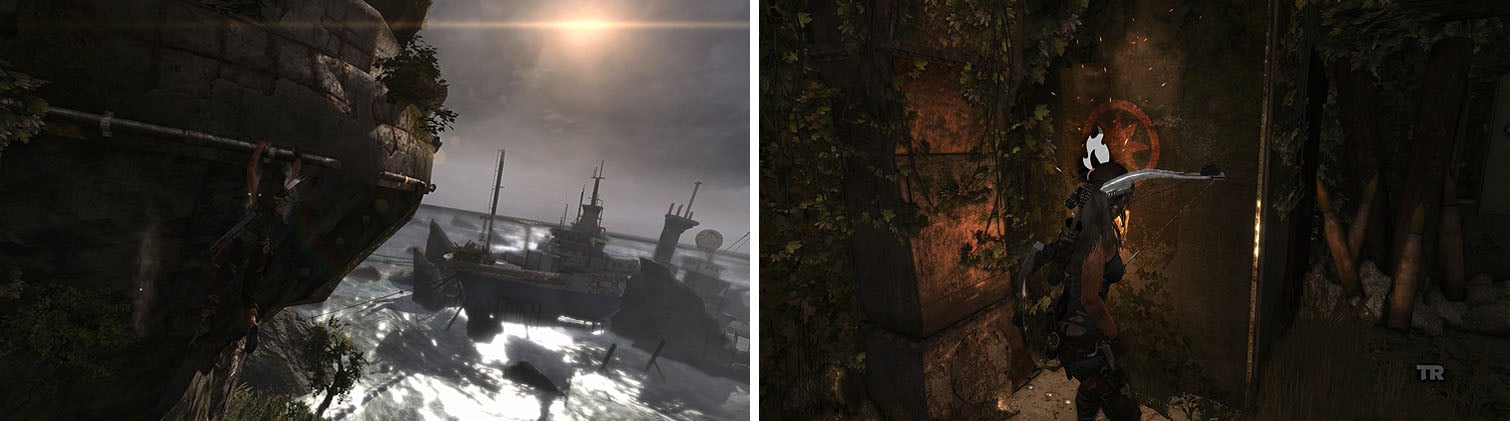
Shimmy around the bunker to enter and burn the first flag in the new challenge.
Crawl through the tunnel and carefully exit the other side to stealth kill a Solarii and then take cover behind the bundled pipes. Take care of the two welders to the right and left with an arrow to the head and then move forward and wait for a Solarii to roll an explosive barrel toward the group of men.
Shoot the barrel to take care of the four men and then back up and prepare for reinforcements. The majority of the new enemies will have armor protecting their head, so pull out your assault rifle and/or shotgun to take care of the remaining enemies.
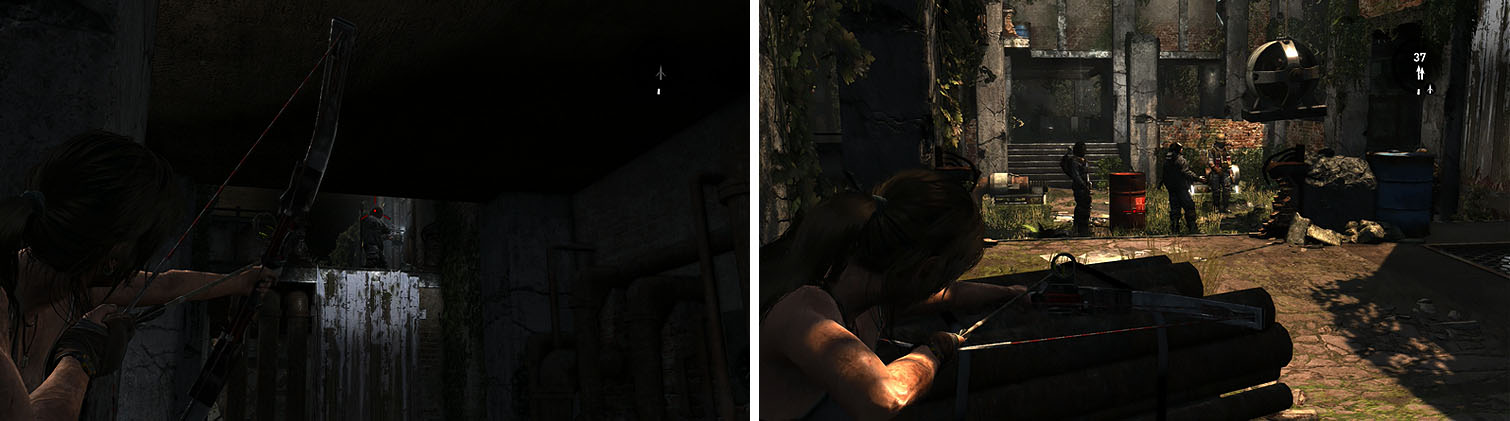
Silently kill the welders to dwindle the number of enemies you’ll have to deal with after blowing up the explosive barrels.
Once the area is clear, check the corner near the entrance for a GPS Cache 2 and the northeast corner of the courtyard for a Plant and then head to the back of the area to find the Wartime Intelligence - Scientist: In Search of the Star document.
Enter the hall in the northwest corner and rush around the corner with a weapon drawn to shoot the explosive barrel, hopefully killing the man that pushes it, and then finish off the rest of the Solarii while watching out behind you for a sneak attack.
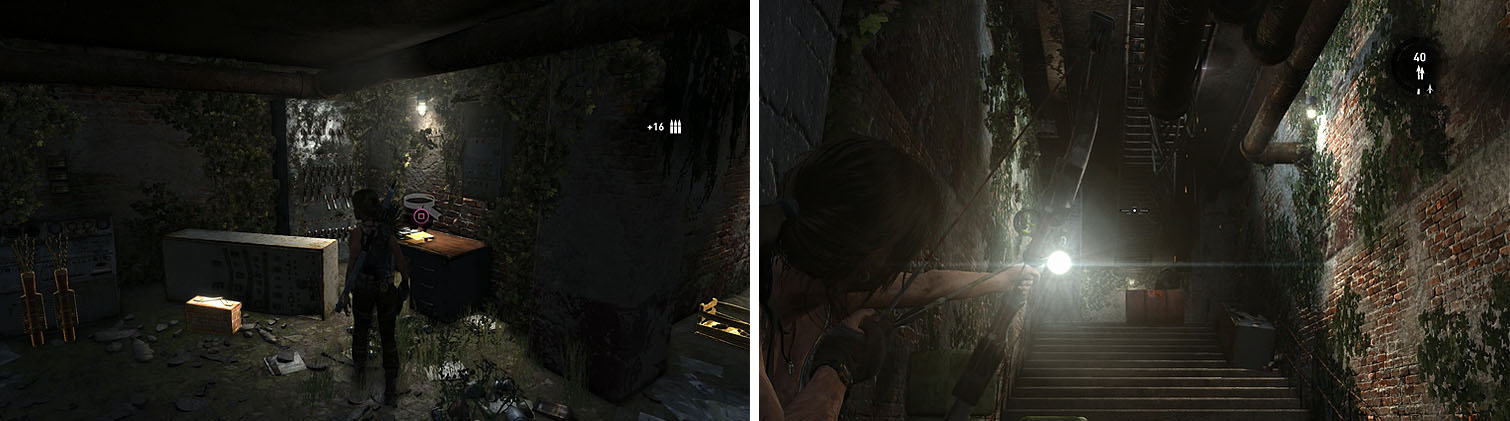
Collect the document at the back of the room before entering the hall, quickly shooting the explosive barrel before it reaches Lara.
Head upstairs and check the room on the right for Salvage x2 and then carefully head back into the main area, peeking around the corner to encounter more Solarii. Focus on the men throwing dynamite from across the courtyard and then focus on the men on the level above.
Cross the gap and check the room for some Salvage and then swing across the pole and climb up to the next level, immediately turning right to shoot an explosive barrel on the top floor to dispatch the Solarii. Jump across the gap behind you to collect some Salvage and a Food Cache and then cross the pipe for another Food Cache and a metal Salvage crate.
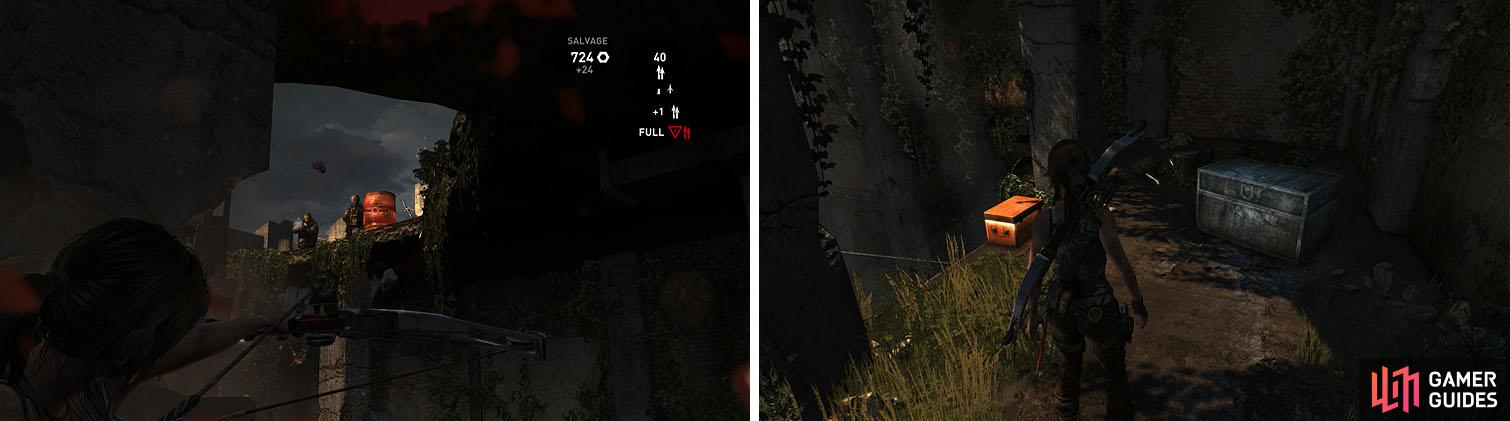
On the third level, exploding the barrel and then turn around to find some salvage.
Backtrack across the gap and check the other side of the building to spot another Flag (2/4) , which you can burn with a fire arrow, and then use the ramp to reach the top level.
Circle the outside of the area to burn another Flag (3/4) , collect a Food Cache , and then check the northeast corner of the roof for the GPS Cache 3 . You can now head toward the object surrounded in rope, but don’t drop just yet and instead look up to spot a Flag (4/4) on the power cable tower.
Burn the final two flags for the challenge, both of which are located on the roof.
Drop down to the camp and head toward the truck to collect a Plant and then check behind it for a Japanese 2 Sen Coin . Head back toward the camp and collect the Plant near the stacked boxes in front of the truck and then circle it to find the GPS Cache 4 .
Grab the Endurance Crew - Alex: Over His Head document near the camp and then create a zipline to the nearby island and slide down, collecting the GPS Cache 5 behind some rocks. You can now take the zipline to reach the Endurance. [100 XP]
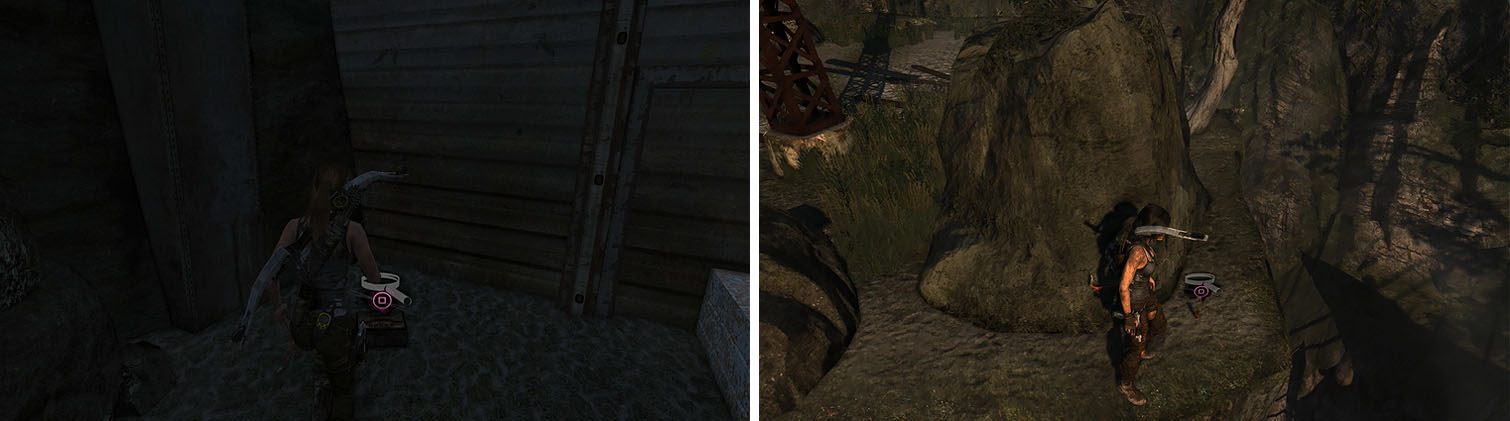
Grab the Japanese Coin relic near the camp (left) before sliding down the rope to find a GPS Cache behind some rocks (right).
Find Alex
There are two normal Solarii and a giant one in the next area, but wait for the giant to help pull over a section of the Endurance and return to the left before quickly taking out the two normal sized men.
The easiest way to defeat this mini-boss is to use Dodge Counter to stab him with an arrow and then shoot him in the head with the shotgun. Do this a few times to cause enough damage to stun him, indicated with a prompt, and then approach him and attack with Triangle/Y multiple times.
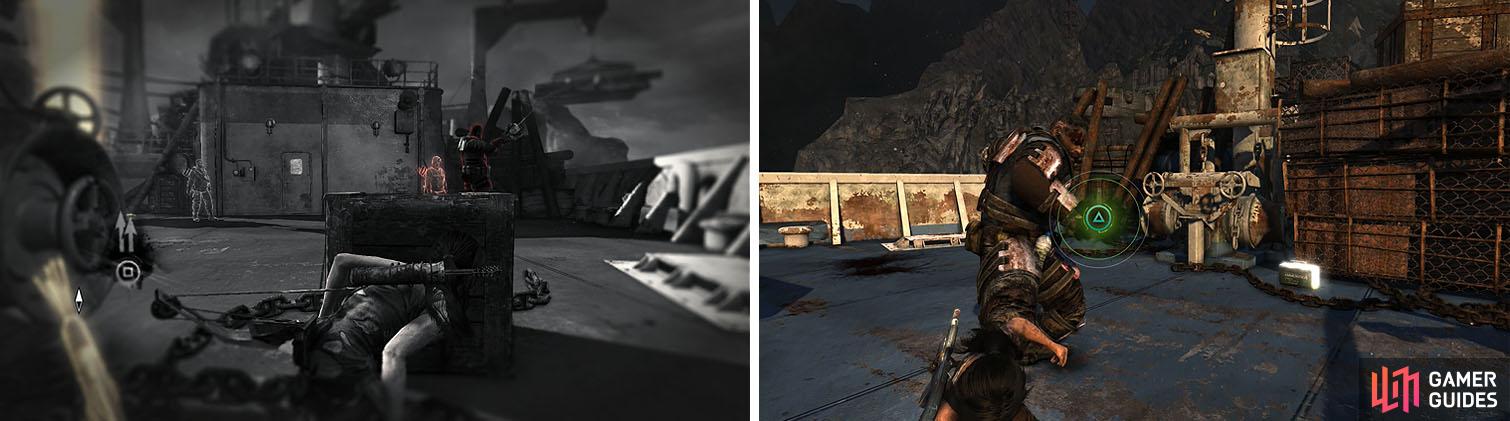
Wait for the giant to help his buddies and then defeat him by dodging and countering his attacks.
Using the Rope Ascender , pull the Endurance part by shooting a rope arrow and holding Square/X to drop it through the floor. Drop to the floor below and follow the hall for a scene and then check the floor of Sam’s cabin for the Endurance Crew - Sam: Adventures with Lara . [150 XP]
Continue down the hall to encounter two Solarii men conversing across the wreck about Alex and then take them both out. You can now slide down the rope and follow the path to the flooded part of the ship. [250 XP]

Enter the Endurance for a scene before exiting, defeating some Solarii.
Recover Reyes Tools
Alex is trapped behind a blocked doorway, so turn around and rope arrow the hooked pulley toward the door. The path is blocked with a pipe the needs to be cleared, so check both sides of the pulley to notice a short ladder on one side and a broken ladder on the other.
Jump on the side with the broken ladder, causing the pulley to move, and then rope arrow it away from Alex’s position. You can now jump on the short ladder twice to move it all the way to the other side of the room, connecting it to the rest of the ladder that leads to the pipe.
Kick the pipe out of the way and then jump on the broken ladder to move it in front of Alex’s position. You can now rope arrow the pulley toward Alex to hook the wires and then pull it away to reach Alex. [100 XP]
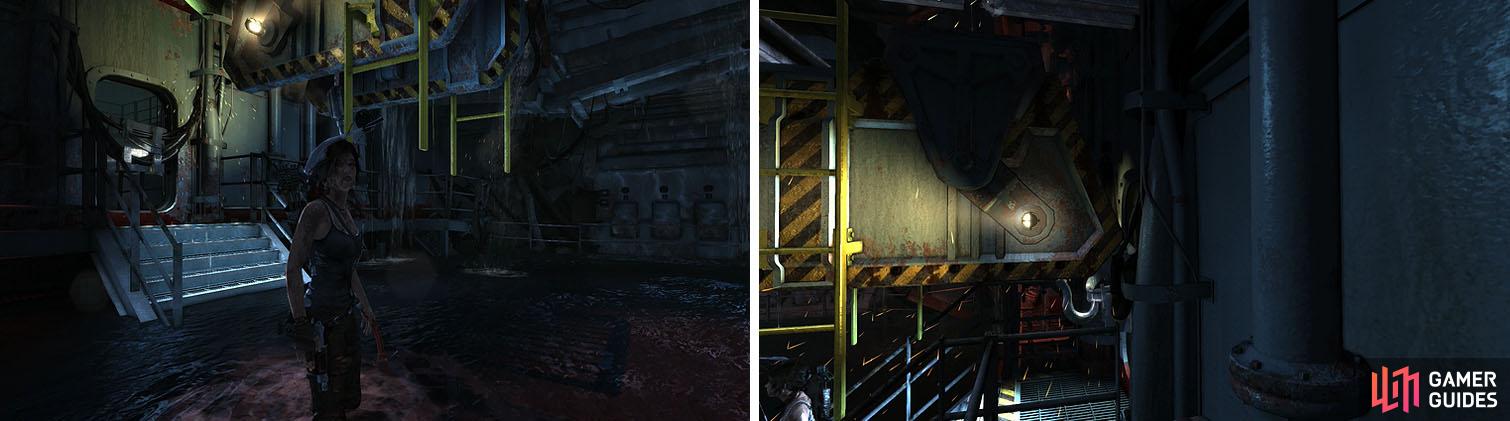
Use the ladders to move the hooked pulley around, releasing the wires to Alex.
Return to the Military Bunker
As you might have guessed, you’ll need to run for your life as the Endurance sinks into the ocean. Keep running and jump when the game slow-mo’s to grab the rope and hold Square/X to ascend quickly. You can now climb the crates on the ships’ deck to return to the bunker. [100 XP]
Return to the Survivor Camp on the Beach
Back at the camp, use the rope ascender to pull down the block from the top of the bunker and break through the cracked ground. Drop down to collect the Wartime Intelligence - Scientist: Secret of the Island document and then Pry Axe through the door.
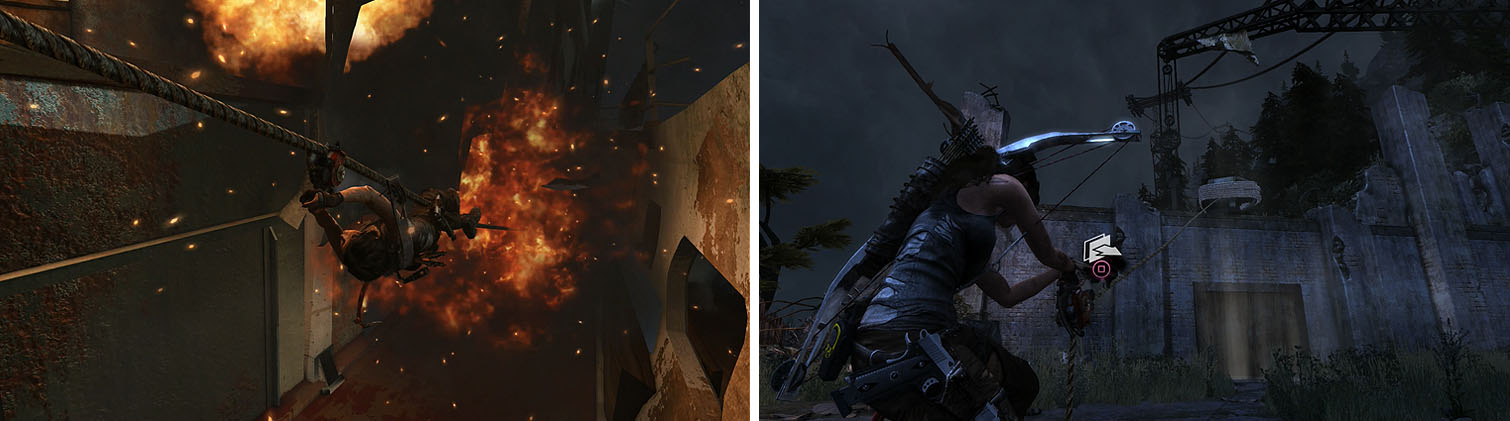
Escape the Endurance as it sinks (left) and return to the bunker to use the rope ascender (right).
Turn right to spot a roped doorway and then use the rope ascender to break through the doors. Collect the 100 Mon Coin and Salvage and then backtrack through the tunnel at the other end of the courtyard to return to the large gun room via the tunnel.
Rope arrow the door to the right to exit the bunker to find the Portuguese Tin Coin , a Plant , and the Cliffside Bunker Treasure Map and then jump to the zipline to return to the other camp. You can now pass back through the tunnel and rope arrow another door for a Food Cache .
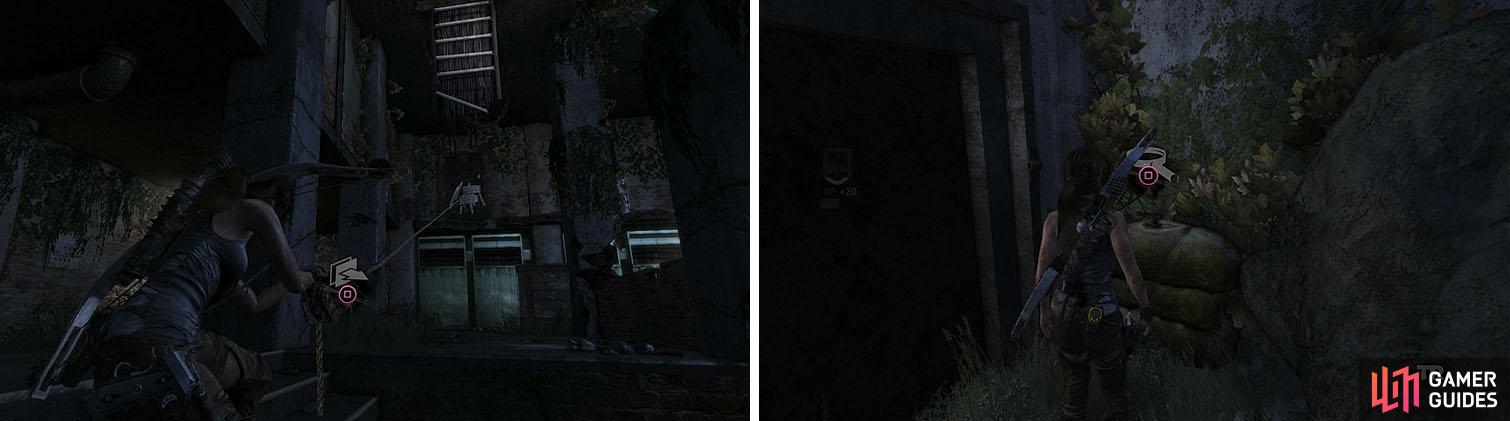
Inside the bunker, pull open the door you couldn’t access earlier (left). Outside, collect the treasure map before returning to the camp (right).
Ascend the rope and immediately take cover from the three Solarii and then wait for the conversation to end before dispatching the three men. You can now drop to the ledge next to the waterfall for some Salvage , also gaining a Bow part, and then follow the ledge around to the GPS Cache 13 on the other side.
You can now climb back up and slide down the ropes to return to camp. [400 XP]
No Comments