Reach the Endurance Wreck
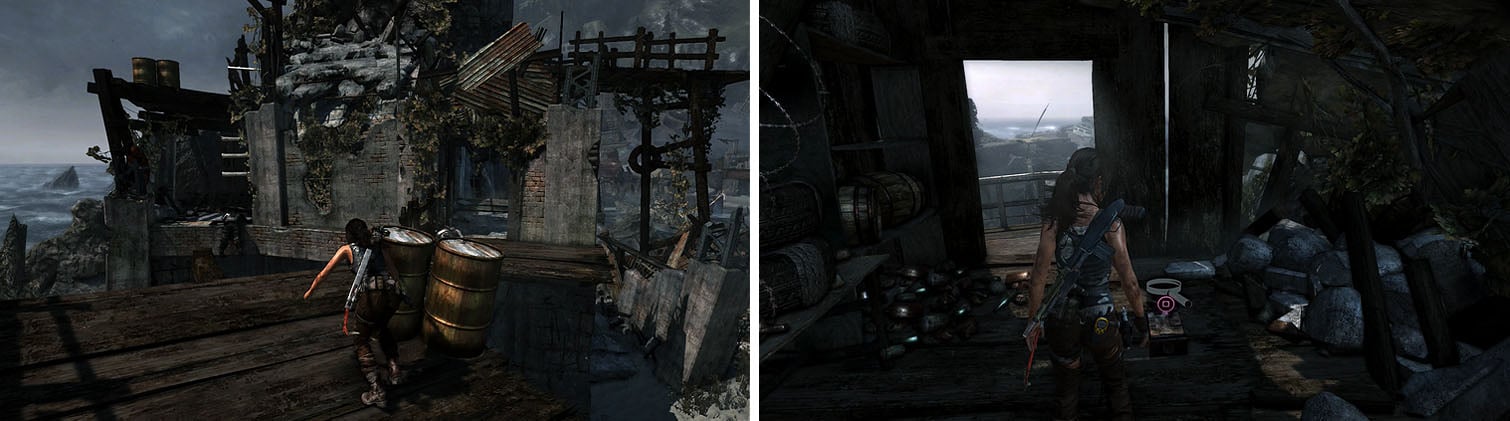
Speak with four Endurance crew members to progress the Chatterbox trophy/achievement, again, and then head to the eastern end of the beach.
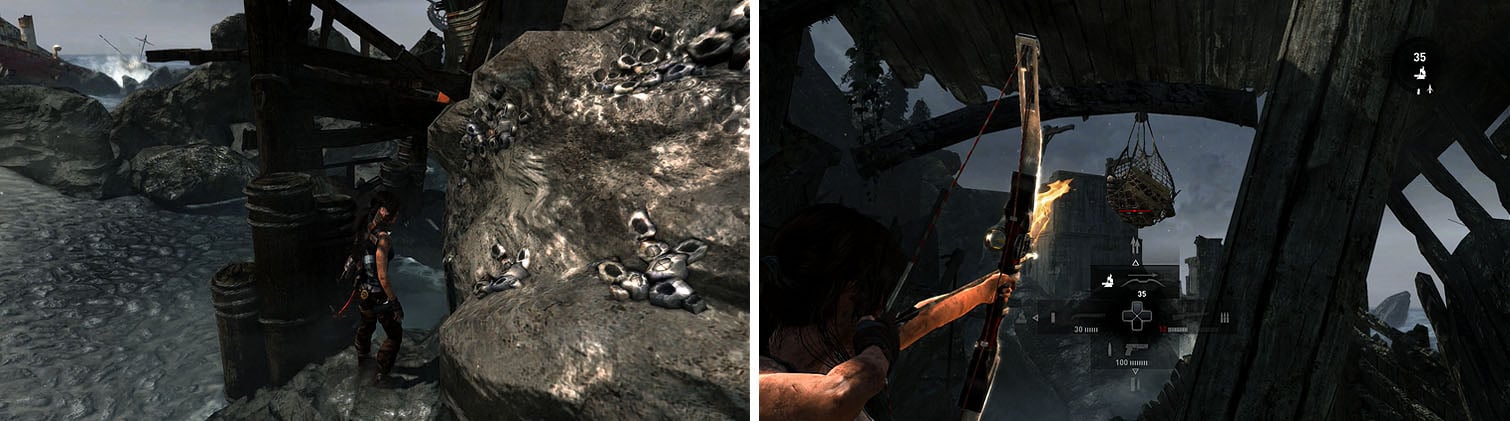
On the destroyed pier, shoot a rope arrow into the rocky wall to the left and then cross to the metal beam. Follow the path to the right and scramble up a wall and then hop to the nearby ledge to find a GPS Cache 6 . You can now backtrack to the platform and continue toward the hanging crate, scrambling up the wall to reach the deck of an old shipwreck.
Take the left path to collect the GPS Cache on a ledge near the wrecked ship.
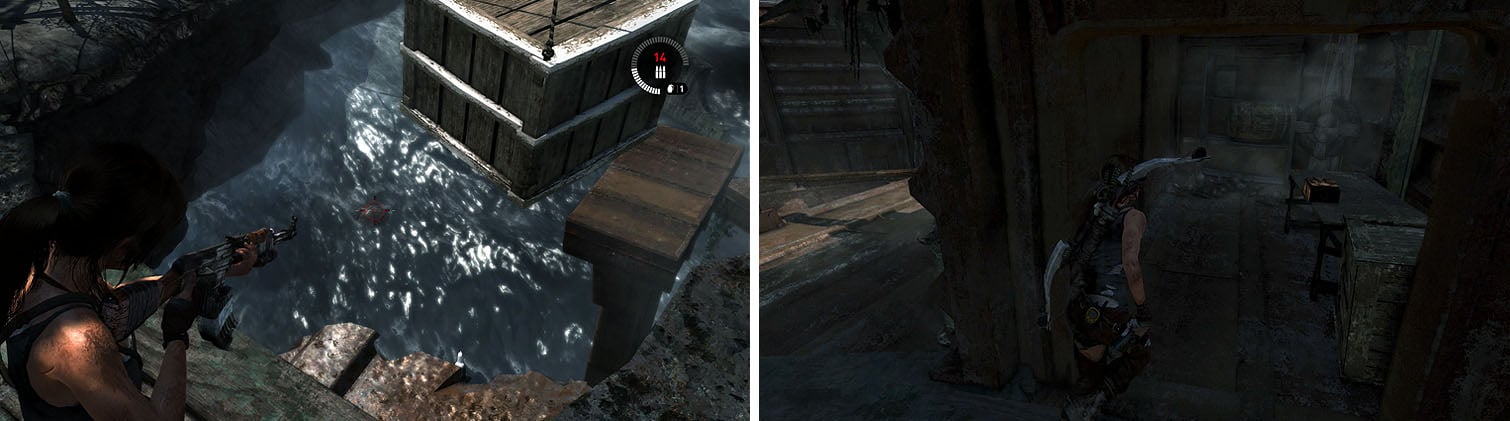
Pry open the metal Salvage crate and then check the water below for a Mine (6/10) , which may be hiding behind the crate depending on where you’re standing. Turn around and shoot down the salvage from the netting behind you and then drop down to the lowest level to collect the Salvage and a Stained Jade Head Rest .
Climb the metal beam to reach the next level and check the room on the right for a Stuffed Bunny and then scramble back up to the deck. You can now climb the mast to find the GPS Cache 7 before heading down the zipline.
Check the water for a Mine and then search each floor of the ship for collectibles.
Continue down the beach until two Solarii exit the building tower, dispatching them, and then open the Salvage on the beach before shooting down some additional Salvage from a net to the right. Circle the back of the tower to dismantle a Cairn (4/5) and then use Survival Instinct to spot another Mine (7/10) near the wreckage in the ocean.
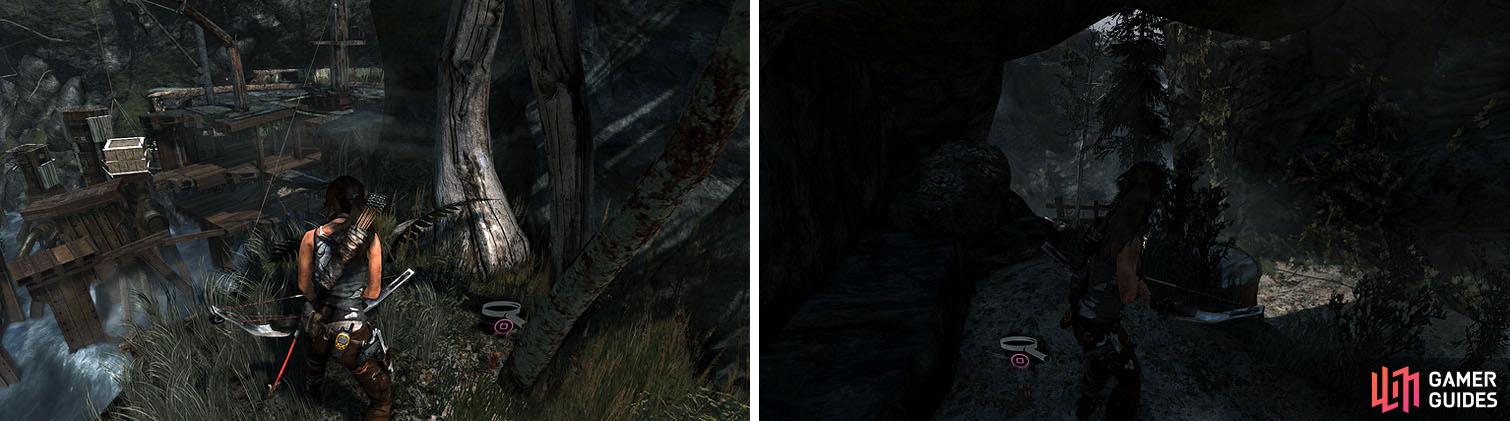
Continue around the tower into the water and head toward the waterfall, looking right to spot another Mine (8/10) , and then enter the cave to the right of the waterfall for some ammo and the GPS Cache 8 .
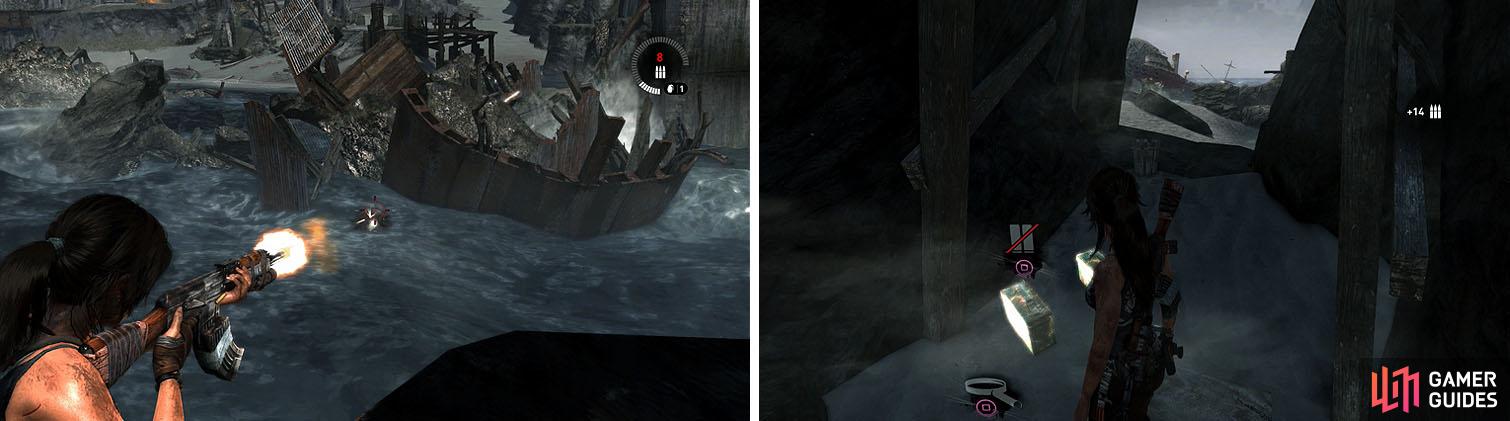
The Mine in the water is located near the wreckage (left) and the GPS Cache is behind the waterfall (right).
As you exit the cave you’ll spot the end of a pier peaking out from behind some rocks. Make your way to the top of the pier by jumping onto the rocks and then use the supports to collect the Food Cache and GPS Cache 9 .
You can now head east to the water’s edge to find another Mine (9/10) floating above the waves before following the beach east for some Salvage on the ground, Salvage in a net, a Mine (10/10) , and the GPS Cache 10 .
Use the rocks and pillars to reach the pier (left) and then follow the beach to find some salvage (right).
Return the area where you dropped from the zipline and use the ramp to reach a broken pillar and then scramble up the white boards to reach a bridge. There are two paths you can jump to: the one straight ahead via a beam or the doorway to the right.
Cross the beam and jump straight ahead to climb the white boards and then turn around to spot some Salvage . Return to the bridge and head through the other path and then climb the ladder. Before scrambling up the wall you’ll need to shoot the barricade high above and then climb up to collect the Toy Train and a Food Cache .
There are two paths, with the right one leading to a relic and the top of the tower.
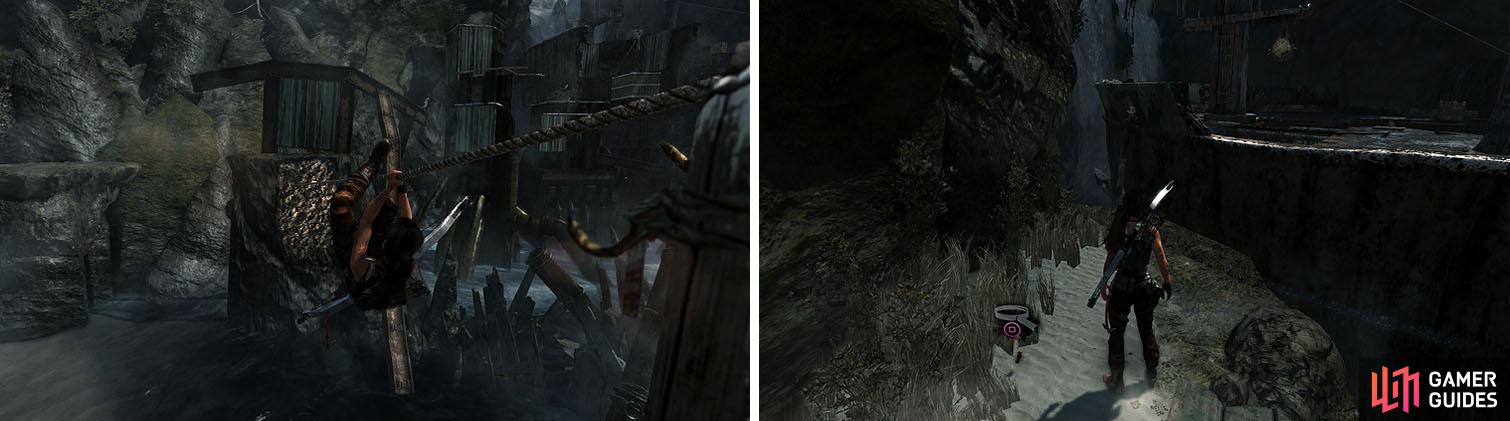
Climb to the top of the tower and slide down the rope and immediately take cover from the two Solarii nearby before you dispatch them. Instead of climbing up to their location, drop off to the ledge on the left to collect the GPS Cache 11 near the edge before circling around the other side for some Salvage .
Turn around and pass through the water to encounter two more Solarii and then check above the barrel for the GPS Cache 12 before collecting the Salvage outside. You can now backtrack up the rocky wall to reach the ledge where you defeated the men and pry open the door to a bunker.
Check the area below the bunker, with the two men, to find two GPS Caches.
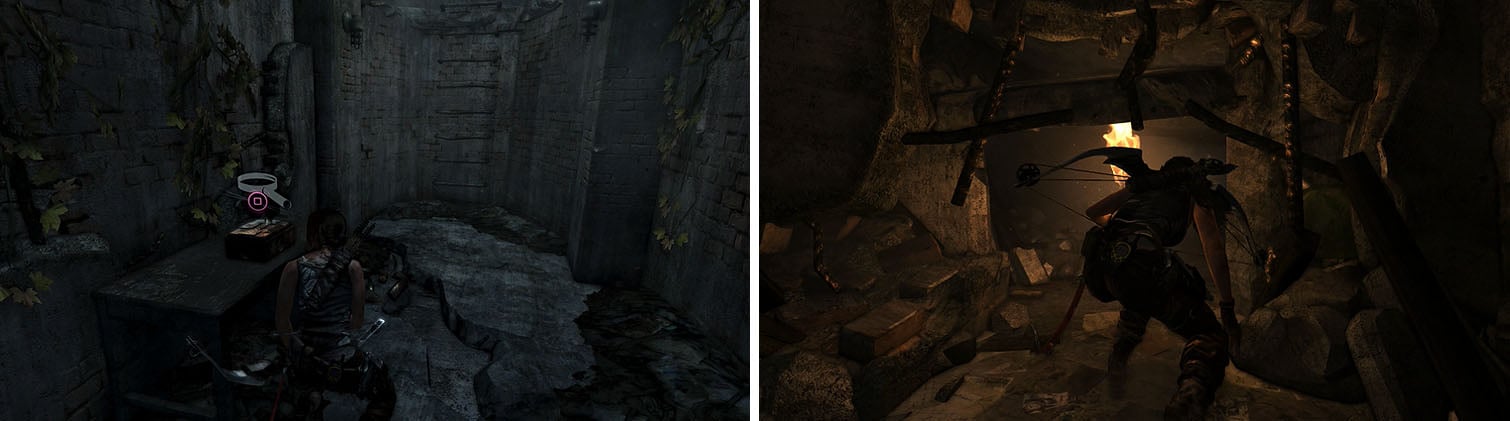
Enter the bunker to collect the Shaped Jade Head Rest on a desk and then climb up the ladder and enter the room on the left to find a Salvage locker. Turn around and cross the gap and then follow the path through a tunnel to the heart of the bunker.
You can now collect the Salvage in a net, Salvage in a locker, a Food Cache , and the Worn Wallet before you enter the tomb.
Enter the bunker to collect multiple items and reach the tunnel to the hidden tomb.
- The Flooded Vault -
Head up the steps and use the panel to drop a light into the water below, electrify the water and powering the room. Return downstairs and open the double doors via the panel and then enter the room on the right to blast through the barricade.
Shoot a fire arrow across the water to burn the clothed pole, releasing the raft, and then pull it multiple times until it is close enough to jump on and use to reach the other side of the wall. Face the other stairs and look up to spot a roped metal beam, which raises the light and de-electifies the water, and cross the water when you get a chance.
Turn around and pull the raft close to the light and then raise it and pull the raft underneath, preventing the light from entering the water again. You can now wade through the water to the staircase in the back corner to collect the 1250 XP , 250 Salvage , and the Shipwreck Beach Relic Map .
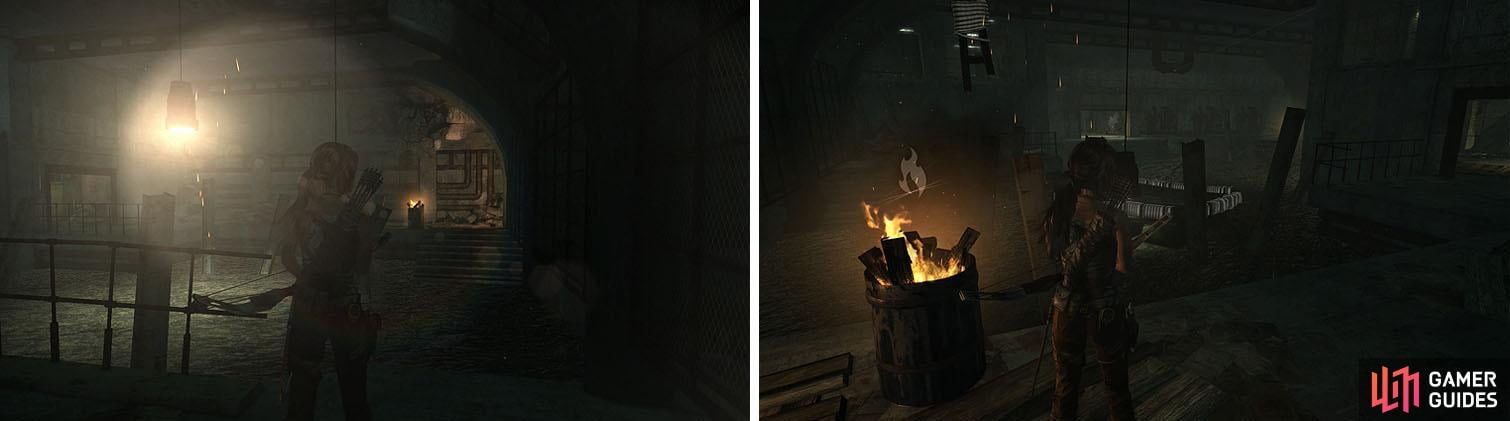
Raise the light on one side of the water to cross to the other side (left) and then do it again and place the raft under it to block the light (right).
Make your way out of the bunker and turn left to cross the bridge, killing the single Solarii, and then drop off to the right at the end. Swing across the pole and dismantle the final Cairn (5/5) and then backtrack and jump to the beam.
You can now create a rope bridge to the rocky wall and climb up, checking the crumbling building for the Ancient Scrolls - Hoshi: In Her Image document inside and some Salvage on top.
No Comments