
Upon arriving in the Snow Kingdom, you see the weather isn’t all too favorable, reducing visibility to practically nothing. If you look at your map, you should see the path set out for you, so ignore everything else and just get to the objective. Note that the actual weather doesn’t affect you, but the water below will sap away your health if you are in it for too long. Just go down the incline and drop down in between the two pieces of ice, then continue heading north, ignoring the ice platforms in the icy waters. When you reach the area with the shiny marker, backflip up to it and either run through or toss your hat to get rid of the snow covering a well. Jump down the well to enter Shiveria.
There are a few things you can do in just this little entrance area, so let’s get down to it. Look behind you to find a pipe, which will bring you back to the surface, but that’s a fruitless endeavor right now. In the one corner are four purple coins (4) and in the corner opposite of that is a Power Moon up in the air. Although the boxes will fall, you can wall jump up to this moon to collect it (Entrance to Shiveria) . Along the wall, just a little ways down from the purple coins, is another piece of art in between some wooden crates and boxes, which shows off something in the Lost Kingdom. Take a screenshot of it for now, as you will be going there at the end of the kingdom.
Walk/run down the path and the shop will be on your right, so head inside and purchase the Power Moon from the yellow shop (Shopping in Shiveria) . Speak with the Shiverian in front of the blocked hole in the ground to learn that Bowser stole the cake, as well as restricted access to the race area. In order to open this hole back up, you need the strength of Power Moons, but only specific ones will remove the barriers. Luckily for you, the four required moons are down each of the passages to the sides.
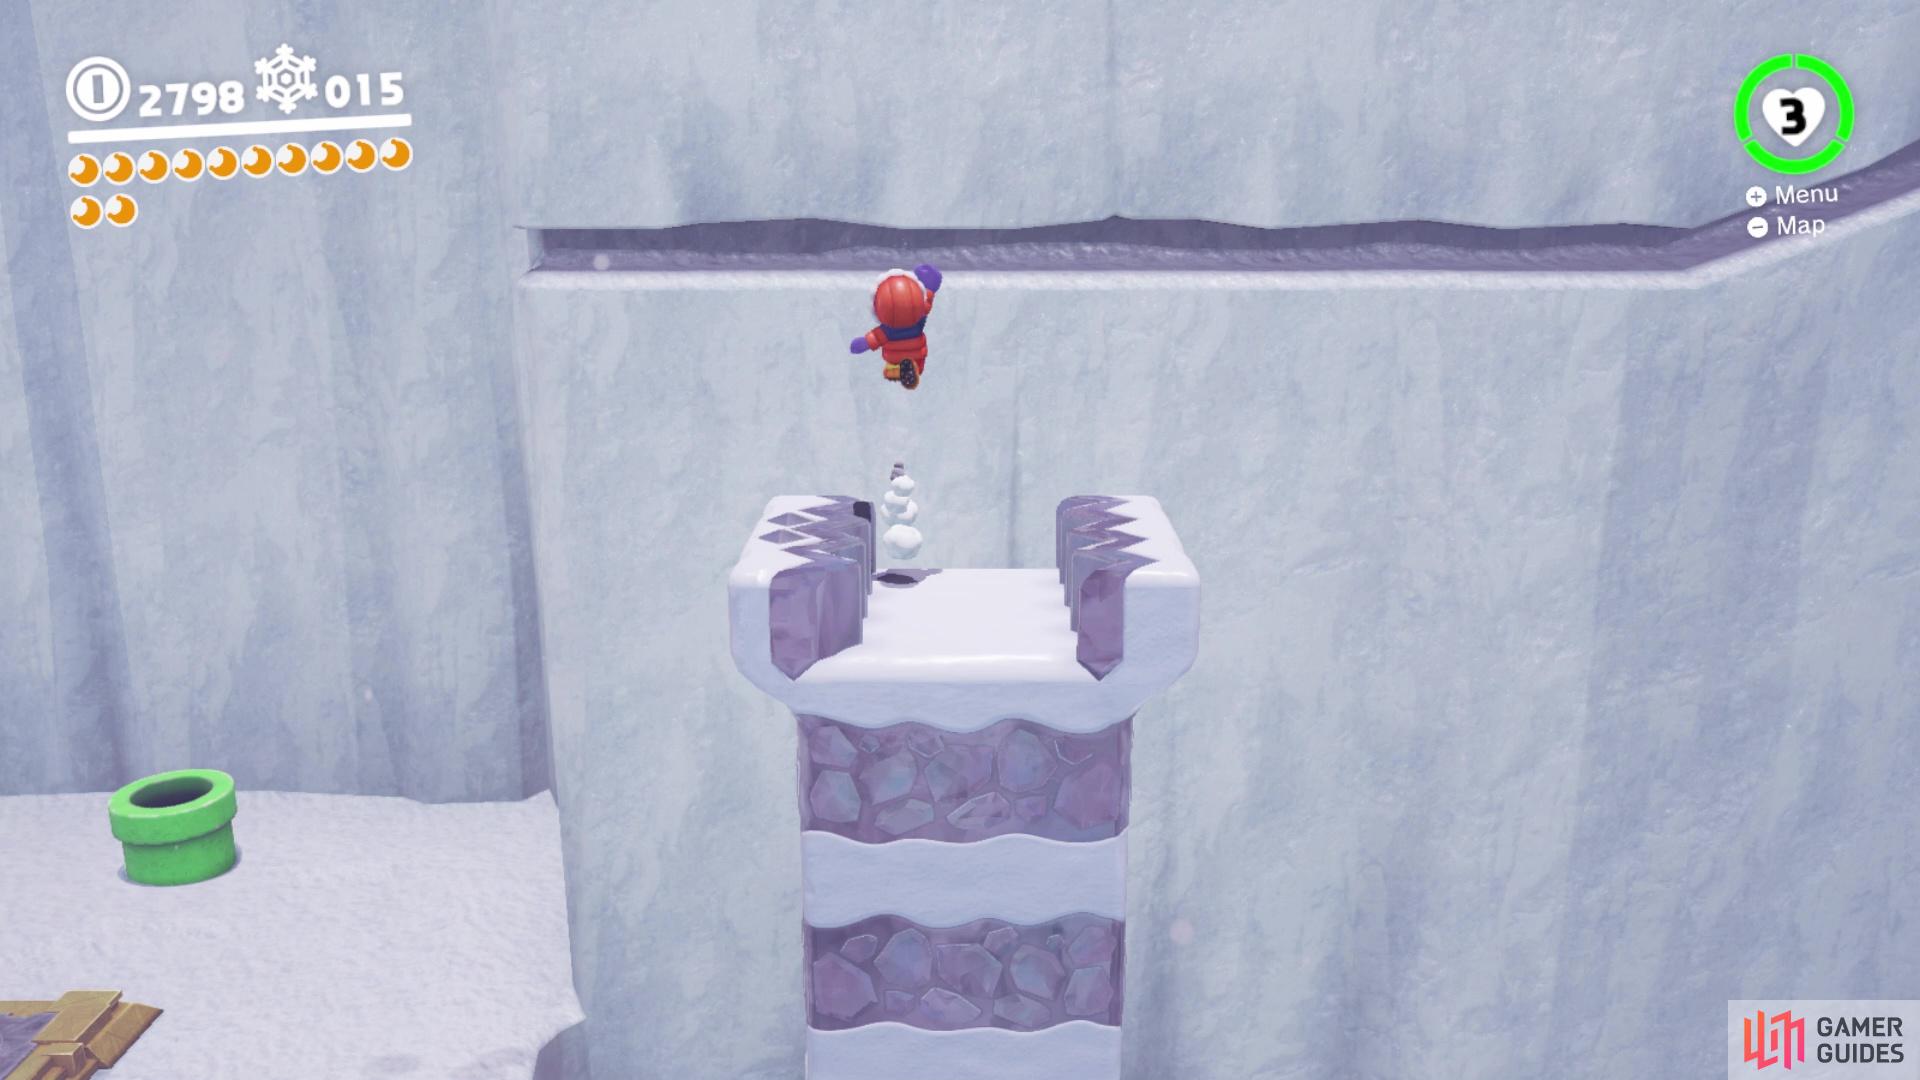
Before you delve into the tunnels, you should see Talkatoo on one side of the area. Opposite him will be a pole you can climb to an upper level, so do that to find a locked door with a Shiverian guarding it. Unfortunately, you don’t have enough purple coins to buy the required outfit, so make a mental note and continue on the path up here. The lights have poles you can climb, so use those to cross the gap and find a large snow pile. Clear the large one as soon as you get across to find a sparkling spot on the floor, so ground pound it to get a Power Moon (Shining in the Snow in Town) . The snow at the end hides a passageway that leads to the bridge, where you’ll find a chest with another moon (The Shiverian Treasure Chest).
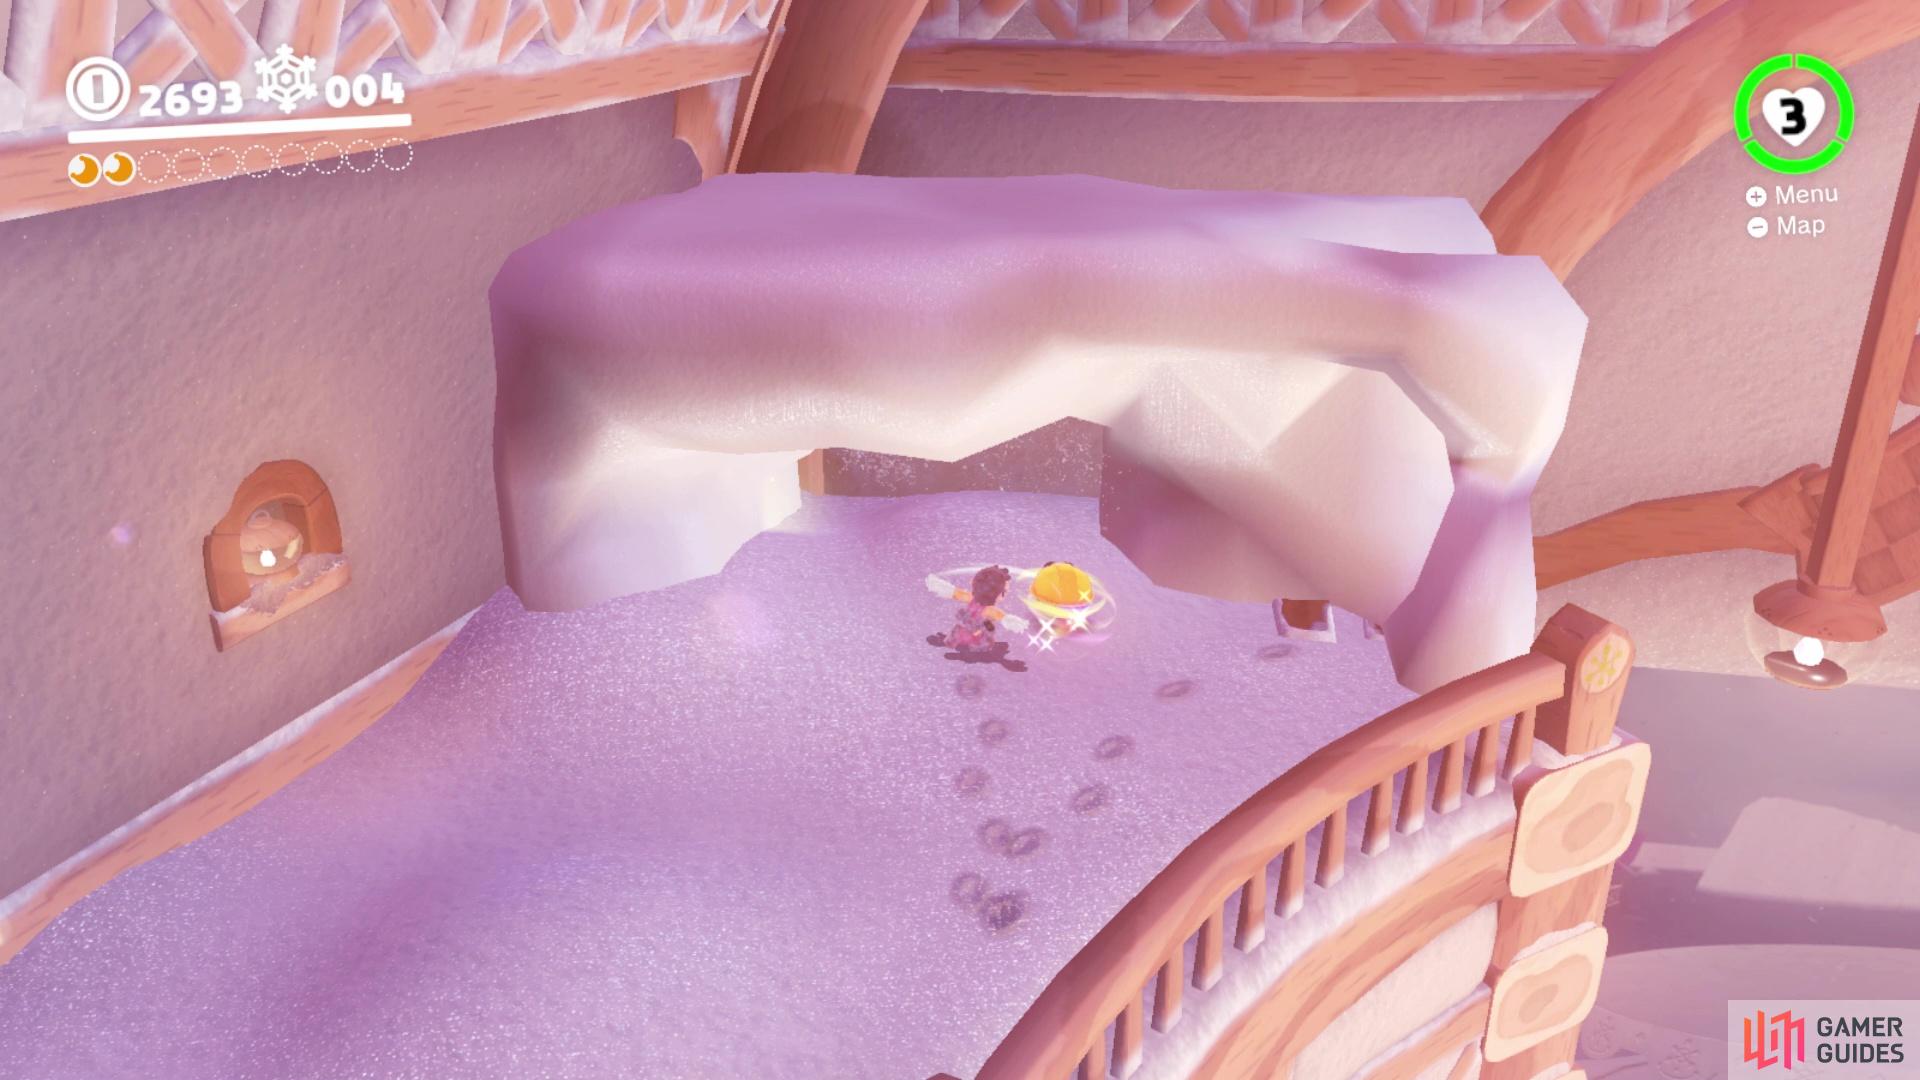
Clear the snow in the one corner
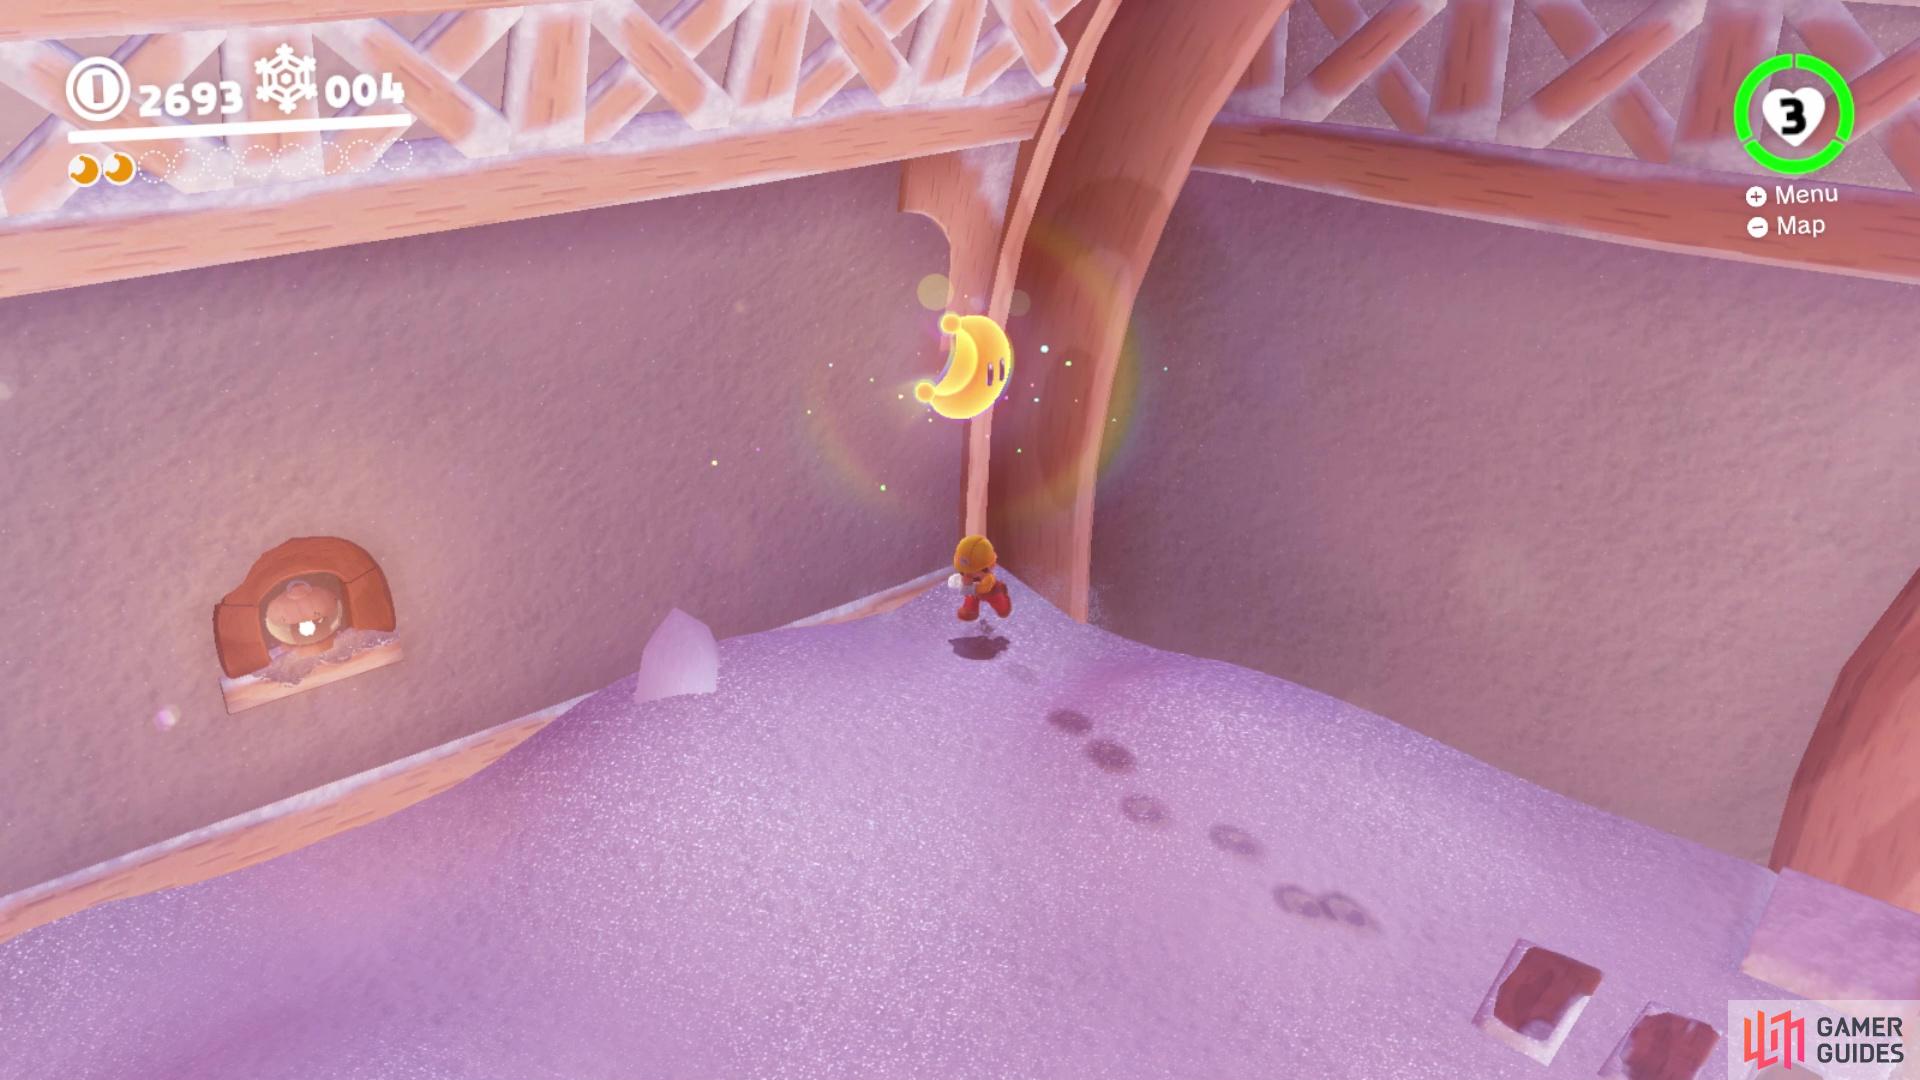
then do a ground pound in the glowing spot to uncover a moon
A Cold Wind Blows
That’s all you can do here for now, so it’s time to start exploring those sub-areas to find these moons to remove the barriers. Facing the barriers, go through the doorway of the first one to your left, which brings you to an area filled with the poison waters. There are two new enemies here, one of which should be familiar to any Mario fan. The Spinies have spiked shells and cannot be jumped on, but you can nudge them away a bit by tossing your hat at them. The other enemy is called a Ty-foo and their main method of attacking is blowing a strong gust of wind. While you can’t capture the Spinies, you can actually capture the Ty-foos.
Make your way past the first Ty-foo and watch out for the Spinies before the second set of Ty-foos, who are pushing some stairs back and forth. Past them will be a pretty big wall, with what seems like some discoloration. Capture the Ty-foo closest to this wall and use its blowing attack on the center to create a doorway, which consisted of some stairs. Get on the top step and perform a Cap Jump to reach the top of the wall. There is a small “X” here and ground pounding it will unearth a Power Moon (Atop a Blustery Arch).
Past that is a Ty-foo just blowing wind back and forth, but it’s not stuck inside of the land. You may have seen some purple coins in this area in the middle of the poison waters, with no possible way to reach them without dying. Well, this unrestricted Ty-foo is the key, so capture it and collect a total of seven purple coins (11) before returning to the previous spot. Opposite of where you capture the Ty-foo is a platform with a large number of Spinies. Use its breath to blow them all off the platform to make a Power Moon spawn, putting an end to this little area (The Gusty Barrier).
If you’re good with utilizing jumping off your hat for a boost
then it’s possible to reach this moon without having to use the stairs behind it
Snowy Mountain
Back in the central hub, the next barrier you will take on is the other on the same side as the last one. There’s really not much to this area, besides some large piles of snow that you can clear if you want. Reach the end of the first path and use your hat to remove the wooden pole, which will spawn a twister that you can use to reach the next ledge. Collect the three purple coins (14) before moving past the next mound of snow. There is a flower here that can be used to get to the following twister.
Before you pull the last wooden pole out, look along the wall for an opening that’s covered in snow, which might be a little difficult to see. This will lead to a narrow ledge that will bring you to a Power Moon (Behind Snowy Mountain) , as well as three more purple coins in the pit below (17) . Return to the pole, pull it out and ride the twister to the top, where you will have a rematch with Rango Broodal. This is the exact same boss battle as before, except the arena is icy and Rango will always throw two hats at you. Three hits like before will finish him off, netting yourself another Power Moon (The Snowy Mountain Barrier) .
Weathering the Storm
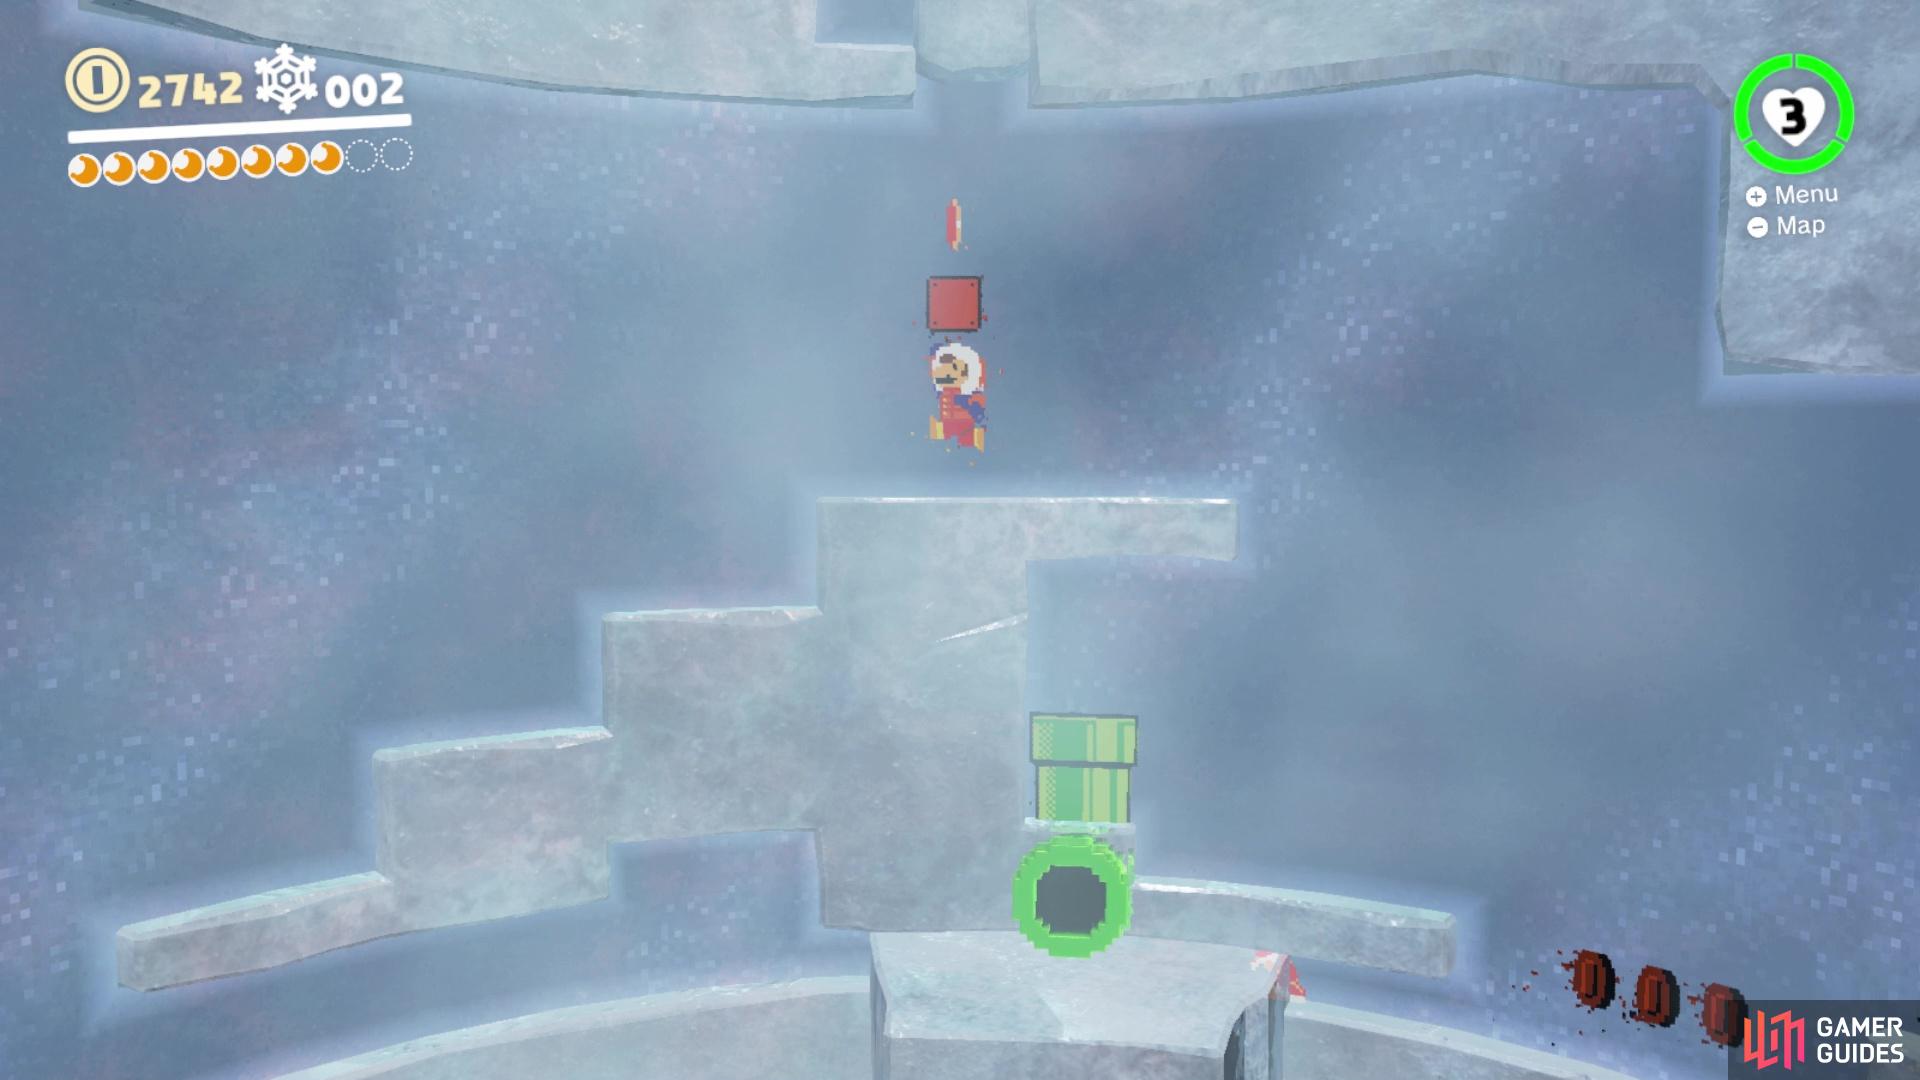
You should have enough purple coins now to purchase the Snow outfit from the purple coin shop, so do that, equip both pieces and go talk with the Shiverian guarding the doorway on the second level. The Power Moons here won’t be freebies, though, as you will need to traverse an 8-bit mural infested with Spinies. Take a look around to see you need to collect five Moon Shards, plus you should also take a glance at the hidden moon on a higher ledge. The first shard is in plain sight, but be mindful of the Spiny patterns here to avoid taking damage.
The second shard requires you to come at it from the right side, although it’s possible to slide underneath the small gap. The third and fourth aren’t particularly hard to get, but the fifth might need you to kick the Koopa Troopa’s shell, which will slide along the bottom and destroy all of the Spinies. As soon as it passes underneath the area with the fifth shard, hurry and nab it before you get corned by the shell. The Power Moon will spawn in the 3D area, on the little mound, but there’s another to be acquired.
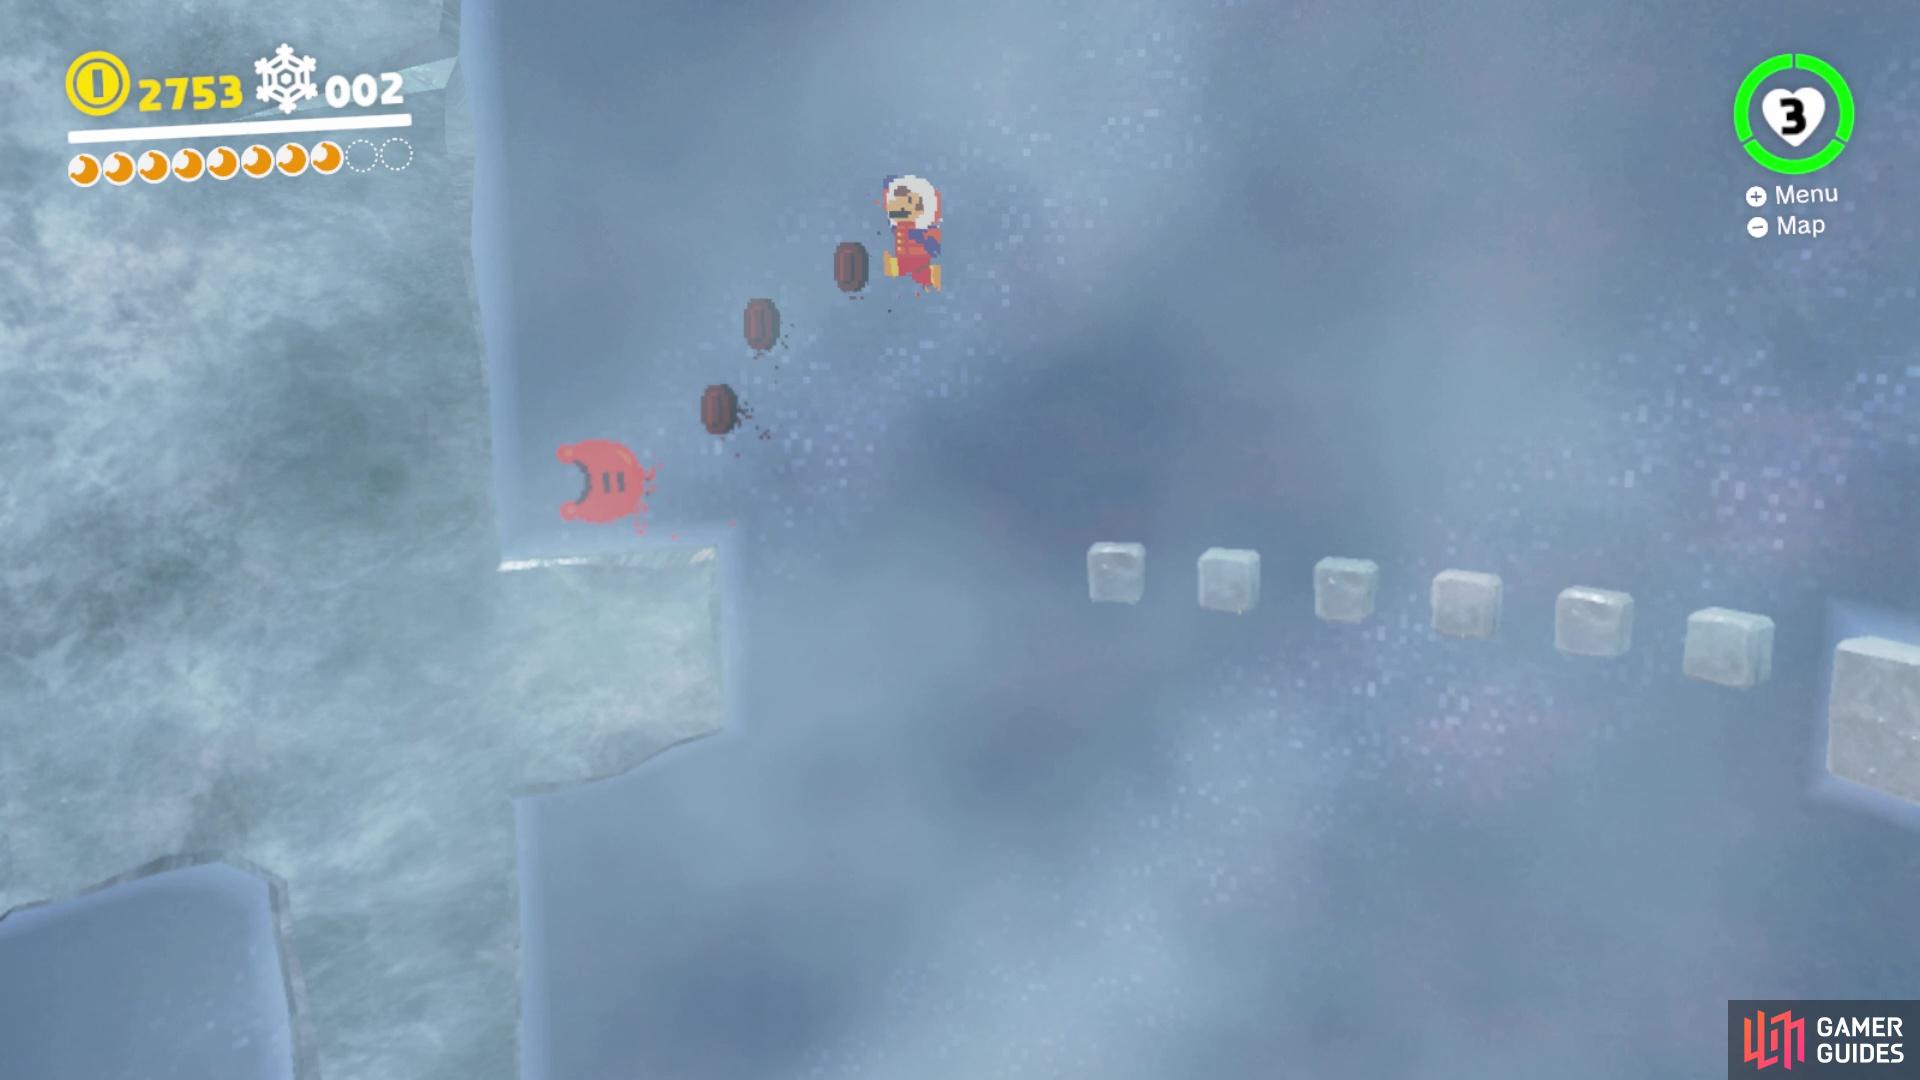
To get the hidden moon, stand on the ledge above the pipe and jump up to reveal two hidden coin blocks. This will allow you to reach the ledge above by jumping through the “ice” in the way, which is just false. Sprint to the left and at the end, leap over to the alcove with the Power Moon (Slip Behind the Ice) . Return to the pipe to get back to the 3D area and nab the other Power Moon (Moon Shards in the Cold Room) before venturing back to the main hallway.
Jump up at this spot to find hidden coin blocks
which you can use to reach the path leading to this moon
Icicle Cavern
It’s time to tackle the remaining two passages, so start with the first one to the right (black door). The floor here is icy, so you’ll need to watch your movement, but there are Goombas here to help with that. Also, see those dark shadows on the ground? Step near one and an icicle will fall from the ceiling, which hurts - it hurts a lot (well, only the single point of damage like usual). Capture a Goomba and start making a tower, then cross the conveniently narrow path to the other side, and continue the stack of Goombas to a four-high.
Bait the icicle near the ledge to fall down, then use it as a platform to the switch. Notice the “4” on the switch and the shape of a Goomba? Well, it needs a four stack of Goombas to activate, which will lower the obvious hidden wall nearby, revealing a Power Moon (Ice-Dodging Goomba Stack) . Continue along the path, using the icicles to jump up to the top, where more Goombas await. Stack those and use them to reach the three purple coins (20) . There is a large icicle in the middle of the room, but you are on the top side of it and it is stuck.
To set it free, you will have to coax the icicles that are above the pivotal points to fall down, which will destroy the bindings. There are three in all and the big icicle will drop below, but don’t follow it yet. See the pillars on the edge of this floor and how one of the gaps has some shadows at the bottom. Wall jump to the top to grab four purple coins (24) , then drop down the giant hole in the ground to nab the third required Power Moon (The Icicle Barrier).
Hollow Crevasse
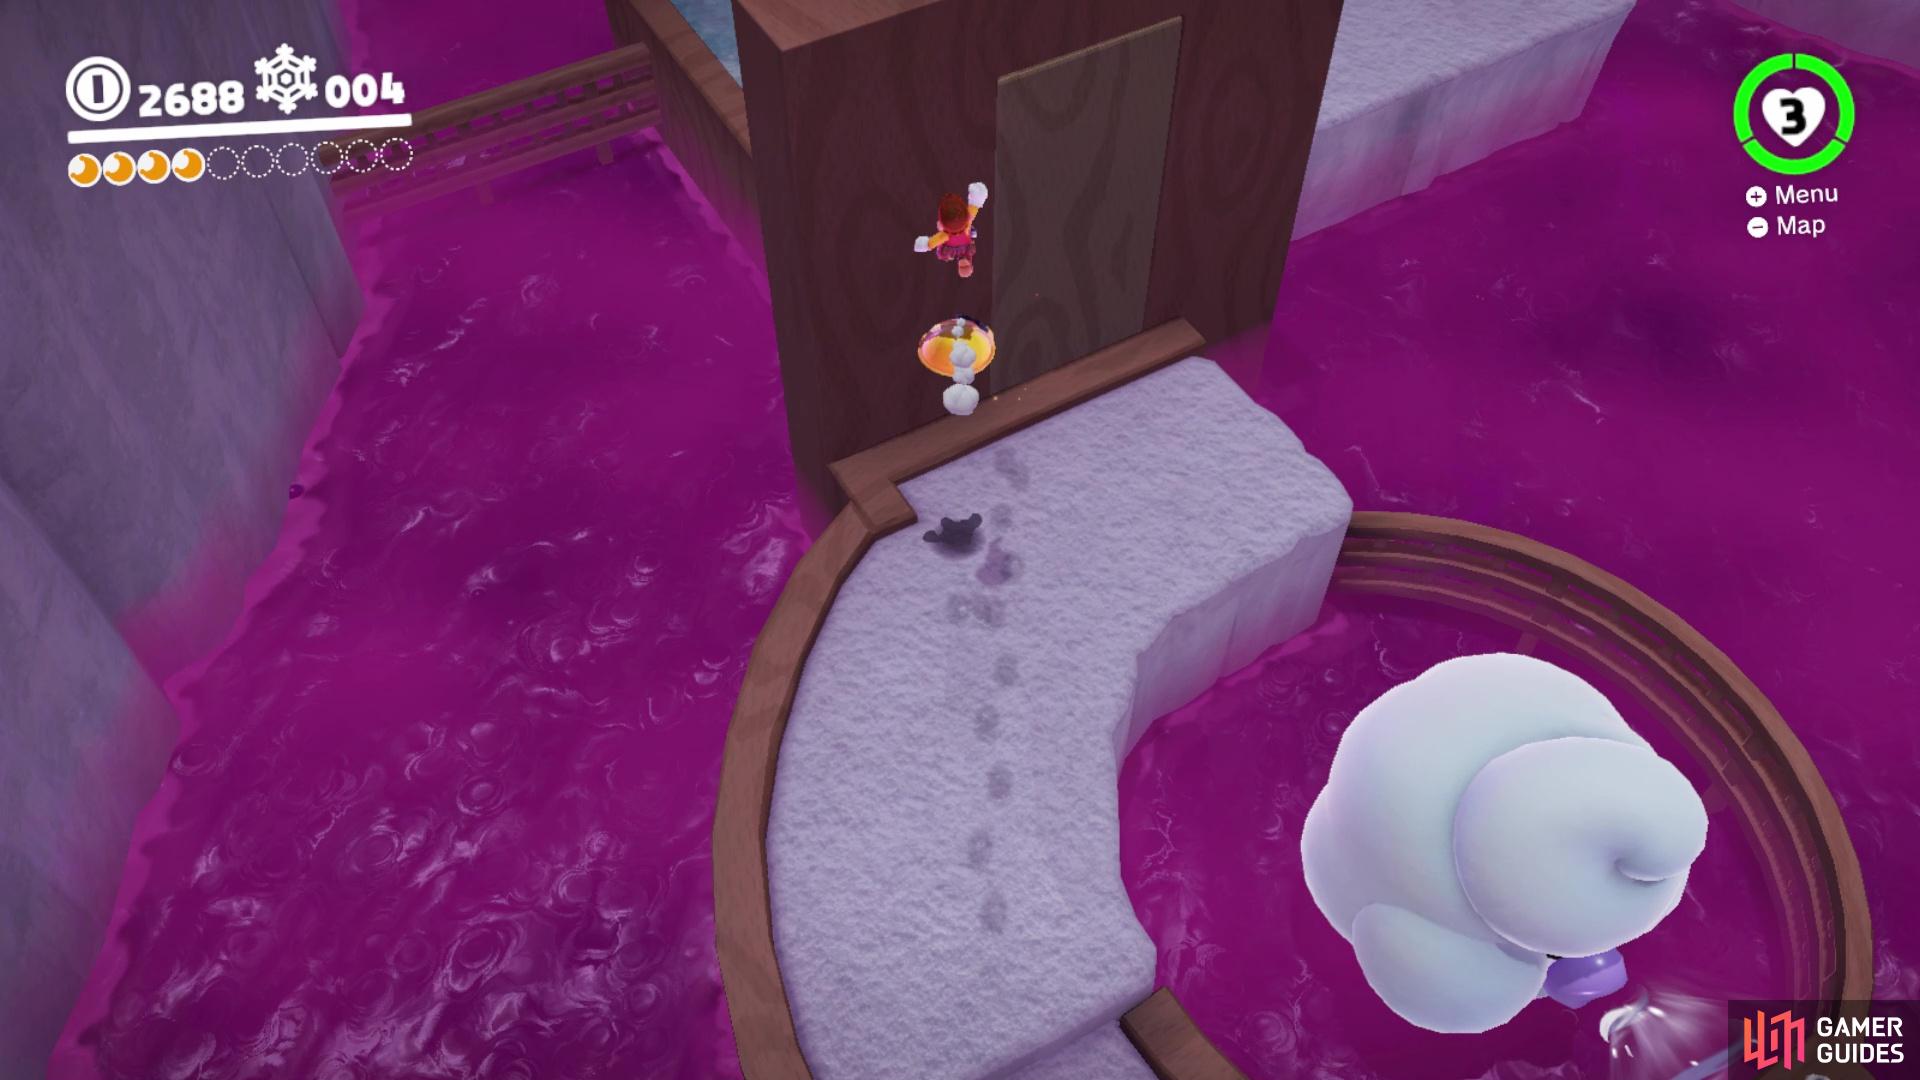
There is only one more passage left to do, so enter the doorway at the end of the tunnel to come into an area with icy water and Moon Shards. However, there’s a little surprise waiting for you here, in the form of an enemy called Bitefrost. These things hide in the ground and will surface whenever Mario is on top of them, rising into the air like a vine and then attempting a bite after they are fully extended. You can simply jump when the Bitefrost attempts to bite to easily dodge its attack and you don’t have to worry about contact damage, since you can stand on it.
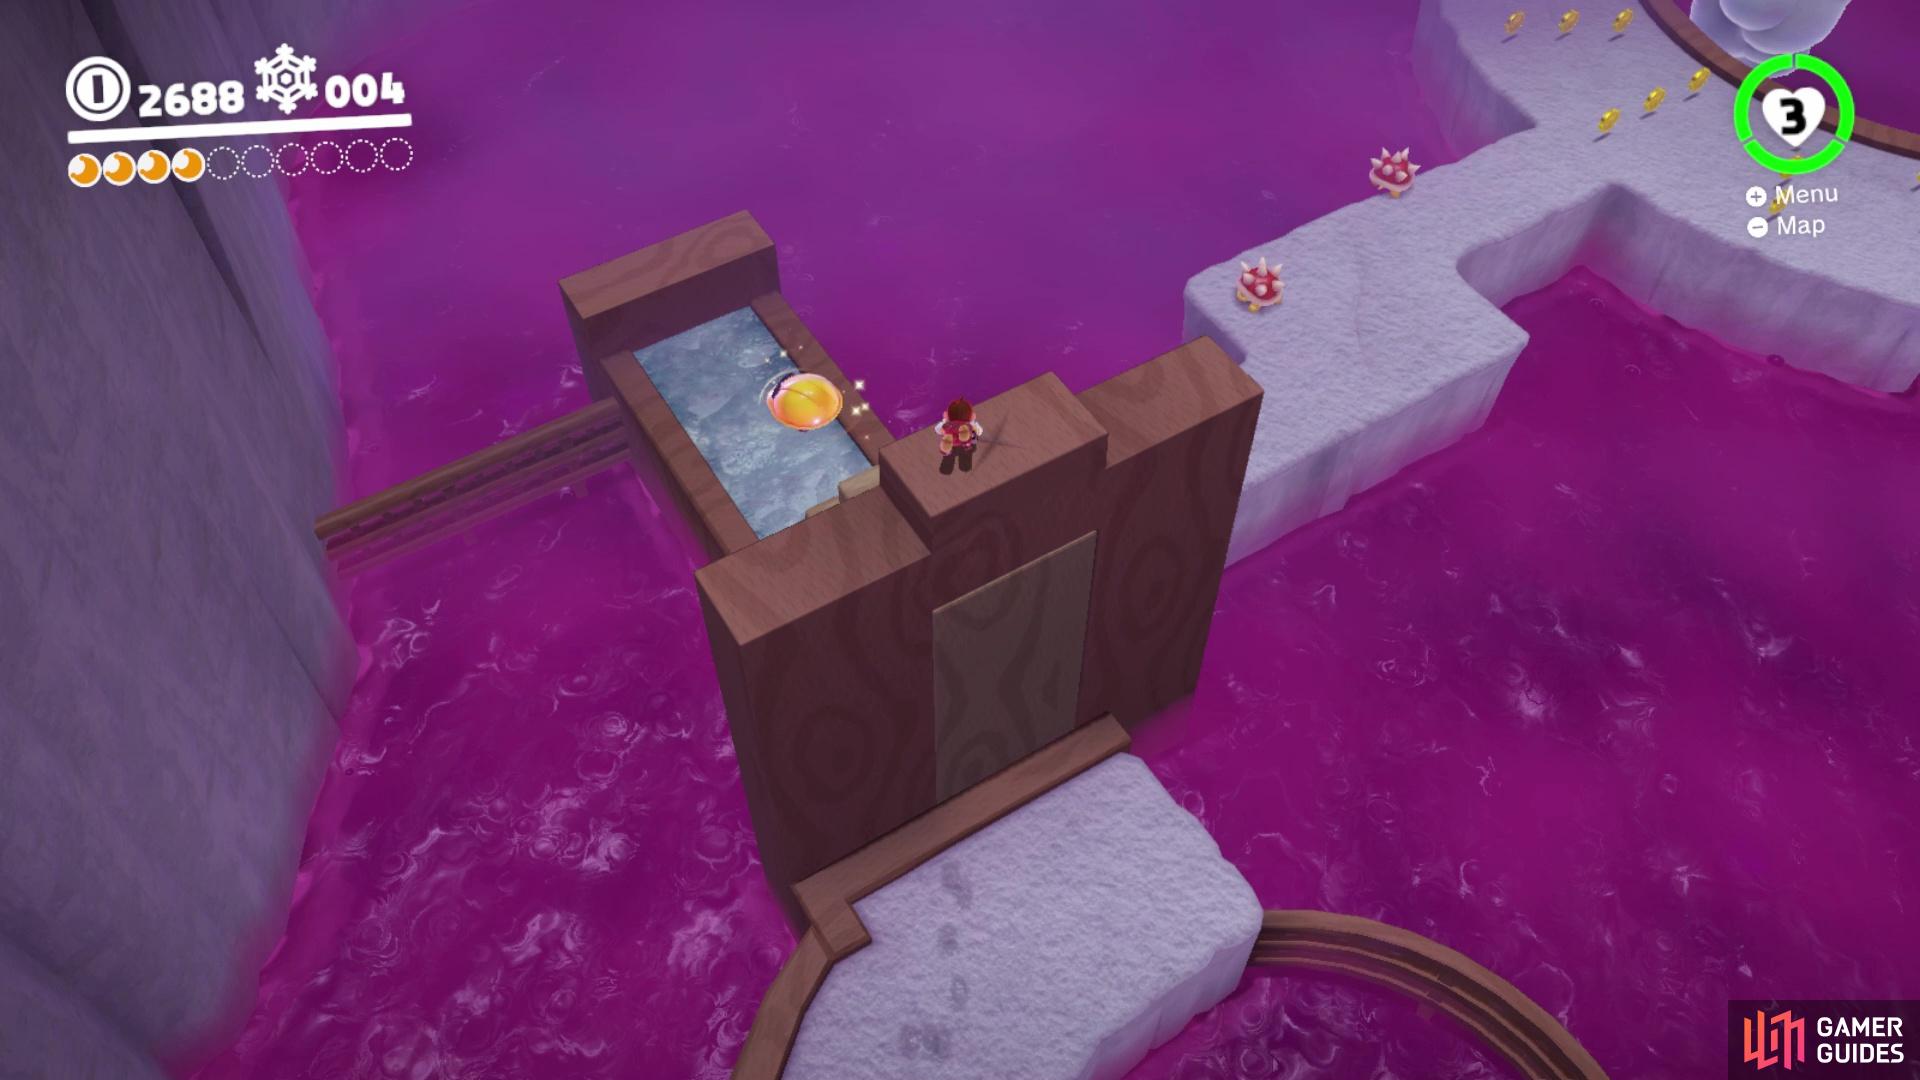
Stay on the final Bitefrost to find a ledge you can grab
which you can use to reach a chest that houses a Power Moon
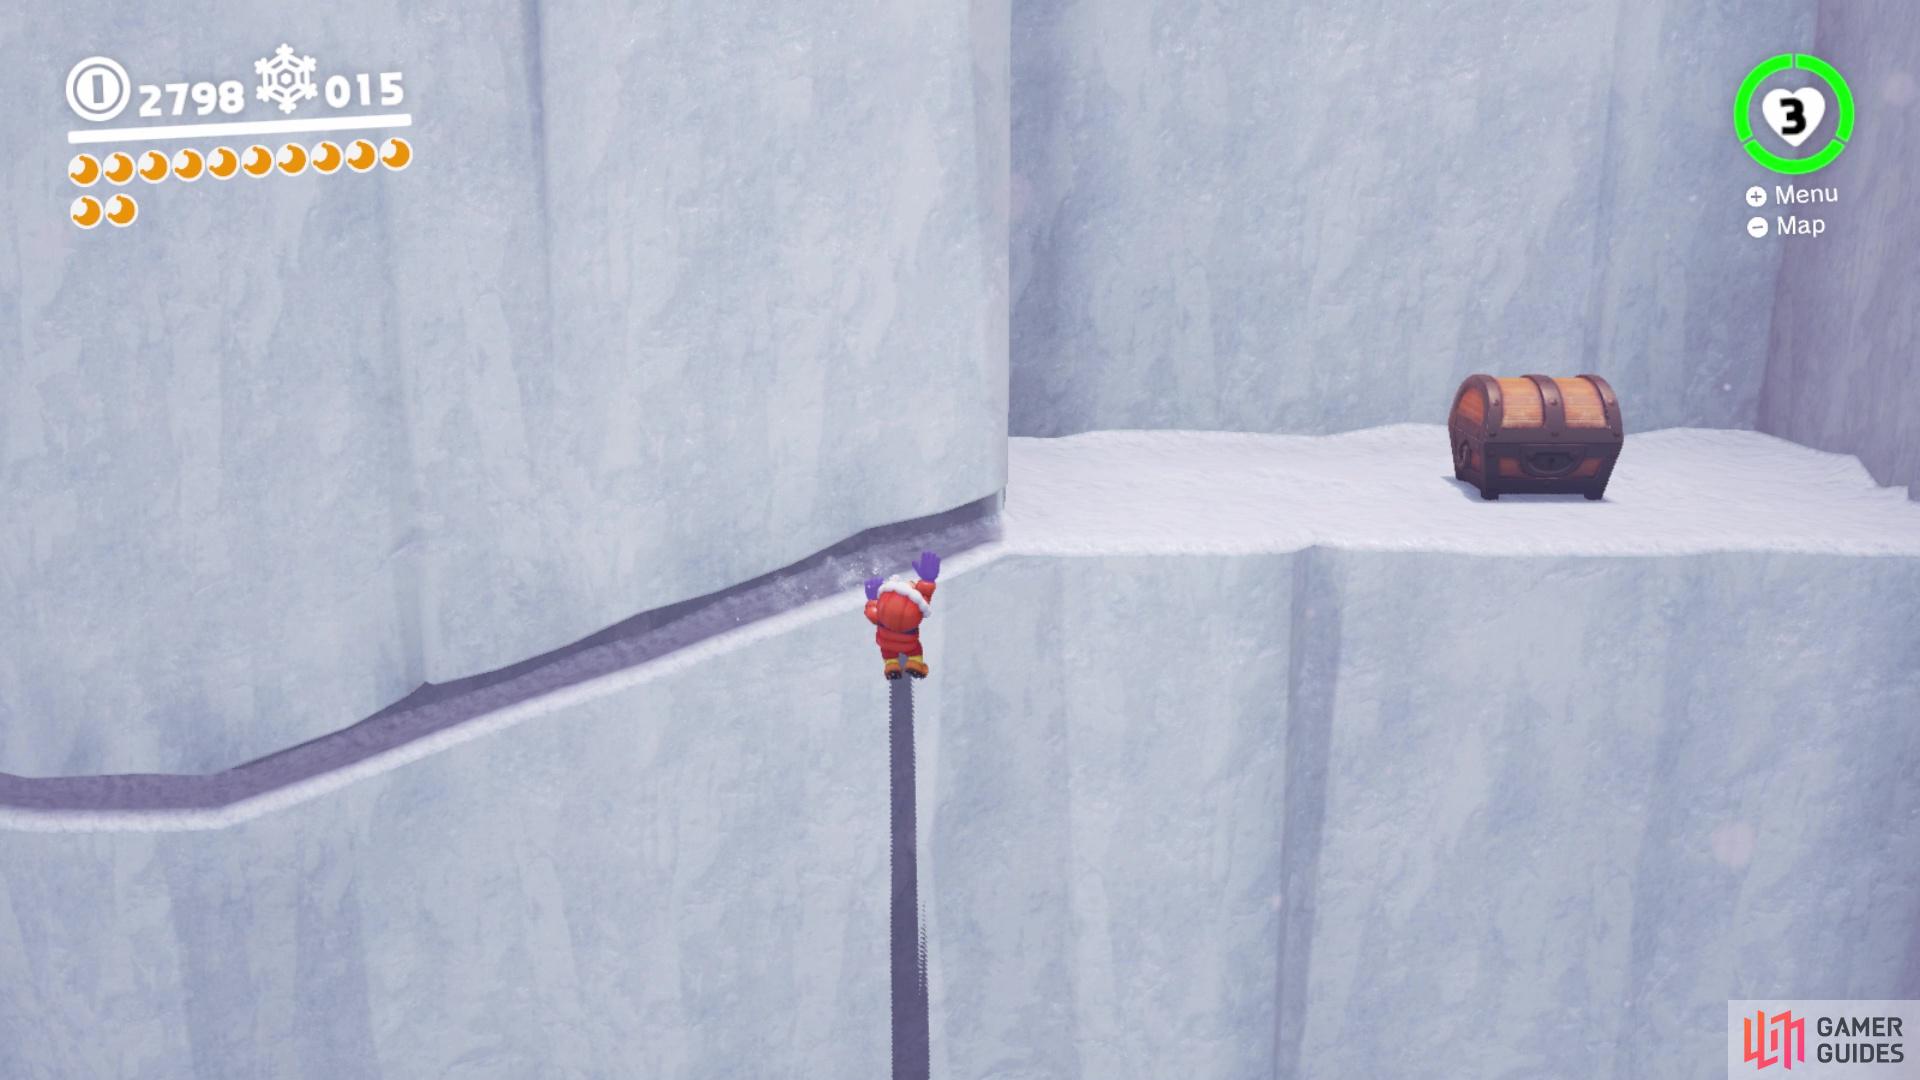
All of the shards are in plain sight, so you don’t need directions to them, but there are some purple coins in the area. For the first batch, you need to use one of the Bitefrosts to reach them in the one corner, where there will be three of them (27) . Collect all of the Moon Shards and start climbing your way up the pillars, stopping at the first Bitefrost, since there will be three more purple coins in the air above it (30) . When you get to the last Bitefrost before the end, ride it all the way up to find a ledge you can grab. Shimmy on this ledge to the right to find an alcove with a chest, which contains a Power Moon (Treasure in the Ice Wall) . All that’s left is get to the end, grab the Power Moon (The Ice Wall Barrier) and return to the main hall.
No Comments