
Upon landing in the Metro Kingdom, you see things aren’t going too well, with a storm in full force and the denizens nearby staring off in the distance at Bowser’s ship circling city hall. Get on the north side of the Odyssey and look over the railing to see a blank picture, which will be useful for later. For now, all you can do is follow the only path you can, collecting the three purple coins along the way (3) , then taking the Spark Pylon at the end down into the actual city.
You’ll arrive in an open area, with little white bugs all over the place. These are called Urban Stingbys and they are in their larval form. Leave them alone long enough and they will grow up in an instant, turning into mosquito-like insects. You can’t capture them and they will typically launch themselves at you, destroying themselves in the process. Note that a simple hat toss will defeat them in either form. There’s really not much here in this open area, other than two purple coins at the base of a building on the west side (5) . Continue west to find a Sherm, who you can capture to clean up some of the enemies.
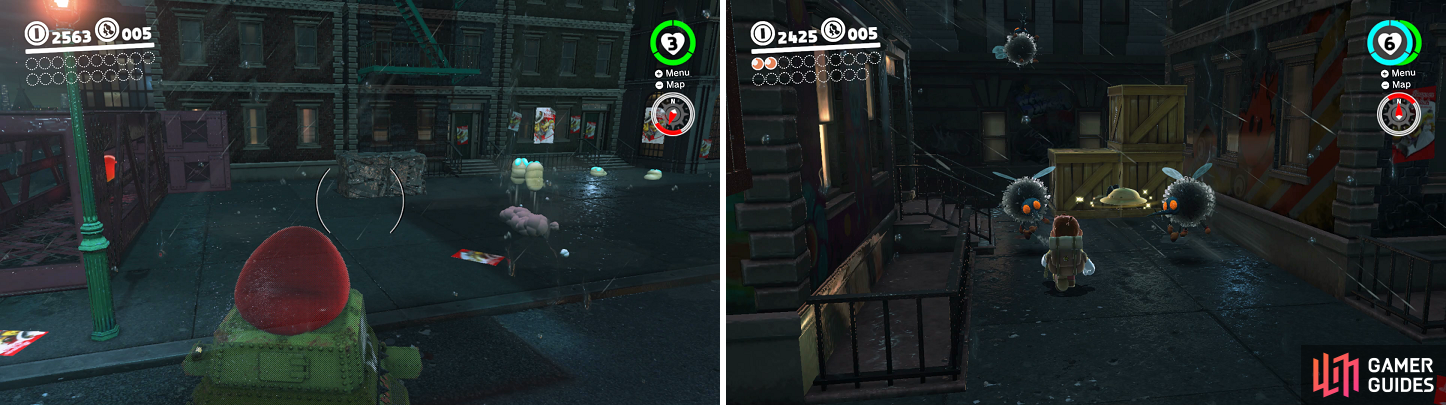
Stingbys are harmless in their larval state (left), but can be a nuisance in their fly form (right).
Head into the yellow coin shop and buy the Power Moon there (Shopping in New Donk City) , then keep going west to find a construction site. Cross over the moving girder, avoiding the hard-hat wearing Goombas, and make your way to the other side, where another Sherm awaits you. Capture this one and destroy the wooden crates, then release the capture and head inside the hollow girder to grab a Power Moon at the end (Inside an Iron Girder) . As soon as you exit the girder, head north and into the alley to find three purple coins (8) .
While it’s possible to wall jump to the top of buildings in this area, there’s really no point, as you won’t find anything of value. So, just follow the path set out before you to eventually come to another open area, with this one housing three Sherm tanks. You will want to capture one and go to the eastern edge here, then look south to spot a girder with a destructible block underneath it. Destroy it with the Sherm to make it fall, then wall jump up the girders a little ways away to reach a Power Moon (Girder Sandwich) .
Return to the previous area and touch the flag, then start climbing the stairs. Bypass the Goombas and Spark Pylon, opting to go through the small opening and onto some scaffolding. There will be two vertical girders here, so wall jump in between them to reach the top, collecting three purple coins along the way (11) . At the top, another checkpoint flag will be waiting for you. You should be able to spot a Power Moon hanging in the air above the swaying girder, so go snatch it (Swaying in the Breeze) and jump onto New Donk City Hall. The opening to enter is on the southern side, but there are three additional purple coins on the eastern side (14) .
New Donk City Hall Interior
The interior of New Donk City Hall may be dry, but it can be especially treacherous, as one wrong move can spell you falling into the abyss below. Cross the breaking platforms and head right to the elevators, taking them up to the next level. Continue left and use the elevator that goes down on this side to grab three purple coins with your hat (17) . You’ll find another two purple coins on a platform that breaks, so jump down to get them and quickly get back up before you fall yourself (19) . Another set of elevators will be to your right, with more purple coins dangling off the edge (22) .
There will be a climbable pole to your left, but ignore it and long jump left to another pole, which has two more purple coins at the base (24) . Climb to the top of the pole and turn to the wall that’s facing the camera, wall jumping off of it and to the pole above you. Navigate the few poles here to get to a hidden area above, with a chest that contains a Power Moon (City Hall Lost & Found) . That’s all to gather here, so follow the path to the right as it goes around, leading you to a door that heads back outside. Wall jump by where you exit to find three purple coins at the top (27) , then either use the scaffolding or the Shock Pylon to reach the top. Approach the thing at top to trigger a boss fight.
BOSS - Mechawiggler
Mechawiggler is a boss that requires you to use a capture in order to defeat, so go ahead and grab one of the Sherms, destroying the other one to concentrate on the boss. At the beginning of the battle, Mechawiggler will squirm about on the side of the building, stopping to fire some kind of energy balls at you. What you need to do in this first phase is hit the balls on each of its segments with the tank’s cannon. When they are all disposed of, you can bombard Mechawiggler’s body with more shots to deal damage.
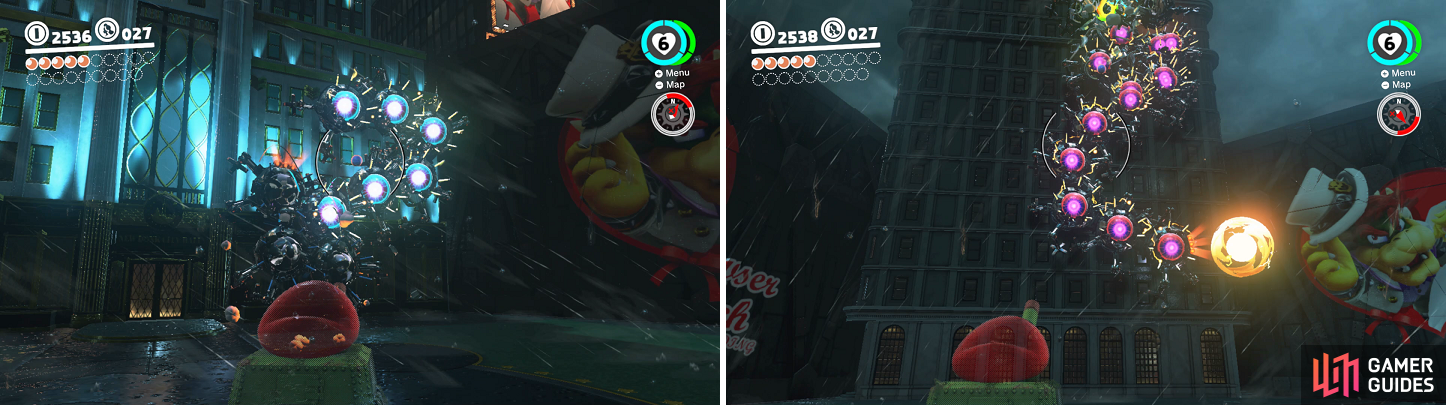
You have to hit all of the balls on the back to be able to deal damage (left). Be on the lookout for Mechwiggler’s projectiles (right).
Upon doing this, Mechawiggler will glow gold, making it invulnerable, and disappear into the building. Track its movement by the shock it produces and you will see a laser come out of the hole. This laser is the path in which Mechawiggler will scurry across the arena, so you can easily dodge this attack by just moving constantly. It will do this three times before coming out of the wall, with those energy balls, and becoming vulnerable. You only have so much time to do the same thing as the first phase, before it will perform the invincible dashes again. When you manage to knock out all of the balls on its back, you can deal the finishing blow, netting yourself a Multi Moon (New Donk City’s Pest Problem) .
No Comments