
Seething Hivemaster
In-Game Description
![]() Seething Hivemaster is an insect-type monster that uses its claws, and poison to harm its victims.
Seething Hivemaster is an insect-type monster that uses its claws, and poison to harm its victims.
Description
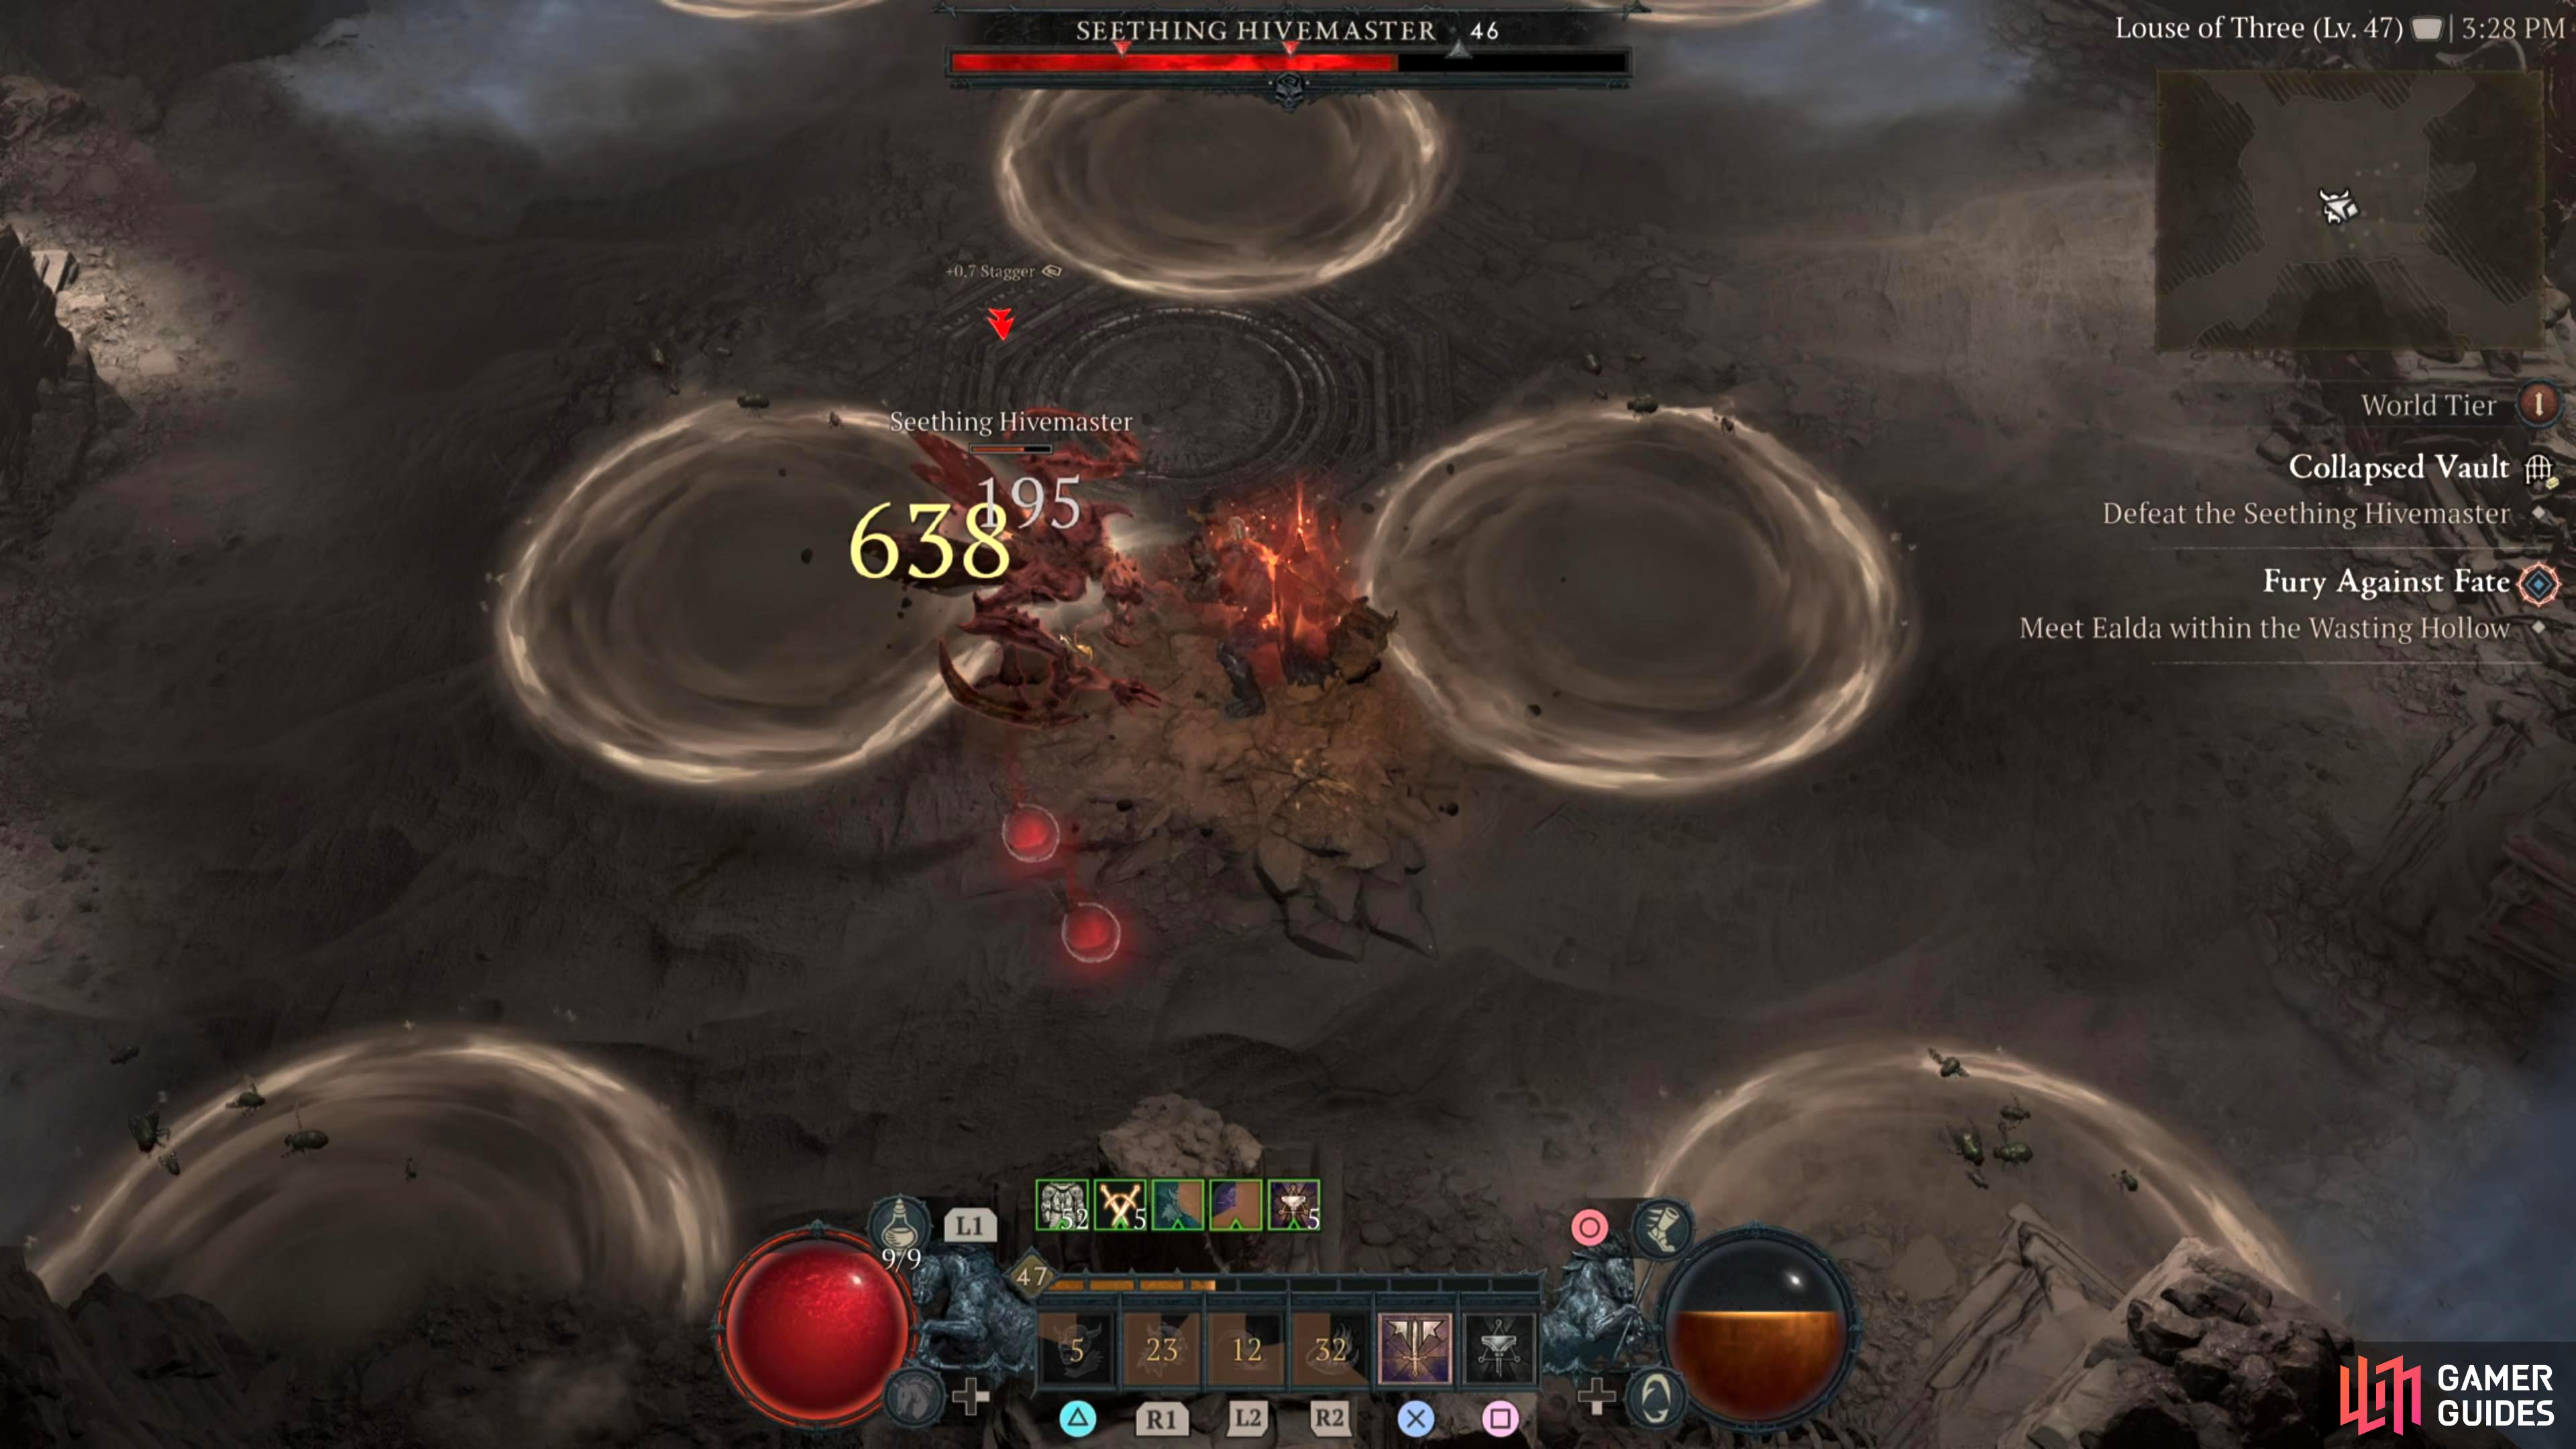
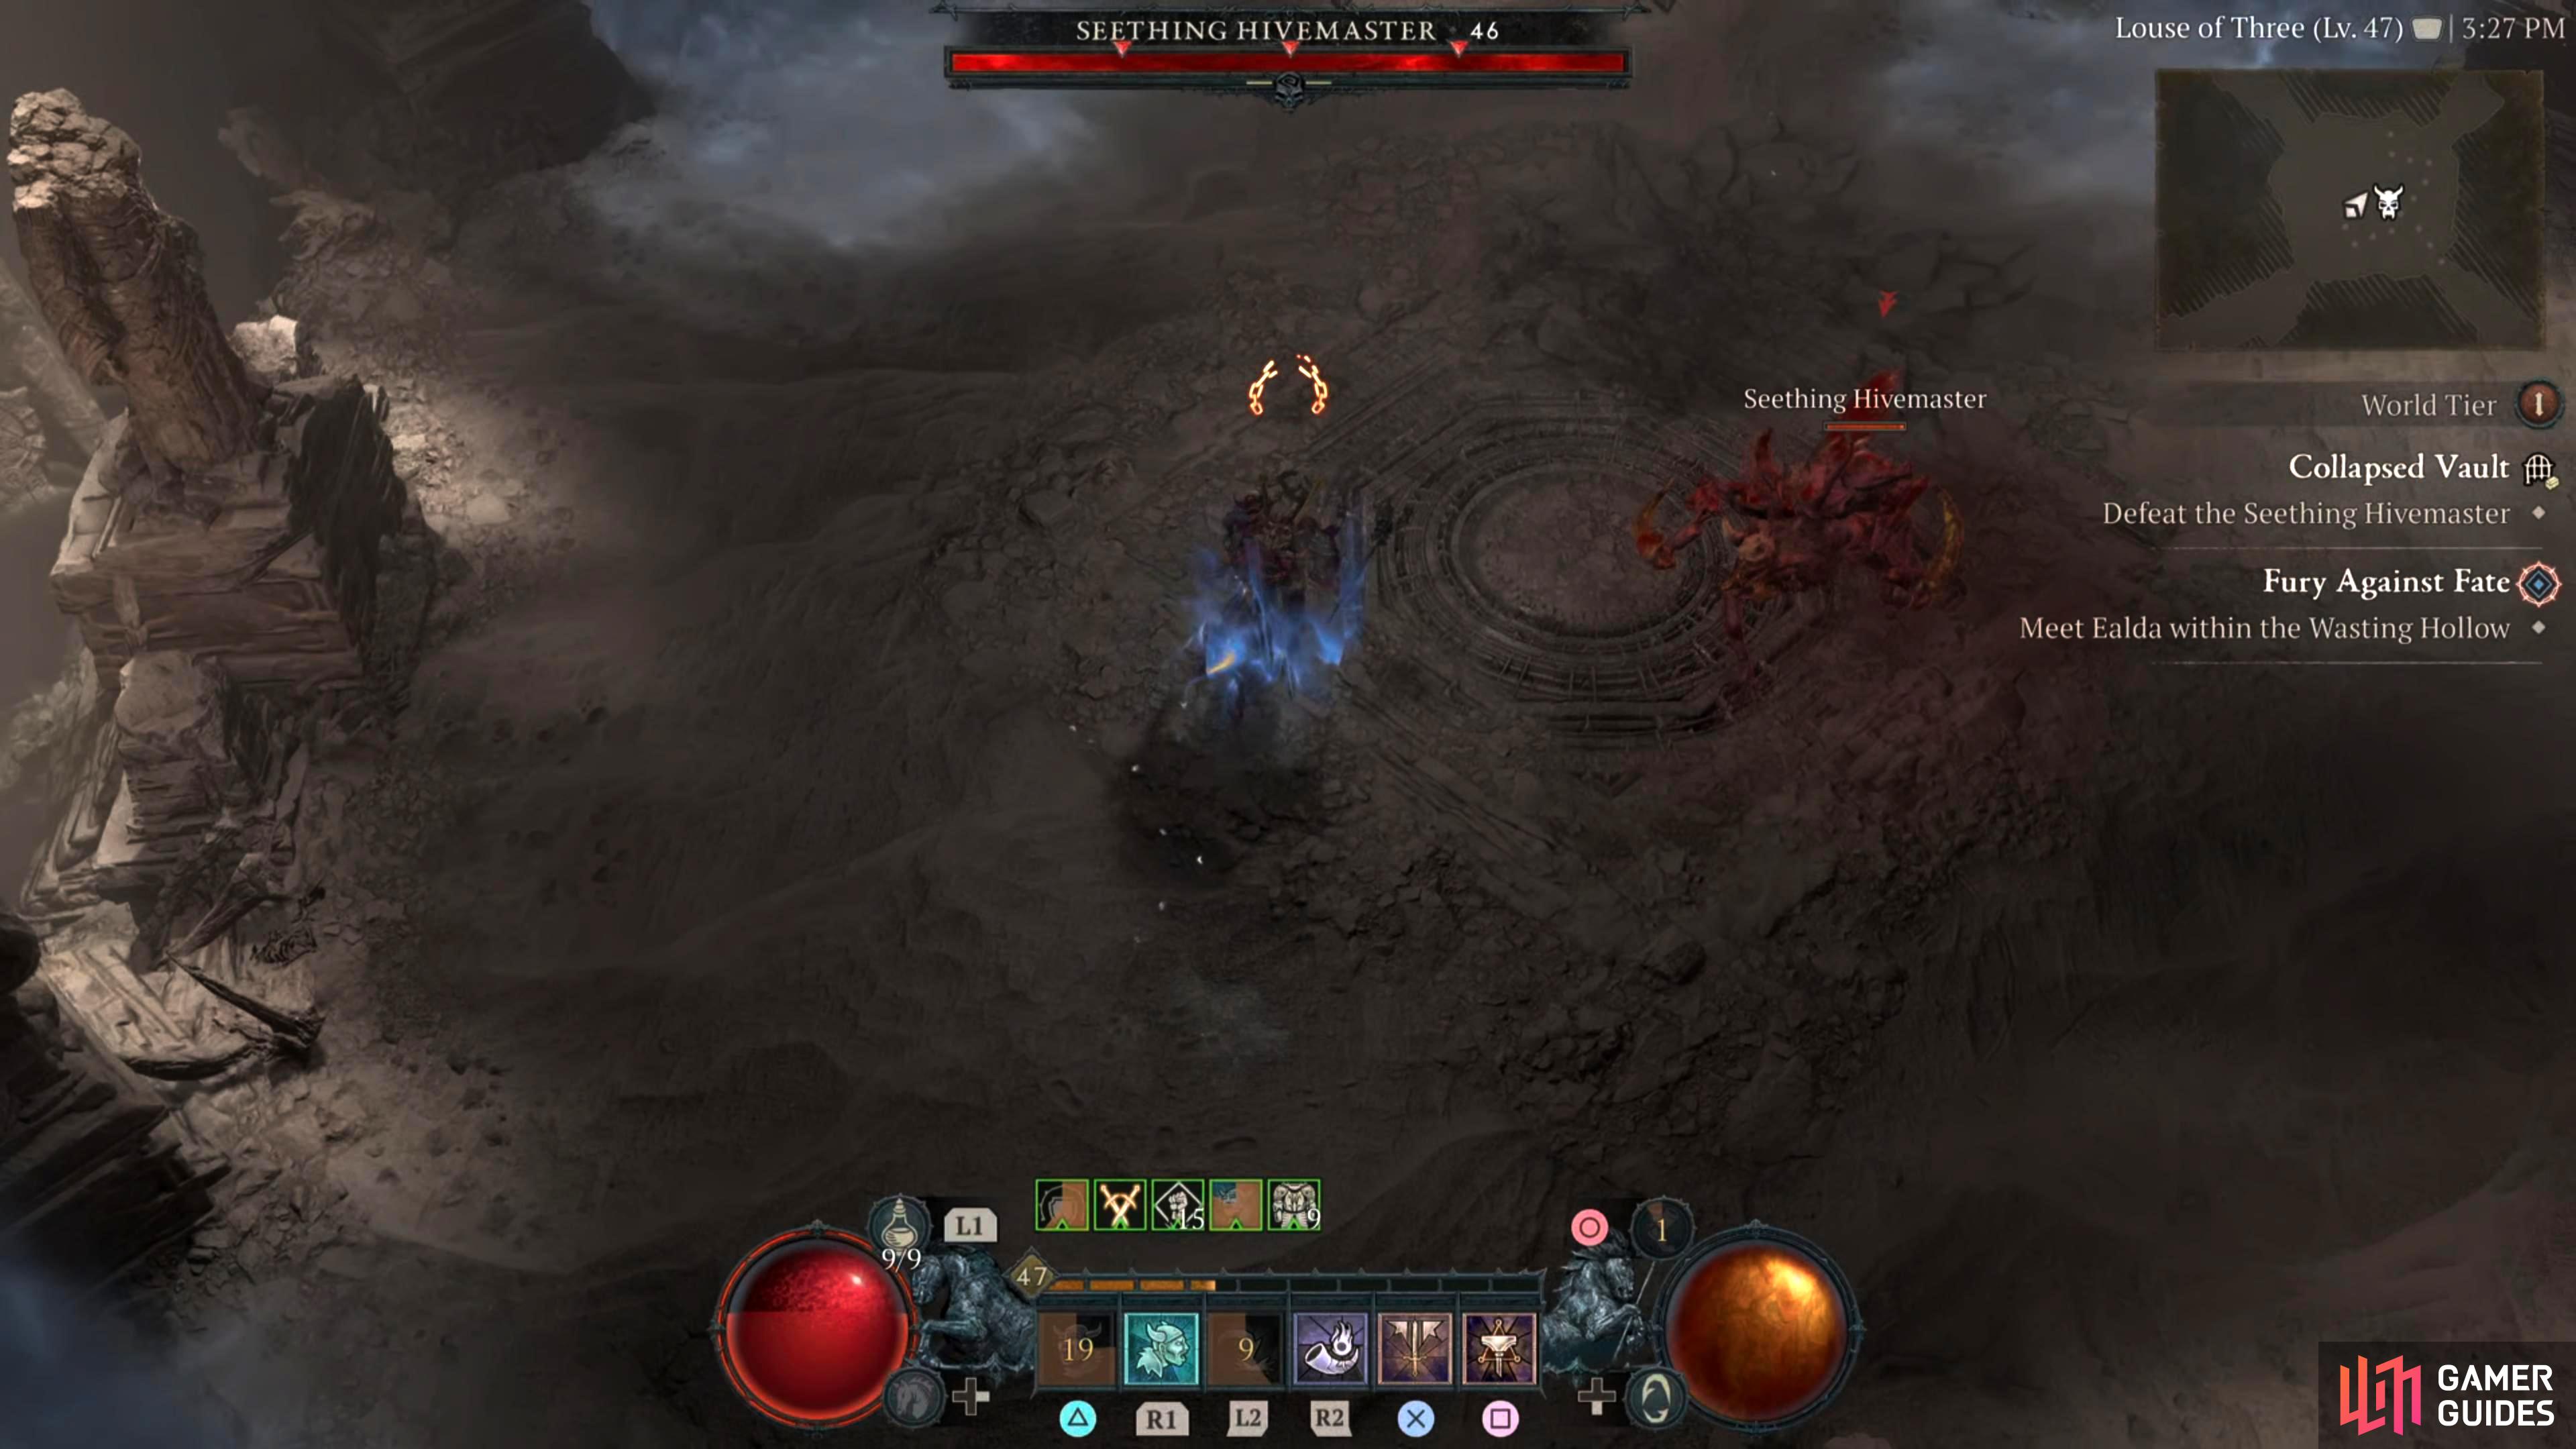
There’s quite a bit going on in this battle. ![]() Seething Hivemaster has a few frustrating attacks to deal with, and when it’s at 70-80% health it’ll start combining the mechanics which makes it difficult to avoid a lot of its attacks due to the restrictions on your dodge. Poison, and Slow are its predominant statues it likes to inflict, so bringing a Poison Resistance Elixir may help. Here are the attacks that the Seething Hivemaster will use:
Seething Hivemaster has a few frustrating attacks to deal with, and when it’s at 70-80% health it’ll start combining the mechanics which makes it difficult to avoid a lot of its attacks due to the restrictions on your dodge. Poison, and Slow are its predominant statues it likes to inflict, so bringing a Poison Resistance Elixir may help. Here are the attacks that the Seething Hivemaster will use:
-
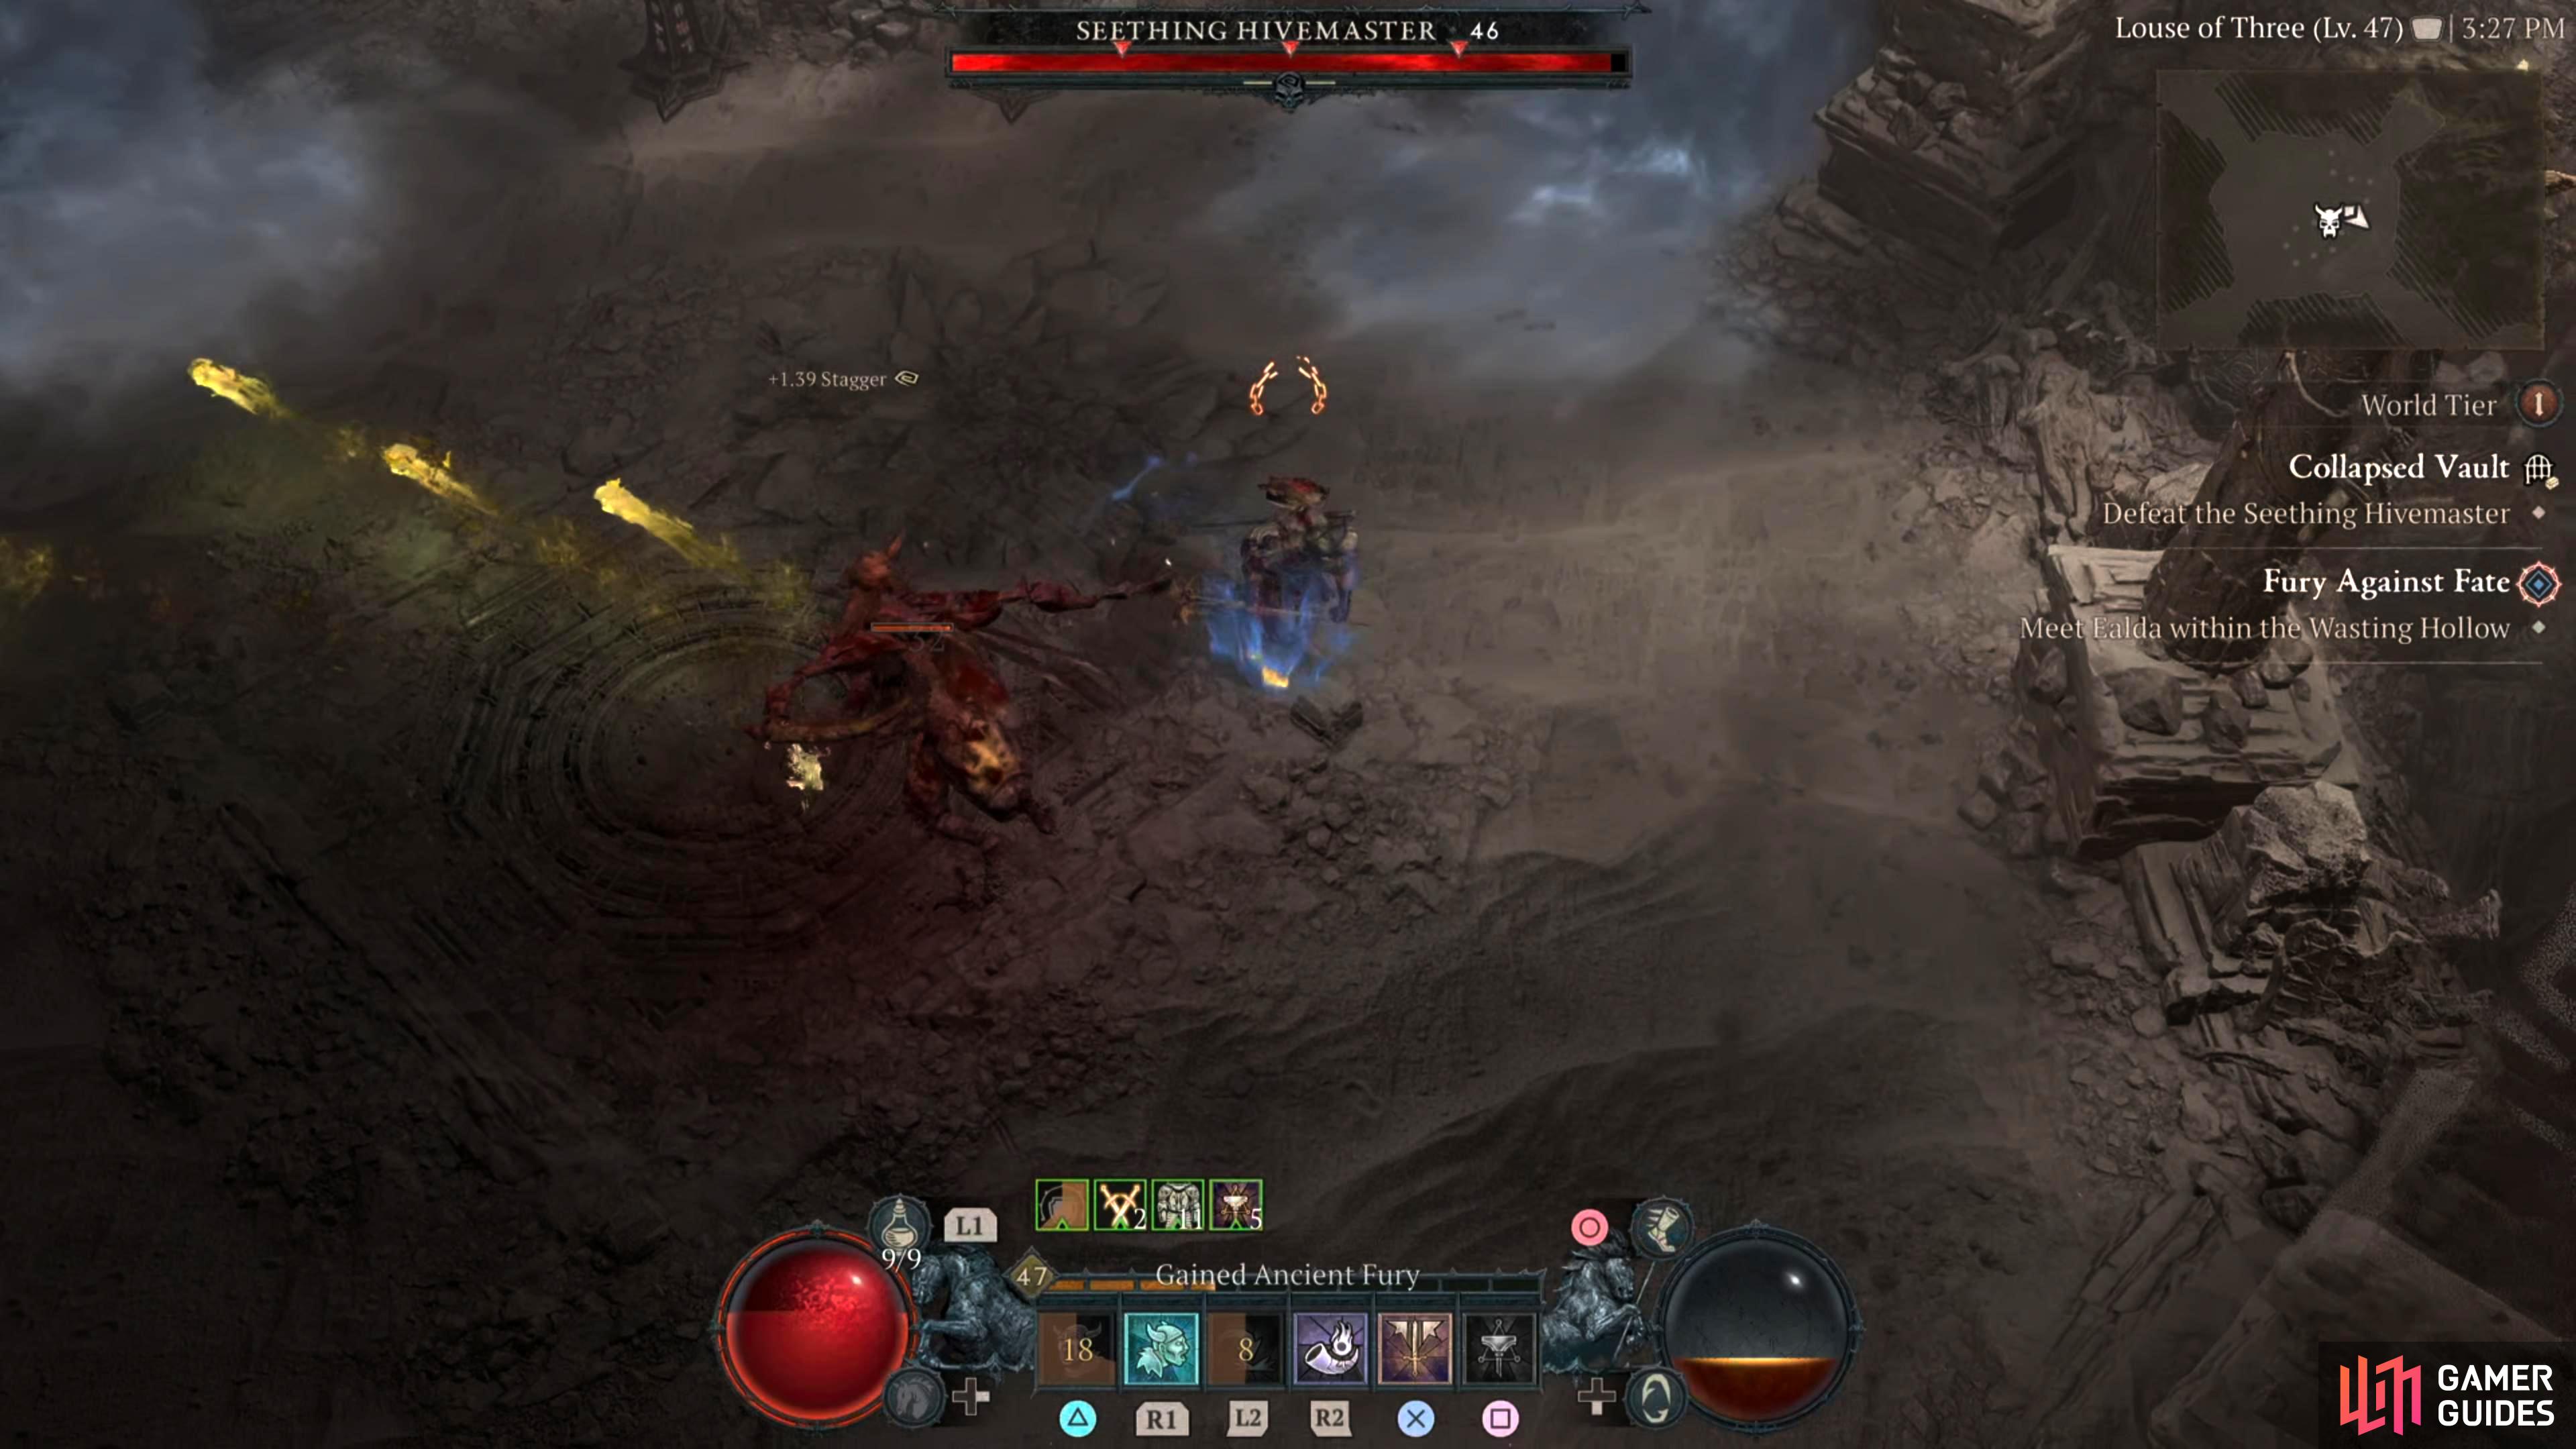
Double Slash - This is the boss’ regular attack where it will fling out its claws and perform a double attack with the same claw. You can ignore this attack for the most part.
-
Poison
 Barrage - The boss will spew out multiple poisonous projectiles which will aim at your last locations. Run around in a circle around the boss to avoid the attack, dodging if needed too. When the boss has its !Fly Swarms out on the arena, this is a lot more difficult to avoid as you’ll need to navigate around the swarms while avoiding the barrage.
 -
!Fly Swarms - At around 70-80% the boss will place several gray/white circles that contain !Fly Swarms in them that will drain your health and slow you down whenever you pass over/through them. After a brief period they will begin to move back and forth in a small circle from their position. This persists throughout the battle. There isn’t any trick to this attack other than avoiding them, and they’re more of a nuisance than a damaging attack.
-
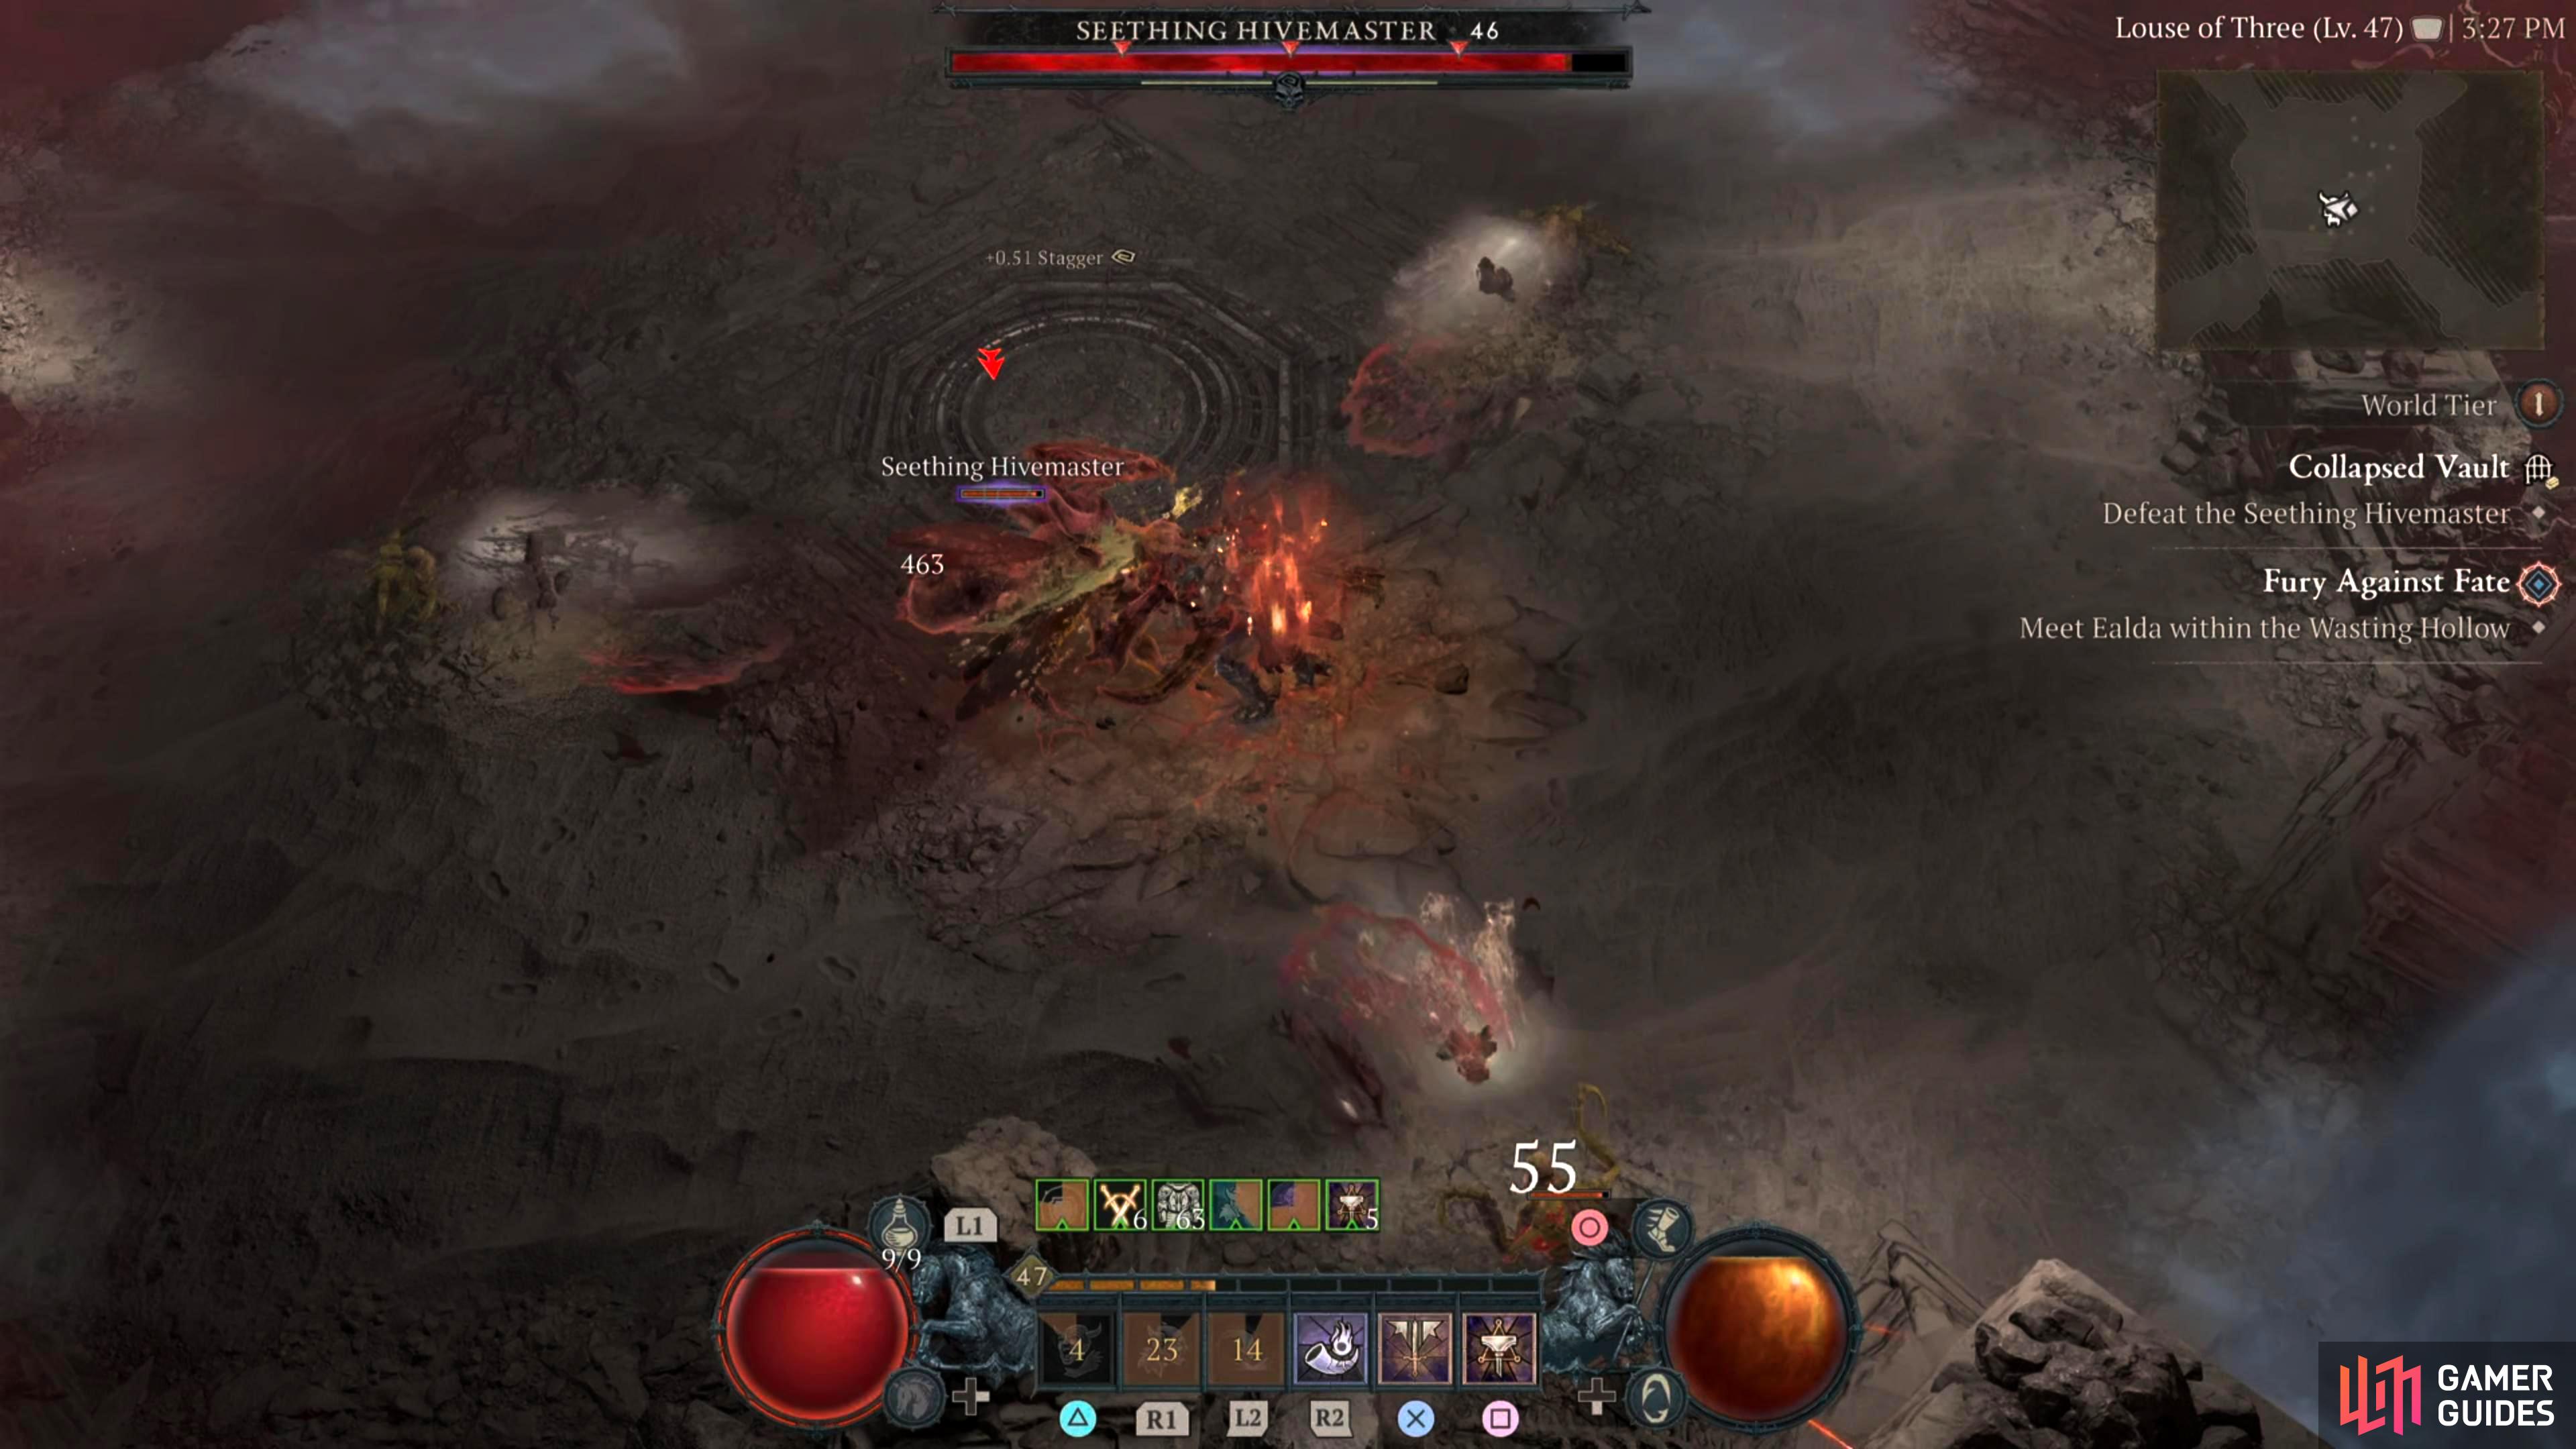
Tri-Abomination - Seething Hivemaster will summon three Skittering Abominations in a triangle-like shape before they all unleash a stream of poison/blood at your current location. This attack can be a pain to deal with while you’re fighting the boss, but you want to dodge any cardinal direction just as they’re about to fire off the projectiles.
The flow of the battle will be, evade the Poison Barrage attack at all costs then striking the boss in a central area while moving whenever the !Fly Swarms are about to hit you. While dealing damage to the boss, keep an eye out for the Skittering Abominations, and have a dodge ready to avoid the attack. Classes that have good burst, and/or good movement speed will shine in this battle.
Detailed Location
The ![]() Seething Hivemaster can be found in the following dungeons:
Seething Hivemaster can be found in the following dungeons:
-
 Collapsed Vault (Kehjistan)
 -
 Shivta Ruins (Kehjistan)
Screenshots

Region
 Kehjistan

No Comments