Slither
In-Game Description
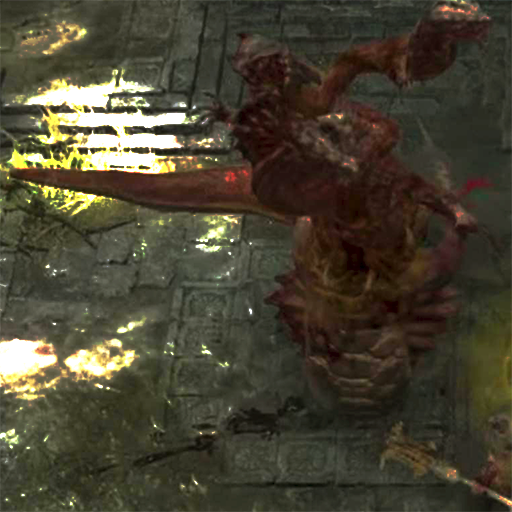
*![]() Slither is a serpent-type creature that boasts three heads. Large in stature, this monster has the ability to conjure poison from its heads on a whim. *
Slither is a serpent-type creature that boasts three heads. Large in stature, this monster has the ability to conjure poison from its heads on a whim. *
Description
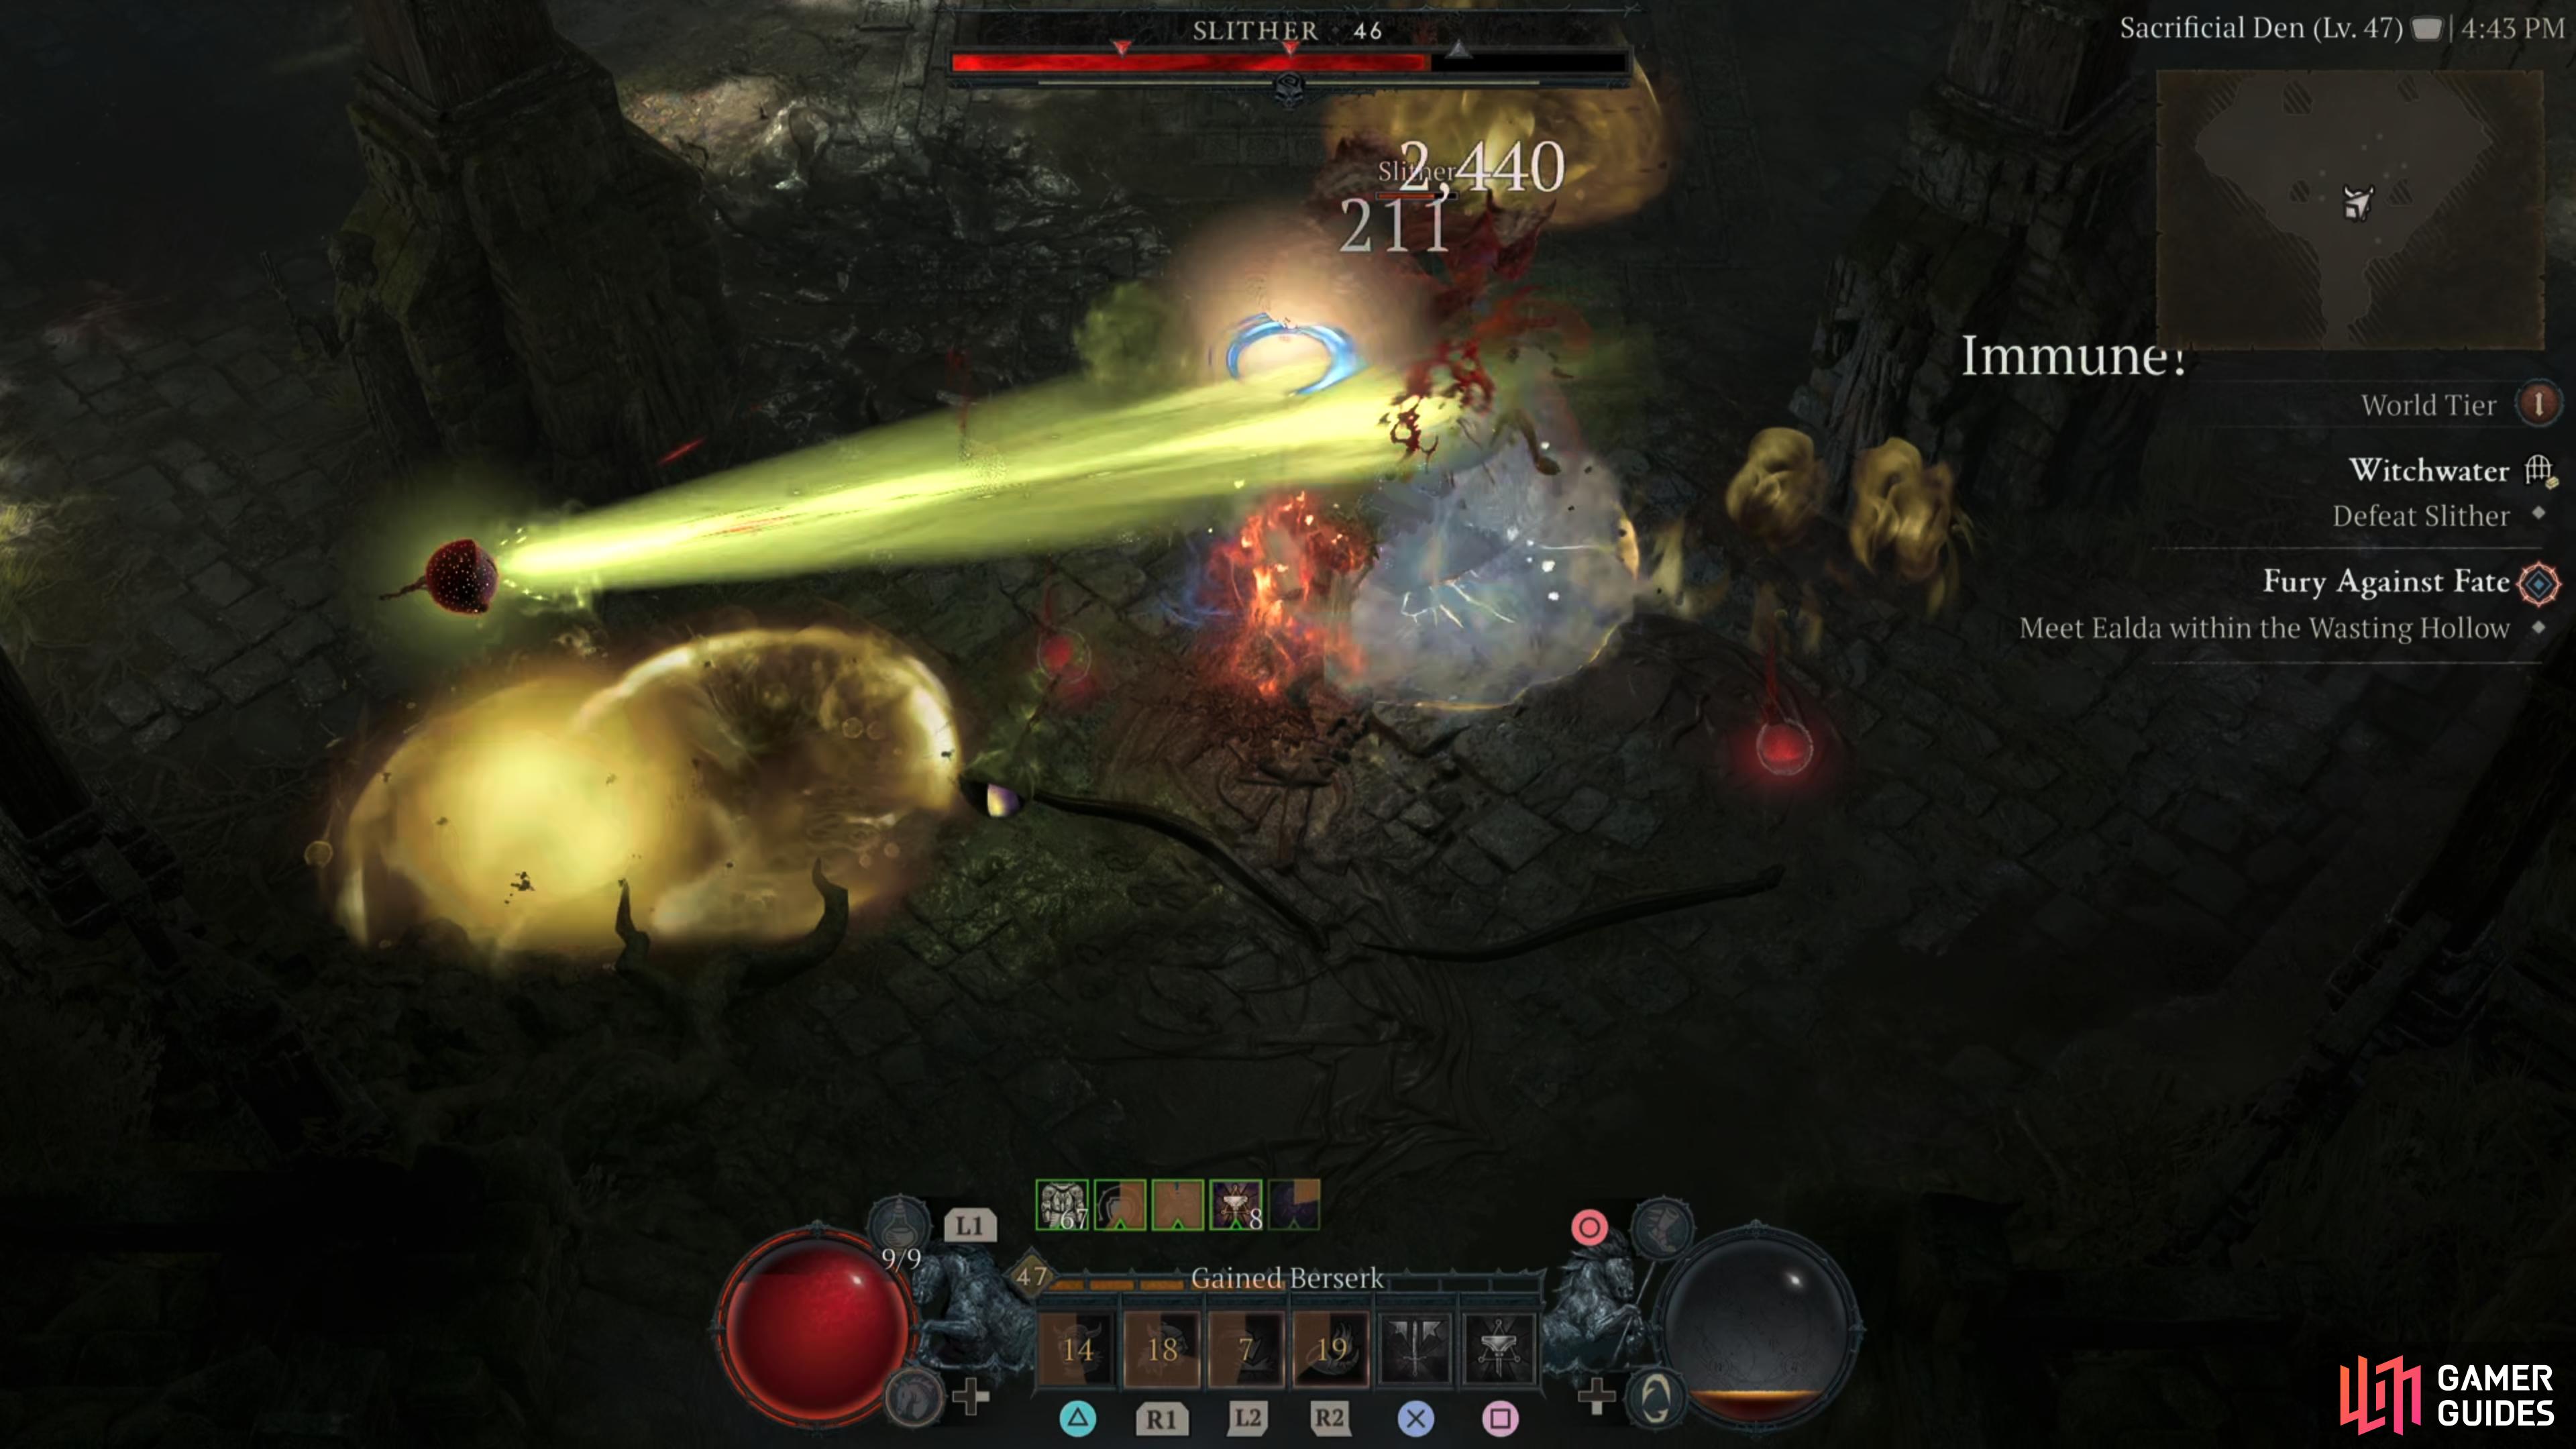
![]() Slither is one of the more difficult dungeon bosses you will come across mainly due to its incessant barrage of attacks. Although it doesn’t have the largest attack pool, the ones it does have, require you to be on the move which can hamper your damage output. As its attacks are mainly poison, an
Slither is one of the more difficult dungeon bosses you will come across mainly due to its incessant barrage of attacks. Although it doesn’t have the largest attack pool, the ones it does have, require you to be on the move which can hamper your damage output. As its attacks are mainly poison, an ![]() Elixir of Poison Resistance would go down a treat. Here’s a look at what Slither has in its arsenal:
Elixir of Poison Resistance would go down a treat. Here’s a look at what Slither has in its arsenal:
-
Poison Breath Slither will lean back and absorb poisonous fumes into its lungs before unleashing it in a cone towards you. You’ll see the outline of the cone on the floor a second or two before the actual attack comes towards you. Simply move out of the cone to avoid the attack.
-
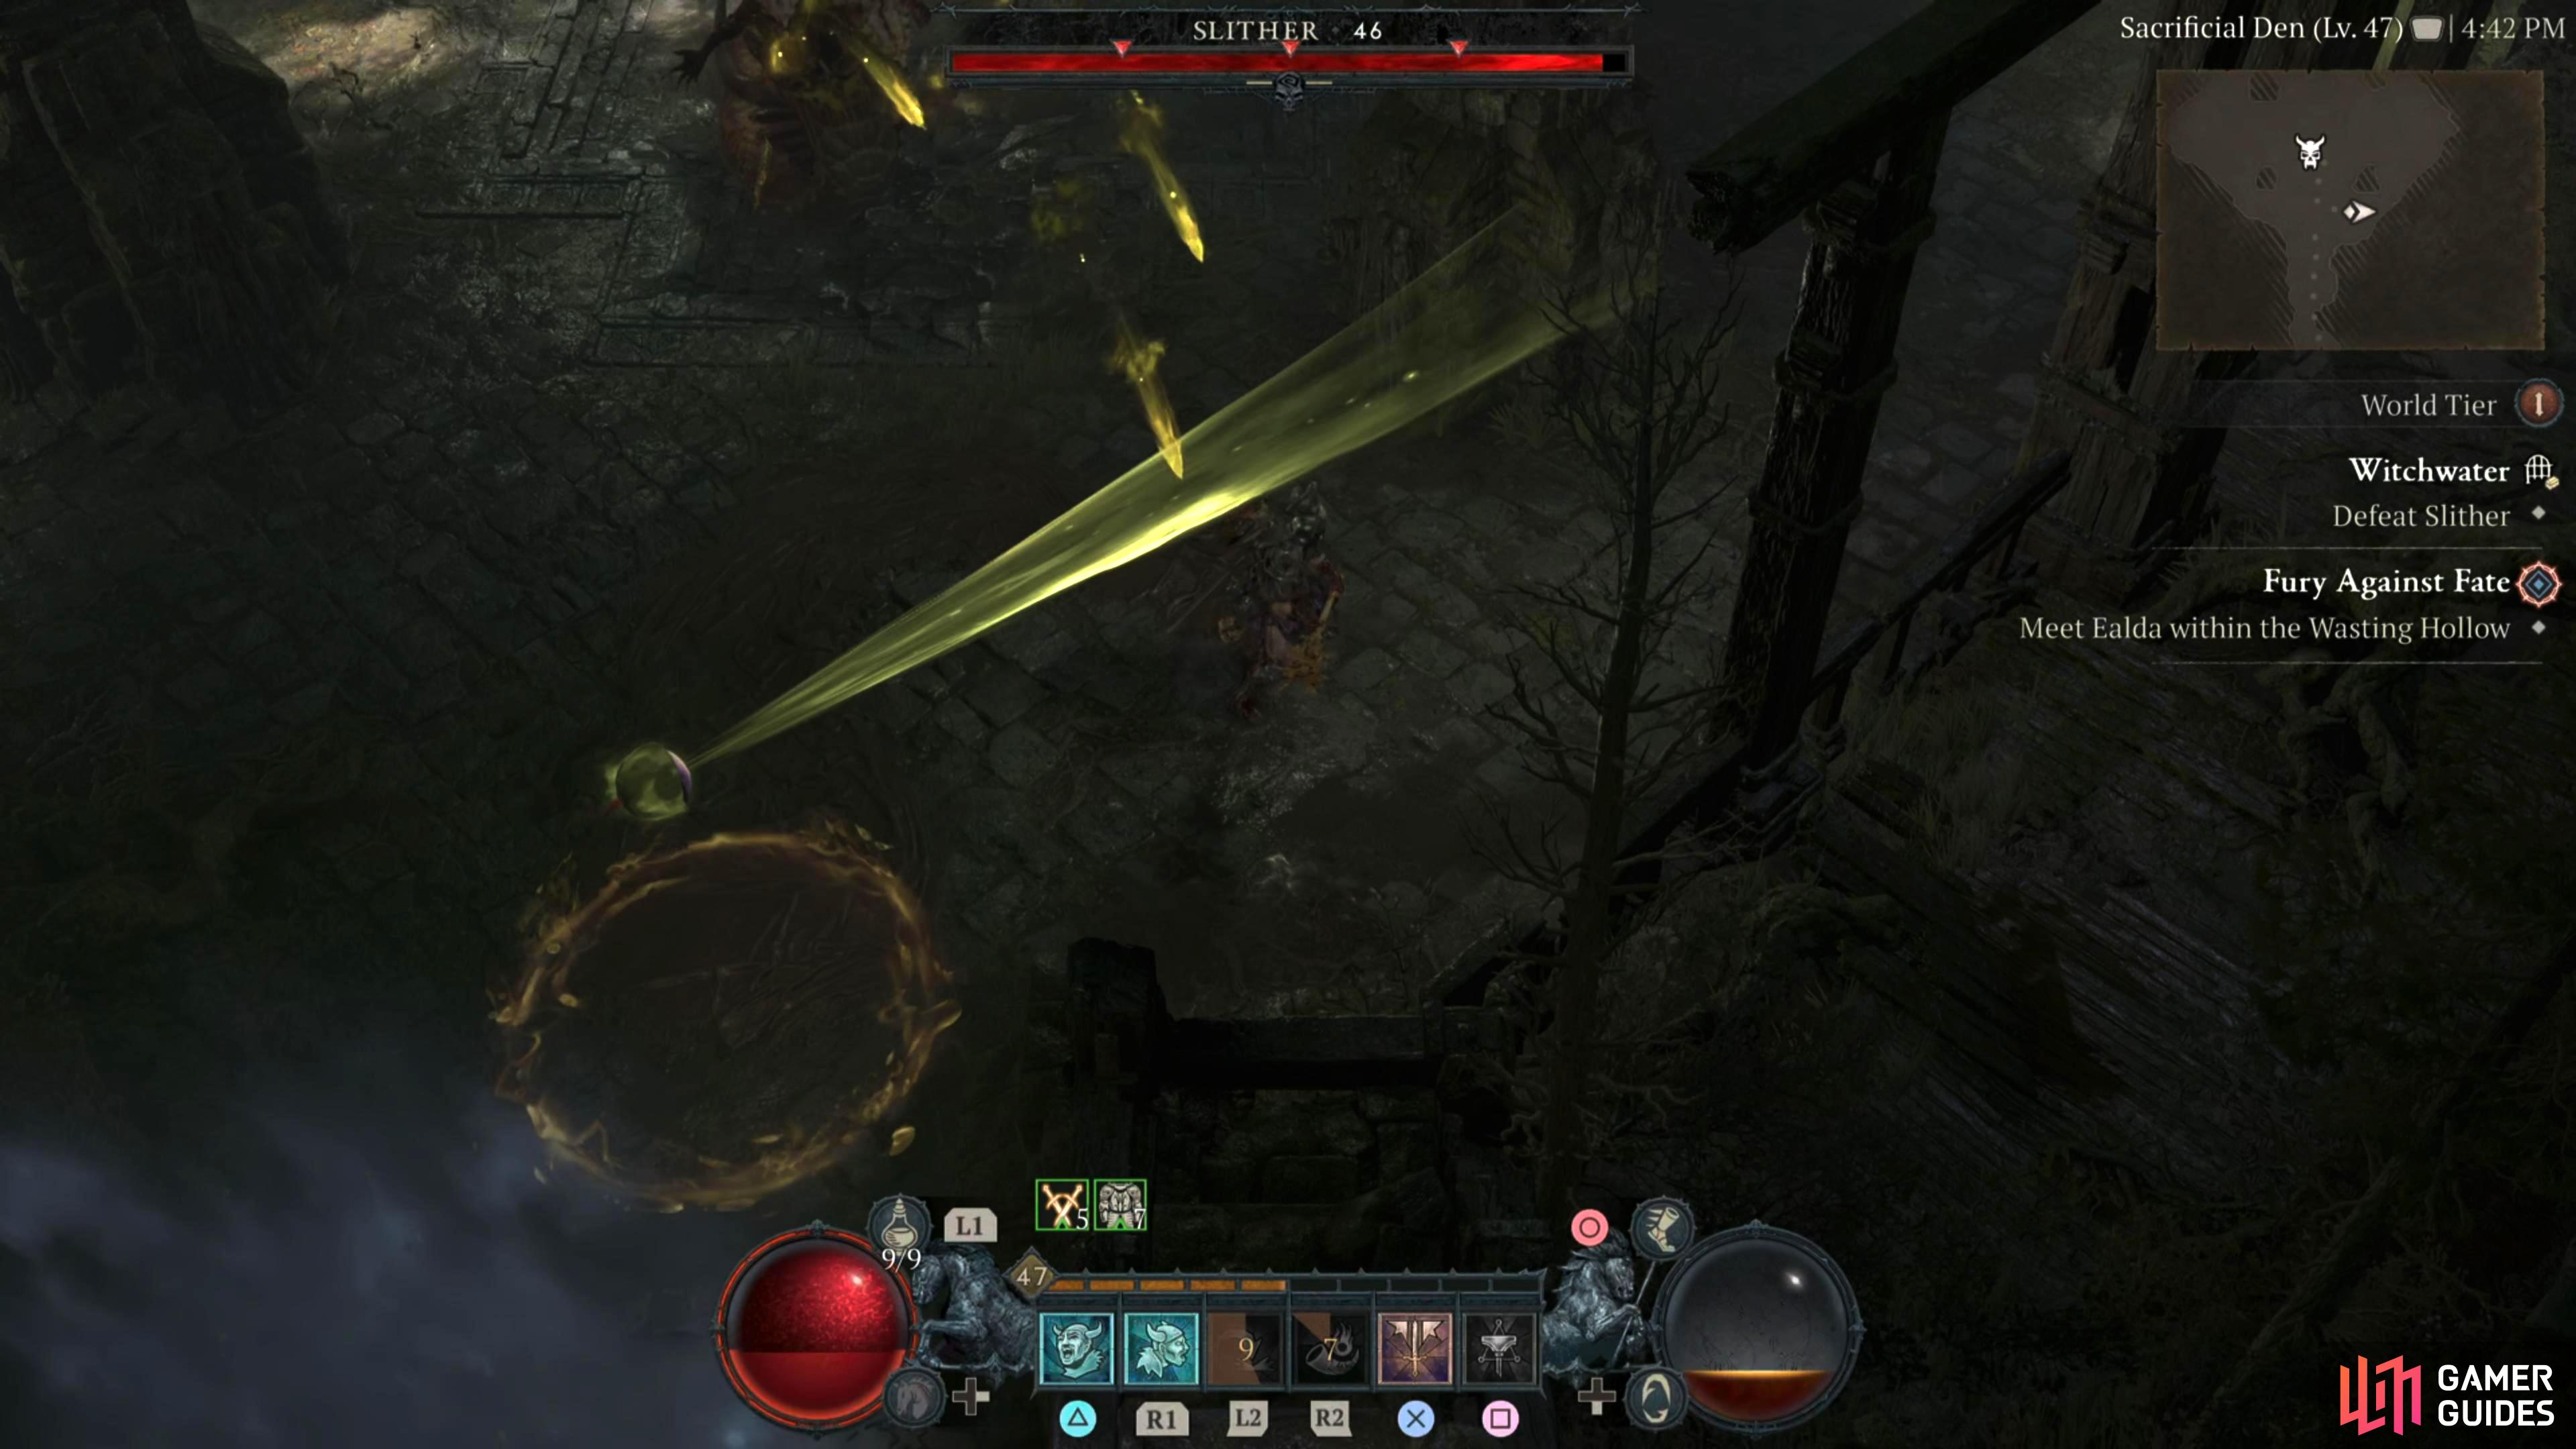
Stunning Eyebeam - The boss will release eyes that float to a poison puddle and shoot a green beam at you. If this hits you, you’ll be stunned briefly. Dodge when the beam gets near to you to avoid the attack.
-
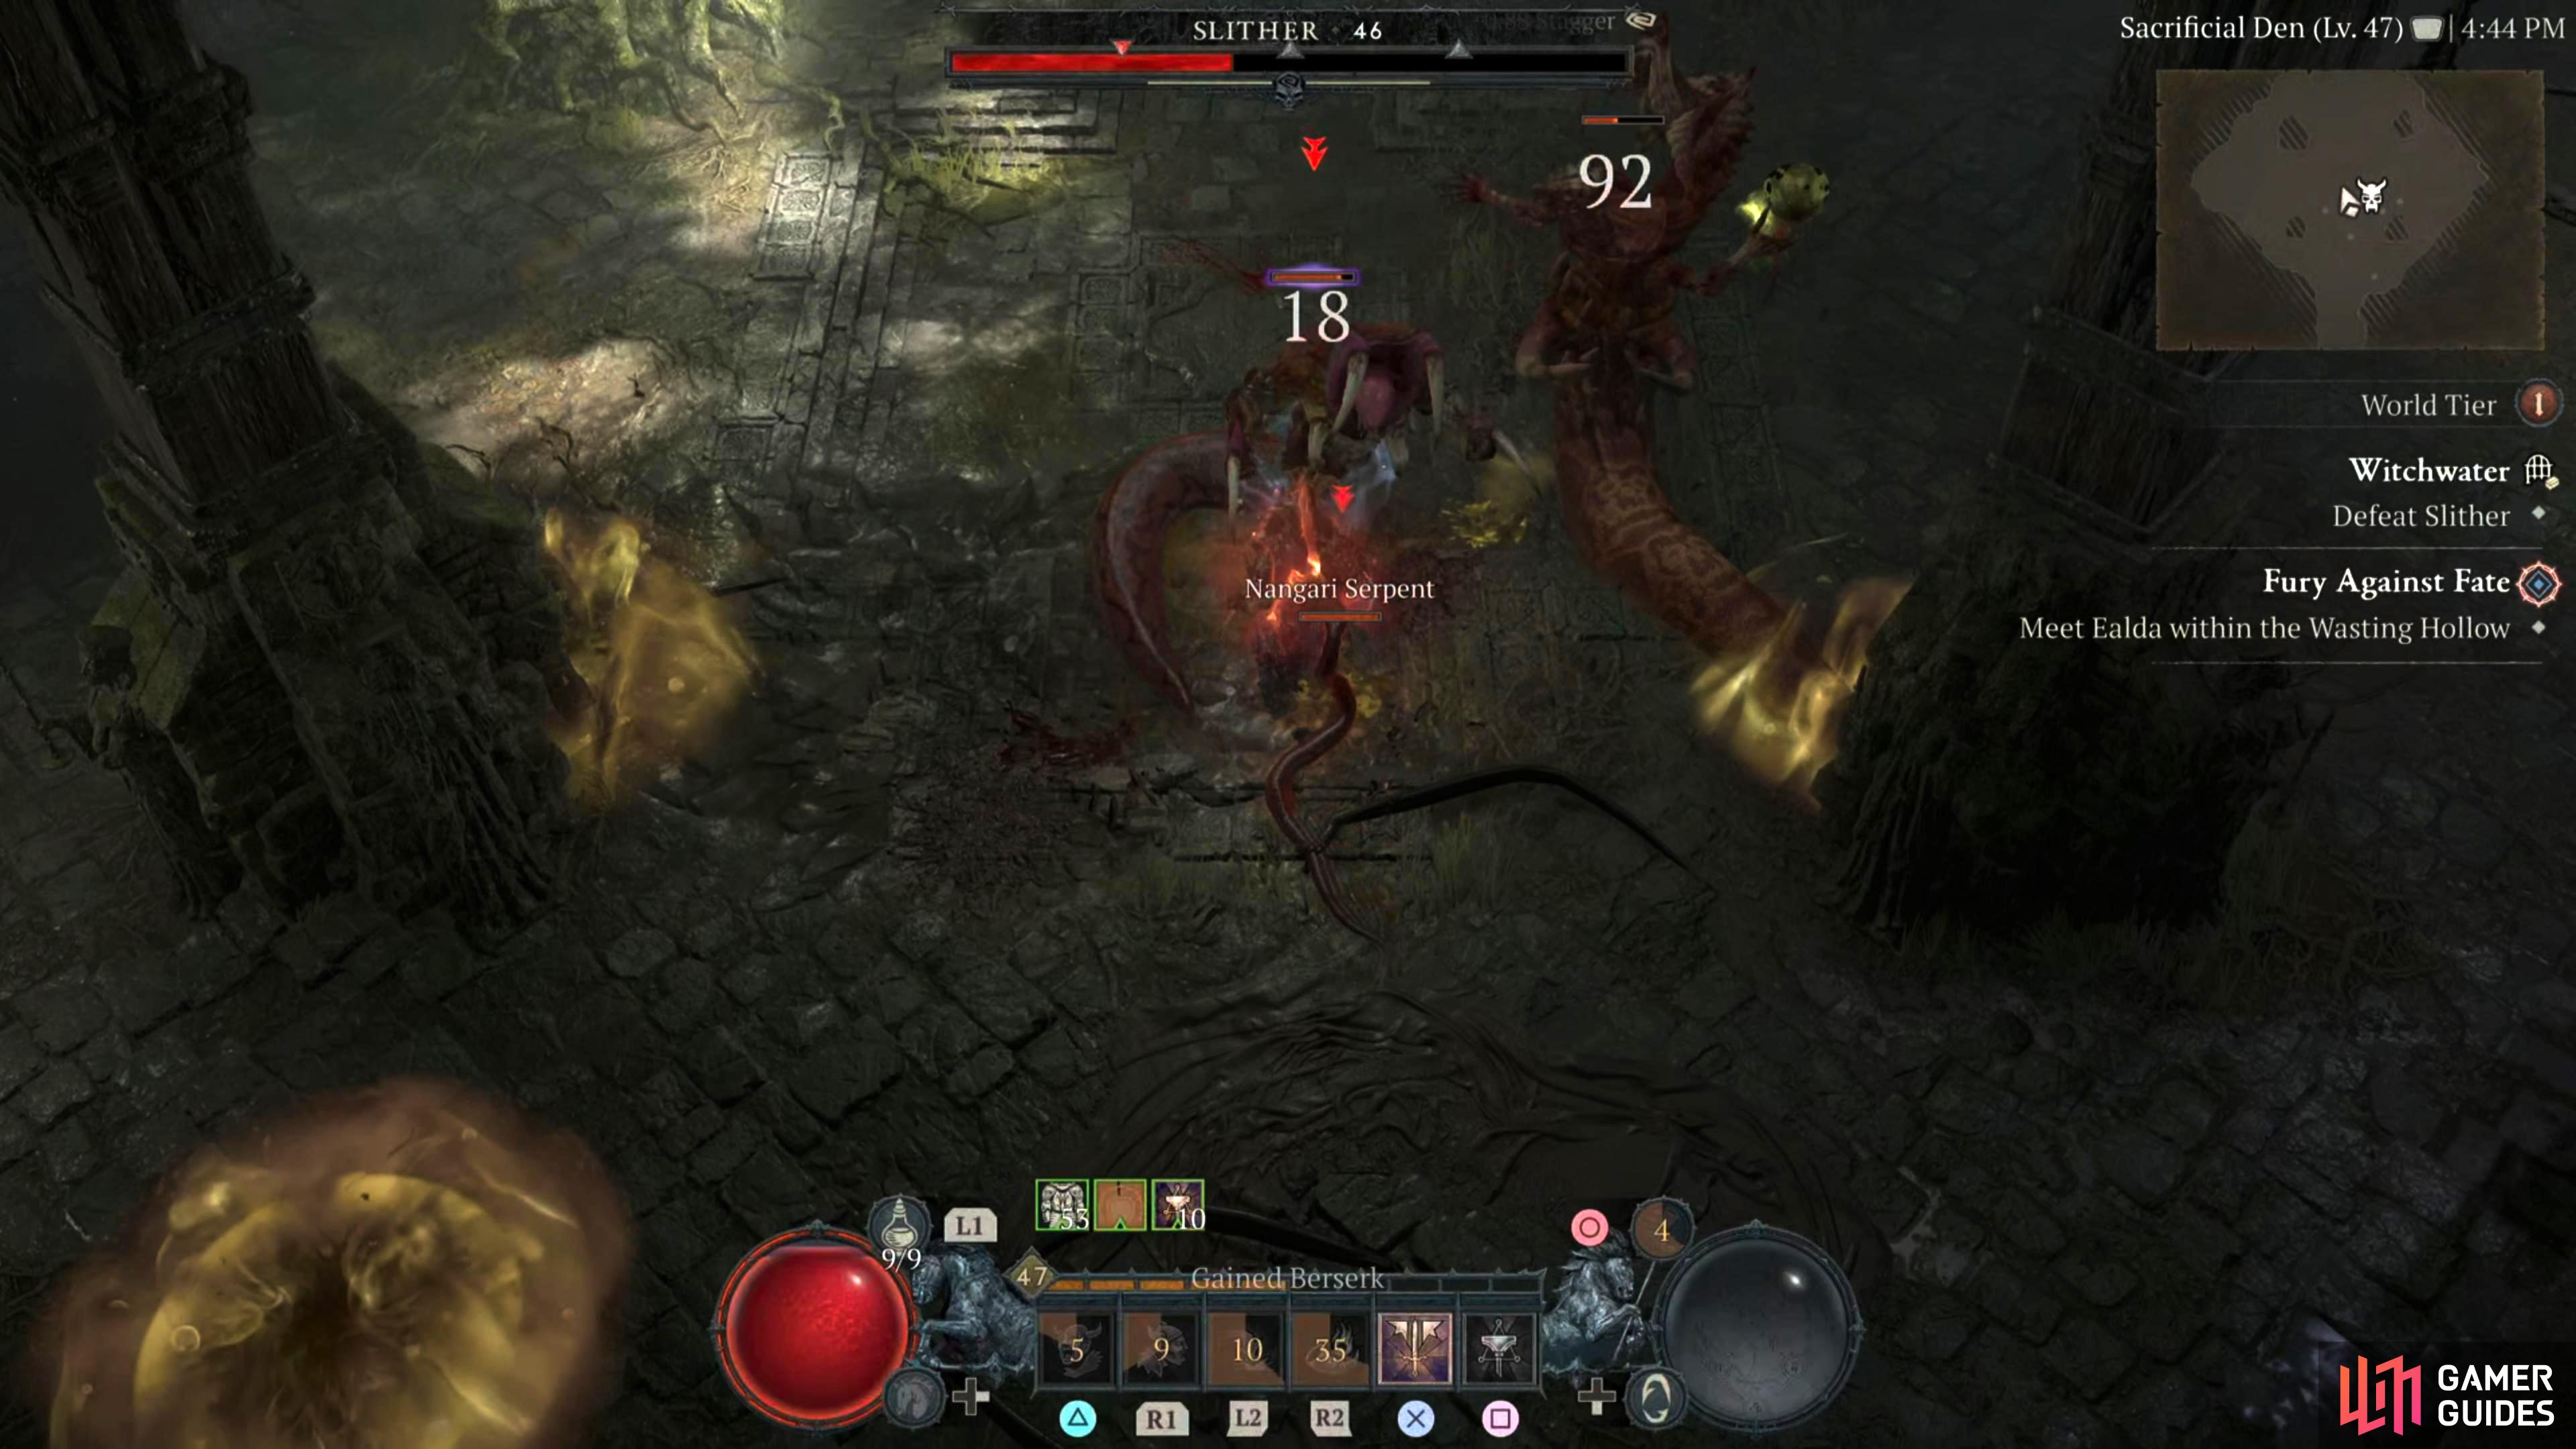
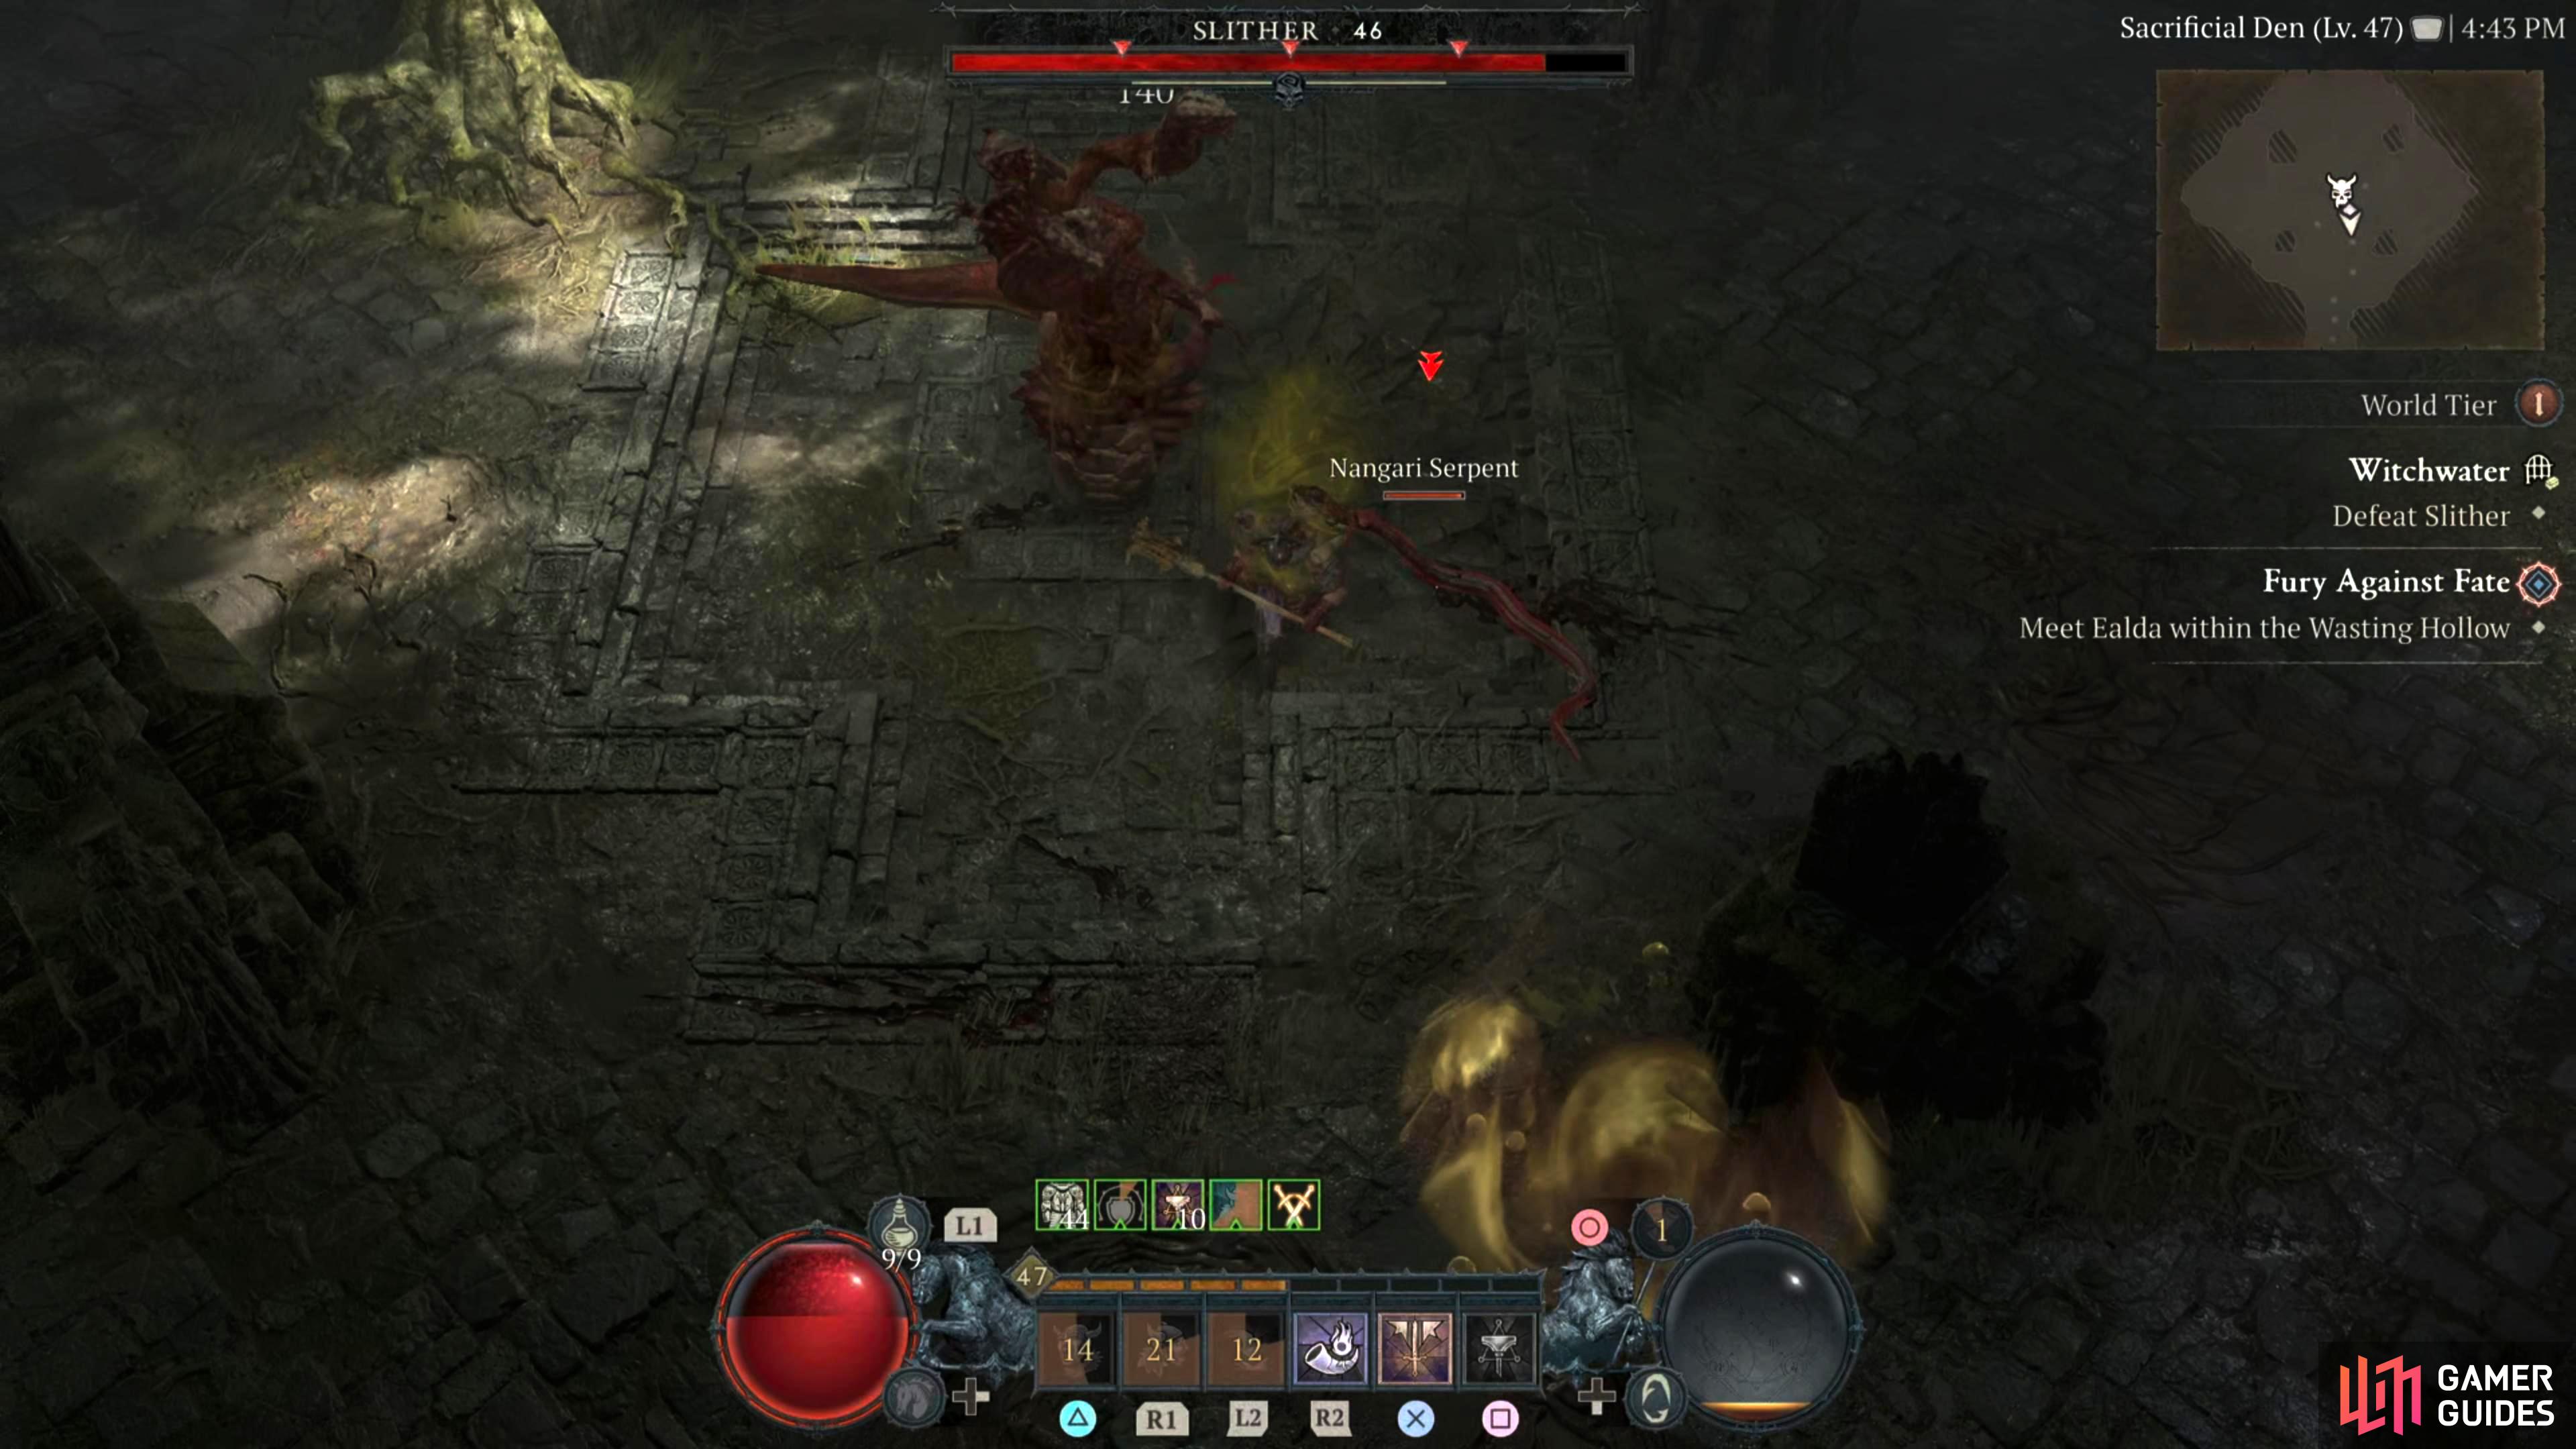
Summon Nangari - Throughout the battle the boss will summon various Nangari which will aid them in battle. Defeat the adds as soon as you can to limit the overall amount of damage you’ll be taking.
-
Poison Volley - Slither will spit out a volley of three poison projectiles at your location. Simply move or dodge away from your last position to avoid the attack.
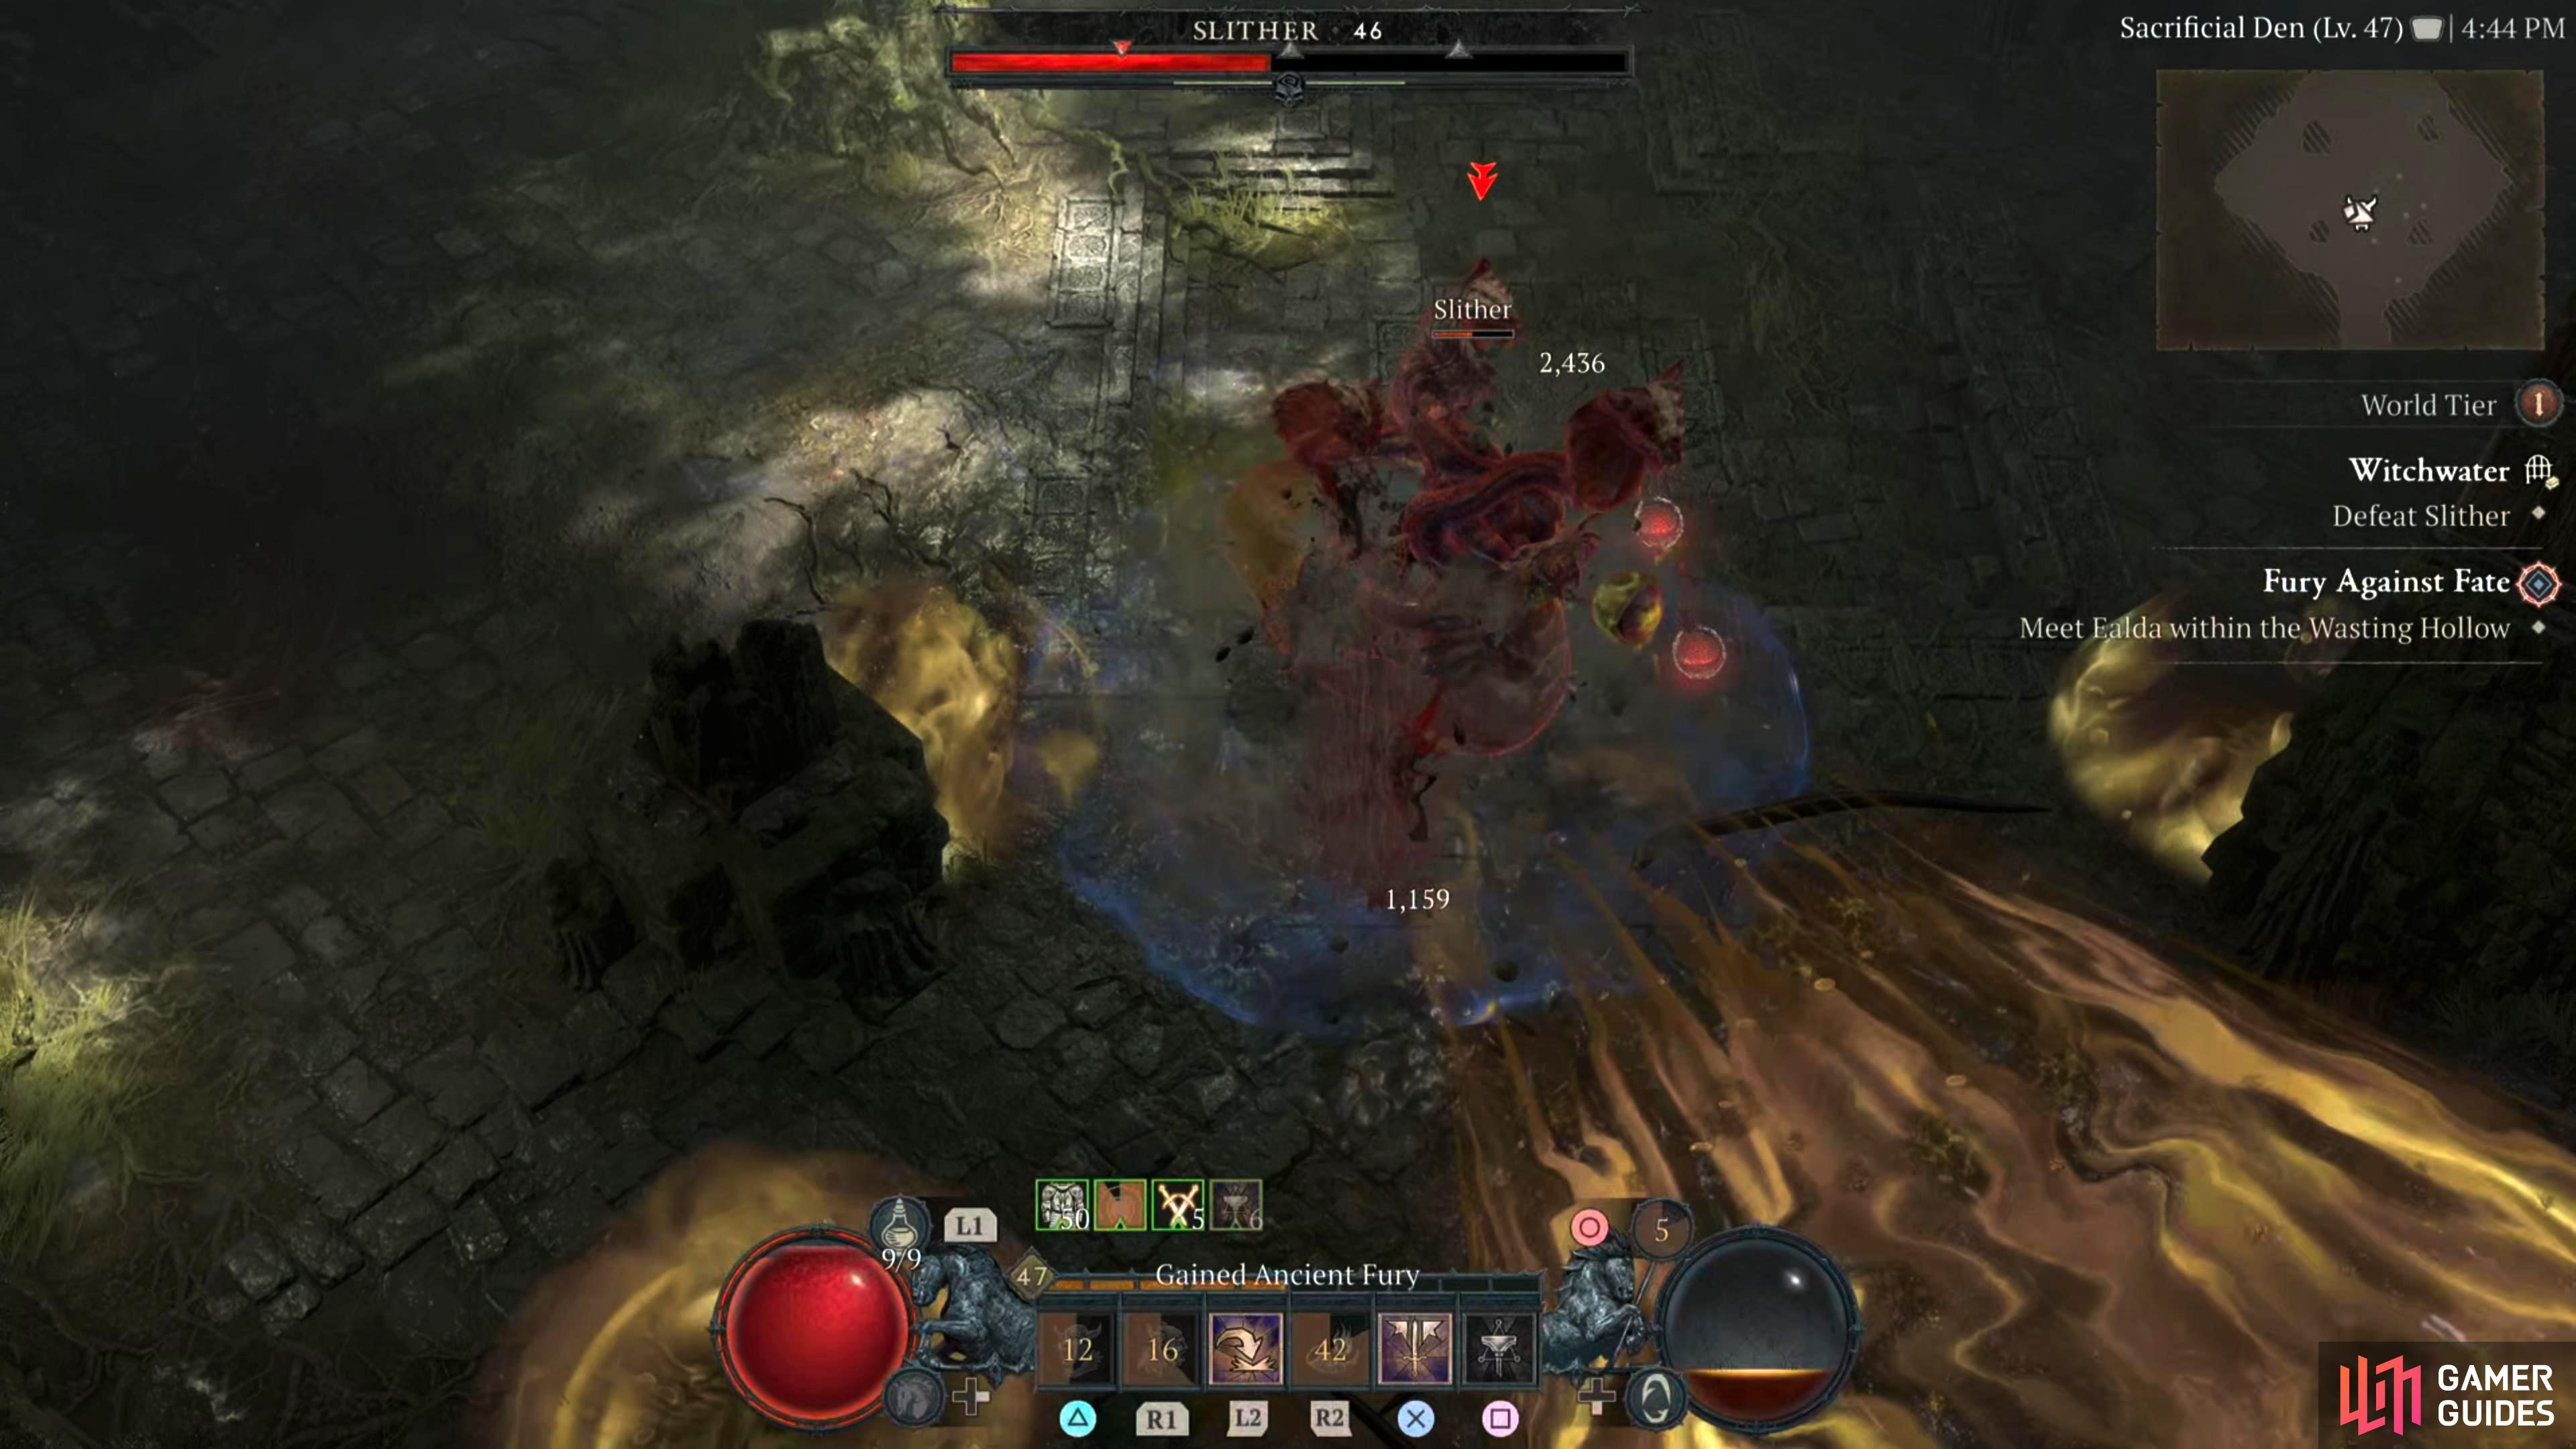
The two main attacks you need to worry about the most in this battle are the Stunning Eyebeam, and the Poison Breath abilities with the latter being the easier to dodge out of the two. Stunning Eyebeam can really hamper the battle as they can hit you multiple times in quick succession, and they go off relatively quickly, so ideally you’ll keep on the move.
The problem is, while this is happening, the Poison Breath is cutting off part of the arena you can dodge into, and when there are poison puddles on the floor too, it gets quite hectic. As stated above, keep on the move while you’re still damaging the boss, pop a Poison Resistance Elixir, and try to avoid the stun as much as possible.
Detailed Location
![]() Slither can be found at the end of the following dungeons:
Slither can be found at the end of the following dungeons:
-
 Witchwater (Haweza)
 -
 Forgotten Ruins (Kehjistan)
Screenshots

Region
 Hawezar
Interactive Map Locations

57415. Sanctuary Map
![]() Slither can be found at the end of the
Slither can be found at the end of the ![]() Forgotten Ruins dungeon.
Forgotten Ruins dungeon.
No Comments