Scourge of the Land
In-Game Description
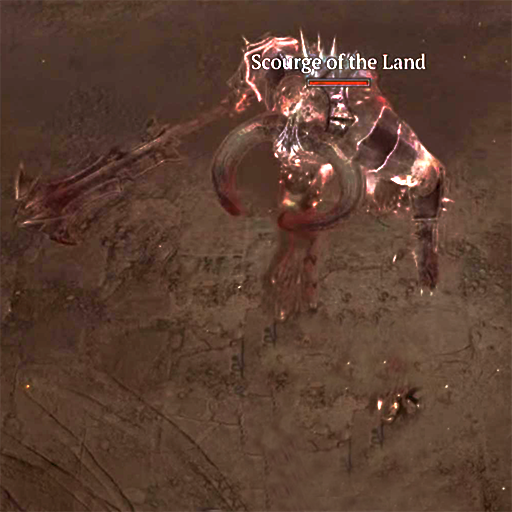
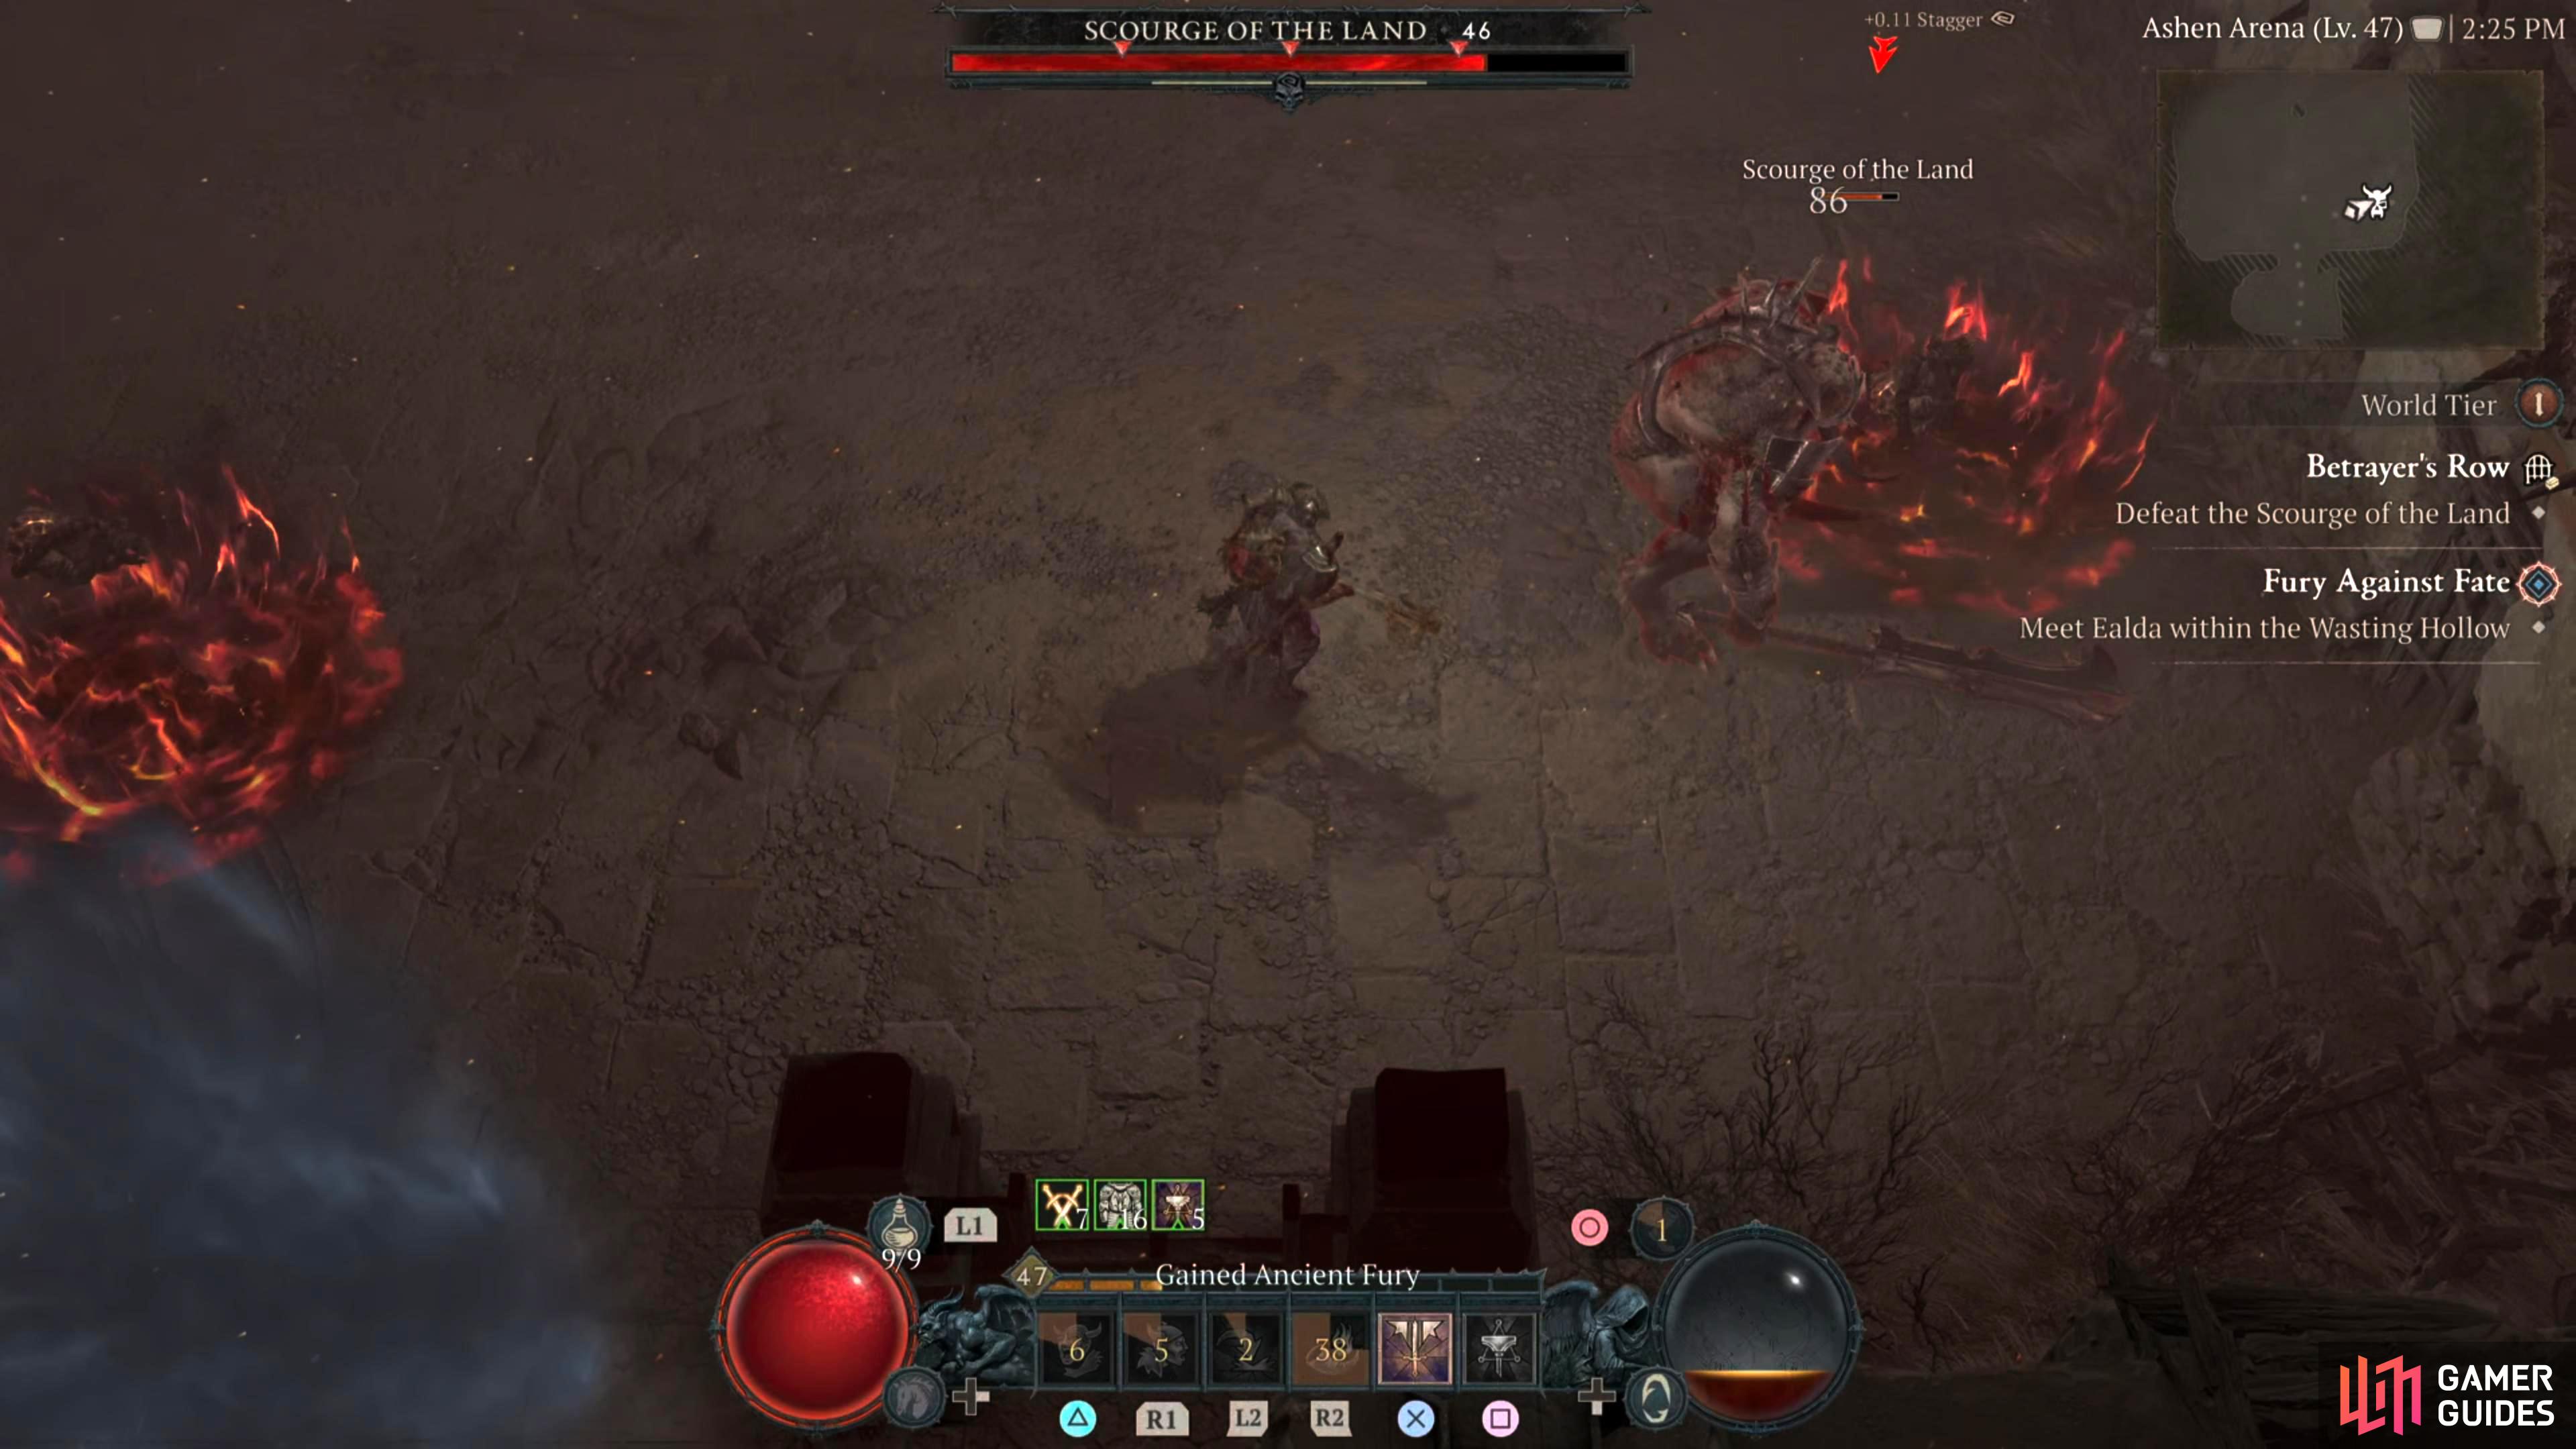
![]() Scourge of the Land is a humanoid-looking demon with two large curved horns protruding from its head. Its hulking stature and gigantic mace are enough to instill fear on any foe.
Scourge of the Land is a humanoid-looking demon with two large curved horns protruding from its head. Its hulking stature and gigantic mace are enough to instill fear on any foe.
Description
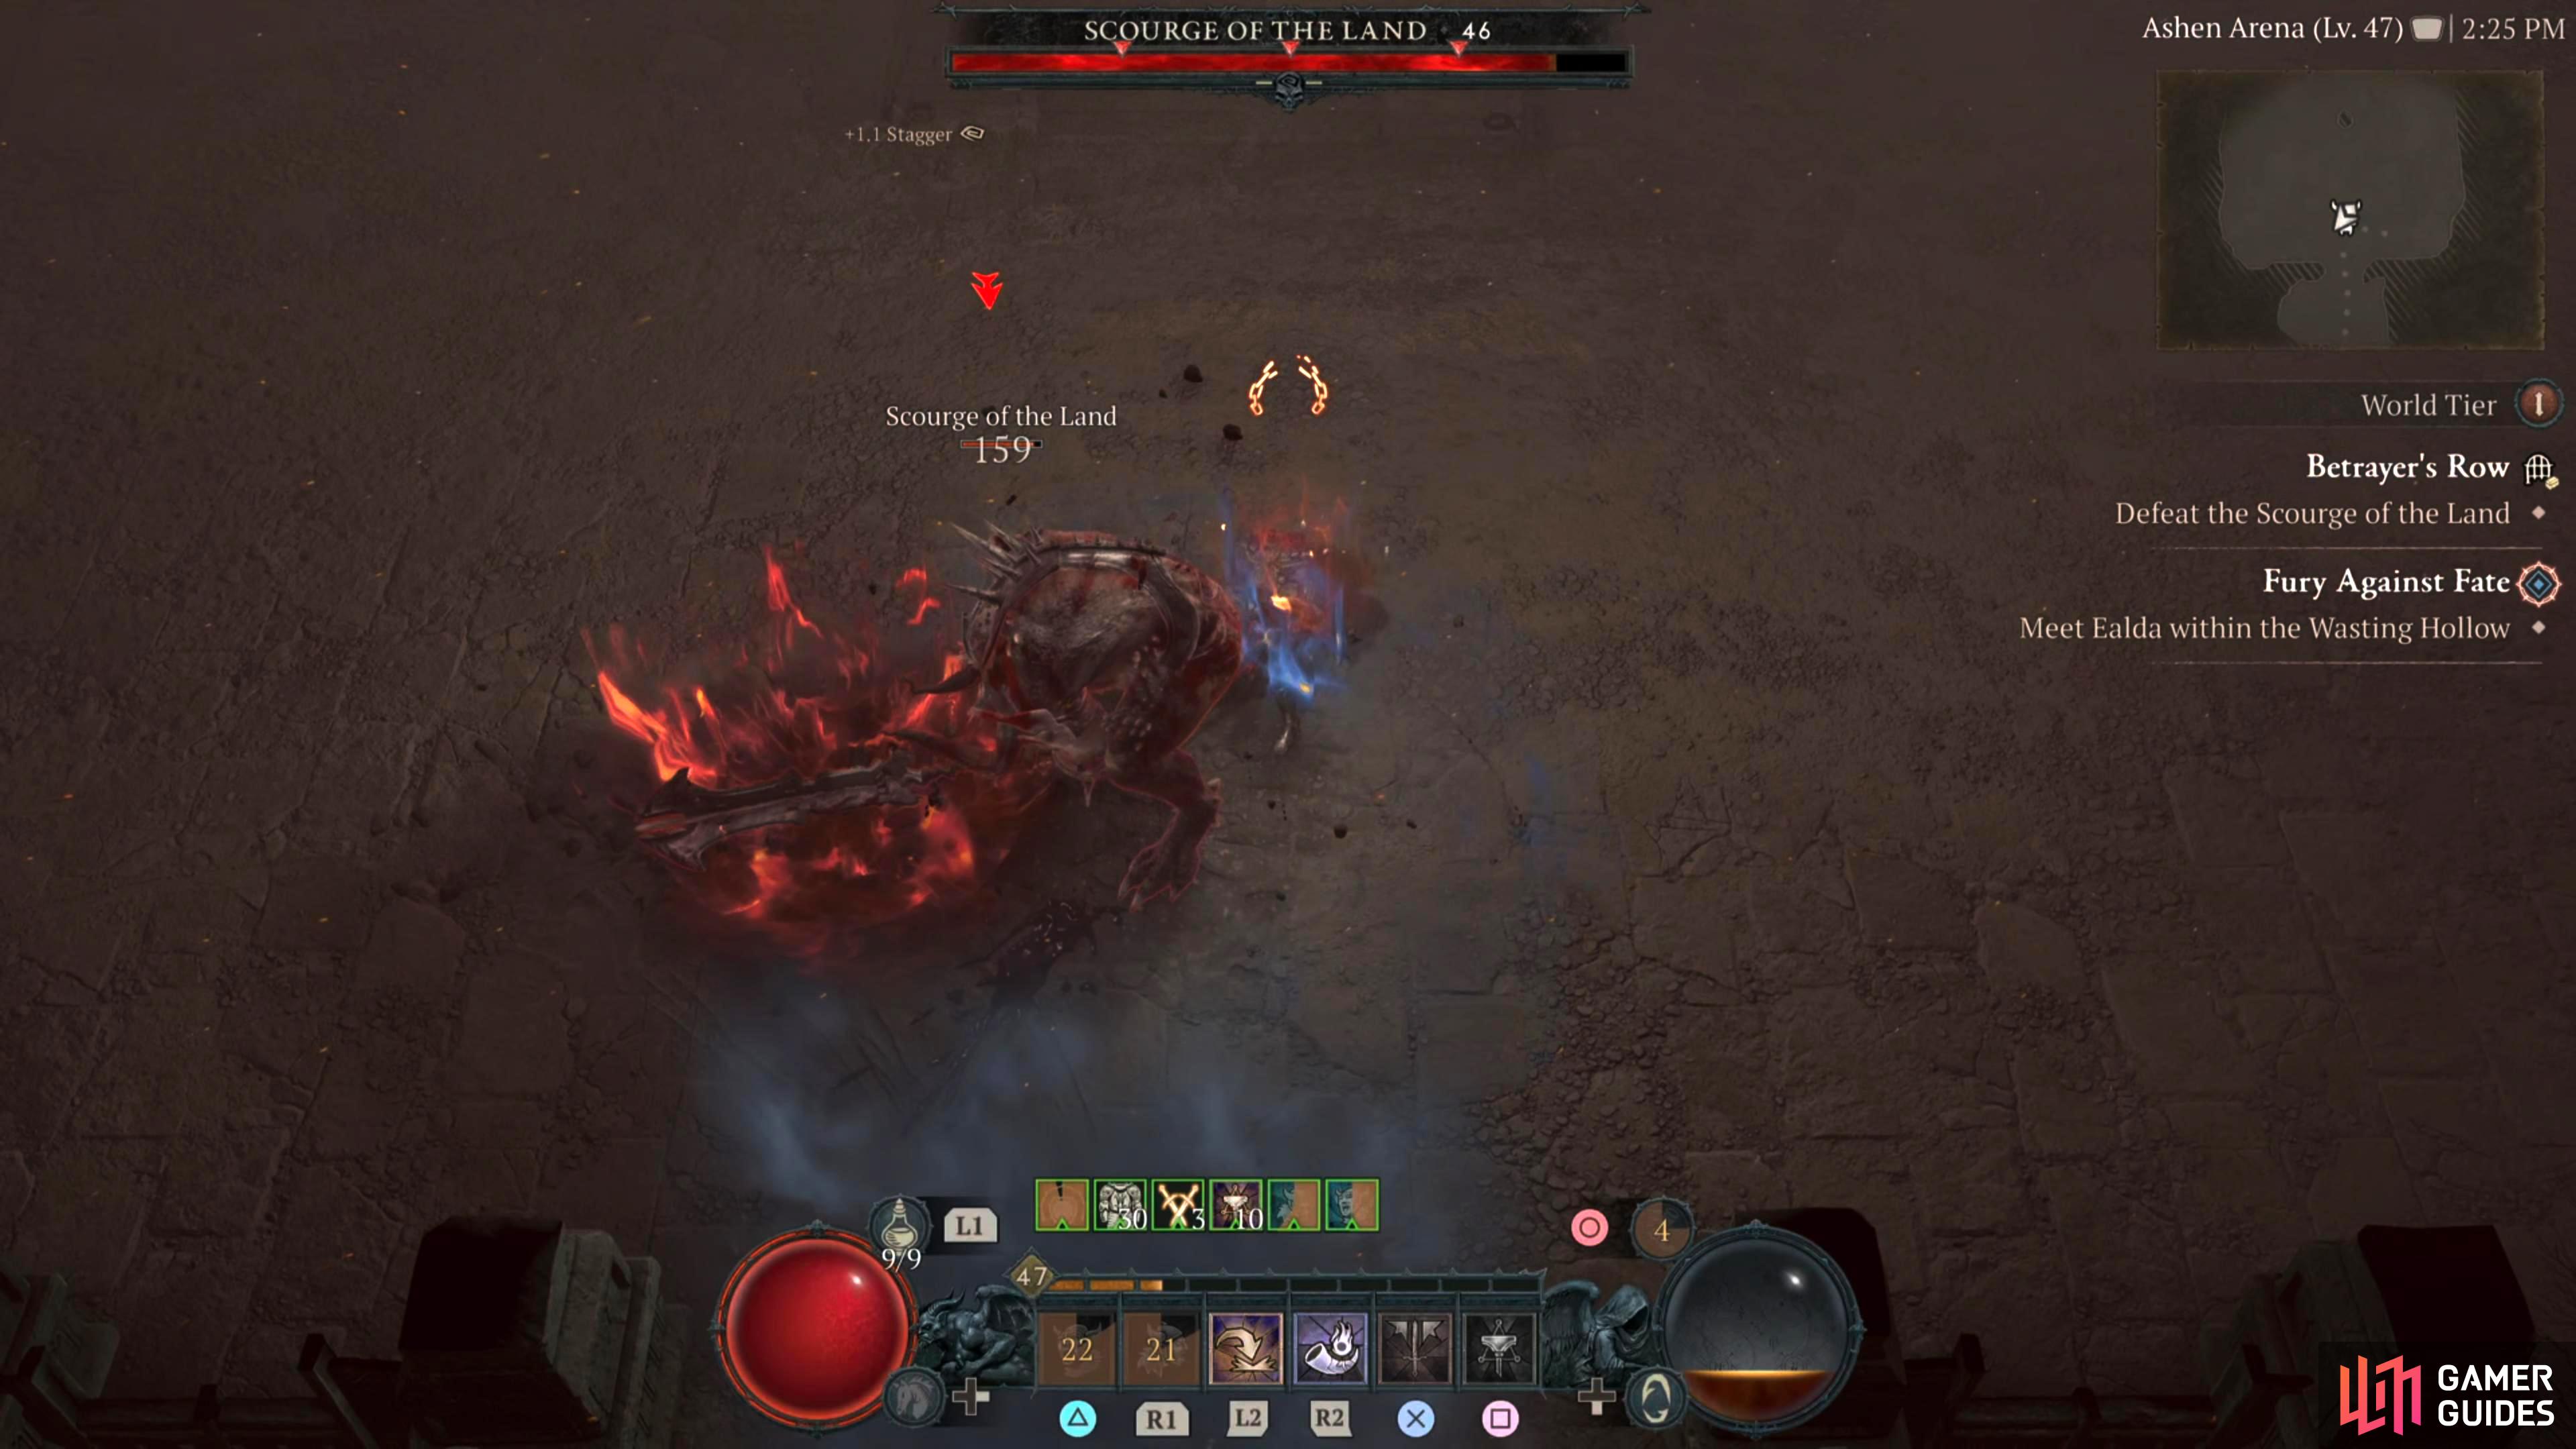
The ![]() Scourge of the Land is a simple boss with only a few attacks. Its attacks are predominantly fire-based, so an
Scourge of the Land is a simple boss with only a few attacks. Its attacks are predominantly fire-based, so an ![]() Elixir of Fire Resistance can go a long way. For the most part, this fight is a straight-up slugfest with the odd bit of repositioning to avoid the fire puddles it leaves behind. Here is what you can expect from the Scourge of the Land:
Elixir of Fire Resistance can go a long way. For the most part, this fight is a straight-up slugfest with the odd bit of repositioning to avoid the fire puddles it leaves behind. Here is what you can expect from the Scourge of the Land:
-
Fire Slam - The boss will head over to you and raise its large mace above its head before slamming it down twice in succession. This leaves behind a fire puddle that persists throughout the battle.
-
Fire Breath - Similar to the Amalgam of Rage story boss attack. The Scourge will stream out fire from its mouth which will last a few seconds. This hurts if you stay in it, but it’s easy to dodge by not standing in front of the boss, the damage doesn’t matter. This is a good time to get some free hits on it.
-
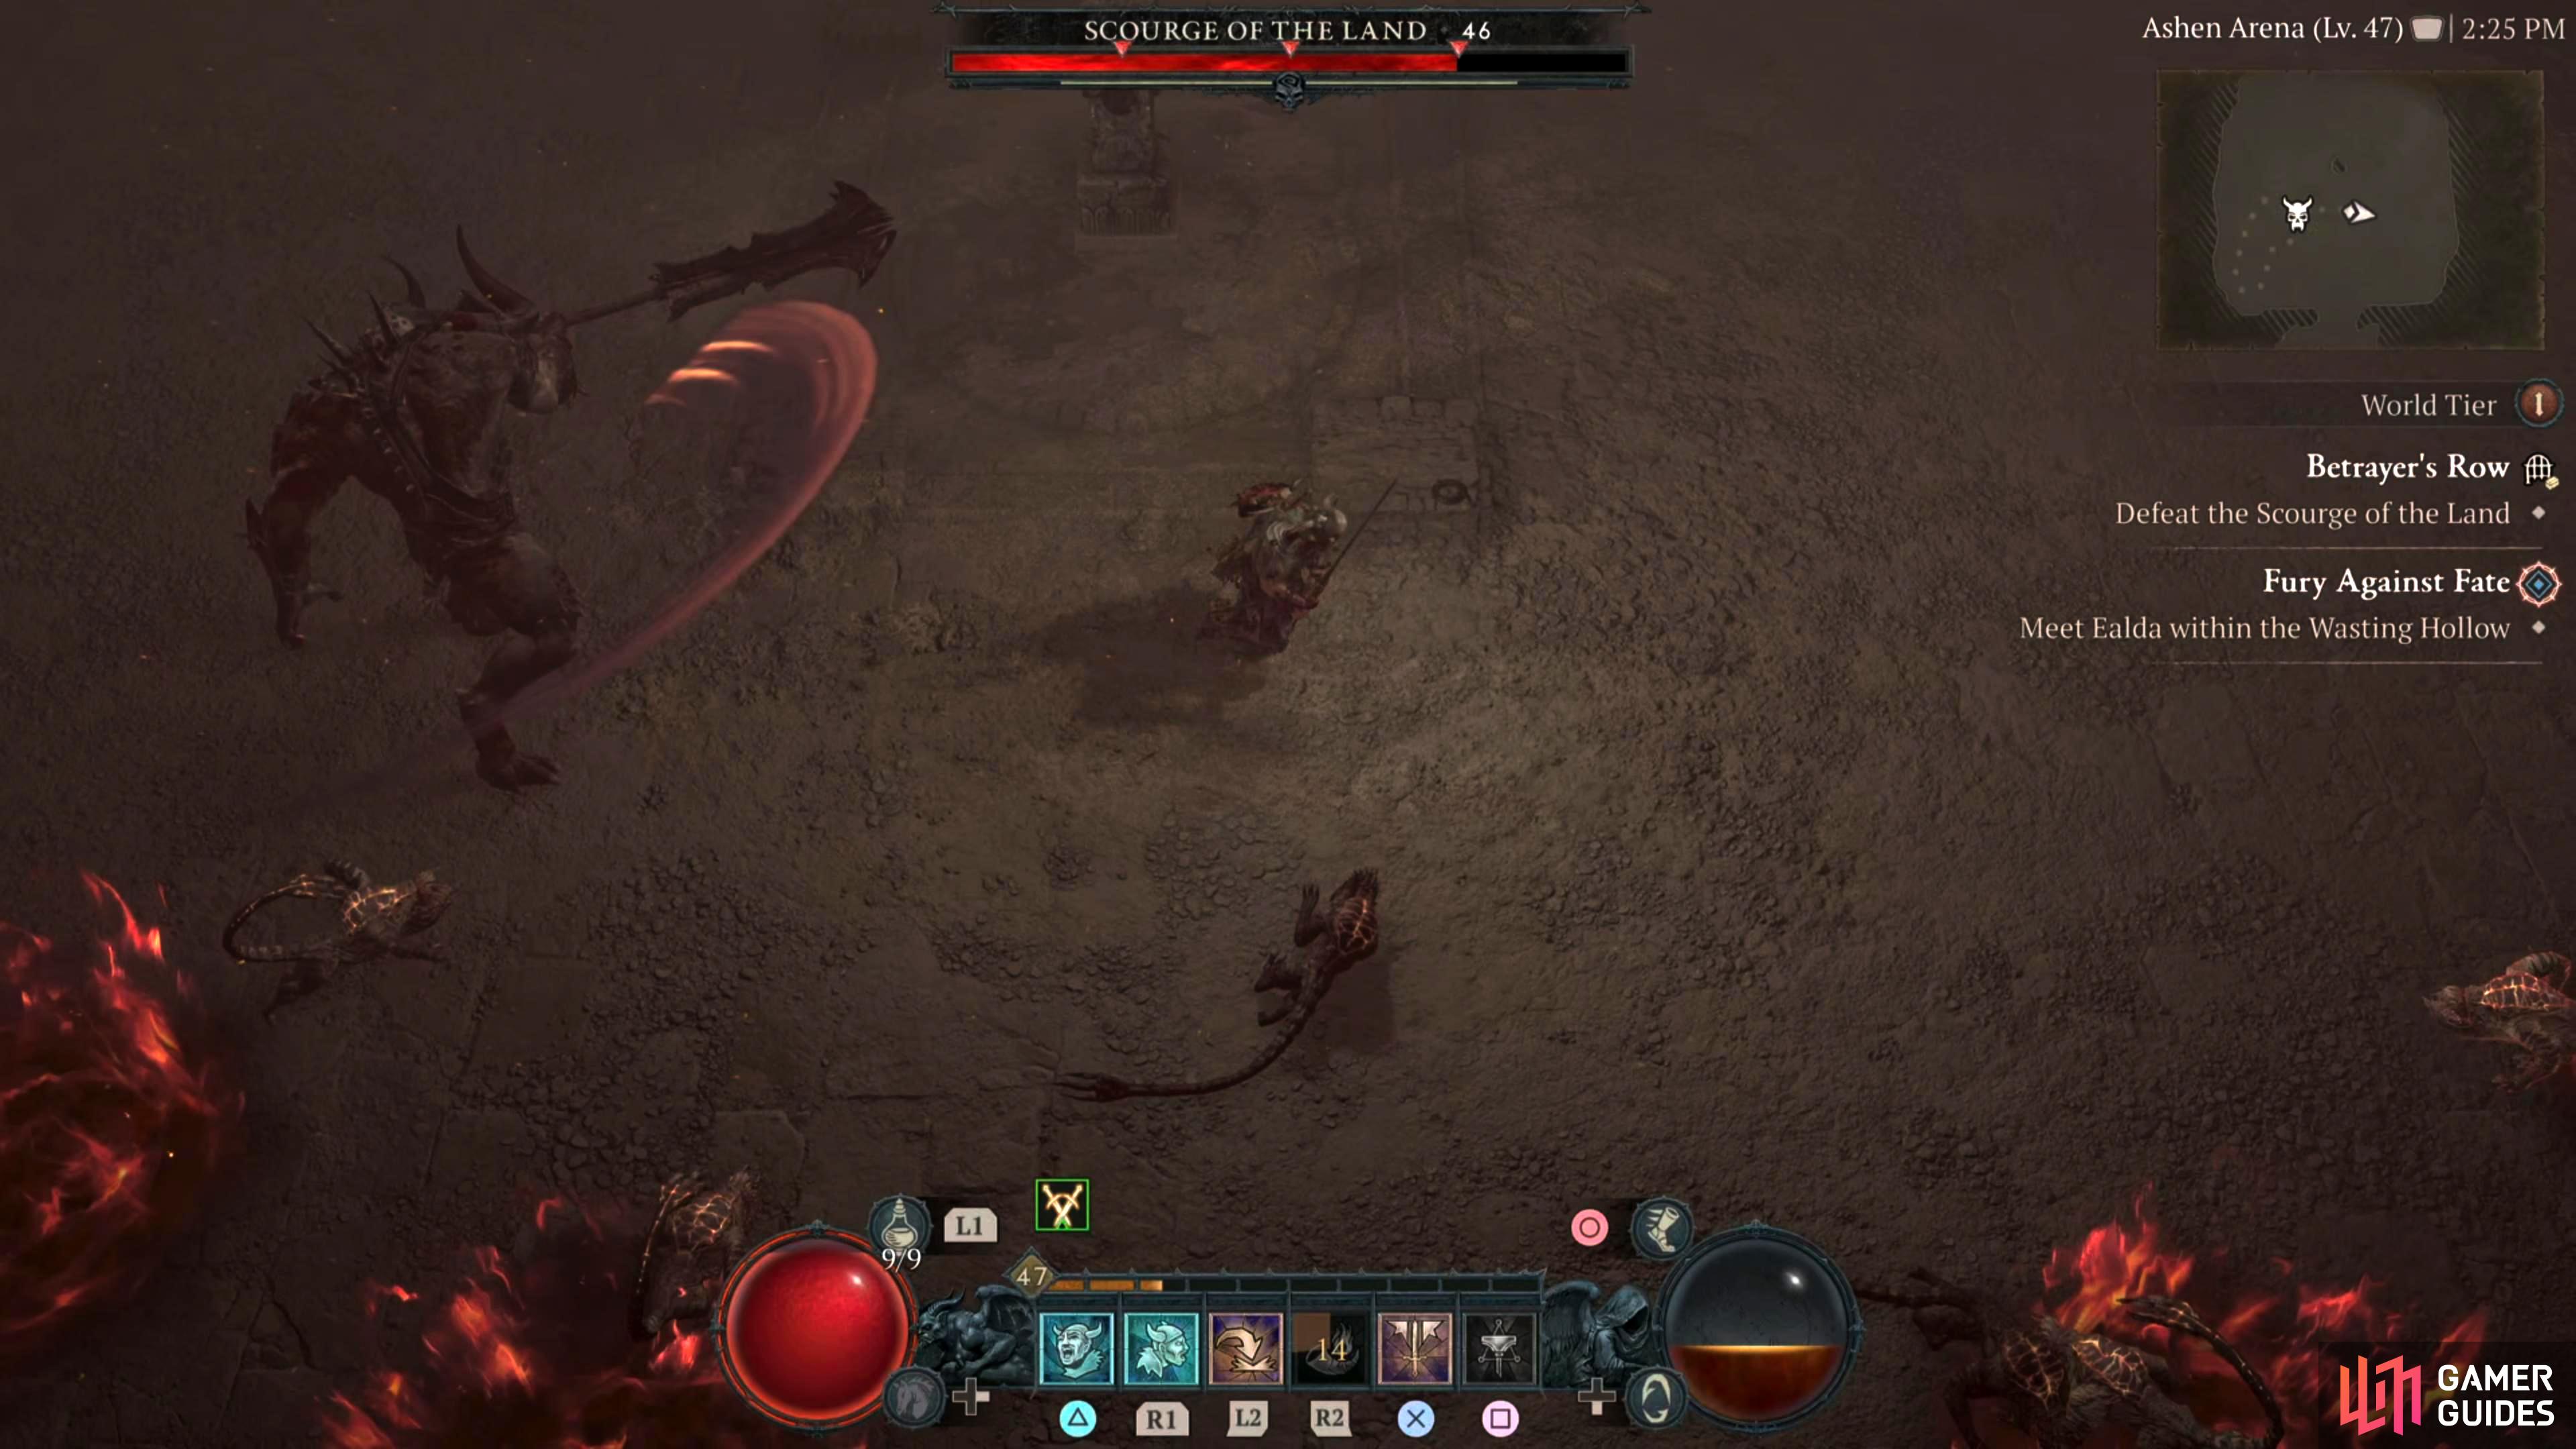
Demon Summon - Most bosses have something similar, and the scourge is no different. Throughout the battle, it’ll summon various demons to aid it. You can ignore these for the most part unless there are ranged enemies like
 Succubus where you may want to take them out sooner rather than later.
 -
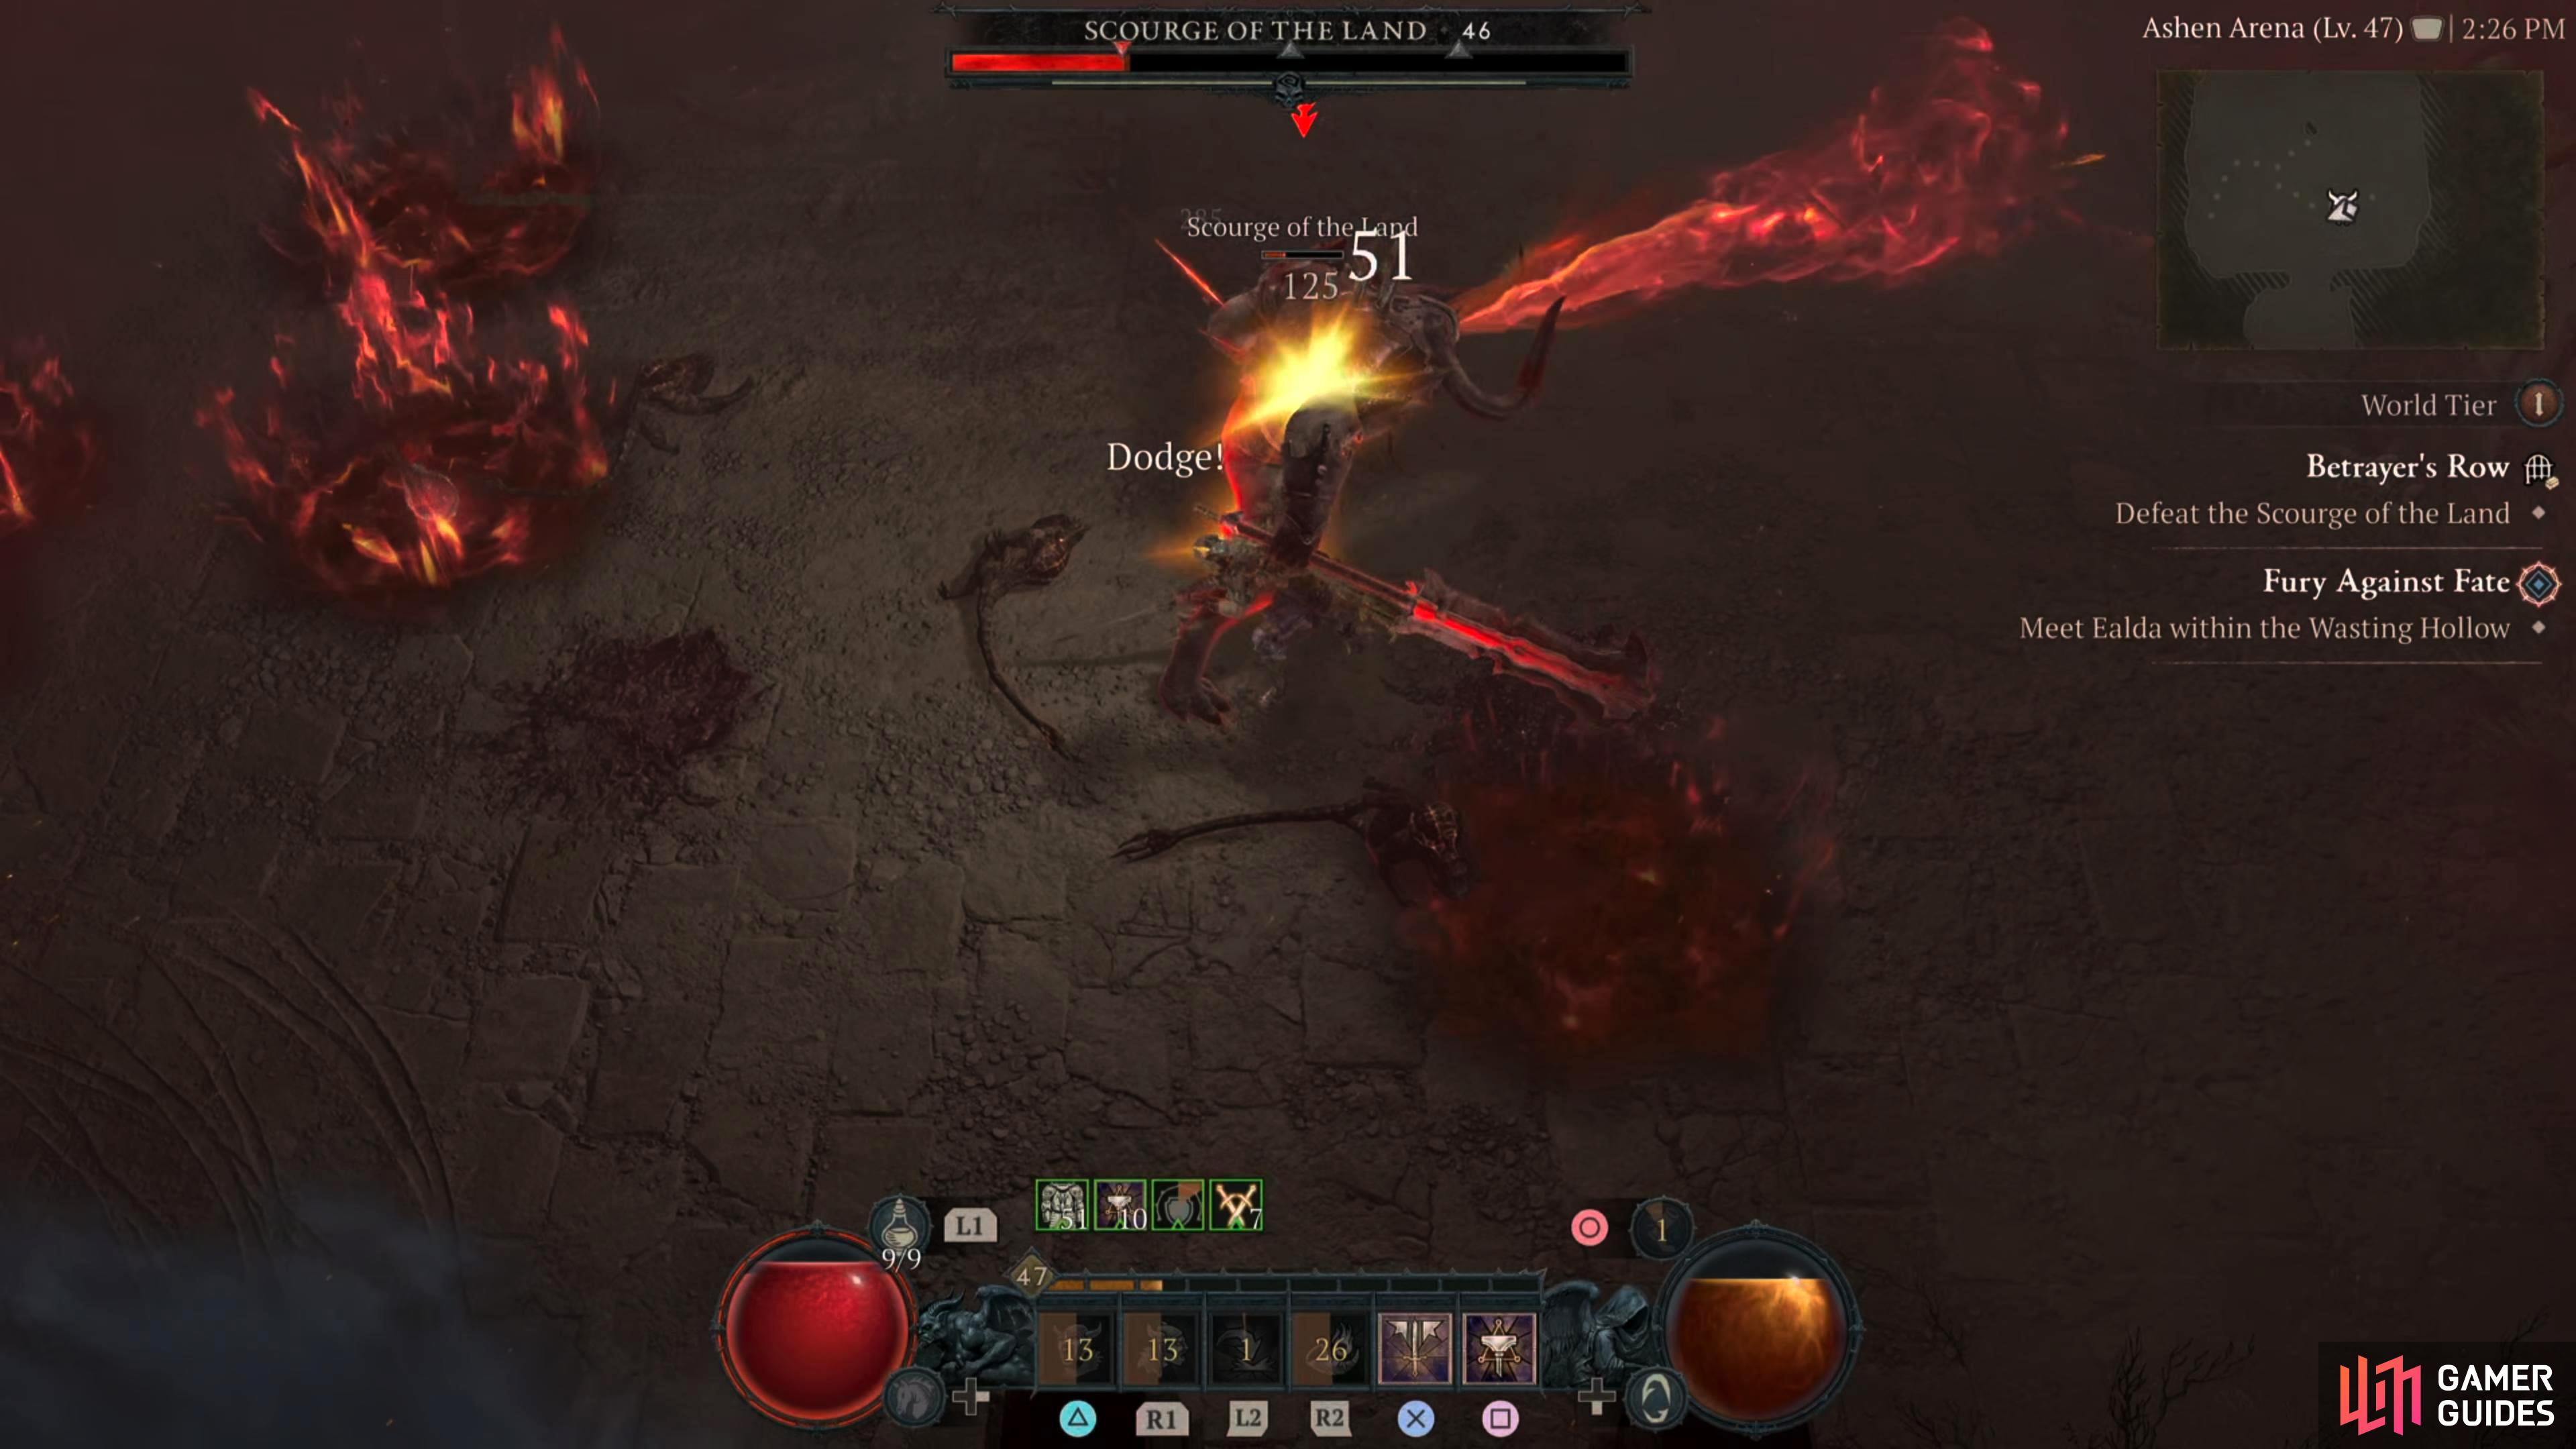
Sweeping Swipe - This is a generic sweeping swipe attack with its mace that can hit twice in a wide arc. This attack comes at you with speed, and unless you’re adept at dodging, you’ll probably get hit by this. Fortunately, you can just heal through it, or use your damage mitigation tools.
That’s it, a relatively easy boss battle, where as long as you don’t stand in front of it when it’s performing the fire-based attacks, you shouldn’t have any problems. If the fire puddles start covering the arena, move the boss to the other side by simply moving over there as the boss doesn’t have any ranged attacks.
Detailed Location
The ![]() Scourge of the Land can be found at the end of the following dungeons:
Scourge of the Land can be found at the end of the following dungeons:
-
 Betrayer’s Row (Dry Steppes)
 -
 Grinning Labyrinth (Dry Steppes)
 -
 Endless Gates (Haweza)
 -
 Inferno (Kehjistan)
 -
 Iron Hold (Hawezar)
Screenshots
Region
 Dry Steppes

No Comments