Exploring Bluemoon Tower
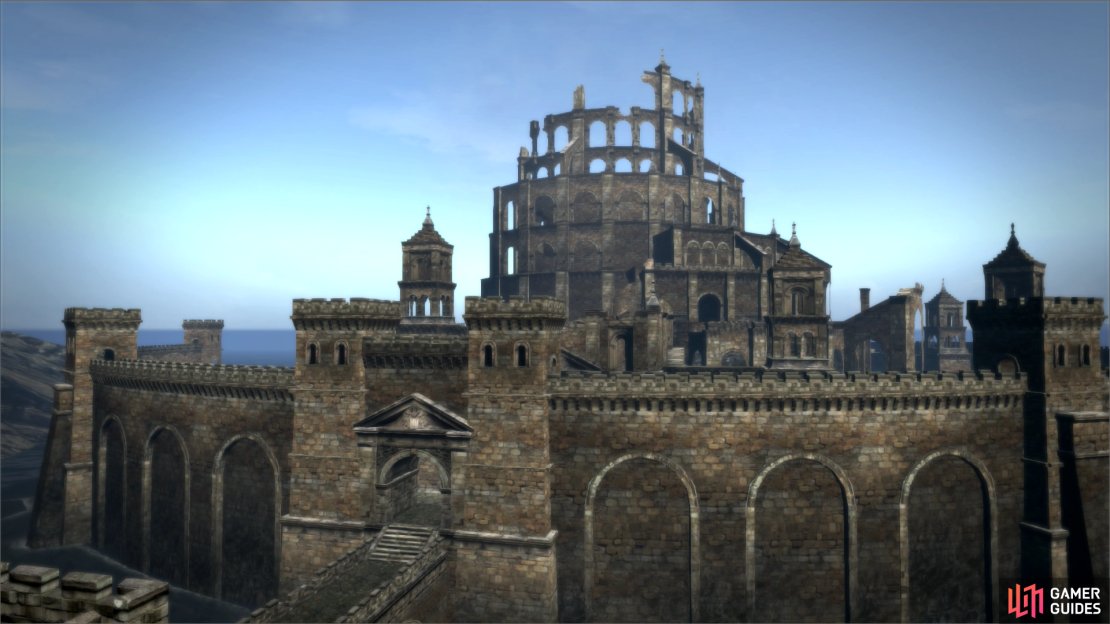
Bluemoon Tower… if there’s any place in the entire game at this point that can challenge Soulflayer Canyon in both quantity and quality of loot, this is it. Head south across the bridge you start on and score two Warrior Remains before passing under a large arch (the second set of Warrior Remains can take a bit of time to load… but that might just be an Xbox 360 thing.) Here you’ll find members of the Enlistment Corps. fighting a losing battle against a flock of Snow Harpies. Snow Harpies are normally native to Bluemoon Tower-but the only reason these ones are here is due to the quest progress of ‘Griffin Bane’. In subsequent runs, you shouldn’t encounter any Snow Harpies here. Talk to Ser Arbel and Ser Loren for a flavor update, if you care about such things.
| Warrior Remains |
|---|
| Iron Vest |
Continue out onto another bridge-this one running east/west. To the west you’ll find a square chest worth looting. Once done, head east where you’ll see more soldiers fighting some Skeleton Knights. Again, these monsters are native to Bluemoon Tower, but you normally wouldn’t encounter any here. Continue south across another bridge and head up some stairs to reach a column-lined hall with more Warrior Remains on it. Before the arch, flanking the stairs, sit two Griffin statues… fitting, considering your prey. If you climb atop them, you can find a few things to loot-some Harspud Juice and Secret Softener around the base of the western one, and a Seeker’s Token near the front left paw of the eastern one.
| Square Chest | Warrior Remains |
|---|---|
| Bespoke Longbow | Silver Ring |
| Chimeric Sabatons | |
| Silver Ring |
Carry on to the south, under another arch. You’ll spot a pair of Snow Harpies feasting on carrion, and on an elevated ledge above them (and you) sits a Skeleton Mage waiting to blast you with Ingle when you come in range. To the east lurk some slumbering Skeleton Knights and some stairs-dispatch all your foes, loot a rounded chest near the carcasses the Snow Harpies were feasting on, and head east.
| Rounded Chest |
|---|
| Iron Bandings |
| Master’s Merle |
Reach the stairs and defiantly ignore them for now. At the feet of the stairs turn north and spot a sliver of intact, uneven floor running under an arch to the north-east. Use the ruined floor as a bridge of sorts and walk onto a ledge under some more arches-and-columns and look down. You’ll see a rounded chest glowing merrily at you, but be cautious-a Skeleton Knight lurks here as well. This chest can contain the ultra-cool looking Silver Chestplate, essentially a muscle cuirass on male characters, and a metal bikini top on females. Lame.
| Rounded Chest |
|---|
| Silver Chestplate |
| Trooper Outfit |
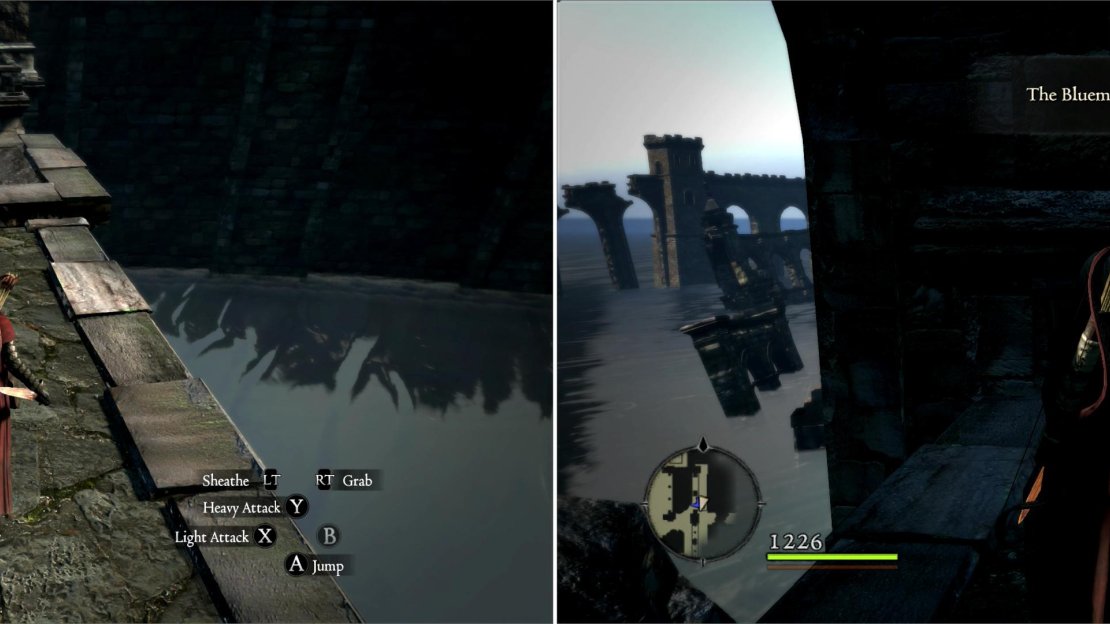
Undead will pester you on the lower levels of Bluemoon Tower (left), but the treasure within is worth the trouble of eradicating them (right).
Return back south to the stairs and follow them up, then up another flight to the west, grabbing a Light Cure near a torch along the way. Up some more stairs to the east another Skeleton Mage will do his best to act as an Ingle-turret… but fortunately there’s a column you can hide behind, waiting to attack while he’s casting. When you do attack, however, do so quickly, as a number of Snow Harpies will show up and attack. Run to the landing the Skeleton Mage was on and hide in the corner, picking the Snow Harpies off at a range or waiting for them to come to you-doing this will lessen the odds that they’ll pick you up and drop you into any of the pits nearby. If it matters at all to you, there’s an Inverventive to score on the flat ledge under the arch separating the stairs the Skeleton Mages lurked near from the ones below.
Continue south to find more stairs, which will be ignored again. Instead, walk under another arch and look down the ledge it rises over to spot a rounded chest. Before you jump, grab some Harspud Milk to the west and a Pickaxe to the east, if you need it. On the ledge under the next arch to the west you can find a Salubrious Brew. When you jump down, try to land on top of the rounded chest or one of the several ore veins to avoid taking damage. Mine the ore, as you can often obtain some otherwise rare Alluvial Yore-Ore here, loot the chest, and continue east.
| Rounded Chest |
|---|
| Grand Surcoat |
| Gryphic Gauntlets |
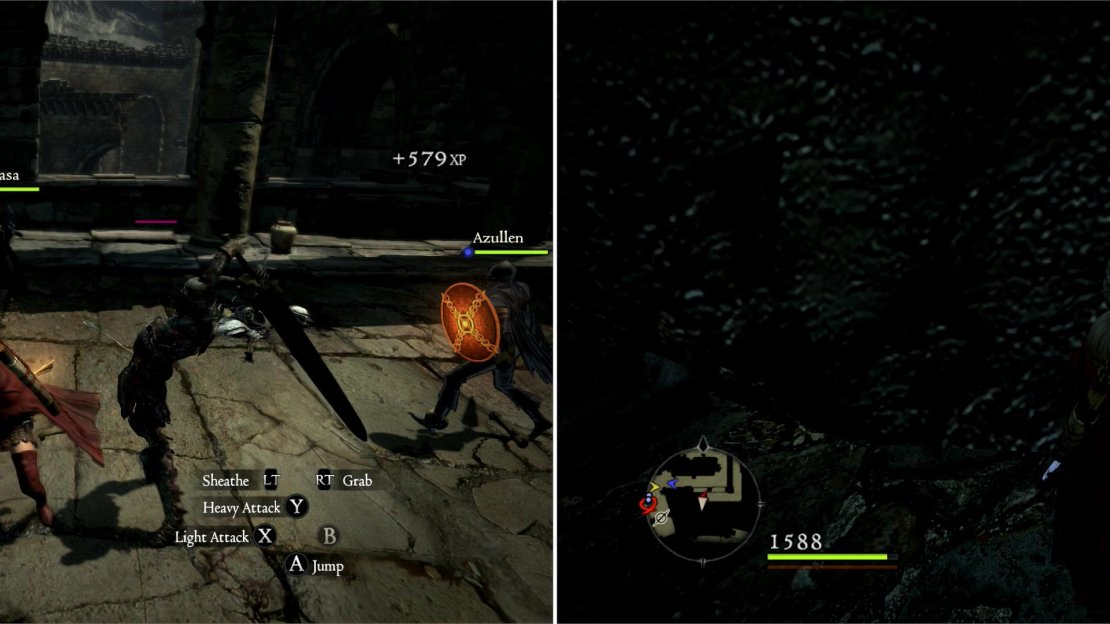
The Undead Warriors might seem formidable, but the real danger in Bluemoon Tower is falling to your demise (left). Ore veins in Bluemoon Tower can yield Alluvial Yore-Ore (right).
When you run out of east, turn north and head up some stairs. Continue north along some arches-and-columns until the path turns east, terminating at a collapsed stone walkway leading to a square tower. The gap can-and should-be jumped. Grab a Light Cure on the other side and walk the narrow ledge around the elevated platform of the square tower to score three Bladeleaf and some Harspud Milk. Atop the elevated part of the tower you’ll find two chests-both ornate, and both very generous. In the south-eastern corner of the tower you’ll find a Panacea and a Salubrious Brew, and in the north-western corner you’ll find two Large Coin Pouches (7000 G).
| Ornate Chest | Ornate Chest |
|---|---|
| Anchor to Heaven | Assailant’s Bracers |
| Crescending Roar | Fluted Bow |
| Hunter’s Bow |
Head back west, jump the gap again, and head under the northern-most arch lining the walkway to the west. Another strip of floor leads to the intact surfaces of the arches-and-columns below. Continue west to score a rounded chest, then turn north and walk across some much more uneven ground to find a square chest… scoring a Dose of Courage along the way.
| Rounded Chest | Square Chest |
|---|---|
| Chimeric Half-Plate | Divine Axis |
| Sectional Iron Plate | Fiery Talon |
| Morgenstern |
Backtrack to the last rounded chest you scored to the south, and from there continue west along the tops of arches-and-columns before passing under another arch to the west-scoring another Dose of Courage under an arch to the north along the way, of course. Cross another ruined floor to the west, then cross under yet another arch to spot another square tower-this one with an intact walkway. Stroll around it first to gather up another two Bladeleaf Plants and a Salubrious Brew, then ascend to the elevated platform to find a rounded chest. Grab two more Large Coin Pouches (7000 G) in the north-eastern corner and return to the walkway. Follow it east, then south. Head up some stairs (another Interventive hides under the arches east of the stairs) and turn east to find yet another rounded chest. Once done looting jump off the eastern side of the ledge (behind the chest) to reach the platform where the first Skeleton Mage you took down here stood.
| Rounded Chest | Rounded Chest |
|---|---|
| Plated Coat | Gryphic Helm |
| Twilight Hood | Violet Ring |
| Vouge Daggers |
Head up the stairs to the east again, turn south, and rush up the stairs to the west here. Skeleton Knights dot the stairs and landing above, but a Skeleton Mage waits behind them. Rush past the dormant Skeleton Knights and kill the Mage before his buddies animate to simplify the fight. Once all the undead lie still, grab a Dose of Strength and some Harspud Milk on the floor before turning south-east. On top of a crate near a door sits some Harspud Juice. The caged door nearby is barred from the other side… something you’ll need to remedy shortly. The metal door on the opposite wall, however, is open to you due to the progress of the quest ‘Griffin Bane’. Be in top form before you head through the door, as the Griffin awaits.
Griffins Bane
Open the door and the weather will turn stormy… not that it actually rains, mind you, there’s no precipitation of any kind in Dragon’s Dogma… which is a shame, really. A game like this could have only benefited from the atmosphere added by a little weather. Anyways, you’ll see a soldier standing near a ledge to the north gesturing wildly. Head over to him and the Griffin will make its grand reappearance and, well… will do bad things to the soldier. Beak and talon bad things. Ouch.
To the west Ser Georg will call for aid-they’re attempting to cut their way through the cross-bar that seals a nearby gate-run up to the gate and give them a hand. When the bar is destroyed, the gate opens and you can continue past it. Another gate looms ahead, however, blocking your path-you can either cut your way through this one, or run up some stairs to the north-west, cross a bridge (smashing crates that block your way as you go), and head down some more stairs to get behind the gate. The Griffin will pick off Ser Cyrus-spare the soldiers some effort by pulling a lever on the far side of the gate, which will open the way for them.
Once reunited, continue south to the next gate. Ser Westley is the next victim of the Griffin, who snatches him and flies out of reach to pick poor Ser Westley to pieces before renewing the assault on you. Attack the Griffin as you may (but try not to kill it yet) and it’ll eventually bash through the gate for you… but not before smashing the walkway back. Once the gate is down, do not hesitate-you must run into the camera (a cinematic cliche that everybody should hate in video games), as the Griffin repeatedly swoops down and destroys the walkway behind you. Flee the wrath of the Griffin, running counter-clockwise along the walkway until the walkway ends. When it ends turn north and head into a hallway, which will provide you sanctuary from the Griffin.
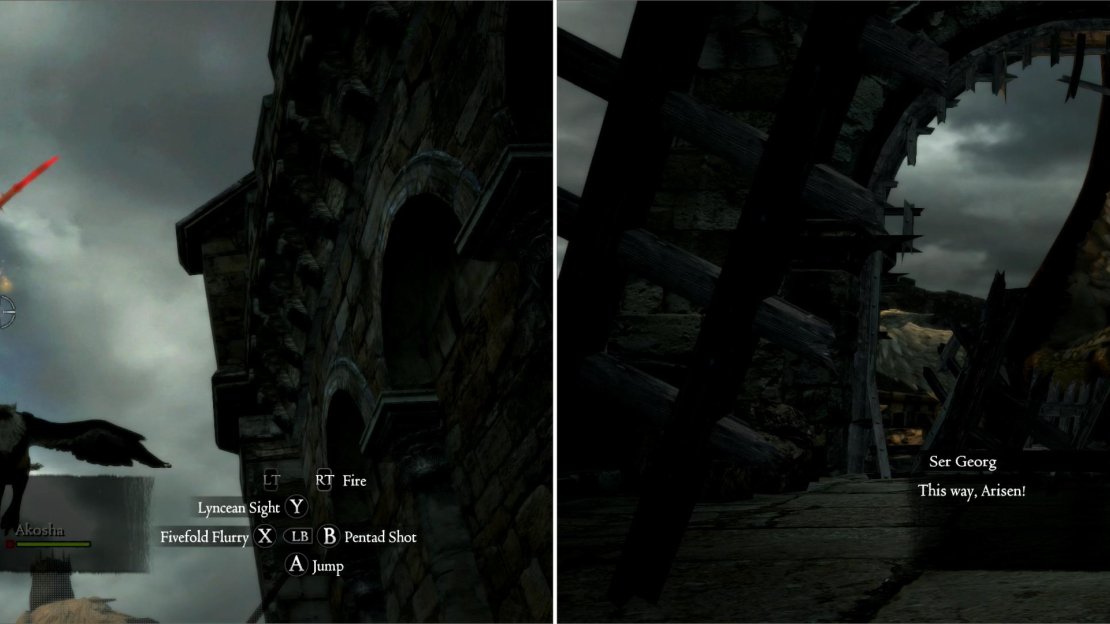
Lure the Griffin down to you (left) and its ferocious attack will break a barrier and allow you to proceed to the top of the tower (right).
Grab some Harspud Juice in a nearby crate, loot some Warrior Remains beyond them (to the north), further north still lies an Interventive, and when the hall turns west, search the corner for a Salubrious Brew. These potions should be sufficient to cure whatever damage you may have sustained, if any. Head down the hallway to the west, then south to reach a larger, columned hall running north-west. To the south-east you can find a rounded chest hidden by crates. Loot it and continue north-west.
Head under an arch in the western corner of the room and follow the hallway beyond to the north-east. It will shortly end and you’ll find yourself standing before a grand staircase running counter-clockwise. Along the side of the stairs are various platforms that rise with the stairs, along which various goodies can be found. On the floor near the stairs to the north you’ll find some Harspud Milk, and on the level above it sits an Eyedropper. You can also score some Secret Softener on the stairs itself. Keep and eye to the south as you ascend the stairs, and when you’ve gained enough elevation, note that you can leap from the stairs onto the ledge below the arches-and-columns that surround the stairs to the south. Do so and follow the ledges counter-clockwise behind (east of) the stairs to find a rounded chest. Grab your prize and score a pair of Harspud Juices next to a pillar on your way back to the stairs. Once back on the stairs, ascend until they terminate, then turn north and head into what looks an awful lot like a collesium…
| Rounded Chest |
|---|
| Assassin’s Breeches |
| Gryphic Greaves |
Behold, a large, rounded arena with the eastern side partially collapsed. Here the Griffin roosts, and here you fight. The Griffin strategy below is more general than strictly applicable to this fight which is complicated in several ways; first you’ve got allies besides Pawns, and although the Gran Soren soldiers aren’t really even good at drawing the Griffin’s attention, an old friend will come through for you in a big way… perhaps… If you completed ‘A Troublesome Tome’ Steffen will show up, having studied Salomet’s Grimoire in the intervening time and put the arcane magic therein to good use. If you gave him the real grimoire, he’ll arrive and dramatically conjure fire against the Griffin-setting it ablaze and knocking it from the sky. He will continue to contribute rather effectively throughout the fight, as well. If you gave him a forged tome… well, his dramatic entrance results in nothing, much to his confusion.
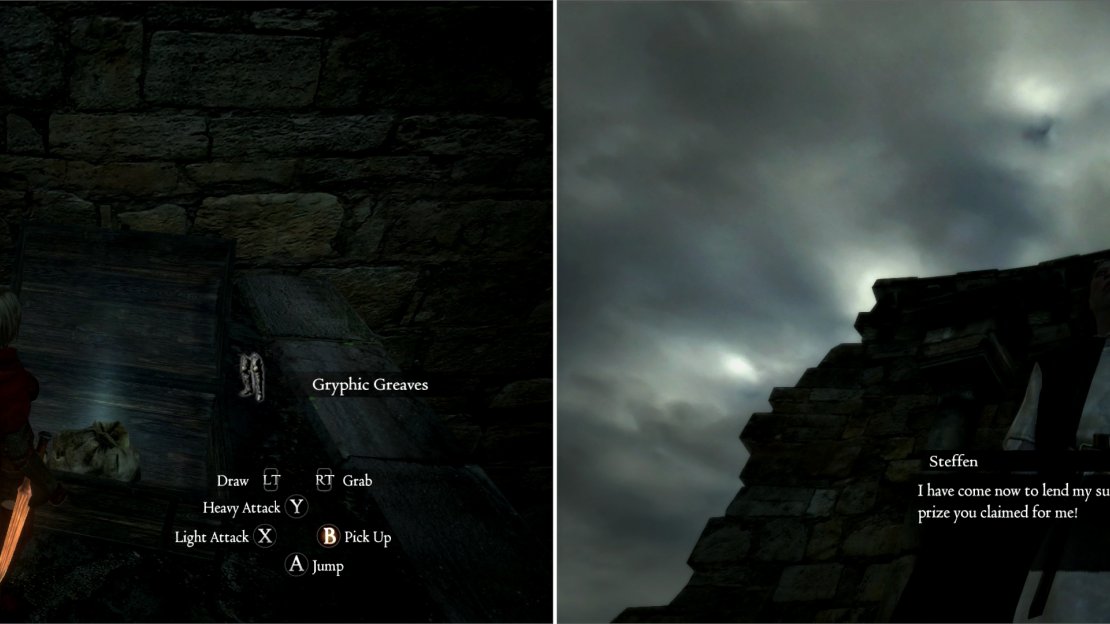
Search around for treasure chests in the depths of Bluemoon Tower for even more fantastic loot (left). When you reach the top of Bluemoon Tower, Steffen will arrive and aid you however he is able (right).
This Griffin also doesn’t fight like normal Griffins, who tend to have a lot more space, and aren’t averse to circling around at great distances and performing dives or dive-and-grab attacks. This one, instead, will be much more focused, and will spam a few attacks-a series of short, diving attacks, a lightning blast, or a lightning fly-by attack. Sprinting to the side is usually sufficient to dodge its attacks, and ranged attacks should see you to victory in short order. If you gave Steffen the forgery and don’t have any ranged options, however, this could be a tough fight…
Enemy Strategy: Griffin
Griffins are big, flying, lion-eagles. Strong, swift, and aggressive, they’re dangerous foes, indeed. Characters with ranged attacks will have a much easier time taking one down than melee character, as usual. Unlike many large foes, climbing a Griffin is not a good idea, as they’ll energetically oppose your grapple, and there’s little chance you’ll actually get the opportunity to strike… and if a Griffin takes off while you’re on them, it can be a long way down… Setting their wings on fire will prevent them from flying for a time, but avoid lightning attacks, as Griffins have an affinity for that element.
Aerial Advantage
The Griffin is a magnificent flying beast-with speed, power, and maneuverability that put other winged foes to shame. Even Drakes are nothing more than clunky hoverers compared to Griffins. They will often fly around their prey before swooping in from a great distance and trying to snatch up morsels. Those morsels could be Oxen, Goblins, Bandits… or you. If you’re grabbed in the Griffin’s dive attack, you’re in trouble-you can break free, but a long fall awaits you. Sometimes, however, the Griffin isn’t in the mood for such precise attacks-a hovering Griffin can also resort to a series of clumsy but powerful swoops against land-based foes, diving in, attacking, and taking flight again before any counter-attack can occur. Other times, they’ll fly overhead and perform a lightning attack reminiscent of the Devil May Cry boss… Griffin. Hmm…
Ground Pound
Once grounded, the Griffin is a much more attractive target-they’re still big and dangerous, however, and a grounded Griffin will content itself by stomping at foes in front of it. Often, however, Griffins won’t remain on the ground for long, so take advantage of them while they’re in reach, and aim for the head if at all possible.
Once the Griffin falters you’ll be instructed to head back to the capital for your reward. You can talk to the survivors after the fight, Ser Loren, Ser Georg, and Steffen, at least. Steffen will either boast a bit (deservedly) or question the integrity of the tome you gave him… without going so far as to accuse the gentle Arisen of a misdeed, of course. Anyways, now for the looting. You’ll find two ornate chests along the western wall, and between them yet another Portcrystal (in the original game, this was the only Portcrystal you could just find lying around.) There’s also numerous coin pouches of varying sizes, worth a total of 46,100 gold. Not bad. There are also several Warrior Remains lying around, and finally, in the ruins to the east, near the remains of the southern wall by the ledge you’ll find some Harspud Milk and a Coin Pouch (1000 G).
| Ornate Chest | Ornate Chest | Warrior Remains |
|---|---|---|
| Assassin’s Mask | Gryphic Armor | Silver Ring |
| Summery Cowl |
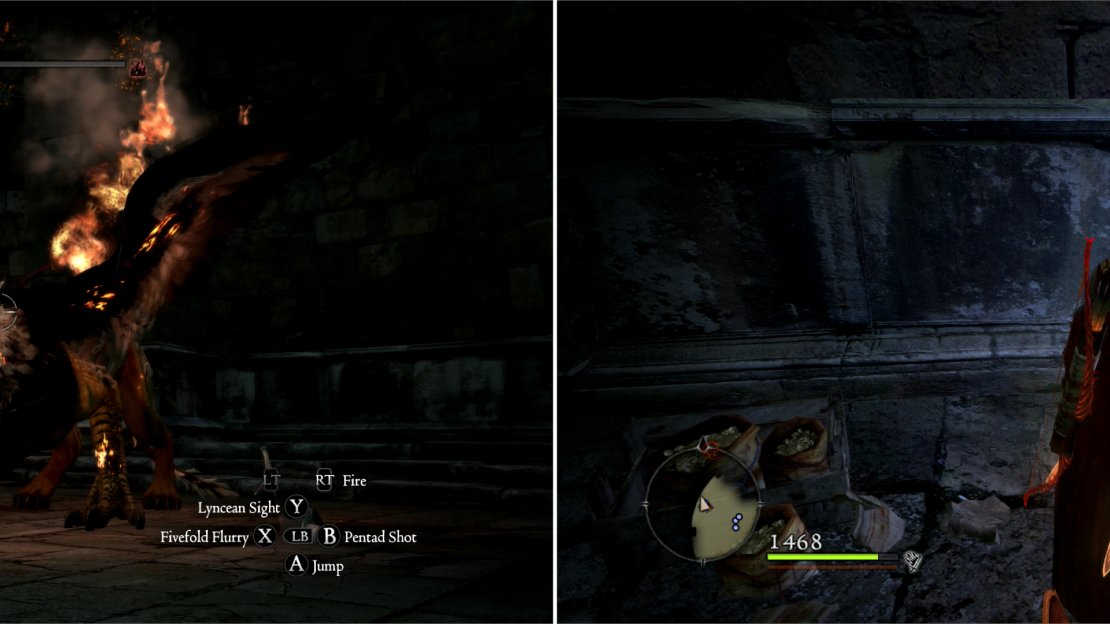
The Griffin has nowhere to run to this time; end its threat to Gran Soren (left). Search the top of the tower for many fine treasures, including a Portcrystal (right).
Exit the arena via the north to find another grand staircase, this time ascending clockwise. Descend the stairs a bit and keep your eye to the north, as you want to jump onto the ledge under the arches-and-columns there. Once done, grab some Throat Drops and an Interventive near a column, then turn and walk clockwise, heading behind (east of) the stairs to find a rounded chest on the ledge under the arches-and- columns. Head back west and jump back onto the stairs and walk off them to the south, aiming to land on the highest platform next to the stairs, on which sits another rounded chest.
| Rounded Chest | Rounded Chest |
|---|---|
| Red Leather Armor | Gryphic Cloak |
| Rex Lion Padding | Harpy Cloak |
Continue down the stairs to reach the bottom-it should be noted that on subsequent visits both this grand staircase and the one you ascended earlier will be crawling with Skeleton Mages and Skeleton Knights. At the bottom of the stairs, continue clockwise until you can turn north-west, then head counter-clockwise up a hallway, at the end of which lies a rounded chest. Loot it and turn north to find the caged doorway you couldn’t get through earlier. Smash the beam on it to open the way back to the rest of Bluemoon Tower, which you now have explored every inch of. It’s time to head back to town and proclaim your success to Aldous… but first, leave Bluemoon Tower on foot and place the Portcrystal you just found outside. You’ll be back here soon enough, and dropping a Portcrystal here now will will save you a good bit of time later. Once done, use a Ferrystone and teleport back to Gran Soren… or walk, if you must.
Stash loot, rest if necessary, and talk to Aldous for a well-earned reward. The next quest is much more mundane and results in much less loot.
| Objective | Reward |
|---|---|
| For aiding a hunting expedition | 25,000 XP, 40 Rift Currency, 30,000 Gold |
No Comments