The Final Battle
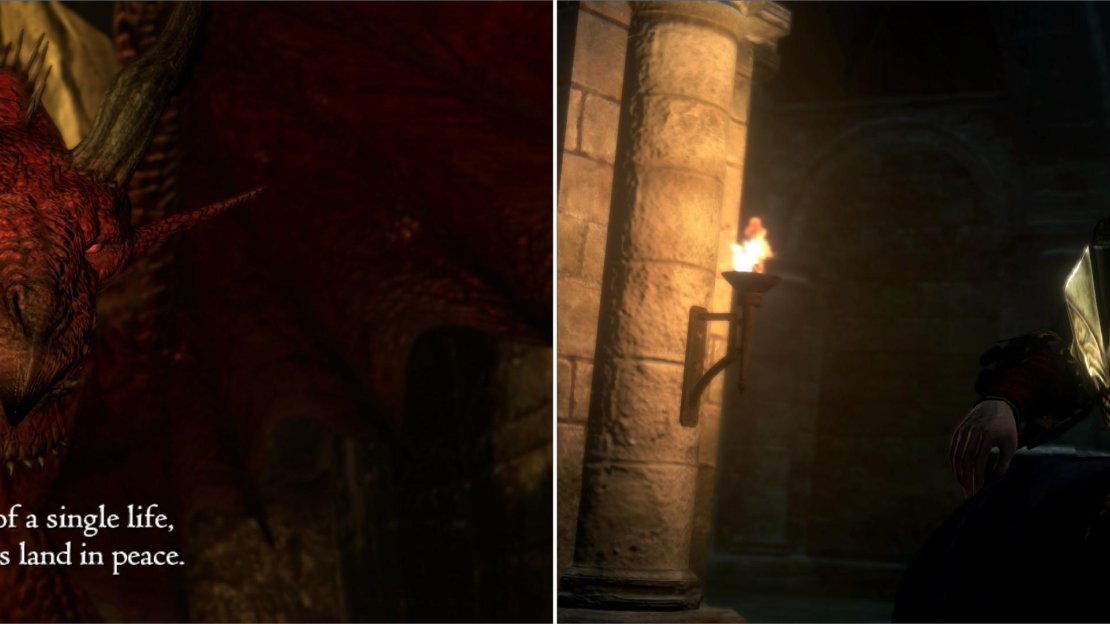
Once you’re ready to confront the Dragon, head to the Great Hall in the Tainted Mountain Temple and go through the door to the east you opened by depressing the pressure plates. Continue east up some stairs to reach an enormous chamber. Upon entering a cutscene triggers, where the Dragon will hit you with some philosophy as some Goblins tease your romantic interest. The philosophical ponders lead to one thing-a test of your will. The Dragon makes you two offers-fight him, and if you win you will be free, or sacrifice your romantic interest. The key phrase he uses in the latter is ‘abandon all delusions of control’. Are you the master of your fate, are you the stronger, will you rise to the challenge, or will you submit?
Vote with your feet. If you walk away from the Dragon he’ll ask you again if you accept the deal; the life of your romantic interest and in exchange the Dragon leaves Gransys. You get the reputation for killing the Dragon, and the prestige that goes with it. It’s the same deal the current duke made with the Dragon, the phony that he is. If you accept you’ll get a cutscene of your Arisen wearing the duke’s attire, sitting on the throne, looking fairly miserable. While this nets you the Achievement/Trophy ‘Solitude’, it also prompts a reload, so it’s not much of a choice.
Accept the Dragon’s offer (left) and you can follow in the Duke’s footsteps as ruler of Gransys (right).
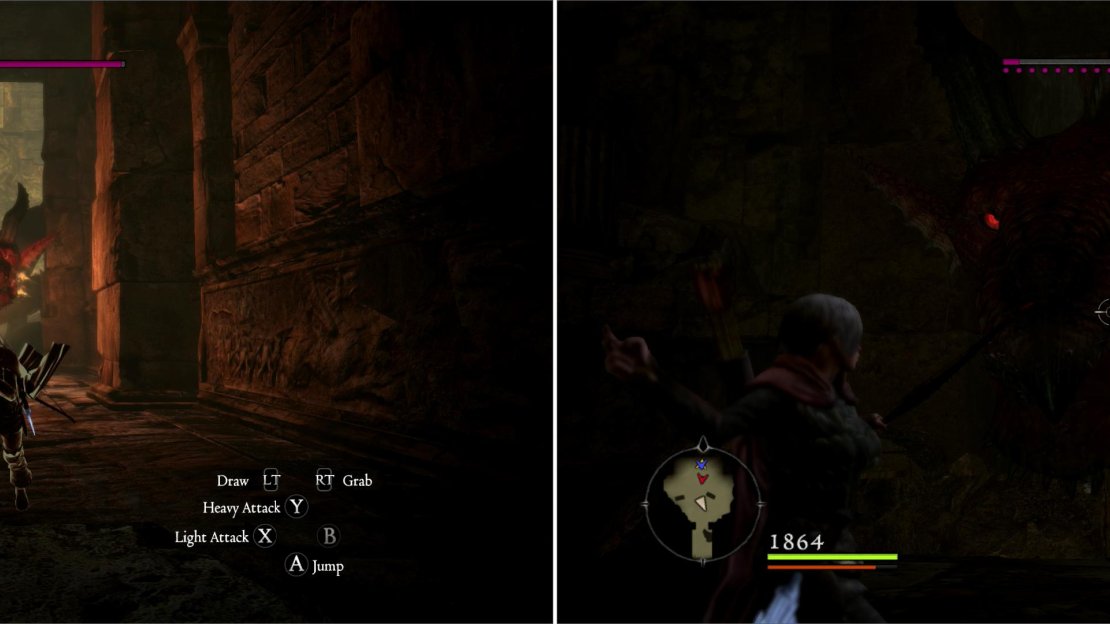
Step forward, however, and the Dragon will force you to confirm your challenge. Accept and the Dragon will cause a ruckus, knocking huge chunks of the ceiling down. Your romantic interest takes the opportunity and runs off, leaving you free to fight the Dragon. When you’re back in control, run to the north-west as (harmless) rocks fall all around. Head into a hallway and run into the camera as the Dragon chases you. If it catches you, you’ll get a big, fat, game-over, so just stay in the middle and run. Your Stamina doesn’t drain, so, no worries.
The chase ends when you enter another huge chamber. The Dragon gets caught in the tunnel, with only his head and upper body exposed. To the south are two barriers you can hide behind. The name of the game? Deal as much damage as possible to the Dragon while it’s stuck. It’s not helpless, however, it’ll perform two arcing breath attacks, which you can avoid by hiding behind the barriers. After those two attacks it’ll free itself and head into the chamber, where it’ll put up a fight for a while before flying off.
Challenge the Dragon and make a run deeper into the temple (left). When the Dragon is stuck in a corridor, take this opportunity to deal as much damage to it as you can (right).
Once the Dragon flies away, head to the north to continue your pursuit. Be sure to search a rounded Chest in the north-western corner of the room before you head up the stairs to the north. Pick your way through the debris to reach daylight, above. There are three bottles of Harspud Juice on the stairs as you ascend past the debris, in case you need some healing.
| Rounded Chest |
|---|
| Molten Boots |
Continue onto a long stone bridge running north. Run along it for a length and the Dragon will drop down behind you, staying only long enough to cause the bridge to start collapsing before flying off ahead. Your goal now is to run across the bridge to the north before is collapses (it’s incredibly generous with the timing, in fact, unless you’re, say, sitting around writing a FAQ while the game is running, there’s almost no chance the bridge will drop out from under you.) While you’re on the move, the Dragon will do a few fly-bys with its flame breath, which should be pretty easy to avoid. Continue running along the bridge until you reach a tower at the northern end.
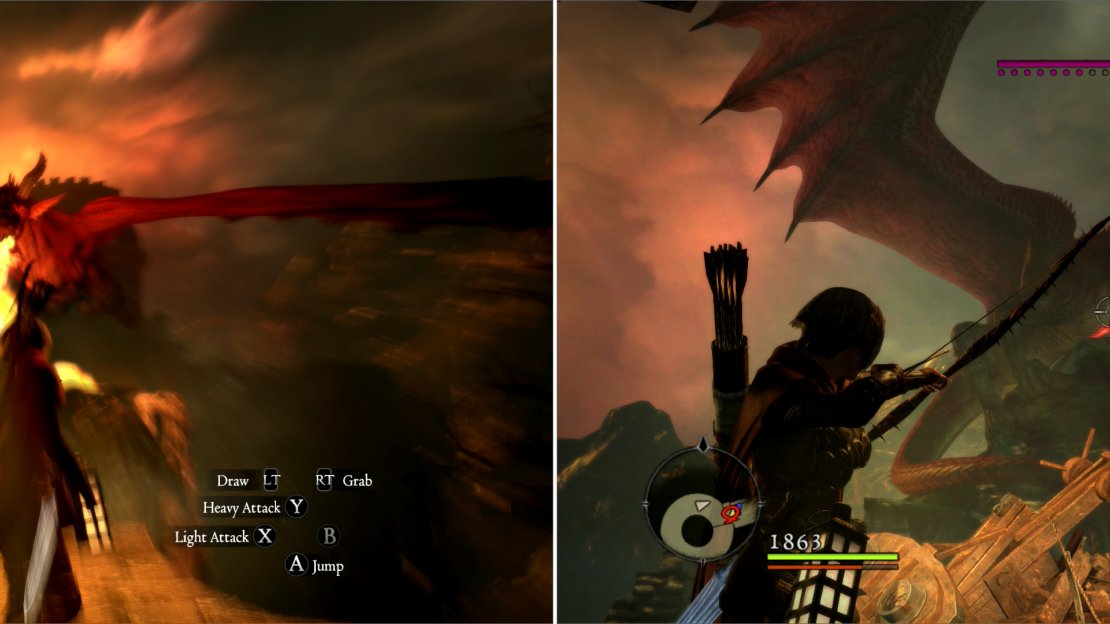
Immediately inside the tower you’ll find a square chest to loot, then head up the stairs. Keep an eye on the western side of the stairs to find a rounded chest. Continue up to the top of the tower… or at least as far as you can ascend. Another bridge runs to the east, while the Dragon sits on a perch to the north-east, from which he’ll blast at you with his fiery breath. Just before the bridge you’ll find a standing portion of wall to hide behind. On top of this convenient barrier is a Light-Cure, while to the north you’ll find two doses of Smother Sap and some Harspud Juice. There’s also plenty of shelter on the bridge itself, so don’t be afraid to run out there. Note that characters with conventional bows can shoot at the Dragon here-if you deal enough damage it’ll decide to fly off.
| Square Chest | Rounded Chest |
|---|---|
| Flame Skirt | Dragon Hide Bracers |
Move across the collapsing bridge as the Dragon makes fiery fly-by attacks (left). If you’ve got a ranged weapon, you can drive the Dragon off its roost (right).
Run across the bridge to the east. This bridge is in much worse shape than the previous one was-it starts out uneven and ready to collapse. It only gets worse when the Dragon decides to land on this one, too, after you traverse along it a bit. The Dragon will stay long enough to breath some fire, then fly off to do more fly-by breath attacks. The Dragon’s attentions causes a general collapse of the bridge. Again, you’ve got plenty of time, so make your way east-then north-to another tower.
Ascend the tower and peek to the exterior wall as you go. When it collapses, search near the opening to find some Harspud Juice-there’s one on either side of the stairs here. Continue to the top of the tower, as the Dragon flies around like a giant, demented vulture. The game of cat-and-mouse ends atop this tower. The Dragon will encourage you to fight as you reach the roof-disappoint him for a moment by searching along the northern end of the roof to score two ornate chests. Once looted, turn your attention to the Dragon again. He’s going to continuously perform fly-by attacks. Your goal? Get on a ballistae and shoot him. Don’t worry, your aim doesn’t have to be perfect… and you only need to get off one good shot…
| Ornate Chest | Ornate Chest |
|---|---|
| Champion’s Bangles | Dragon Band |
Don’t neglect to pick up loot as you chase the Dragon, as there’s plenty of fine gear to be found (left). Man a ballista and shoot the Dragon as it approaches (right).
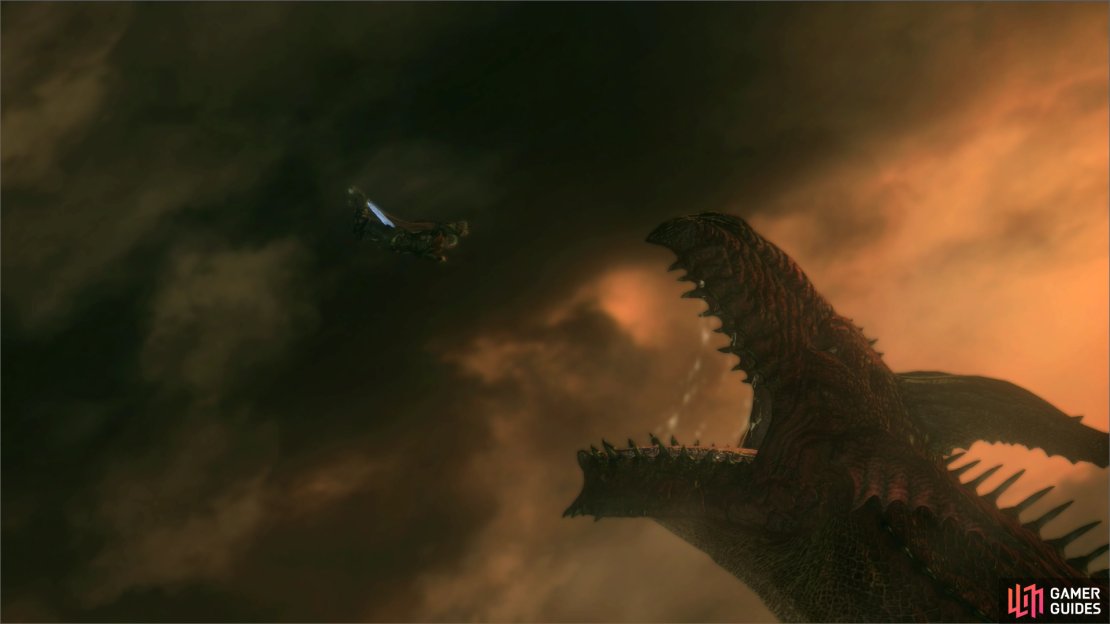
A very good shot, in fact. Your bolt scores a direct hit on the Dragon. Not a happy camper, the Dragon decides that the fire breath was too subtle and decides to skim the top of the roof. When the dust clears, you’re on the Dragon’s back. Your goal here is to climb up to the glowing spot between its shoulders and give it a good whack or two. You’ll have to do a feel analog shakes from time to time to keep your grip-nobody said there wouldn’t be turbulence flying Dragon. The entire time the Dragon will encourage you… silly reptile. Once you deal enough damage to it (one or two hits is all it should take) the Dragon will dislodge you. Do another analog wobble to avoid becoming a mid-air meal and you’ll pass perilously close to the Dragon.
Creepy chest-lights, the Dragon crashes into the ground, and you find yourself miraculously unharmed after a fall of several thousand feet. What’s more, your Pawns are here, too, in the oddly arena shaped depression. The Dragon rises and declares that the final battle is at hand… and oddly enough still continues to encourage you. The Dragon will, in all likelihood, fly to a tower to the north-east, where he’ll sit pretty and pelt you with breath blasts, which gives you a fine time to survey the battlefield. It’s circular, so let’s use the old friendly ‘clock’ conceptual aid… or, if you (sensibly) don’t care so much about the layout, skip the next paragraph for tactics concerning the Dragon itself.
| Warrior Remains |
|---|
| Noble Earring |
At about 5:00 you’ll find a collapsing tower you can use to seek shelter from the Dragon. His breath, at least, he’ll destroy it quite easily with his body (remember Greatwall?) Inside the tower you’ll find a rounded chest, an ornate chest, and some Harspud Juice. Counter-clockwise from the tower (at about 4:00) you’ll find a series of scalable ledges (running to about 3:00). On the highest level you’ll find a ballista and some warrior remains to loot. The ballista is your key to fighting the Dragon while he’s doing fly-bys or sitting pretty on his tower… that is, if you’re not playing one of the three Strider-based classes, who have superior ranged attacks. At about 2:00 (past the end of the ledges, anyways) you’ll find some more warrior remains on the floor of the arena. At about 1:00 you’ll find a ramp leading up to an elevated ledge that houses a ballista. At about 11:00 you’ll find some warrior remains hidden behind a large rock at the foot of a ramp that runs counter-clockwise to about 9:00. This ramp leads to two ledges of differing height, both the higher and lower ledges feature ballistae and cover, making it a good location from which to shoot down the Dragon. Finally, from about 8:00 to 6:00 are some walls on the ground level around ballistae, which can serve as cover. There’s an elevated ramp that runs behind this spot, but it only leads to a dead-end with some healing items and gunpowder barrels. Other warrior remains lie scattered around, as do various plants and healing items, too numerous to detail individually.
| Warrior Remains | Warrior Remains |
|---|---|
| Golden Belt | Harmonious Earring |
If the Dragon flies out of reach (say, onto the perch at about 2:00?) use a ballista to shoot it down if you don’t have a Bow or Longbow. It’s pretty easy to tell when it’s planning to use its breath, as you can see the flames building up in its maw. It might also do fly-by attacks (typically immediately after being driven from the tower) which can be stopped with proper use of projectiles. When you shoot the Dragon down, close and let the real fight begin.
Enemy Strategy: The Dragon
The Dragon is a versatile foe who fights fairly differently depending on how you engage him. Just remember that the battle is fairly thematic-the game provides you certain tools and expects you to use them to take down the Dragon. Hence, if the cheating lizard flies out of reach you’ve got ballistae to shoot. You can hide from his flame breath by taking advantage of the copious amount of cover in the level, but be warned-playing too passive isn’t a great strategy. The Dragon can smash most any cover in the level with spells and melee attacks, and many spells will get around your cover entirely.
Use ranged attacks - or a ballista if you don’t have a ranged weapon - to drive the dragon from its perch (left), and to shoot it down when it attmpts more fly-by attacks (right).
Lizards of Flame Fight the Same
First it should be noted that the Dragon has many attack quite similar to the Drake. If you get near its flank, it’ll swipe at you. Get behind it and it’ll lash with its tail. Get in front of it, and it’ll bite. It also has the grab attack you saw the Drake employ, where it’ll try to possess captured Pawns or slam the Arisen into the ground. It’ll also hover in air and breath fire repeatedly, backing up as you approach… easily the most annoying attack for any character with no ranged option. If you learned these attacks well from the Drake, you should have no trouble anticipating them from the Dragon… it’s just on a much larger scale, and if you mess up, it’ll hurt more.
Dragon Magic
Then again… there are some differences. The Dragon will employ a respectable arsenal of magical attacks against you, usually if you’re keeping your distance or hiding behind cover. The attacks it can perform include High Bolide (which does a nasty job of destroying cover and ballistae), High Ingle, High Frigor, and a unique holy-element spell that deals a good bit of damage over a short time over a wide area. Even if you start running as soon as you see the spell’s indicator pop up, there’s a good chance you’ll take some damage from it.
Beware the Breath
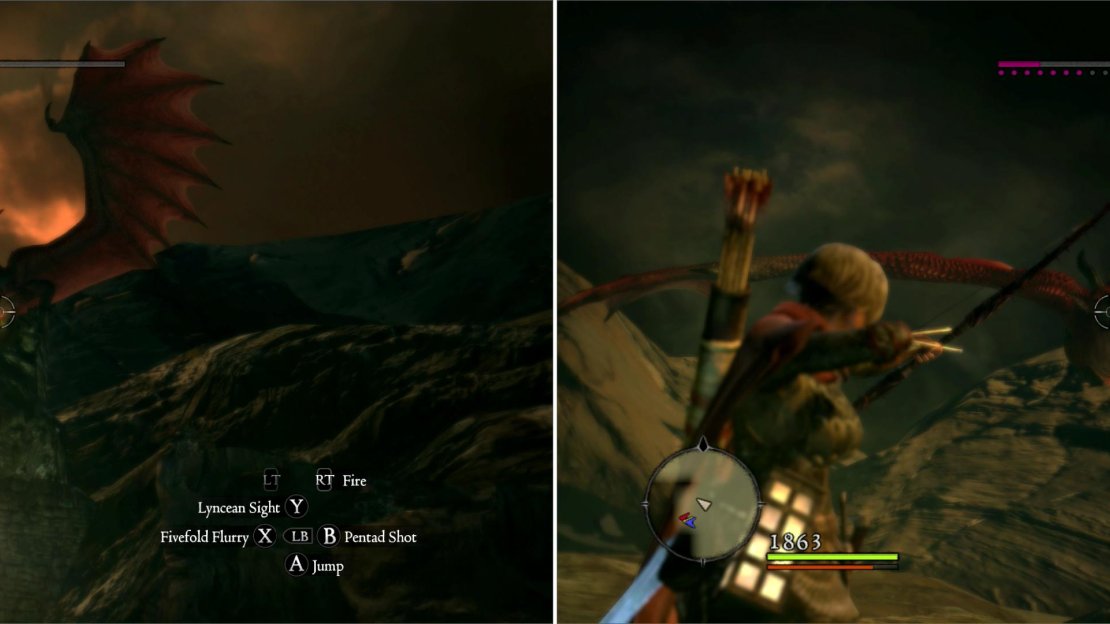
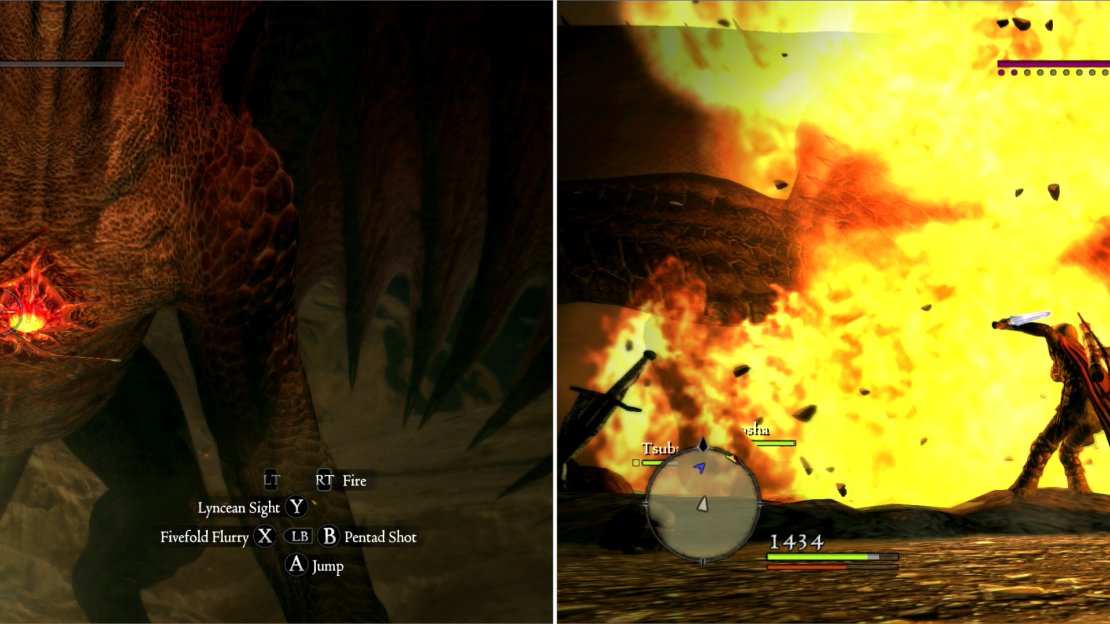
One of its favorite and most prominent attacks is its breath weapon. It’ll do fly-by breath attacks (like the ones you saw while on the bridge), arcing forward breath sweeps (like the ones you saw when it was stuck in the hallway) and a massive power-up breath attack that can deal massive damage, knock you down at a long range, and it accompanied by secondary explosions. If he rears up on his hind legs, he’s going to do this attack, so put some distance between you. He also has a somewhat unpredictable and fast breath-blast attack which he’ll execute while leaping back, typically employed when you’re in front of the Dragon. He’s also fond of breathing at a stationary point in front of him while advancing. Finally, of course, he’ll use his breath weapon when he’s trying to enjoy a height/range advantage. As mentioned earlier, he’ll perch on a tower and shoot breath blasts at your, or hover in air and breathe gouts of flame.
The Dragon’s heart, of course, is its vulnerable spot (left). The Dragon has many ways to harm Arisens that challenge it, but fire is perhaps its most spectacular - and iconic - form of offense (right).
Reclaim What is Yours
Mages and Sorcerers should use cover well and charge up spells when possible, as his long-distance routine usually ends with him hovering. If you can knock him out of the air you’ll have a bit of time to deal some serious damage to him with magic. A fair technique is to charge up Frigor while behind cover, as it’s a high damage spell that you can charge up before moving into range, and more importantly, you can aim it; a good hit at the heart can deal several life bars of damage in one casting. Despite all these attacks, the safest place to fight the Dragon is usually up close. If you can get at his heart, a Strider/Ranger/Assassin can take him out with disturbing ease (even though he might grab you off and slam you into the ground once or twice.) For less mobile melee fighters, hitting him while he’s casting spells can knock him down, giving you a clear shot at the heart. Point is, if at all possible, use attacks you can aim, and aim for the heart.
Once he falls you’ll get an ending cutscene, which isn’t worth explaining in detail, suffice to say that you get your heart back… as do all the other Arisens in the land. The link to their immortality now dead, this has some unfortunate consequences for your fellows. The Dragon’s demise also causes ruin to Gran Soren, but for you, things are looking up. You’ve defeated the Dragon, reclaimed your mortality, saved your romantic interest, and in general fought the good fight and saved the day. Right?
| Objective | Reward |
|---|---|
| For taking back what is yours | 80,000 XP, 60 Rift Currency, 65,000 Gold |




No Comments