Let’s begin by heading to Thamasa. It is on a lone southeastern island.
Thamasa
When you arrive with Strago and Relm, do whatever shopping you may wish. If you haven’t done the Cultists’ Tower, consider four Reflect Rings at least, and the general upgrades in equipment if it is somehow possible. As you pass between the armor and item shops, Relm will get excited about being in Thamasa. We soon learn that Gungho, Strago’s ex-partner (life partner?), got the insanity virus (the same one that makes me write big guides) took on Hidon, a legendary beast that Strago and Gungho once both fought. And failed (on both occasions mentioned).
Hidon and Ebot’s Rock were forced underwater after that first fight, but, because of Kefka and all that crap a little over a year ago, the rock has resurfaced. Gungho then went and failed and is now stuck in bed. We opt to go, having caught the insanity virus. To reach the dungeon, land on the mountains north of Thamasa somewhere.
Ebots Rock
Local Enemy Bestiary
| Monster Name | HP | MP | ATK | DEF | Gil | EXP |
|---|---|---|---|---|---|---|
| Aspidochelon | 3210 | 514 | 22 | 135 | 519 | 1270 |
| Creature | 2470 | 145 | 13 | 110 | 550 | 775 |
| Mahadeva | 3826 | 1327 | 13 | 150 | 393 | 1510 |
| Medusa Chicken | 2366 | 185 | 13 | 105 | 422 | 770 |
| Moonform | 2444 | 82 | 15 | 115 | 669 | 981 |
| Sorath | 2600 | 97 | 13 | 125 | 415 | 830 |
| Warlock | 1300 | 1250 | 10 | 180 | 333 | 970 |
Firstly, you’ll need Strago for this dungeon. Relm is strangely not required, so I don’t recommend bringing her. Personally, I brought Terra, Celes, and Cyan. Locke also sounded like a good idea, but I’m cautious with new dungeons and wanted two good healers. So, take your pick.
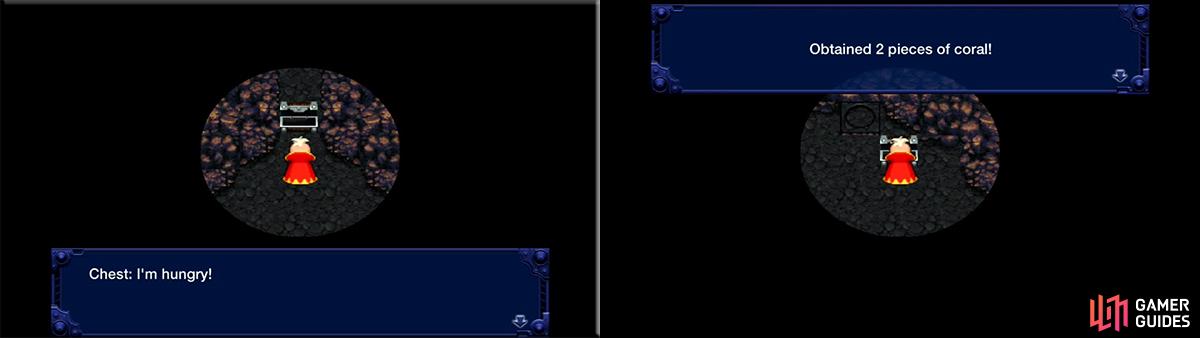
Oh, fun. Reminds me of the extra dungeons in FF1 from Dawn of Souls, except a bit darker. You can’t see around you, and the first warp to your north will take you to a chest. Examine it to speak with it. Apparently, it wants coral.
Since it’s dark, it’s almost impossible to see the map properly. Thankfully, the place itself is pretty darn small and you don’t really need a guide for it. Use the little switches to teleport between each area.
To find coral, you’ll open chests in other rooms across Ebot’s Rock. Each chest has 1, 2, 3, or 5 pieces of coral – given the four options, I’d assume there is a 25% chance of finding any amount, though I could be wrong. You’ll need 22 pieces of coral to be fed to the chest in one serving. You can not feed it 21, then 1 – with such a case, you’ll need to meet the condition again of 22. (More is allowed.) I think you’ll want to keep track on a piece of paper or make cuts in your skin or something.
Anyways, you’ll be warping throughout the place. And the warps are fairly randomized but it’s not too hard to navigate the place for coral.
Seriously consider warping around for a while after getting the 22+ coral and saving at a Save Point. After reaching the talking chest again and feeding it 22+ pieces of coral, continue northward to soon find Hidon.
Hidon
I will note that four Erebus enemies accompany Hidon. A quick Ultima will extinguish their flame for a bit – not long though… about one minute. Hidon typically will only use a basic Attack and Bio. However, when alone, he’ll quickly prepare for Grand Delta (close to 1,000 damage to all), then open up the rest of his repertoire – Leech (Drain, basically), Venomist (party-wide Poison attack), and also his ability to restore Erebus back to his side. He will also use Crypt Dust on KO’ed party members to turn them into Zombies and alive again (sort of).
Begin your fight with the usual stuff: Haste, Kirin, Fenrir, and Mighty Guard primarily. Using Slow on Hidon is effective. Use Ultima or Bahamut to then get rid of the Erebus enemies. Since I’m guessing you have a fourth person with Esper along, why not Valigarmanda? Beyond the nice opening, your offense goes to being pretty dull. Focus on using Fira, Firaga, Quake, Holy, and stuff like that. Flame Scrolls are nice to throw, as are Holy Rods and Flametongues; Mog’s/Edgar’s Holy Lance is awesomeness… so long as you have some Fire-elemental to use for a fair while, you should be okay. Be ready to heal when needed, and get rid of Zombification!
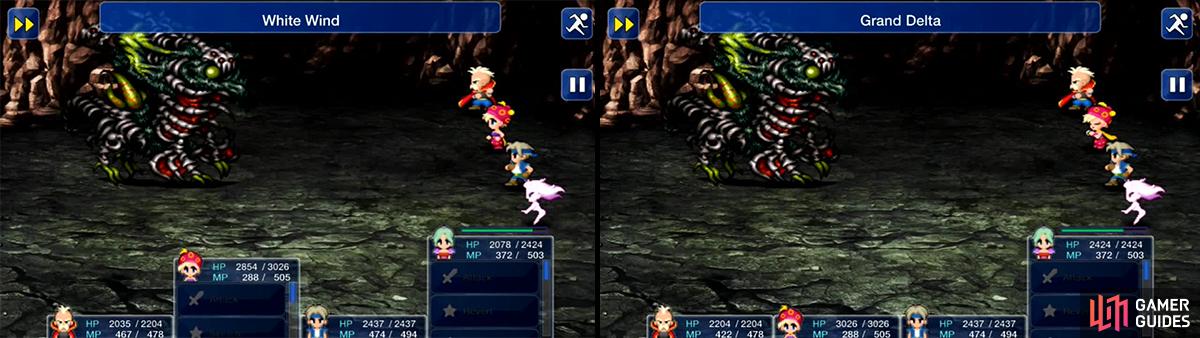
At this point in the game, this guy is quite weak. Grand Delta can do 1000 damage each but even that is nothing to worry about. Use White Wind if your health gets a bit low.
After the fight, Strago runs off to tell Gungho about his awesome victory (as if he did it single-handedly, practically). Gungho is surprised about this and the two stay up and celebrate. Relm eventually explains that Gungho was obviously faking his wounds. Congrats! That’s about it.
No Comments