
This page will give a walkthrough for the Hopalloo Island level of Kao the Kangaroo.
Hopalloo Island will be your first hub
| Runes | Crystals | Scrolls |
|---|---|---|
| 7 (see note below) | 11 | 6 |
Hopalloo Island serves a bit like a hub, and you will learn about the method of unlocking the other levels in the game. As Walt mentions, some strange artifacts appeared, which he calls Runes, and collecting these will help you break the purple crystals blocking the entrances to the various stages. That’s your main goal right now, to collect three Runes to unlock the next level, but there’s a bunch of other collectibles to be found here. Take heed of the note above, as the in-game menu shows there are seven Runes available here, but you can only collect four right now.
Collectible Hunting
From where you begin after finishing Walt’s Dojo, look to the side of where Walt is standing to find a Scroll (1/6) by the training dummies. Turn around and go to the gate that allows you to return to Walt’s Dojo and you should see the two buildings have their doors wide open; one of those buildings will have another Scroll (2/6), as well as a Crystal (1/11). Go back to where Walt is and go down the stairs. Straight ahead of the bottom of the stairs will be one of the Runes (1/7) Walt was pointing out earlier. Grab it, then go underneath the wooden platform you were just on, journeying to the back of it to find another Crystal (2/11).
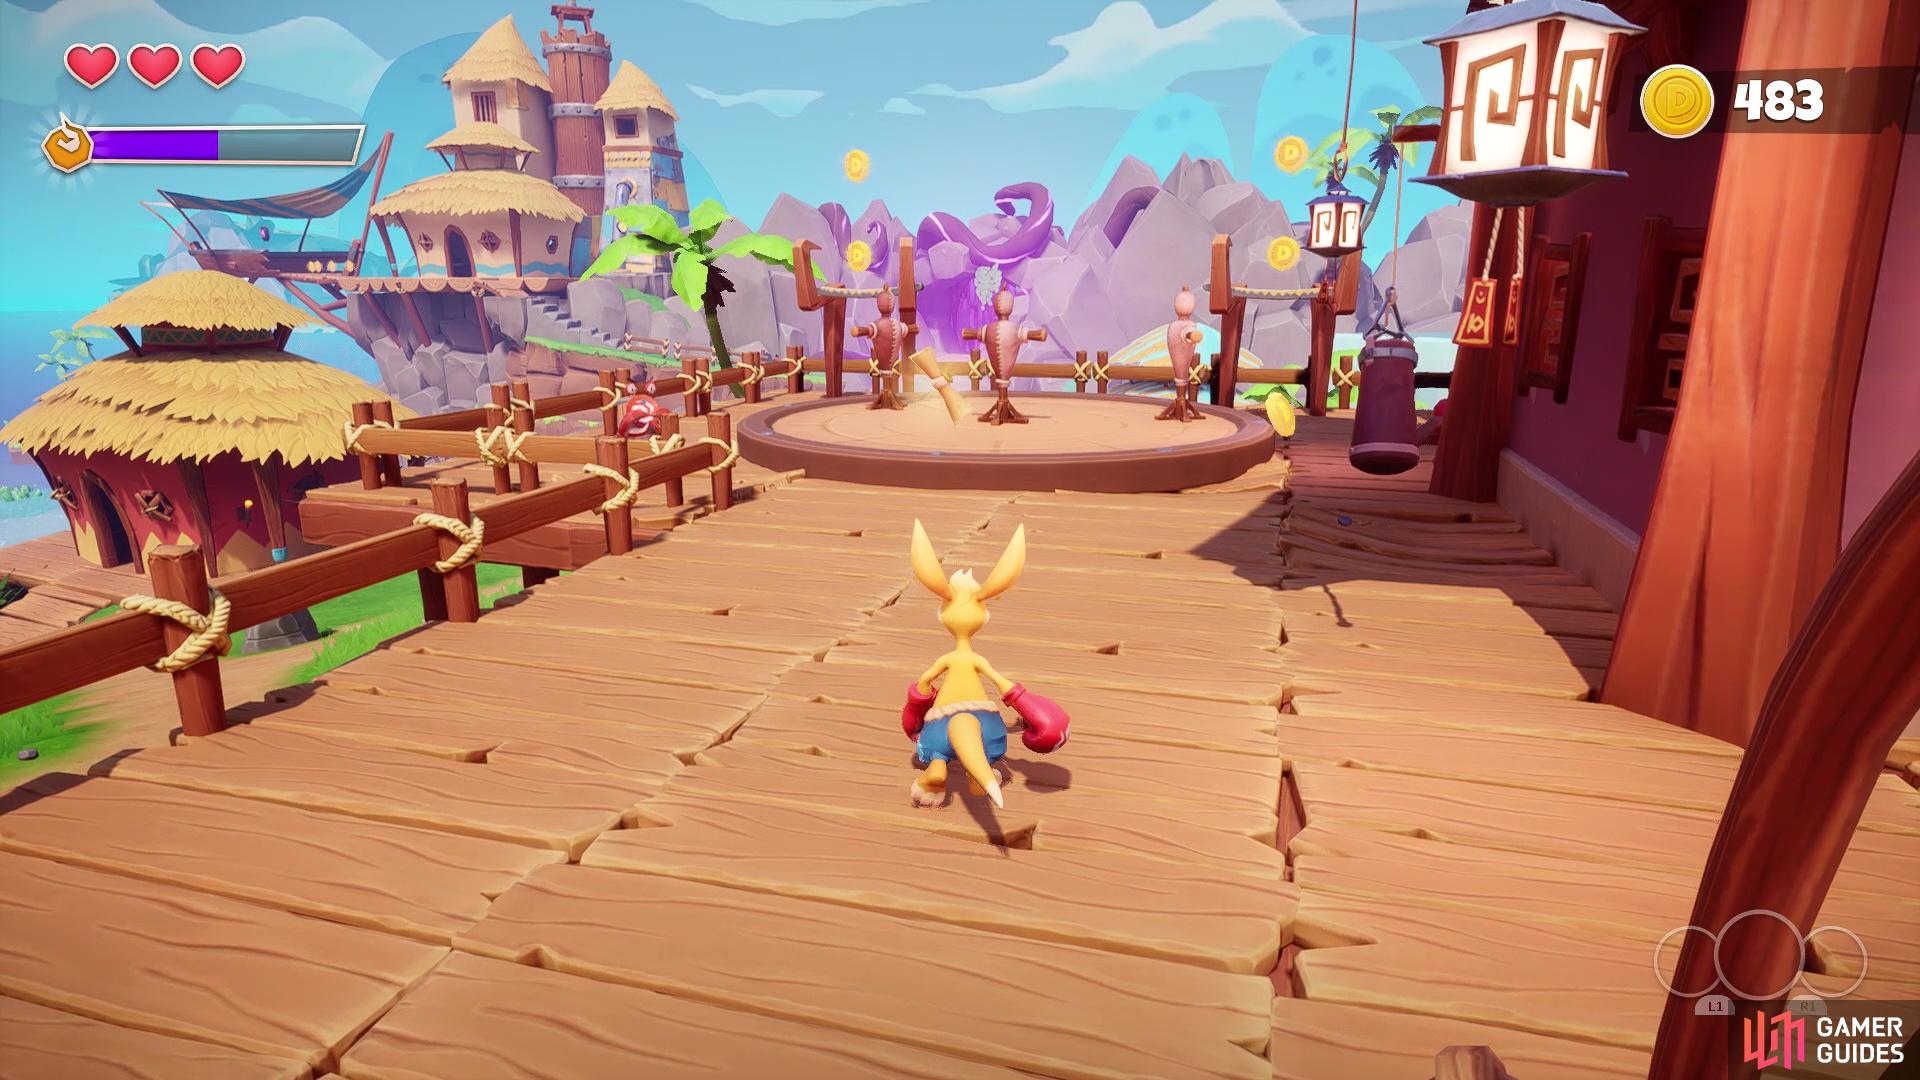
(1 of 5) The first Scroll will be off to the side by where the entrance to Walt’s Dojo is located
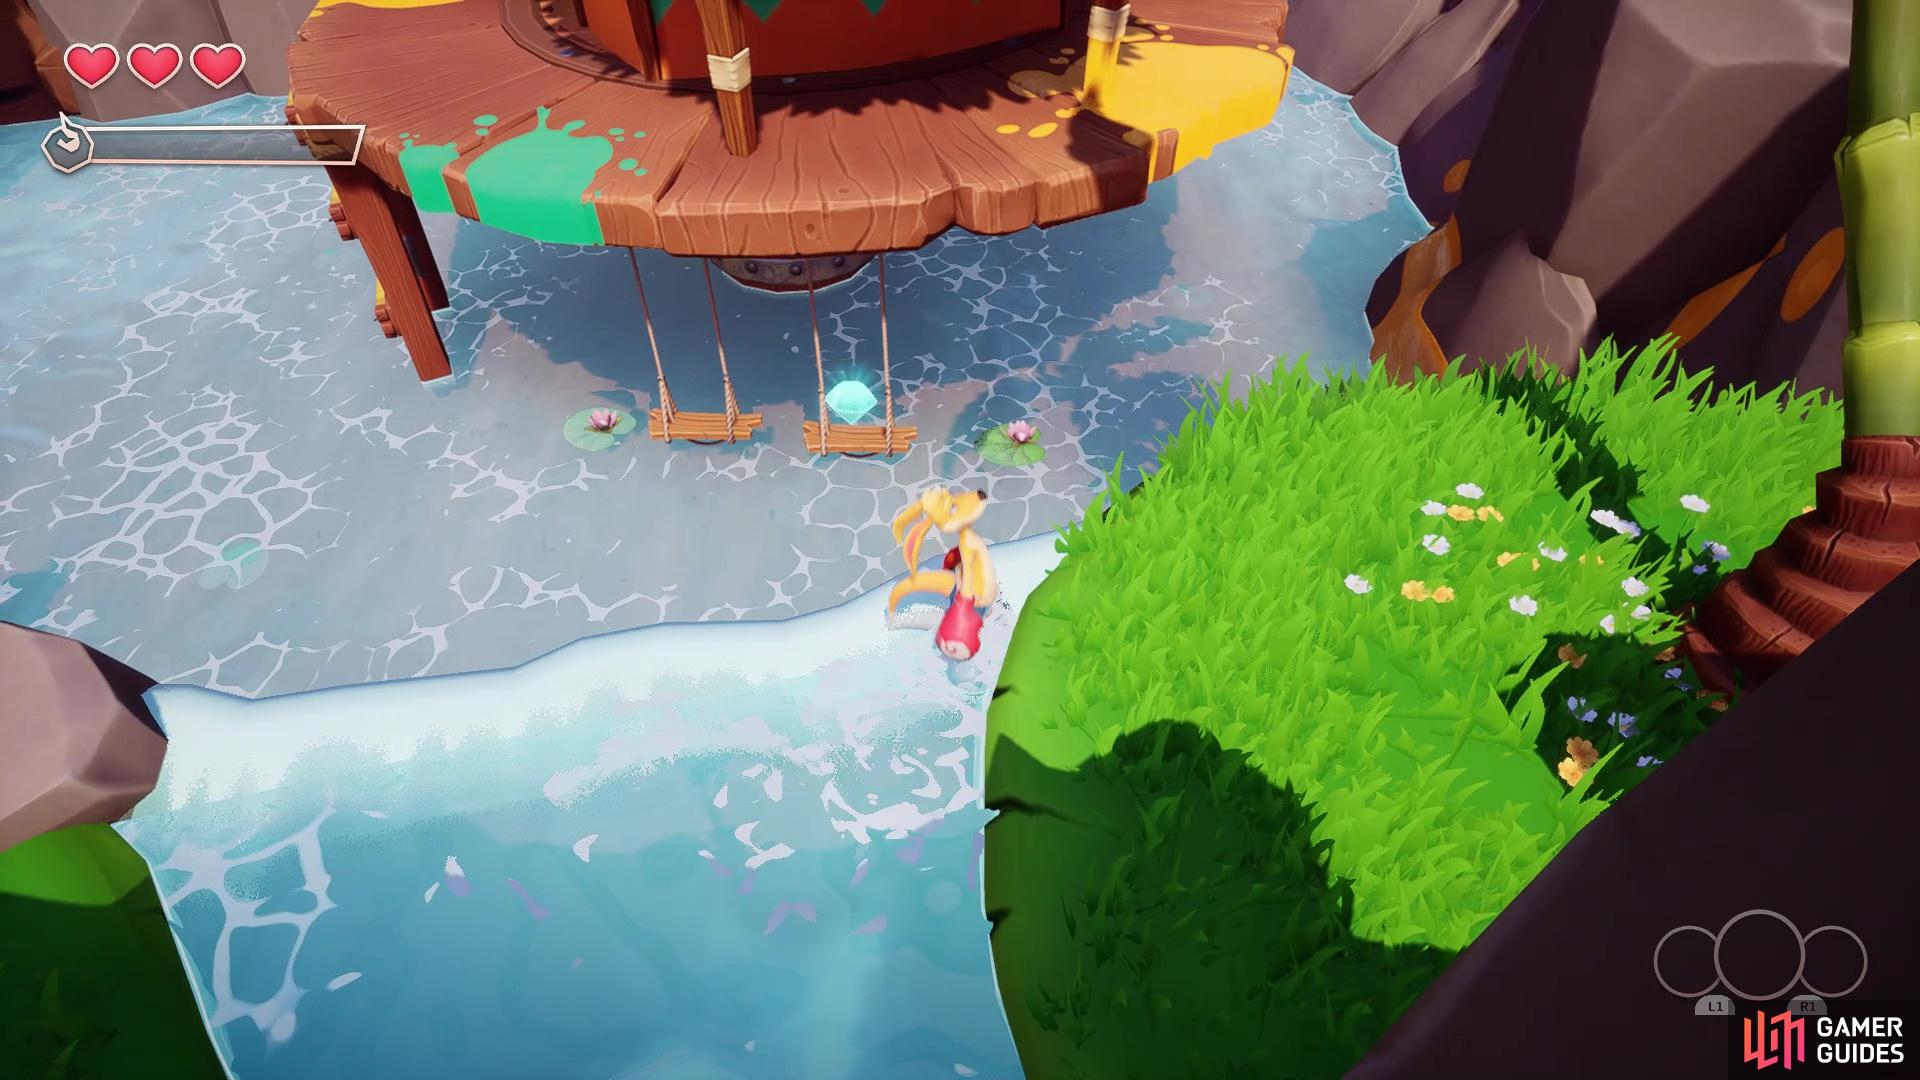
Return to the stairs and look for the small hut not too far down the trail. This will be right next to a bridge that has some paint on it and inside will be a chest, so loot it for a bunch of Ducats. Go towards the bridge previously mentioned and there will be the artist’s house standing in the water. There are two swings sitting underneath his platform and on one of those swings will be a Crystal (3/11). Double back to the long bridge and cross it this time, with the entrance to the Lava Caves level being straight ahead. Continue up the path and stairs, where there will be another building that has a Scroll (3/6) and Crystal (4/11). At the end of this path, on the lookout tower, will be another Rune (2/7).
Below the watchtower will be the beach, so drop down there now and locate the small fisherman’s hut at the end of the dock. There will be another Rune (3/7) here, and for the next Crystal, you’ll need to get onto the roof of the hut. There is a barrel behind the hut you can use, as well as a small crate next to the fisherman himself. Use whichever you want to get on the roof, then look on the little ledge by the sign to find the Crystal (5/11). Head on over to the large building on the beach, which is your house, and go inside to find another Scroll (4/6). Behind your house, in the waters, will be a lone barrel and on top of it will be yet another Crystal (6/11).
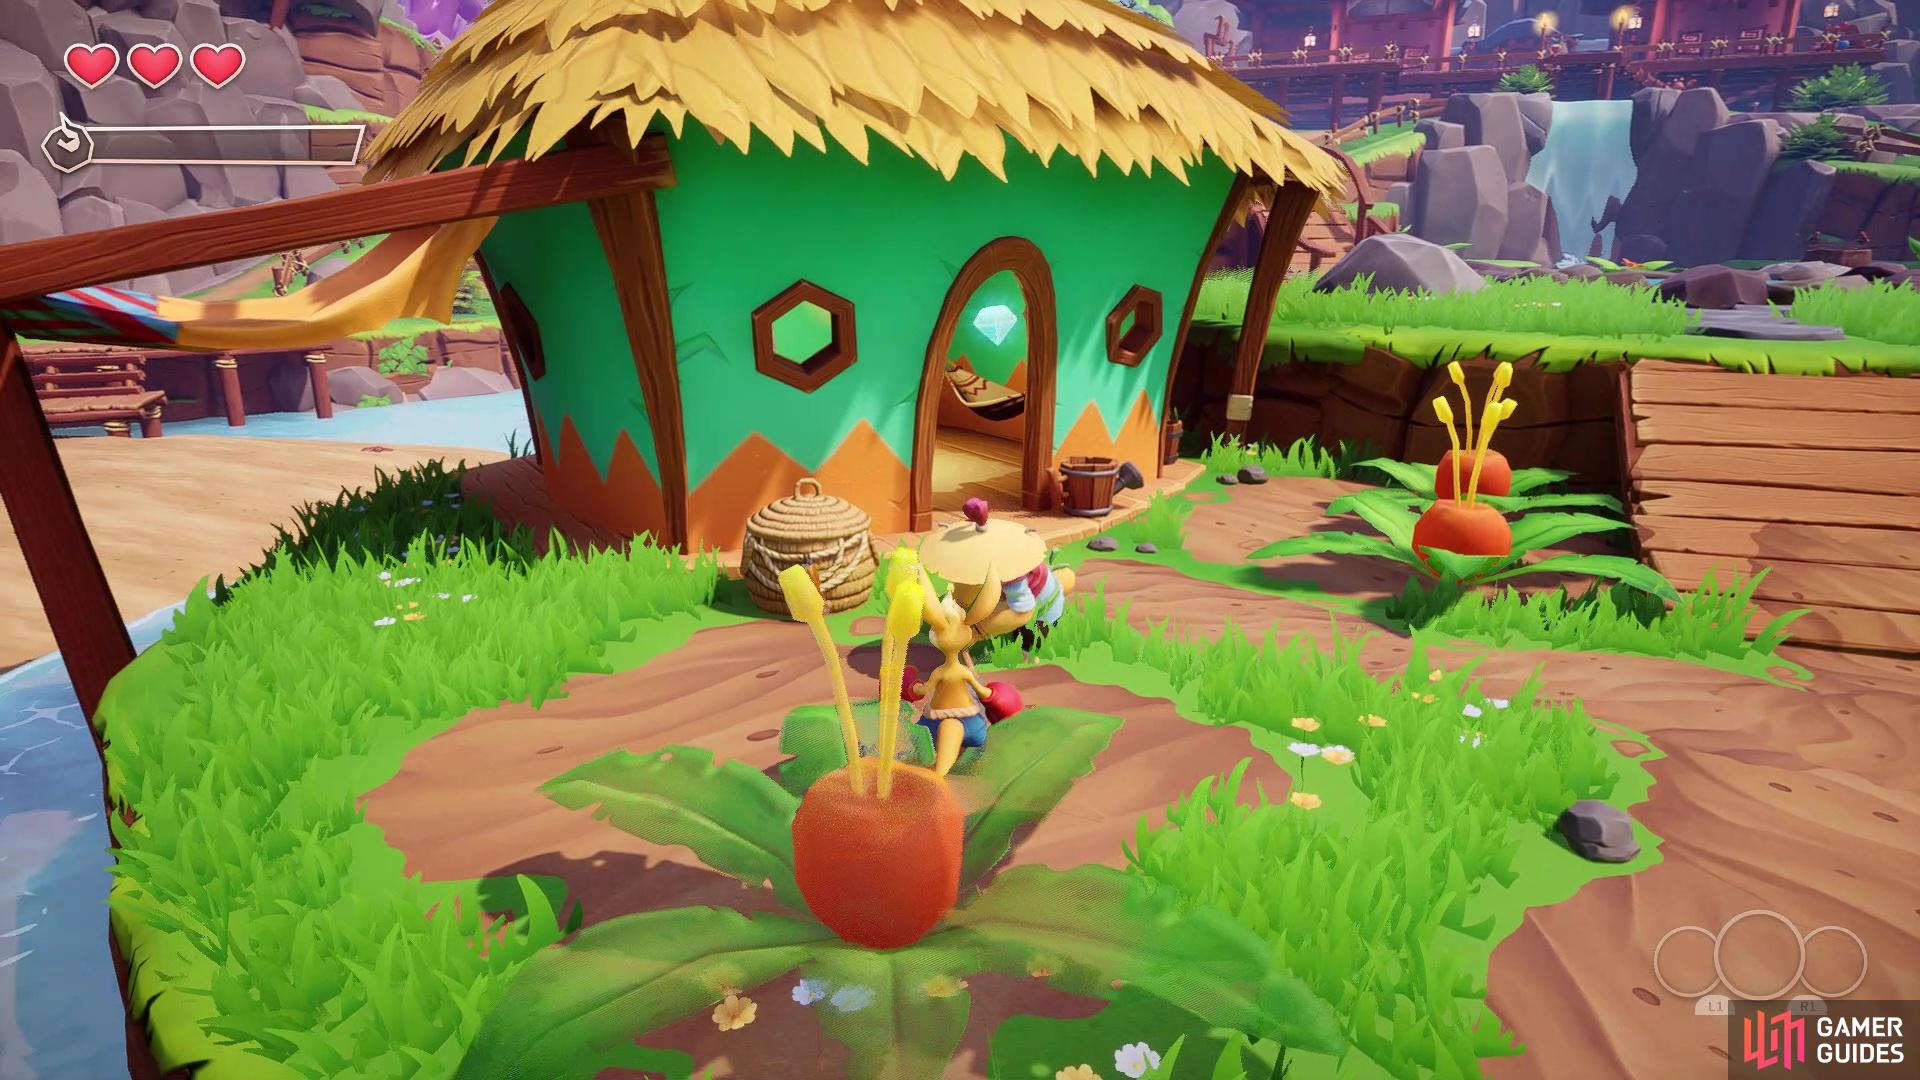
Not too far from there will be some crates and barrels marking a path to a small island. Be careful with the last few jumps, as the water will be deep enough here to make you lose some health, if you happen to fall into it; on that island will be another chest full of Ducats. Return to the entrance to your house and find the building a little more inland, which will have a NPC that is tending to a farm out front; inside that house will be a Crystal (7/11) above the hammock. Up the little ramp from the farmer’s house is a little pond, surrounded by rocks. Standing in the middle of that pond, look for the waterfall and on a little piece of land in front of it will be a Scroll (5/6).
Next to the pond described above will be the shop for Hopalloo Island. Don’t go there quite yet, but look underneath the platform to spy another Crystal (8/11). Head to the shop itself now and look in the corner there, where you should find a Crystal (9/11). As for the shop, you can purchase extra lives here (they cost 500 Ducats), as well as Heart Pieces (500 Ducats, as well). Right now, you can only purchase two Heart Pieces and if you collect four of them in total, then you will gain an extra piece of health. The little cupboard in the shop allows you to purchase costumes and change them, too. There’s only two pieces available at the start, both of which cost 500 Ducats each, so it’s best to hold off on them for right now.
You’re almost done now, so look for the path that leads to some sort of picnic-like area, which are the tables outside of a small hut. You should see a wooden archway near it, which has a Crystal (10/11) on top of it; you can simply jump up from the ground to get it. At the same hut, you will find a stump on the ground next to it. Standing on that stump, jump up to the ledge above it, then get on top of the hut to find the final Crystal (11/11). While still in the area, use the handholds on the wall by the waterfall to get to the top, where you will spot the final Scroll (6/6). Make your way back to Walt now and use the stairs opposite him, then follow the trail up a wooden incline and to the final Rune (4/7) you can collect right now. That should be everything here for now, and the entrance to The Dark Forest will be right in front of you.
No Comments