
Udun Foothills
| Herbs | Artifacts | Ithildin |
|---|---|---|
| Blue Milk | Strange Rock | Edwenno o gwath |
| Niphredil | ||
| Elgaran | ||
| Pipeweed | ||
| Earthbread | ||
| Azurdan | ||
| Mallos |
Seems logical to explore where we started out-the Udun Foothills. The Forge Tower is in the eastern corner of this area, and the plateau it’s on is relatively safe. On the lower ground around it, however, you’ll find plenty of Uruks, and perhaps even Captains. Use your Wraith Vision to scout out the area for these threats. You can also occassionally find a Graug lurking around the low ground around the Forge Tower, a beast which is probably quite out of our league right now.
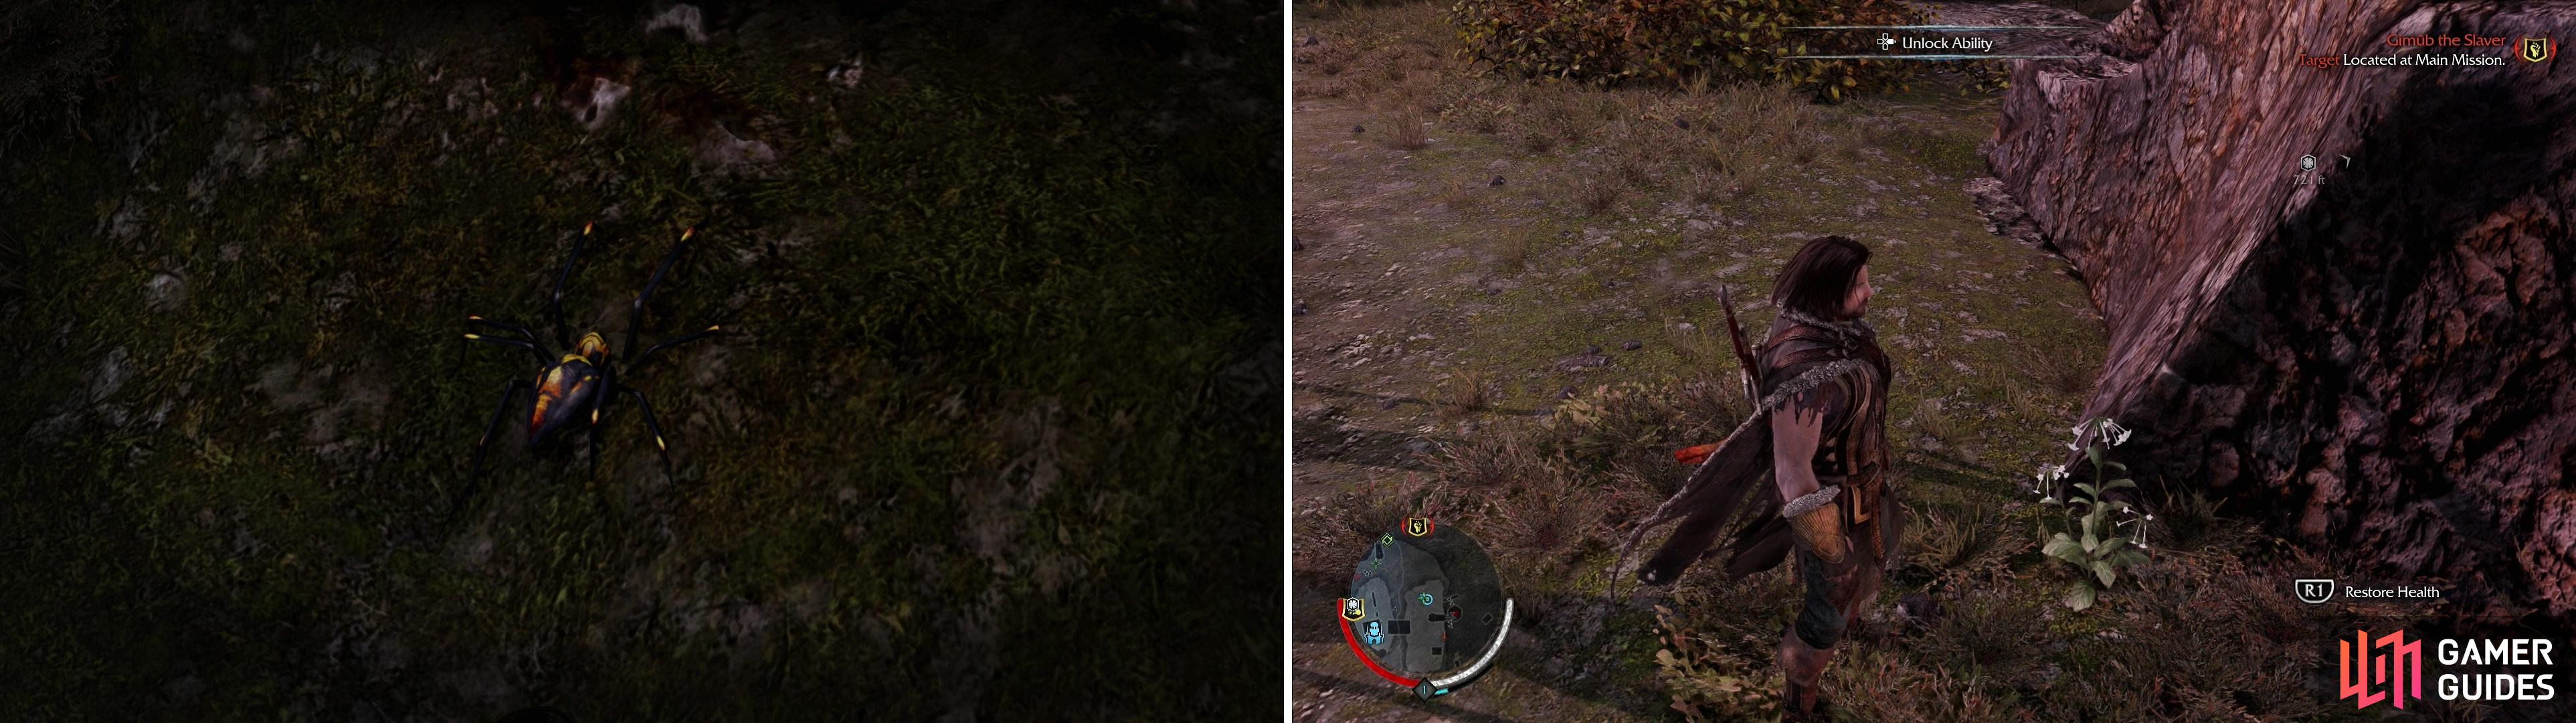
You can find various critters, like Spiders, throughout Mordor (left). Some are more dangerous than others, but killing most anything satisfies a Hunting Challenge at some point. Likewise there are herbs that can be gathered (right). Not only do they heal you fully, but collecting herbs will also complete Survival Challenges.
For something more our speed, search around the base of the Forge Tower to find Spiders-easily spotted in Wraith form. These creepy crawlies just so happen to be the targets of Hunting Challenge 1 . Dispatch three of them, either by stepping on them, or if you prefer a bit of target practice, use your bow. For less mobile prey, just north of the tower you can find a Niphredil herb, the harvesting of which is the object of Survival Challenge 1 (it is marked on your mini-map as a white cross). What a nice little introduction to these two Challenges, eh?
Now for a more esoteric treat, head west from the Forge Tower to find a very short bridge. We’re more interested in what’s under the bridge, however. Jump down into the chasm the bridge spans and search the western bridge support to find your first bridge Ithildin, “ Edwenno o gwath “ (you must be in Wraith Form to do this). If you climb to the platform on the eastern side of the bridge you can kill an Uruk archer in his tower, which in itself is nothing special. Along the base of this tower is another Niphredil herb-there’s no reason you shouldn’t be able to complete both Challenges now.


Once those two Challenges are done, the next two begin. For Survival Challenge 2 you’ll need to find three Pipeweed herbs (which can be found in the Udun Foothlls) and one Lothrond herb (which cannot). In fact, you can find your first dose of Pipeweed along the northern end of this plateau, near a rock. It’s marked on your mini-map as a green cross. Your goal for Hunting Challenge 2 is to kill “five flying creatures” (Hell-Hawks), which, if you look up, you’ll spot them. Using the bow is really your only option here, preferably taking Focused shots. They’re easy enough to shoot down if you have Focus-don’t lead them, just shoot right at them, and you’ll take them down. Shoot, wait for your Focus to recharge, drain Elf-Shot as needed, repeat until complete.
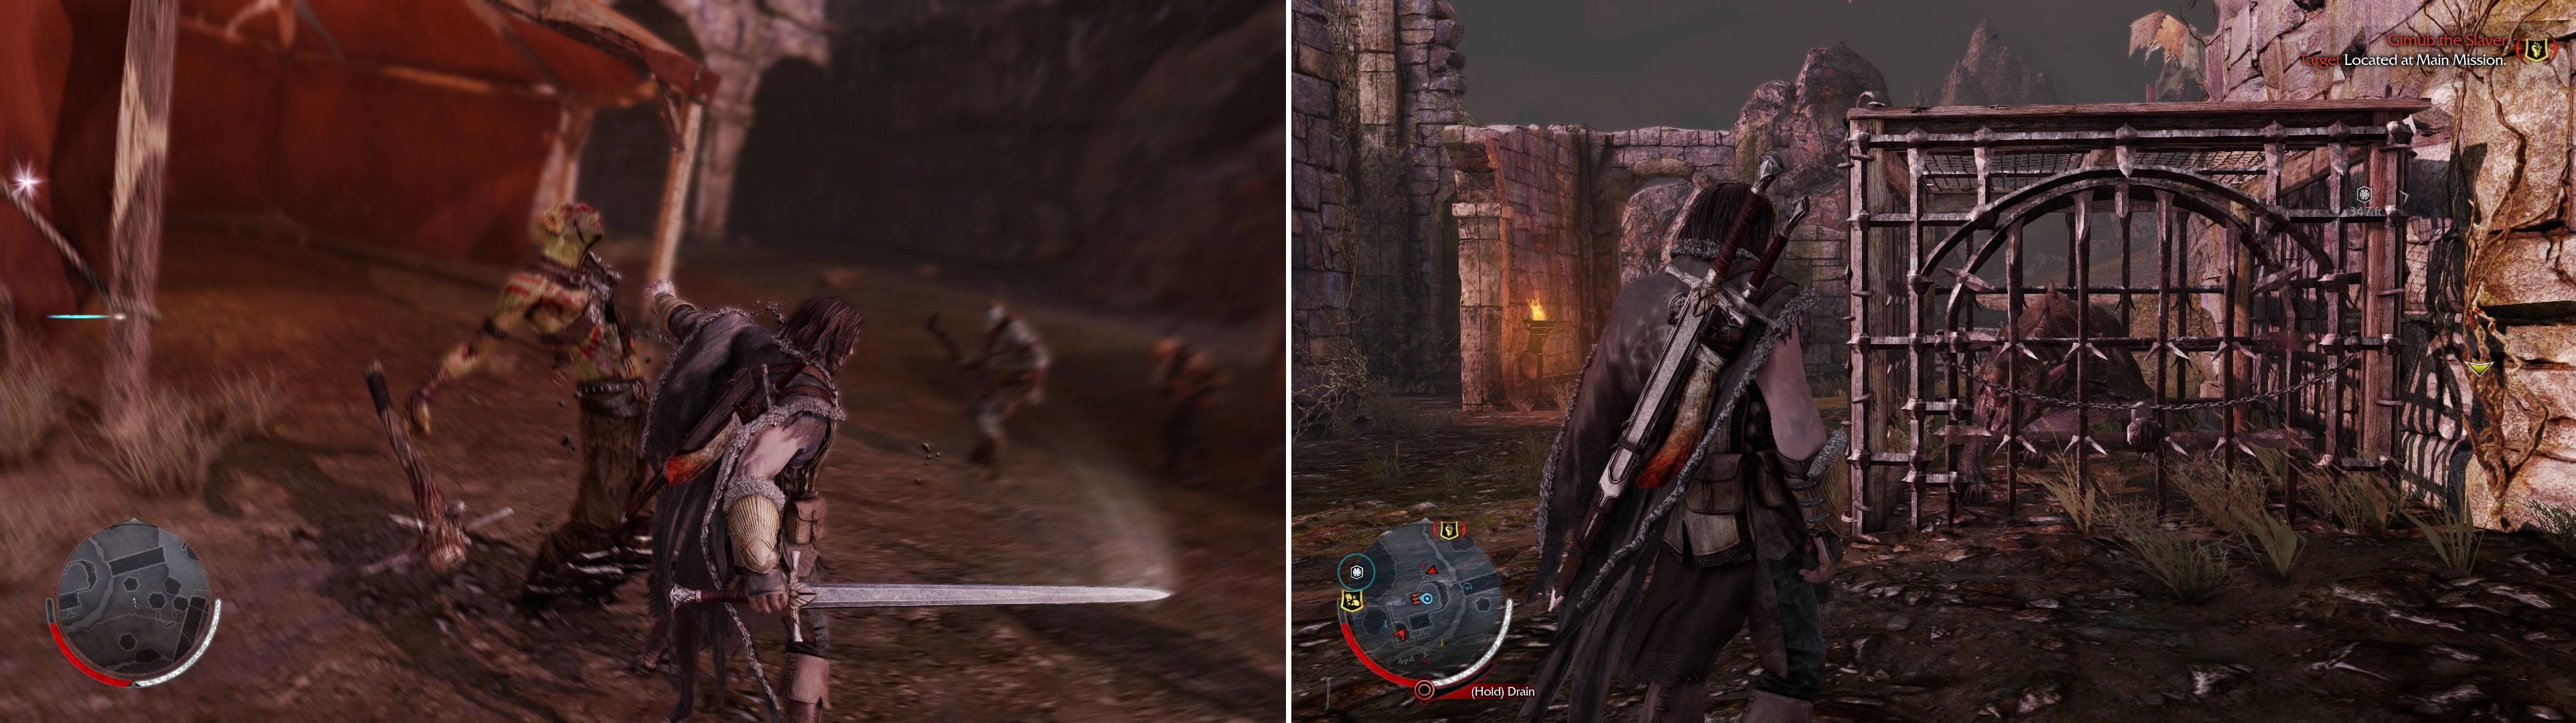
The “Execution” Ability will vastly increase the speed at which you can dispatch Uruks (left). Caged Caragors can often be found where Uruks dwell. Freeing them can make for a helpful distraciton (right).
There’s also an Artifact in this busy area, but to obtain this we’ll have to leave the relative safety of the high ground around the Forge Tower and trek westward. Go to the main map and find the little white hexagon that marks the artifact and hit (X) on it to set a waypoint and you should get there just fine. Use this expedition to score whatever Intel you can find along the way-know the Strengths/Weaknesses of the two story Captains (they’ll have a golden shield above their heads in the Sauron’s Army screen) will make disposing of them much easier. Be sure to buy the “Execution” ability as soon as you have the chance, as it’ll greatly improve the speed at which you can dispatch Uruks in open combat.
If you head south-west from the Forge Tower over a bridge, you’ll find an Uruk camp that might contain caged Caragors. Right now, these critters are little more than environmental hazards we can unleash on Uruks (unless you buy the “Ride Caragors” Ability), if you shoot the door of the cage, the Caragor will run amok, gobbling up whatever it can. Should you need to put a Caragor down, two or three charged bow shots to the head should do the trick. All in all, though, we have no reason to mess with Caragors right now… unless you want to make progress on Hunting Challenge 3 , that is, or make progress on the “Unleashed” Trophy/Achievement. You’ll need to kill three Caragors to complete the former, and free five caged Caragors for the latter, so if you have the Elf-Shot… go for it

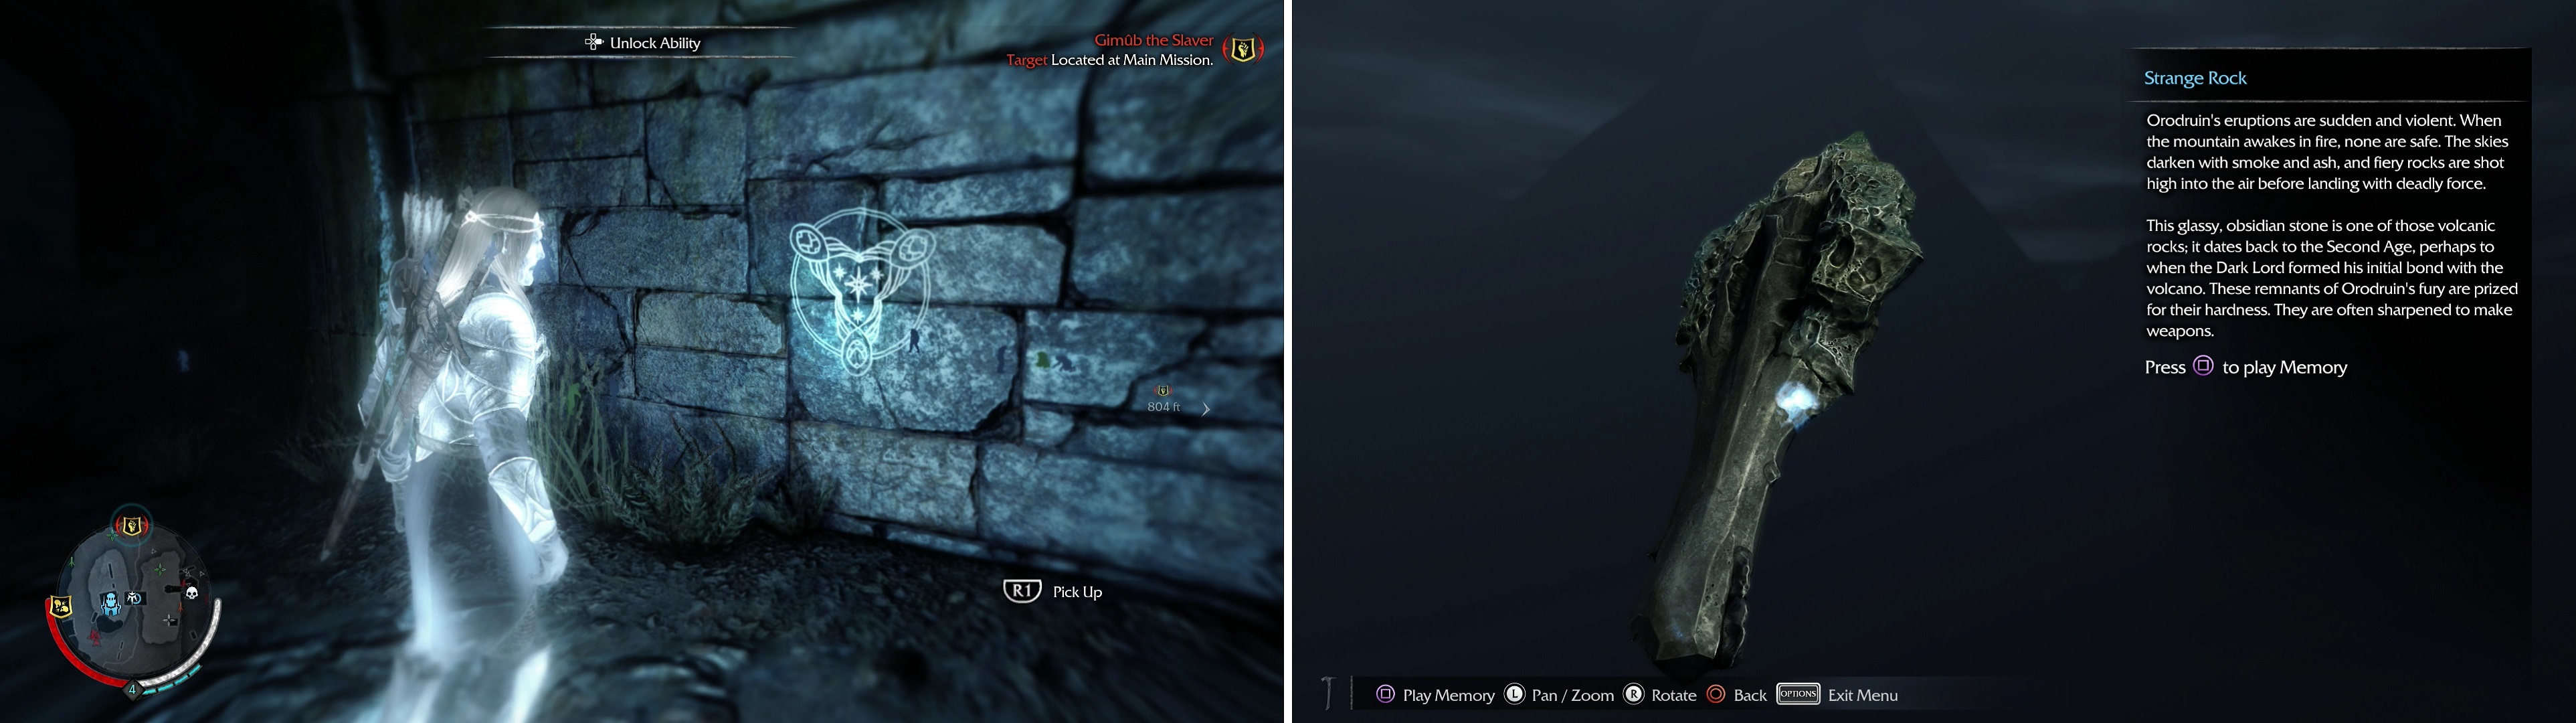
Ithildin (left) and Artifacts (right) are two more collectibles that can be found scattered throughout Mordor. Reforge Forge Towers and follow the white map markers to their locations.
Continue west to find your first Artifact in a narrow pass between two elevated rock formations. Again, you’ll need to be in Wraith Form to claim this. Your score this time around (aside from 50 Mirian)? A Strange Rock . Use your analog sticks to rotate the object around to find the “memory of Mordor” hidden on the Artifact, which just so happens to take the form of bluish glowing miasma, as if we haven’t seen enough of that already. Find the memory, then press (Square) to play it. We’re now done with our first area. Be sure to buy upgrades, both Abilities and Attributes. By now we should have earned enough XP and Mirian to buy at least two of each. “Execution” and “Strike From Above” are good starter Abilities, and as for Attributes… well, depends on your preference, really. It’s hard to go wrong here. The runes are so cheap, and we’ll be earning them shortly (if we haven’t already), so it’s worth upgrading all of the weapons at least once.

The Black Gate
| Herbs | Artifacts | Ithildin |
|---|---|---|
| Lothrond | Mortar and Pestle | i naudhir edhil |
| Pipeweed | Iron Shackle | |
| Elgaran | Lockpick | |
| Niphredil | ||
| Remmenthond | ||
| Mallos | ||
| Gwinuial | ||
| Earthbread | ||
| Azurdan |
Now head north from the Udun Foothills to find The Black Gate. The quest “The Slaver” is here, but there’s no need to go bother with it, yet. The side quest “The Mithril Blade” is here, too, which is covered in more detail in the “Dagger Missions” section of the guide. If you feel up to earning some incredibly easy Mirian, check it out-you’ll need to kill ten Uruk slavers in three minutes, with bonus Mirian for remaining undetected.

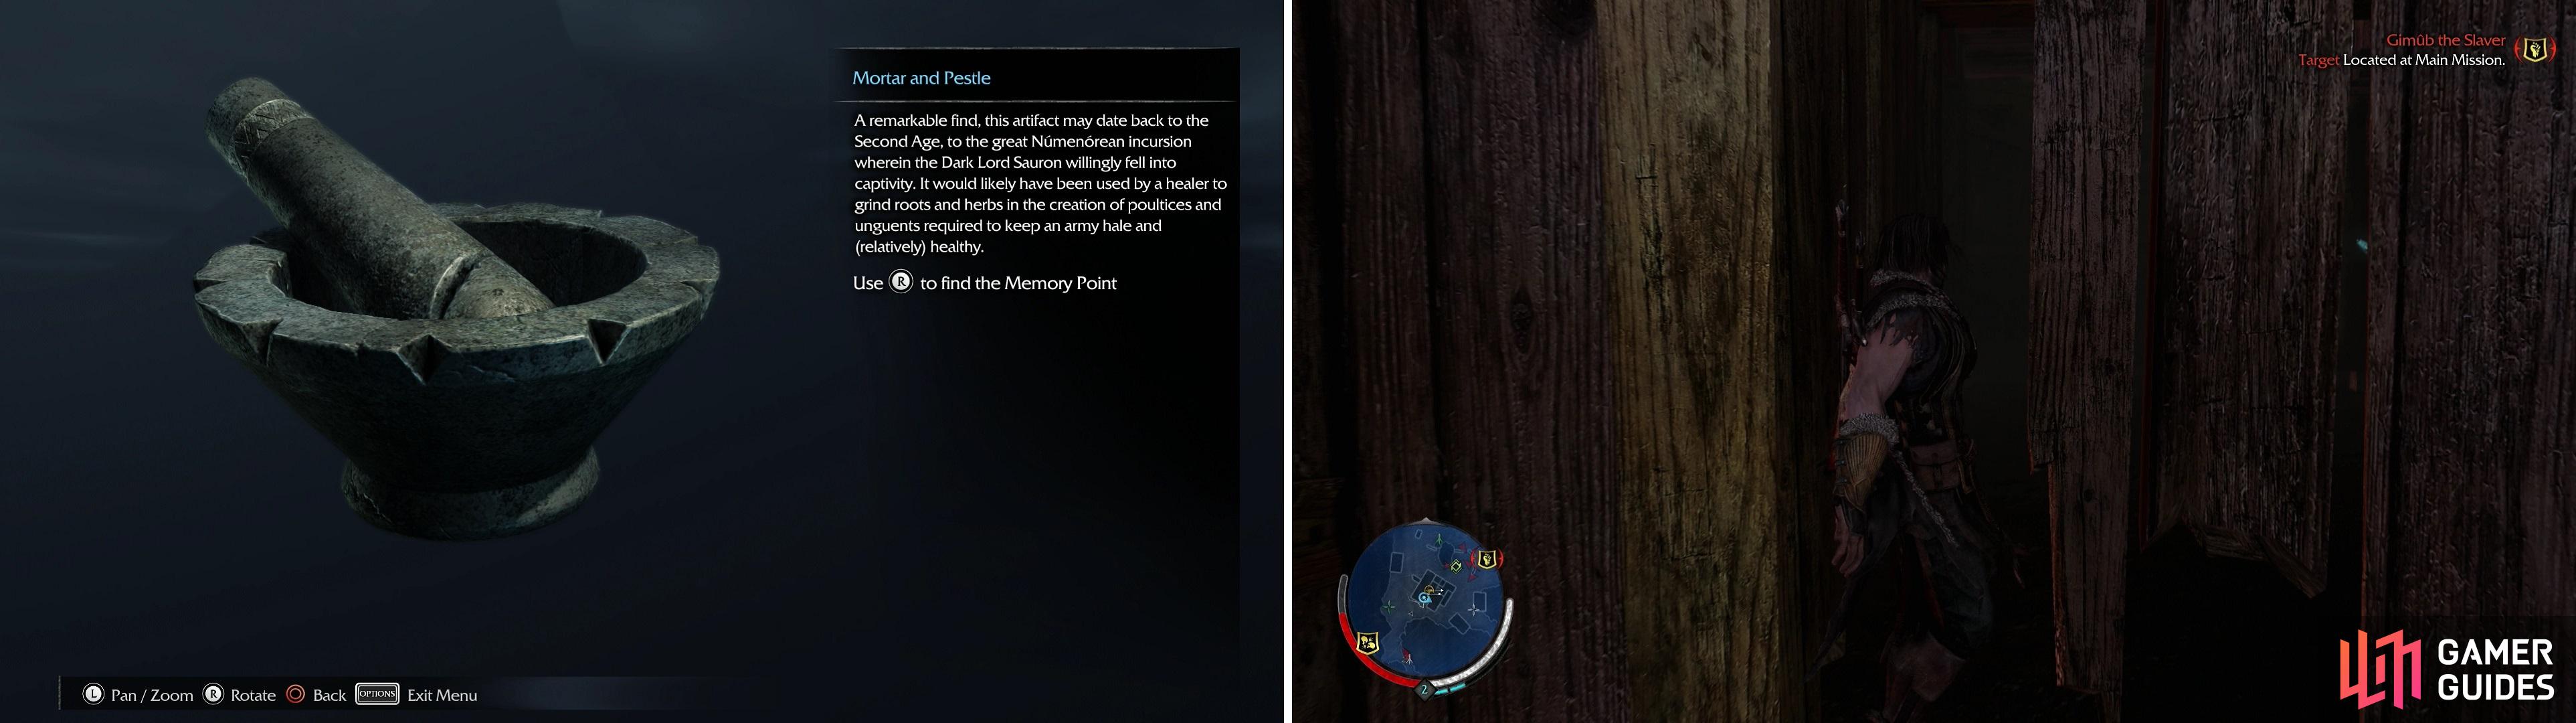
The Mortar and Pestle Artifact (left). Talion, being the sneaky sort of guy that he is, can squeeze into tight spaces (right). Uruks cannot follow, and these areas are usually good ways to get around without being detected.
There are also three Artifacts in this area. You should know the drill by now, mark them on the map, then head to them. Start out with the south-eastern one, which is located under a wooden platform along the northern end of a large, unscalable rock formation. Expect significant Uruk presence here, perhaps including some Captains. Again, scouting things out with Wraith Vision will help you out. If you’re having trouble dealing with crowds of Uruks, just remember to be methodical, and don’t button mash. Often it’s better to wait for a charging Uruk to attack, which can be easily Countered, rather than trying to sneak in another attack of your own. Don’t worry, your combo remains up quite a long time-you’re more likely to lose it by swinging prematurely, or by getting hit, than by waiting a bit. Your disovery this time is a Mortar and Pestle . Be sure to search it for its memory.
From this Artifact head north-west to find a more substantial wooden building, upon which many Slavers lurked during “The Mithril Blade” side mission. Under this building (you can squeeze through a narrow gap in the structure) you’ll find some Elf-Shot, and Lothrond -the second herb required for Survival Challenge 2 , which should now be complete, if you were diligent in grabbing Pipeweed earlier. Survival Challenge 3 requires you to find three Remmenthond (orange arrow) and Azuradan (blue arrow) both of which can be found in this area. Some Azurdan can be found just east of where we found the last Artifact, just keep an eye out for them on your mini-map as we continue to explore this area.
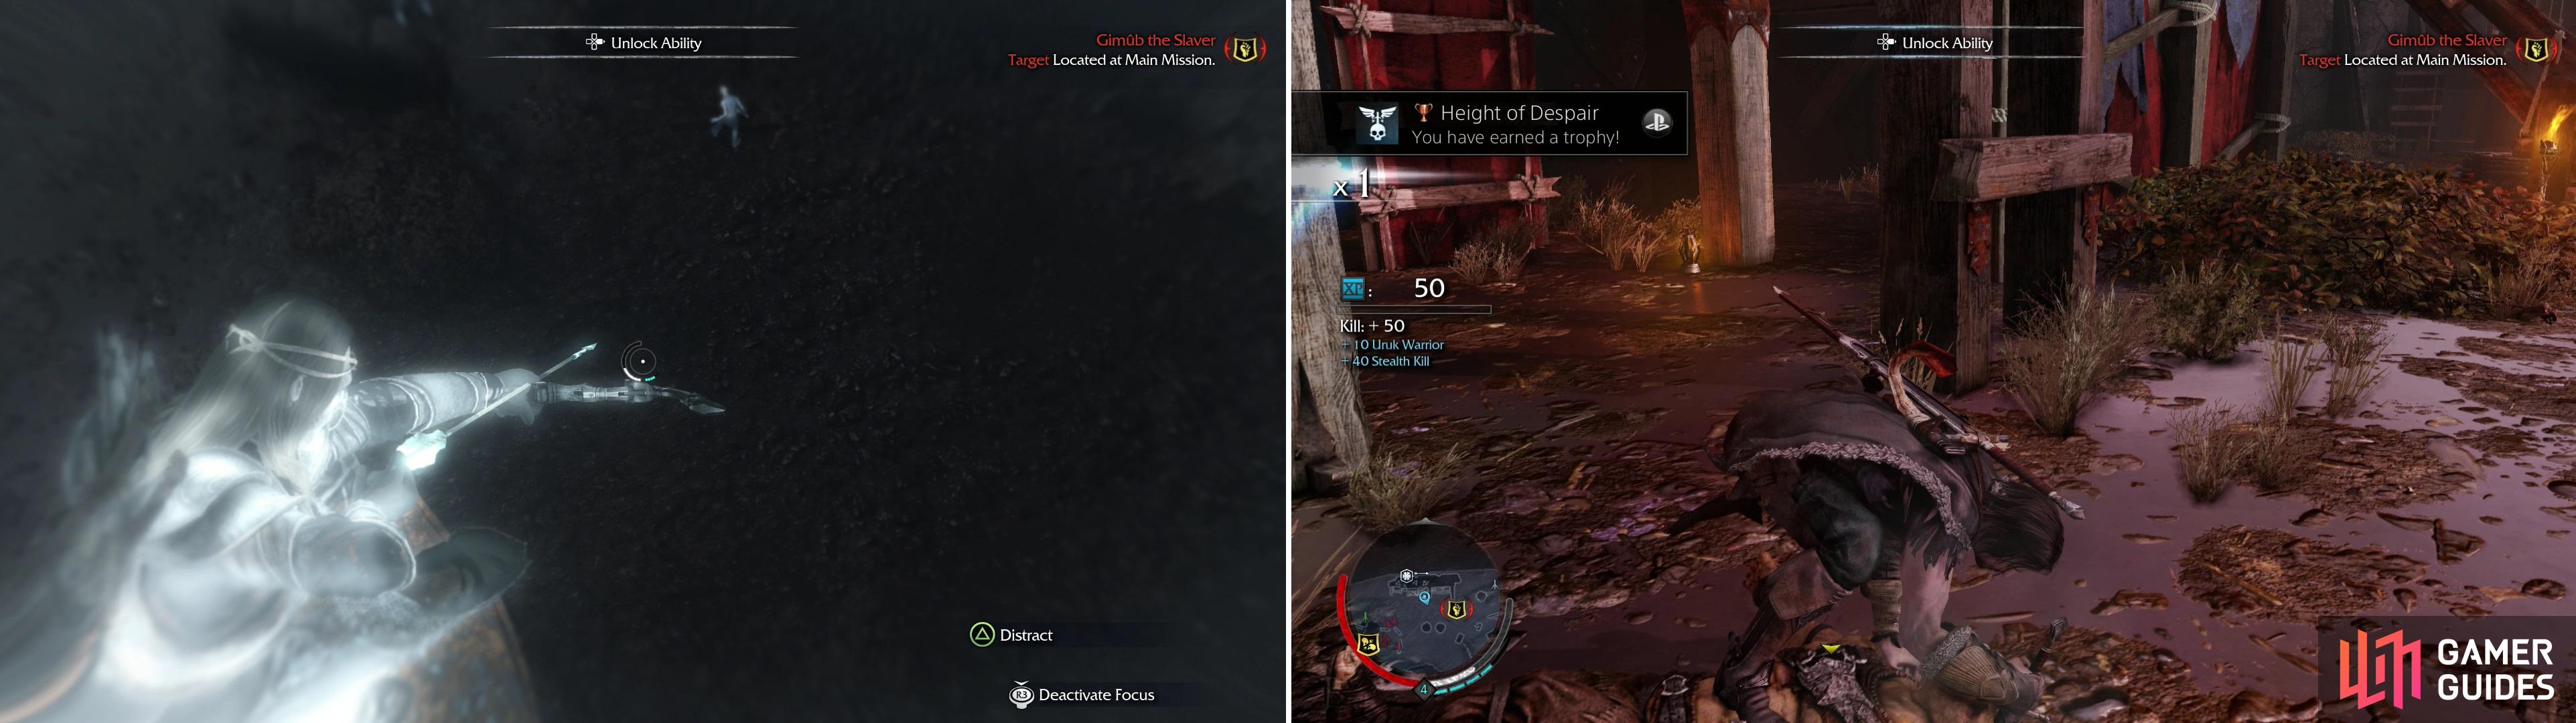
While in Ranged Mode you can use the “Distract” ability to lure Uruks to a specific spot (left). Use “Strike From Above” from the top of the scaffolding in The Black Gate to score the Trophy/Achievement “Height of Despair”.
Our next destination is to the second Artifact to the north, which lies under the wooden scaffolding along the Black Gate. There’s incentive to climb to the top of the scaffolding, however-if you reach the top, and find a helpful Uruk below you, you can stealth kill them with “Strike From Above” to score the trophy “Height of Despair”. If the Uruk are being uncooperative, shoot some, or Distract them to get them to come closer. The Artifcat you’ll find here, fittingly enough, is an Iron Shackle .

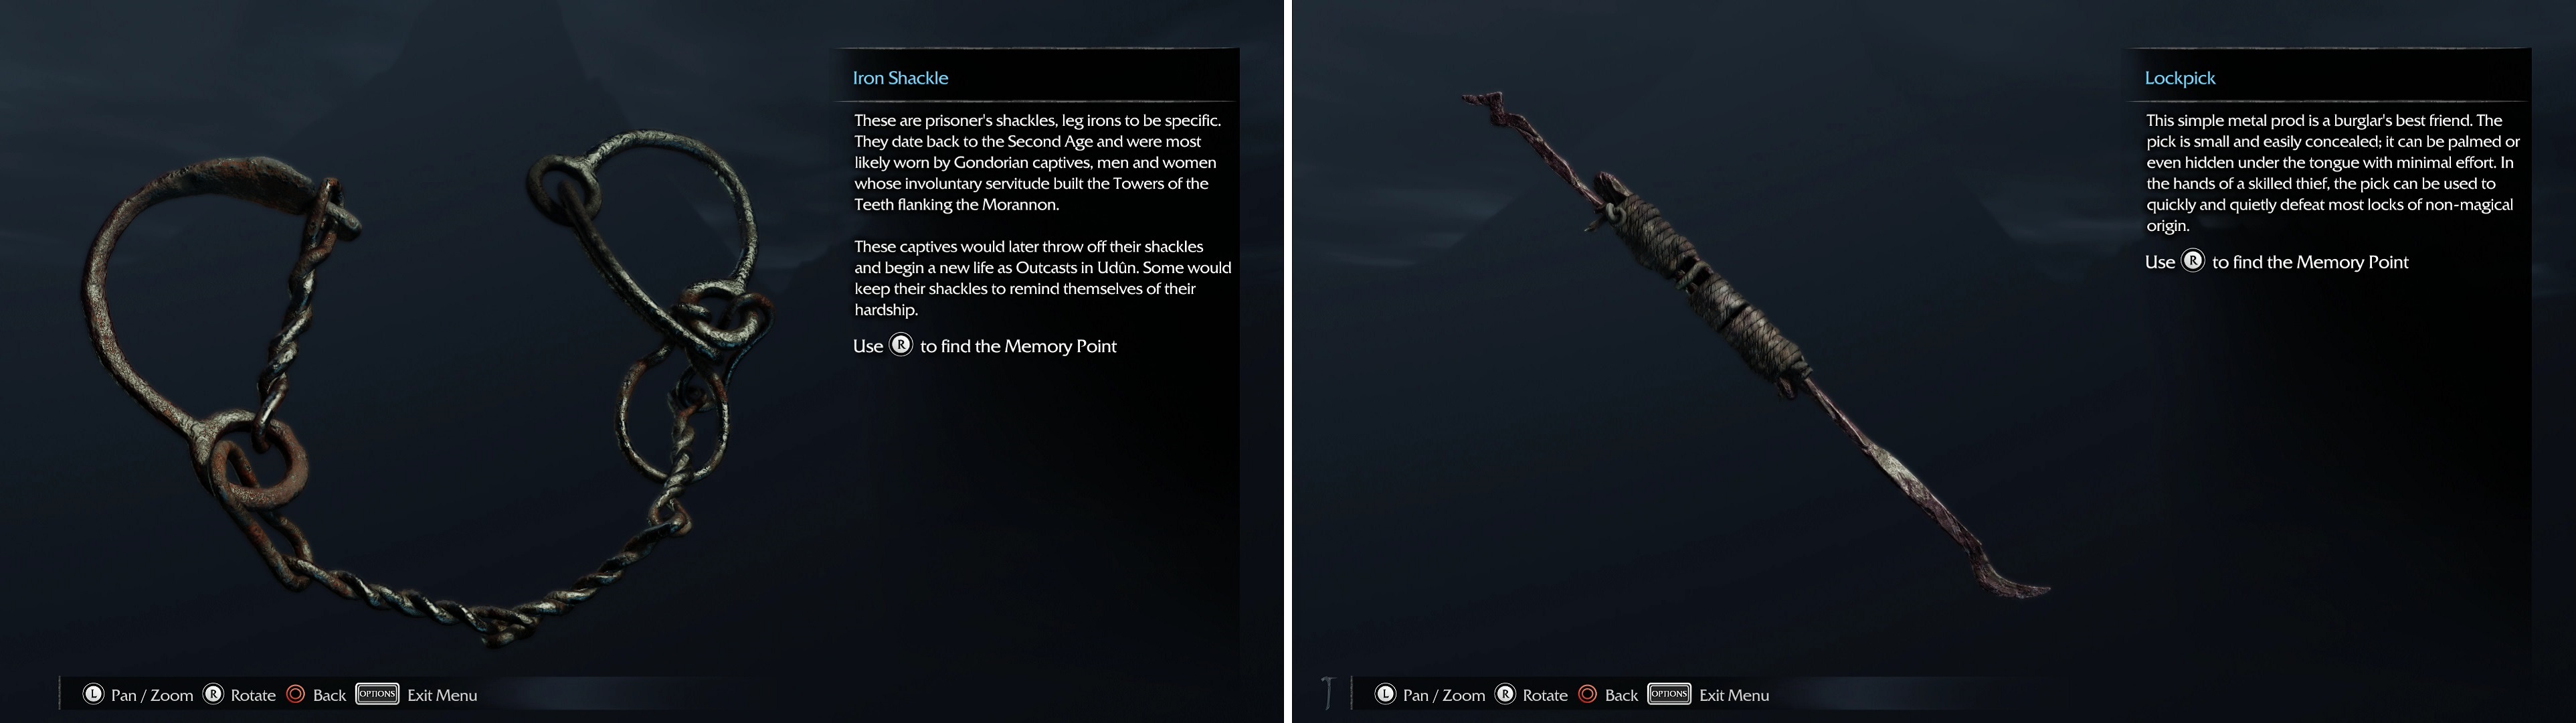
The Iron Shackle Artifact (left) and Lockpick Artifact (right) seem to belong together, no?
Head east along the northern part of The Black Gate, perhaps after marking the Ithildin on your map. Near the third (and eastern-most) scaffolding you should find a Remmenthond herb, just past a Caragor cage. Another Remmenthond herb lies atop a scalable ledge to the east, which should leave us with just one more Azuradan to find. South-west of here we’ll find the Ithildin we’re looking for, just squeeze through some wooden planks along the northern end of a bulding to find a crumbling stone pillar, onto which the Ithildin “ i naudhir edhil “ is inscribed. Continue south from here to find the Lockpick Artifact, which is on top of a wooden platform near the eastern cliffs. What? They don’t all have to be buried in the dirt, do they?

 Sign up
No Comments