
For those of you looking to find all the niche appearances in Star Wars Jedi Survivor, go scavenger hunting for the map upgrade. If you head into the Phon’Qi Caverns, you can find the Jedi Survivor chest map upgrade location, which is awarded by doing several boss encounters, and some puzzle-solving along the way. Here’s a walkthrough on how to reach the Jedi Survivor chest map upgrade location.
Jedi Survivor Chest Map Upgrade Location
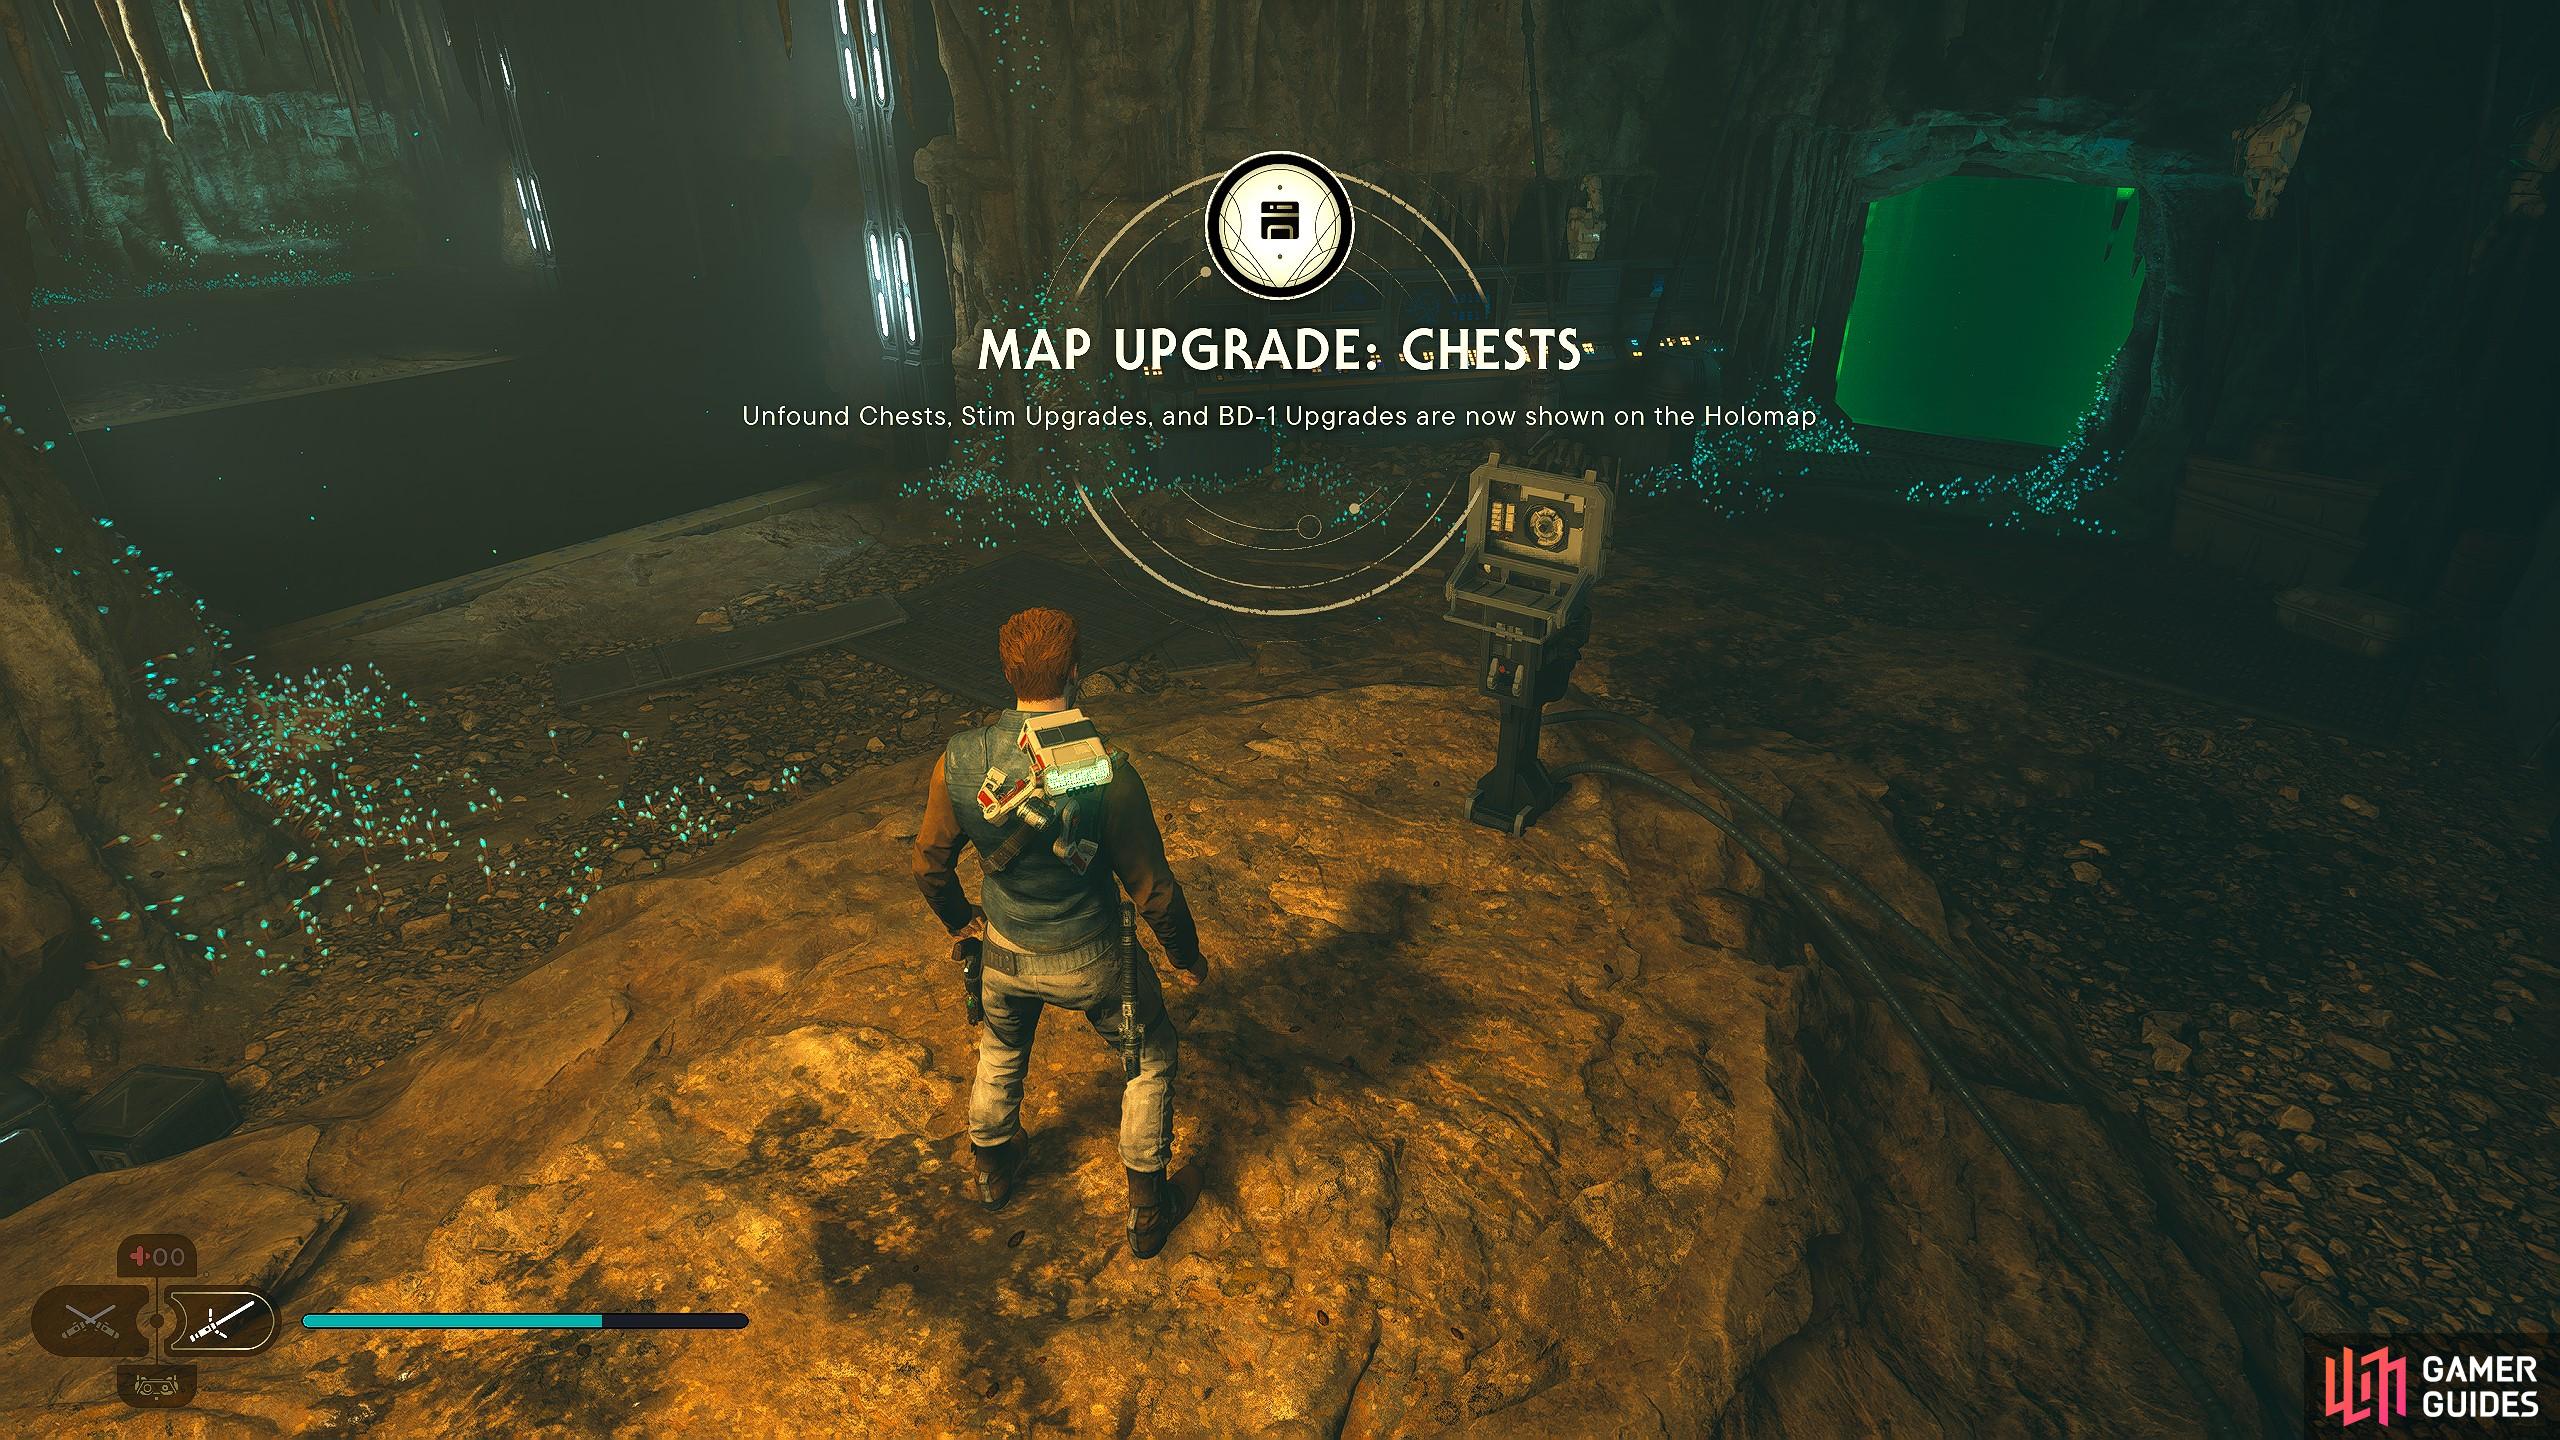
Here is where to find the Star Wars Jedi Survivor Chest Upgrade.
The main thing you need to do is head into a secret cave location found near the Mountain Path and the main city on Koboh. Go to the Mountain Pathway meditation spot, and fast-travel to it. Once you’re there, turn around, and head through the cavern. When you leave the cavern, you will find a waterfall to the left. Follow the waterfall path, where you will eventually find one of those tameable birds. Now you want to fly across the chasm, towards the metal hut on the other side.
When you land, you will hear some Bedlam Raiders talking. Dispatch them as required, and now you’re free to force lift up a metal covering towards the rear of the hut. This will allow you entrance to a basement of the hut, which will lead into the Phon’Qi Caverns. Before heading in, there is a droid you can rescue, which will return to the Pyloon Saloon as an NPC you can speak to. Now you’re inside, you can grab the meditation spot so you can easily get back here later.
Now you’re in Phon’Qi Caverns proper., the way to the Jedi Survivor chest map upgrade location is relatively simple. Go forward through the cave, and you will find an objective you must lift. Force lift it and create the passageway into the next phase of the caverns. Be careful of the droids. These are suicide droids that run at you with thermal detonators. Once you’re through, there will be a bridge that collapses. When it collapses, you will find a yellow light on teh right side of the room you can double jump and dash too. If you still struggle to reach it, there’s a grapple point directly above it.
Once you’re on the platform, run through the doorway, which will lead you into a room with two melee droid guards. Defeat these droids as and when you can and proceed through the. To the plant-lit cave tunnel. In this dark tunnel, you will activate some turrets, which you can easily destroy with your force slam skill. Late on, you will get a prompt to use your grapple hook to climb out, and into another cave layer. When you’re there, look for the flat wall you can jump up, kill the hidey droid when you’re up there and follow it to the end, where you can pull down a part of the cave’s roof. This will create a hole you can access the next stage of the Cavern.
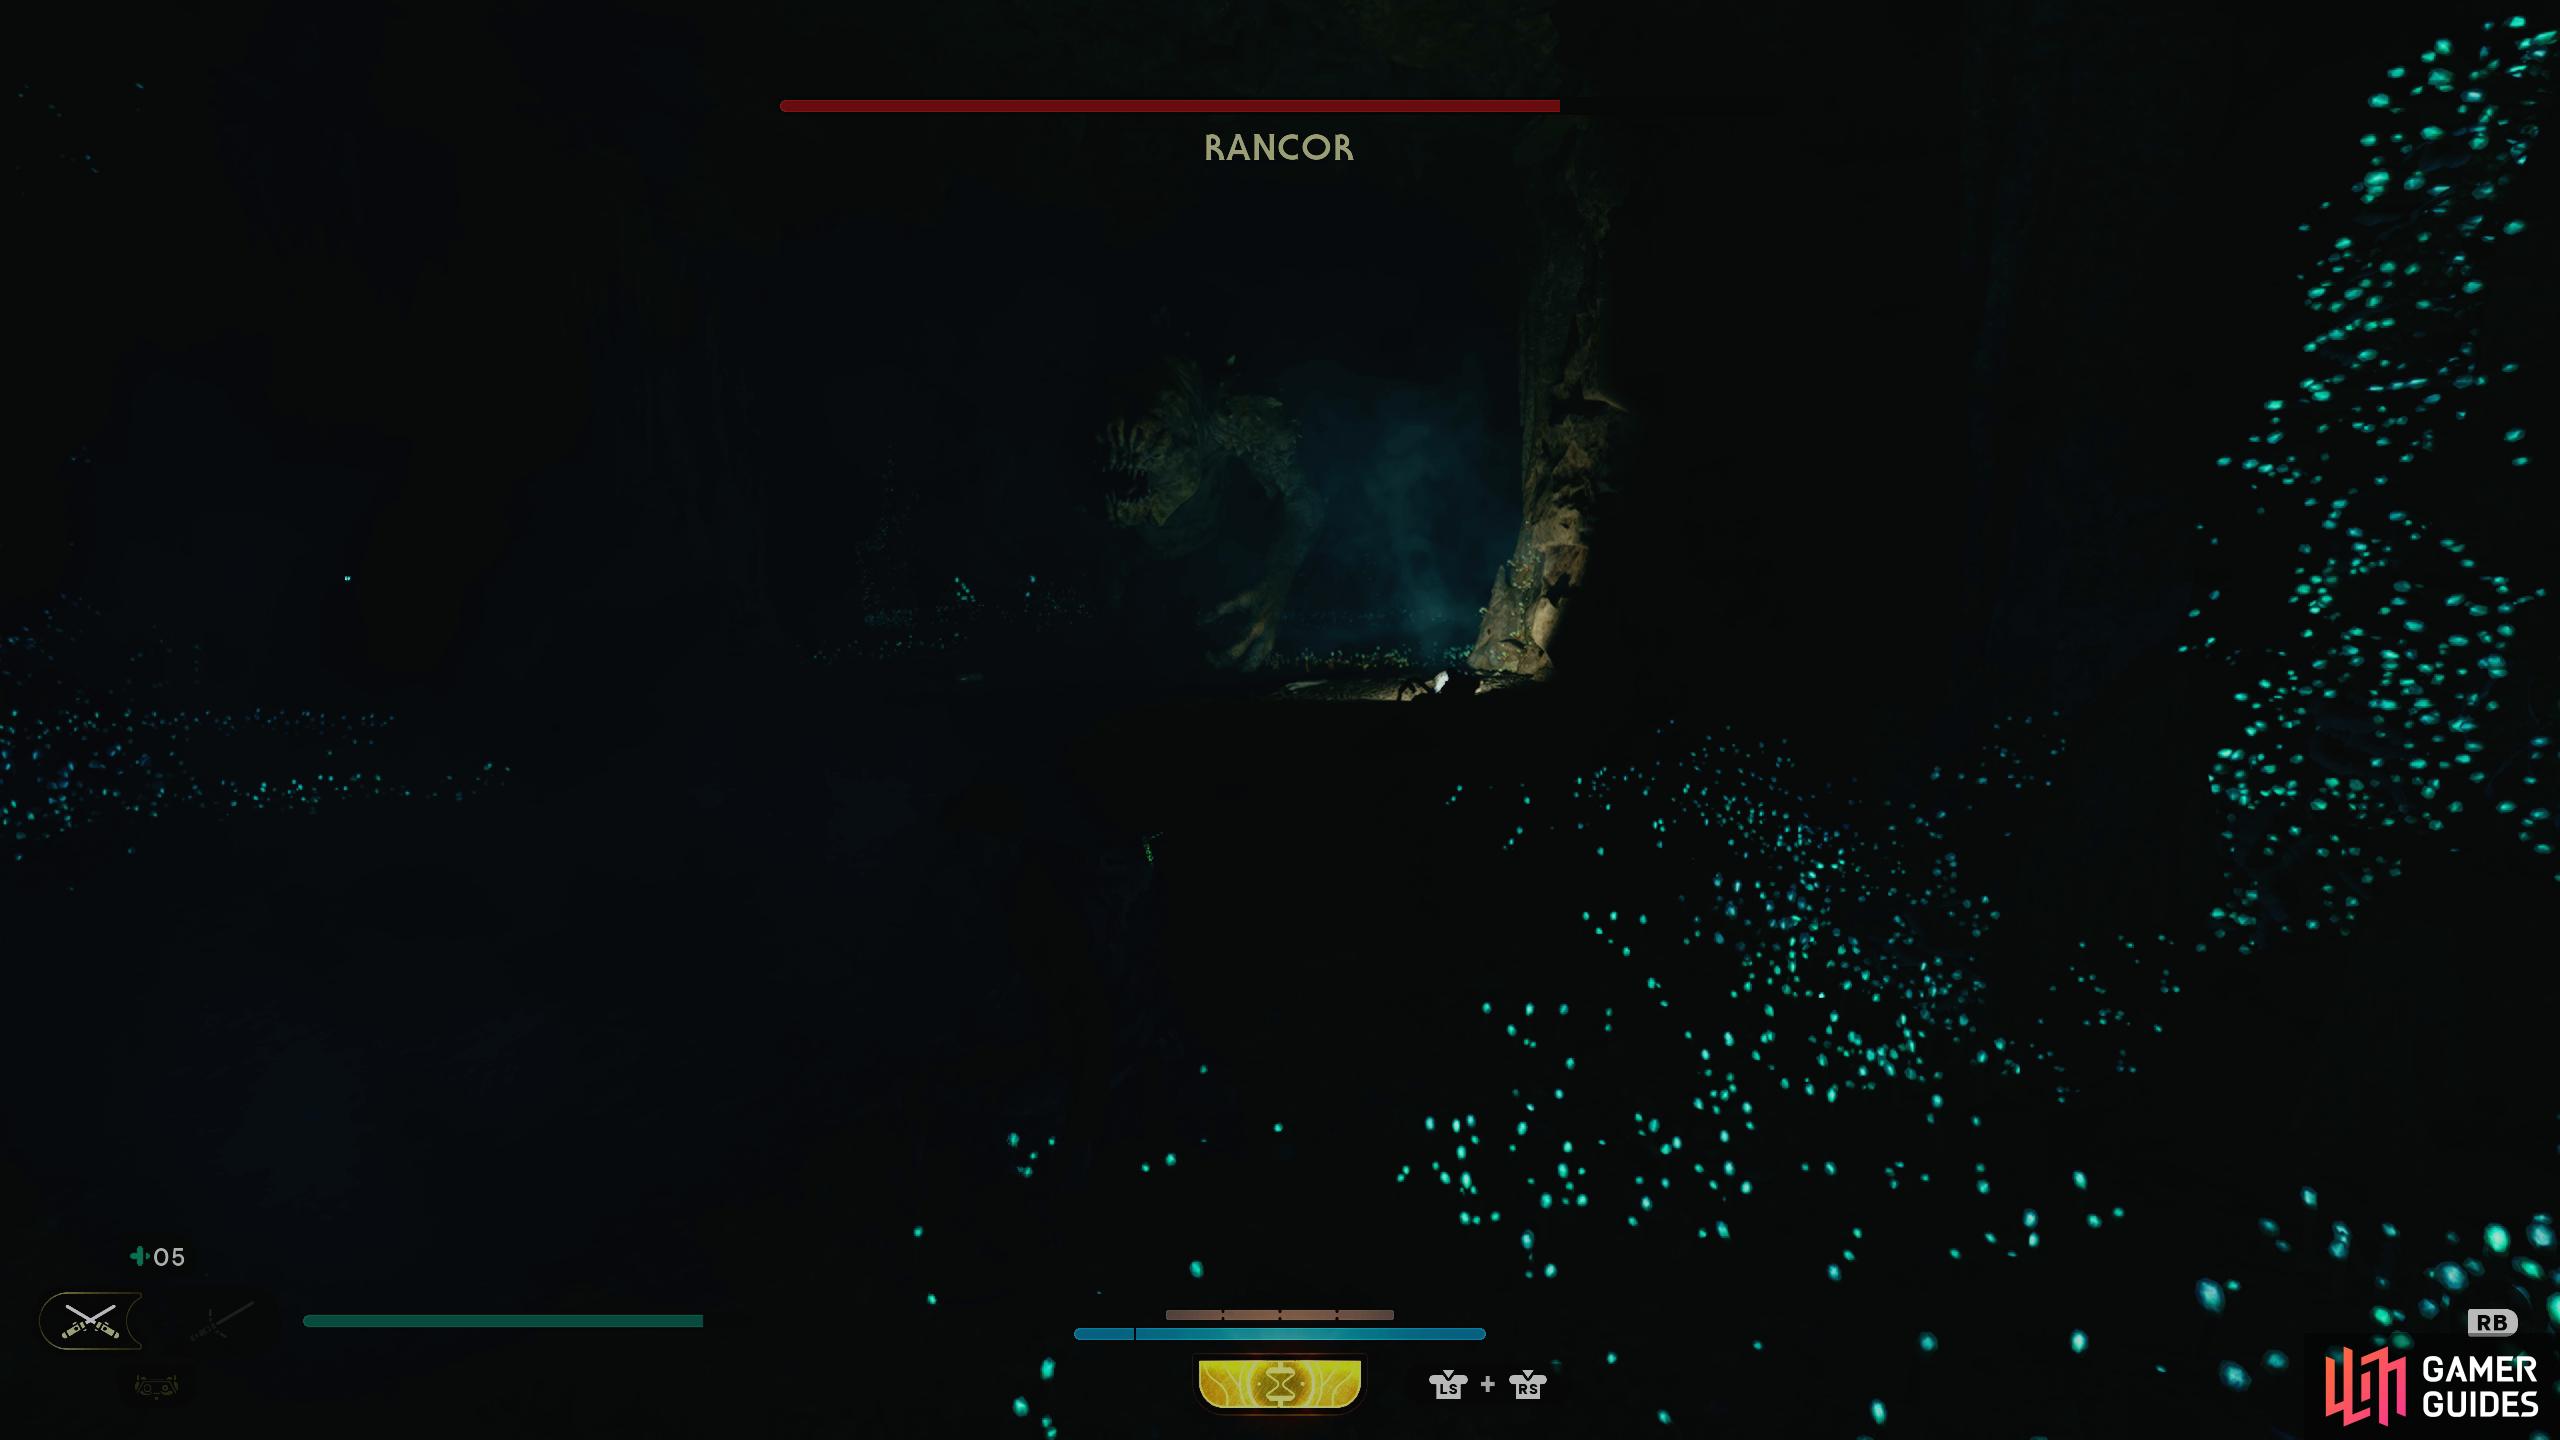
One of the first hurdles you must overcome is the Rancor.
Now you have opened up the floor, you can drop in and land on a lair floor. Here, you can encounter a Rancor, which is a legendary creature. This is also the second Rancor you can fight in the game, which is very interesting. Defeat the Rancor, and you can then head deeper into the cave system. Eventually, you will find a room filled with exploding balls. You will need to drop down each of the ledges, trying to land on areas not occupied by an explosive plant ball things. There will also be some more suicide droids that will wake up, so be careful of them too. Simply find a way to cross the gap to the next stage. Once you have crossed the gap, activate the shortcut to make it easier to get back
Now you have one final mushroom-lit cave to navigate. But, only with dispatching a few more Magnadroids first. More importantly, when you defeat these, there s a terminal you can slice, which awards the Magnadroid hack, which is worth grabbing while you’re here. Near the Magnadroid hack is also the way you need to go. Look for the large doorway. Once you’re inside, you have a white gate activate, and then the floor falls under you.
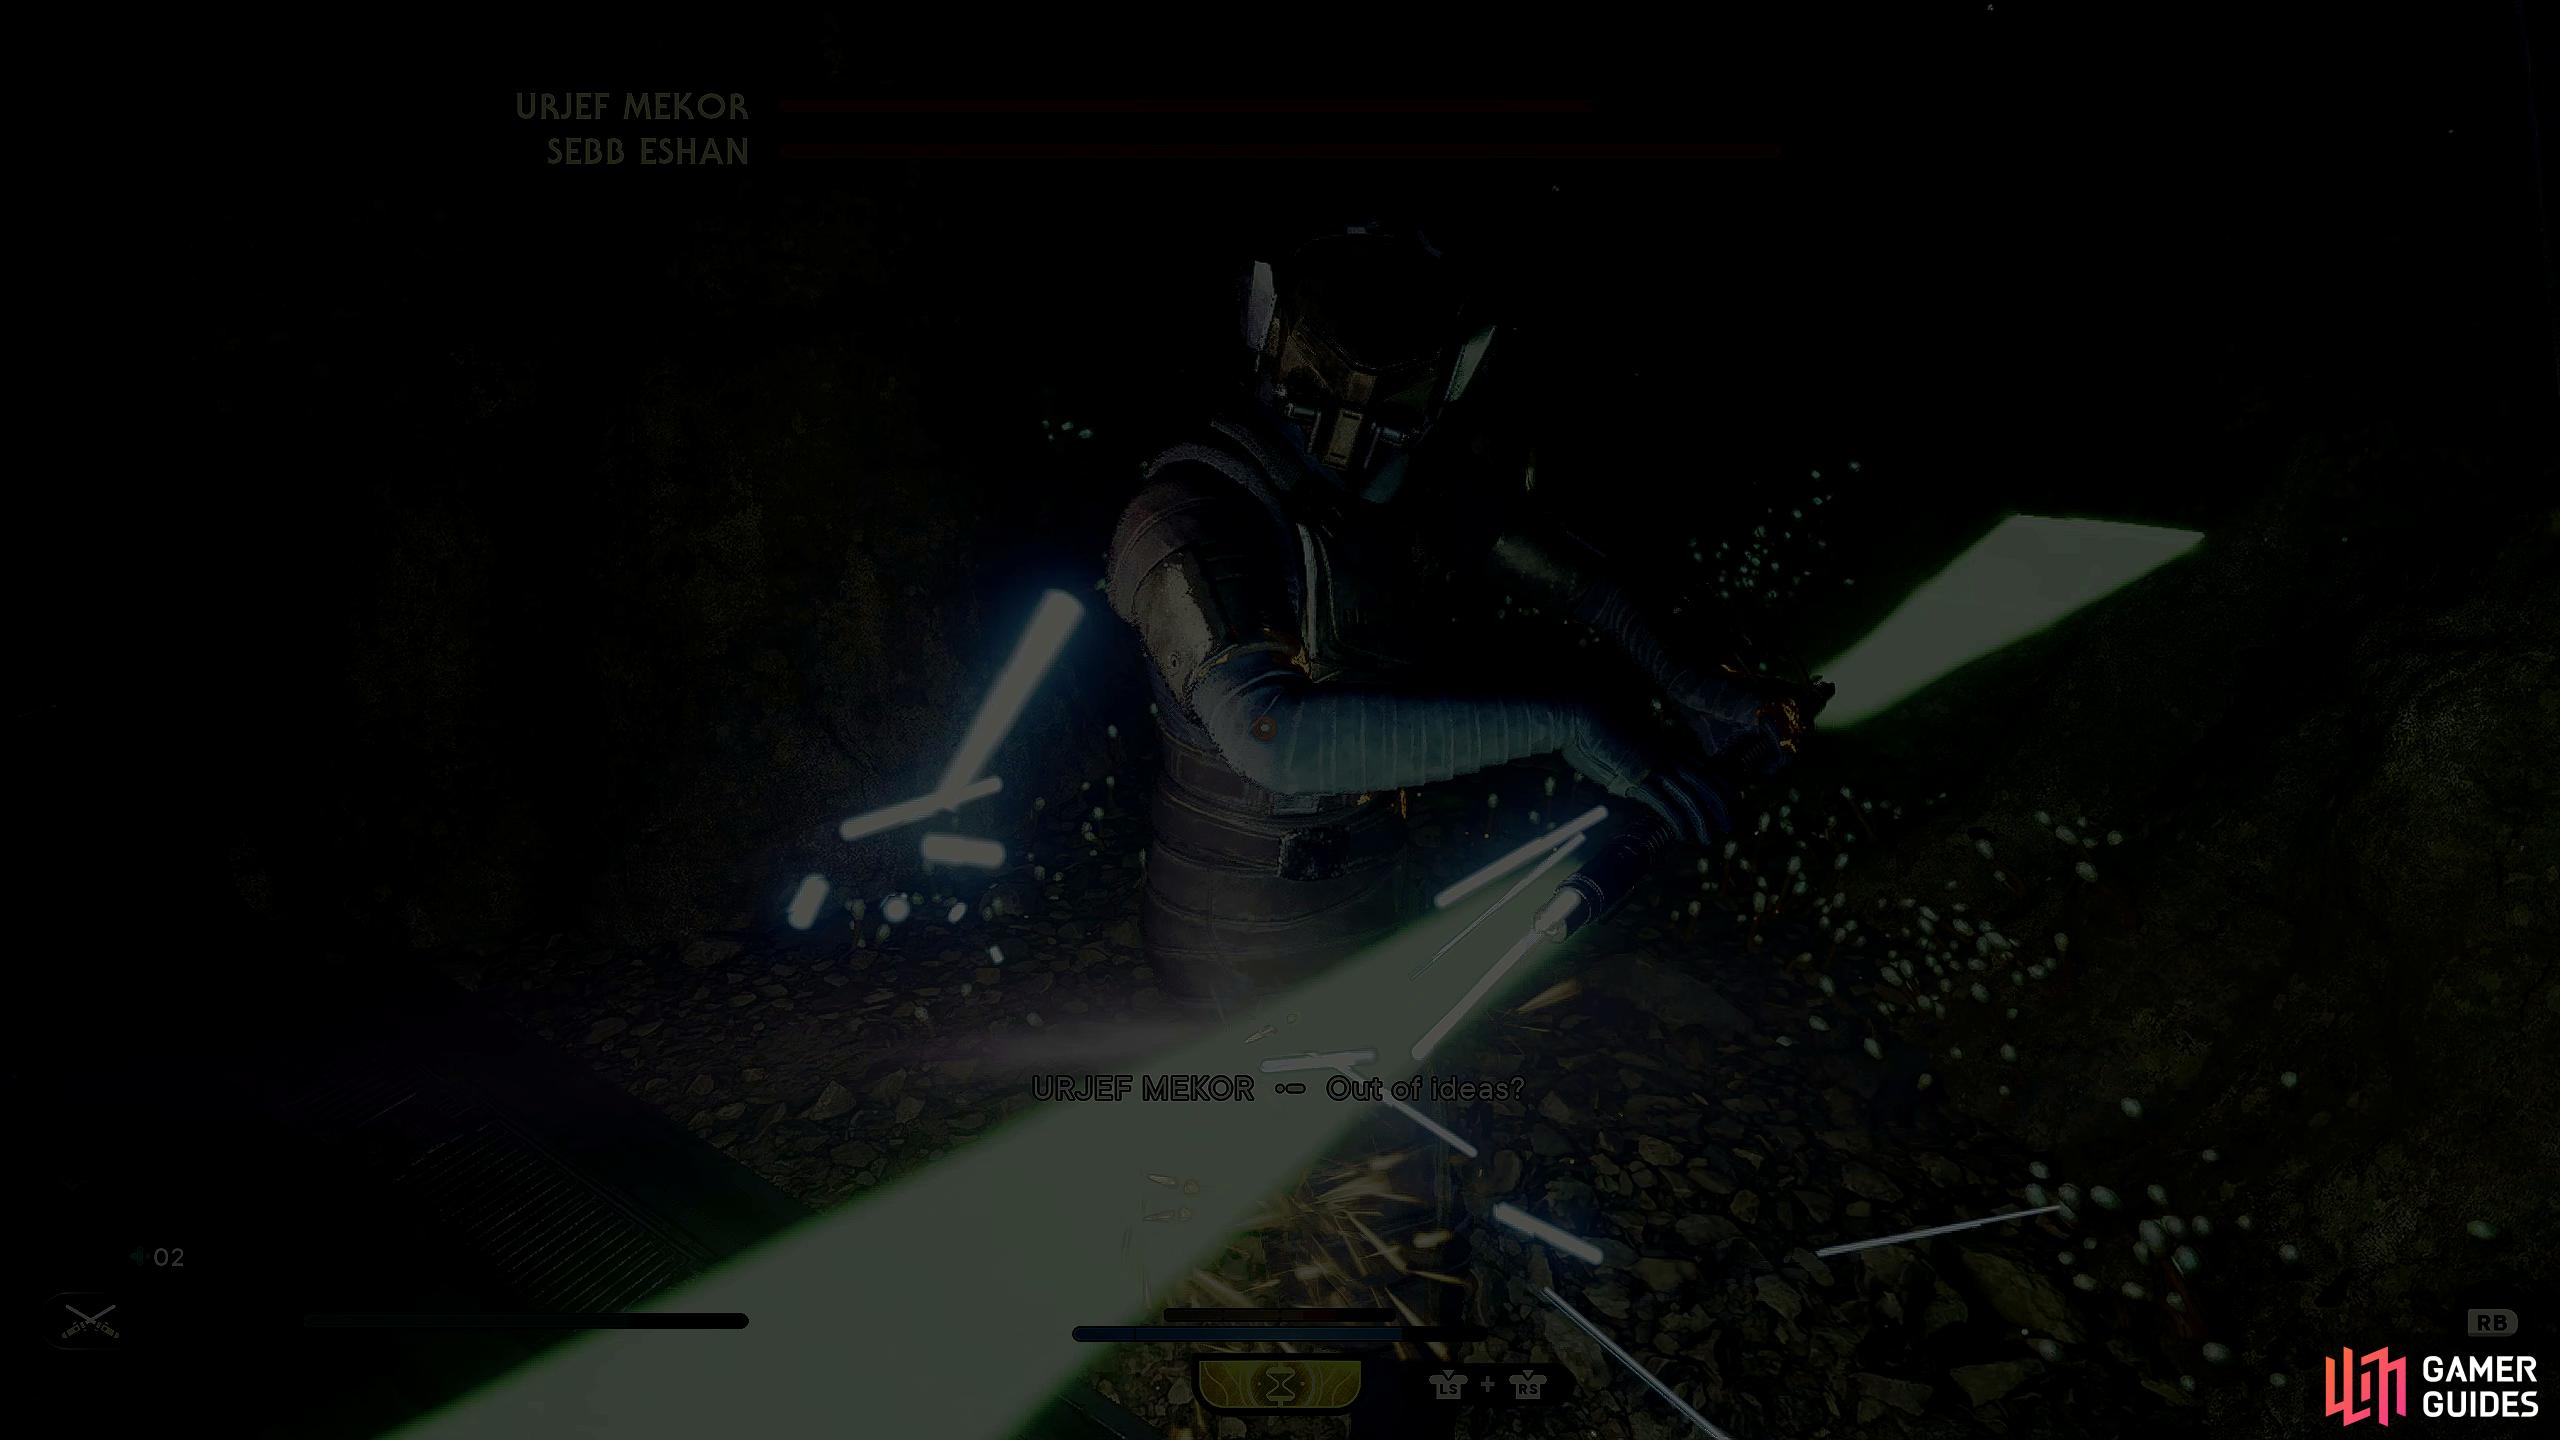
The final challenge before getting the Star Wars Jedi Survivor Chest Map Upgrade is to beat three jedi tryhards.
When you fall through the floor, you will have a new final part of the cavern to get through. Now you need to lock for a wall jumping wall,, and you will find a green shield above the cave wall and to the right of the wall jump. You need to dash through using Merrin’s Charm. Once you’re through, you must use the explosive plant balls to blow up the purple doors. You must wait for the second one to respawn before blowing up the third door. Once you’re through, you will enter a small cavern where some of the Bedlam Raiders that use a lightsaber await you. These three are all bosses in their own right, so, fight the three of them, blocking their blaster and lightsaber attacks, dodging their parryables, and then beating them up when you can.
Once that’s done, you can head into one of the sides of the boss room, and find a climbable metal railing to head back up. This will take you back to the area where you fell through the floor. Once you reach the top, you will be on the other side of the forcefield, and you can now activate the BD terminal, which will grant you the Jedi Survivor Chest Map Upgrade Location. You can now open your map, and find all the missing treasure boxes for every region and planer you still need to find collection chests on! Congratulations.
No Comments