
Star Wars Jedi Survivor’s main story mission, Research Tanalor on Koboh takes you to a new Koboh location that you need to navigate via a series of puzzle-solving skills. There are a few gliding tricks you’ll need to do, as well as solve a few Jedi mind tricks, and use a brand new BD tool along the way. Since quite a few new things are happening, here’s a walkthrough for the Research Tanalor on Koboh mission, helping you through this challenging Star Wars Jedi Survivor mission.
Research Tanalor on Koboh Walkthrough
Use your tamed bird to cross this chasm in Riverbed Watch to start the Research Talanor on Koboh mission.
Before you start the Devastated Settlement puzzles, you need to beat a bounty hunter, and then unlock this form of side content.
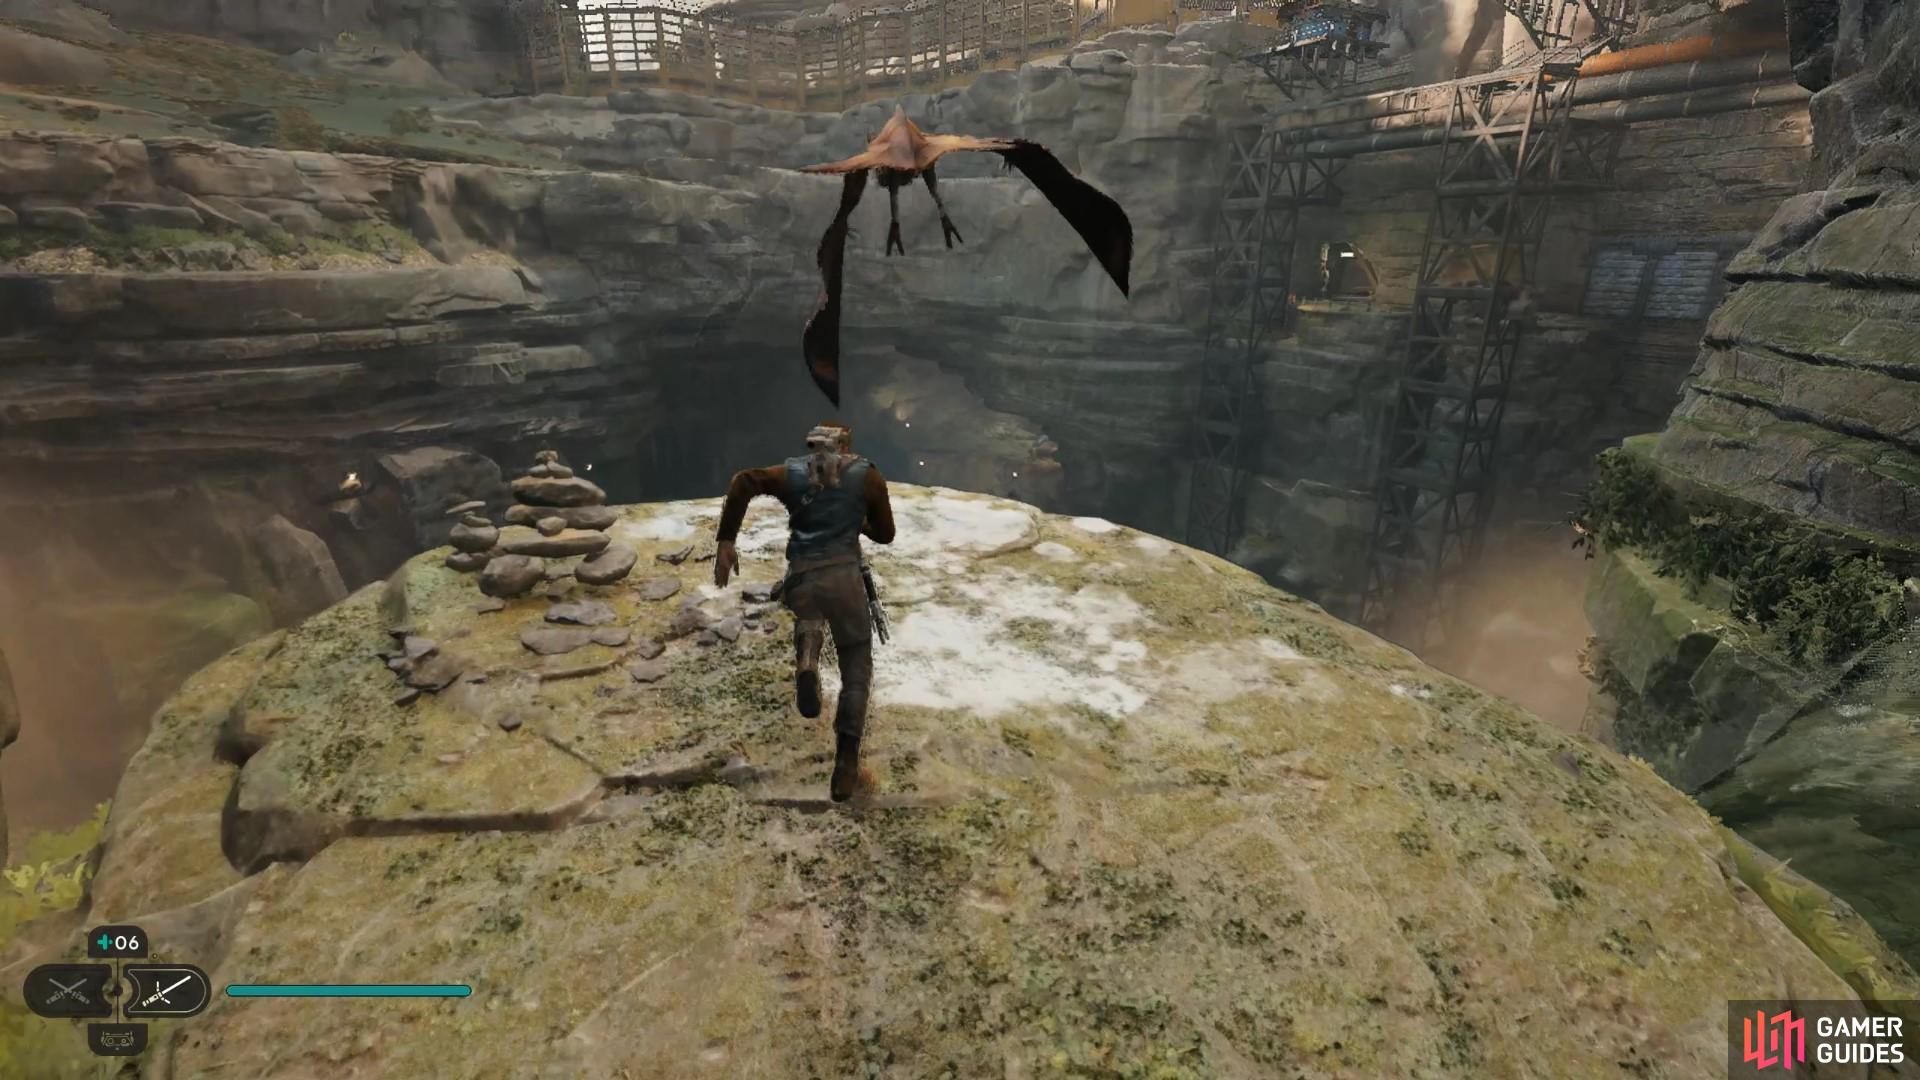
Okay, you need to head to the Riverbed Watch fast travel point, which will take you to the closest point you need to go for this mission. Fast travel there, follow the riverbed and take a flight using the perched bird. This brings you to a very distant ledge quite low in the hole. When you land, follow the pathway, take the grapple pints, climb this stony terrain area to another bird, and retake flight.
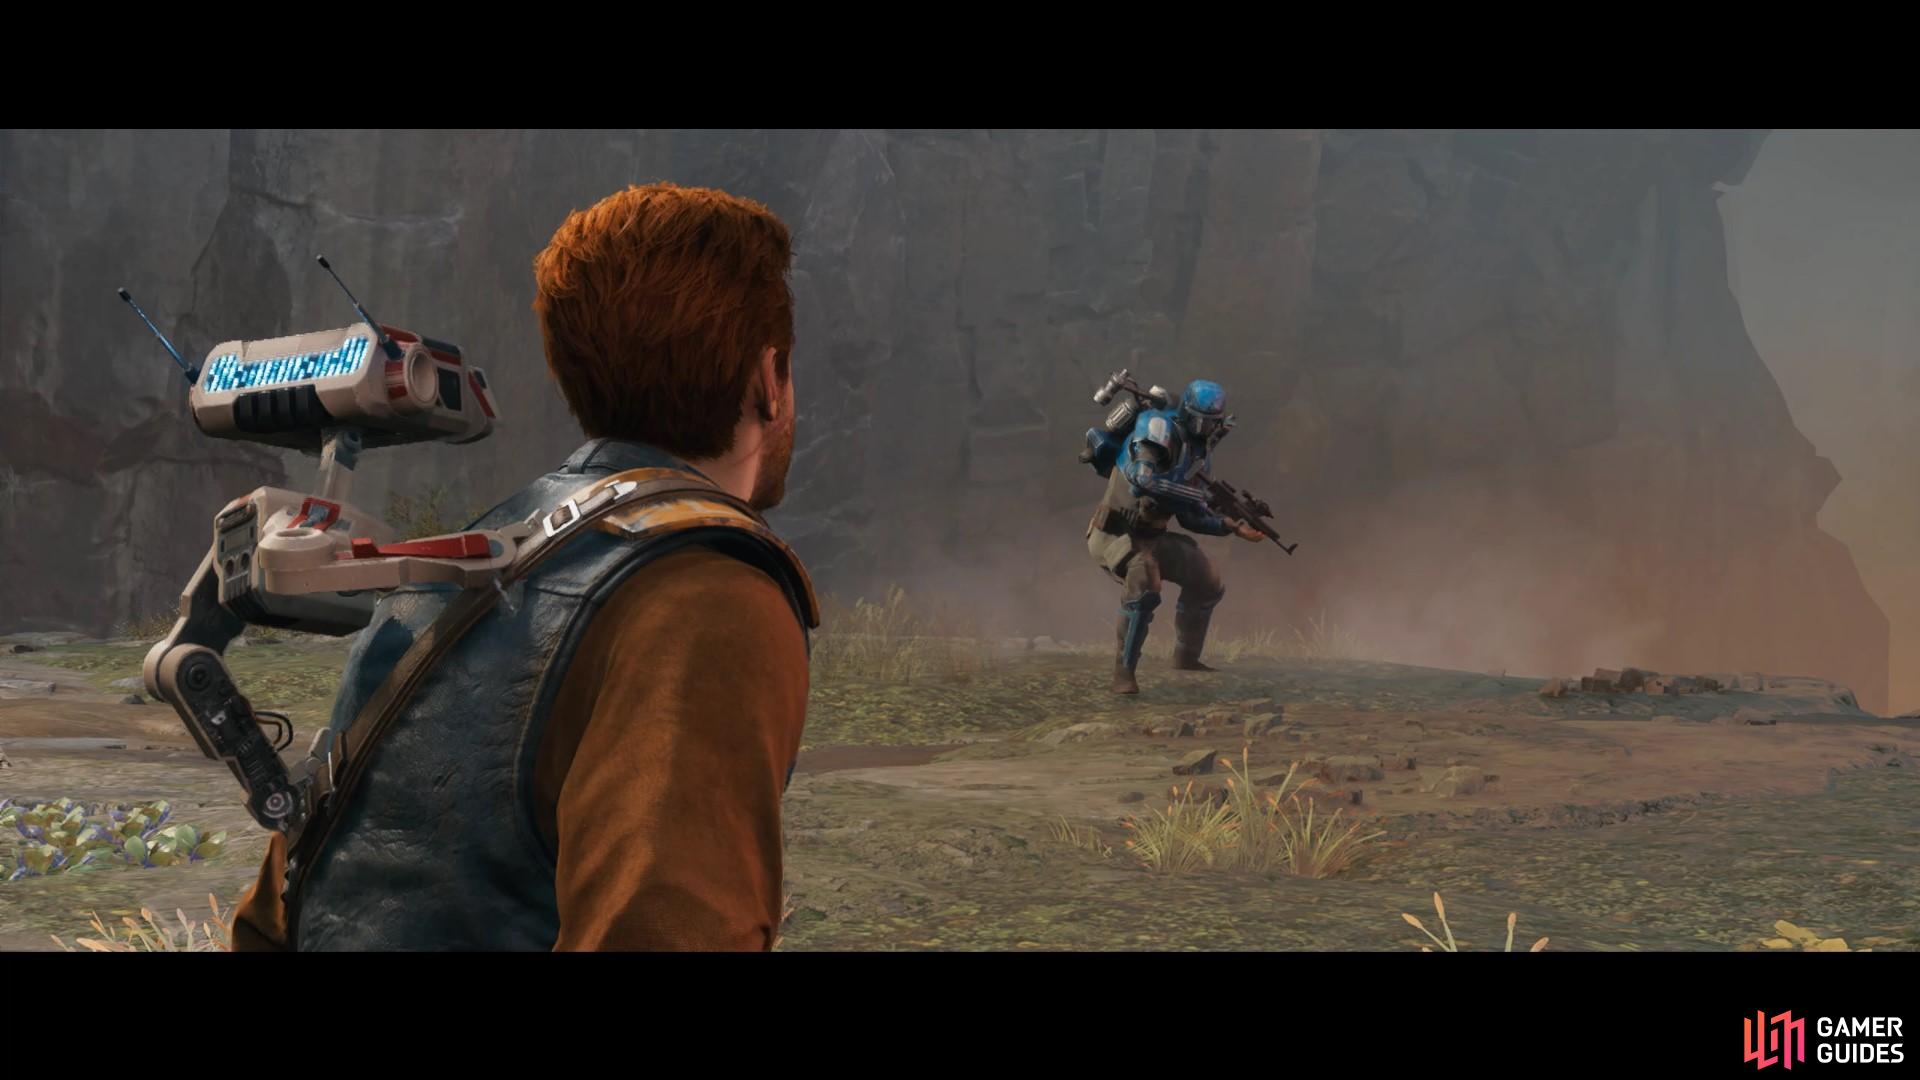
When you take flight through the magma areas of the stone pillars, you will get a cutscene of a bounty hunter spearing you from outta nowhere. Do battle with the blue man, and beat it. Here, you will unlock the bounty hunter side missions for that anti-social AustrAlien. Okay, when she’s done blabbering, feel free to climb up the platform she sits on top of, and proceed. Before you continue to climb, there is a room on the side where you can get a few rewards, yet, only one databank is accessible now. Get it if you want, and climb the next vine set.
Now you’re at the top, and need to take on some more tumbleweed enemies, and one of those ape snap-jaw turtle things again. Defeat them, and then you can take the next flight towards the giant pillar with the collapsed bridge hanging from it.
Devastated Settlement Puzzle Wallkthrough
Now it’s time for the fun part of the Research Tanalor on Koboh quest; Orb puzzles. Throughout the Devastated Settlement area in Jedi Survivor, you will find multiple rooms, each with Jedi puzzles to solve. Doing so will allow you to empower those tractor beams, which will blow up the clogged earth vents. You need to solve three of these to destroy the three clogged-up volcano mouths, which you need to unblock to reach the Jedi temple at the tallest pillar in the Devastated Settlement Region.
You need to head up the cliff to the right from the Devastated Settlement mediation spot. This takes you to the first Jedi temple area, where you can take on the first puzzle
Devastated Settlement Jedi Survivor: Puzzle 1
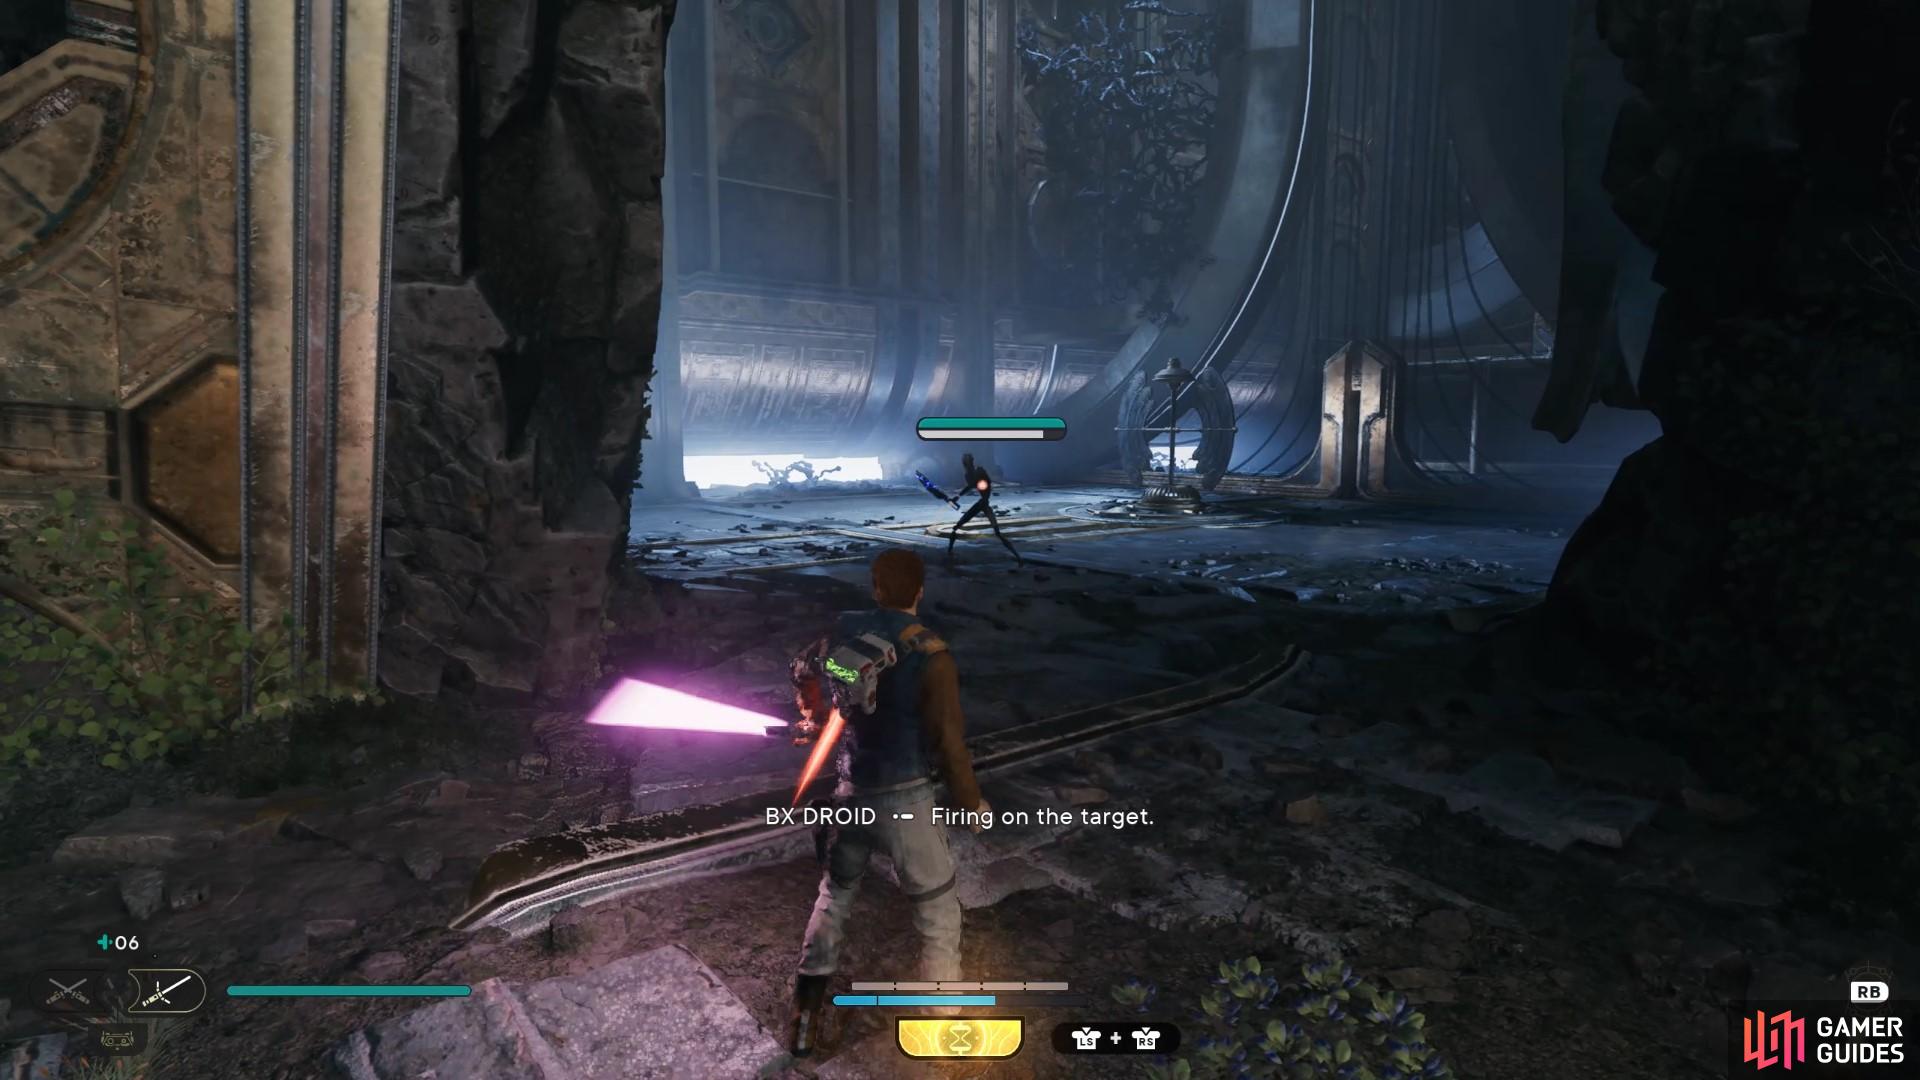
Once you reach the temple room, you will need to dispatch a B1 Hybrid droid, which carries a blaster and a melee weapon. Let that tin can know you’re the man, and then you can solve the puzzle.
The general steps to solve the puzzle are as follows:
- Go through the gap in the glass wall between the metallic switch in the first room with the droid, and then pull the box down.
- Go back through the gap and cast your heavy force push spell at the metallic switch. This causes the energy beam in the other room to move through the unblocked pathway and melt the Koboh vines.
- Go back through the gap in the middle, and push the block up against where the particle beam is to access the ledge.
- Grab the power orb in the particle beam and then throw it over to the orb holder where the vines used to be.
- Climb back through the hole in the wall, and then grab the orb on your way out.
- Run outside of the puzzle room, and then throw it into the machine outside to power up the mining lazer (That’s what we will call them throughout this walkthrough by the way…)
- Control the mining lazer to melt one of the clogged-up volcano mouths on the island below.
Once you have done that, you can now take a flight from the bird between the mining lazer and the Jedi temple puzzle room you were just in. Grab a flight, and fly straight into the air vents from the unclogged volcano. This will grant you more aerial elevation, allowing you to fly to the second puzzle platform.
Now that’s done, you can now take a flight from the bird between the mining lazer and the Jedi temple puzzle room you were just in.
Devastated Settlement Jedi Survivor: Puzzle 2
While flying over to the second platform, you will encounter several battle droids as you exit. Take care of them easily, and once again, it’s another empty mining lazer, and another Jedi temple puzzle room. Take care of the droids, and enter the puzzle room. Now you’re inside; you have more steps to follow to correctly take care of before you can continue with the Research Tanalor on Koboh.
(1 of 5) Take out the crack in the wall first to reveal a new orb power station that opens a hidden door.
- Defeat the creatures living inside the first room of the temple
- Look for the cracks in the wall, and press the button that’s prompted, this should be
 or
or  , depending on your controller. This reveals an orb holder.
 - Pull the power orb out of where the beam is projecting from, and place it inside the orb holder you just revealed. This opens a hidden doorway in the wall.
- Go through the newly opened doorway and fall into the room below.
- Int eh back of the room will be a white machine, which you need to interact with to get BD a new toy called the Koboh Grinder
- Look to where the energy beam hits the flat wall, then press the
 or
or  button to bring up BD, and then aim and fire a line of Koboh (kinda like a gunpowder to a tnt barrel), and then ignite the vines blacking the wall..
 - You can now climb up and enter the first room you stared in.
- Now take the orb out of the hole in the wall, and then place it back where you found it in step 3.
- Now draw another line from the beams to melt the remaining vines on both the left and right side of the wall.
- Now climb up the wall by grappling the to the wall hook. You can now double-jump to get back up to the roof section.
- There are a few collectables on this floor, such as a Databank and a Jedi power upgrade we highly recommend getting.
- Once you’re done grabbing the collectables, stand at the ledge of the platform you are on, force grab the orb from the power beam emitter, and then throw to the orb holder at the top.
- Wall run and jump across the gap to escape the Jedi training room.
- Grab the orb, bring it to the mining lazer on the outside platform, and destroy the next air vent blocker.
Devastated Settlement Jedi Survivor: Puzzle 3
(1 of 3) Head through the cracks and then drag this cube from this hole and place it under the doorway as illustrated with my crayola drawings.
Now you’ve destroyed the second air vent, get on the nearby bird, and travel towards the new air vent. Fly through both air vents on that volcano platform, and you will gain enough height and momentum to cross the chasm, land at the platform in the cliff’s wall face and fight a few raiders and some hostile wildlife. Once that’s done, you’re now ready to solve the third puzzle in the Devastated Settlement and begin to wrap up the Research Tanalor on Koboh Mission.
- Enter the puzzle area, and go through both slits in the walls. You should reach a room with an open door, an orb energy beam, and a cube.
- Grab the cube from the broken wall part, and place it directly under the door.
- Enter the room, and pull the power orb out of its holder. It will attempt to lock you in, but the cube under the door stops that from happening.
- Walk out of the room with the orb and power up the particle beam.
- Moe the cube in front of the particle beam
- Draw a line of Koboh Grinder parts and destroy the vines to escape
- You can now grab the orb and power up the mining lazer to destroy the final volcano hole and reach the summit of the Devastated Settlement.
Research Tanalor on Koboh: Grand Courtyard
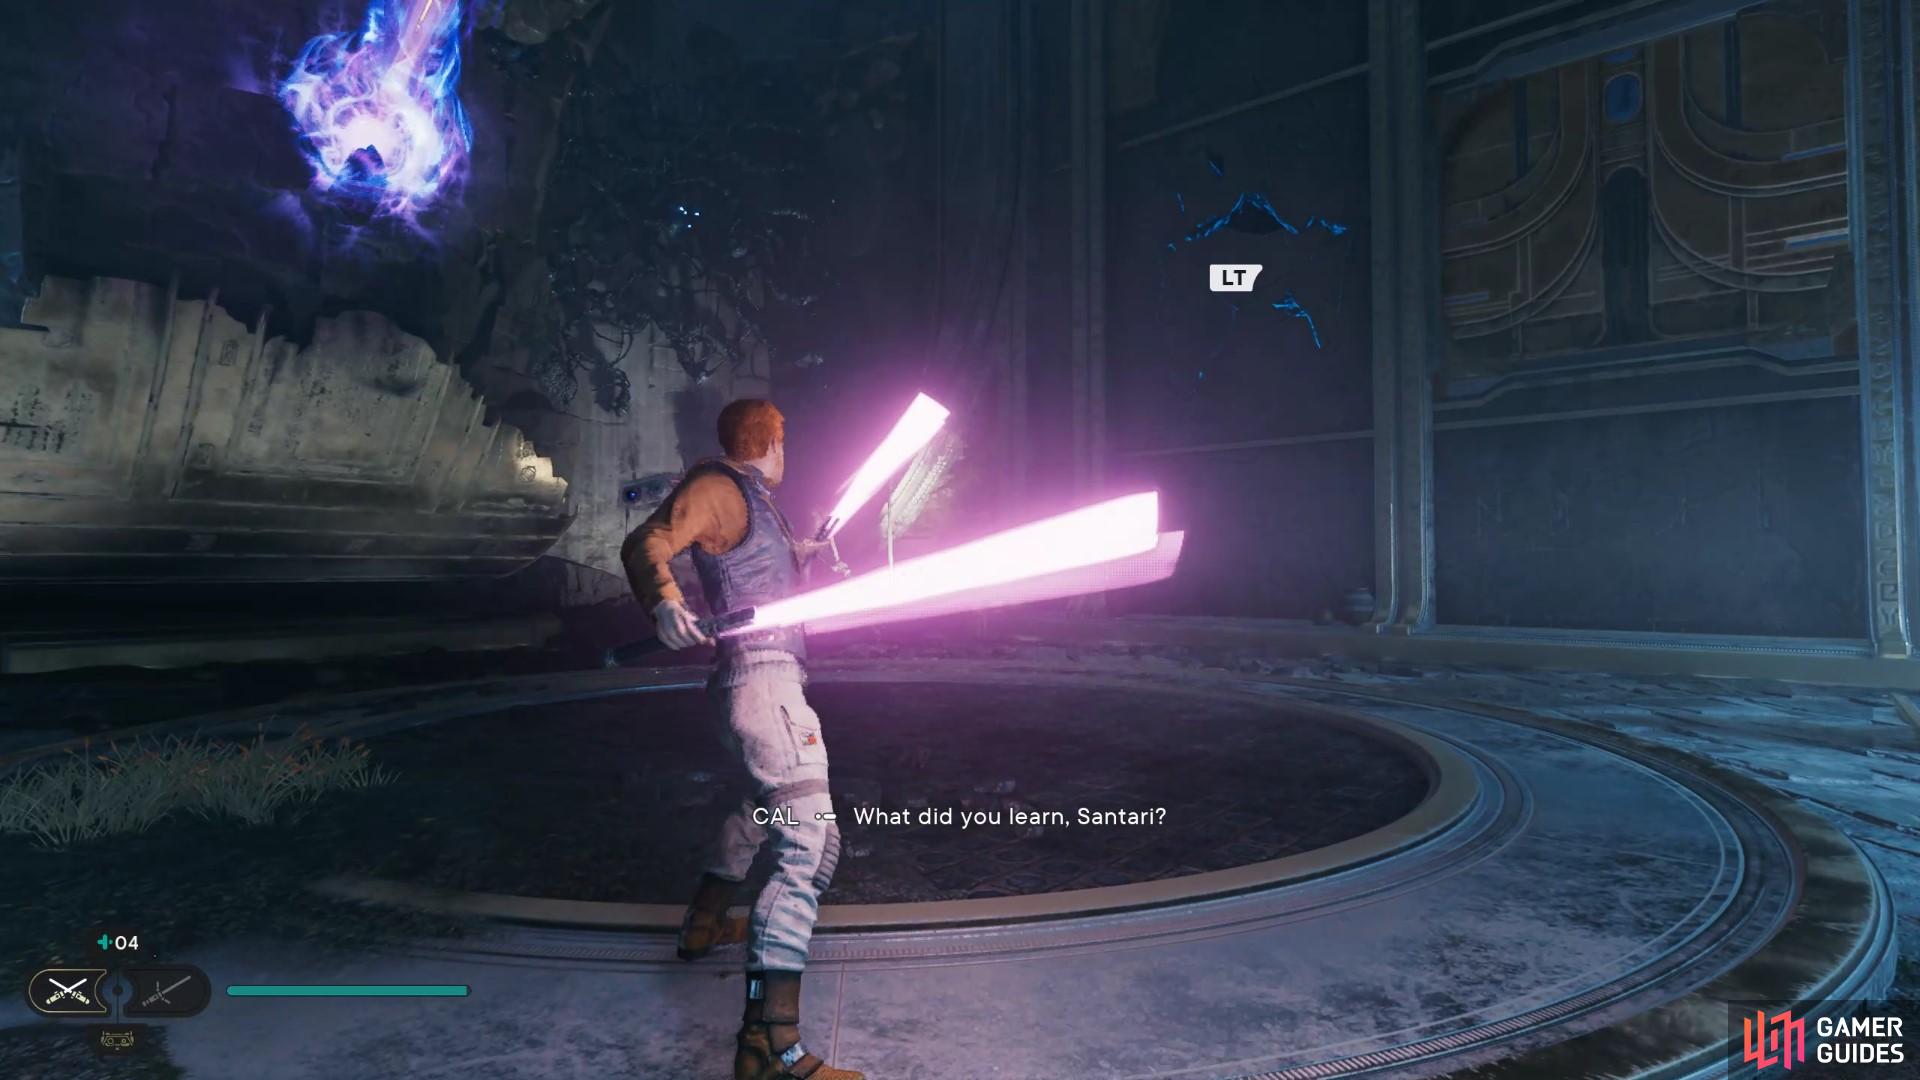
You now need to fight a Jedi in the school courtyard before you can complete the Research Tanalor On Koboh mission in Star Wars Jedi Survivor.
Walk through the school, and you will find the item you need to finish the Research Talanor on Koboh mission in Star Wars Jedi Survivor.
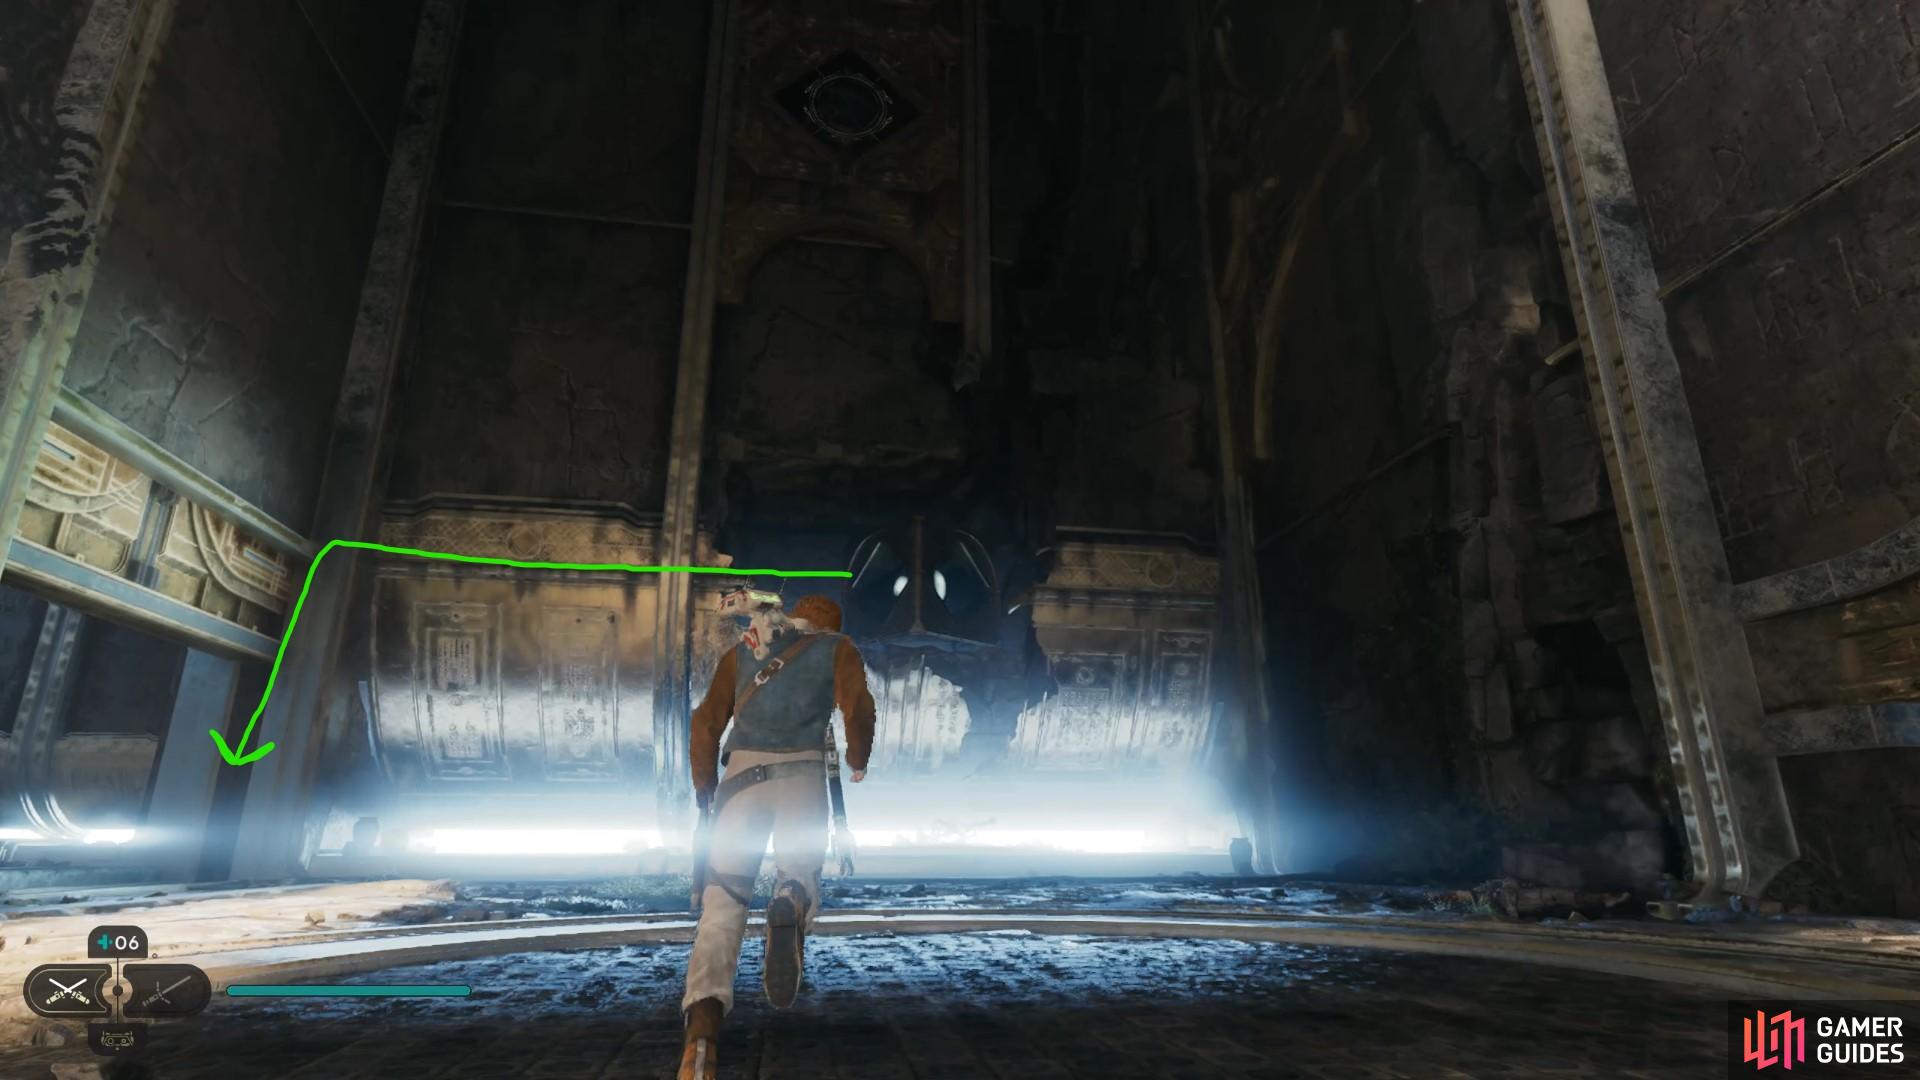
Now, you’re almost done with the Research Tanalor on Koboh mission. Here, you will fly to the Grand Courtyard, which is the building on top of the stone pillar in the middle of the Devastated Settlement. Once up there, grab the meditation point and rest, as a fight is coming up.
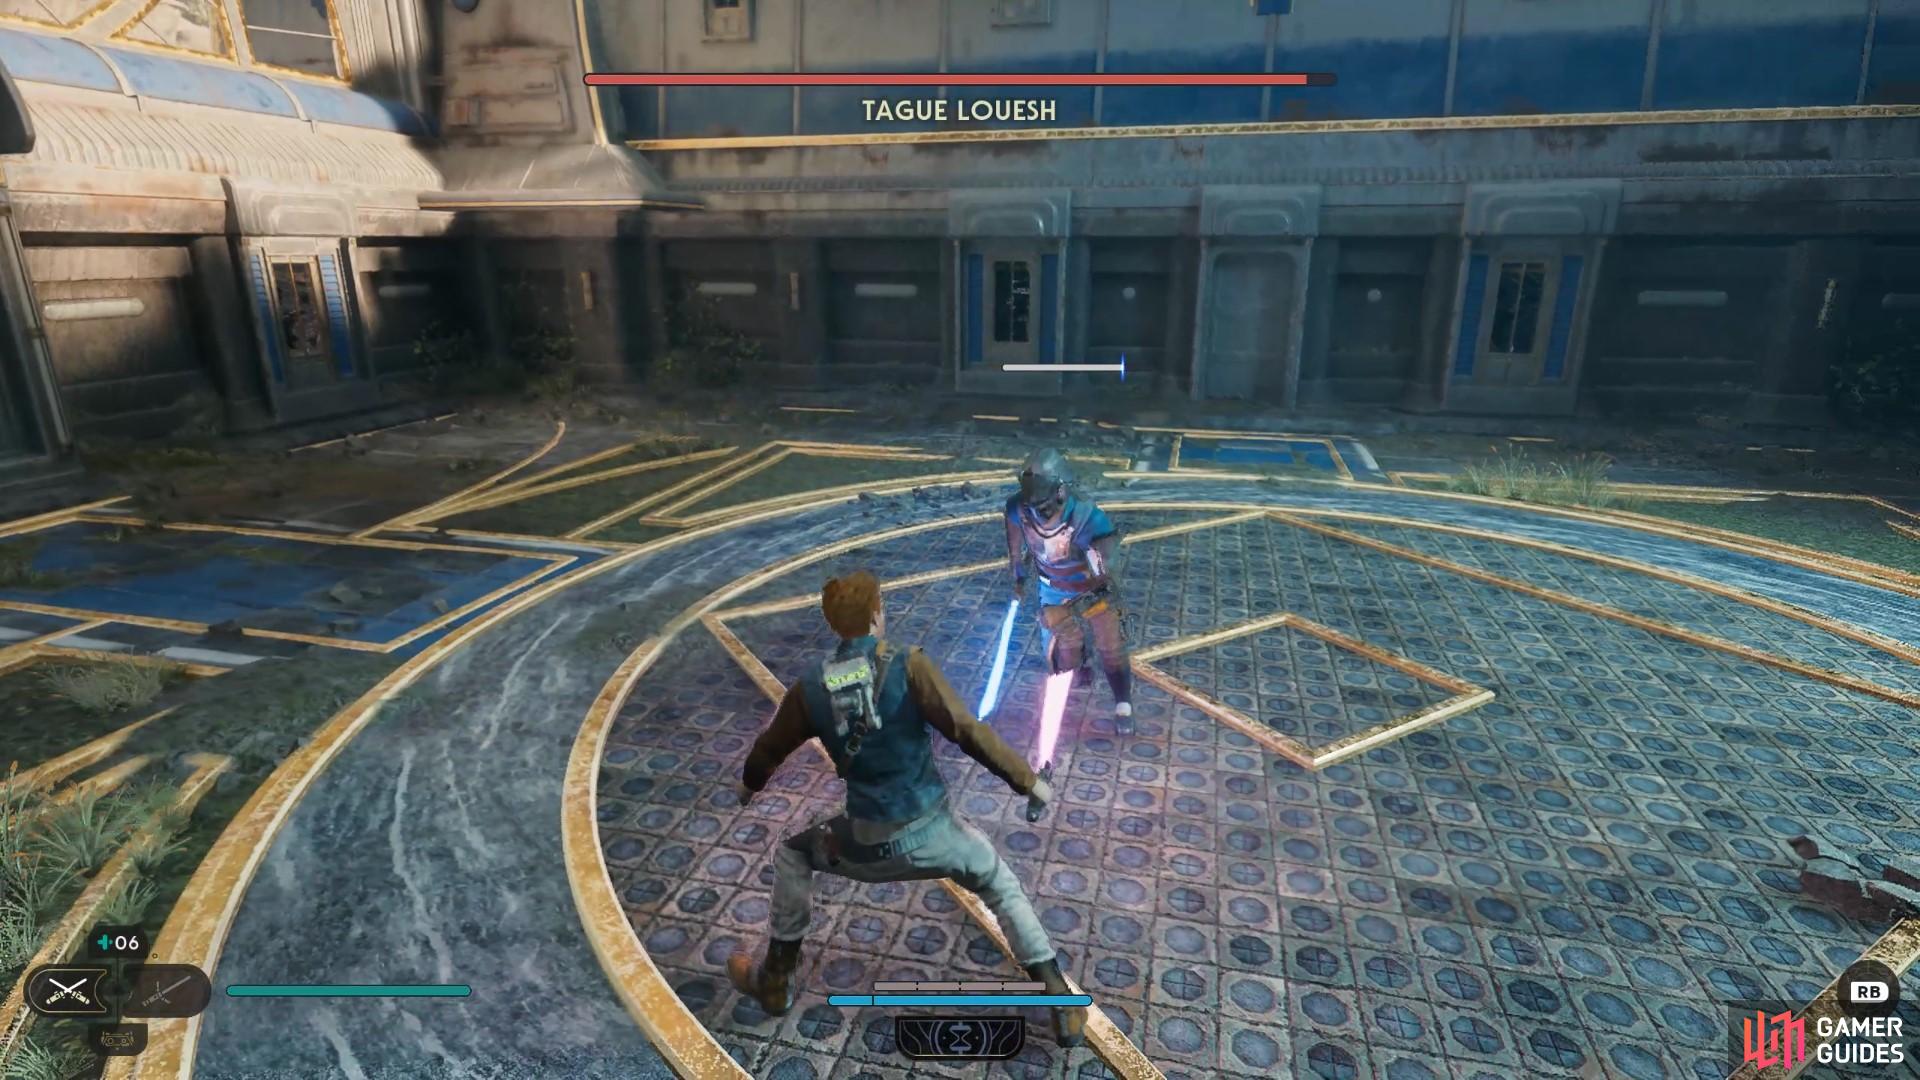
Once you enter the actual Courtyard of the Jedi School, you will encounter a boss called Tague Louesh. He is one of the bad man’s Jedi wannabees with a double-ended lightsaber. Beat this punk for trying hard to be like you, and then proceed towards the door and get BD to slice the terminal and let you in.
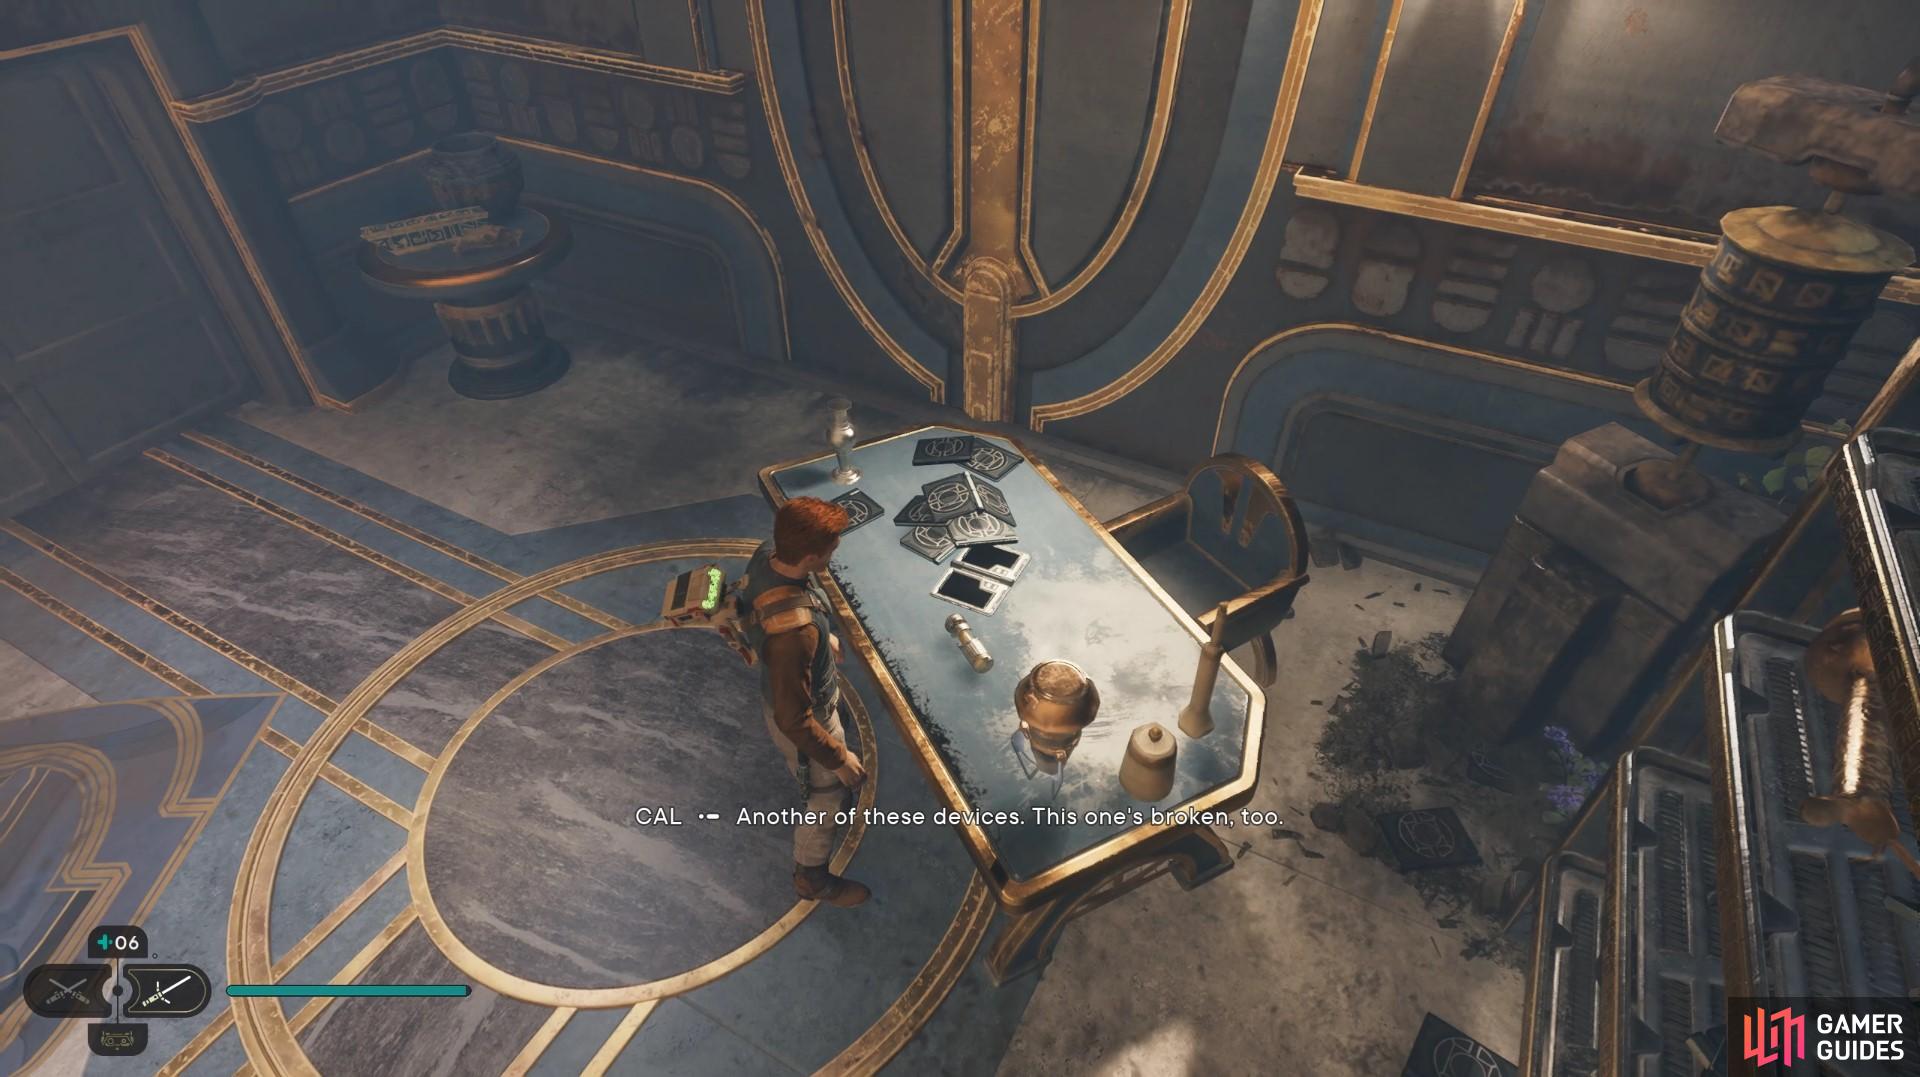
Now you’re inside, safe and sound, follow the school to a room with a workbench in it. Here, you will find the item you are looking for, and complete the Research Tanalor on Koboh mission.
Once that’s done, head out by climbing the window, dropping the shortcut down, and then heading to the mediation point. Now you can fast-travel back to the town and complete the Research Tanalor on Koboh mission. Now there’s one of two things to do. Either, you are done with the research Tanalor mains story, or, you now need to head to the moon. If you’re heading to the moon, you can grab the Crossguard stance to finish the mission! Either way, you’re moving on through the main storyline.
No Comments