Lanayru Mine
(1 of 2) Golo has something to tell you.
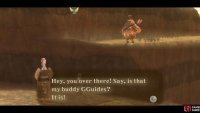
Golo has something to tell you. (left), However, he’s too polite to shout, so Clawshot you way up to him. (right)
Upon arriving, land at the “Lanayru Mine Entry” Bird Statue.
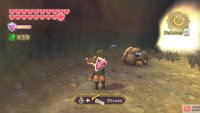
Once you land, Clawshot onto the ledge above and go speak with Golo the Goron. Before doing so, please, once again, read the boxed notice above here.
Anyhow, once your speak with him, you’ll get ten times your donation to his project from earlier. You’ll also learn that the Thunder Dragon resides in the area past the tunnel he discovered. Go along the path to the tunnel entrance, then Clawshot across the gap and into the caves we go!
Lanayru Caves
(1 of 2) Roll a Bomb into this tunnel to blow up the rubble further in.
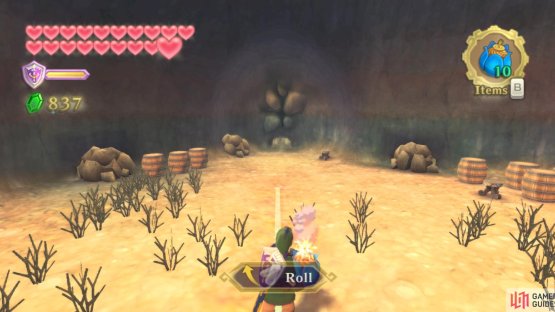
Roll a Bomb into this tunnel to blow up the rubble further in. (left), On the other side, feel free to play the Goddess Harp to awaken a Gossip Stone. (right)
Once you enter the area, go along the path to the main room and look southward. You’ll find an accessible tunnel on the ground. Roll a Bomb into it to clear away the rubble. Sit on the chair nearby to heal any hearts, then go through the tunnel.
On the other side, approach the group of Blessed Butterflies and play the Goddess Harp near them. This brings up a Gossip Stone. Anyhow, finish any other business you have here, then continue to the Gorge.
Lanayru Gorge
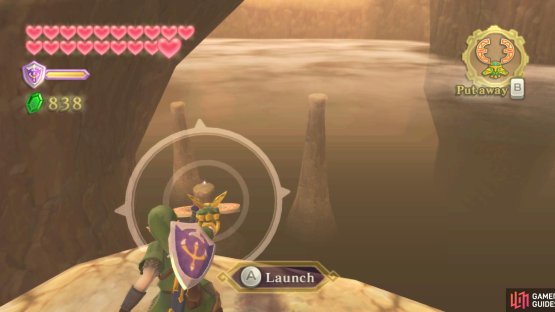
(1 of 2) Use your Hook Beetle to snag a Bomb atop a Cactus, then launch it towards this platform to clear the boulder.
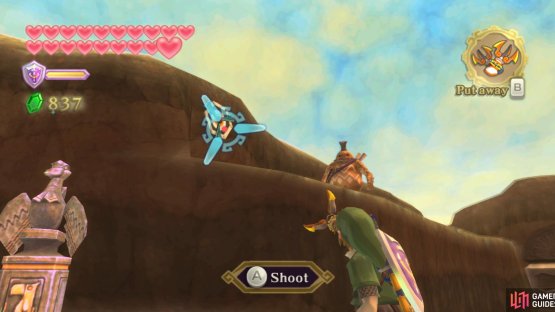
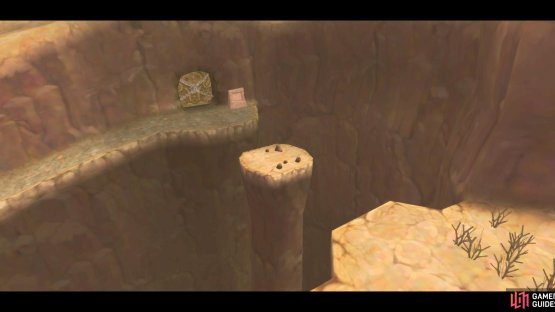
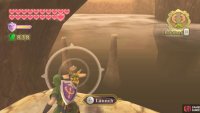
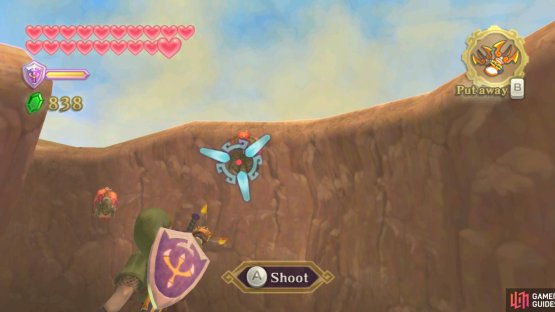
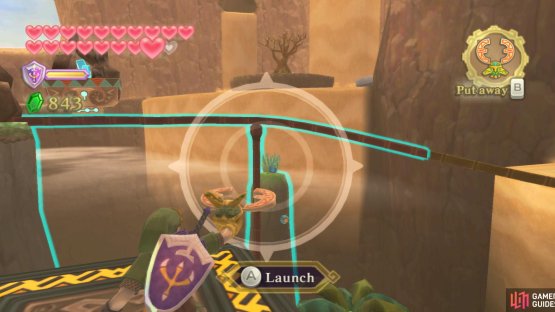
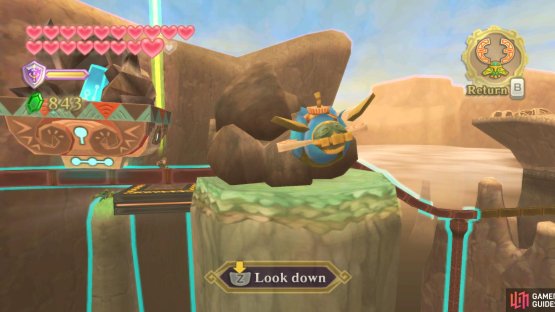
Use your Hook Beetle to snag a Bomb atop a Cactus, then launch it towards this platform to clear the boulder. (left), On the other side, fire your Hook Beetle at the shining object down below. (right)
Once you arrive, go forward to the Bird Statue and examine it. Then look to the west. You should see a large boulder atop a platform, consequentially blocking your path. Also nearby should be a cactus with a Bomb Flower on it.
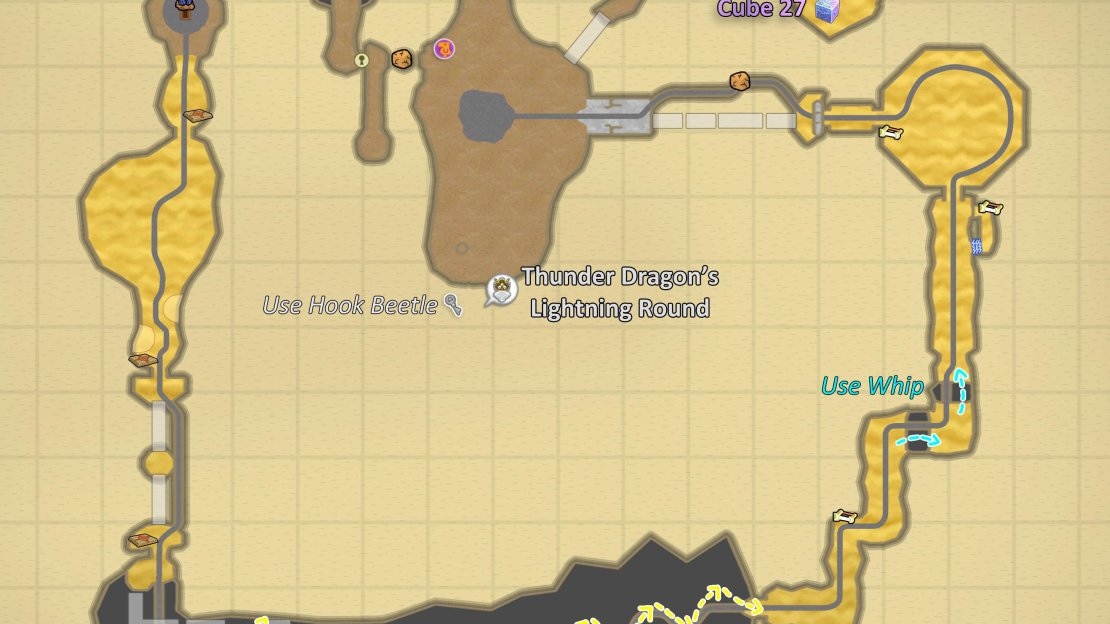
Map
Map of Lanayru Gorge.
Pick up the aforementioned Bomb Flower with your Hook Beetle and drop it onto the boulder. Hop across the platform and to the opposite ledge. Go downhill to the end of the path. If you look to the southeast and down, you should see some sparkling. Send your Hook Beetle there to find a Small Key.
(1 of 2) Cross the chasm by firing your Clawshots at the chain of Peahats.
Cross the chasm by firing your Clawshots at the chain of Peahats. (left), In the next room, poke the Timeshift Stone on top of the mine cart. (right)
Afterwards, go back uphill and open up the locked door. In the next room, cross the gap by Clawshotting the Peahats and the Clawshot target at the end of the path. Proceed to the next room and you’ll find a Timeshift Stone underneath some rubble in the mine cart.
Trigger the Timeshift Stone and speak with the robot nearby. The mine cart should soon begin to move. Follow it to and through the doorway nearby – you open the door with the nearby floor switch.
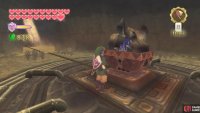
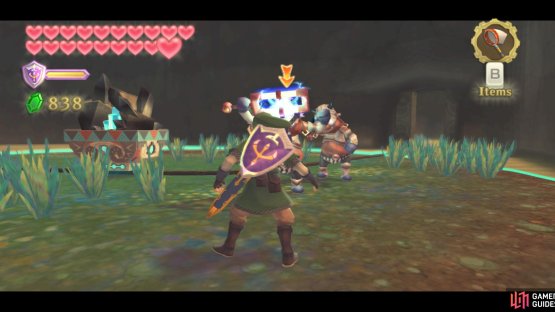
(1 of 2) A whole slew of enemies, including Technoblins, will awaken as the mine cart travels.
A whole slew of enemies, including Technoblins, will awaken as the mine cart travels. (left), Fight them if you want, or dance around until they leave the Timeshift Stone’s influence. Then step on the floor switch at the end. (right)
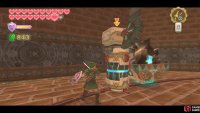
In the next room, you’ll probably notice enemies awakening due to the influence of the Timeshift Stone. While not really impeding the mine cart, you will want to both defeat the enemies while staying within the influence of the Timeshift Stone. At the far end of this room, step on the floor switch and we’ll continue to the next room.
Here, you’ll watch the cart go along a different track while a bridge, made within the Timeshift Stone influence, is made. Go along the bridge and then climb up the vinery on the right at the end of the path. Go up and step onto the floor switch, then drop down and follow the mine cart.
(1 of 2) Besides the newly appearing platforms, also look out for vines on the wall.
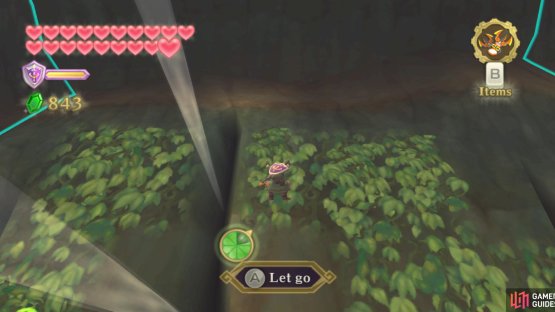
Besides the newly appearing platforms, also look out for vines on the wall. (left), Obviously, only leap between the vines when the gusts of wind stop. (right)
Follow the bridge that is formed soon. When possible, go around the corner and climb atop the higher platform that first appears, then go up the vines to the next ledges. Further ahead, slice apart the Deku Baba and Clawshot across the gap to some more vines. Get onto the ledge and step onto the floor switch, and the mine cart will continue forward.
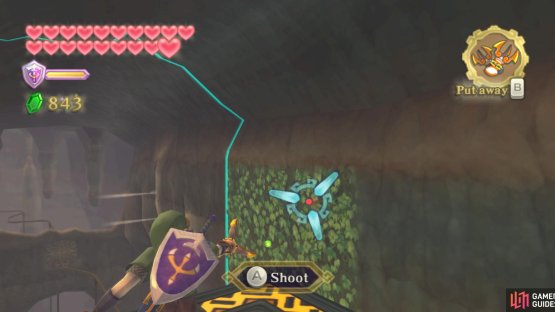
Clawshot back across the room onto the vinery, then start going left. Continue to the gap in the wall; use the “Leap” command when the gusts of air have ceased. Once the bridge platforms start to appear again, step onto them and Clawshot to the target across from you, and continue this. At the ledge, step onto the switch.
(1 of 2) Targets that you can Clawshot will start appearing on the stalagmites hanging from the ceiling.
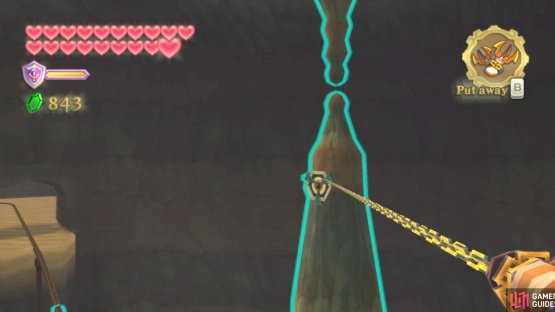
Targets that you can Clawshot will start appearing on the stalagmites hanging from the ceiling. (left), When the mine cart stops, use your Whip to pull the lever on the other side. (right)
Continue and start Clawshotting the targets once they’re within the influence of the Timeshift Stone, then, at the end, Clawshot to the vinery above the doorway. Drop to the ledge below and step on the floor switch.
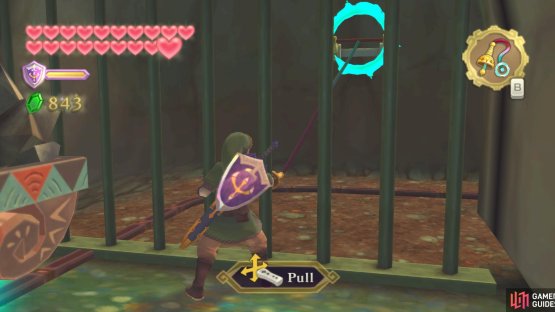
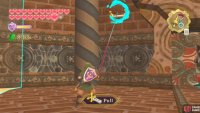
Once you finally continue to the next room, defeat the enemies that arise from the past. Eventually, the cart will be blocked by some bars; use the Whip to bring the wall switch on the other side down.
(1 of 2) Quickly smite the enemies, then use your Whip to cross the chasm.
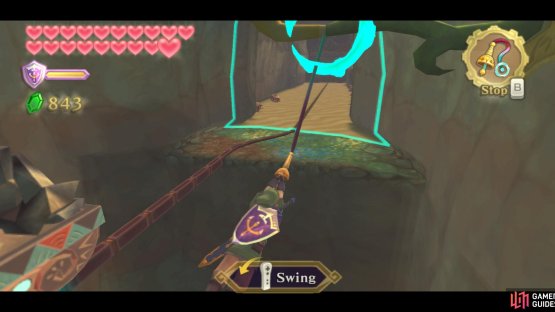
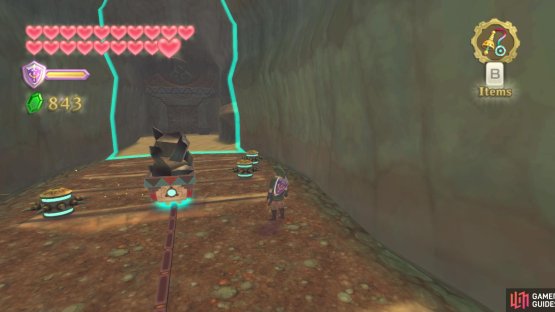
Quickly smite the enemies, then use your Whip to cross the chasm. (left), Towards the end, there are some nasty Blade Traps. Avoid going past them when they’re trapped by the mine cart. (right)
Continue along, past some more enemies, then you’ll need to start using the Whip to swing across the gaps, using the posts above the gaps. Further ahead are some Blade Traps – you’ll just have to avoid them to the best of your ability.
At the end, the mine cart will be blocked by a door. Backtrack a bit and dash up the quicksand hill, being sure to grab the Stamina Fruit as you do. Back on solid ground, pull down the wall switch, grab a few hearts, and continue to the next room.
(1 of 2) Take out the Beamos obstructing the mine cart’s path.
Take out the Beamos obstructing the mine cart’s path. (left), Towards the end, defeat two more Beamos, then use your whip to pull the wall switch. (right)
In the next room, you’ll pretty much be walking alongside the cart while you fend off the enemies. About halfway through, you’ll be stopped by a Beamos. Defeat it and continue to the door. Defeat both of the Beamos nearby, then Whip the wall switch on your left to open up the door to the outside.
Outside, go along the bridge that is formed by the Timeshift Stone’s influence, defeating the Deku Babas as you go. Soon, the cart will get stuck by some rocks. Look north and you’ll notice some Bomb Flowers on a wall.
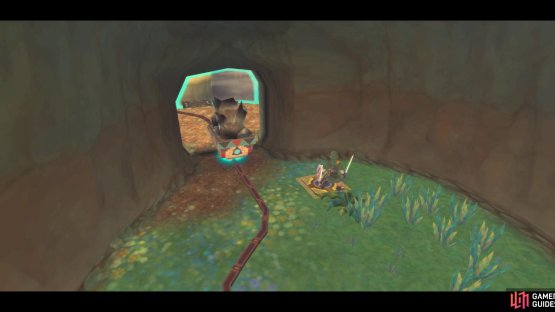
(1 of 2) Aim your Hook Beetle towards this Bomb Flower.
Aim your Hook Beetle towards this Bomb Flower. (left), Then turn around and detonate the boulders blocking the mine cart. (right)
Launch the Hook Beetle to them and drop one Bomb Flower onto the rocks (the brown ones; we don’t exactly want to fall!) Further ahead, you’ll find two more Deku Babas and a Quadro Baba. Defeat them and proceed back to the entrance area.
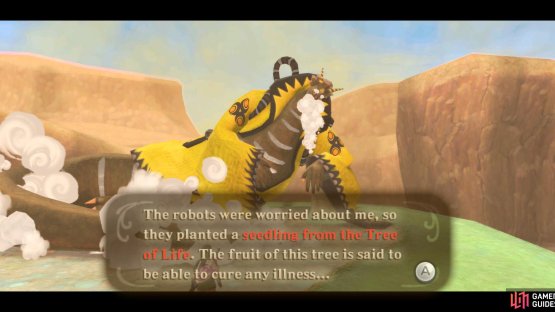
Here, the mine cart will proceed onto a switch and increase the influence of the Timeshift Stone, which includes reviving the Thunder Dragon from the dead. Speak with him to learn that he is sick and cannot sing his part of the Song of the Hero for you.
(1 of 2) Speak to the Thunder Dragon again to learn of a possible cure.
Speak to the Thunder Dragon again to learn of a possible cure. (left), Afterwards, run across the bridge from the past that was previously blocked by a robot. (right)
Speak with him again to learn that a seedling from the Tree of Life was planted; it is supposed to bear a fruit that is a cure-all. He’ll point you to the location of it.
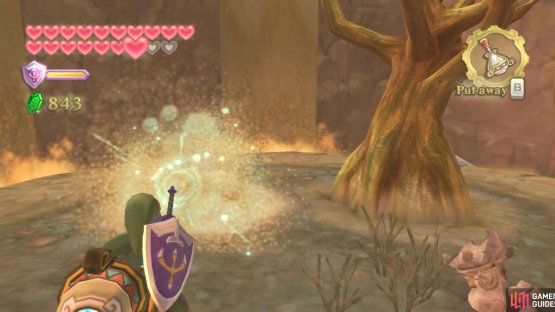
Go northeast to a new bridge and follow this path to the quicksand. Dash across it to the platform in the center and get on there. Clear away the large mound of sand via the Gust Bellows to reveal a Timeshift Stone.
(1 of 2) Blow away the sand mound using the Gust Bellows to reveal a second Timeshift Stone.
Blow away the sand mound using the Gust Bellows to reveal a second Timeshift Stone. (left), Trigger the stone and then dig up the nearby sprout from the ground. (right)
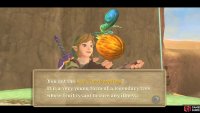
Strike it and you’ll find the seedling. Dig up the Life Tree Seedling and speak with the robot nearby. Now, go around here – you can find a few Ancient Flowers and Goddess Cube 27, the last one in the game!
Afterwards, use the Hook Beetle to trigger the mine cart Timeshift Stone, then go back along the path. Then use the Bird Statue to return to the sky.

















No Comments