
Following the previous mission, check out the world map and sail over to the objective marker at Tulum. When you arrive at the destination, the mission will begin.
When we regain control, look behind the rock on the right for a chest (1/4). Now climb the ruin to the left using the crack in the wall to reach the top. At this point, make sure you select unarmed as your weapon as we are not allowed to kill anybody during this mission.
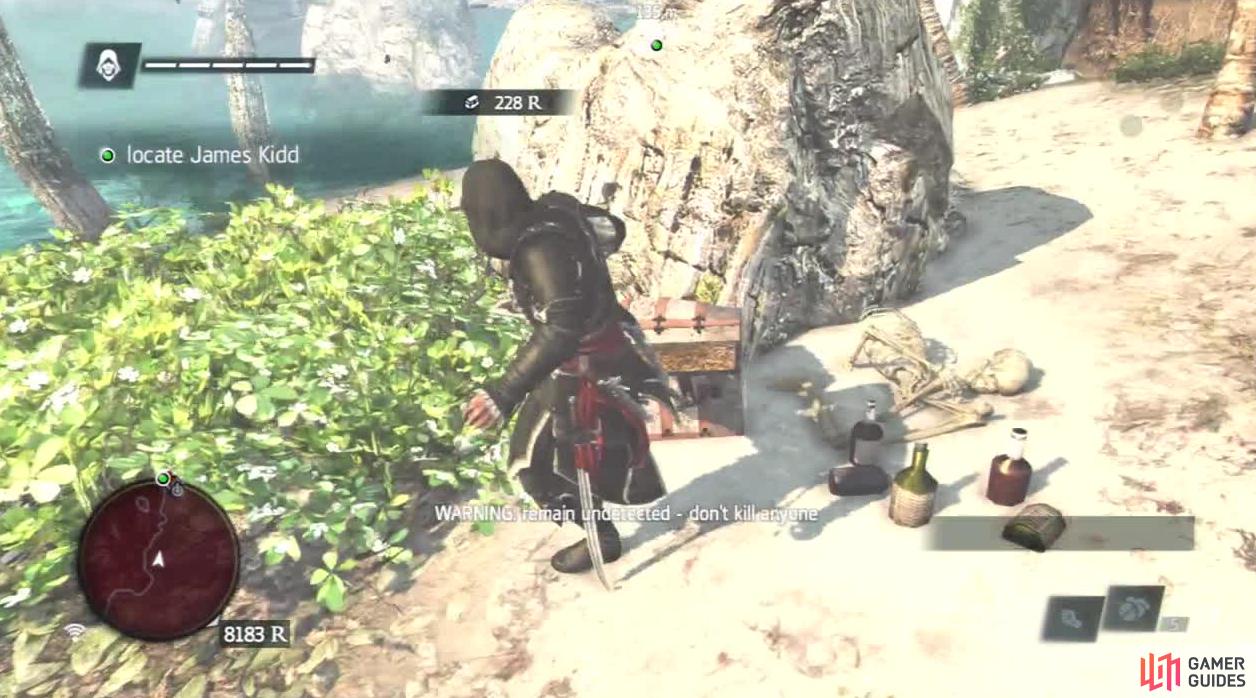
You can actually collect all the chests first and then replay the mission for 100%, leaving you free to focus on the mission itself.
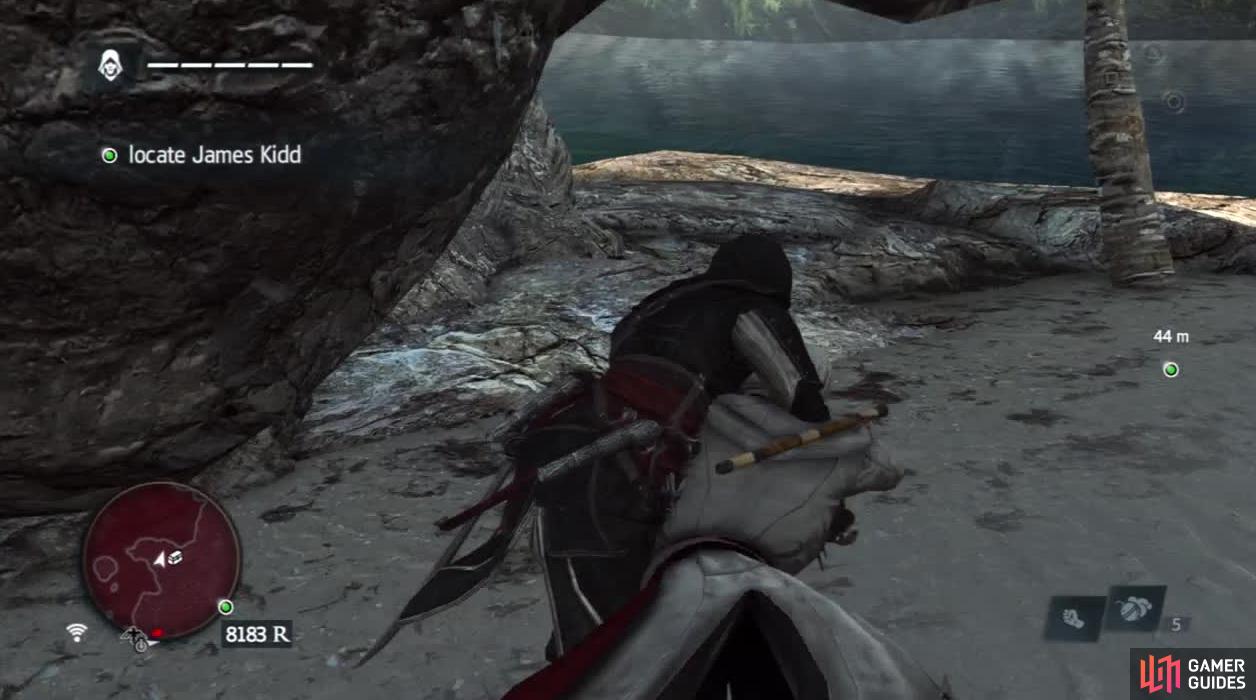
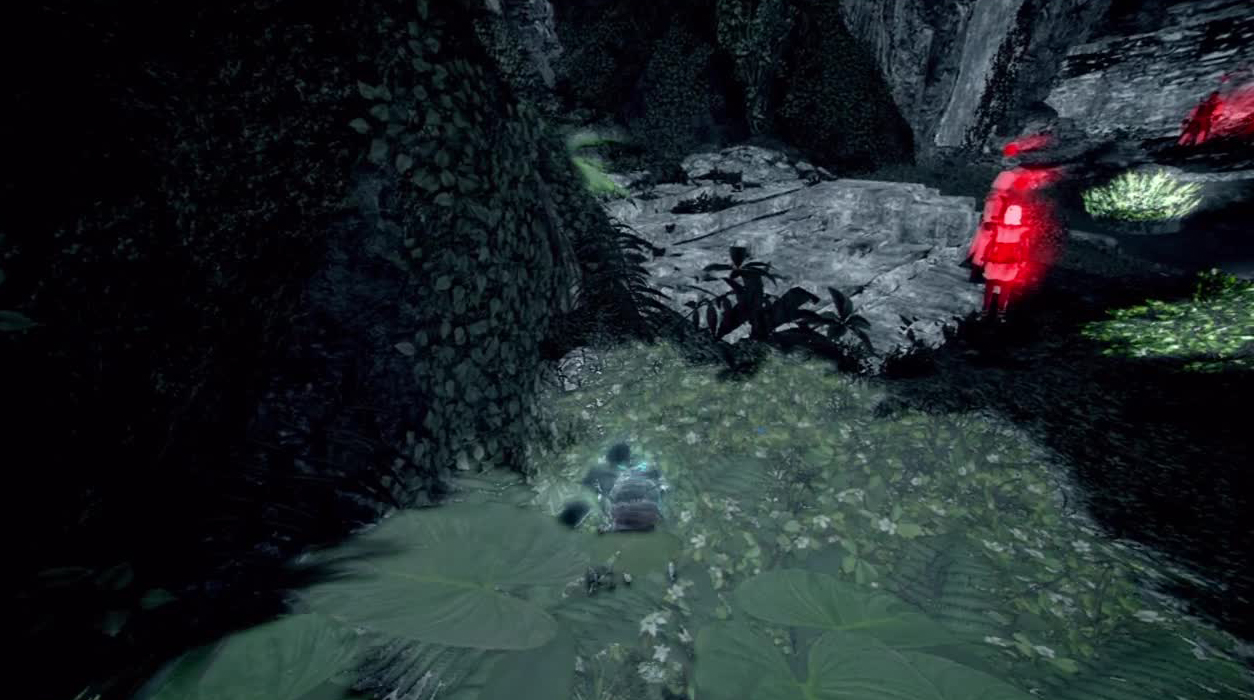
Follow the top of the cliff to the left and enter the stalking zone bushes. Wait for the pair of assassins to separate here and whistle one over and knock them out. Repeat when the second assassin patrols back. Climb the viewpoint here, synchronise and dive into the ocean (you should grab an Animus Fragment on the way down). Swim down the coast to the south until you see the natural rock arch on the coast.
Hop out here and knock out the enemy patrolling back and forth. Loot the treasure chest (2/4) here. Head north from here and enter the stalking bush. Wait for the nearby bad guys to turn away and run up the nearby hill on the left to reach the waypoint marker. Continue along the set route until you reach the next waypoint a little further along.
It is incredibly important you only knockout the assassins because otherwise you will fail the mission.
Wait for the enemy on the left to start walking away and climb the half wall in front and hop into the tree. Follow the path along the tree branches here to reach the large stone pillar to the north (there is an easy to spot Animus Fragment on it). Jump down to the stalking zone on top of the structure here.
Again use the half wall here to access the tree in front and follow the branches over to the left. Drop down when you reach the cliff face and run over to the objective marker nearby. Quickly run down the path and around the corner.
We’ll exit into another open area. Move up and hide in the stalking zone in front of the exit. Wait for the assassin in front to patrol to the left and then back again. As she goes back, quickly run around the corner to the left, go up the slope and climb the wall. Duck into the bushes here.
You will need to be quick at this point to climb the wall and run into the bushes. It is possible one of the assassins will follow you up there so be prepared to take them down.
Follow the ledge to the right and hide in the next stalking zone. Wait for the patrolling assassin to walk off and knock out the guy with his back to you at the edge of the bushes. When the patroller returns, whistle to have him come over and knock him out too. Move up to the next stalking zone and knock out the assassin here too. Just beyond this set of bushes, you will find a chest to loot ( 3/4 ).
Now from the previous stalking zone bushes, work your way to the east. Wait for the assassin on the ledge ahead to patrol to the right and when she does, run up and hide in the bushes behind her. Knock her out.
From here look to the east. Wait for the assassin on the next platform on the left to walk to the right. At this point, jump down to the half wall below, turn left and jump across and up to the ledge. Sprint over and enter the stalking bush on your right. Give each of the two assassins here a turn at being whistled at from the bushes and being knocked out.
Now look towards the objective marker across the gap in front. There is a gunner on this platform that will see you quite easily if you make a move whilst he is looking. As soon as he turns away, jump across the rooftops and up onto the platform and knock him out.

The gunner can be a real pain and can spot you easily unless you sneak round the ledge and take them out.
Use the stalking zones to the right of the next set of stairs to circumvent the enemies at the top and work your way over to the objective marker in front of the temple in front.
Before approaching our goal, run past the temple entrance here to the left to find another ruin area. To the right of the large structure here is treasure chest (4/4) loot this to complete the optional objective. Now return to the objective marker and speak with Kidd here and a scene will play to end the mission.

 Sign up
No Comments