
Part 1: Naval Combat
When we gain control of our main man for the first time, follow the waypoint marker up to the back of the boat and interact with the steering wheel to take control of the vessel. As we do this, the game will pop-up a quick tutorial message on how to use the cannons on the side of the ship. Essentially, we need to face the side of our ship where we wish to fire them. Easy! We can even use the left trigger for a white aiming indicator to appear for assistance.
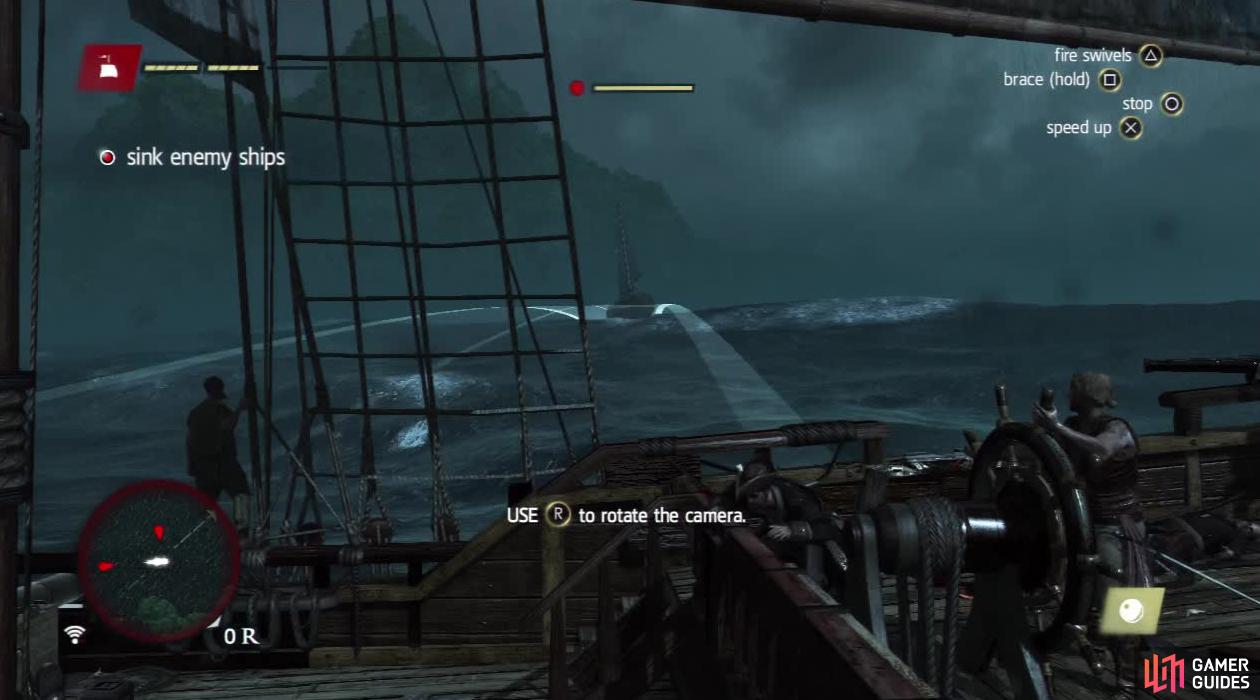
You can see the direction and angle with which your shots will go. Move it higher or lower depending on the distance of your target.
There are four gunships in the immediate area, so take this time to adjust to the ship’s controls, noting that you can speed up or slow down. It should be noted that the slower you are piloting the ship, the more manoeuvrable it will become. Once you have destroyed enough of the gunships, a brig will show up. Perform the same broadside attacks on the brig until a scene plays out.
Part 2: Pursuit
Now that we are back in control, swim forward between the burning chunks of ship ahead until you reach the green objective marker on the shore in the distance. As you approach a cut-scene will commence.
Now that we are back on solid ground run up the hill in front of you and follow the path around to the left. Cross the rope bridge and use the logs beyond it to cross the small river. On the far side climb the wooden supports directly in front of you up to the observation platform. Climb again to the next platform above. From here hop onto the log and follow the set platforming path over to the platform at the top of the cliff. Climb the building here for a viewpoint that we can synchronise to reveal part of the map.

Always try and sync viewpoints first to make it easier to find collectibles. Not only will it reveal more of the map, it reveals all the collectibles and secrets in the vicinity.
Dive down into the palm fronds below and then follow the path. The camera should pan over to the right to show you the assassin. Work your way over to the stairs where the assassin went. Climb the wooden wall at the top of the stairs.
Once you reach the top, use the slanted platform in front to reach the top of the house. From here, jump over to the viewpoint tower. Again, climb to the top and synchronise. Now dive into the water below. Move downriver a short way and the assassin will reveal himself again.
Afterwards, the game will get you to try free running. Get onto the bridge and run off it into the tree at the end. Follow the assassin through the trees and into the swampy area. At this point he will turn and fight you. Fight him off and once he lies dead a scene will play.
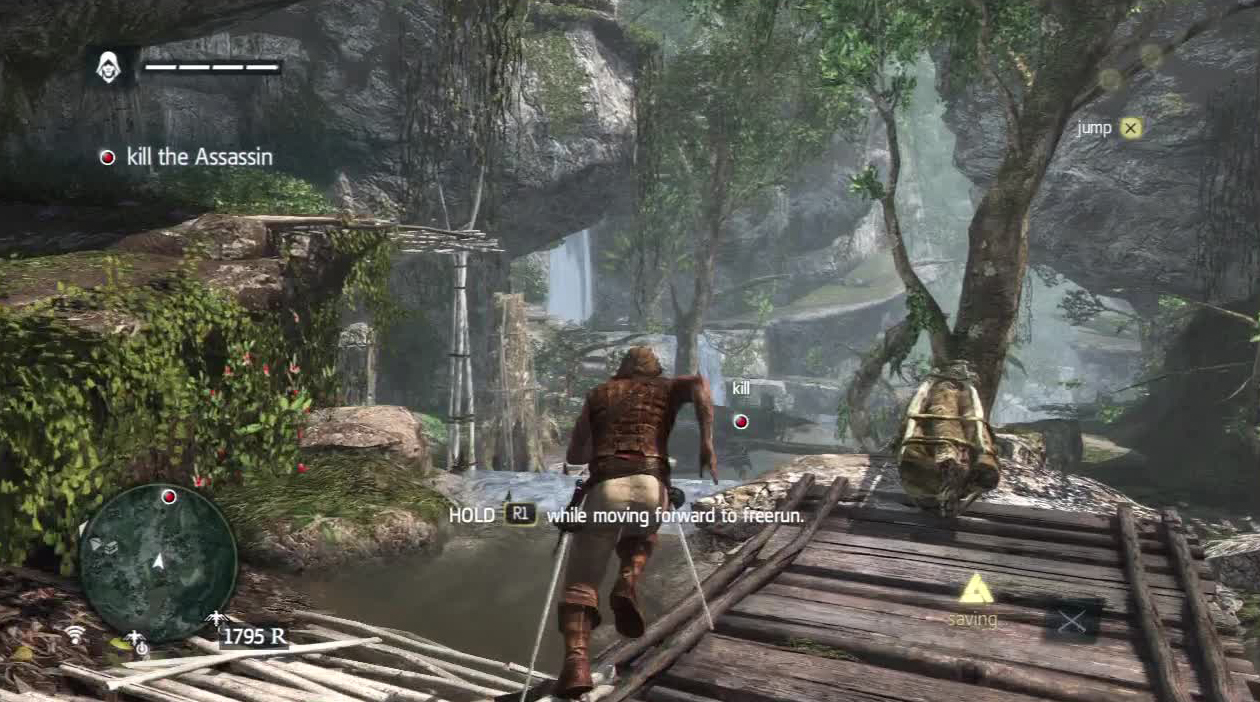
Free running is very simple. Hold down the corresponding button and you will sprint, climb and jump over any obstacles. Play around with it and you will soon get a feel of its limits.
Part 3: Rescue
Now that we have some new gear, it’s time to find a way off the island. Move forward and climb the long branch here sticking out from the top of the cliff – this is a viewpoint as well so synchronise it. Afterwards dive into the river below. Use the slanted log to exit and at the end of this, dive down into the vegetation at ground level below.
As you land, we’ll be in a stalking zone bush. Move up and silently assassinate the guard at the edge of the zone. Now turn to the left and use the bushes to mask your approach to the blue objective marker. Wait for the commotion to die down when a prisoner tries to escape and then move in when the guards return to their positions. Kill them all and another scene will play out.
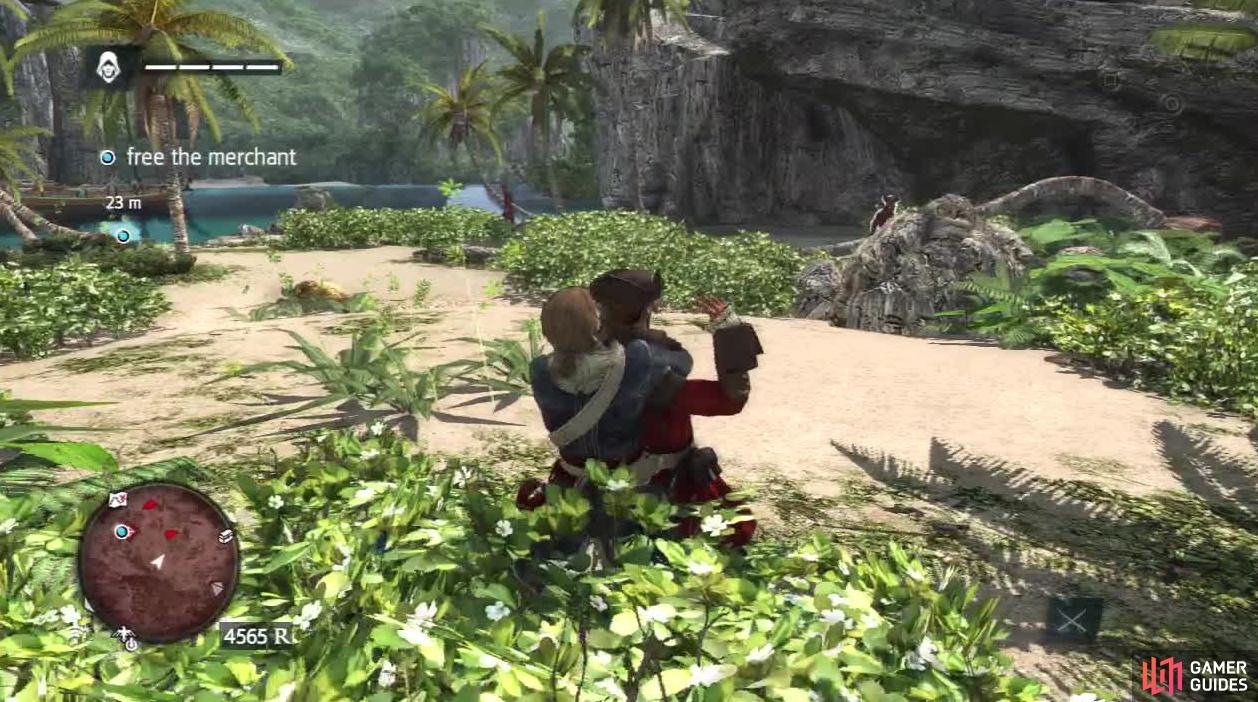
Stalking zones are your friend. Always make use of them whenever possible. This avoids unnecessary fights and does not alert any other guards to your presence, leaving you free to pick off enemies one by one.
At this point we are free to explore the island. Do so if you wish – there is a collectibles guide for the area in the relevant section in the guide if you are interested.
Part 4: Exploration
When you are ready to continue, swim out to the ship, climb aboard and interact with the wheel. We now need to pilot the ship through the watercourse here avoiding the temptation to crash the ship on every wall, rock and sandbar in sight. To do this, use the mini-map to help plot your course and don’t be afraid to slow down to increase your manoeuvrability when it comes to the tricky corners. When you reach the open water, a cut-scene will play to end the mission.


No Comments