
Part 1: Tailing
Following the scene, we’ll need to start tailing a target. Immediately activate your Eagle Vision to tag the target. Follow him through the camp here, using the groups of people scattered about as cover as you walk after him. He’ll walk up a dirt path out of the camp and into a restricted area.
Use the stalking zone bushes here to move up and sit in the bush just outside the gate. Note that from this point on we’ll have an opportunity to complete the first optional objective – kill four guards. Whilst in the bush, a guard will come through the gate to investigate.
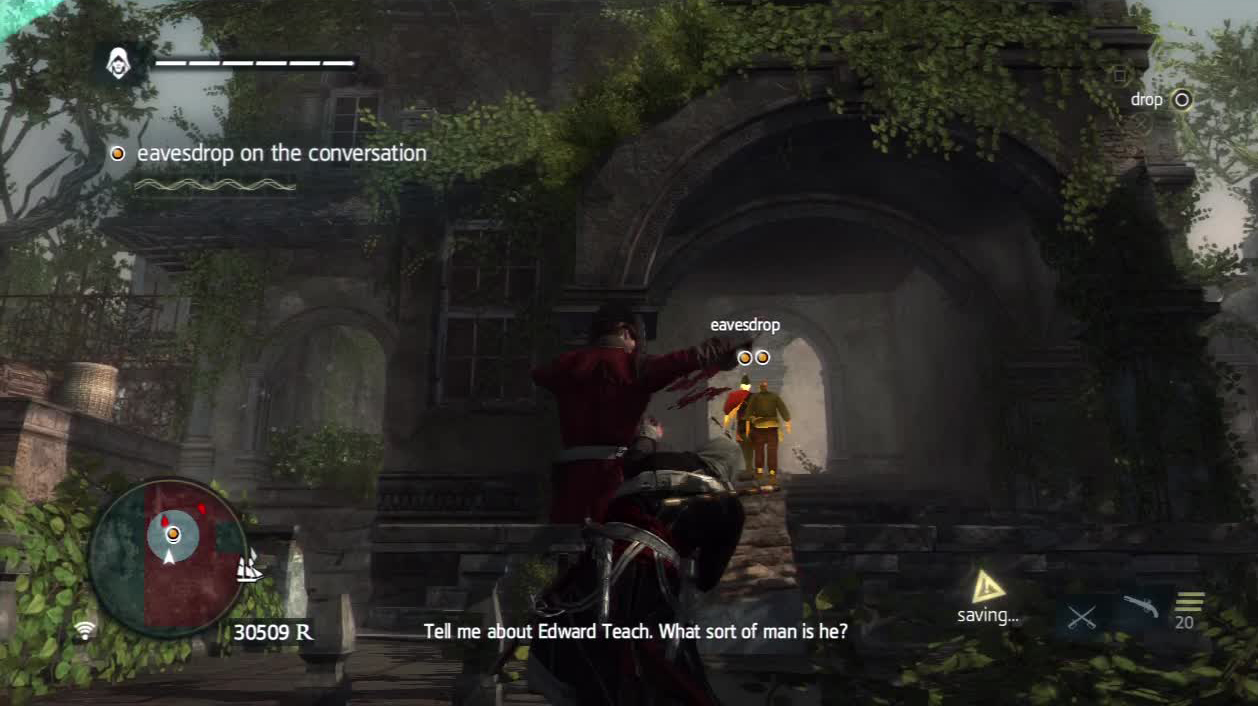
Whistle him over and assassinate him from the bush. We’ll now have to eavesdrop on the target as he works his way through the next few areas.
Part 2: Eavesdrop
Head over and hop through the gap in the fence to the left of the open gate and enter the bushes on the far side. Wait for the target to walk off and run up and take cover behind the crates in the middle of the area. Sprint up and assassinate the guard who patrols around here before continuing over and climbing the wall to the right of the stairs. Perform a ledge assassination on the guard standing on the balcony above you.
It is easy to do a ledge assassination on this guard to enable you to continue without being detected.
You will see the two bad guys enter a doorway. To the left of this is a second doorway with a bush in the doorway. Head in here and grab and assassinate the guard standing next to the bush to complete the optional objective.
Sprint to the opposite side of the room from the bush we are hiding in to reach another shrub opposite. Enter the shrub filled hallway to the right of this and follow it all the way to the end. Assassinate the guard by the stalking zone here as well.
Go through the archway to the left of the arch that the targets go through and climb to the top of the wall. Drop down to the stalking zone to the right. Run over to the stairs that the targets climb and follow through the bushes on the left of the stairs. At the top a scene will play.
Part 3: Escape
When we regain control, all hell has just broken loose. Hop down to the town below and follow the relatively set path across the rooftops, avoiding the fire as you go. Hop across the ship masts and booms to reach the Jackdaw in the harbour and interact with the wheel to start sailing.
Part 4: Naval Battle
Now that we are back in control of the Jackdaw, make your way out into the open water. Here we’ll be greeted by a hostile man-o-war vessel. This is quite difficult as the ship has a high amount of armour, highly damaging broadside, chase cannon and mortar attacks.
As per usual with these tricky fights, we want to circle our foe, dodging the mortar fire and bracing when we get in the range of the man-o-war’s broadsides. Use your heavy shots and broadside attacks to hit the man-o-war and then shoot the weak spots with the swivel gun when they appear.
When the man-o-war is at very low health, ensure that you try and hit it with a heavy shot to incapacitate it to complete the second optional objective.
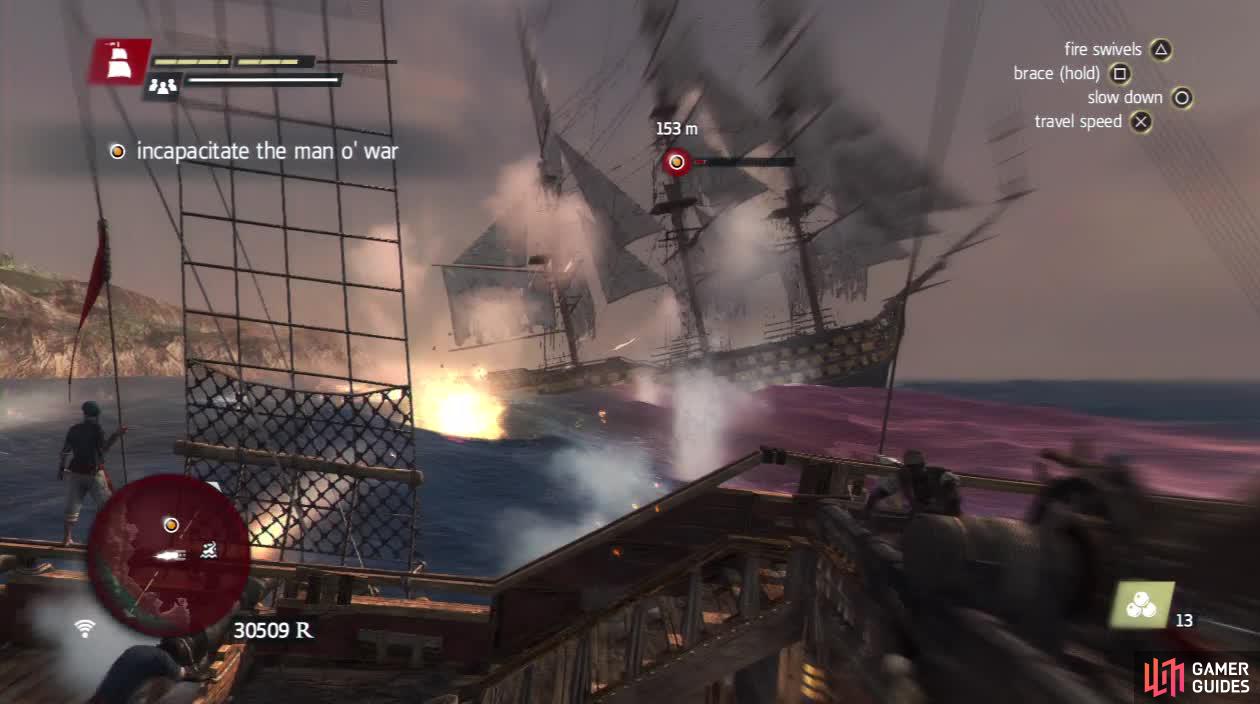
This is the moment to use the Heavy Shot to take it down.
When the man-o-war is incapacitated, sail over and board it. We’ll now have to do a standard boarding manoeuvre. Before jumping across to the other deck, hop on the swivel gun and attempt to shoot the three powder reserve barrels that are marked with the red objective markers.
Kill off as many enemies on the deck as well until the swivel gun runs dry. Afterwards swing over to the opposite deck, Climb the riggings and take down the two scouts on the platforms high up in the masts. Once they are dead, return to the deck and kill off enemy forces until a scene plays.
Part 5: Escape
When you regain control, swim over to the Jackdaw and get behind the wheel. We now have to escape the zone. As with the previous sequence’s final mission, we’ll have to avoid mortar fire and a few broadsides, so be sure to keep an eye on the water and manoeuvre around the attacks and the enemy ships as best you can. Once you are passed the ships, just sail straight out into the ocean until the mission is complete.
No Comments