
After the previous mission, check out the world map and sail over to the objective marker outside of Long Bay to begin the mission.
Part 1: Explore
After the introduction, hop off the ship and swim to shore. Work your way up to the green waypoint marker and follow the dirt path inland. Continue along the path until you reach the open area below on the right. At this point, the game will pan the camera over to show you some guards in the area below.
At the end of the path is a raised rocky outcropping that we can use to jump to a tree branch. Follow the path through the trees here and continue up the river until you reach the next green waypoint marker.
Now continue to do the same for the next couple of green waypoint markers. You can use the paths through the trees or follow the ground route to continue through each successive area until you reach the restricted area on the mini-map.
Part 2: Rescue
At this point, we are able to continue through to the next area whilst ignoring the enemies about, however if we do this, we’ll miss out on the first optional objective for the mission – freeing guardian captives. There are three groups of these prisoners and all are found within the next short segment of the level.
Just to the left of the cave in which you’ll find the first objective marker in the restricted area there is a small burning village across a shallow lake. Sneak over here, then creep up and dispatch the guards before interacting with the guardians to free them.
Use this stalking area to eliminate all the guards before releasing the Guardians.
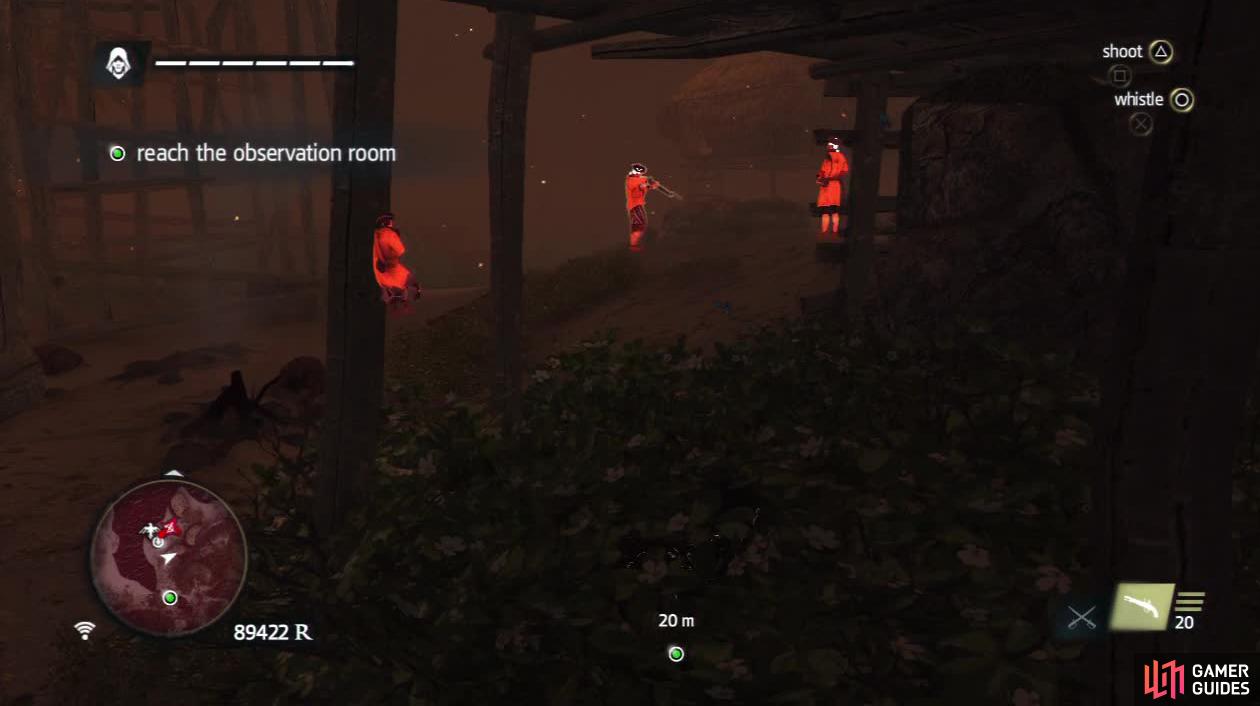
Return across the water and go to the objective marker. Follow the path to the top and when you reach the ledge look down below to see the second group of captives. Wait for the patrolling guard to walk off before dropping down and dealing with the Gunners. Chase down the patroller to kill him too and then free the hostages.
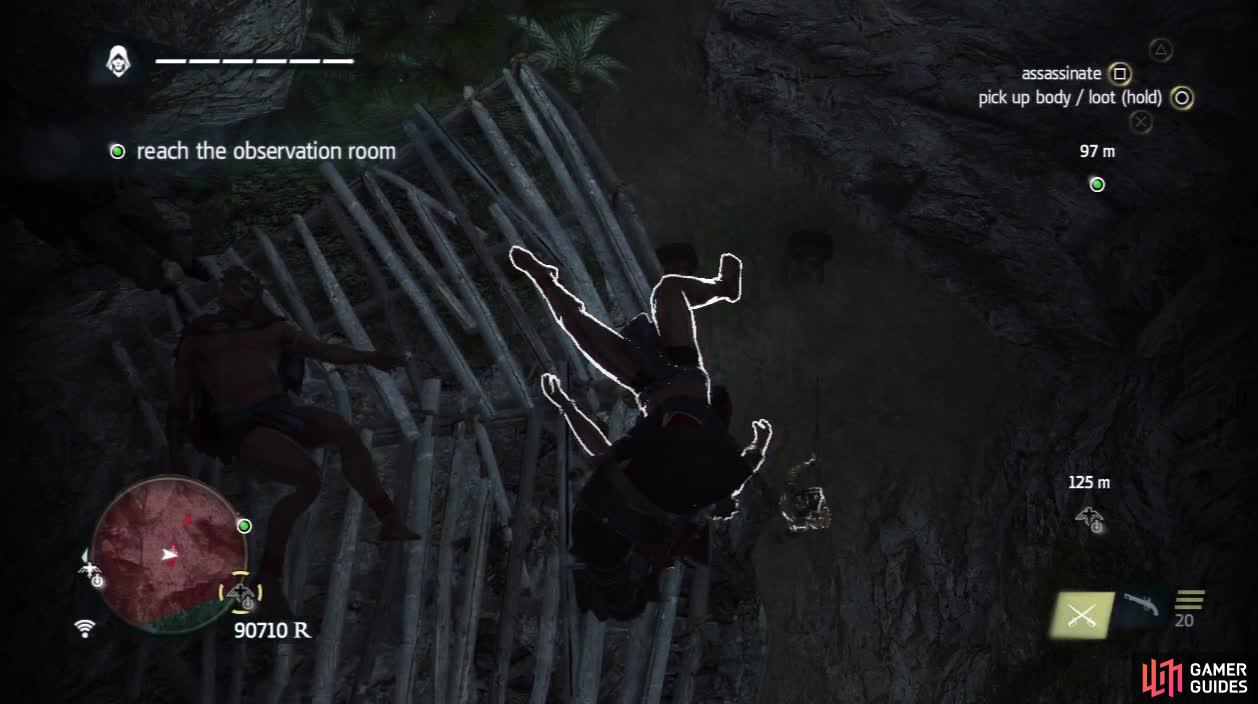
Creep to the edge here and look for the guards below you. Air assassinate them so they do not get a chance to kill the hostages.
Drop down to the floor of the main area and make your way towards the objective marker. When you see a large log above creating a raised bridge, keep an eye on the right-hand wall for some exposed wooden supports. Climb up to the top of the cliff here.
Now hang from the ledge and look to the left. Wait for the patrolling guard to walk into sight, walk over and eliminate him quietly. Now walk into the cave where he emerged from, sneak up and double assassinate the Gunners in here. Turn and eliminate the final patrolling guard nearby. Now we can free the final group of guardians.
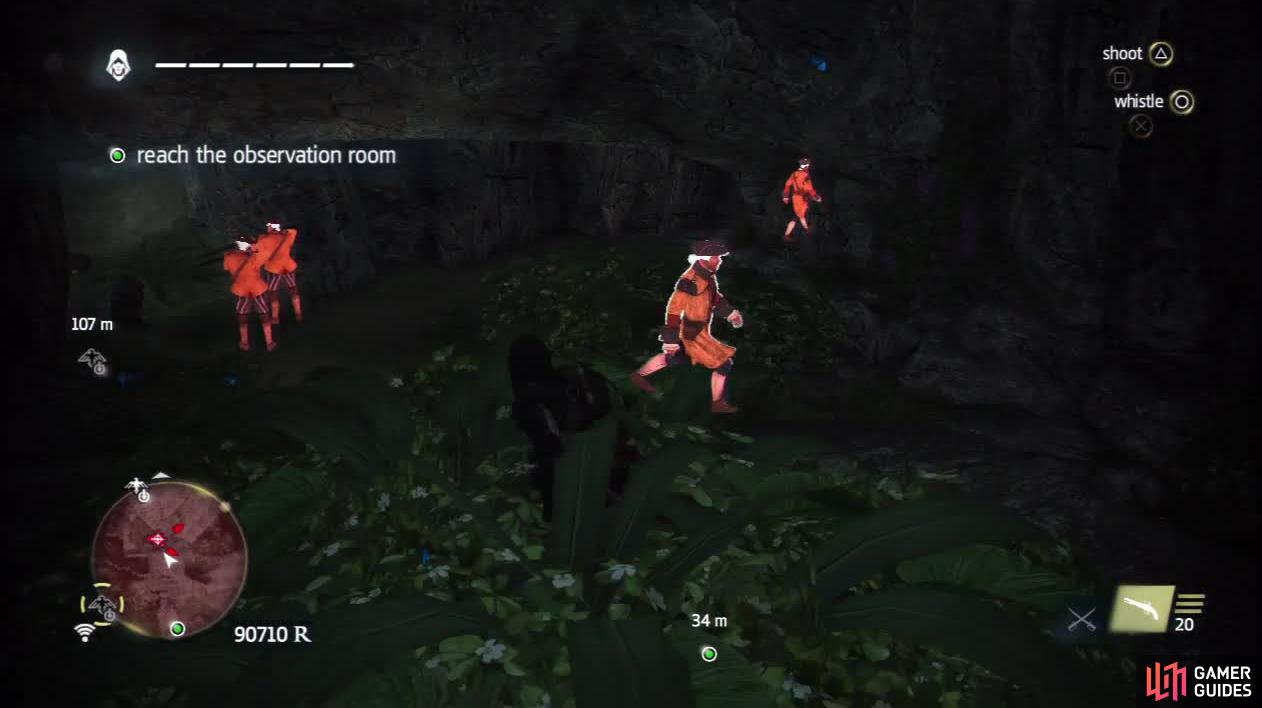
Wait for the guard on the right to walk away and do a running double assassination of the guards pointing guns at the hostages.
Exit the cave to the main area and follow the objective markers until you reach the observatory. Go through the open door to find yourself inside.
Part 3: Explore
After the first guard is vaporised in front of your eyes, you will now have been introduced to the power of the Observatory. Essentially white light is bad! Avoid at all costs or you will be sent back to the previous checkpoint.
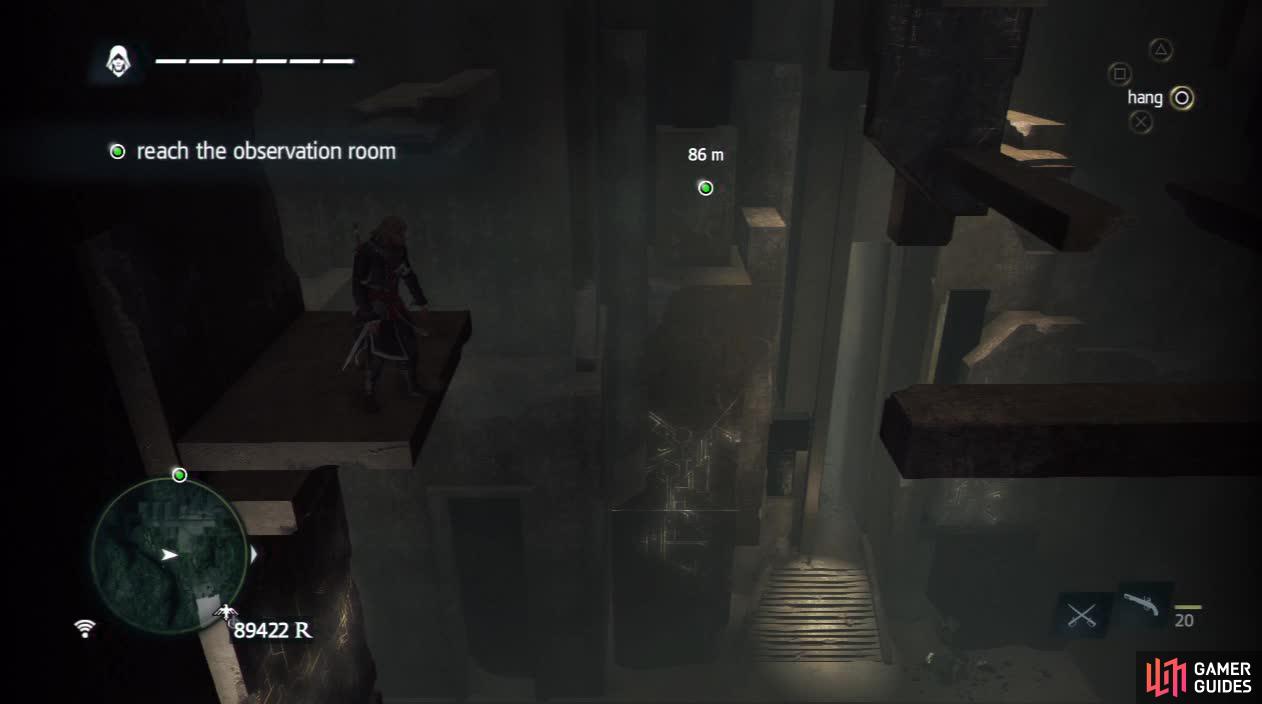
Once you have climbed up and over you need to look for this beam in the centre of the room. It is not always apparent but just be aware of where you need to jump to.
The first part of the Observatory’s interior is a platforming section. Move up to the cliff and climb the blocks that appear. Jump across to the rectangular platform with the guards at the far end when it is safe to do so. Dispatch the hostiles here and then leap across the small gap to the vertical platforms on the left hand side of the room.
Climb these moving vertical blocks using the handholds available and the platforms that move up and down. When you reach the top of these blocks, leap across to the stone beam in the centre of the room and use this to access to the platform with the doorway opposite the entrance to the room.
Part 4: Fight
Continue through the hallway until we reach a circular platform. There will be a number of guards here waiting for us. On a raised platform on the opposite side of a cliff is our main target. Unfortunately we can’t do much about him just yet.
If you look down at the platform we are on, you should also notice the grooves on the floor dividing the platform into three. During this fight, the grooves on the floor will light up shortly before encasing an entire segment of the floor with the white death light. We’ll want to avoid that! As such; keep one eye on the floor during the fight to prevent any premature trips back to the previous checkpoint.
In this room, you should also note that this fight is the only time in the entire mission where you are able to complete the second optional objective - killing four enemies using the Observatory’s defences. To do this, wait for the white light to appear, then counter an enemy attack with a throw. Direct them into the light to kill them instantly. Repeat four times to complete the objective.
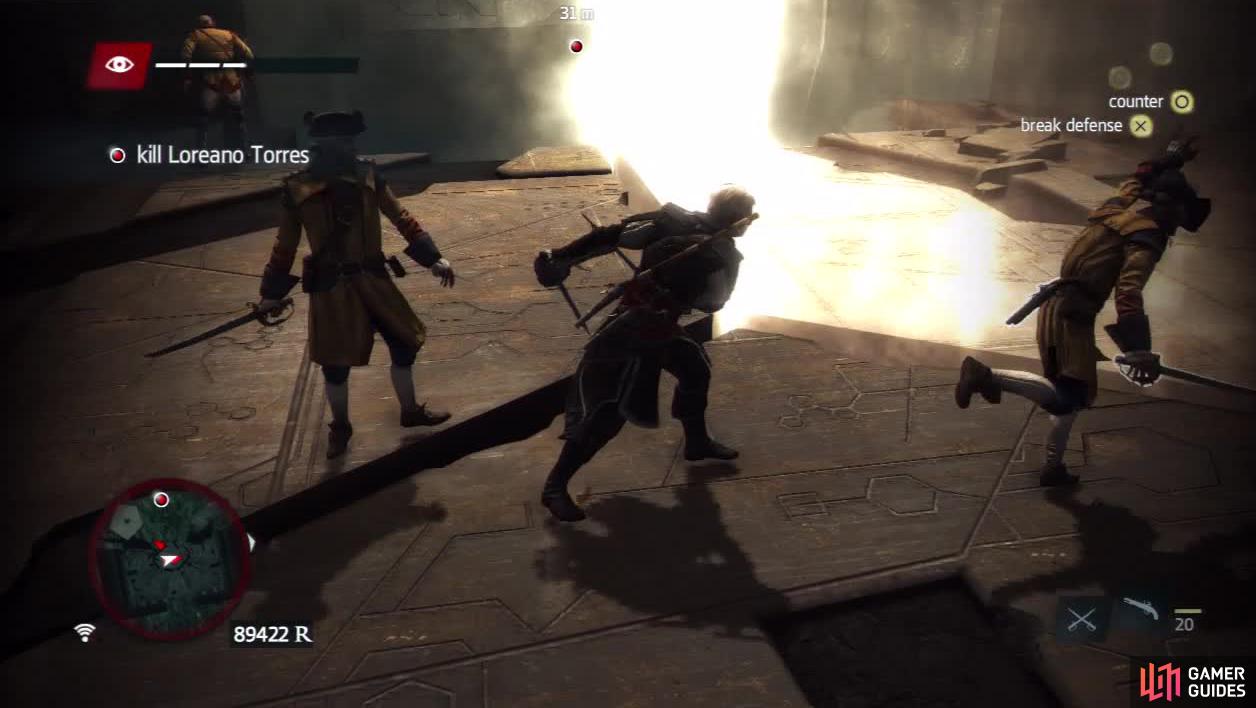
Wait for the floor to light up, jump down in front of the light and counter an enemy’s attack. Then you can throw them into the light. Repeat to achieve the objective.
Part 5: Assassinate
Once the enemies in the immediate area have been cleared out, it’s time for a little platforming action. Hop across to the series of raised rocky blocks to the left of the fight platform and use these to reach the tall pillar in the centre of the room.
Climb to the top of this and leap across to the far wall. Manoeuvre down and underneath the platform with our target on it and climb up the wall of the far side – watch out for the white light which activates periodically.
When you reach the top of the room, you will be on a pillar overlooking the platform with the target. Target him and perform an air assassination to complete the sequence.
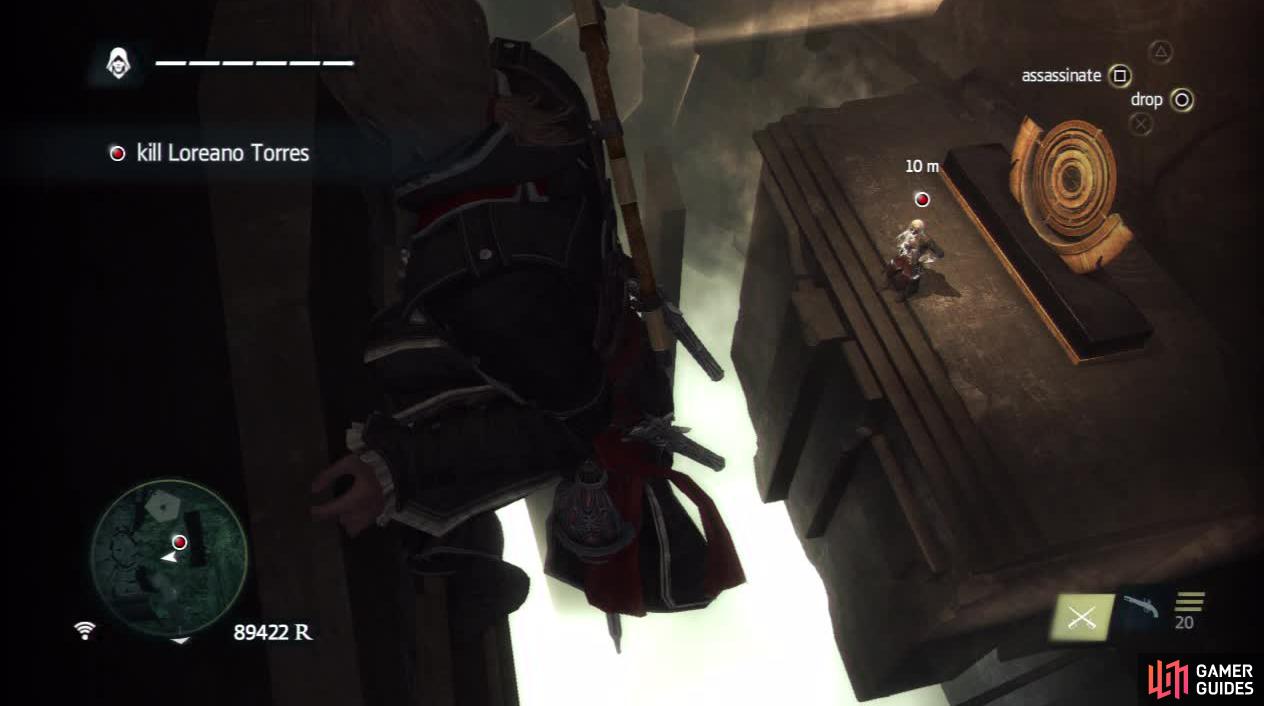
When you have reached this point, all that is left to do is press the assassinate button.


No Comments