
Part 1: Infiltrate
We’ll start on top of a giant windmill overlooking an estate and its grounds. Perform a leap of faith down to the haystack below. Our first objective is to disable the three alarm bells in the fields in front of the residence at the far end.
Make your way up the hill nearby and approach the closest bell. Hop the fence and enter the sugarcane field here. From the cover of the field, whistle to and assassinate from the cover of the field the guards patrolling down the left and right of the field and a third guard who patrols to and from the bell.
Pull out your blowpipe and equip the berserk darts. Look to the right of the bell for a lit torch close by, you should see a brute patrolling back and forth who will stop close to this on his rounds. Hit him with a berserk dart. You’ll also want to use a sleep dart on the gunner in the watch tower to the left.
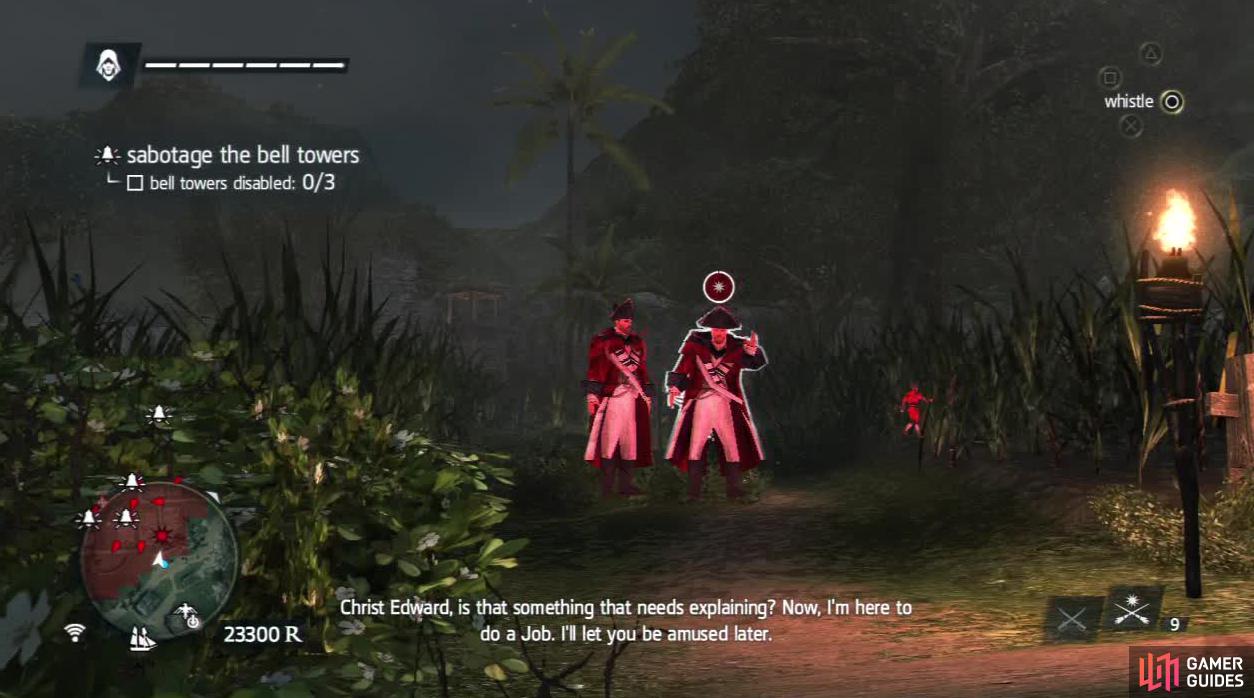
Brutes can do a lot of damage to other enemies so feel free to shoot any of them you see with berserk darts.
Whilst the brute is under the influence of the dart, enemies will be drawn to him. Use this as a distraction to run up and sabotage the alarm bell. Quickly sneak over and hide in the cane field beneath the watchtower. Lure any enemies nearby to you with whistles and subdue them quietly. Now we are going to work our way over to the bell to the west.
Look at your mini-map and when no guards are looking, run across the street to the left of the guard tower. Enter one of the bushes here. From this location, you should be able to see the second alarm bell in the centre of an open area ahead. We want to reach the bush next to the wall of the building closest to the alarm bell.
Sneak over and hop into this when it is safe to do so. Assassinate the guy just in front of the bush. Now whistle to the guard patrolling past on the dirt road to the right, and the other who patrols to and from the bell. Assassinate them both.
Now as before, hit the guard up in the tower to the left with a sleep dart and then hit another in the area with a berserk dart. Use the distraction to disable the alarm bell. Afterwards continue to the west until you reach a stream.
Work your way up the stream using the bushes as cover until you reach the guard tower where we just put the guard to sleep previously. Follow the stream to the right, still using the stalking zone bushes as cover until you get to the bridge.
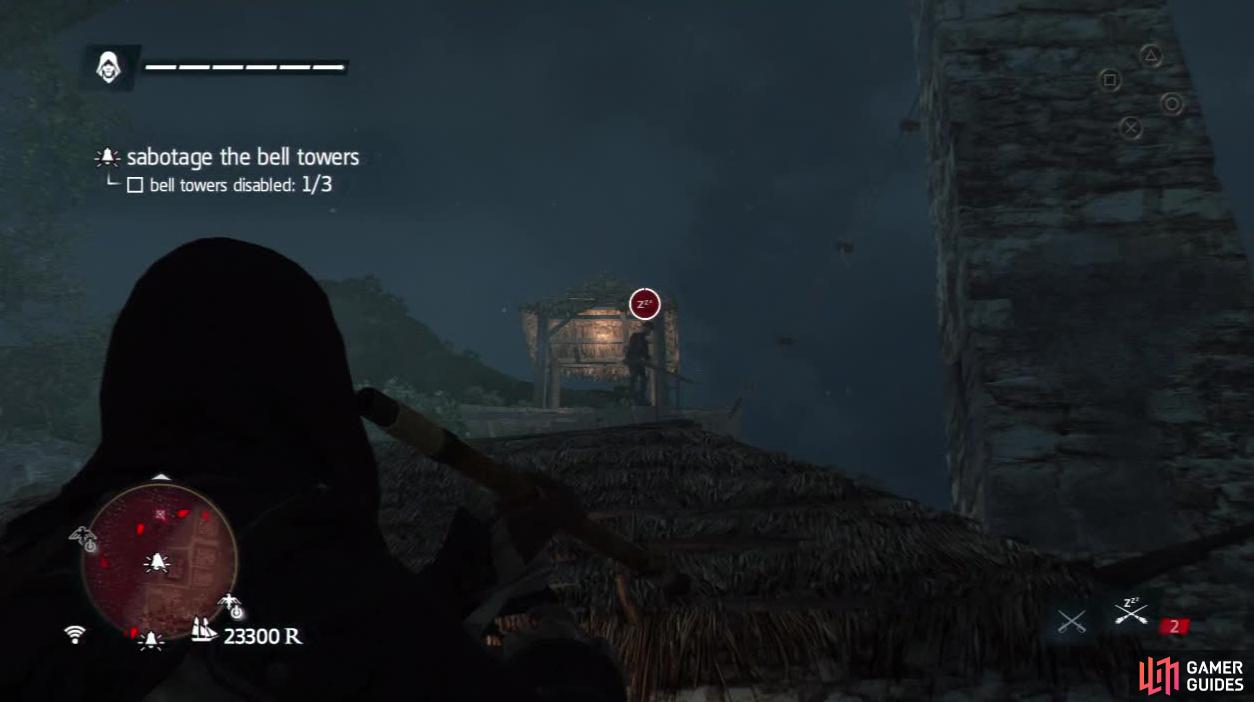
You should always try to put any nearby Gunners to sleep because you cannot sabotage the alarm bells if they see you.
Cross the stream to the left of the bridge to avoid detection, turn right when you reach the opposite bank and quickly run over to the bush near the end of the bridge. Form here we should be able to spot the final alarm bell. Look at the mini-map and when no guards are looking, hop the fence and enter the sugar cane field. Proceed to the end of the field closest to the bell and use your whistle to attract any enemies close to the field over to you.
From the safety of the field, pull out your blowpipe again and select your berserker darts. See the hay cart by the bell? There is a brute leaning up against it on the opposite side from where we are. Fortunately we can shoot him in the leg visible below the cart. Doing so will draw in enemies as per usual. During the commotion run over and sabotage the bell.
Now that all three bells are out of commission, sneak back to the bridge we passed a few moments ago. Now make your way up to the objective marker nearby for a scene
Part 2: Assassinate
Enter the now open gate and hide in the shrubs just inside. Wait for the brute to climb down the stairs and walk off to the left (if you haven’t used your berserker darts on two brutes yet, here’s an opportunity to do so).
Either wait for the aforementioned brute to walk off and for the enemies on the upper path of the building ahead to patrol away from the front of the building and then quickly run over and climb to the roof, or berserk dart the brute and let him distract the guards whilst you scale the building.
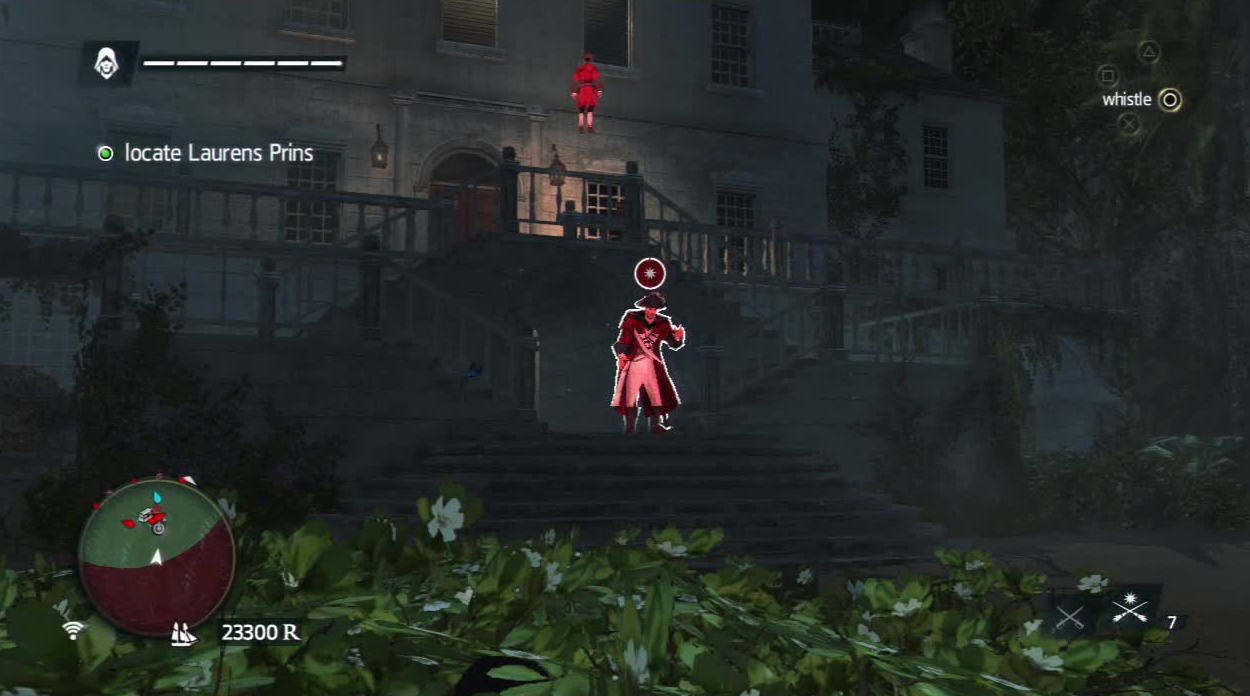
This is a good time to use a berserk dart as he will distract many guards around the building.
When you reach the roof, sneak over and take out the gunners on both the left and the right hand sides. Now that it is relatively safe, look down to the back yard. Note the stone gazebo in the centre. Our target is in here.
From the left hand side of the roof, dive down into the haystack below. Use the stalking zone in front of this to work your way over to the gazebo. Make your way inside and assassinate him for a scene.
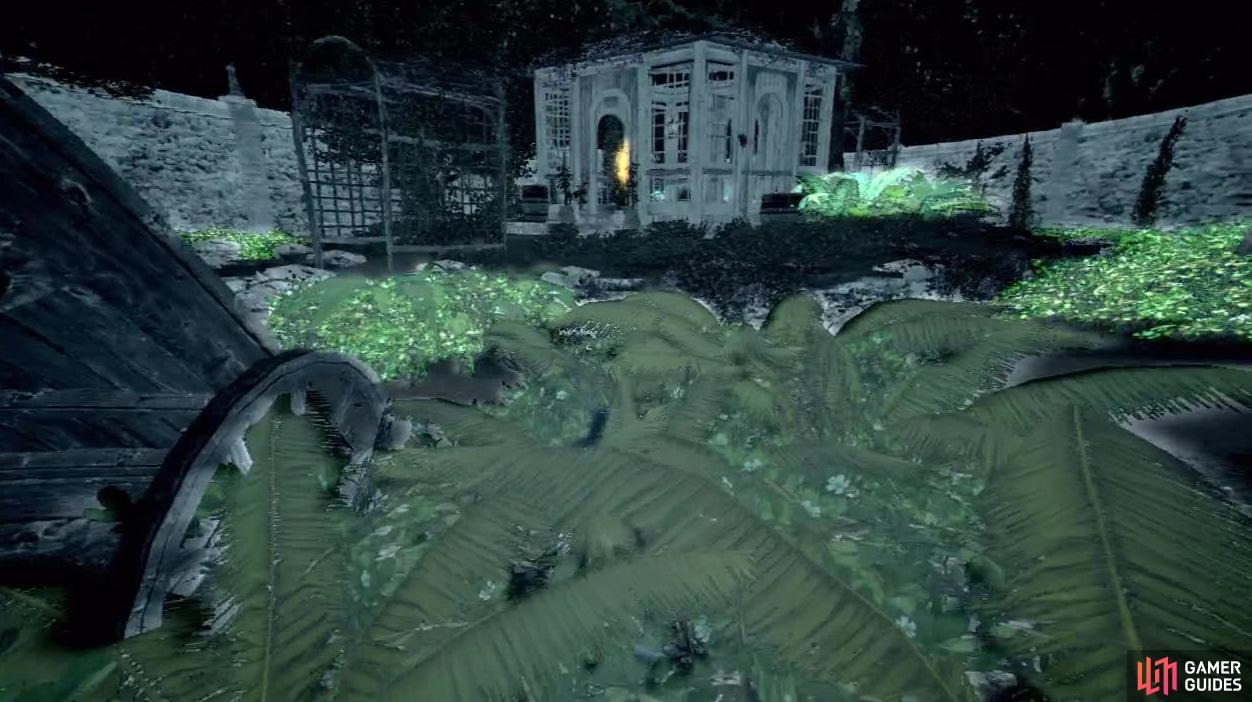
You can see your target inside this structure. Tag him with Eagle Vision to help you kill him.
Afterwards we need to escape the area. Leave the restricted zone on the map, break line of sight with your pursuers and get into a hiding spot to become anonymous. When this has happened, make your way over to the green waypoint marker to complete the mission.


No Comments