
Following the previous sequence, there will be a fairly lengthy cut-scene. Once this ends, hop into the Jackdaw and sail it over to the golden exclamation mark icon on the south western side of the map. Approach the ship anchored here to start the mission.
Part 1: Navigate
Behind the wheel of the ship, steer it forward and take the first left. Pilot it along the set route through the narrow passage between the rocky cliffs. Take it slowly as the wind in this location can be strong and change directions suddenly which will put you into a wall if you do not take care.
Eventually you will reach some ships anchored in the area. Pull out your spyglass and look at the closest one to find our target. We’ll pull up beside it. At this point we need to steal its flag. To do this, dive into the water and swim around to the back of the Portuguese ship. Use stealth swim to stay out of sight of the soldiers aboard the ship.
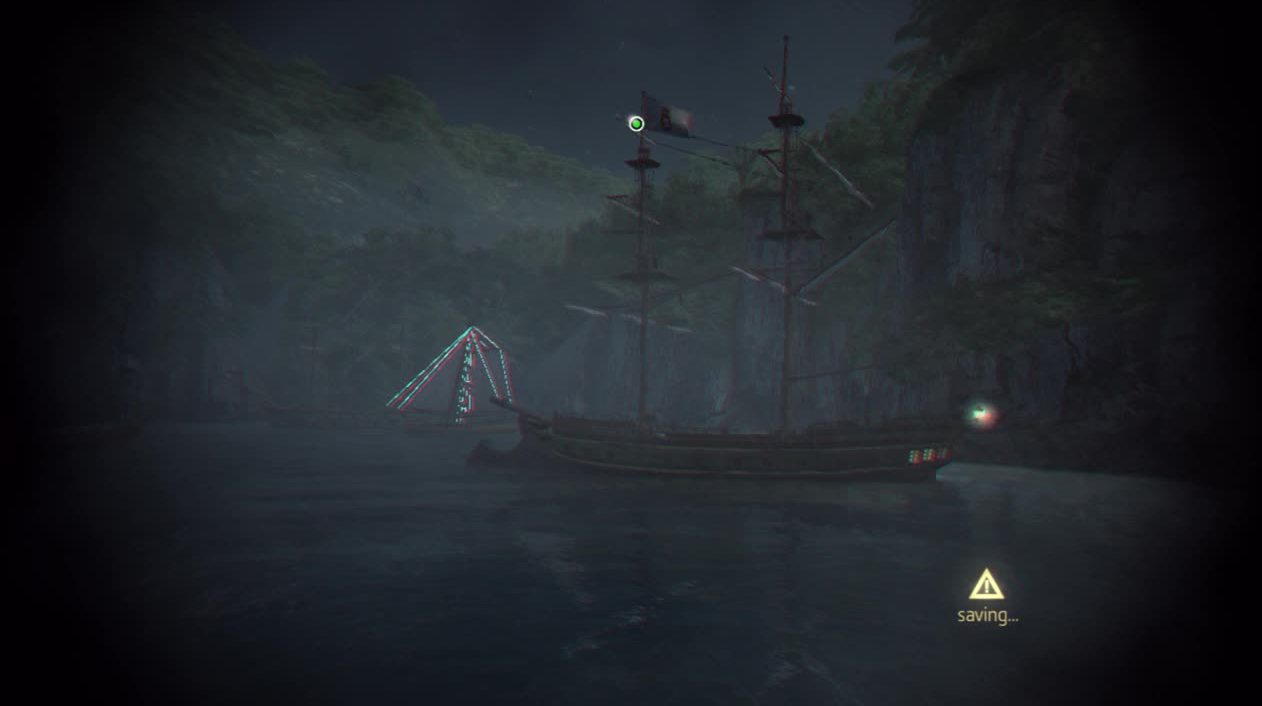
This is the ship you need to steal the flag from. Pull out your spyglass and focus on it to get the objective to update.
Once we reach the other side, climb the rigging all the way to the top of the mast indicated by the green objective marker. Interact with the flag here. Now dive off the mast here into the water below whilst holding down the stealth swim button to stay out of sight. Swim back towards the Jackdaw and when you exit the red zone feel free to surface. Return to the Jackdaw’s wheel to continue.
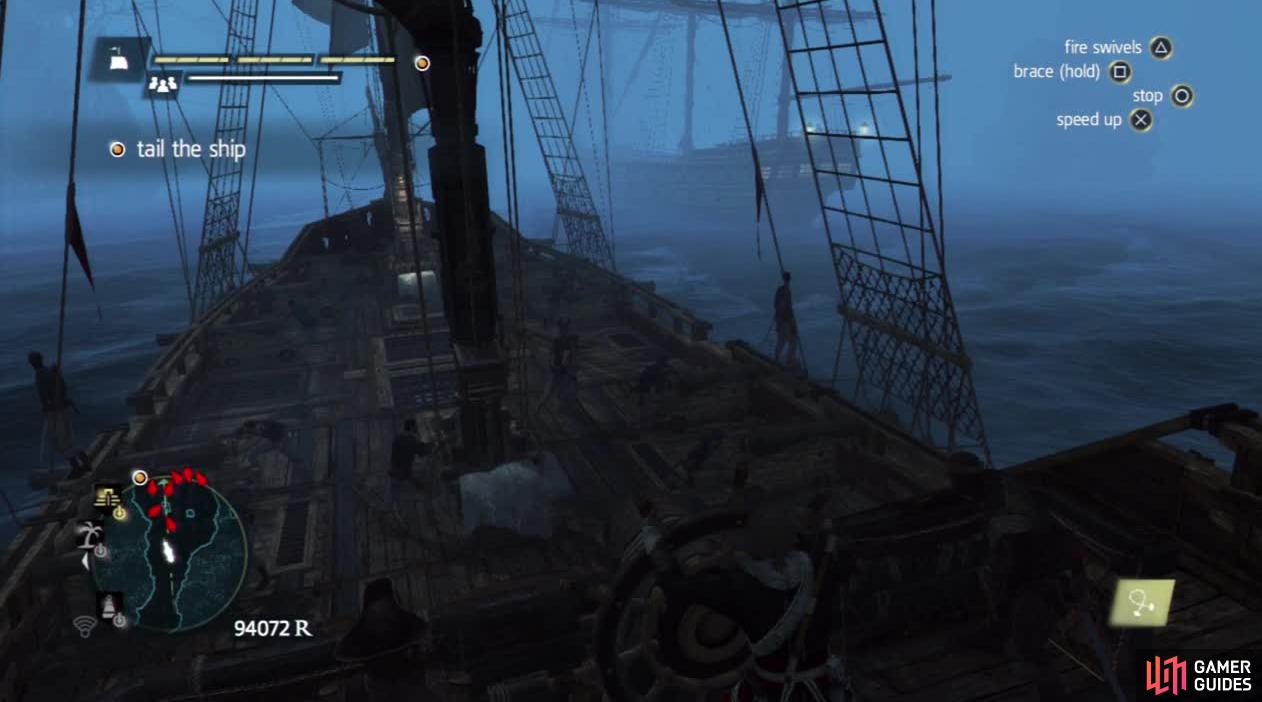
Now we need to proceed further down the set route through the water, sail between and avoid the enemy ships until we reach the green zone on the map. Continue along until the game shows us a ship ahead unloading cargo.
Part 2: Infiltrate
At this point, we want to dive into the water and stealth swim over to the right hand side of the shore. Note the bushes at the edge of the water and up against the rocky cliff wall behind them. Enter the shrubs closest to the shore and turn left.
See the Brute further up the beach? Hit him with a berserk dart. This will draw in all the patrolling guards. Whilst they are occupied, run to the rock face ahead and follow the wall to the left.
You must get into the bushes as soon as you can because the patrolling guards will clock you rapidly.
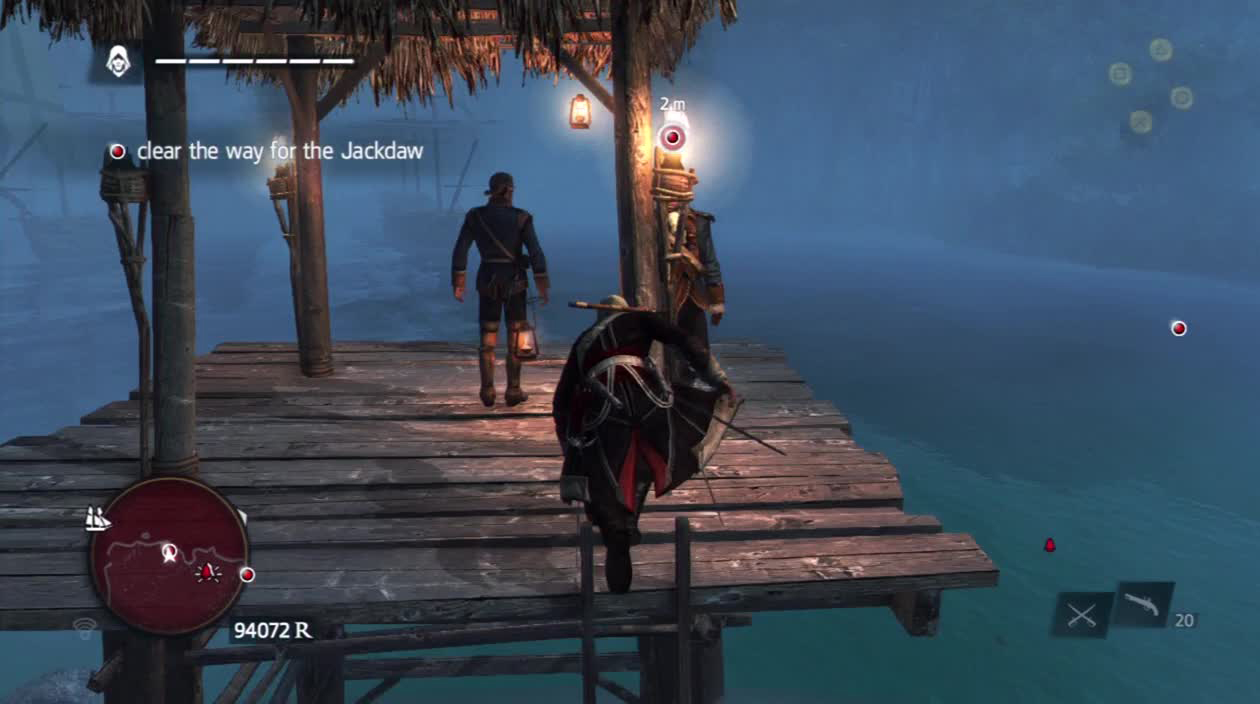
At the end, you’ll see a pair of guards below, double assassinate them and quickly run through the tunnel here and as you exit to the open area immediately hide in the stalking zone bushes to the left. Wait for the patrollers along the beach to walk towards the guard tower in the distance and then run over and jump into the water. Swim parallel to the shore, being sure to use stealth swim immediately if you are spotted. When in line with the guard tower, swim to shore and hide in the bush beneath it.
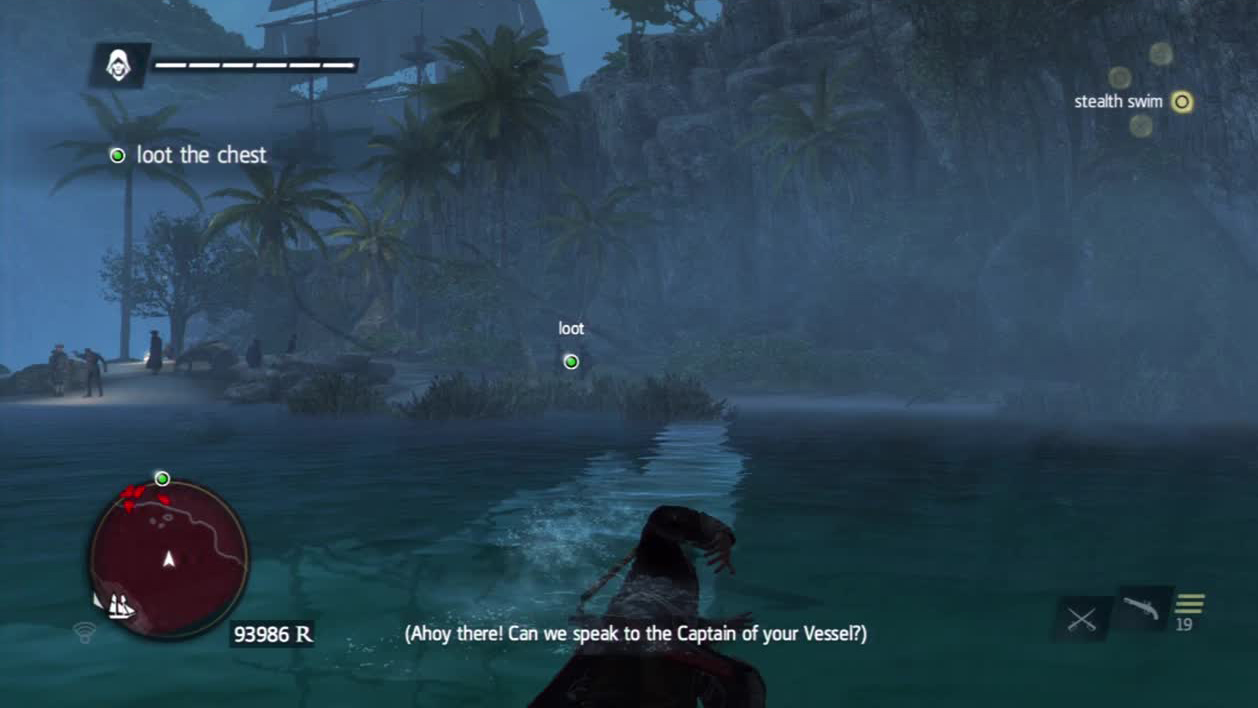
From here whistle over the two guys in the camp below the tower and dispatch them in the bushes. Watch the minimap and wait until the Gunner is looking out to the water. At this point quickly run over to the chest and loot it before returning below the tower again.
Wait for the Jackdaw to sail around the corner and stop nearby and when it is safe to do so, swim out and board it.
Part 3: Navigate
Take a right at this junction because the other ships are blocking your path. You will also be seen if you spend too long beside the ships.
Again we’ll need to pilot the ship along the waterway a short distance until you bump into a fleet of anchored ships. At this point, we need to slow right down and manoeuvre our way through the stationary (and one or two moving) vessels until we reach the red restricted area. At this time a short scene will play.
Part 4: Infiltrate
Dive off the ship and swim over to the cliff wall to the right of the shore where the guards are patrolling. Linger at the edge of the restricted area. From here, watch the two-man patrol that reaches the section of the beach closest to you.
When they turn away, swim to the edge of the beach and enter the shrubs nearby. Next to this patch of stalking zone, you’ll see a large slanted tree leading in the direction of the first guard tower. When no-one is looking, follow this up and into the treetop path. Jump to the guard tower and double assassinate the watchmen here.
Make sure the guards are looking away when you climb the tower or you will be spotted immediately.
Now drop down from the guard tower on the side closest to the water and again swim parallel to the shore until you see a large shipwreck on the right. Climb up onto this and use a sleep dart on the lone guard patrolling along the coast from our current location to a spot between us and the second guard tower.
When he’s down, use the bowsprit of the wrecked ship to leap to the ledge above. Run over and enter the stalking zone beneath the tower. When nobody is looking, climb the ladder up to the guard tower platform. Assassinate the lone watchman here.
At this point, another target will appear on the ship below with a red objective marker. Also note the shining rope on the right hand side of the guard tower facing the ship. Wait for the target to be in line with this and then swing on the rope over to the ship, press the assassination button continually and if timed right, you should assassinate him from the rope swing for the second optional objective. A cut-scene will bring in the next section of the level.
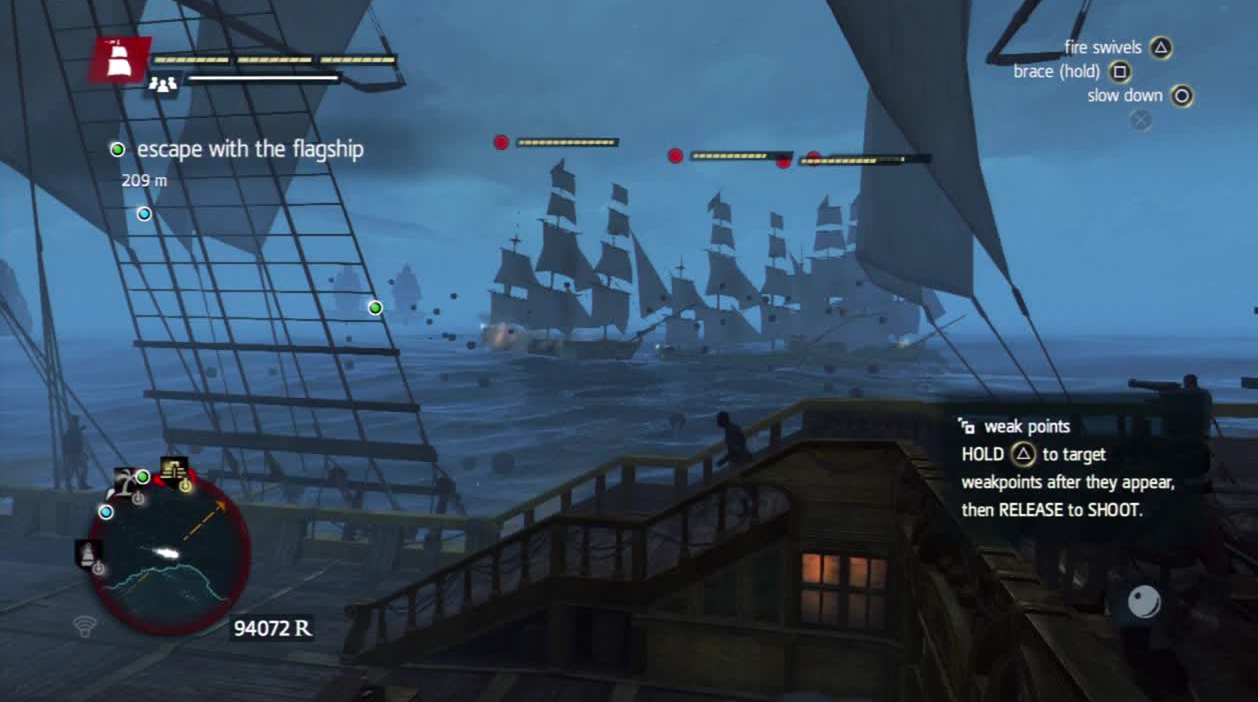
Part 5: Naval Battle
Now we have a brand new ship that is quite powerful and we’ll get to test it out now against a few enemy ships. The first group consists of four frigates. Drop some mortars on them as they approach and then use your heavy shot and broadside attacks to dish out the damage when they get in close. They should pose no real threat.
The cannons are insanely powerful and can be deadly even at long range. They have a wide area of effect so you can encompass a lot of ships in one volley.
The second battle however is a little trickier as there is a pair of Man O’ War ships that will attack you next. Again, slow your speed down and use the mortars on them as they approach. Use as many mortars as possible on them and if you play your cards right, when they arrive they should have much reduced health. At this point, the usual heavy shots/broadsides should do the trick.
Another group of ships including a gun ship, a hunter and a couple of brigs will follow you as you leave the area. Deal with them as you see fit, they should not pose much of a threat after the Man O’ Wars and mortars will pretty much destroy any of these ships instantly if you can nail them with it.
Once all the enemy ships have been dealt with, rendezvous with the friendlies piloting the Jackdaw nearby marked with the green objective marker to complete the mission.
No Comments