
After a brief introductory conversation, we’ll be back in that good old tavern on Nassau with our pirate buddies. After a bit of commotion we’ll be set loose to do whatever we please.
Head over and chat with the woman amongst the crowd of citizens gathered by the beach to start the mission.
Part 1: Tailing
After the scene, look over towards the waypoint markers and activate Eagle Vision to tag them. Now climb up the building next to your current position and follow the targets as they move up the street from the rooftops. Kill the gunner on the raised roof here and then jump down into the open square at the end of the street. Hop into the well in the centre of the area.
After a brief stop, the group, which is now a little larger than it was will set off again. As to be expected, the targets will move along a set path and stop at regular intervals to peek behind to check to see that they aren’t being followed.
As such, we need to follow from a distance, using either the rooftops about or making sure to use the various haystacks, stalking zones and groups of people to hide from them when they stop.
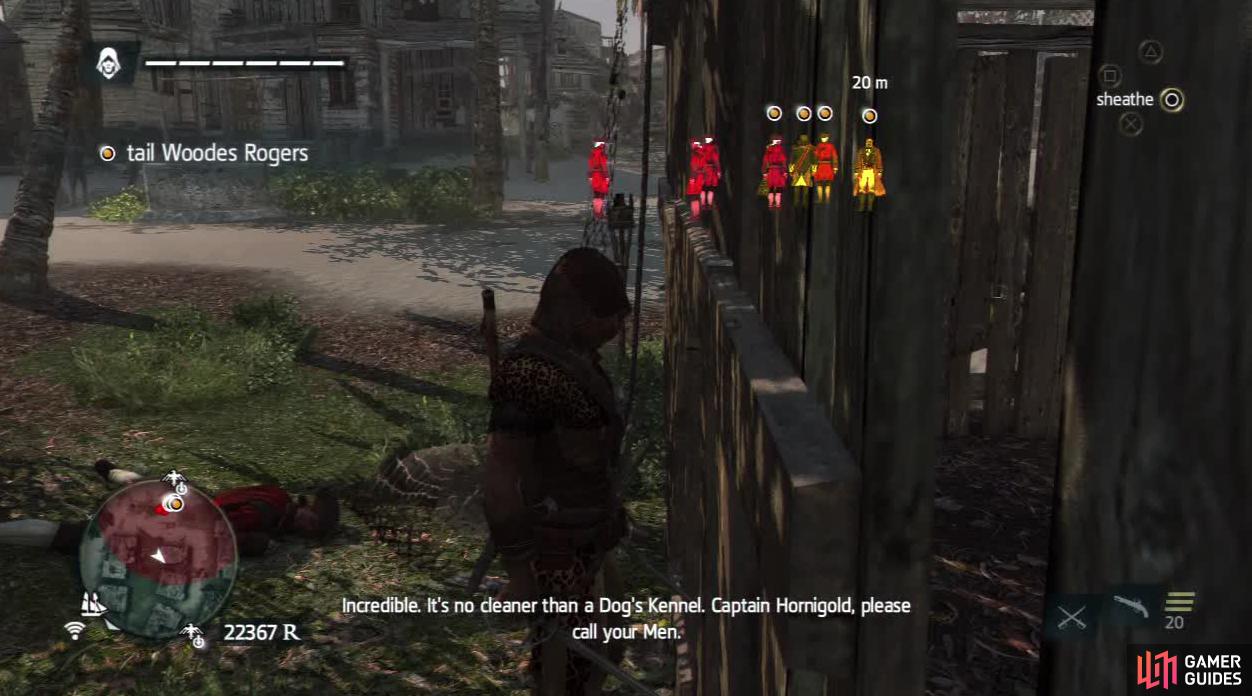
Ducking into corners is always a useful trick.
They will work their way from the tavern up to the fort and will stop outside the door by the gallows (where we shot the rope to save the pirate earlier). After a few moments, they will enter the fort and close the door. It’s time to sneak inside!
Part 2: Infiltrate
When our objectives are updates, we’ll now be tasked with infiltrating the fort. Run over to the gallows and look behind them. There is a tree branch conveniently placed parallel to the wall of the fort. Follow the path along the wall using the small ledges and trees until you can go no further. At this point, you should be able to climb the wall.
Follow the fairly obvious climbing path up the side of the fort until you reach a window-like ledge. There is a guard inside. Wait until he is close to you and perform a ledge assassination on him (we need three of these for the optional objective). Step on the small wooden beam protruding from this ledge and use it to jump to the next.
From here; climb the wall again until you reach the top. Stay hanging from the edge for the moment. A guard should patrol over and stop directly above you. Make sure you ledge assassinate him as well. Now rather than climbing up, shimmy around the edge of the roof to the left. Wait for the other guard up here to patrol above you and perform a ledge takedown on him as well. This should complete your first optional objective.
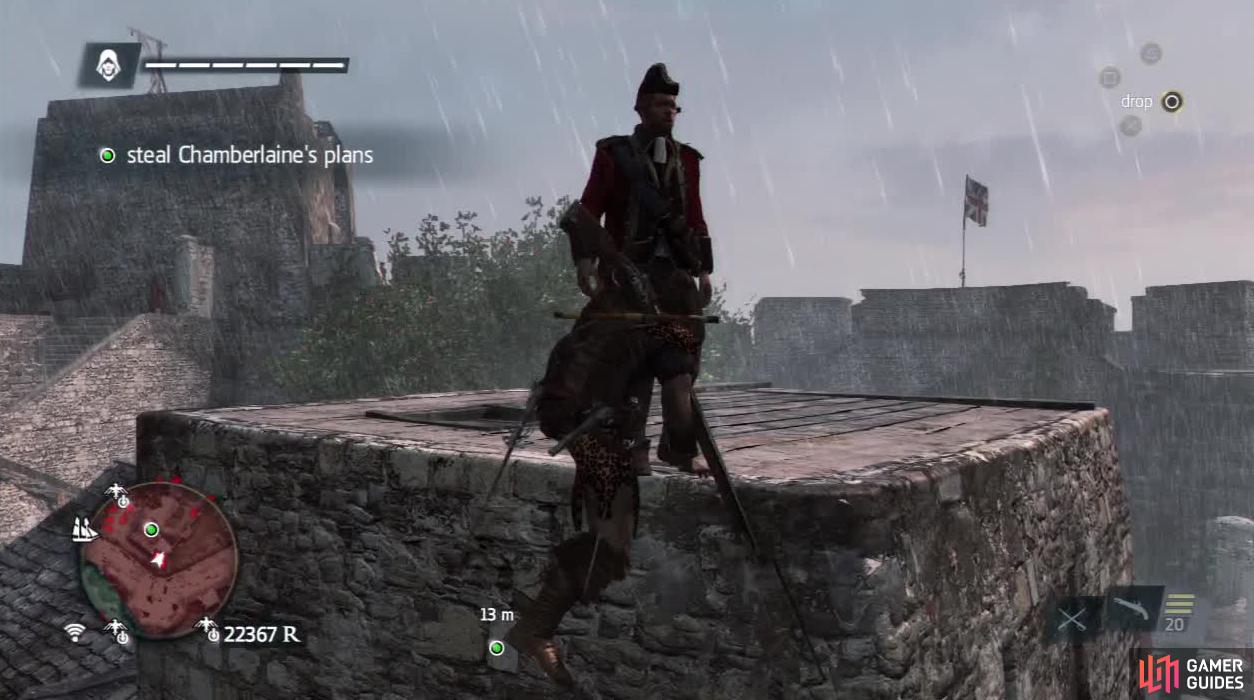
There are plenty of Gunners around the battlements just waiting for you to topple.
Climb up onto the guard tower here. At this point, a green waypoint marker should appear. That is our next target. Find the crumbling wall at the top of the tower here and walk over to it. At the base of the wall is a pair of soldiers. Drop down and double assassinate them. Head down the stairs here and as you reach the bottom, dive into the haystack just below. Assassinate the guy leaning on this.
From the haystack have a quick look around. There is a Gunner on the roof directly above the objective marker, and another to your left on the wall above the alarm bell. We’ll need to put them to sleep when we make our move in a moment. Wait for the pair of patrolling guards to move past the hay stack to the right.
Once they have moved on, hop out and use a sleep dart on the gunner to the left. Run over and sabotage the bell (this will complete the second optional objective). Now return to the haystack and enter the stalking zone bush between it and the objective marker.
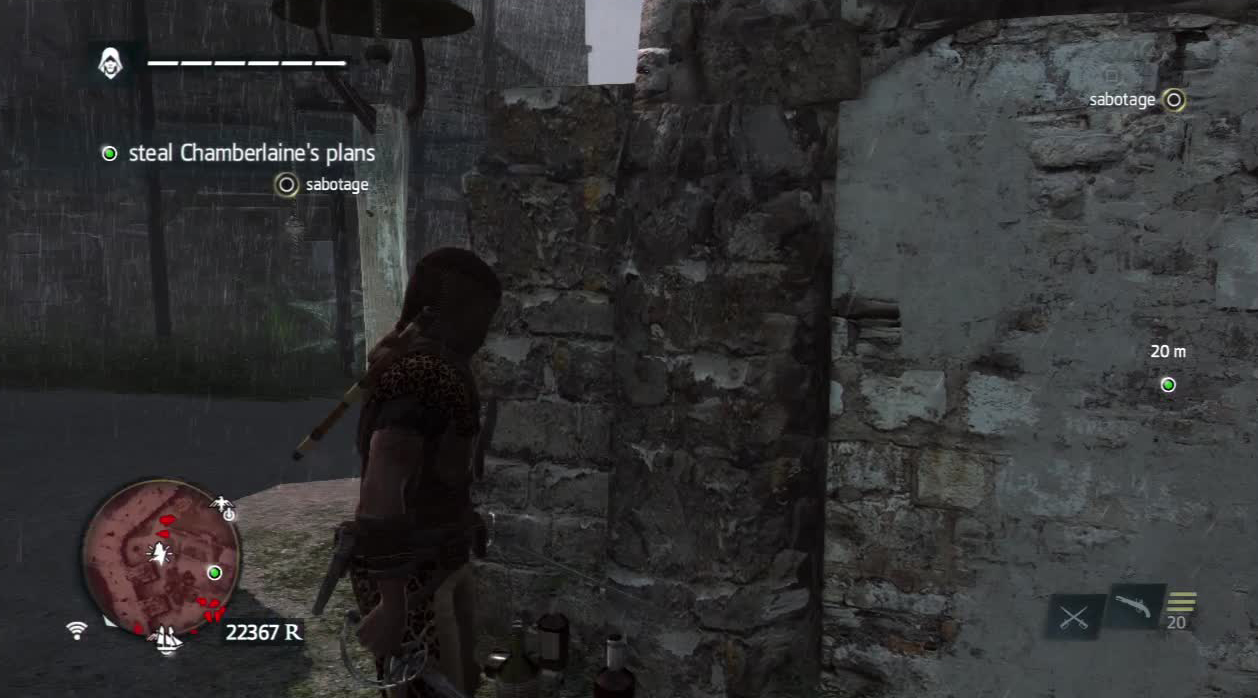
Providing you have cleared out the Gunners and any immediate enemies, you can hide behind this wall as you sabotage the bell.
Now that we are safe, put the guard on the roof above the waypoint marker to sleep with a dart. When it is clear, run over and loot the map indicated by the green marker to complete the mission.

 Sign up
No Comments