
There are many optional encounters in Blades of Fire, and the Three Kings are but a few of them. Each King can be fought three times throughout the course of adventure and, upon defeating each King for the third time, you’ll unlock a Forger’s Scroll. ![]() King Ashkhanar is the first of these encounters you’ll find, so learn how to deal with him and what other locations he spawns.
King Ashkhanar is the first of these encounters you’ll find, so learn how to deal with him and what other locations he spawns.
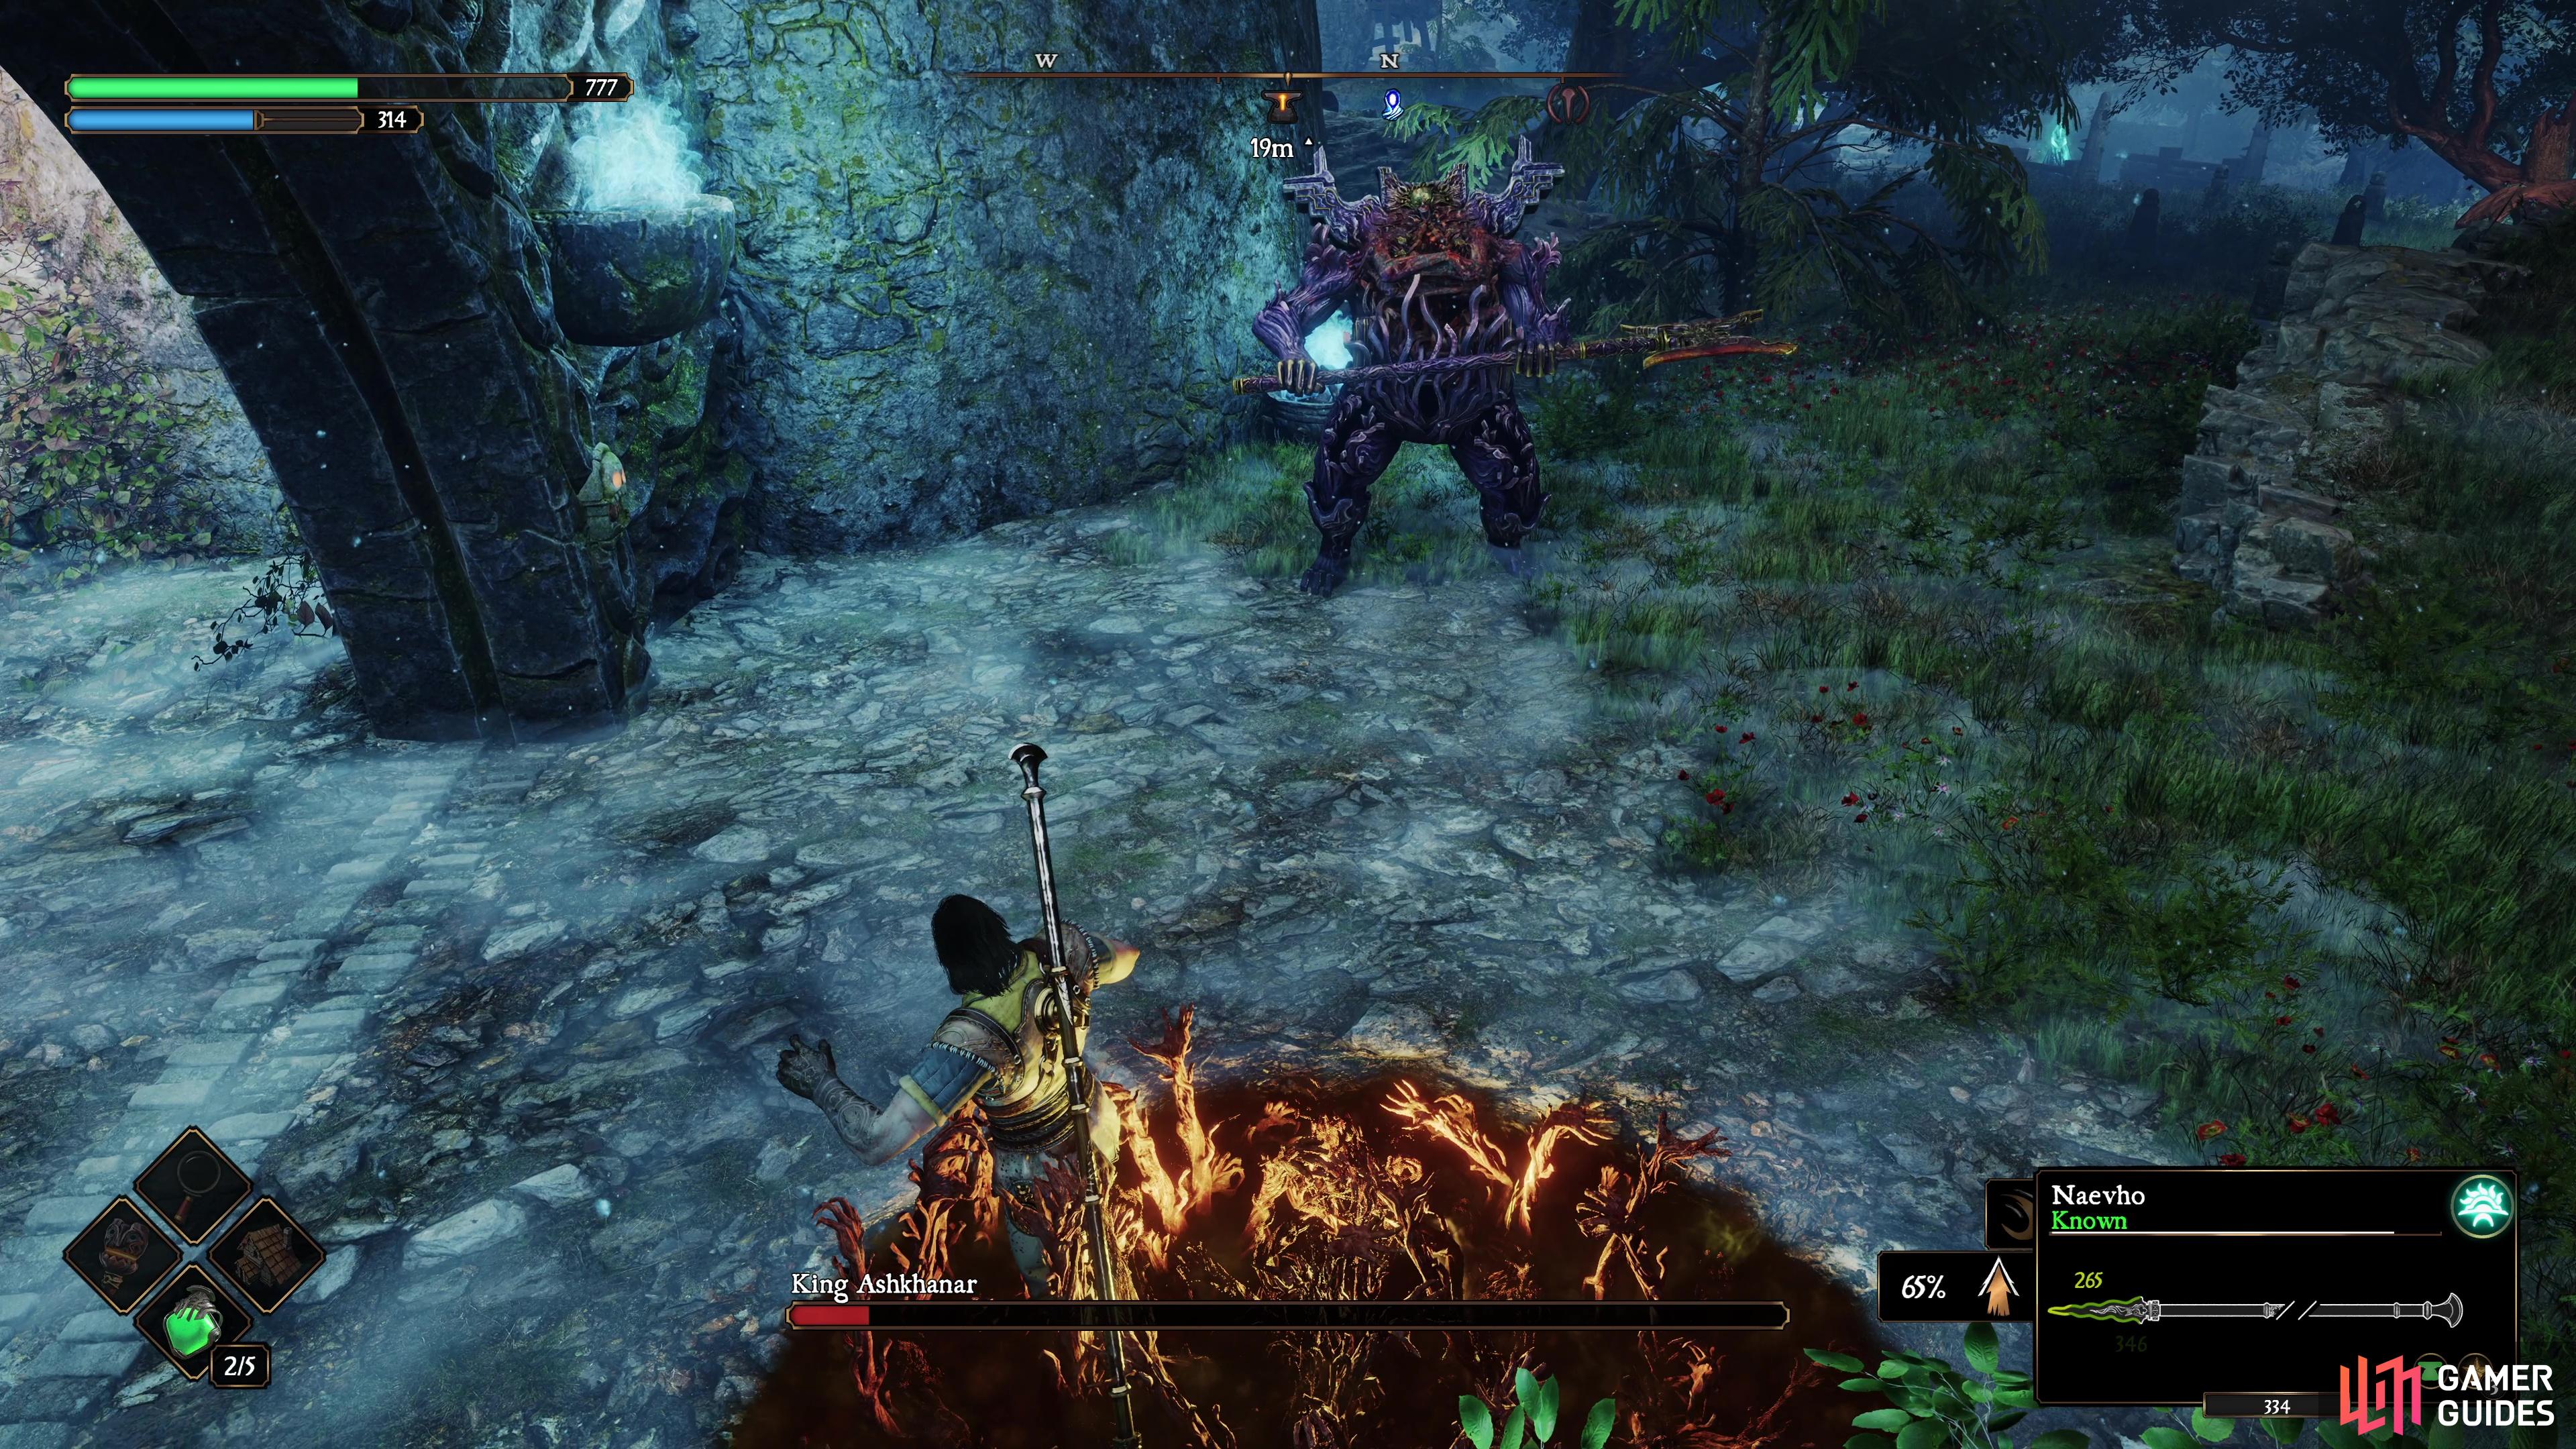
King Ashkhanar is one of the Three Kings in Blades of Fire.
Table of Contents
If you want to jump to a specific section, click on the links below.
King Ashkhanar Locations
As mentioned at the top of this page, there are three locations for each of the Three Kings, but the first time you’ll encounter King Ashkhanar is at the end of Funeral Bridge in the ![]() Doyen Graves. Fortunately, there is an anvil right next to where the gate opens to face him, the Gazebo of Solitude anvil. Below, you can discover all three locations you can find King Ashkhanar in Blades of Fire:
Doyen Graves. Fortunately, there is an anvil right next to where the gate opens to face him, the Gazebo of Solitude anvil. Below, you can discover all three locations you can find King Ashkhanar in Blades of Fire:
-
 Aecides’ Domain - Doyen Graves: From the Gazebo of Solitude anvil in the east of the area, drop down and go through the large gate (which you drop with a switch).
 -
 Northern Hiss City: Make your way down into the central courtyard (that leads to the Central Hall to the south), make sure you deal with the other enemies in the area before challenging him.
 -
 King’s Bastion - West Tower Cells: Make your way over to the southeast tower and ascend to the top of it.
Once you have defeated all three, you’ll unlock the Forger Scroll for the Great Axe Polearm.
King Ashkhanar Boss Strategy
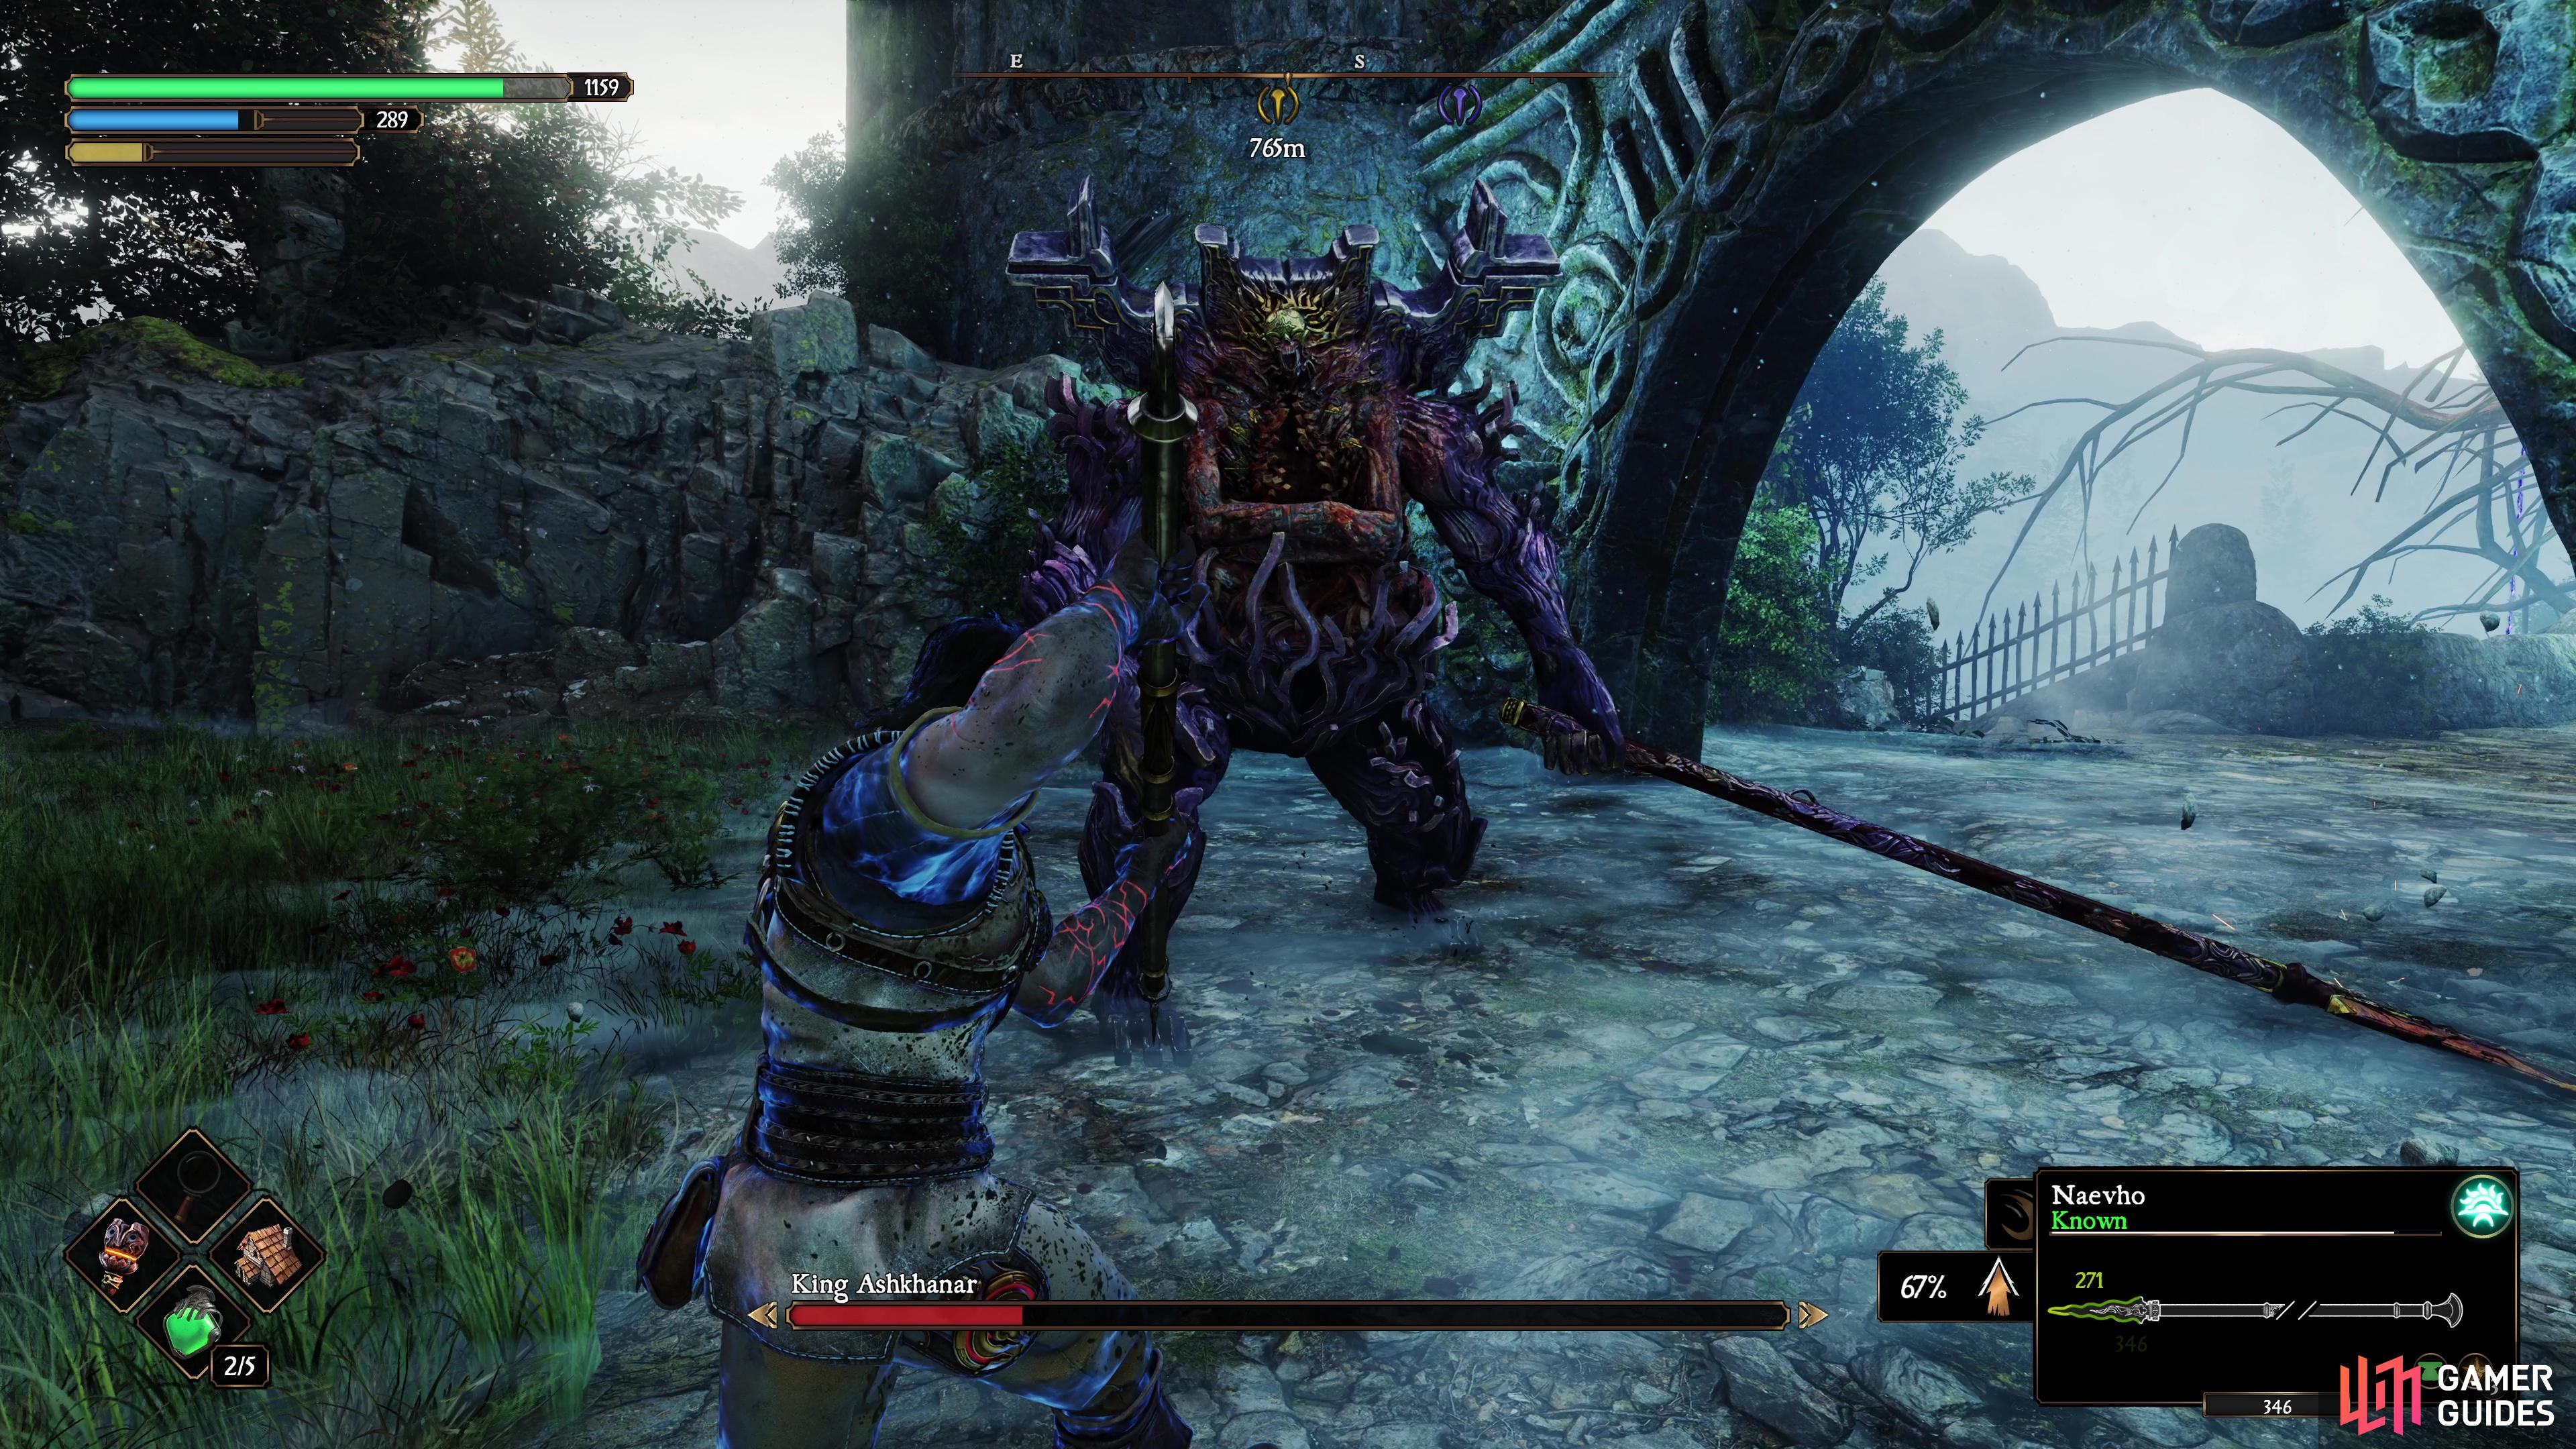
You’ll immediately notice that King Ashkhanar is unlike any of the regular enemies you’ve fought by now and can be considered, for all intents and purposes, a boss, and as such, you’ll want to make sure you’re adequately prepared. The main thing you’ll want to bear in mind is that King Ashkhanar can deal heavy damage if you’re not careful, as such, you want to keep your distance and having a weapon with long Reach is ideal, for that reason, we recommend a Thrust-based Spear that is focused on Penetration. Polearms can work too, but you’ll need to be more careful with timing your dodges.
King Ashkhanar has plenty of attacks for you to be cautious of, and you can learn about them below:
Double Slam
King Ashkhanar leaps through the air toward your location and slams down his massive axe and then spins and does another slam, dealing heavy damage if any hit connects. He will only use this from range, and you can avoid it by dodge rolling to the right.
Get ready for a second slam after the initial jump and slam.
It’s better to do regular dodges through each hit of King Ashkhanar’s spin combo.
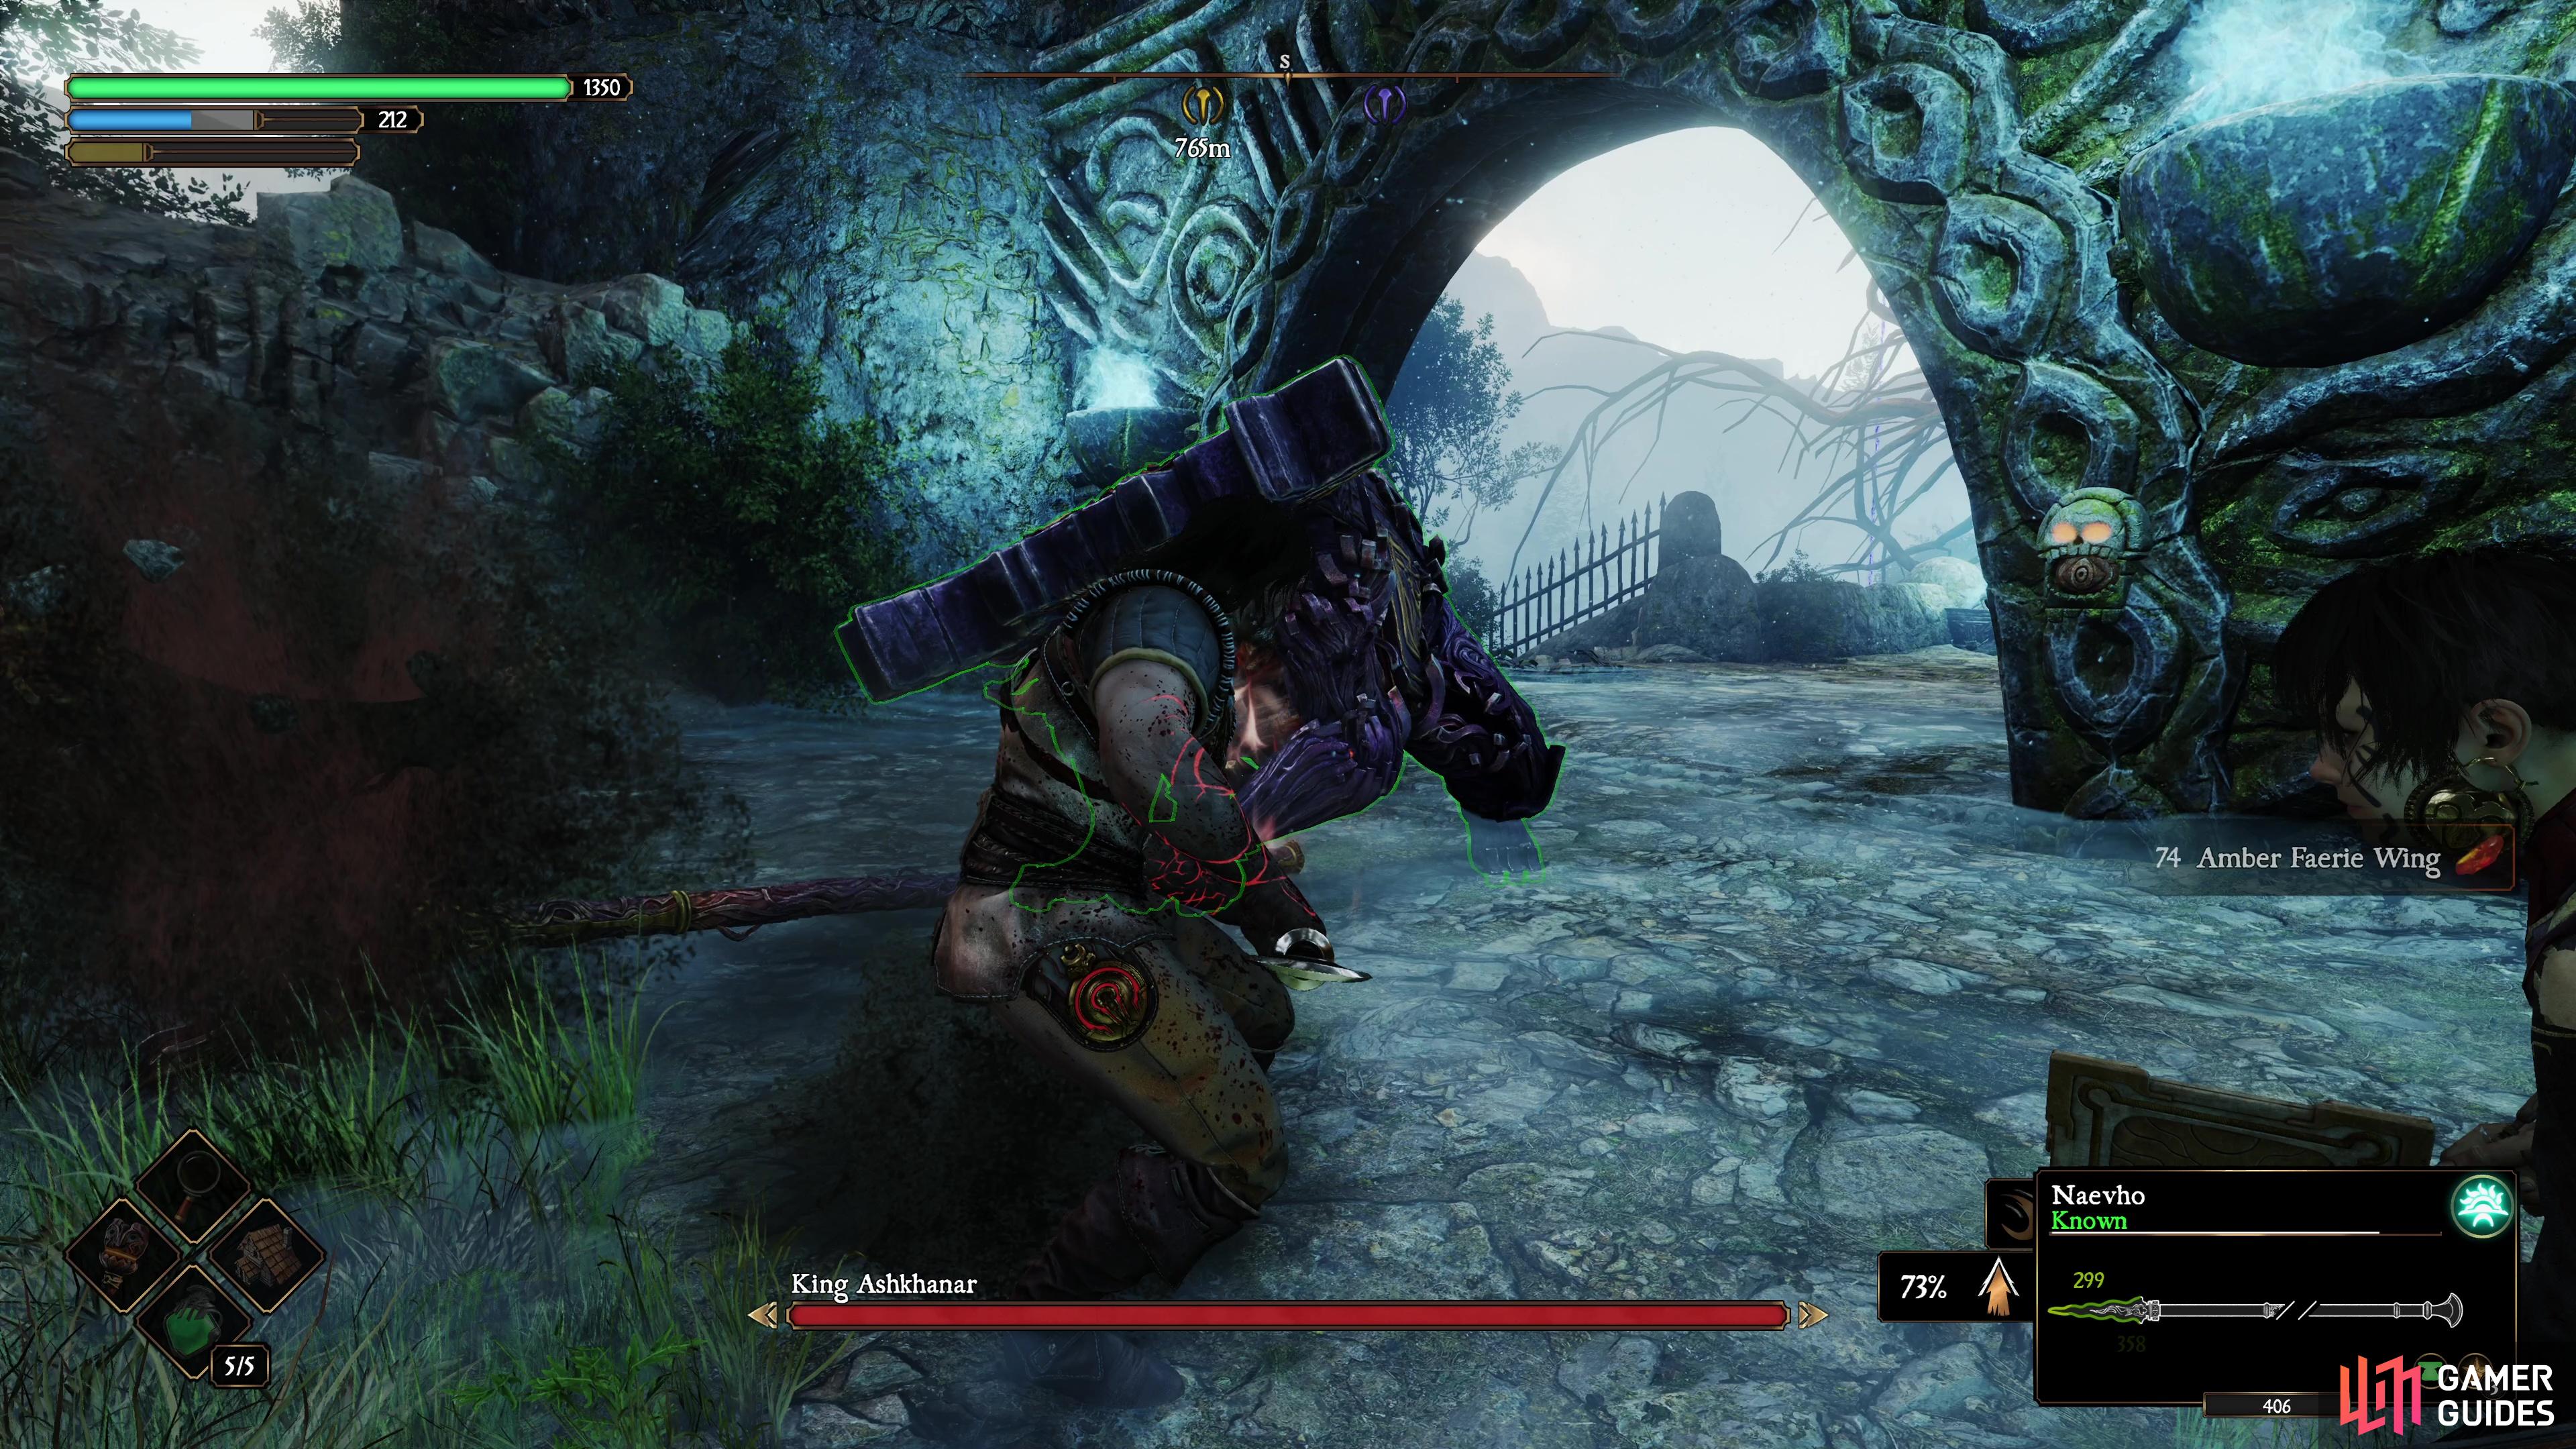
Spin Combo
King Ashkhanar does a multi-hit combo that ends with two spins around himself, each hit is slow, but powerful and will break your guard. Instead, look to do regular dodges (not a roll) through each strike.
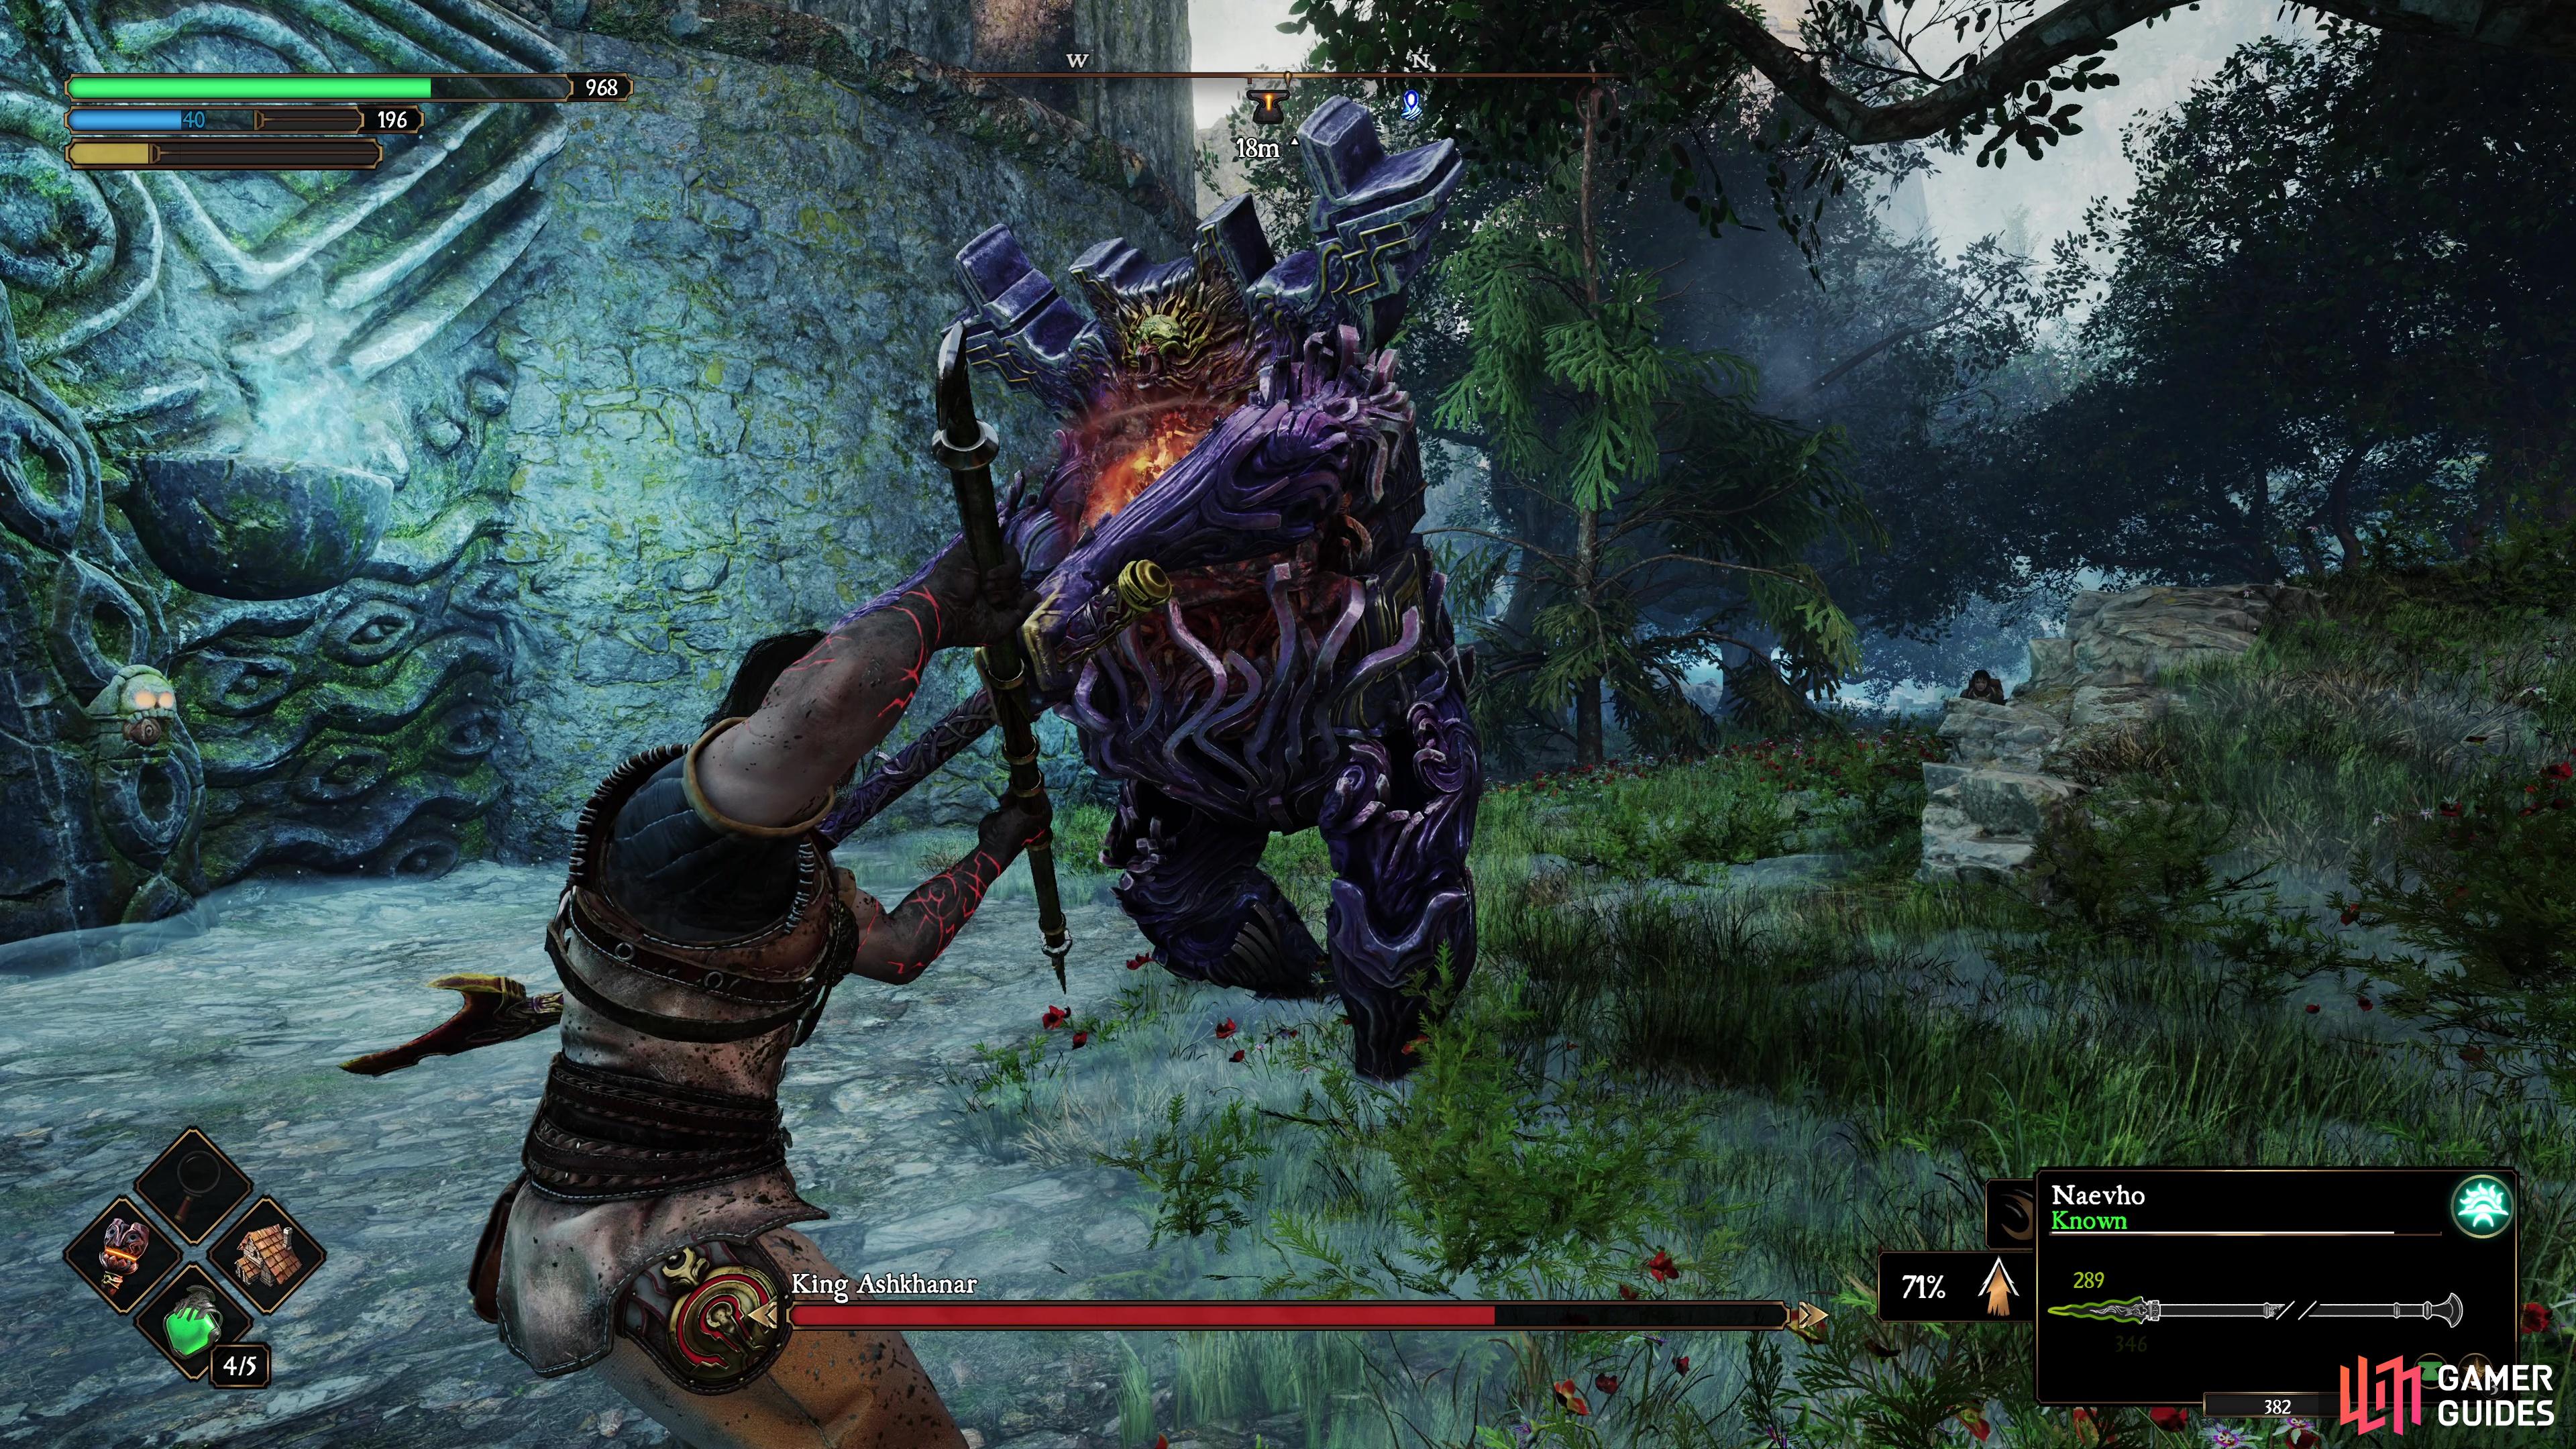
Paralysis Hands
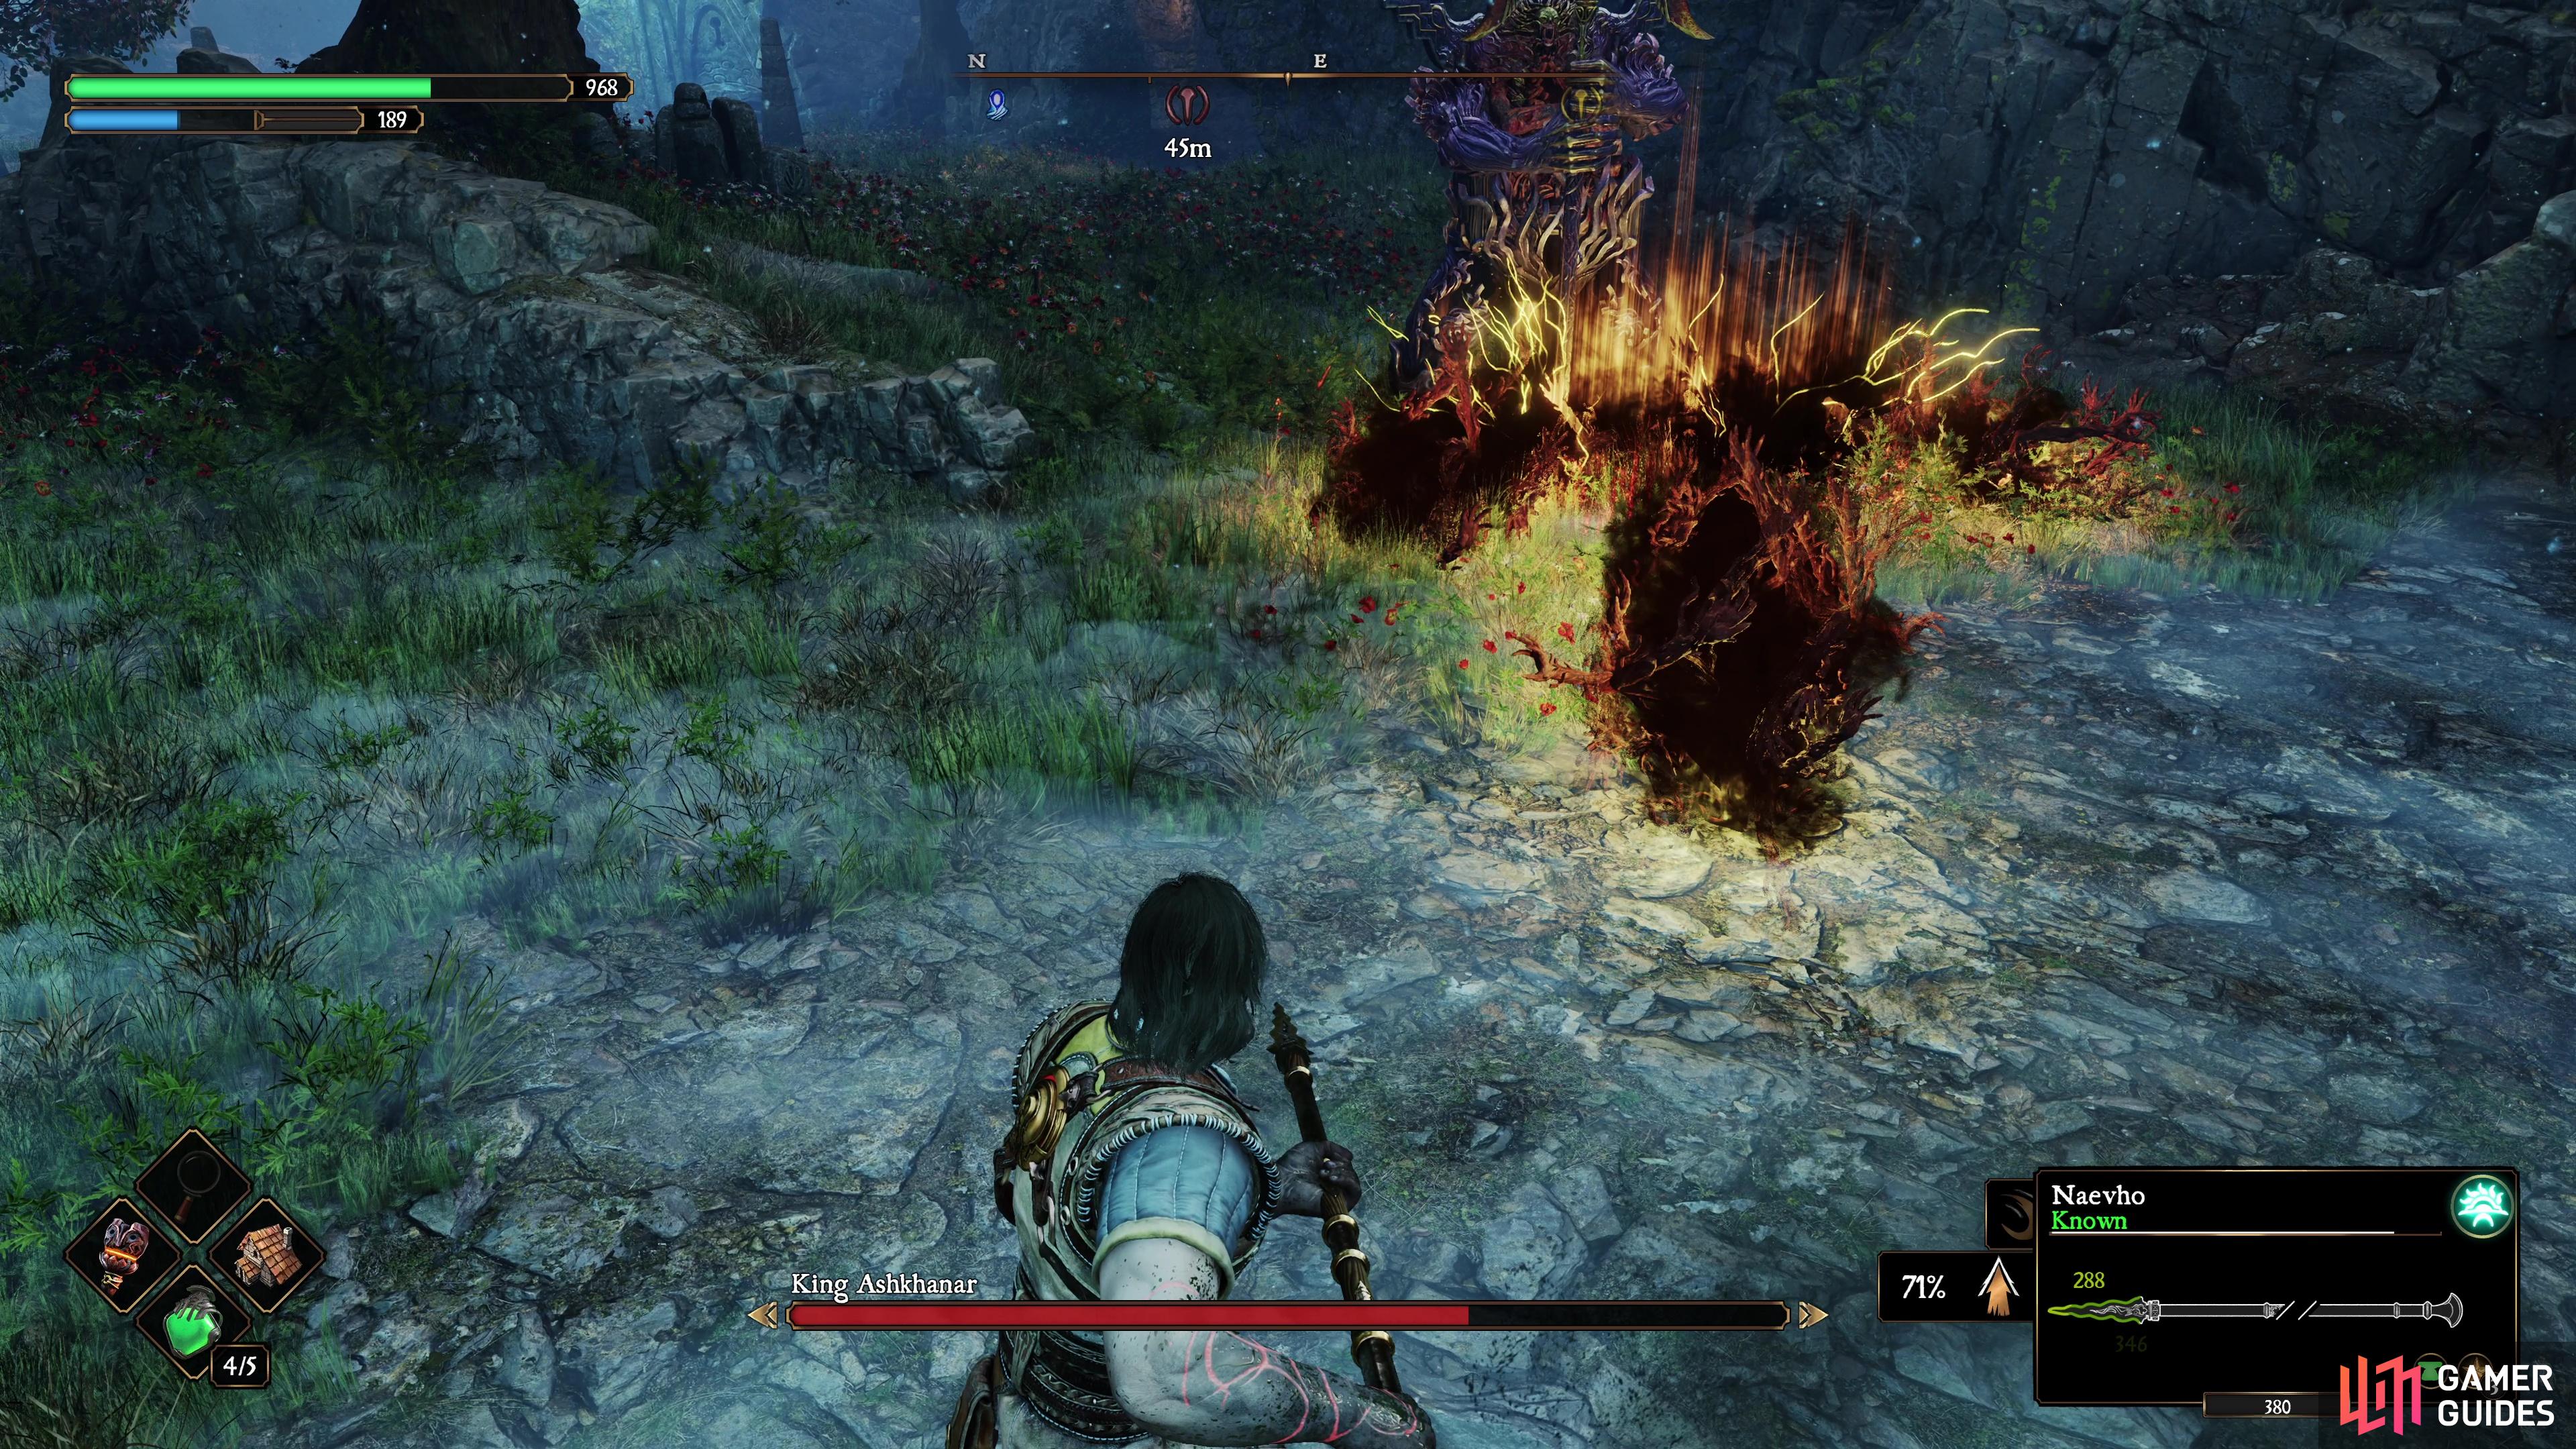
Usually from range, King Ashkhanar slams down his axe and lets out four sets of Paralysis Hands that snake toward you, if they connect, you’ll become slowed in place leaving you completely open for follow-up attacks. You can easily dodge side-to-side to avoid these, but if you do get caught, immediately start walking out of the AoE to avoid any follow-ups.
The battle against King Ashkhanar is more one of patience, as although his attacks hit hard, they’re rather slow, and after nearly every one of them, his combos especially, he often needs a moment to regain his stamina, this leaves him with plenty of opportunities to get in a charges thrust and then get ready to dodge again. Before you do anything though, make sure you deal with the Queens Hounds first, by either killing them yourself or baiting them into King Ashkhanara’s path and having him hit them with his massive strikes.
King Ashkhanar will use Paralysis Hands from range, dodge to the sides to avoid it.
If you do get hit with it, walk to one side as quickly as possible to get free.
Once you learn how his slow attacks work, it’s much better to be mid-to-close range when fighting King Ashkhanara as it will prevent him from using his Paralyzing Hands attack as often, which can often be the difference between victory and defeat if caught at the wrong time. More importantly, you don’t want to be greedy with your strikes and pay attention to your remaining Stamina, often you’ll want to dodge more than one attack at a time. Despite how quickly he can kill you, King Ashkhanar, especially the first encounter, can be far simpler than it may seem at first once you learn his patterns.
No Comments