
The Nine aren’t the only divine beings the denizens can worship, for better or worse there are also a collection of powerful Daedric Princes which draw the veneration of mortals. These mysterious beings range from conditionally benevolent, dangerously playful (read: insane) to outright malevolent, using mortals in their schemes and games to secure more power over their rivals… or just for a bit of a laugh. Putting yourself at the disposal of these Daedric Princes is a hazardous, but potentially lucrative endeavor, as surviving your encounter with a Daedric Prince may see you rewarded with a potent Daedric Artifact. This page will list the location of every Daedric Shrine in The Elder Scrolls IV: Oblivion and provide details about each quest, including a point-by-point walkthrough, starting level requirements, and how to go about obtaining every Daedric Artifact in the game!
Page Breakdown
Starting Daedric Quests
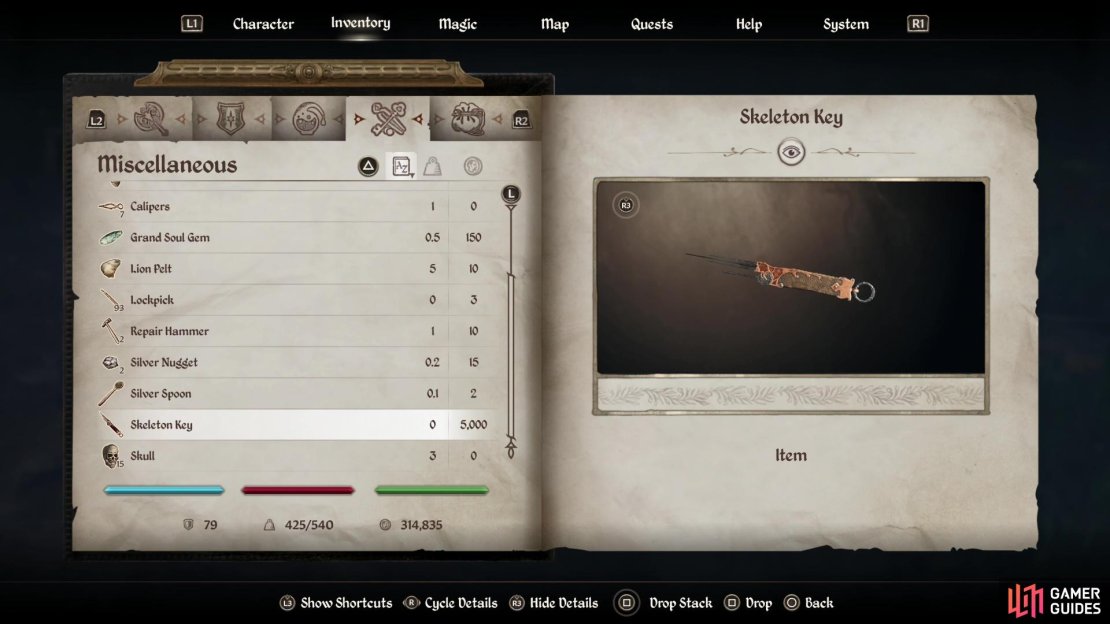
While the details of each Daedric Quest may be intricate, starting them usually is not. To start a Daedric Quest you must first locate a Daedric Shrine - each Daedric Prince has a shrine, and approaching each shrine and talking to one of the petitioners there and/or the Daedric Prince directly should start up that Daedric Prince’s quest. There are fifteen Daedric Quests in total (there are sixteen Daedric Princes, but see the note on Mehrunes Dagon, below) and completing a Daedric Quest usually gives you the option of obtaining a Daedric Artifact at the end. These unique bits of gear range from absolutely essential (Azura’s Star, the Skeleton Key, etc) to… interesting curiosities that will probably spend more time in a stash somewhere. In addition to finding the shrine, you must be worthy of the Daedric Prince’s attention, which almost invariably means each quest has a level requirement, ranging from Lv2+ to Lv20+.
The location of every Daedric Shrine and the requirements to start each Daedric Quest can be found on the table below:
Daedric Shrines
| Daedric Shrine | Location | Requirements | Map Markers |
|---|---|---|---|
| Azura’s Shrine | North of Cheydinhal, past Lake Arrius | Lv2+ | Map Marker |
| Boethia’s Shrine | Southeast of Cheydinhal, in The Valus Mountains | Lv20+ | Map Marker |
| Clavicus Vile’s Shrine | Southwest of the Imperial City, near The Gold Road | Lv20+ | Map Marker |
| Hermaeus Mora’s Shrine | Far to the west of Bruma, in the western edge of The Jerall Mountains | Lv20+, all other Daedric Quests completed | Map Marker |
| Hircine’s Shrine | South of the Imperial City | Lv17+ | Map Marker |
| Malacath’s Shrine | North of Anvil | Lv10+ | Map Marker |
| Mephala’s Shrine | Northeast of the Imperial City | Lv15+ | Map Marker |
| Meridia’s Shrine | West of Skingrad | Lv10+ | Map Marker |
| Molag Bal’s Shrine | West of the Imperial City, about equidistant between The Black Road (Chorrol) and The Gold Road (Skingrad) | Lv17+ | Map Marker |
| Namira’s Shrine | East (and slightly south) of Bruma | Lv5+ | Map Marker |
| Nocturnal’s Shrine | Northeast of Leyawiin, east of the Niber River, along the road running north-south | Lv10+ | Map Marker |
| Peryite’s Shrine | Far to the east and a bit north of Bravil, across the Niben Bay. It’s along the Silverfish River. | Lv10+ | Map Marker |
| Sheogorath’s Shrine | North of Leyawiin, west of the road. | Lv8+ | Map Marker |
| Shrine of Sanguine | Northwest of Skingrad | Lv2+ | Map Marker |
| Vermina’s Shrine | Southwest of Cheydinhal, on the eastern shore of Lake Poppad | Lv5+ | Map Marker |
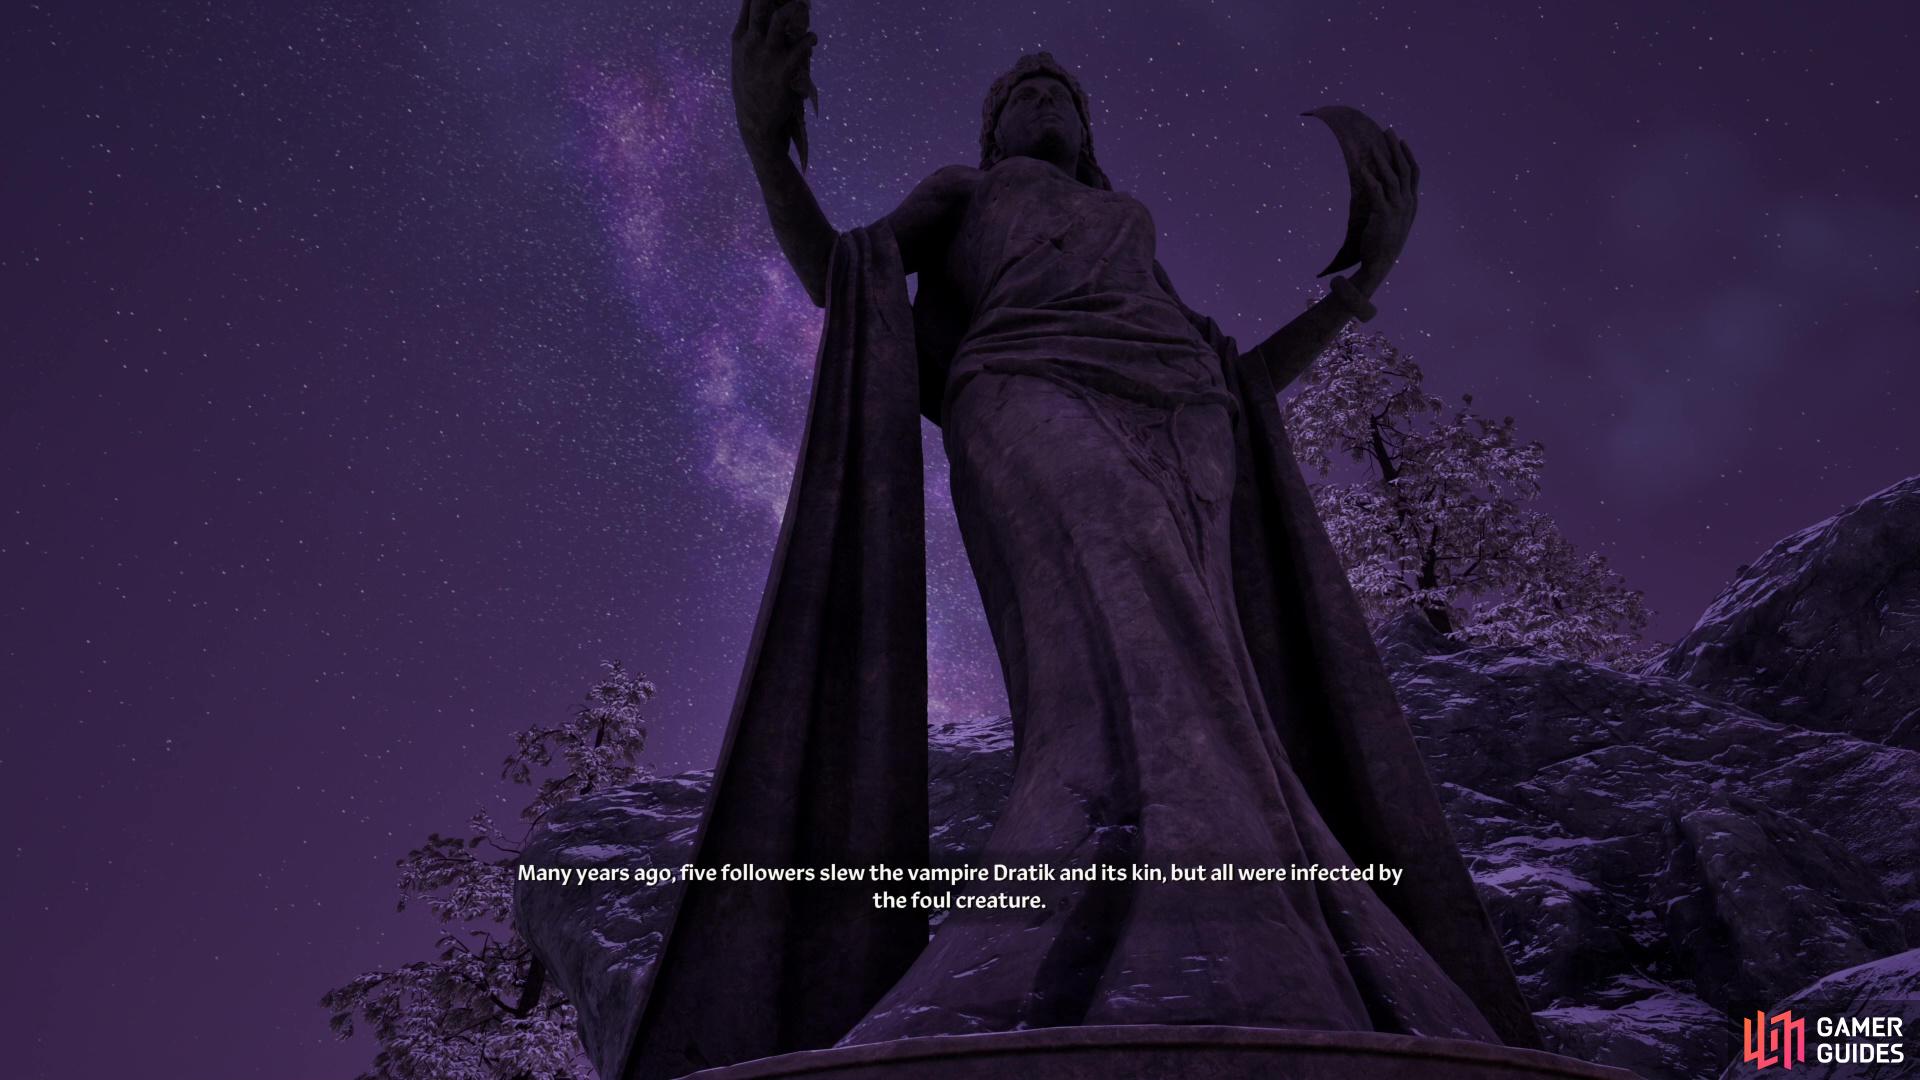

(1 of 3) Offer Azura some Glowdust to start her quest,
Azura’s Quest - Azura’s Star
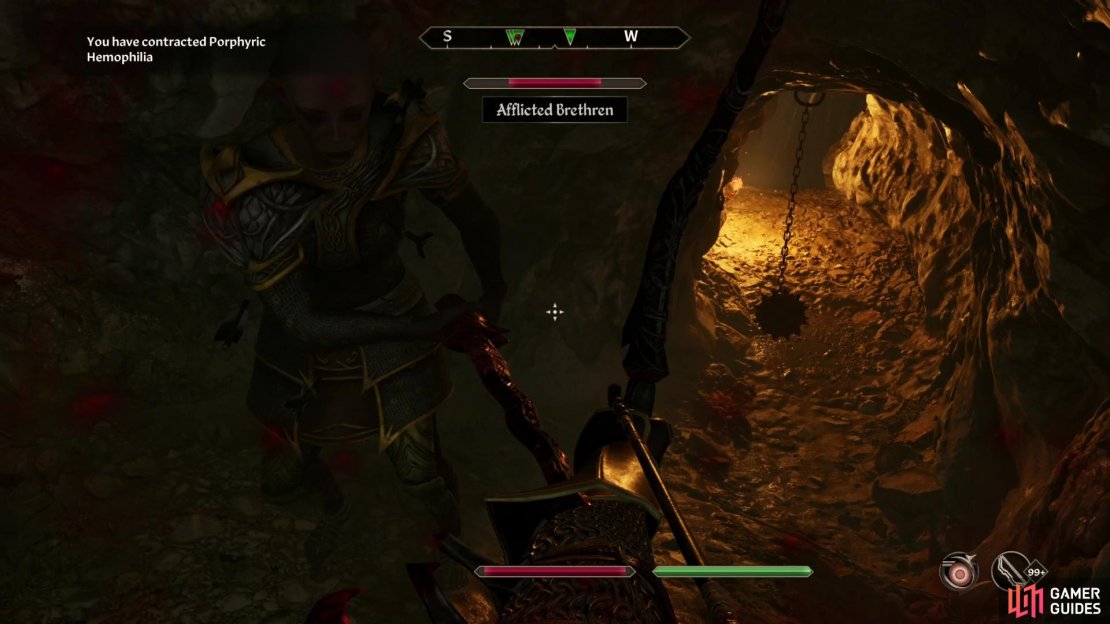
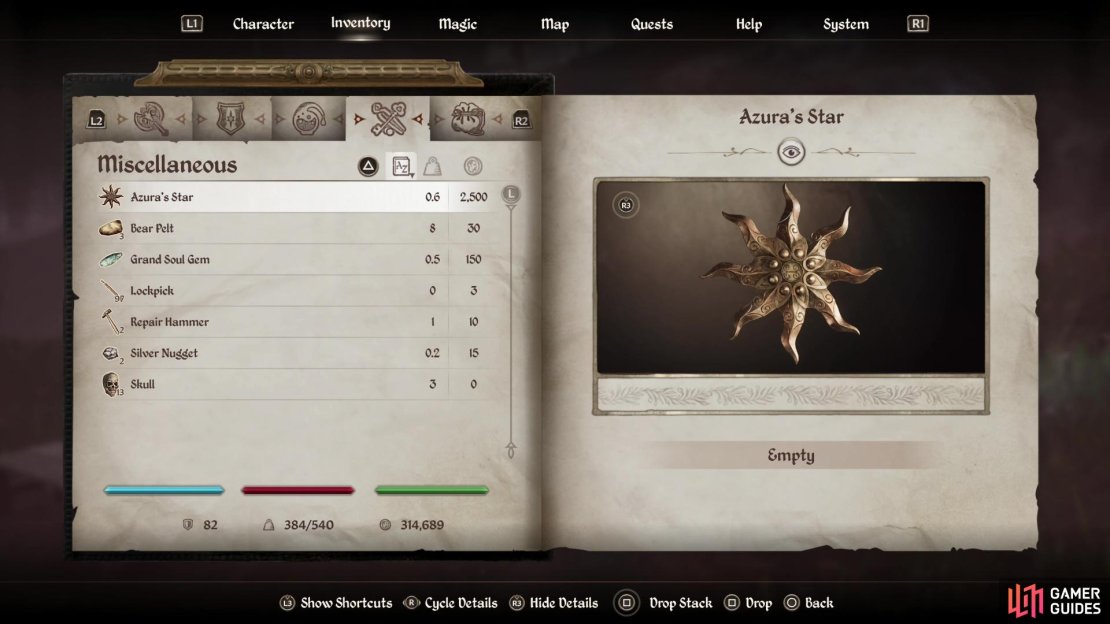
Head north of Cheydinhal to find Azura’s Shrine and talk to Mels Maryon. Get his disposition higher by playing the Persuade minigame, then ask him about the shrine. He’ll tell you to bring Glow Dust (sold at alchemical/magic shops and dropped by Will-o-the-Wisps) to the shrine at dusk and dawn (5:00 AM) to talk to Azura. Once you have Glow Dust and the time is right, interact with Azura’s statue and she’ll tell you to go kill some of her followers in the nearby Gutted Mine, which lies to the southwest. Be wary, as her followers are afflicted with vampirism and can infect you with it - use a Cure Disease potion or spell within three days to cure it. Kill them all, then return to Azura’s Shrine to complete the quest and earn the Daedric Artifact Azura’s Star.
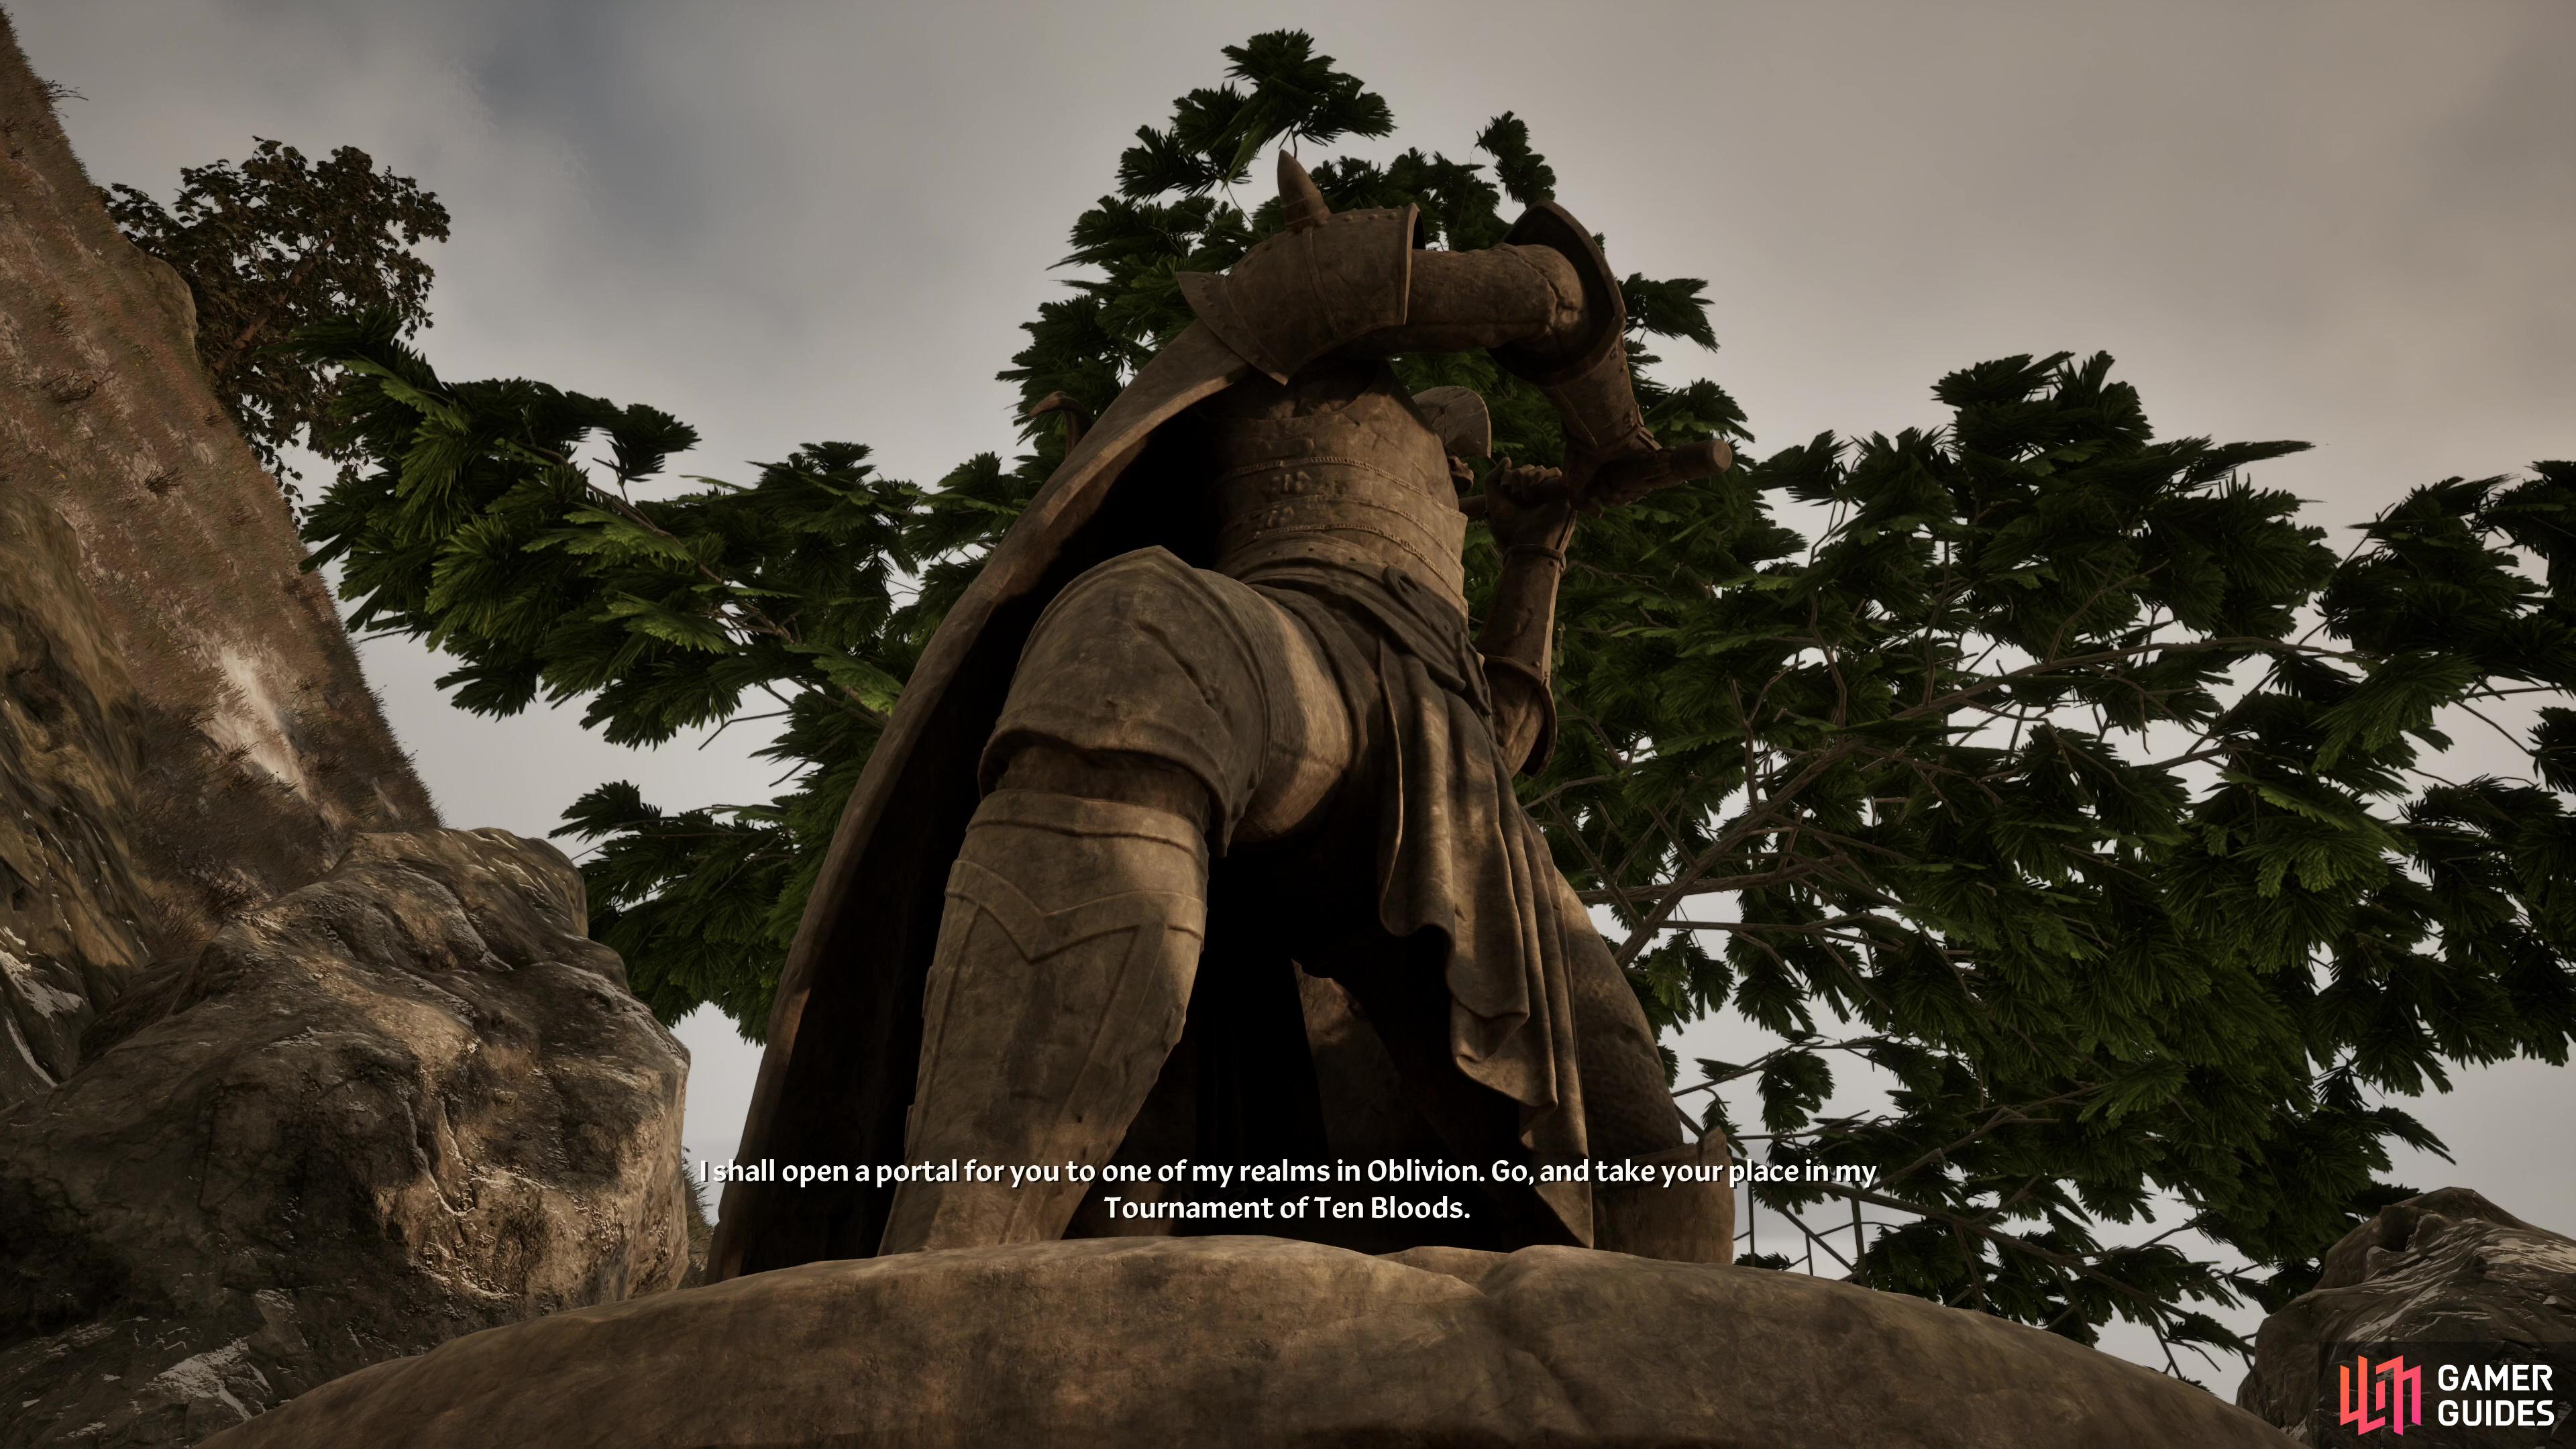
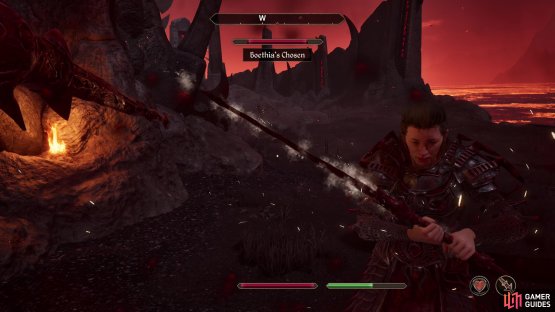
(1 of 2) Give Boethia a Daedra Heart to prove your worth,

Give Boethia a Daedra Heart to prove your worth, (left), and he’ll let you join his tournament - a refreshingly straight-forward quest, just defeat all his champions to claim the Goldbrand as your prize. (right)
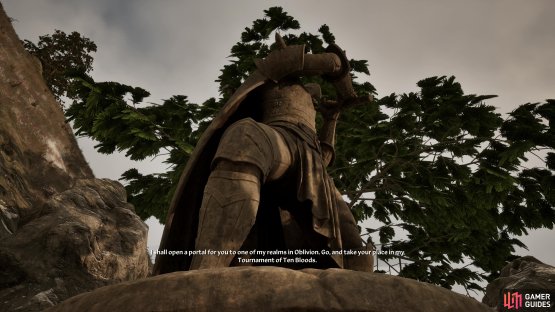
Boethia’s Quest - Goldbrand
You can find Boethia’s Shrine in The Valus Mountains southeast of Cheydinhal. Talk to Haekwon and, assuming you’re Lv20 or higher, offer up a Daedra Heart to the Daedric Prince’s shrine and Boethia will challenge you to compete in “The Tournament of Ten Bloods”. When you’re ready, go through the portal to reach a Daedric realm, which features several small islands separated by gates. On each island you’ll encounter one of Boethia’s Chosen, a leveled warrior who can be armed with melee or ranged weapons… and in some cases a stupendous number of potions. Defeat them one at a time and work your way from island to island until you defeat them all, then take the portal back to Cyrodiil and talk to the statue of Boethia again to claim your reward, the Daedric Artifact Goldbrand.


(1 of 3) Pay Clavicus Vile 500 gold and he’ll give you a quest,
Clavicus Vile’s Quest - Masque of Clavicus Vile
Clavicus Vile’s Shrine can be found a short distance southwest of the Imperial City. Near the shrine, talk to Ma’Raska and he’ll tell you to make a most pragmatic offering to the Daedric Prince - simply pay 500 gold and you’ll gain an audience with Clavicus Vile, whereupon you’ll be told to bring him the sword Umbra. The Statuette of a Dog will be added to your inventory, and its purpose will be revealed shortly.
This quest is interesting in that you actually have options and can pick your reward, but regardless of what you intend to do later on, the start of the quest is linear. You need to make your way east to a village called Pell’s Gate, and as you head there Barbas, Clavicus Vile’s hound, will talk to you and attempt to persuade you to abandon your search for Umbra, but this isn’t actionable yet save by simply… well, not pursuing the quest any further. At Pell’s Gate, talk to a man named Irroke the Wide (raise his disposition via the persuade minigame if necessary) and ask about Umbra to learn she’s been seen at the elven ruins of Vindasel, which lies back west, between Clavicus Vile’s Shrine and Pell’s Gate.


(1 of 3) Defeat Umbra,
Enter Vindasel, kill the rats and crabs in your way, and descend to find Umbra. Talk to her and she’ll threaten you with violence, but give you the choice - walk away or fight. At this point Barbas will pipe in again and encourage you to take Umbra’s advice, and you’ll get several options for completing this quest:
-
Return to Clavicus Vile empty-handed: To do this, just leave Vindasel and report back to Clavicus Vile. You’ll complete the quest but will earn no reward, and Clavicus Vile threatens you to no effect.
-
Kill Umbra and give the sword back to Clavicus Vile: Kill Umbra and pick up her sword (also called Umbra) and take it back to Clavicus Vile and return the sword when prompted. You’ll lose Umbra but will be given the Masque of Clavicus Vile in return, completing the quest and pleasing Clavicus Vile.
-
Kill Umbra and keep her sword: Kill Umbra and take her sword, then take it back to Clavicus Vile and refuse to turn over the sword. Clavicus Vile will threaten you (again, impotently) and the quest will end. You will get to keep Umbra instead of the Masque of Clavicus Vile.
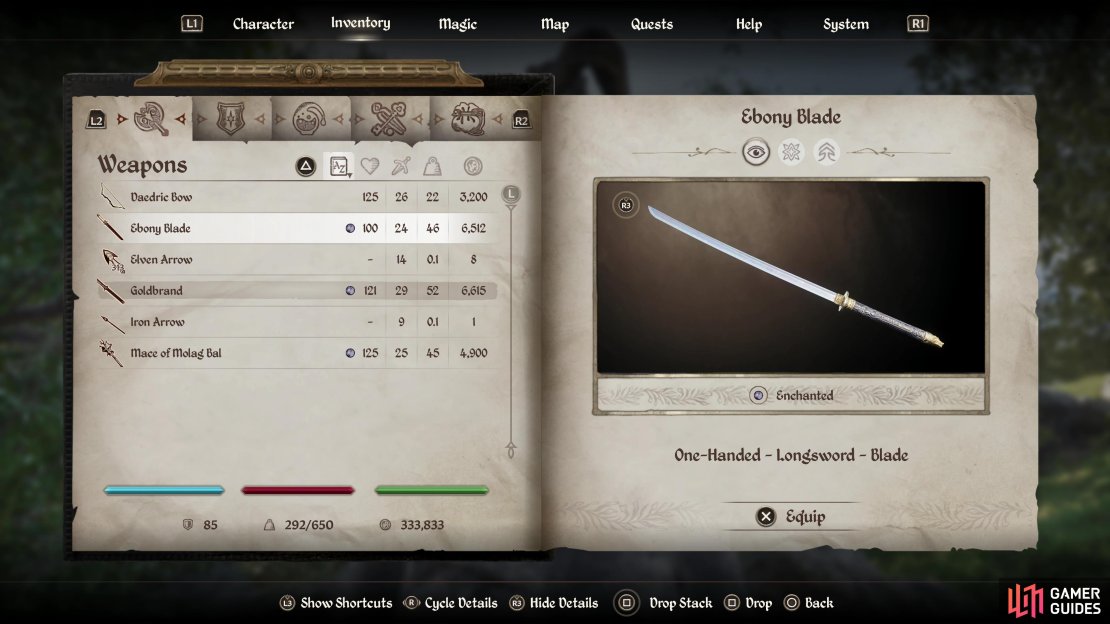
The Masque of Clavicus Vile is a heavy helm with a fair armor value, and it has the effect “Fortify Personality 20pts”, which is twice the value you can normally enchant onto a helmet. Why anybody would need +20 Personality is another matter. Meanwhile Umbra (the sword), has a very high damage value (higher than both Goldbrand and Ebony Blade) and a potent Soul Trap effect when striking enemies. It’s a very appealing mid-game weapon (or early game, if you can manage to defeat Umbra at lower levels). It’s also worth noting that you can kill Umbra and simply refuse to return to Clavicus Vile - the sword will be weightless and bound to your inventory (as all quest items are) until you talk to Clavicus Vile again. This will keep this quest suspended, but you can always return to Clavicus Vile and complete it later.


(1 of 3) Find the shrine to the eldritch horror that is Hermaeus Mora in the mountains between Bruma and Chorrol,
Hermaeus Mora’s Shrine - Oghma Infinium
The most difficult Daedric Shrine quest to trigger, you must complete every other Daedric Shrine quest before you can start this one, and you must advance the main questline until the quest Blood of the Daedra has started. Once you’ve met these goals, find Hermaeus Mora’s Shrine far to the west of Bruma and north of Chorrol, in the mountains. Talk to the Daedric Prince and you’ll be told to gather the souls of each of the game’s ten major races: Altmer, Argonian, Bosmer, Breton, Dunmer, Imperial, Khajiit, Nord, Orc and Redguard. You’ll be given the Mora’s Soul Trap spell to facilitate this, and it lasts a generous 120 seconds - all you need to do is cast the spell on a target and kill it within the duration of the spell. You’ll even get a pop-up text box letting you know when you’ve captured a new soul.
It doesn’t matter what targets you pick, you can kill neutral NPCs if you wish, but it’s less drama and complication to hunt hostile NPCs like bandits, marauders, conjurers, etc. In our experience, clearing a Marauder Dungeon, a Bandit Dungeon and a Conjurer dungeon (like Ceyatatar) should suffice if you cast Mora’s Soul Trap and kill every humanoid enemy you encounter, but RNG may require you to do more (or less) runs. Below you’ll find some takeaways about where different races of hostile NPC tend to spawn:
- Marauders are often Orcs, Argonians, Imperials and Nords.
- Bandits are often Redguards, Khajiit, Dunmer and Bosmer.
- Conjurers are often Altmer and Bretons.


(1 of 2) Return with ten souls to Hermaeus Mora to get the Oghma Infinium,

Return with ten souls to Hermaeus Mora to get the Oghma Infinium, (left), a tome which can be used to boost a selection of attributes and skills, depending on which path you choose. (right)
Kill and capture the souls of each race, then return to Hermaeus Mora’s Shrine to collect your reward - the Oghma Infinium. This tome will give you three choices when used from your inventory, allowing you to choose what upgrades you want:
Oghma Infinium Effects
| Choice | Attributes | Skills |
|---|---|---|
| Path of Steel | Strength, Speed | Blade, Blunt, Heavy Armor |
| Path of Shadow | Agility, Speed | Security, Sneak, Light Armor |
| Path of Spirit | Intelligence, Willpower | Destruction, Restoration, Conjuration |
All the affected skills and attributes will get a +10 bonus, and if those attributes/skills were already at 100, their maximum value will be increased, meaning it’s best to save this tome for late-game to effectively raise the cap of those attributes/skills.
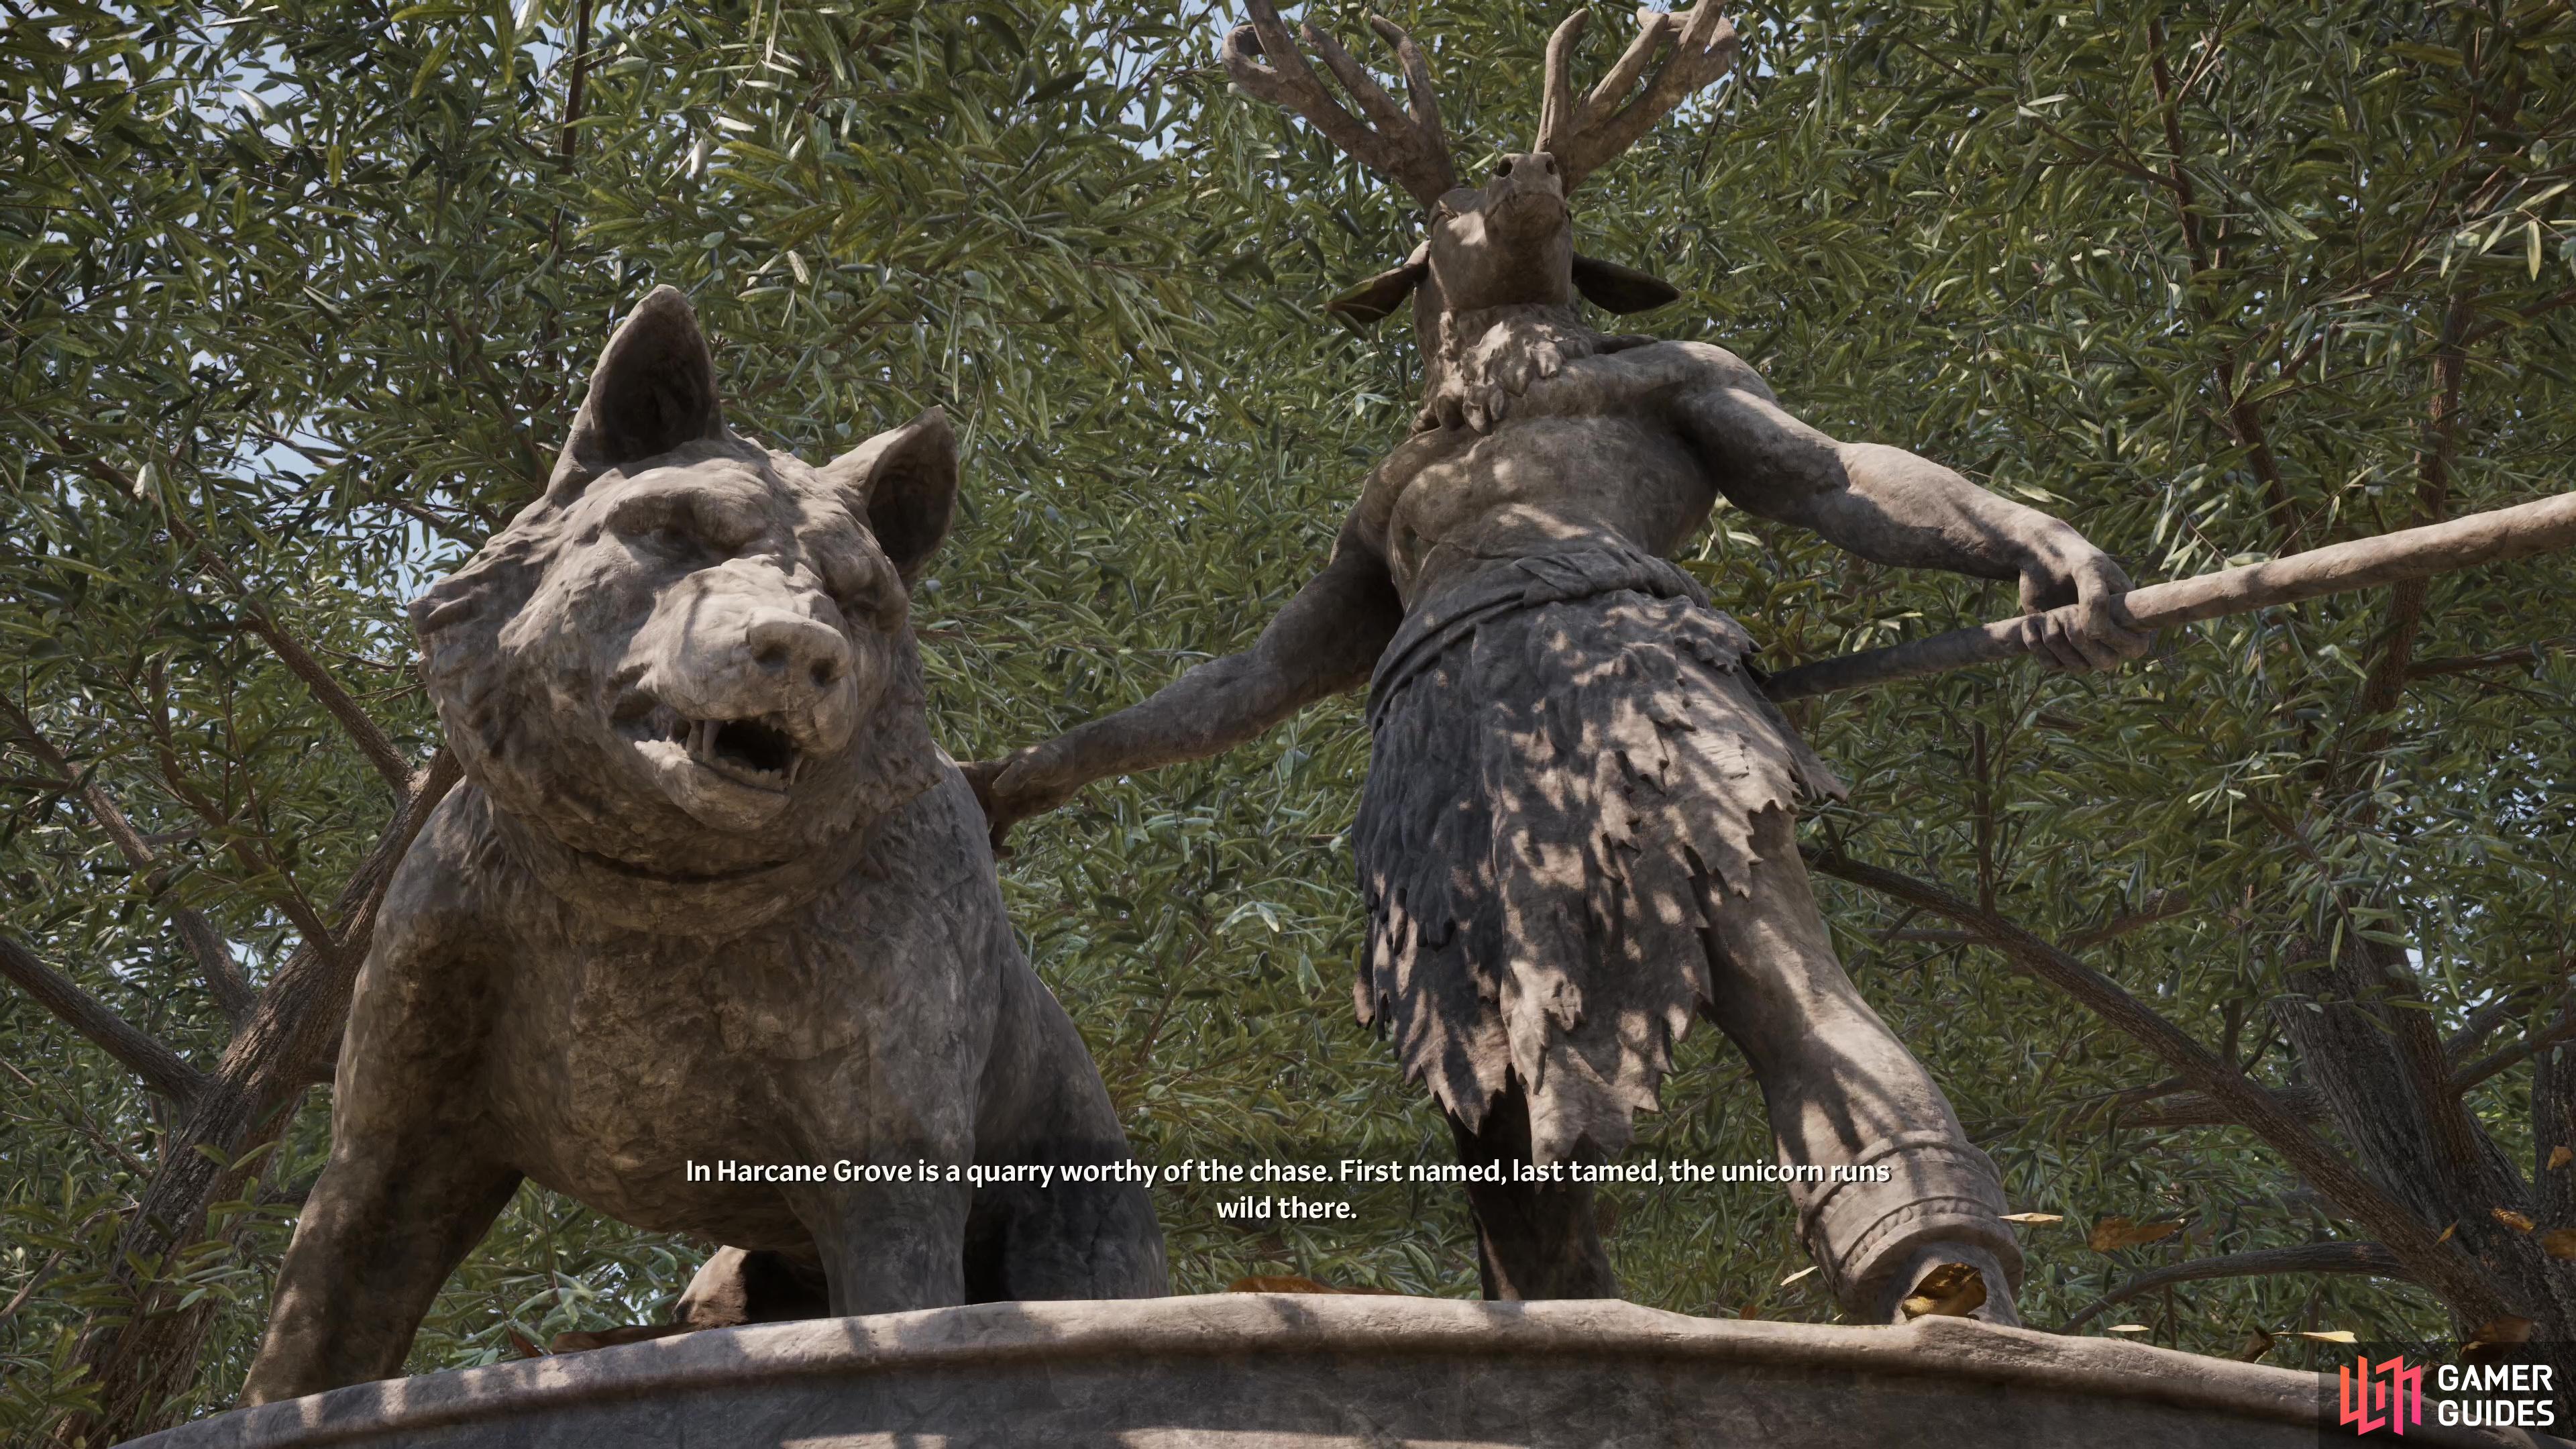


(1 of 4) Offer Hircine a wolf or bear pelt to prove your a top predator, and he’ll challenge you to bring him a unicorn’s horn.
Hircine’s Quest - Saviour’s Hide
South and slightly east of the Imperial City you’ll find Hircine’s Shrine, around which are gathered several hunters. Talk to Vajhira and answer her query with ”I am a hunter.” and you’ll be directed to prove it by offering up a wolf pelt or bear pelt. If you don’t have one, throw a stone - you’re bound to hit a damn bear anywhere you turn in this game, and the woods nearby are full of them. Once you have the offering, interact with the statue of the Daedric Prince and he’ll test you by sending you to hunt a Unicorn.
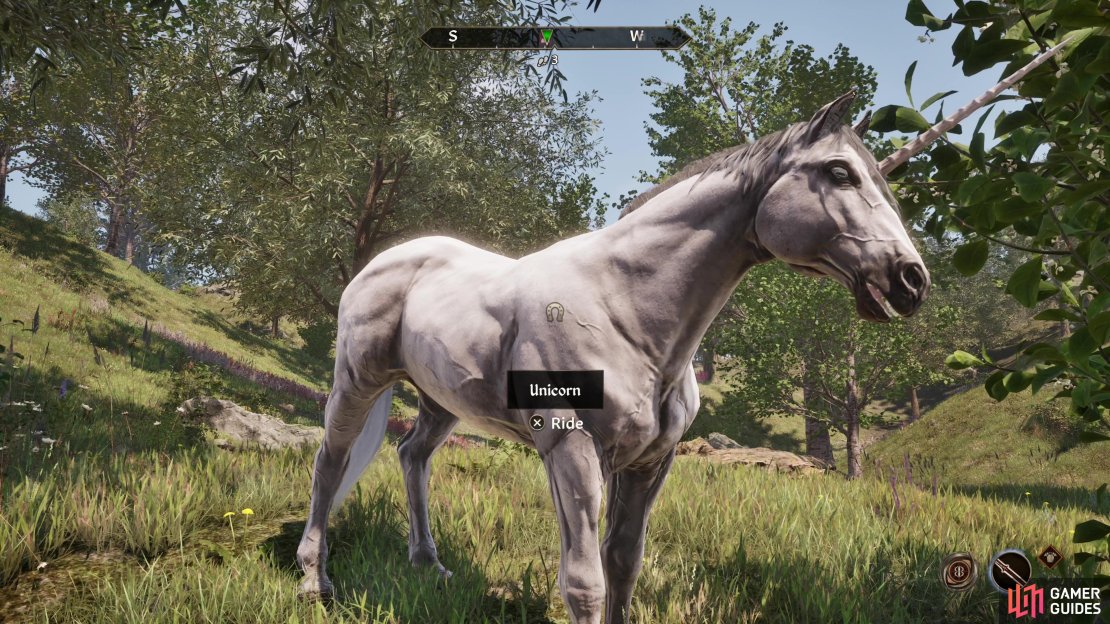
Trek south and slightly east to find Harcane Grove, where the Unicorn dwells. It’s guarded by several Minotaurs regardless of your level - but you need to be Lv17+ to start this quest, so you should be more than capable of dealing with them. The Unicorn isn’t initially hostile, but if you have a weapon drawn close to it (say, while fighting Minotaurs) it’ll turn hostile. If you’re having trouble defeating the Unicorn (it has trouble striking foes behind it, so it shouldn’t be that hard of a battle…) you can lure the Minotaurs away, kill them, then mount the Unicorn and just ride off cliffs until it dies. Kill it however you can, loot it for its Unicorn Horn, then return to Hircine’s Shrine and the Daedric Prince will give you the Saviour’s Hide armor.
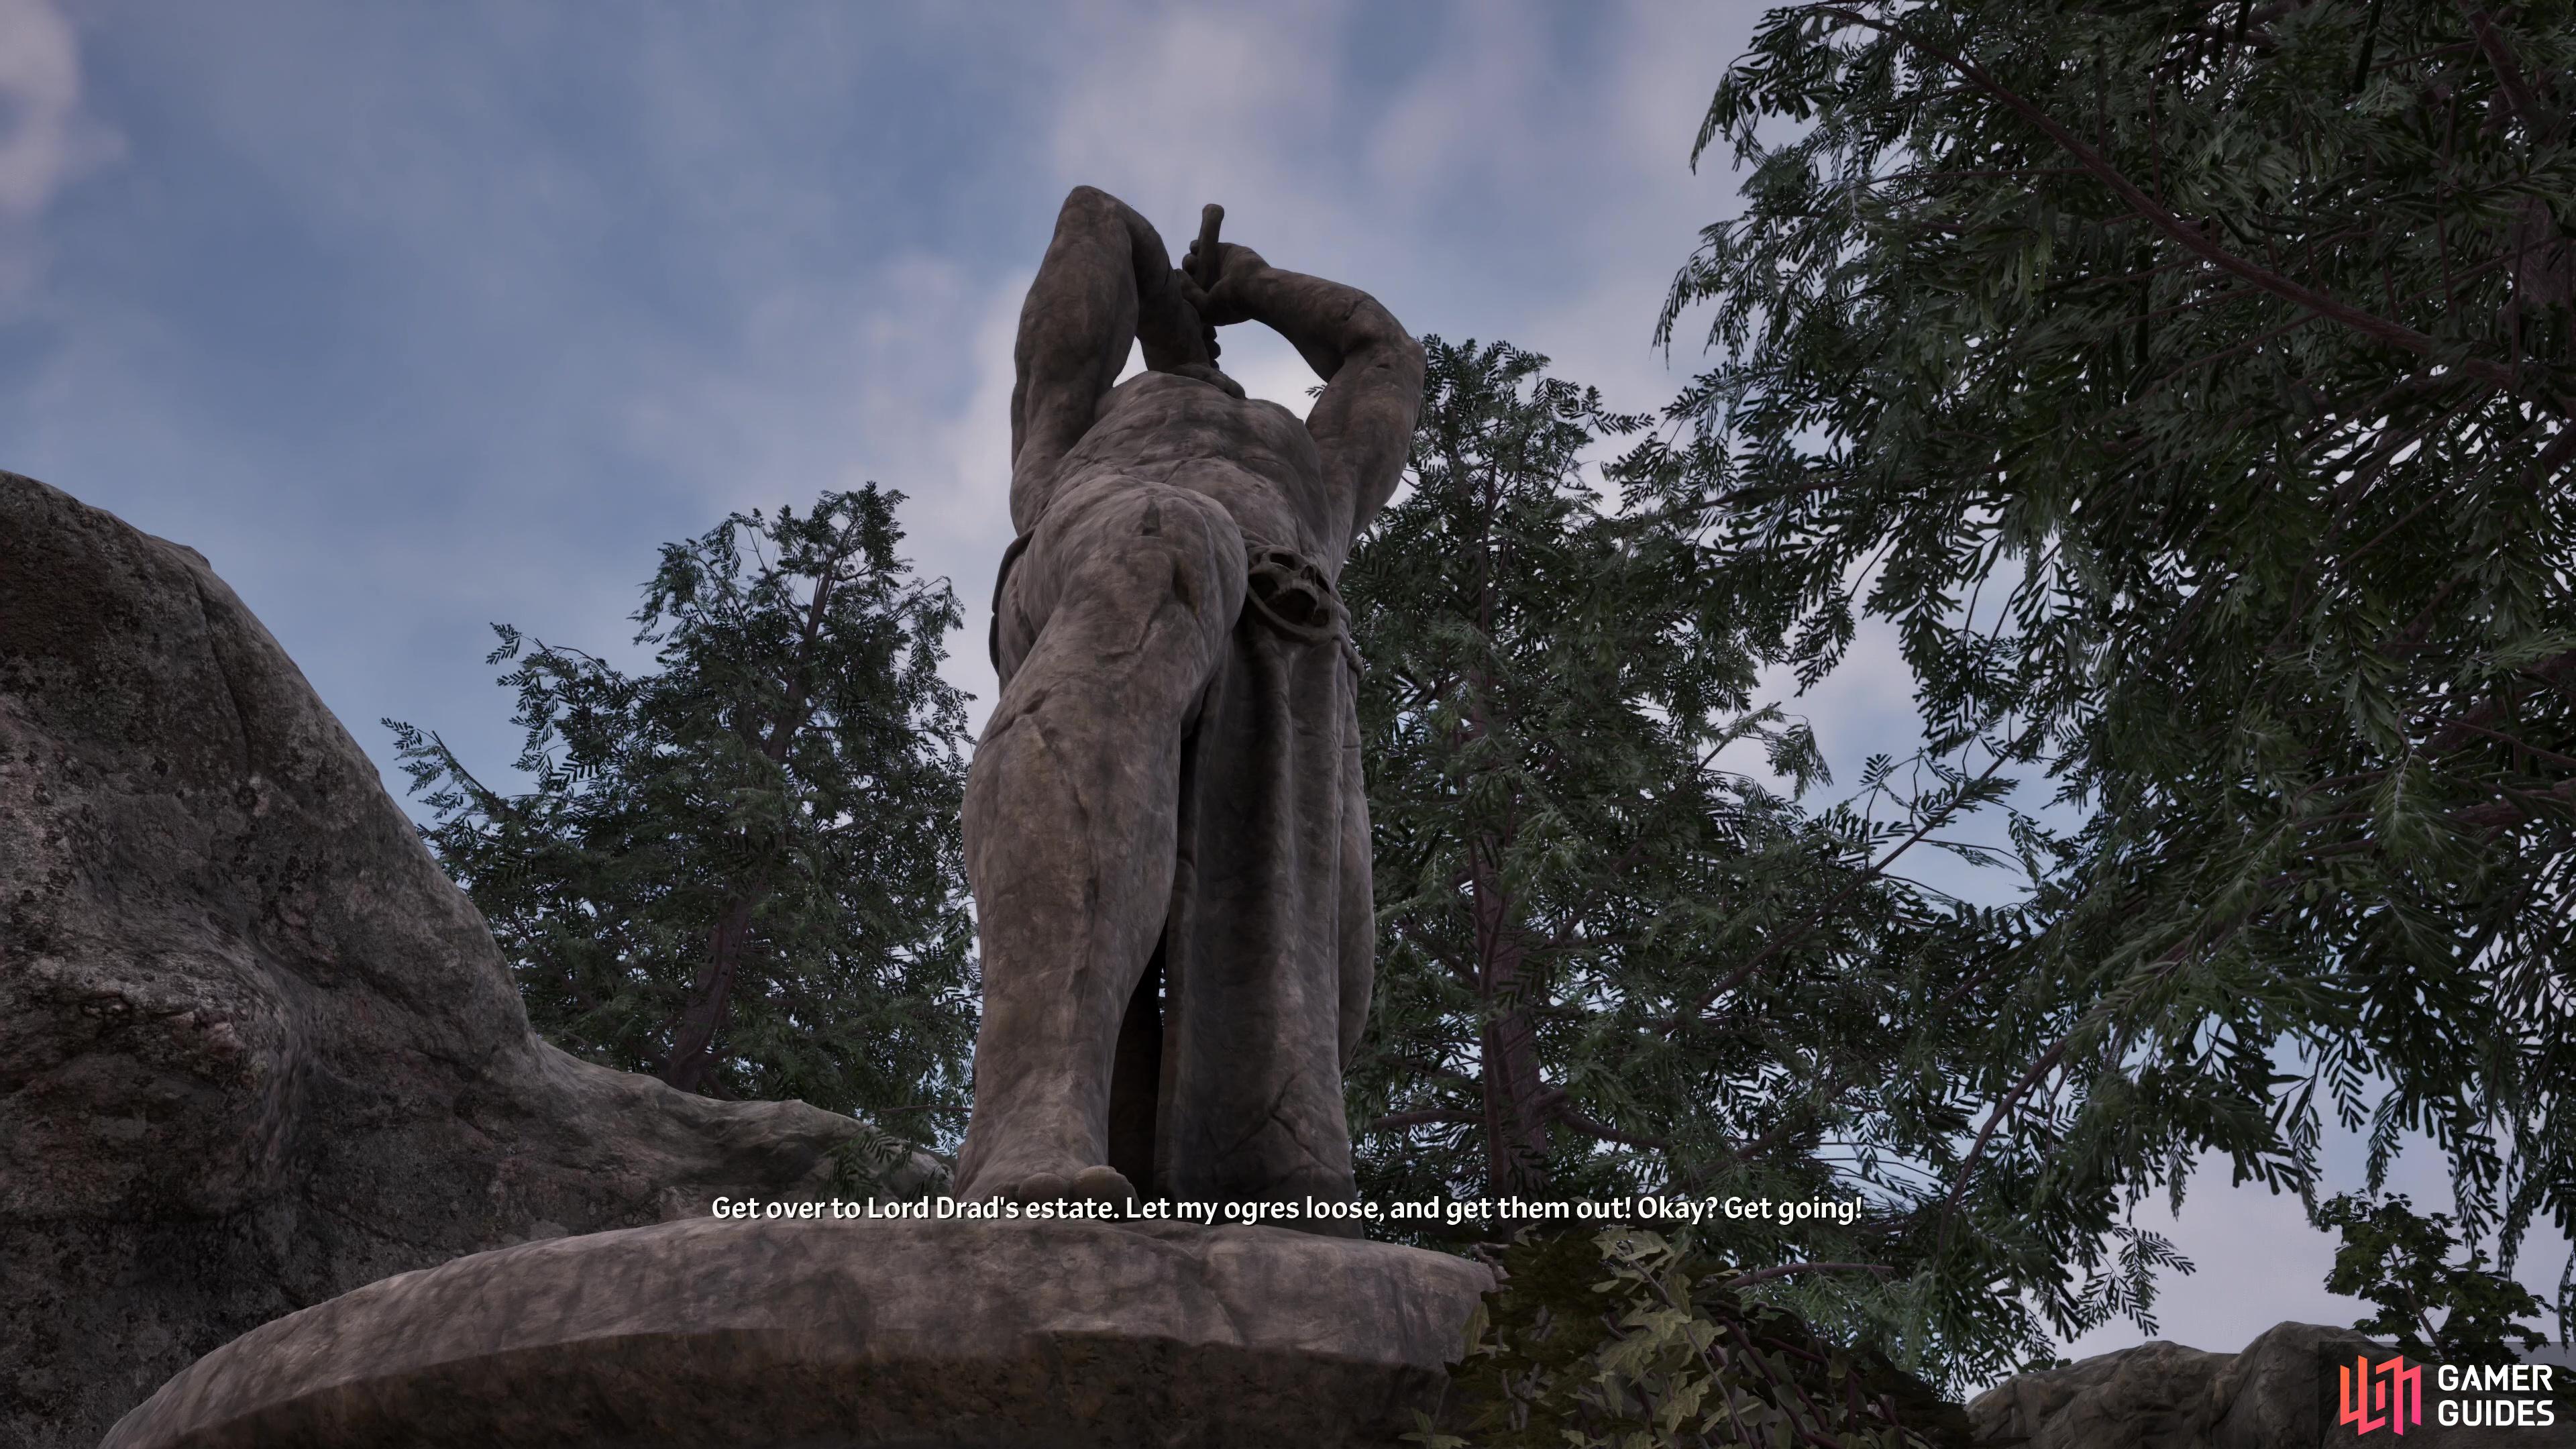
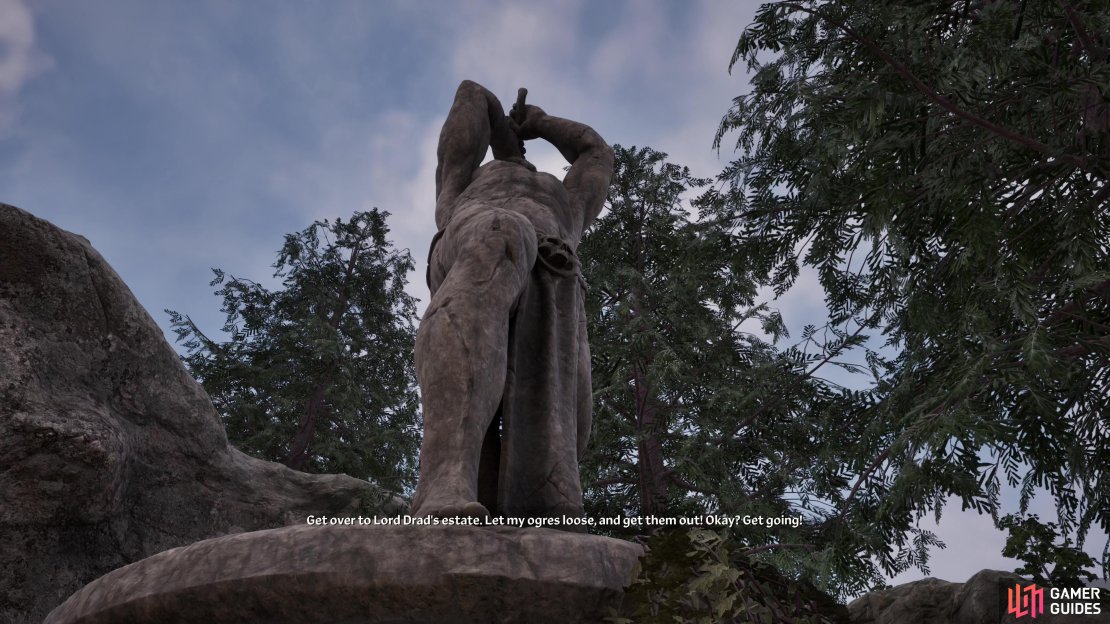
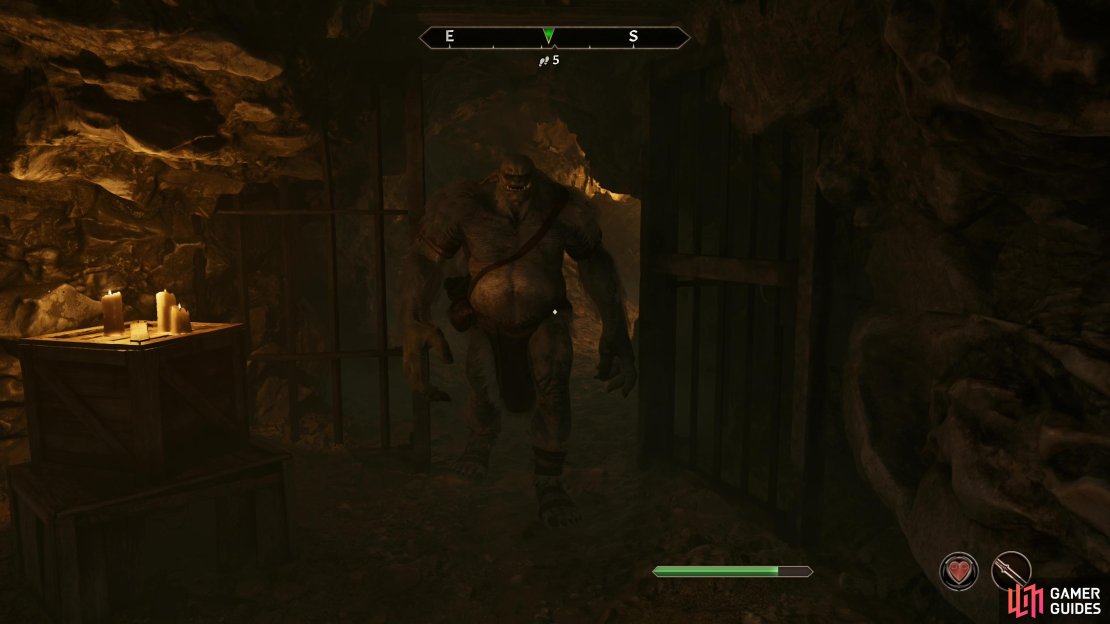
(1 of 5) Make friends with Shobob gro-Rugdush and bring Malacath some Troll fat to get his quest.
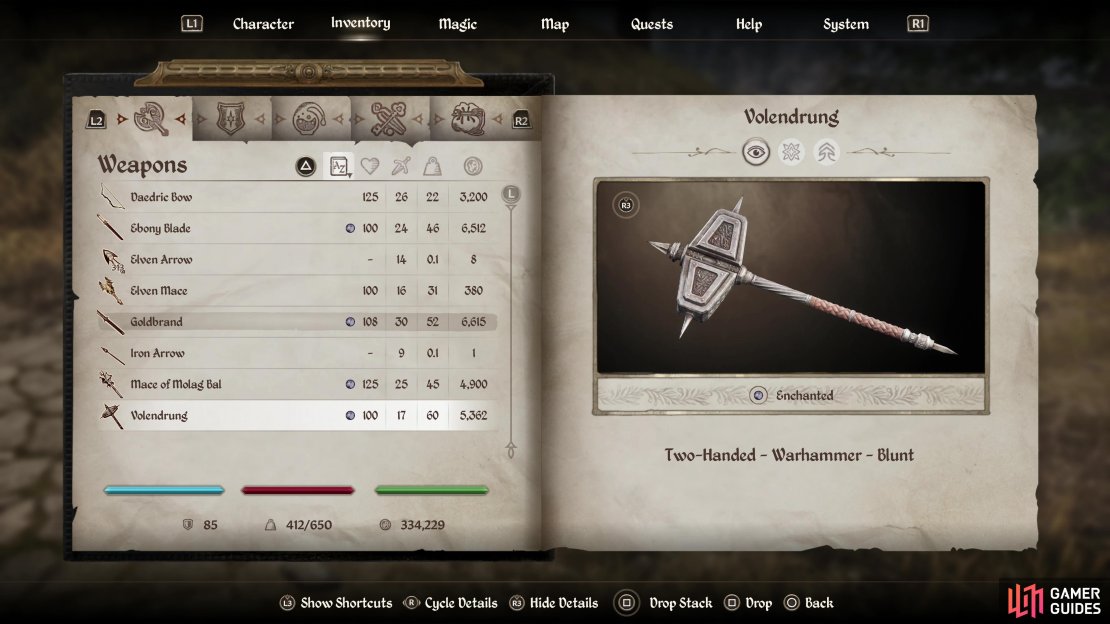
Malacath’s Quest - Volendrung
In the plains north, northwest of Anvil lies Malacath’s Shrine, near which you’ll find several Orcs. Talk to Shobob gro-Rugdush and your reception will depend on two things - Shobob gro-Rugdush’s disposition towards you or your race. If you’re an Orc, this will go much more smoothly, but if not, play the Persuade minigame until Shobob gro-Rugdush’s disposition is 50+, then ask about the shrine again and he’ll grudgingly let you approach… at your own risk. Orc or not, you still need to bring an offering of Troll Fat, and once you do you’ll be told to free some captive Ogres held by Lord Drad.
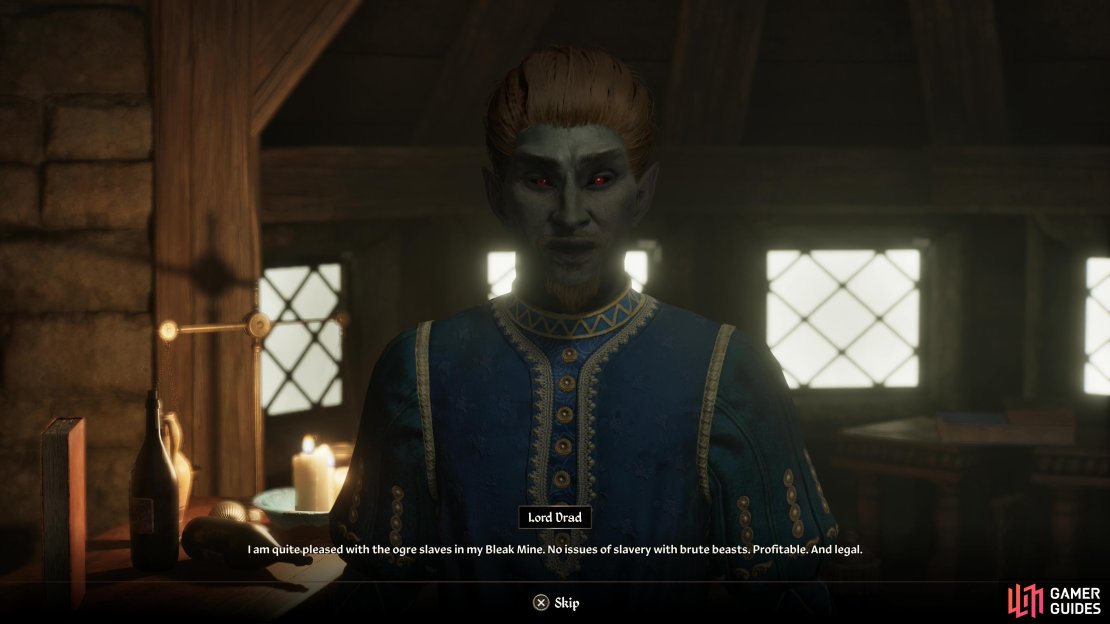
Venture southeast to find Lord Drad’s Estate and enter the manor, even though it’s technically trespassing. Talk to Lord Drad and ask about his ”Ogre Slaves”, then pick the option ”I admire your efforts” to butter him up, which will get him to drop the location of his ogre slaves - Bleak Mine. If you can’t keep your politics at bay and instead say ”No creature should be a slave.” Lord Drad will be less revealing, but you’ve got other options. Talk to his bleeding heart wife, Lady Drad, who tells a different story about how Lord Drad came to own these lands and the stakes. Enquire about the ”Ogre Slaves” and she’ll also drop the name of the Bleak Mines.
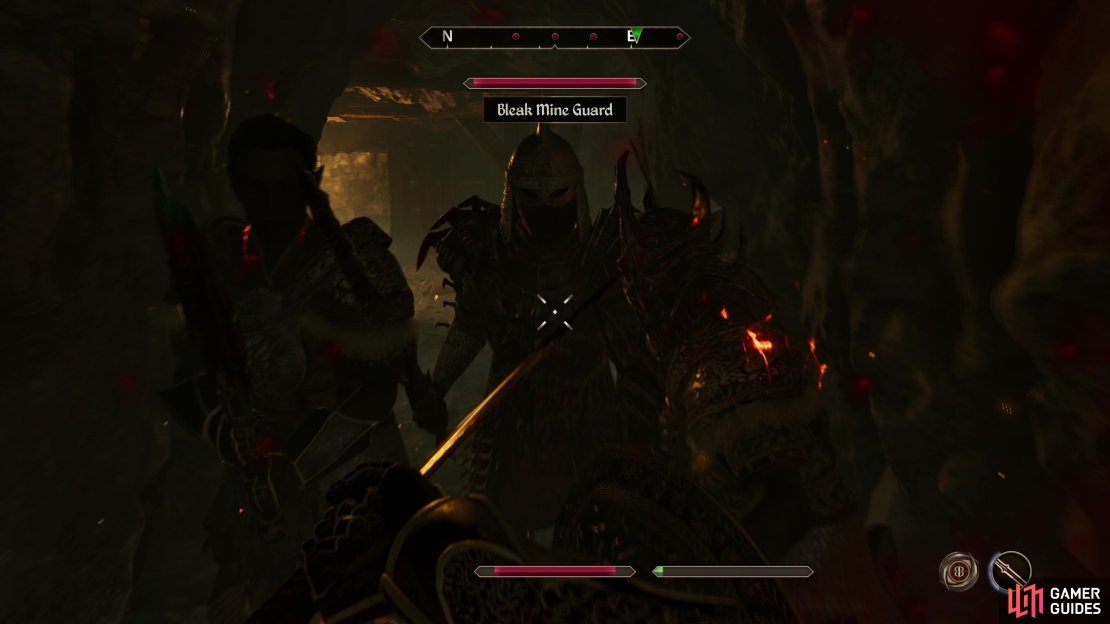
However you get the info (or indeed, regardless of whether you do), head east to the Bleak Mine, only to find it locked. This should be an easy lock to pick and is the least of your troubles, but if you want you can grab the Bleak Mine Key from Lord Drad’s Estate, on the first floor - it’ll be atop a small table to the left. Get inside the mine and be wary of the guards - there’s about half a dozen of them inside and you can kill them or try to avoid them (using Invisibility helps a lot, in the latter case). Pick the locks (hard) to the cells the Ogres are in to free them and they’ll attack the guards, or kill the guards and take their keys (there are two different keys you need, a Shiny Ogre Cage Key and a Tarnished Ogre Cage Key - some guards will drop one or the other or both). You can also steal the keys, if you wish.
Whether you free the Ogres via subterfuge or violence, return to Malacath’s Shrine and he’ll reward you with Volendrung.

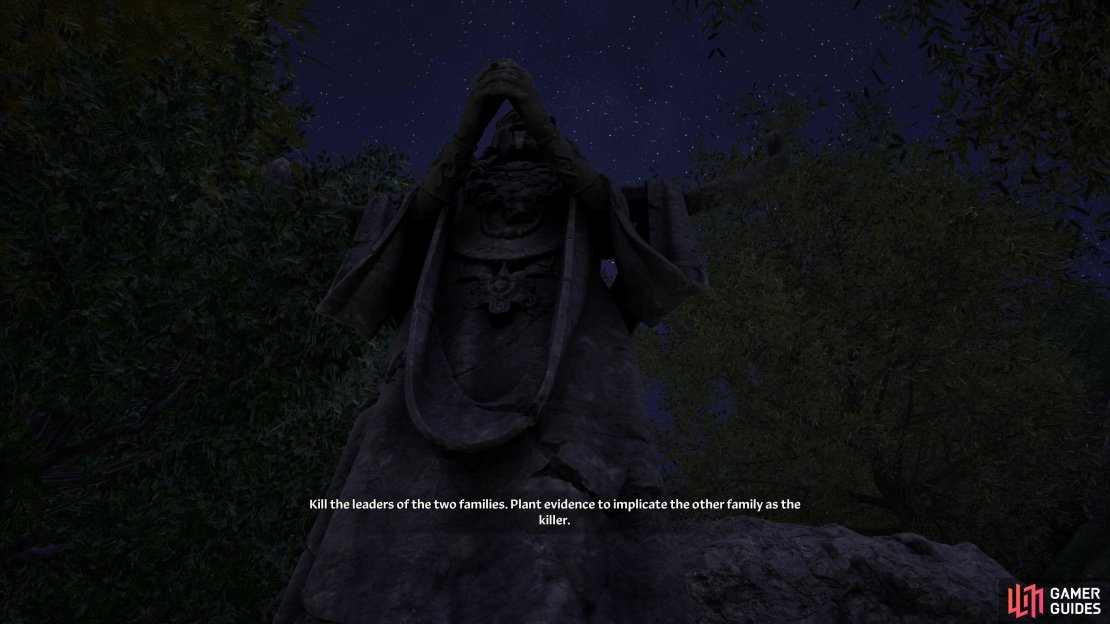

(1 of 7) Give Mephala some Nightshade between midnight and dawn and she’ll offer you a murderous quest.
Mephala’s Quest - Ebony Blade
Northeast of the Imperial City lies Mephala’s Shrine, congregating near which you’ll find Dredena Hlavel. Talk to her and ask about the shrine to learn you need to offer up some Nightshade between midnight and dawn. Return when you have some, wait until after 12:00 AM, then offer up some Nightshade and the scheming Mephala will give you a quest to sow strife - you need to murder the heads of two families in Bleaker’s Way, and plant evidence incriminating the other family.
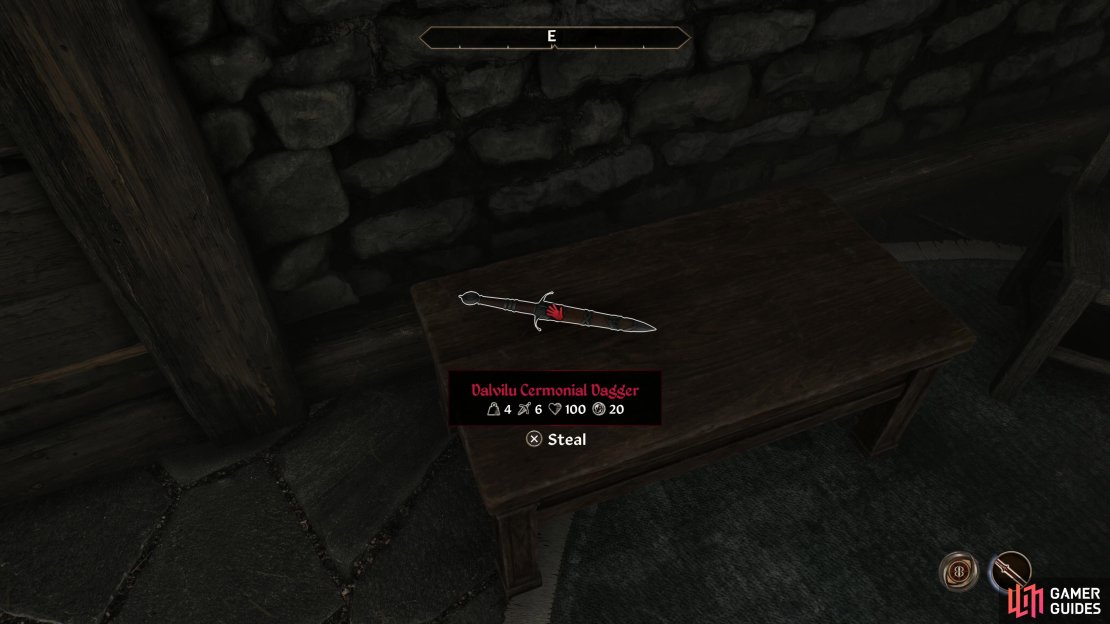
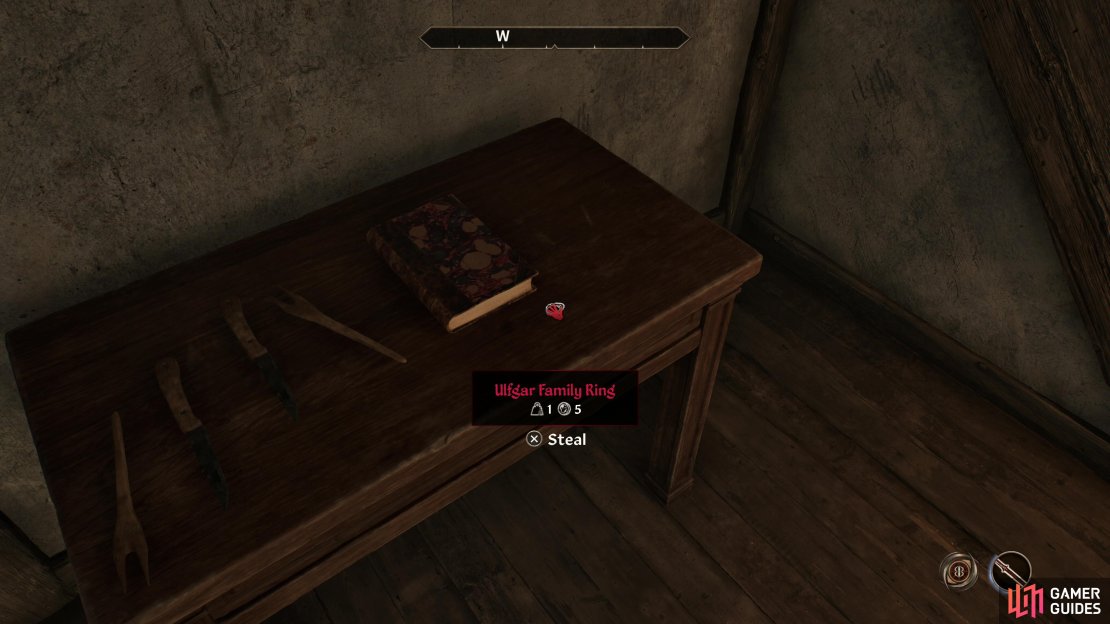
Bleaker’s Way is a village west, northwest of Mephala’s Shrine, and your targets are Hrol Ulfgar and Nivan Dalvilu. Before you get to slaughtering, however, you need to get incriminating evidence to plant on your victims. Enter Nivan Dalvilu’s house and search a table to the east to find the Dalvilu Ceremonial Dagger, then enter Hrol Ulfgar’s house, head up stairs and search a table near the stairs to the third floor to find the Ulfgar Family Ring.
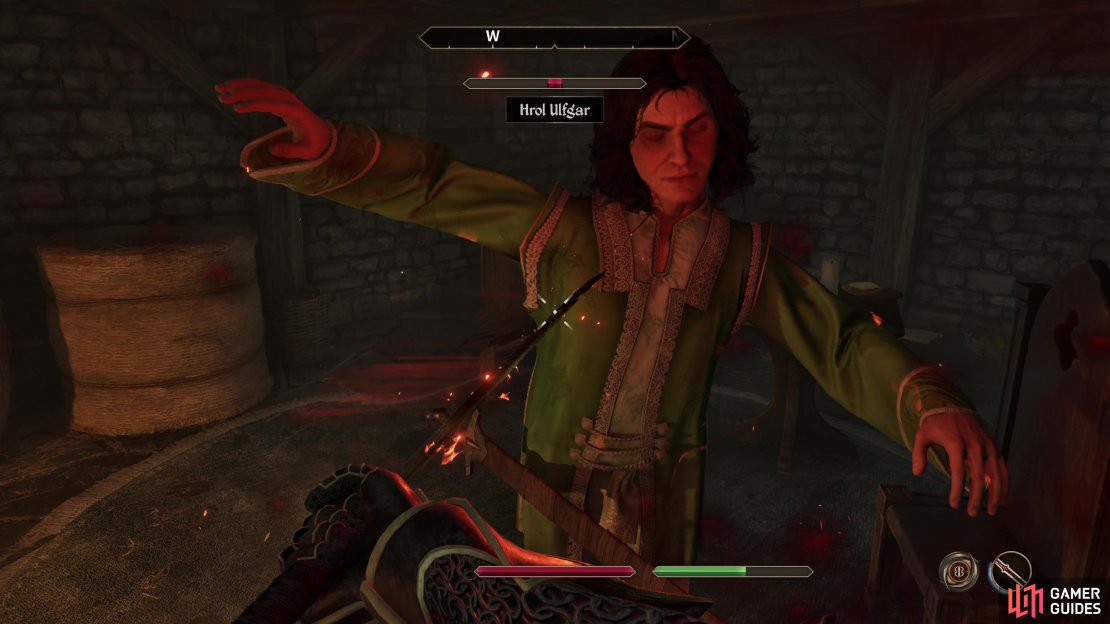
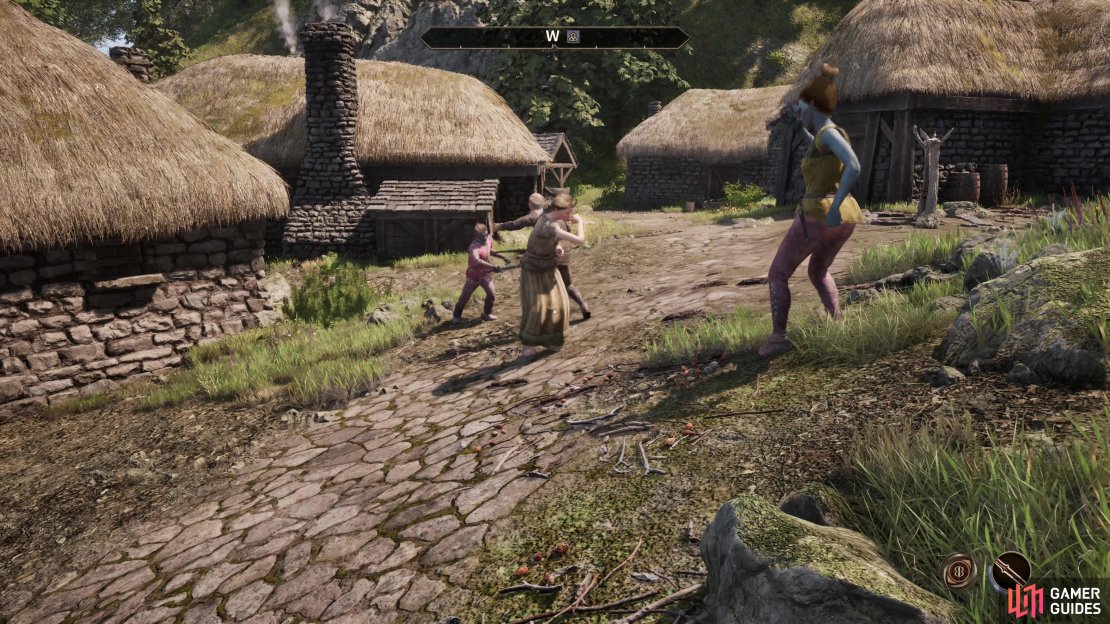
Now that you have evidence to plant, you just need to take care of the two assassinations, and the best way to do this without getting caught is to wait for your targets to go somewhere isolated. Fortunately, Hrol and Nivan go into their houses alone at around 1:00 PM, so follow them there and kill them, then plant the dagger on Hrol and the ring on Nivan. After the deed, go outside and talk to any NPCs you find (wait if you have to, if none are out and about, or go to the inn) and pick the dialog options ”Hrol Ulfgar” and ”Nivan Dalvilu”. Talking to one NPC should suffice to cause a brawl, which is less impressive than it sounds considering each side is represented by only a handful of individuals. Watch the carnage or not, and when you’re ready return to Mephala’s Shrine to complete the quest and obtain the Ebony Blade.
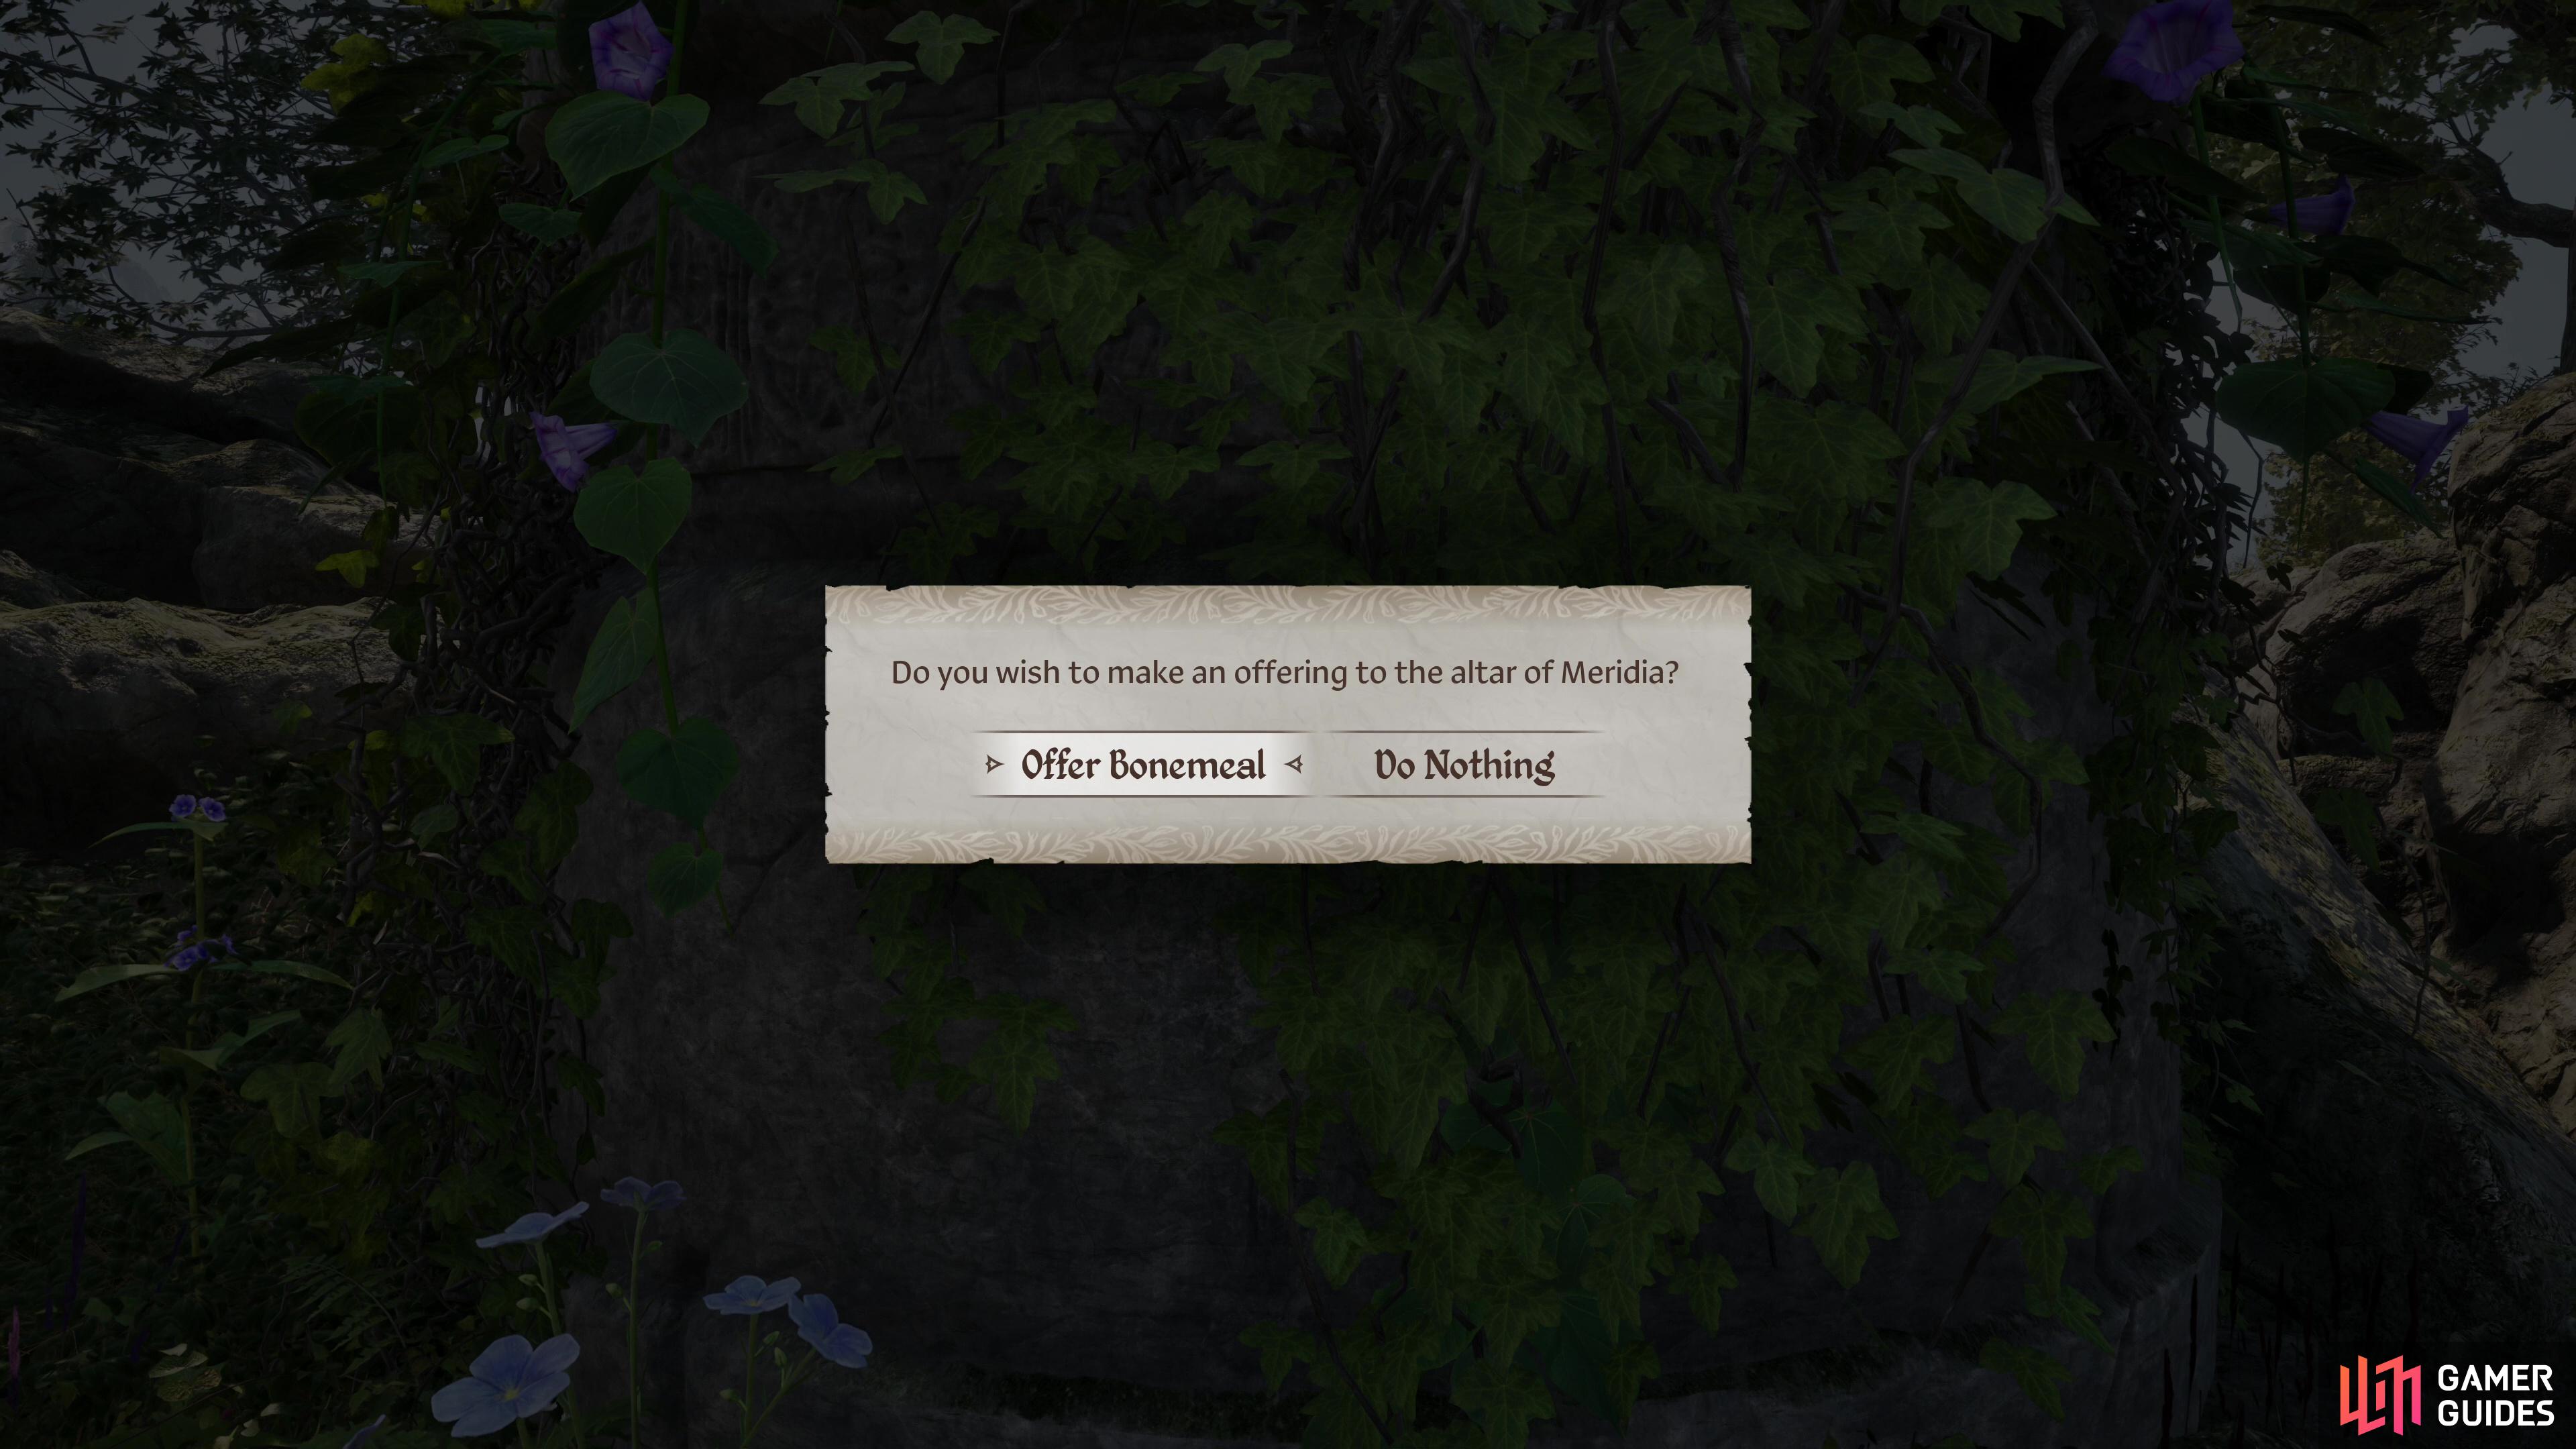

(1 of 3) Offer up some undead material to Meridia - Bonemeal will suffice,
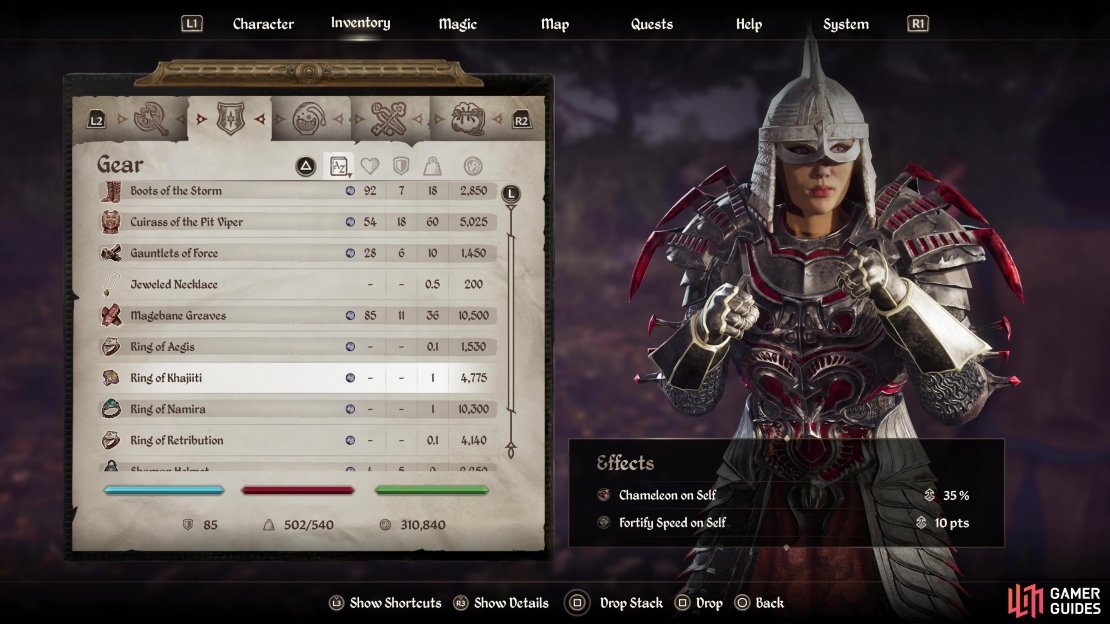
Meridia’s Quest - Ring of Khajiiti
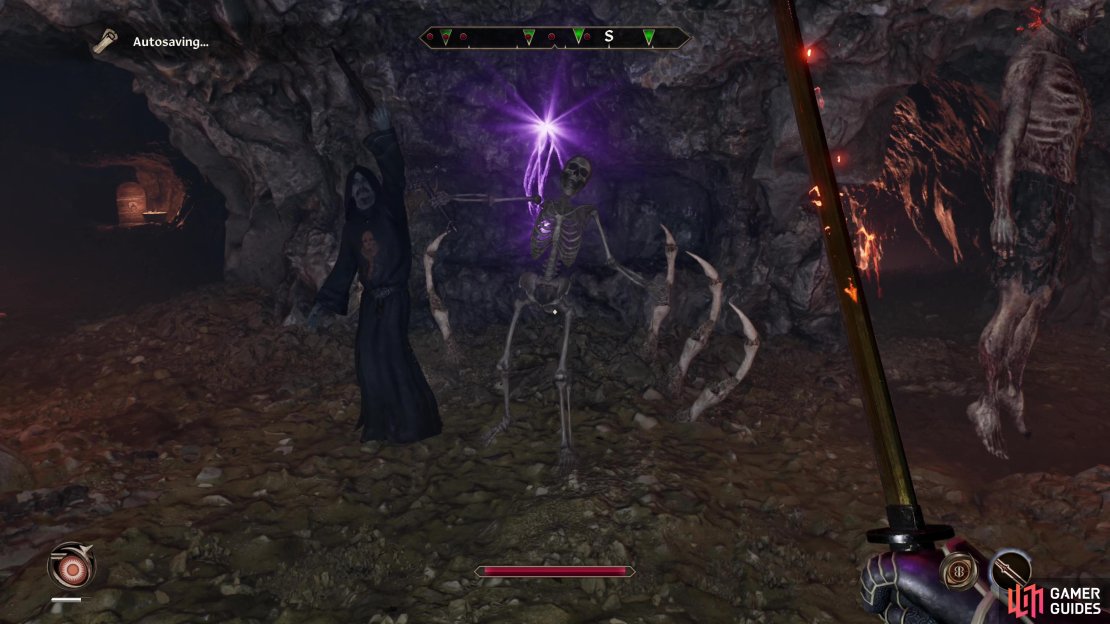
Meridia’s Shrine can be found a short distance west of Skingrad. Head there, talk to the statue, and make an offering of some sort of undead remains (Bonemeal works fine) and Meridia will quest you with traveling to the Howling Cave, a den of Necromancers east of Skingrad. Head inside, kill the Necromancers (and their hordes of undead), then return to Meridia to obtain the Ring of Khajiiti.
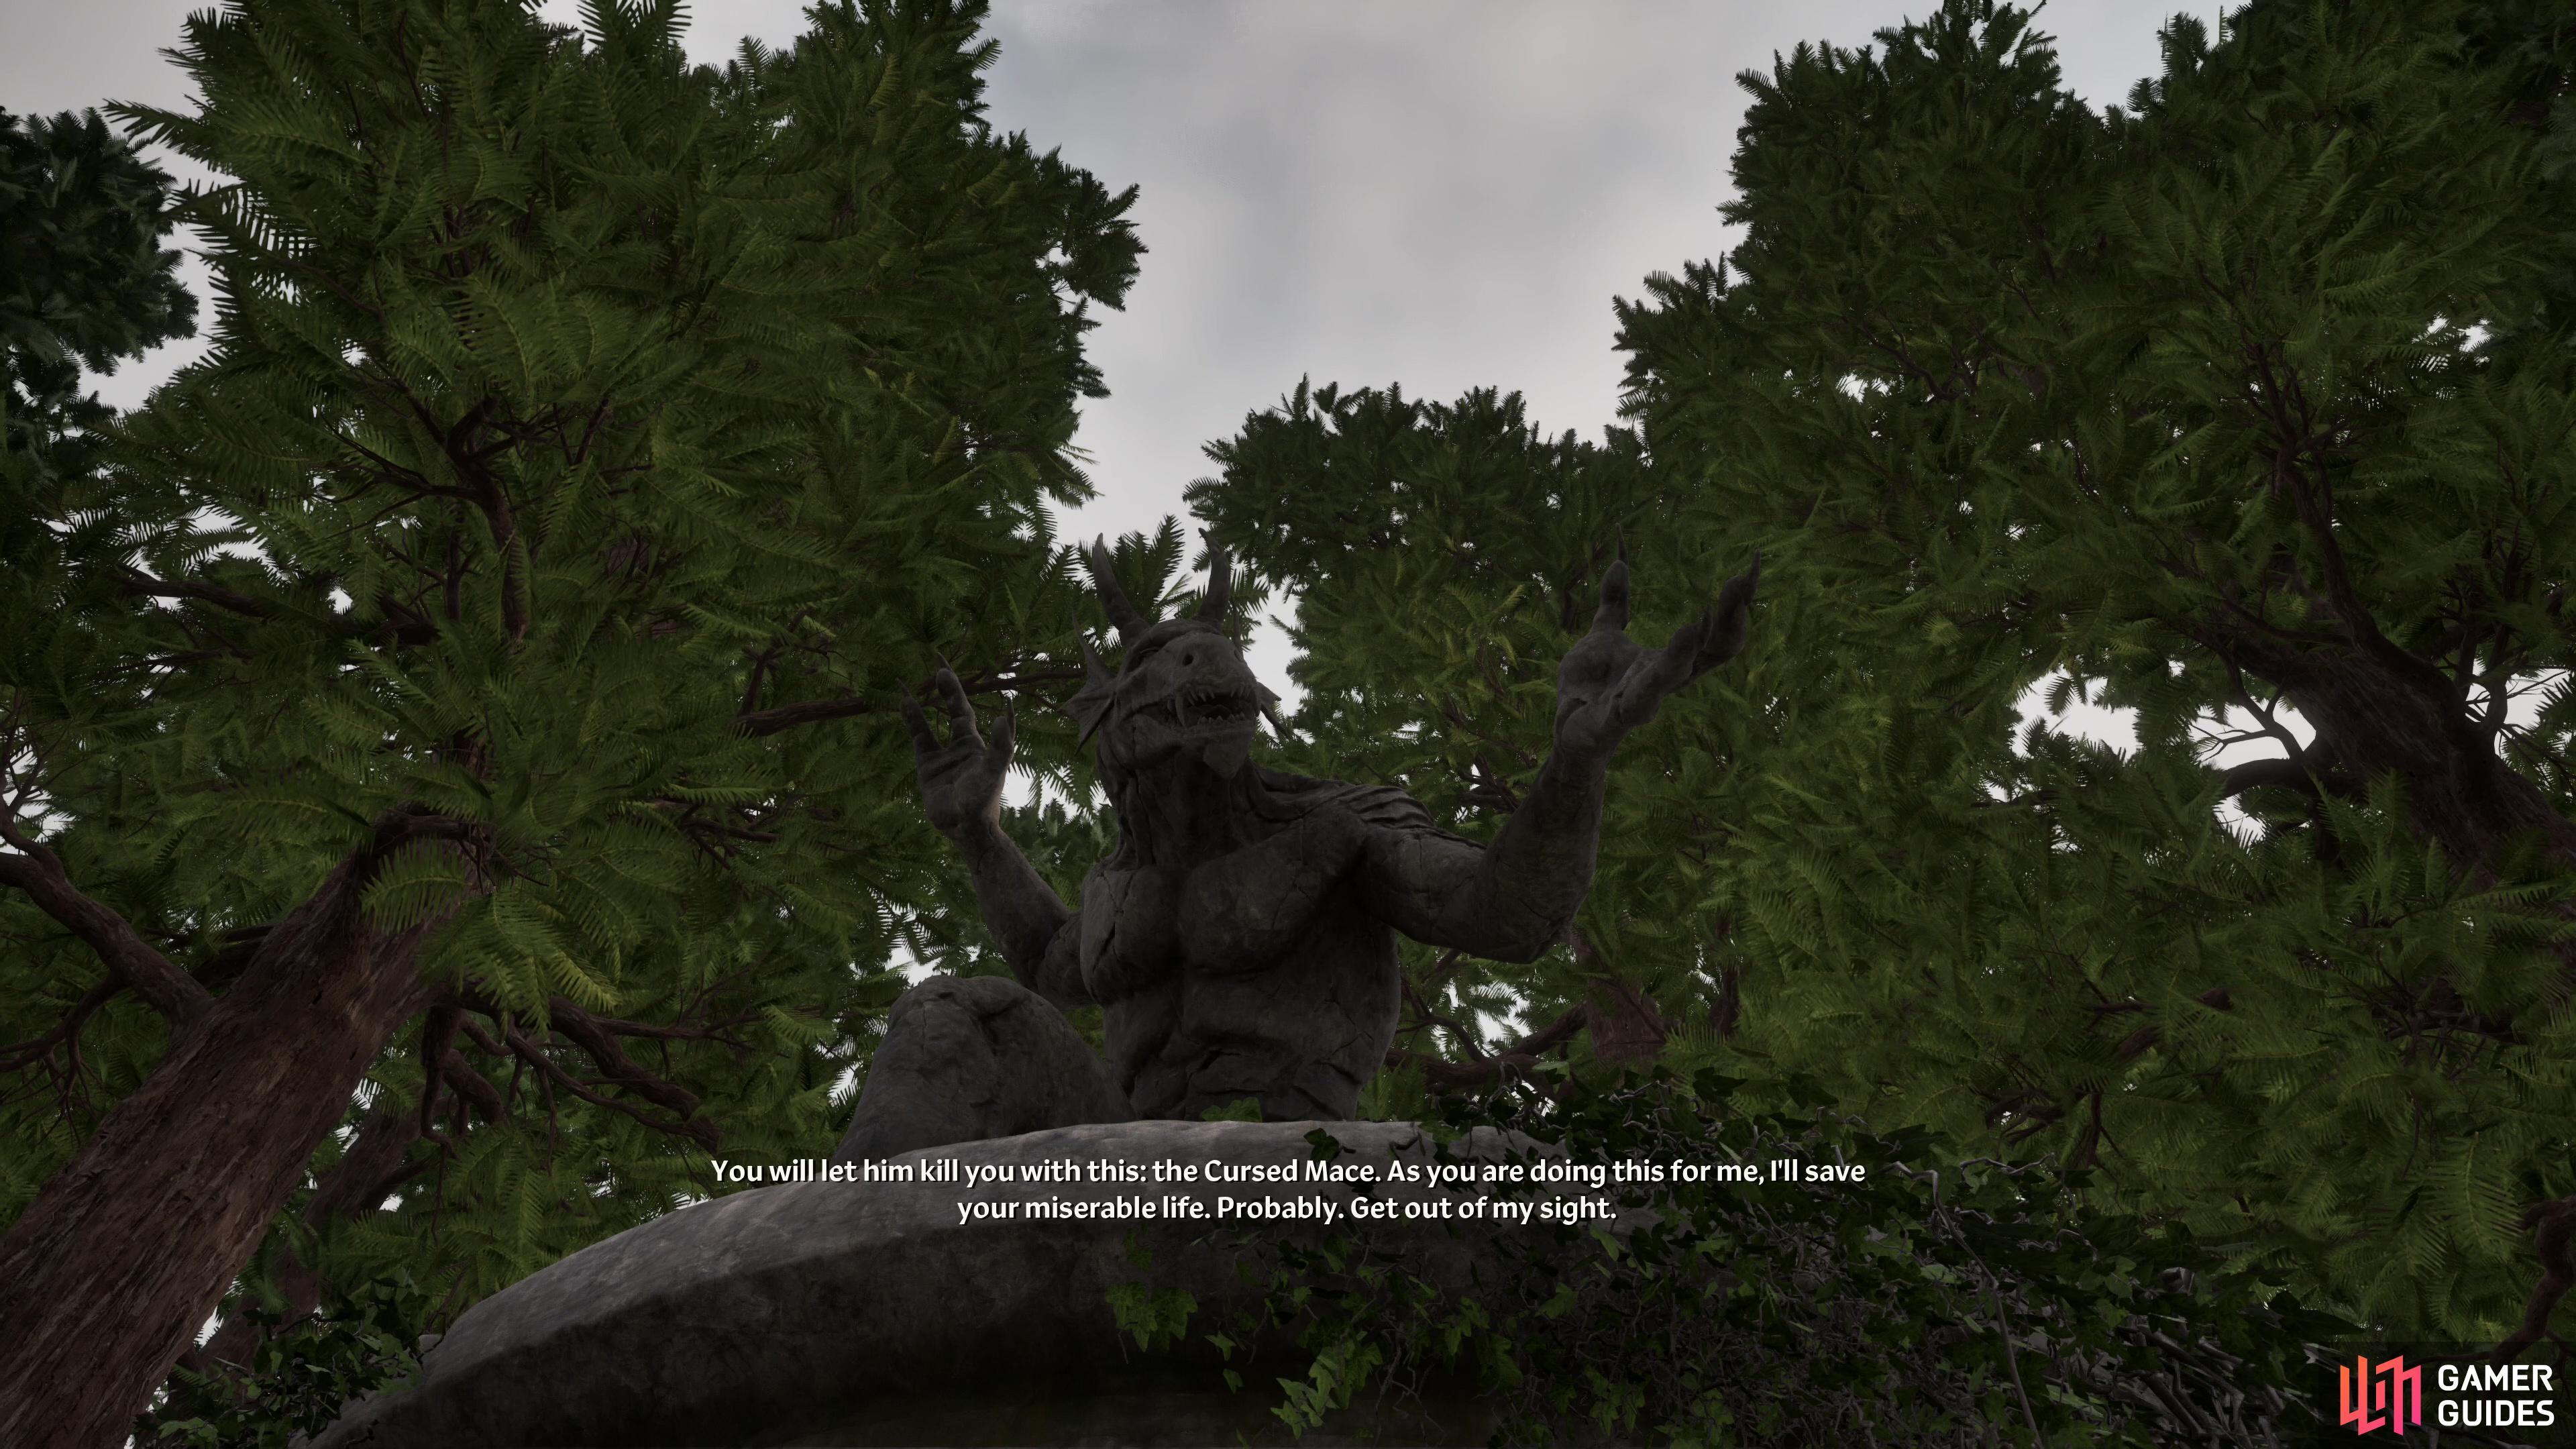
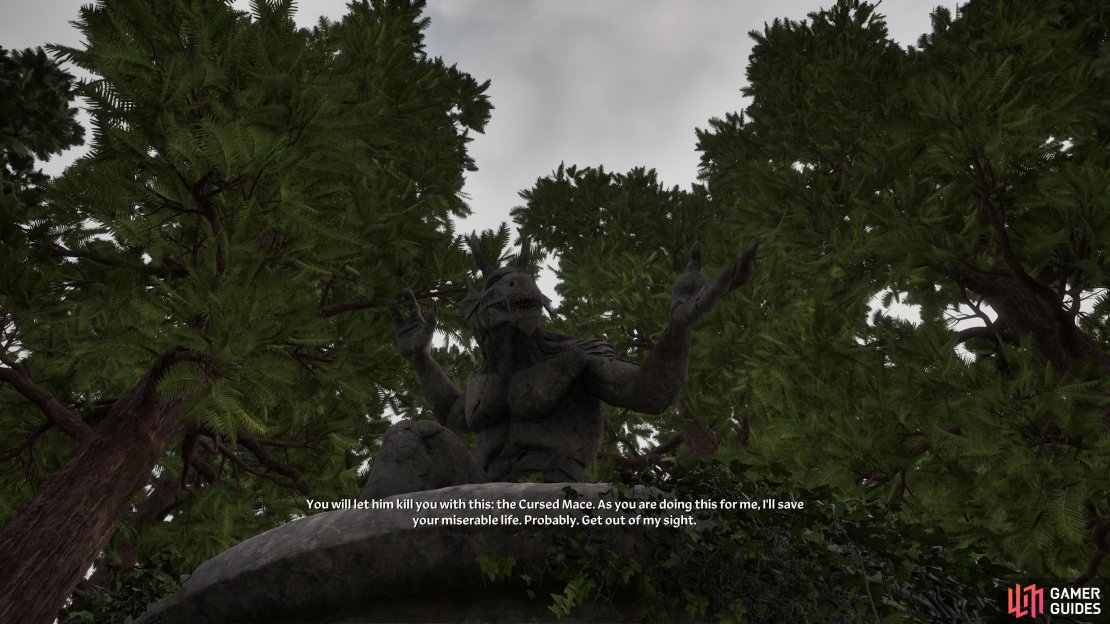
(1 of 4) Offer up a Lion Pelt and Molag Bal will give you a very dangerous task.
Molag Bal’s Quest - Mace of Molag Bal
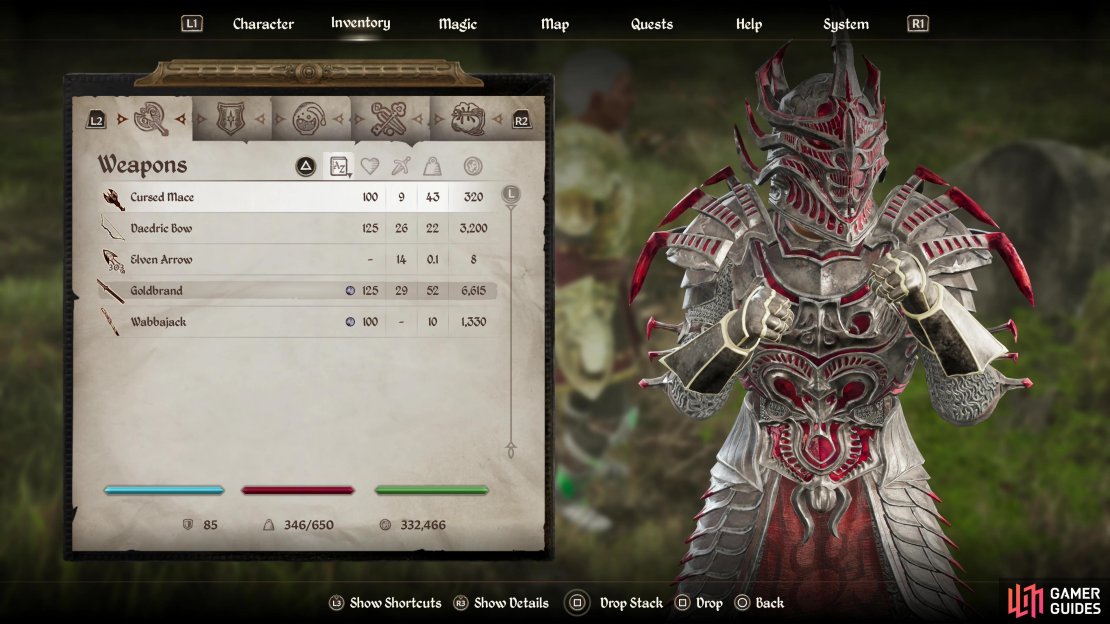
A fair distance west of the Imperial City rests Molag Bal’s Shrine. Talk to a man named Amir there and he’ll tell you to offer a Lion Pelt to the Daedric Prince’s statue. Do so and the bestial Daedric Prince will command you to find one Melus Petilius, whose virtue’s disgust this malevolent being. Your job is to push Melus Petilius into an act of murder with the Cursed Mace Molag Bal gives you, a risky proposition, as you’re the intended victim, and you only have Molag Bal’s word that he’ll intervene to save you.
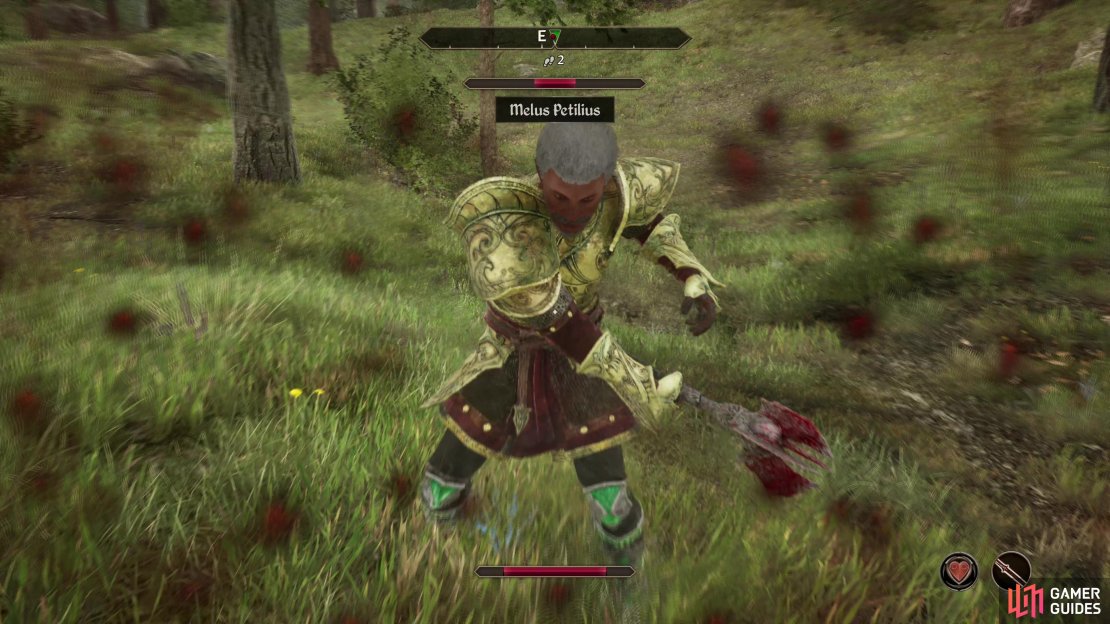
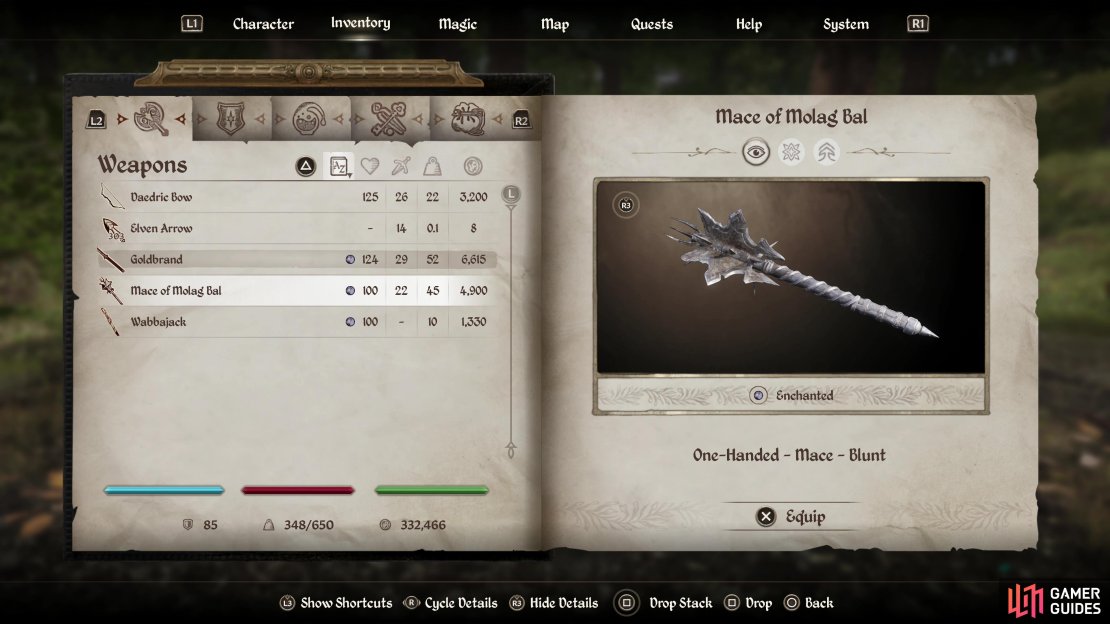
Make your way southwest to find Brindle Home, near which Melus Petilius dwells. North of here, during the day, you can often find some NPCs - Persuade an elf named Merildor to raise his disposition, then ask about Melus Petilius, then his wife to learn that you can harass Melus Petilius at his wife’s grave. Head southwest from Bindle Home to find Melus Petilius House and wait until around 10:00 AM, at which time he’ll leave to visit his wife’s grave. Follow him southeast to the grave, drop the Cursed Mace near him, then attack him. He’ll make his homicidal intentions clear, pick up the Cursed Mace, and start attacking. If you’re high level and equipped with good gear, you might want to take off your armor to speed this process up; once you’re whittled down to under 20~ Health, Molag Bal should intervene and teleport you back to his shrine. Talk to Molag Bal and he’ll reward you with the Mace of Molag Bal.
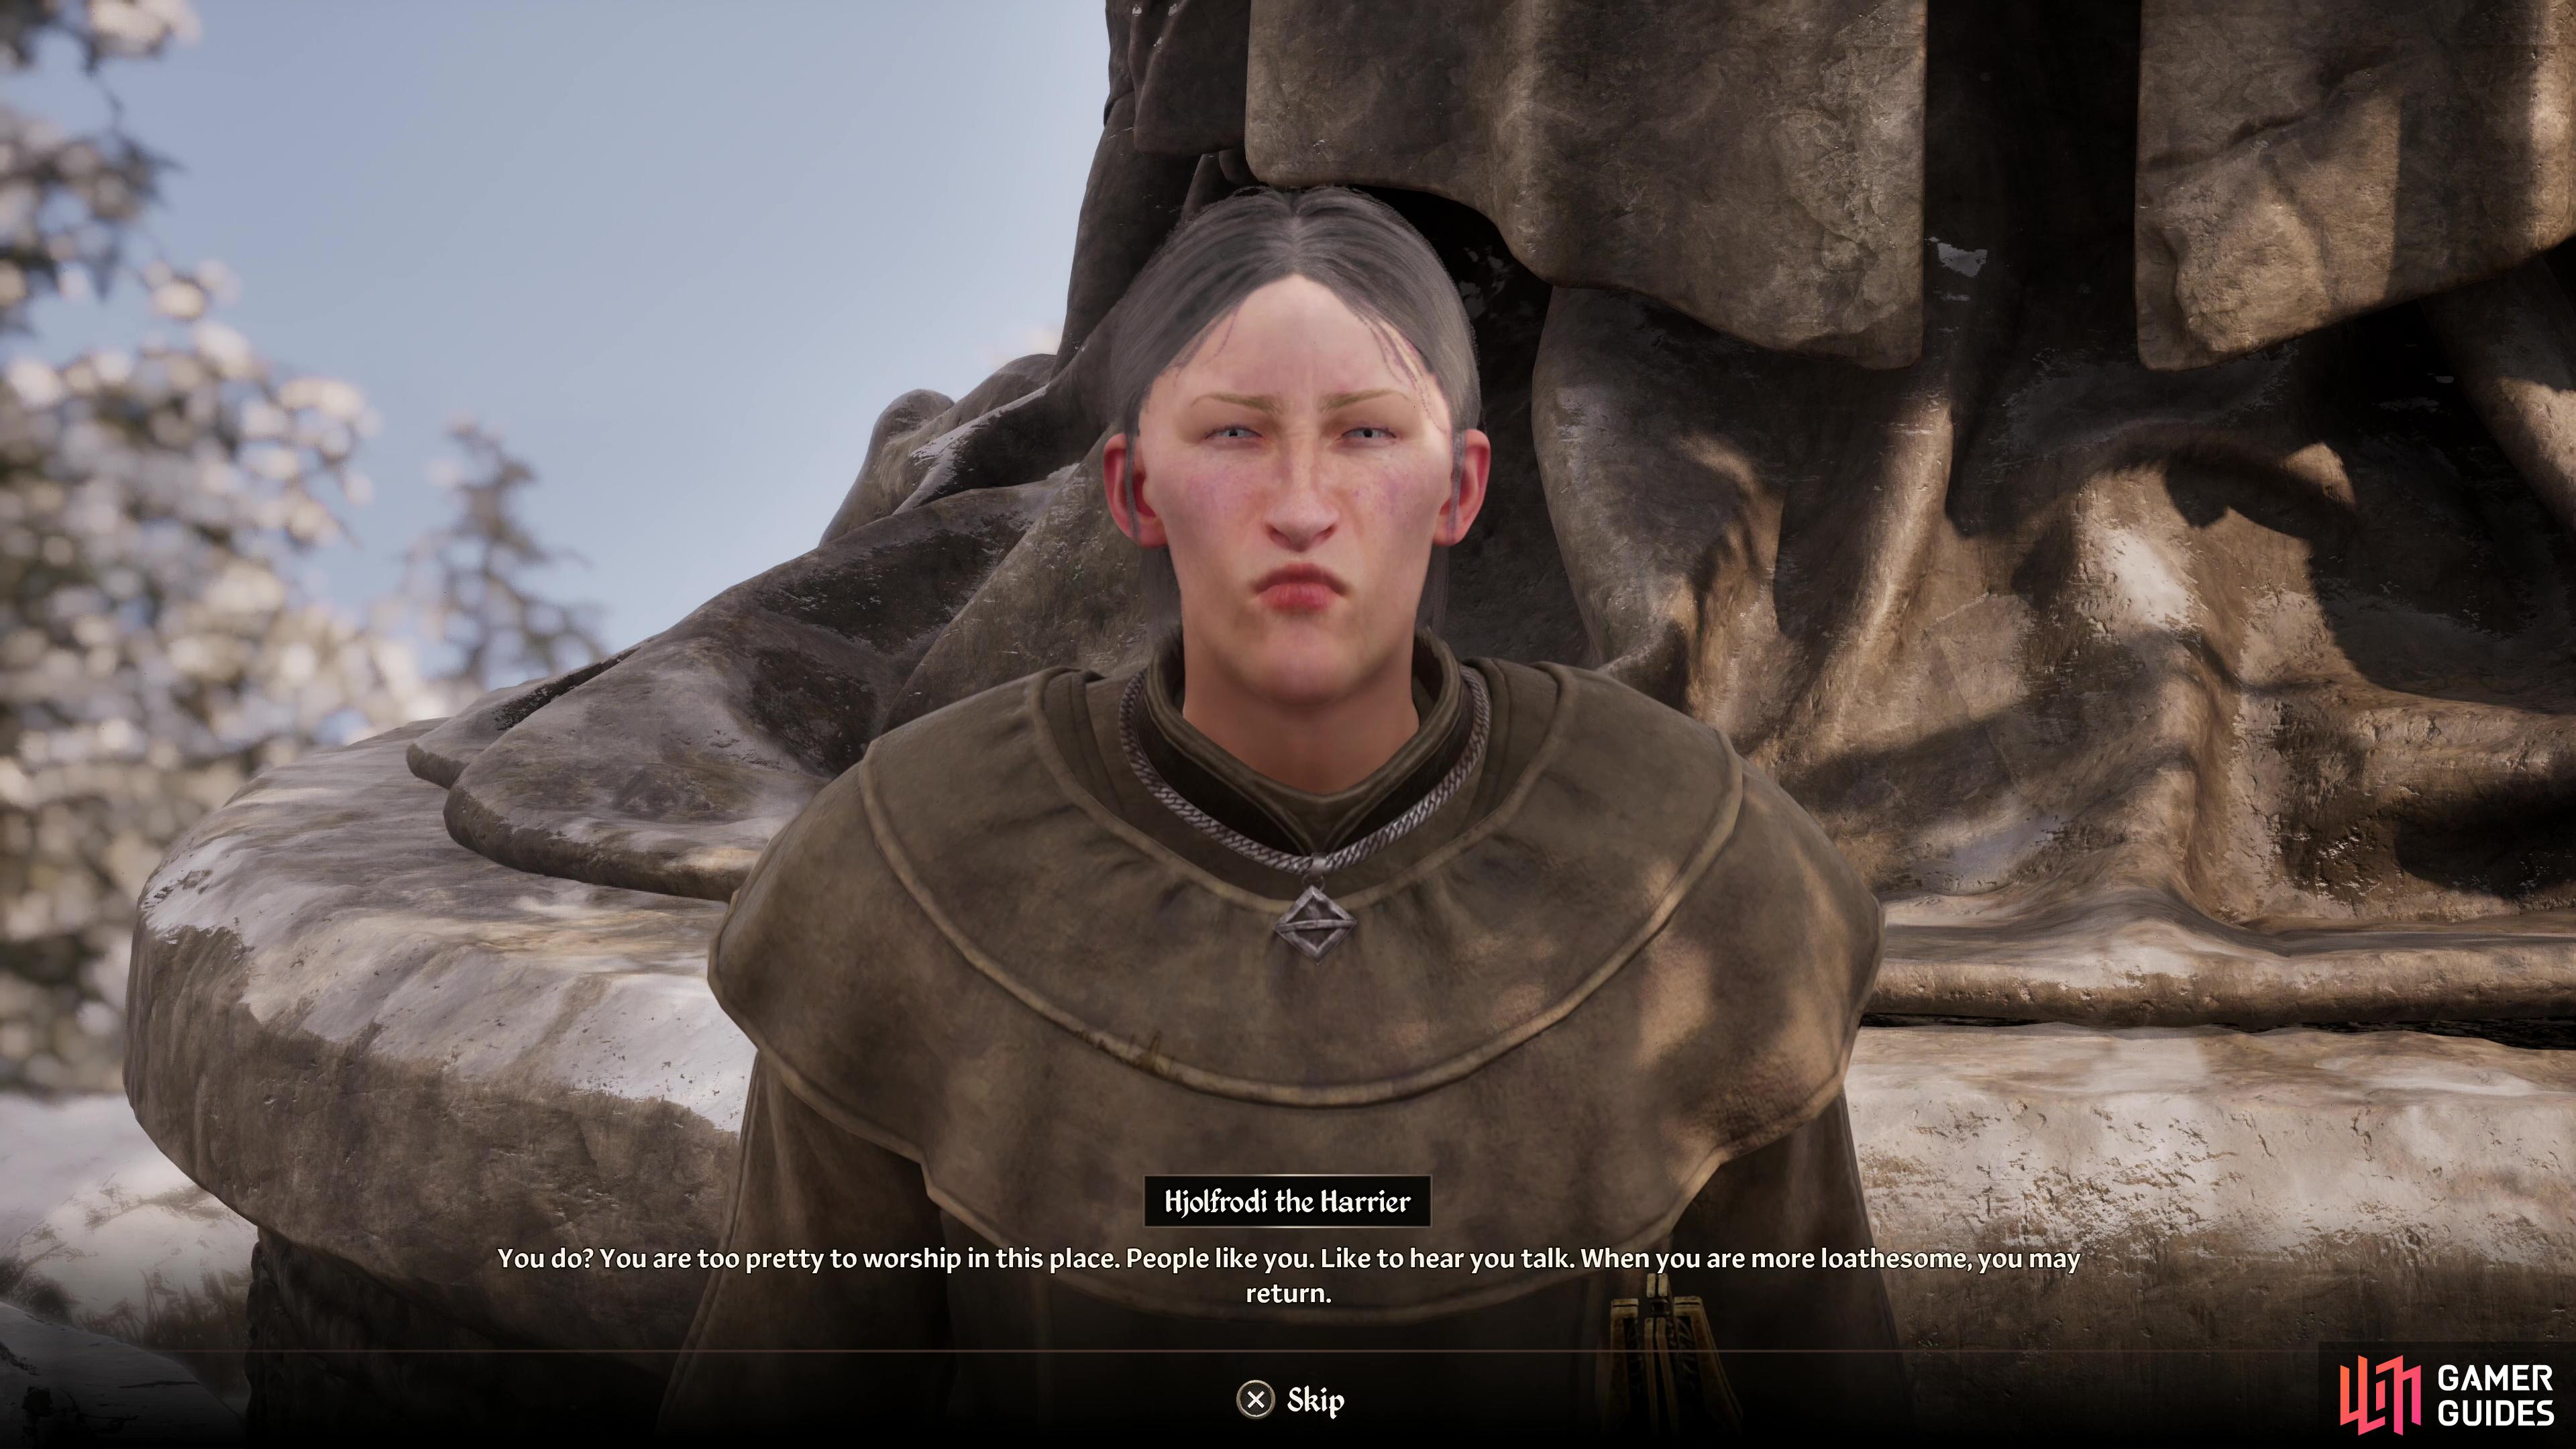
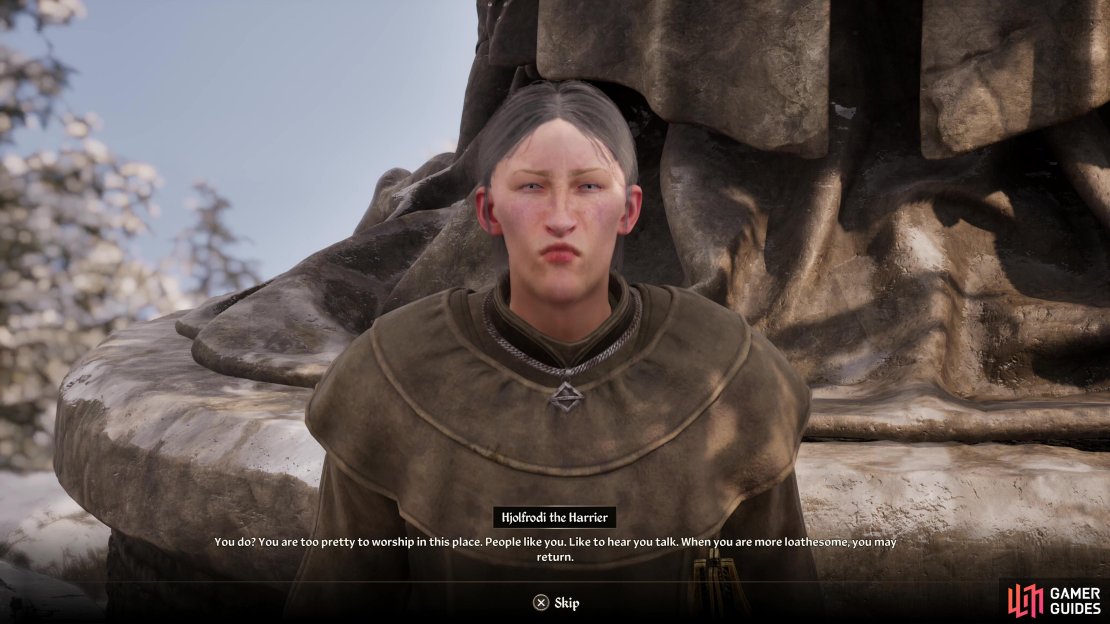

(1 of 5) To be able to speak with Namira, you must reduce your Personality to 20 or lower.
Namira’s Quest - Ring of Namira
Locate Namira’s Shrine east and slightly south of Bruma, where a collection of followers led by one Hjolfrodi the Harrier. Talk to Hjolfrodi and ask about the shrine and you’ll be rebuffed if your Personality stat is higher than 20. To start this quest your Personality must be 20 or lower, and that’s hard for most races to do even fresh out of the sewers. The easiest way to lower your Personality is by chugging a few bottles of Cheap Wine (each will lower your Personality by 10, albeit temporarily). Failing that, you may need to level up your Alchemy skill and concoct potions with the Damage Personality effect, which is permanent (until healed, anyways), but more time consuming.
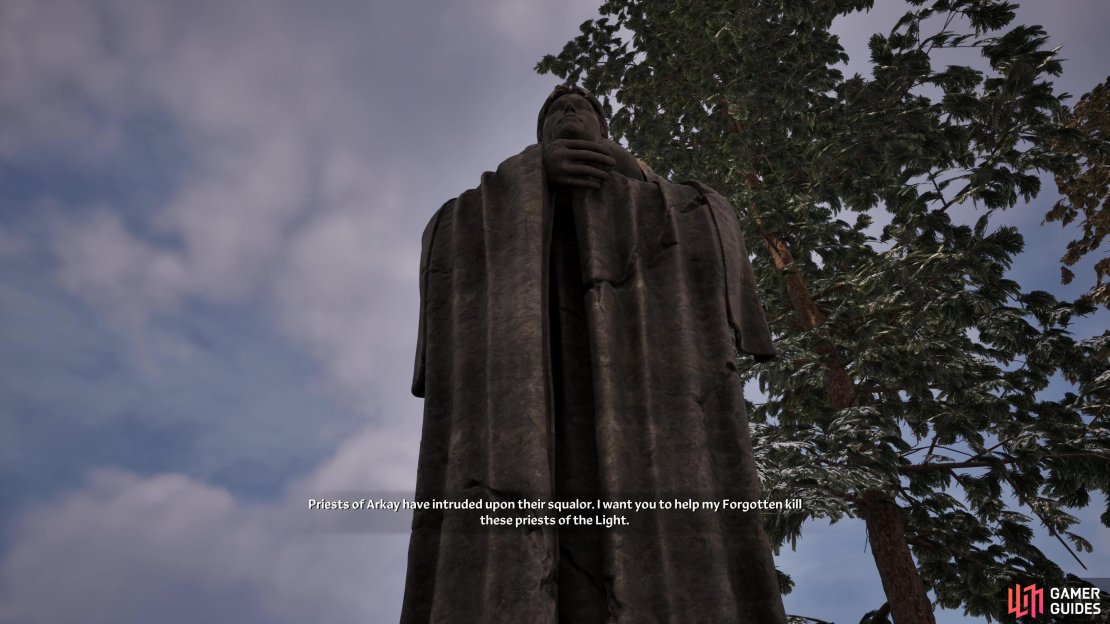
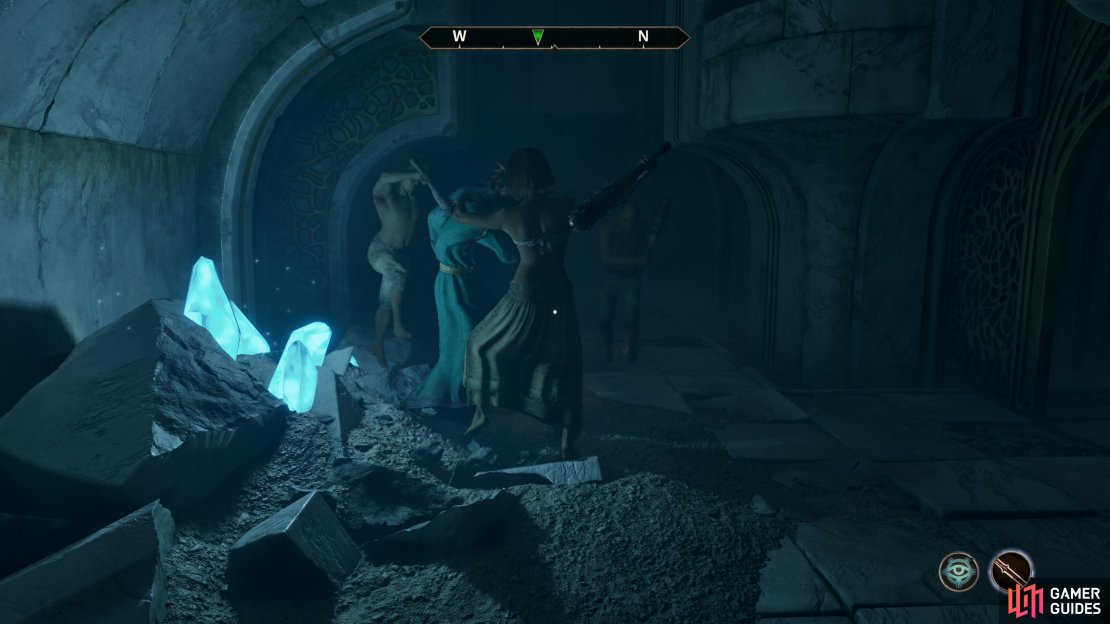
Get your Personality to 20 or less and talk to Hjolfrodi and you’ll be allowed to commune with Namira - talk to the statue and you’ll be tasked with traveling to Anga (south of Namira’s Shrine), where some benevolent Priests of Arkay are trying to save Namira’s wretched minions, the Forgotten Ones. You have to stop these meddlesome priests, but not actively kill them yourself - instead you’ll be given the spell Namira’s Shroud, which you need to cast on the Priests of Arkay. This will encourage the Forgotten Ones to attack, and they’re more than a match for these well-meaning interlopers. Scour Agna, cast Namira’s Shroud on the Priests of Arkay, and let the Forgotten Ones kill them all - do not kill or attack any yourself. Once done, return to Namira and if you didn’t kill any Priests of Arkay she’ll give you the Ring of Namira.
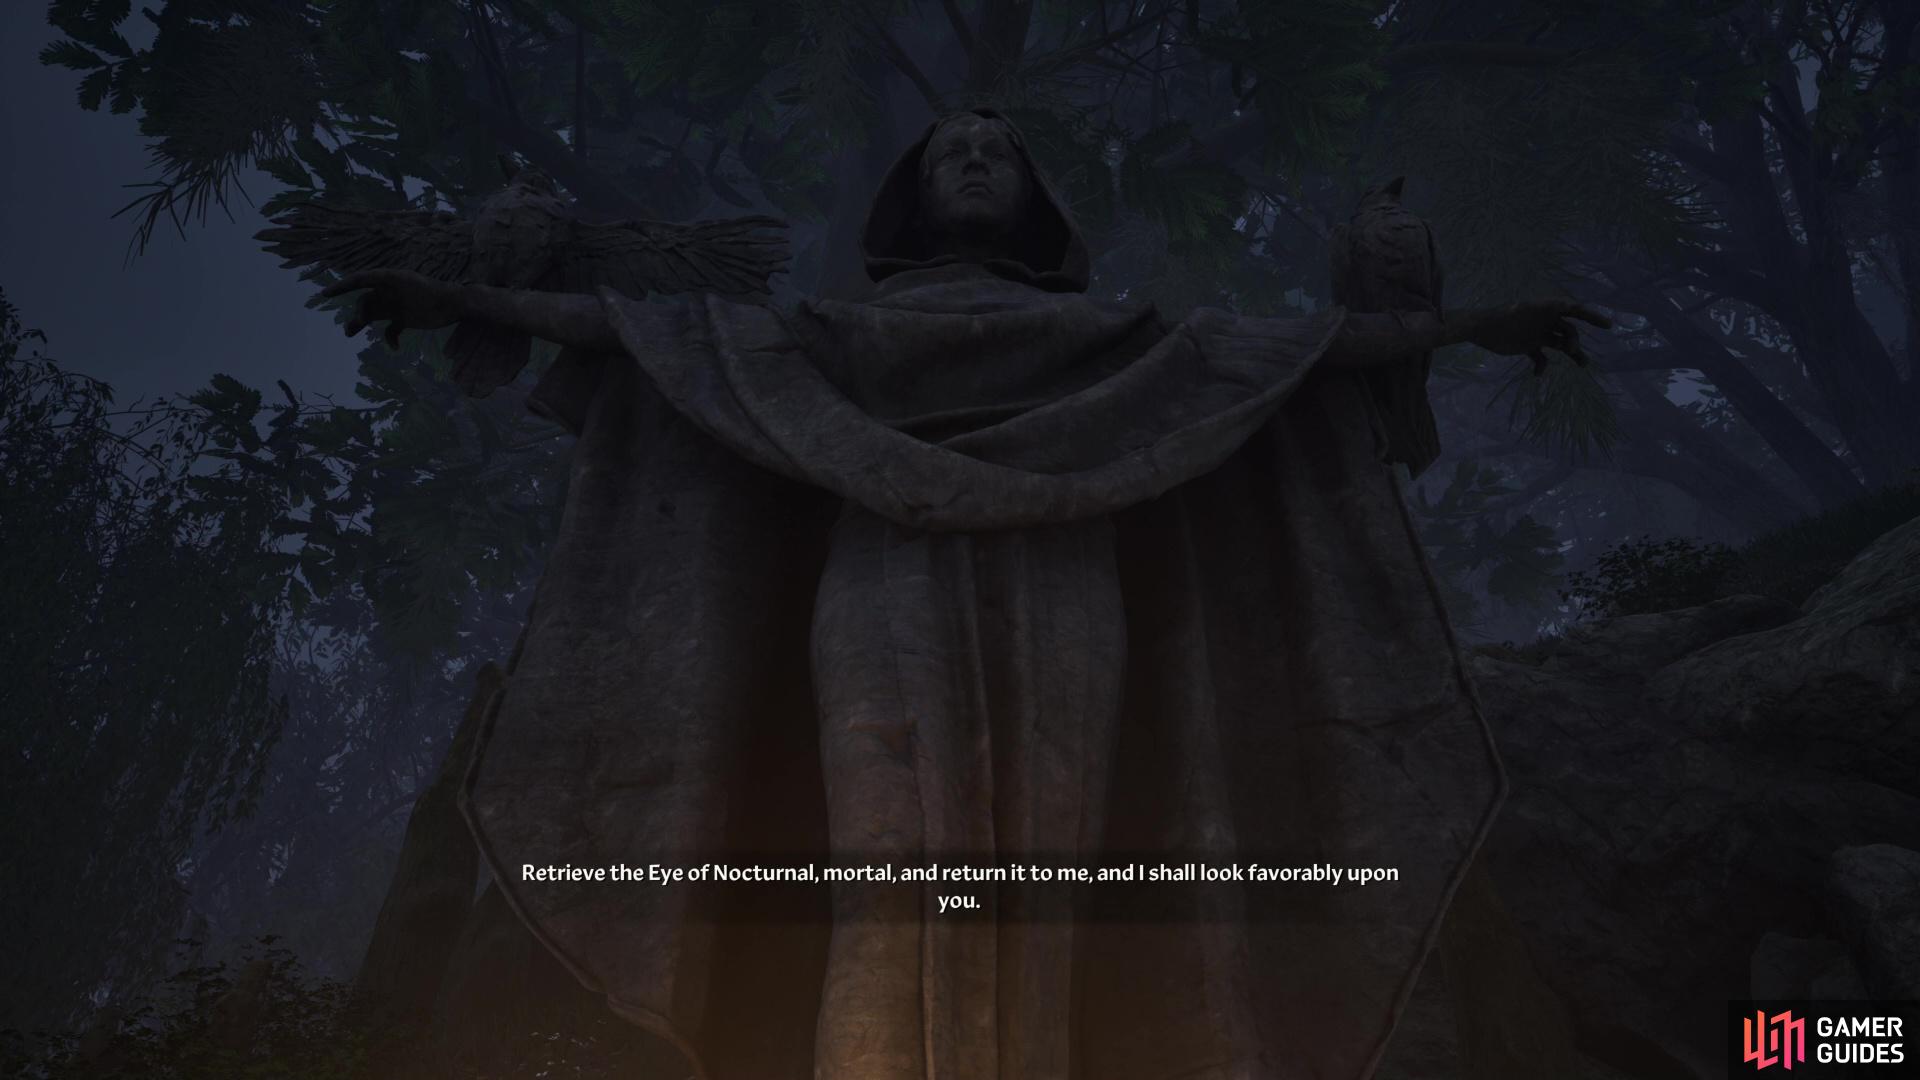
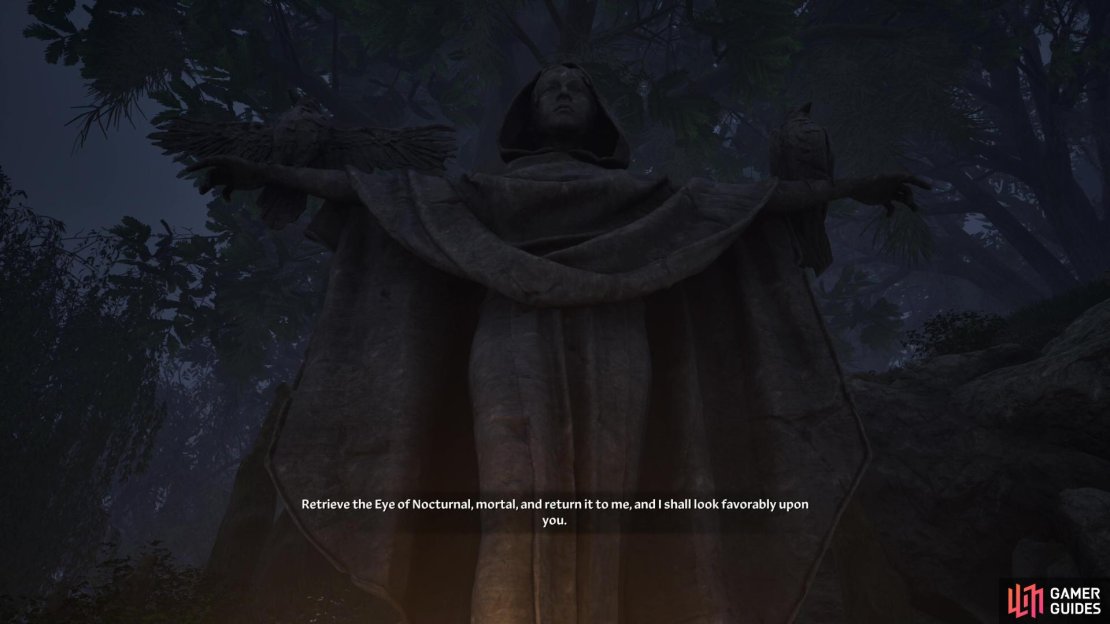

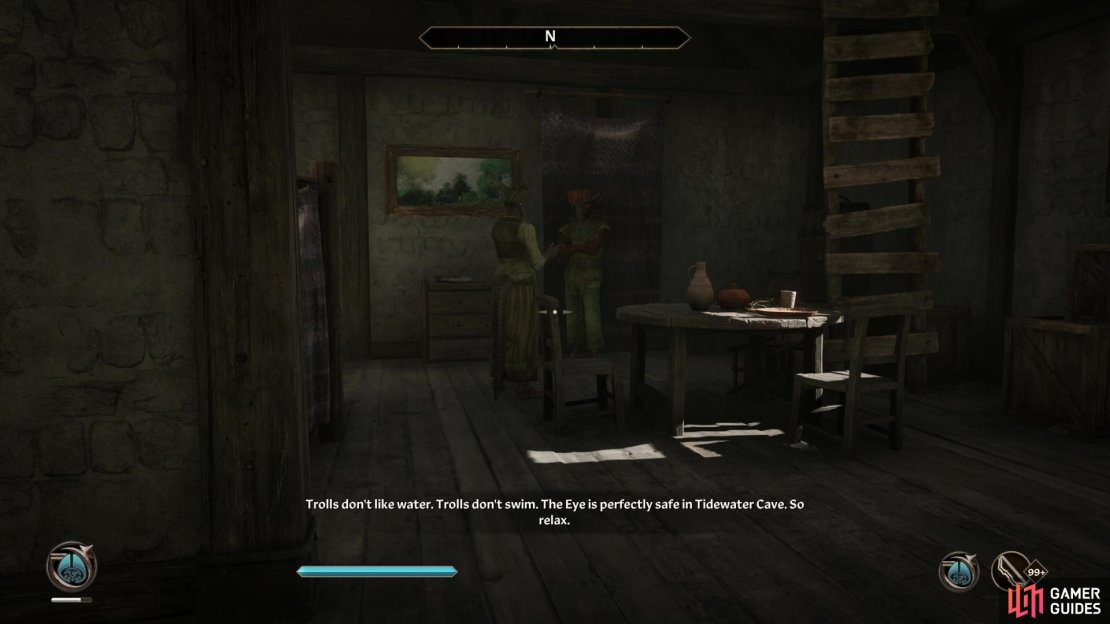
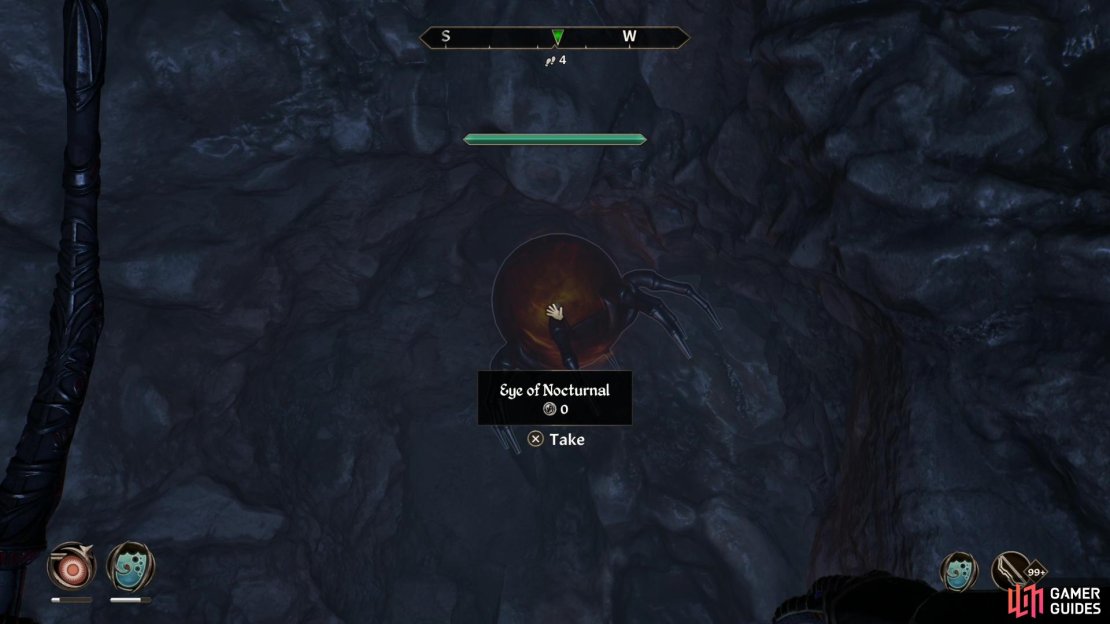
(1 of 5) Interact with Noctural’s statue and the Daedric Prince will command you to recover her missing eye.
Nocturnal’s Quest - Skeleton Key
Find Nocturnal’s Shrine northeast of Leyawiin, along the road running north-south, and talk to her worshippers to gain access to Daedric Prince’s statue. No offerings need to be made here, as long as you’re Lv10+ the quest Nocturnal should start, whereupon you’ll be directed to look for the Daedra’s stolen eye in Leyawiin. In town, talk to NPCs and pick the dialog option Leyawiin and eventually one will tell you about Weebam-Na and Bejeen talking about a “big score” they made recently. Enter Weebam-Na’s house, talk to them both and pick the option Eye of Nocturnal, then leave the house and sneak back in. Remain undetected and they will talk about the stolen Eye of Nocturnal (if you have an Invisibility spell or a high Sneak score, this will be easier), mentioning it’s hidden in Tidewater Cave. Head to Tidewater cave, fight your way through the trolls and animals, dive into a pool of water, and grab the Eye of Nocturnal floating at a dead end near a chest (the Water Breathing spell or enchanted gear will make this trivial, but it’s not a long swim). Return to Nocturnal’s Shrine and the Daedric Prince will take the Eye of Nocturnal and give you the Skeleton Key as a reward.
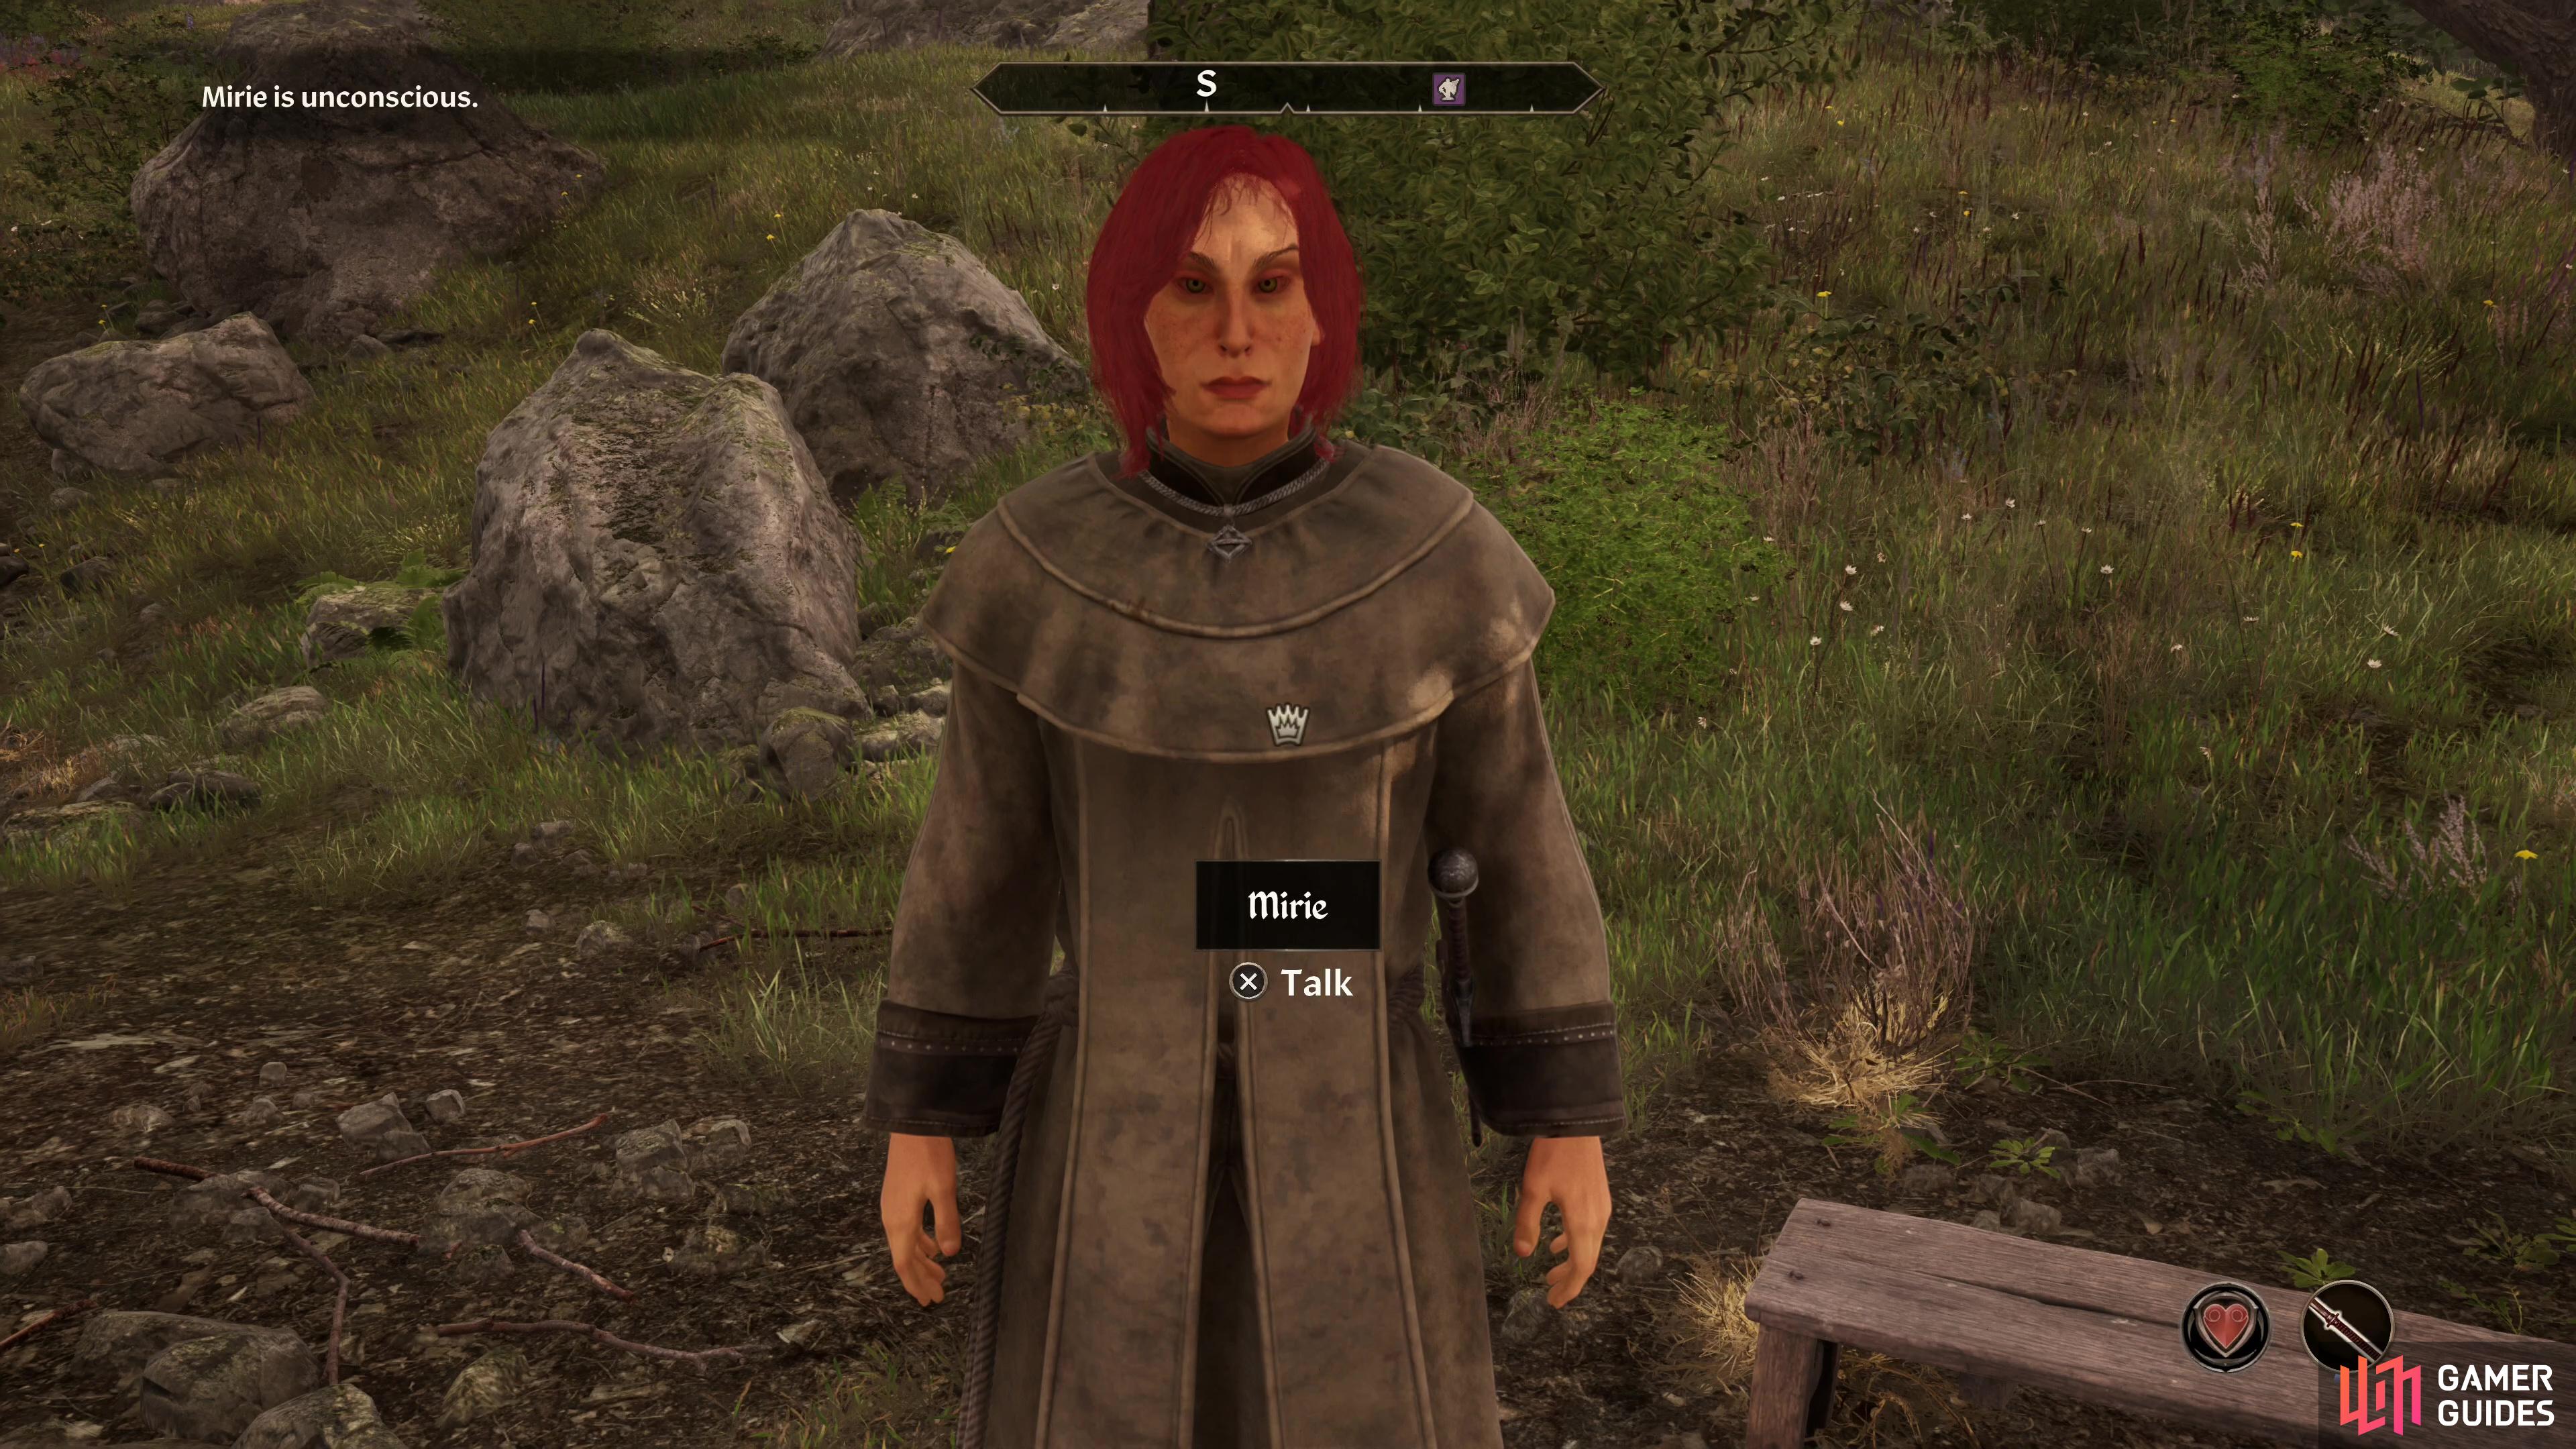

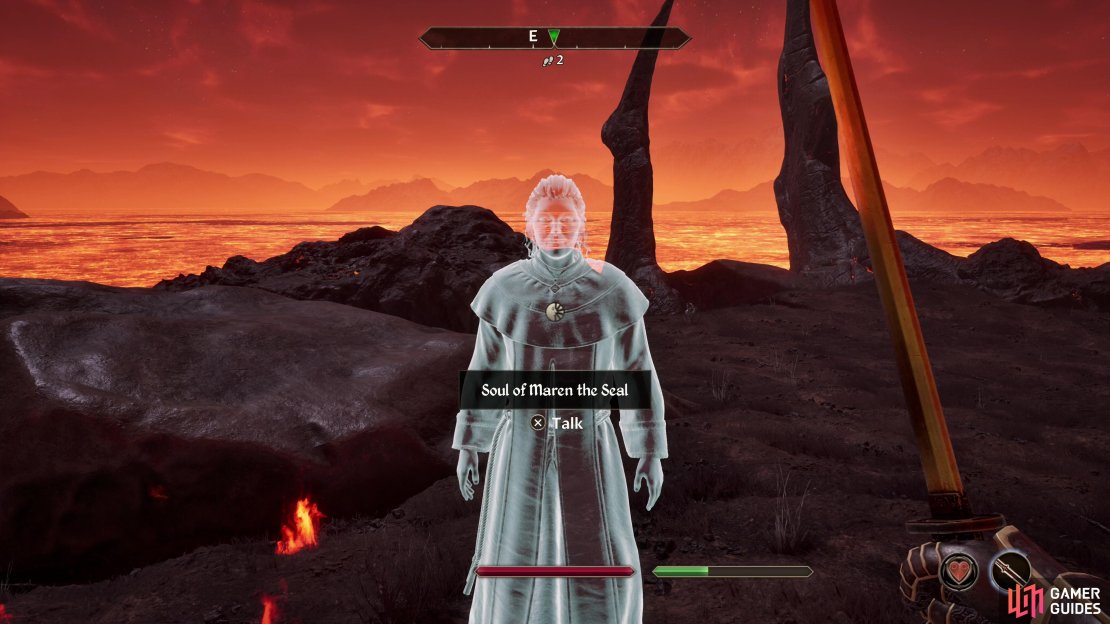
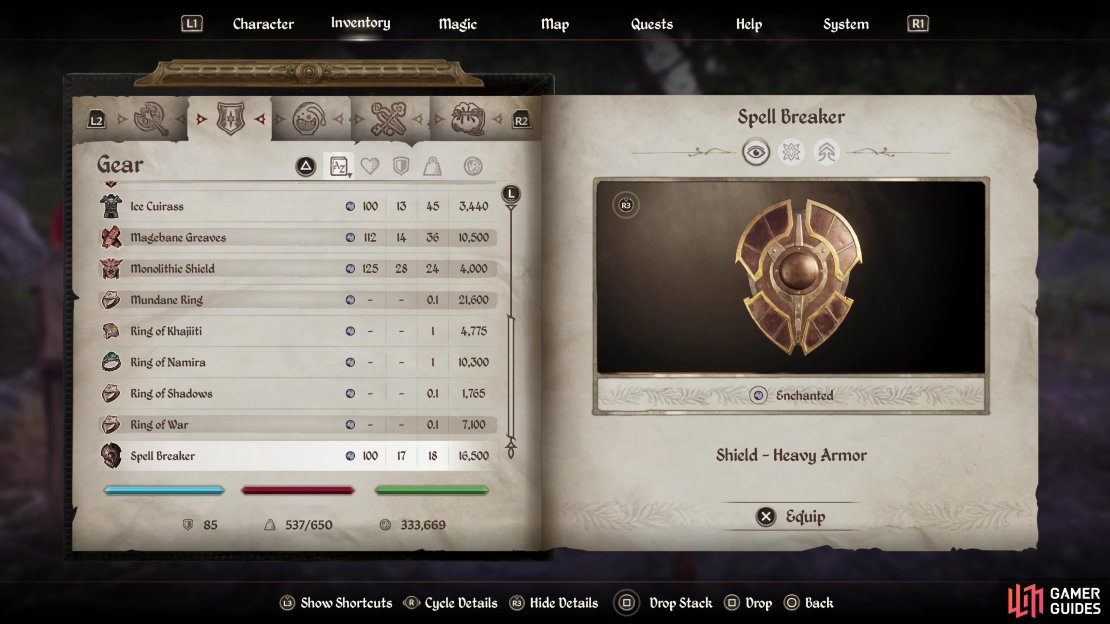
(1 of 3) Outside of Peryite’s shrine you’ll find that his followers are all oddly unconscious.. but not sleeping.
Peryite’s Quest - Spellbreaker
Peryite’s Shrine can be found far to the east of Bravil - just follow the southern shore of the Silverfish River and you should stumble across it. When you arrive, you’ll find the Daedric Prince’s shrine is infested with the usual handful of worshippers, save these ones aren’t moving and are unresponsive. Interact with the Daedra’s shrine and Peryite will tell you about how his followers became in such a sorry state. Talk to the statue again and travel to Oblivion, where you’ll need to complete a fairly large Oblivion realm dungeon. Seek out the five worshippers (they all have quest icons pointing you in the right direction), fighting your way through Daedra, and when you’ve found them all head back to where you appeared and go through a portal opened by Peryite to escape. You can freely explore optional side dungeons and scour for materials if you wish - there’s no time limit, but you can’t go back to Cyrodiil until you’ve rescued Peryite’s minions. When you complete your task and return to Cyrodiil and consult the statue of Peryite to finish the quest and obtain the Spell Breaker shield.
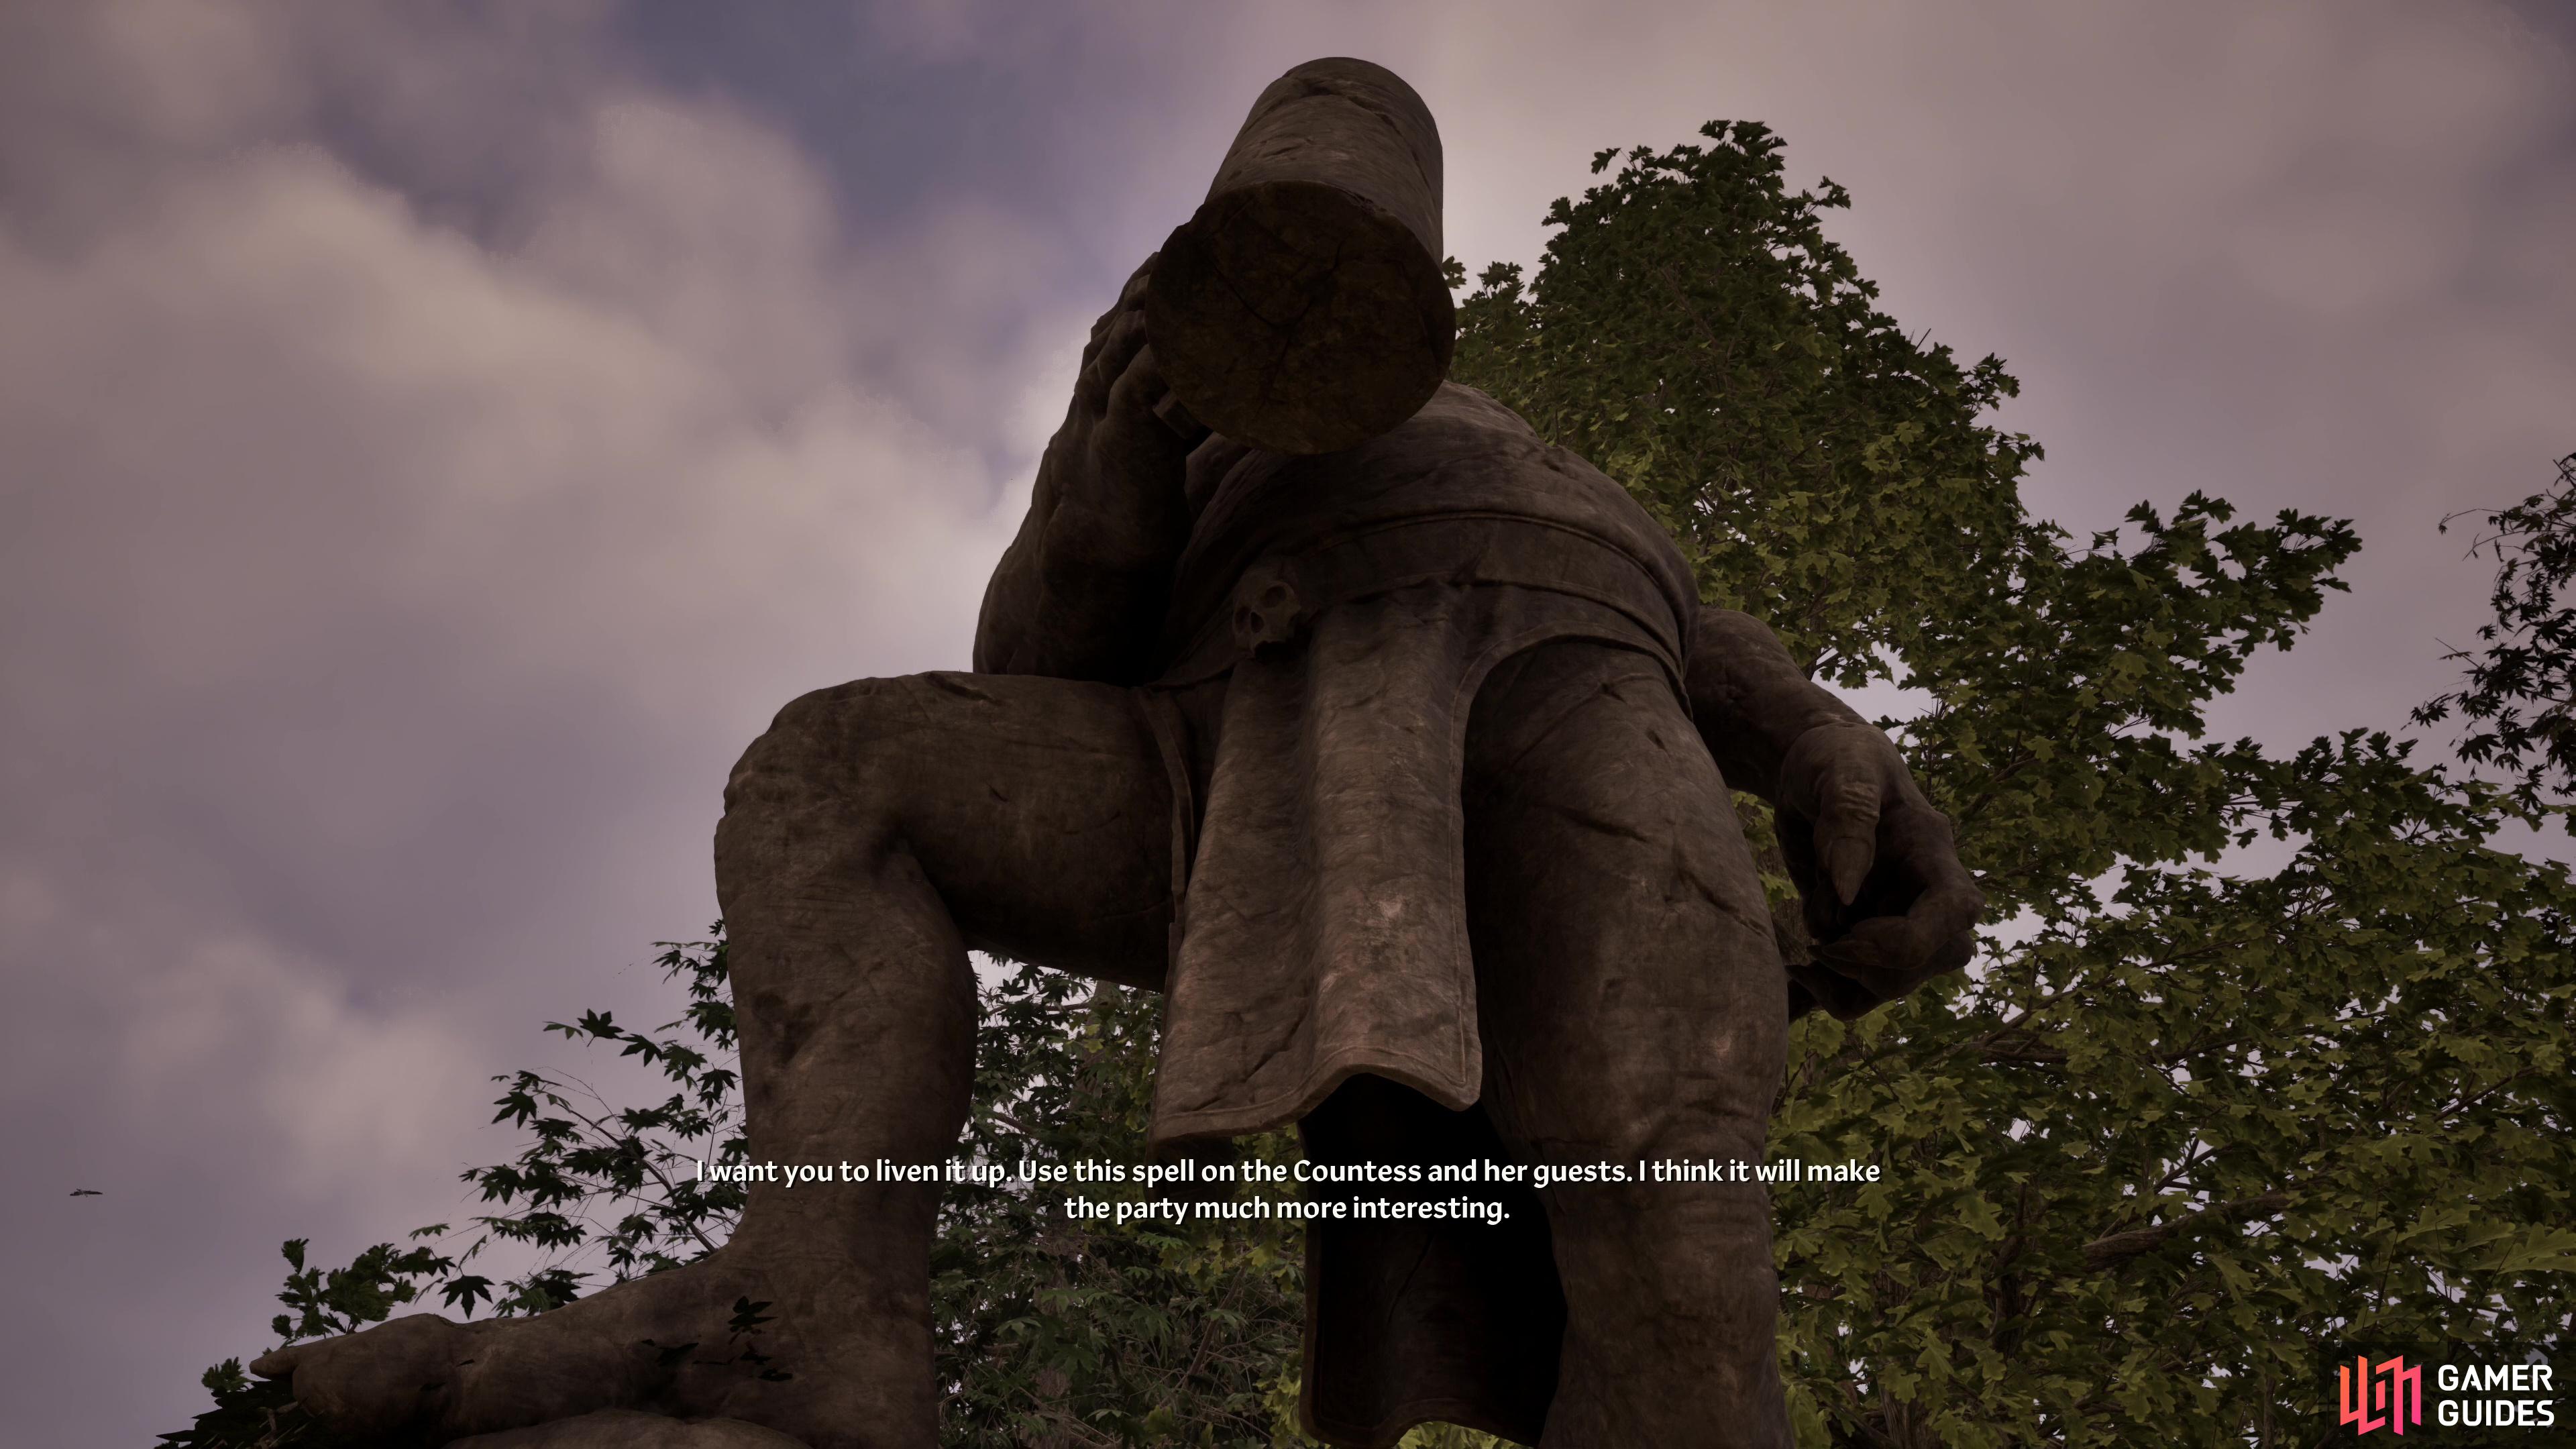


(1 of 4) Give Sanguine some Cyrodilic Brandy and he’ll give you a quest.
Sanguine’s Quest - Sanguine Rose
Take a jaunt northwest of Skingrad to find the Shrine of Sanguine, where you can talk to one of the bacchic Daedra’s revelers, Engorm and he’ll advise you to bring an offering of Cyrodilic Brandy, which can be purchased from various high-end stores or stolen from the estates of nobles. Talk to Sanguine’s statue and give him the Cyrodilic Brandy and he’ll give you a quest - head to Castle Leyawiin and make the Countess’s droll party more entertaining. Before you go, note that this isn’t for the faint of heart - a high Speed stat, an Invisibility spell or a high Sneak score can all help out.
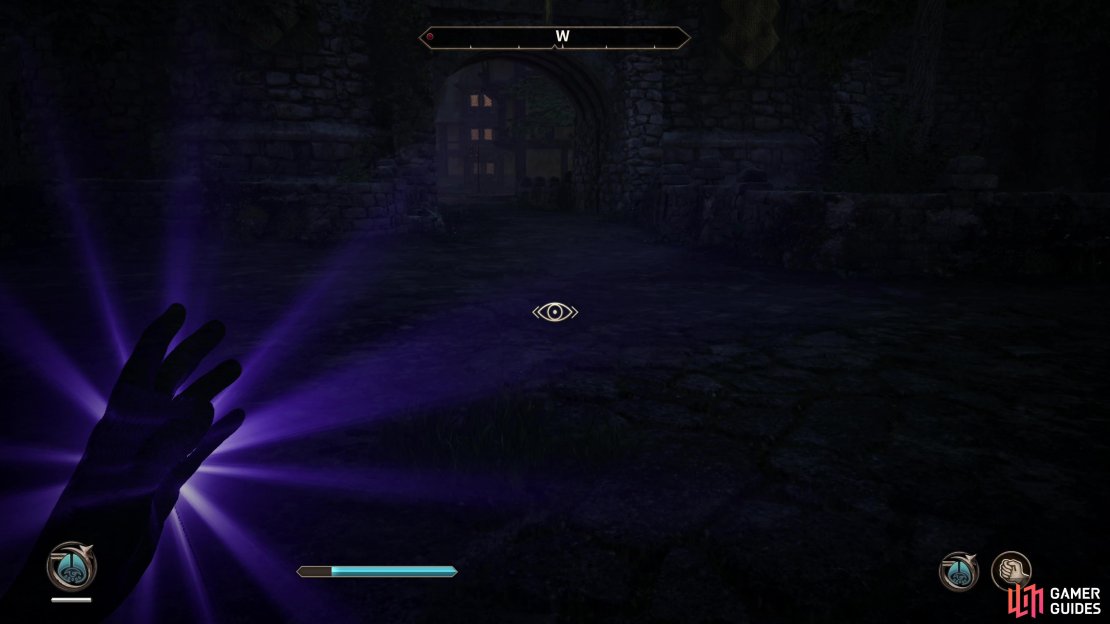
When you’re ready for mischief, travel to Castle Leyawiin and enter, go to the throne room and find a door to the right, which is guarded. If your gear is valuable enough, the guard will assume you’re one of the guests, or you could play the Persuade minigame to raise his disposition to get in. Either way, once you gain access enter the room to find the Countess and her guests gathered around a table. Open up your magic menu and find the spell Stark Reality, which was bestowed to you by Sanguine. The word “Stark” should give a clue as to what this does, but it also drains health, making it an offensive spell that will get you in trouble with the guards when you cast it. Save your game, and when you’re ready, cast it in the center of the guests to affect them all, then flee the castle. Resist arrest if you have to, go to jail if you must - Invisibility will help you escape, but you can always just make a run for it. Note that all your gear will be gone, too, so fighting isn’t a wise play here.
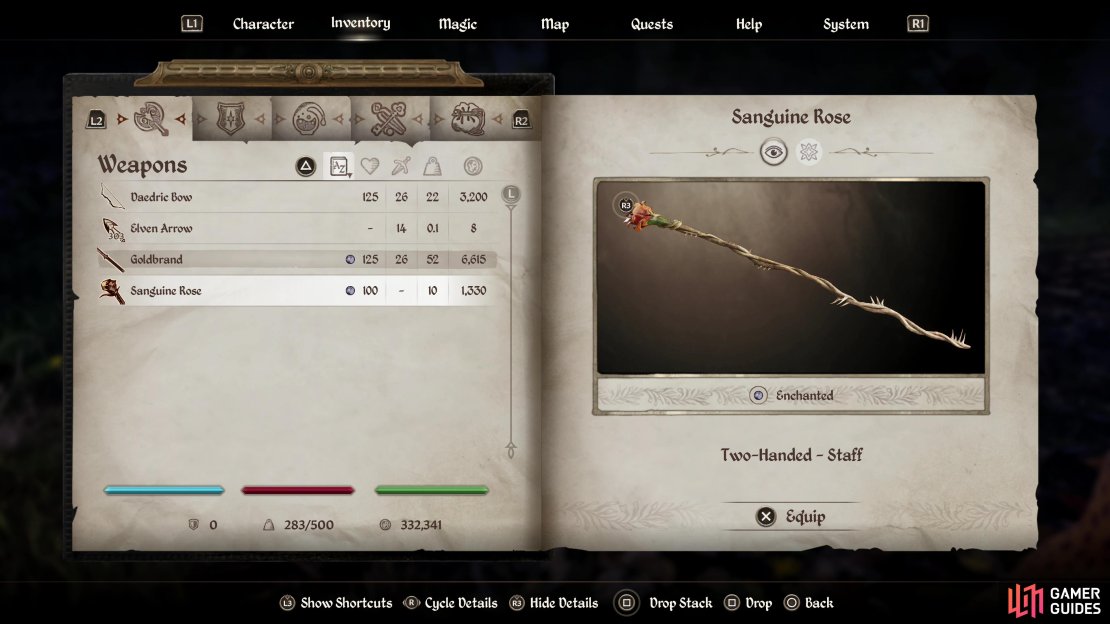
However you deal with the consequences, when you’re free again, travel back to Sanguine’s Shrine and he’ll reward you with Sanguine Rose. You can pick up your gear from a chest behind one of the benches near the shrine.
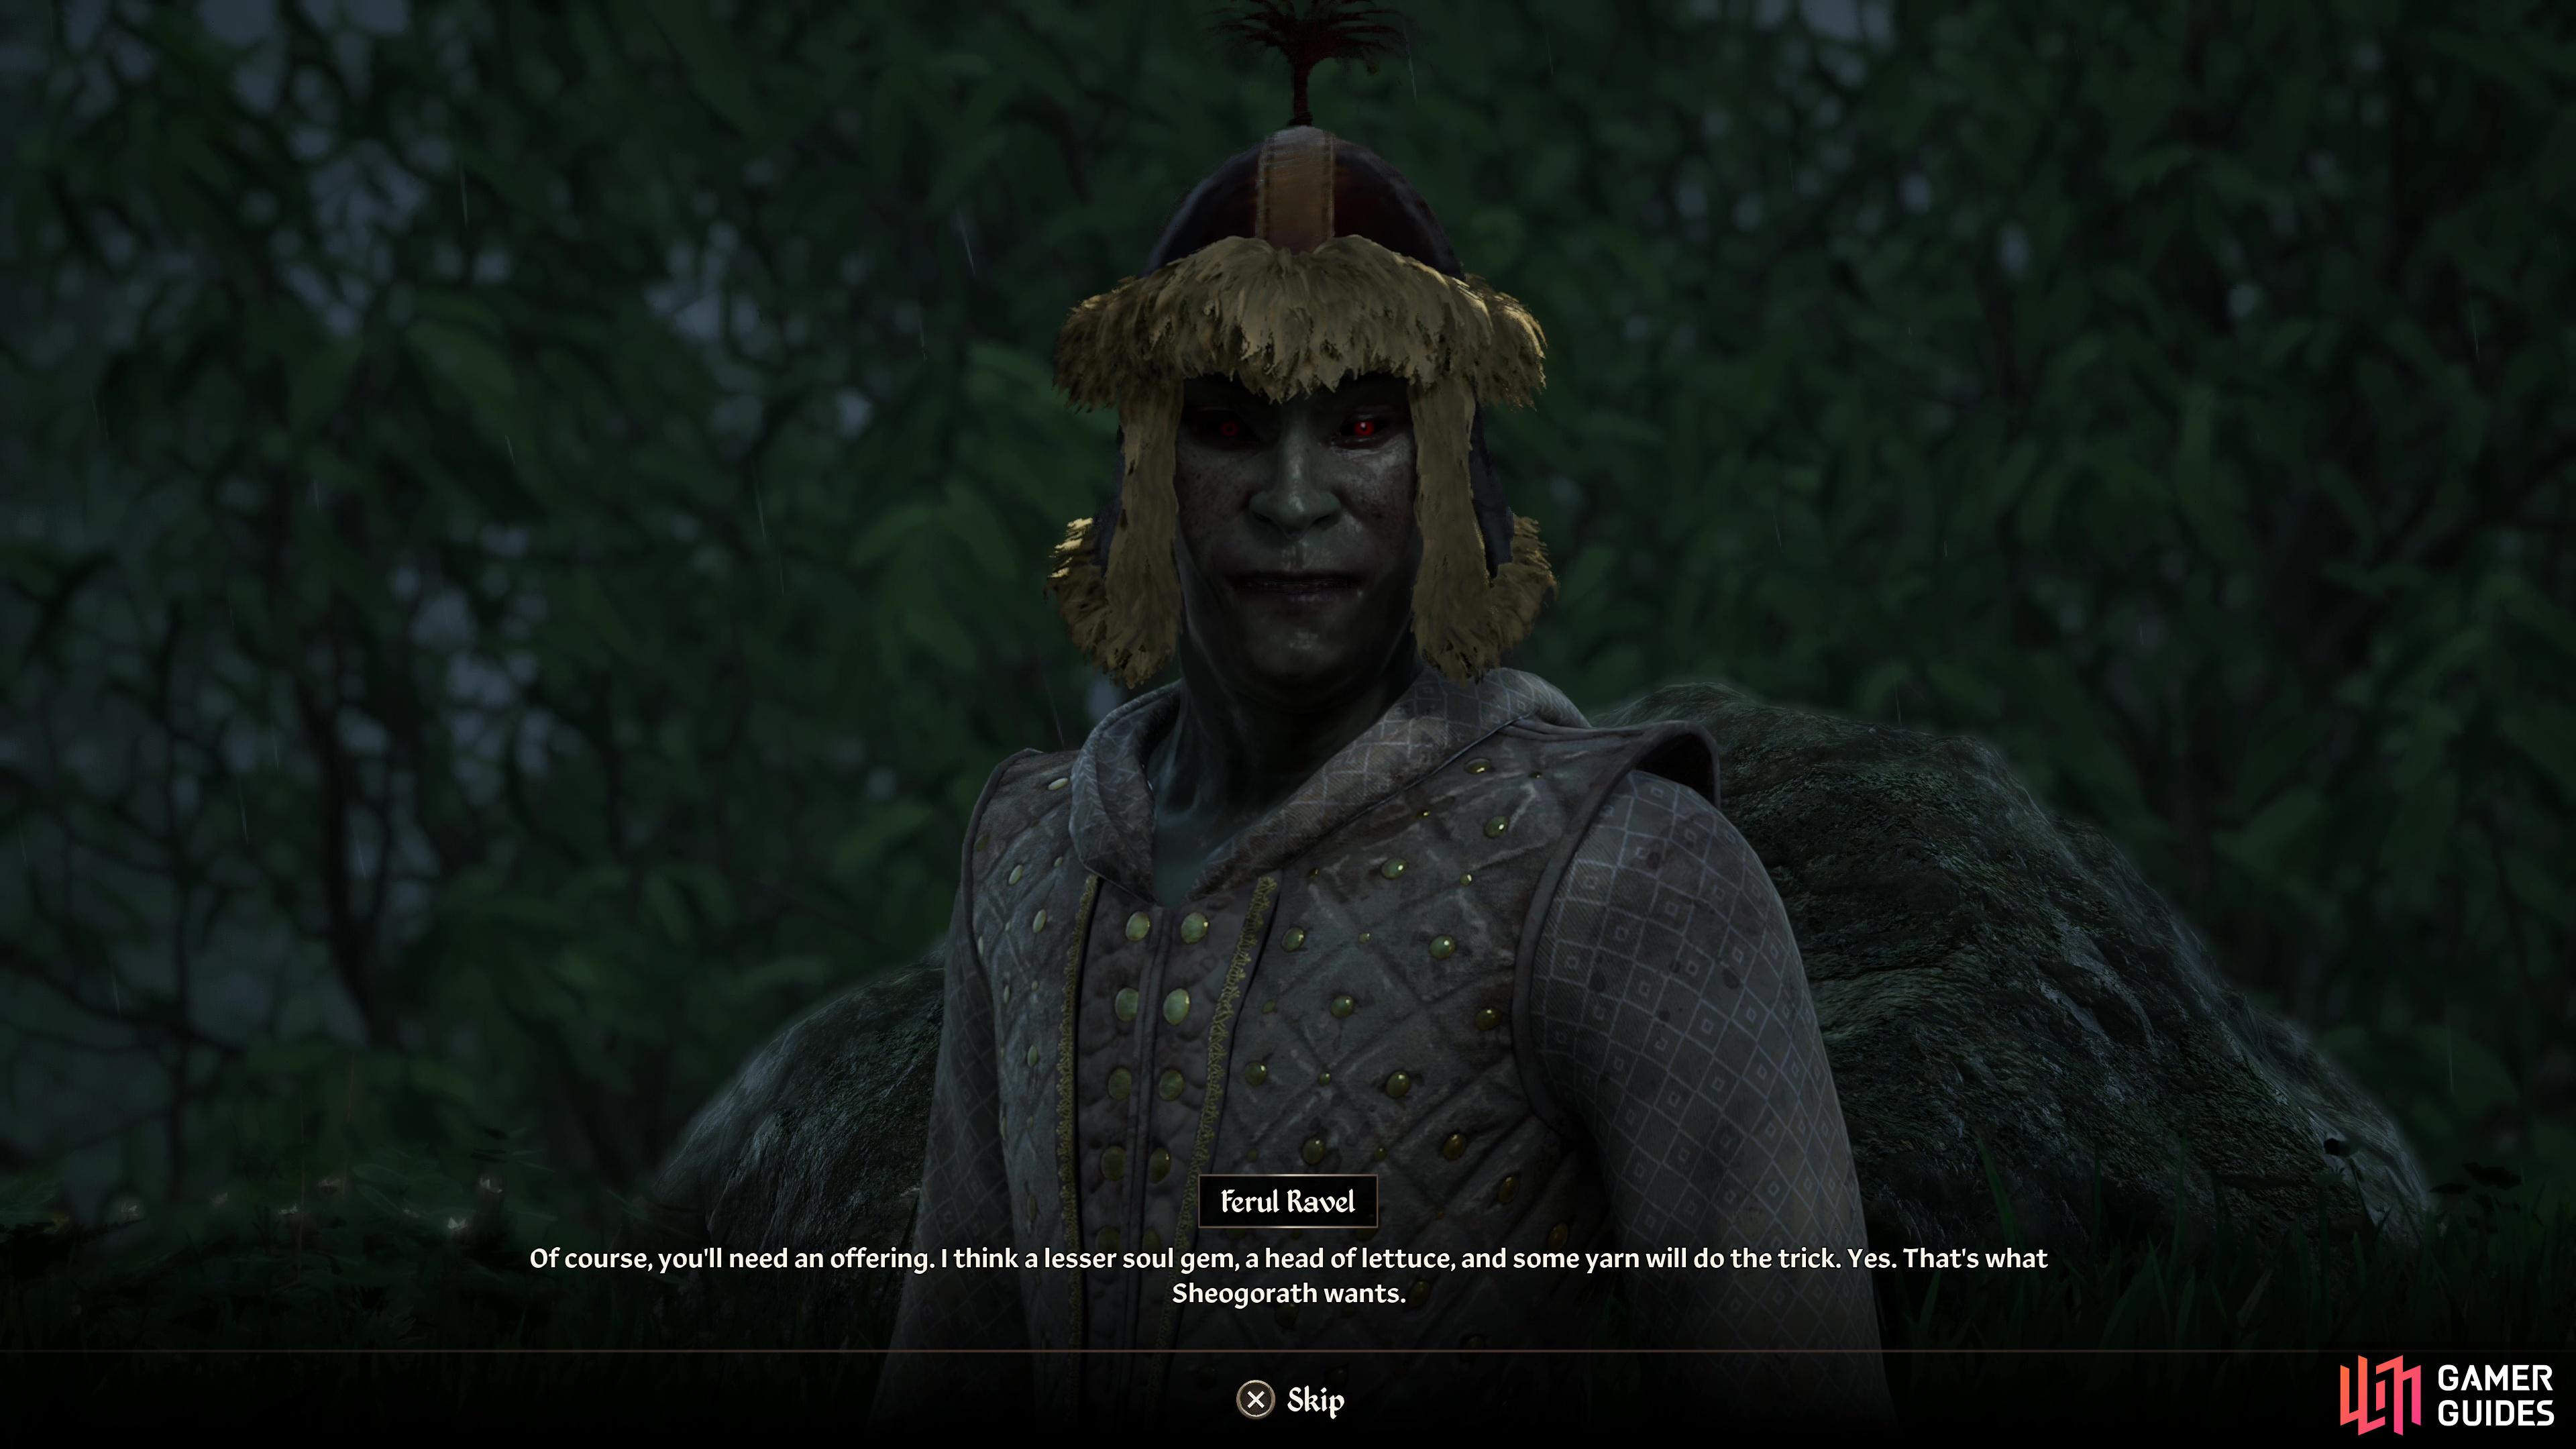

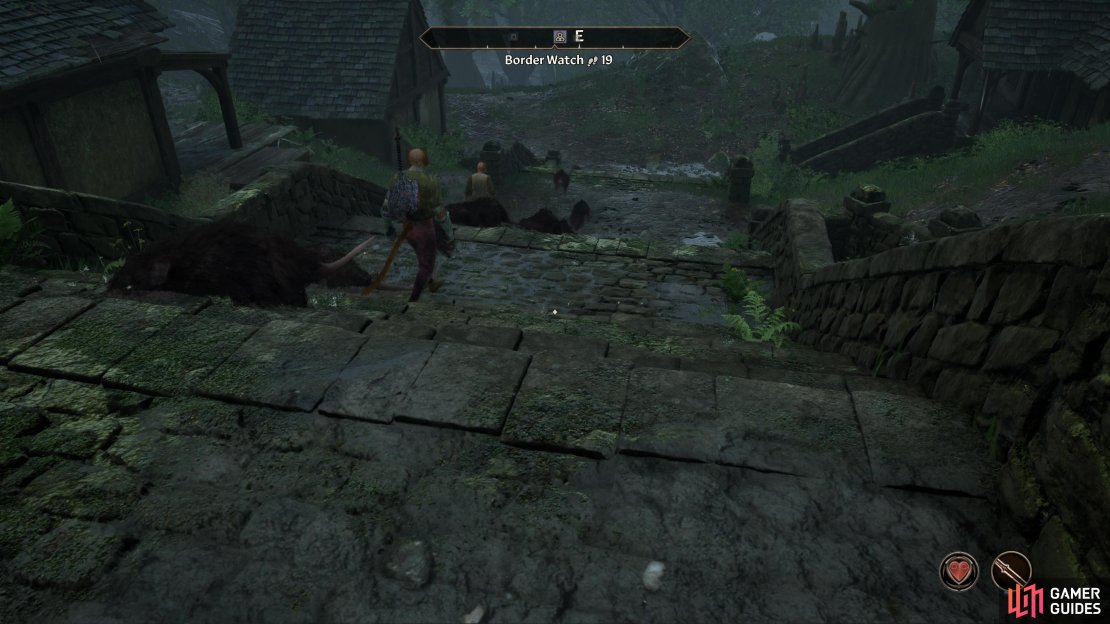
(1 of 2) Talk to Ferul Ravel near Sheogorath’s Shrine to find that this Daedric Prince has… eclectic tastes.
Talk to Ferul Ravel near Sheogorath’s Shrine to find that this Daedric Prince has… eclectic tastes. (left), Make the appropriate offerings and Sheogorath will command you to make the lives of the residents of Border Watch more interesting. (right)
Sheogorath’s Quest -Wabbajack
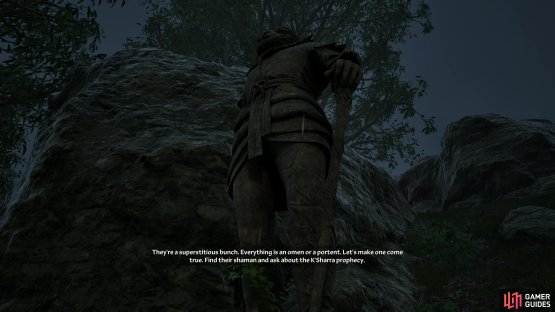
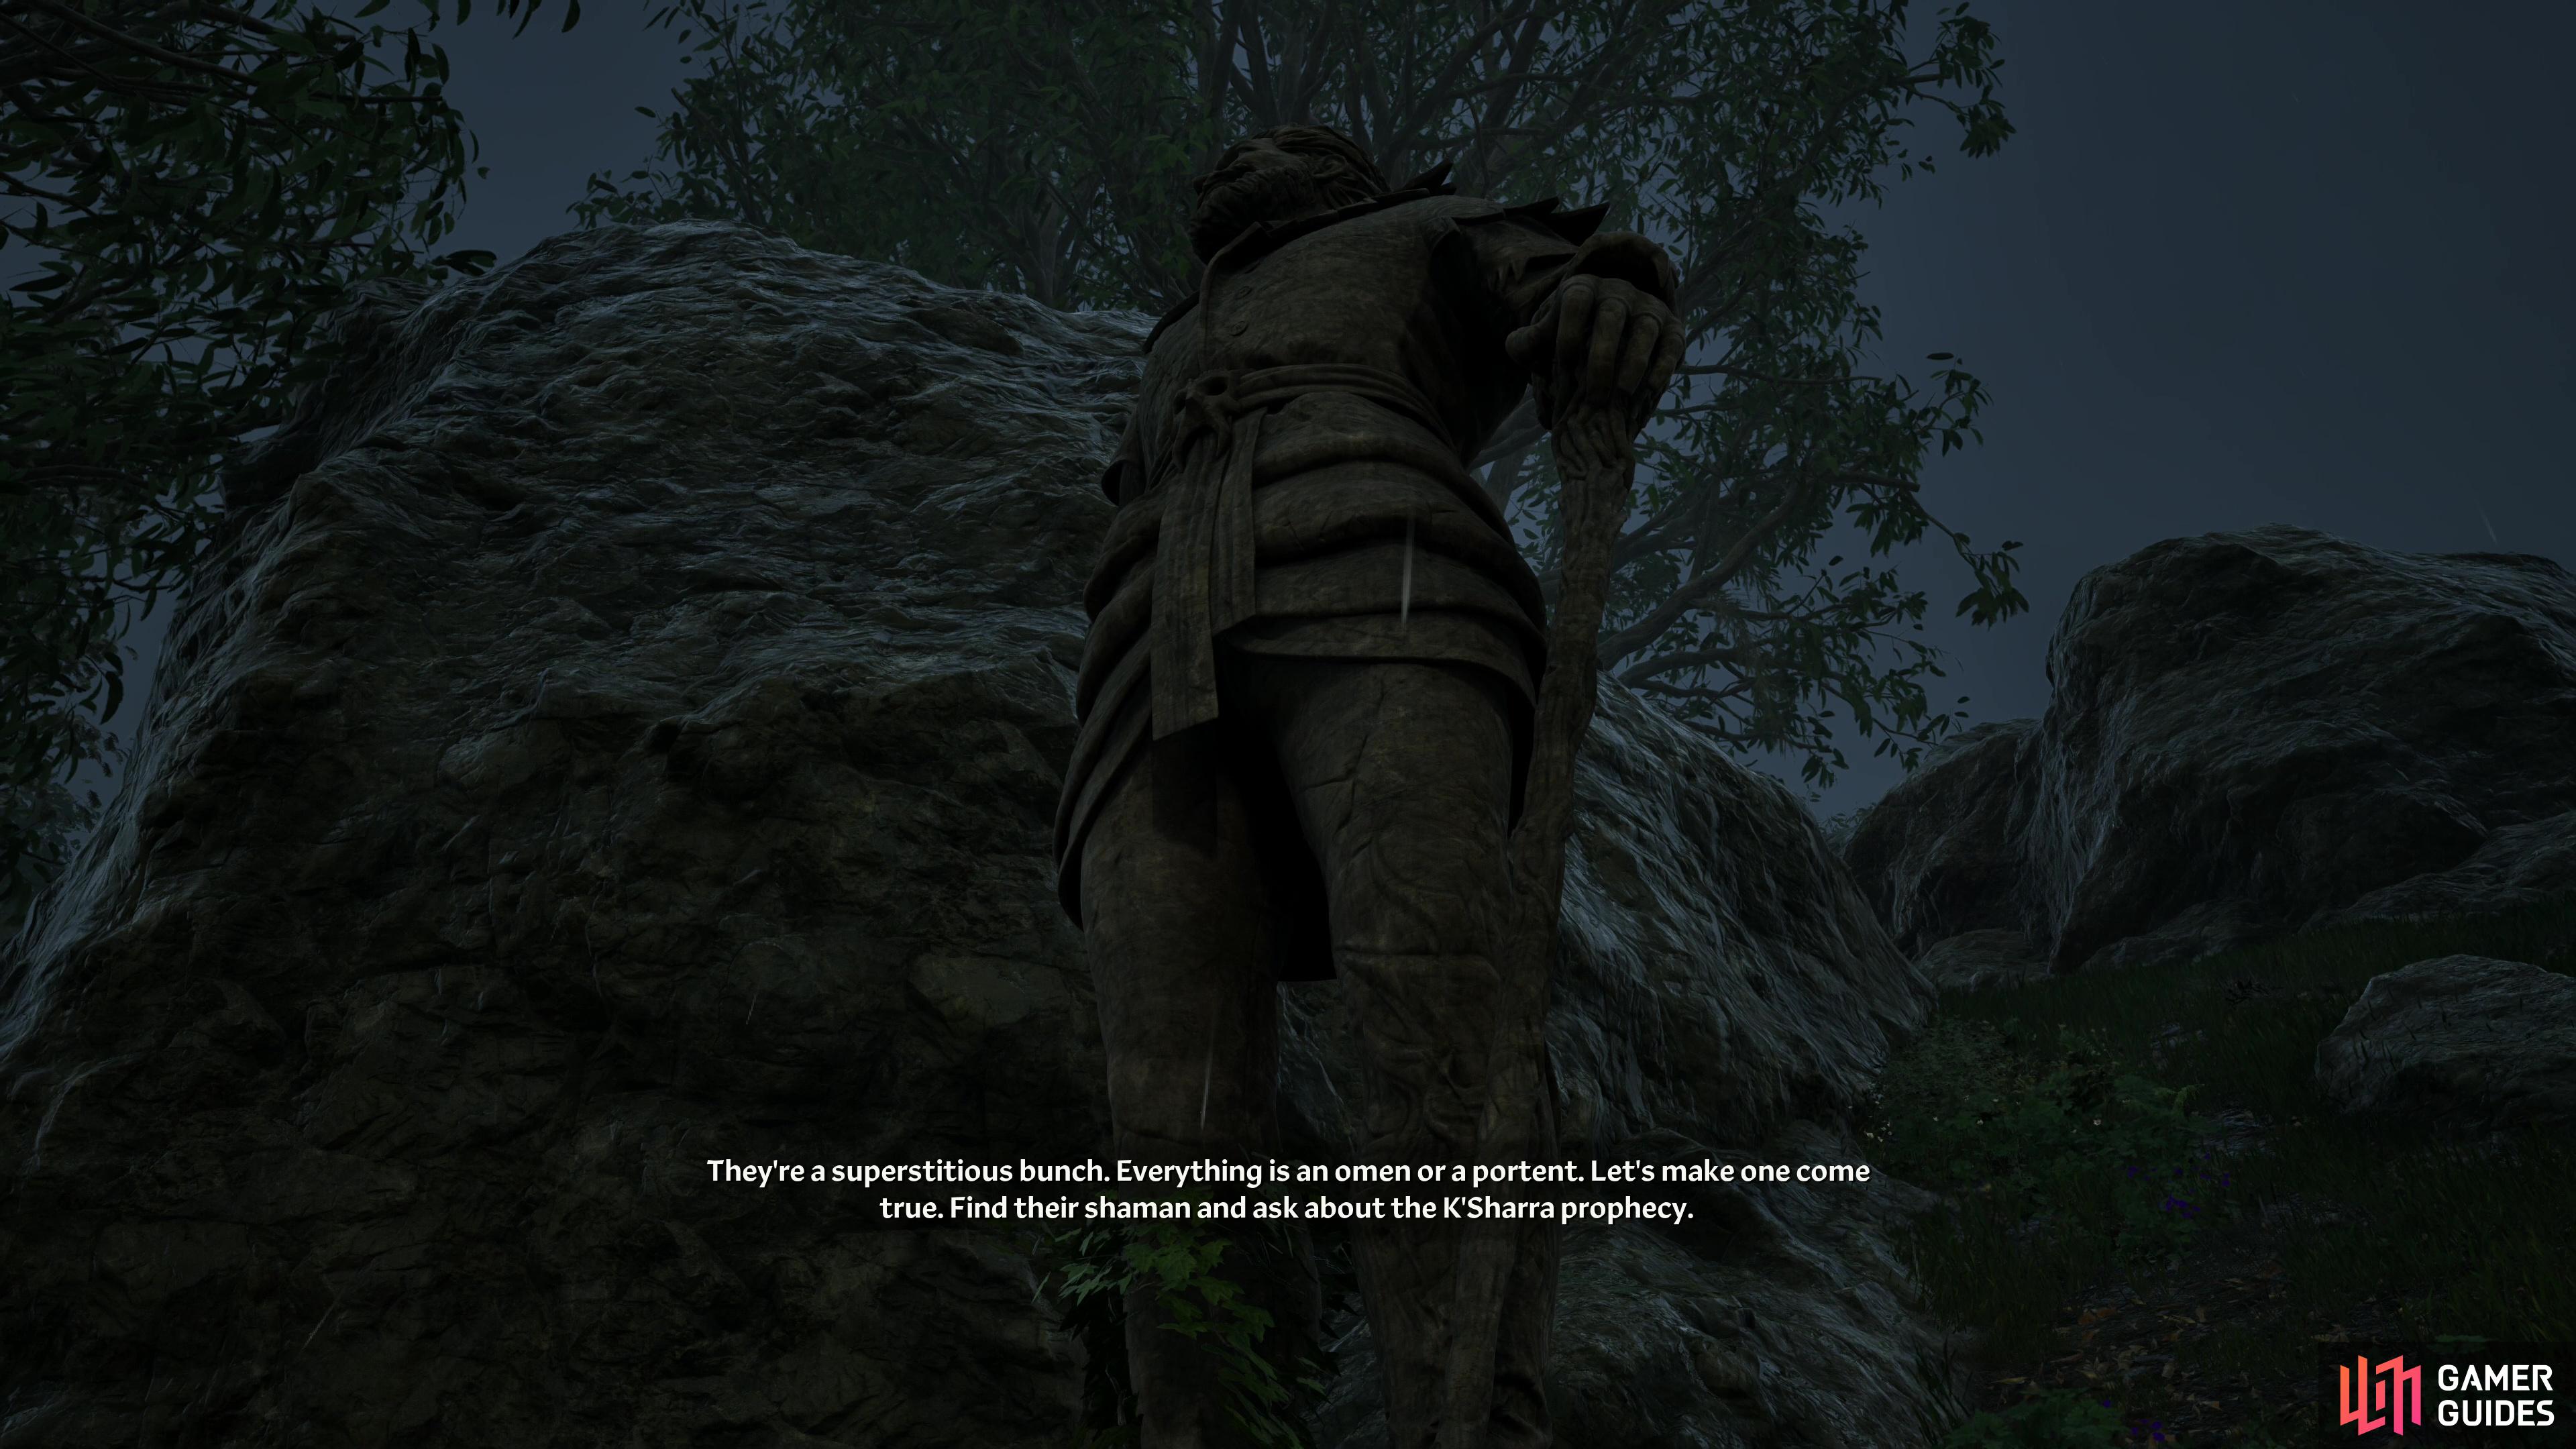
Stray into the Sheogorath’s Shrine, which is between Bravil and Leyawiin, west of the road, and talk to Ferrule Ravel, who will tell you nonsense laden with smatterings of truth - the main takeaway is that you need to offer up a Lesser Soul Gem, Lettuce and Yarn to the statue. Do so and Sheogorath will talk to you, telling you to travel south and slightly west to the town of Border Watch and give some apocalyptic prophecies a bit of a nudge. Talk to the town’s shaman, Ri’Bassa (he’ll be wearing a black robe) and play the Persuade minigame to raise his disposition above 60, then pick the ”K’sharra Prophecy” followed by ”I am a traveling scholar.” and finally ”Three signs.”. You need to make these plagues happen to spook the Khajiit living here, and below you’ll find out how to do just that:

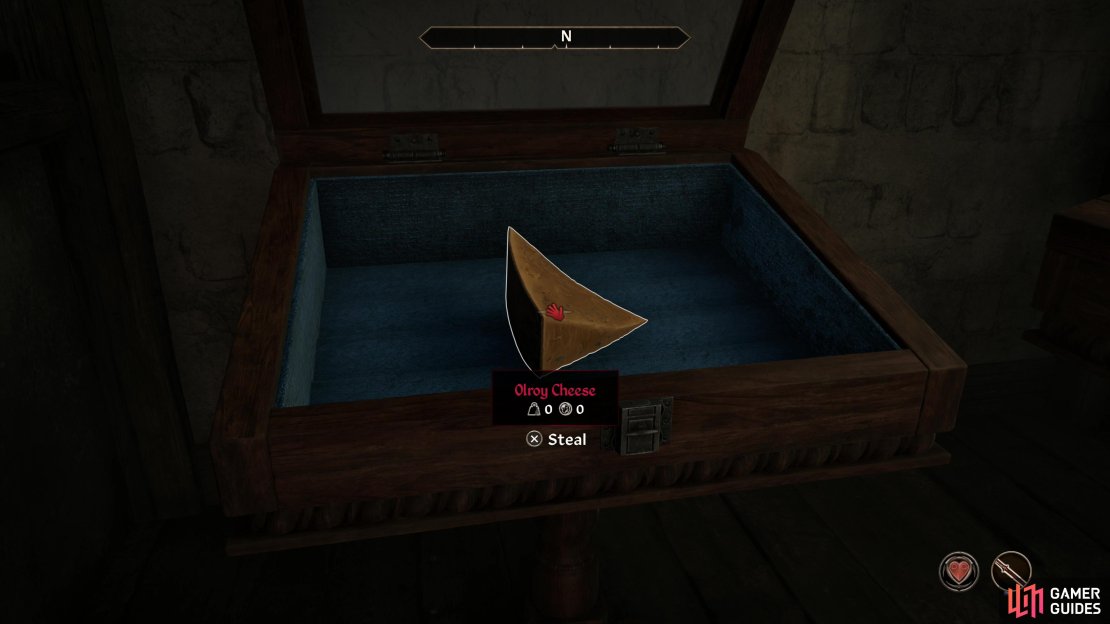

(1 of 3) Steal the Olroy Cheese from the inn,
Plague of Vermin
After picking the aforementioned dialog options, ask Ri’Bassa about Border Watch and he’ll mention some Olroy Cheese kept sealed in the Border Watch Inn (southwestern edge of the village). Enter the inn and turn right to find a display case containing the cheese. You need to either pick a very hard lock without getting detected or steal the Display Case Key from the innkeeper, Sthasa. Once you have the cheese, head outside and put it in the cooking pot nearby, then wait a moment and Rats will climb the stairs to the east.
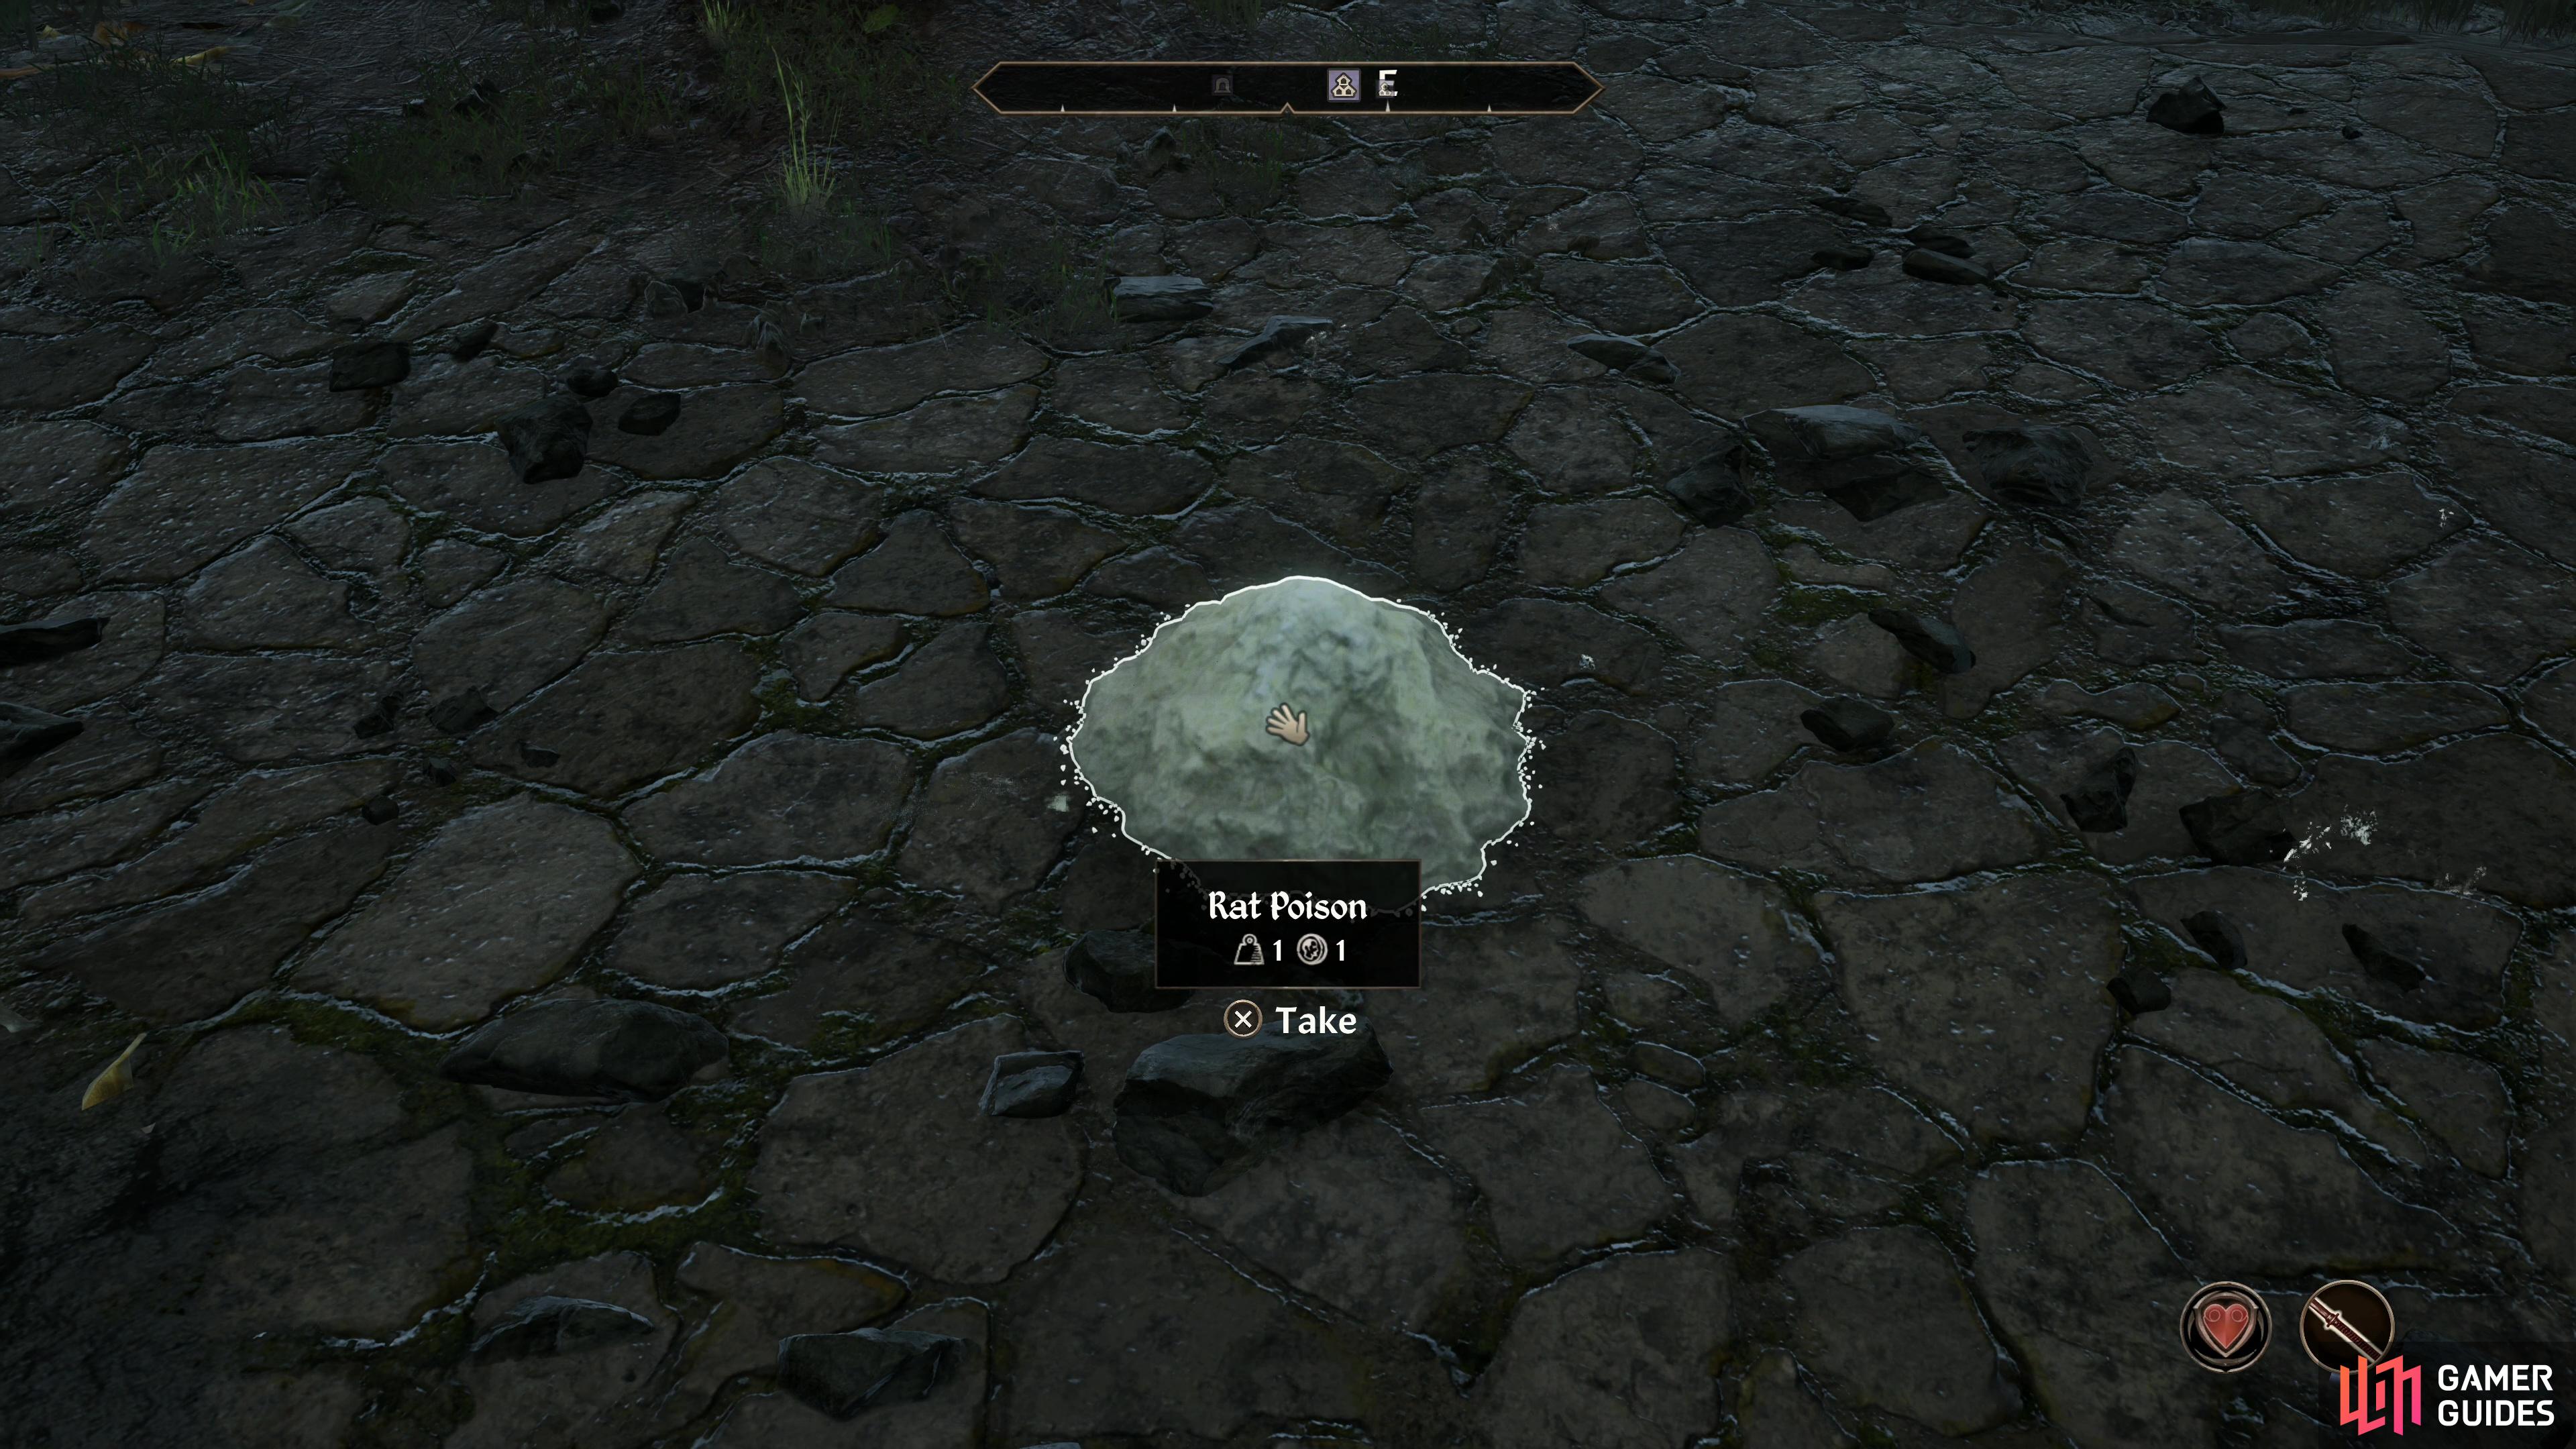
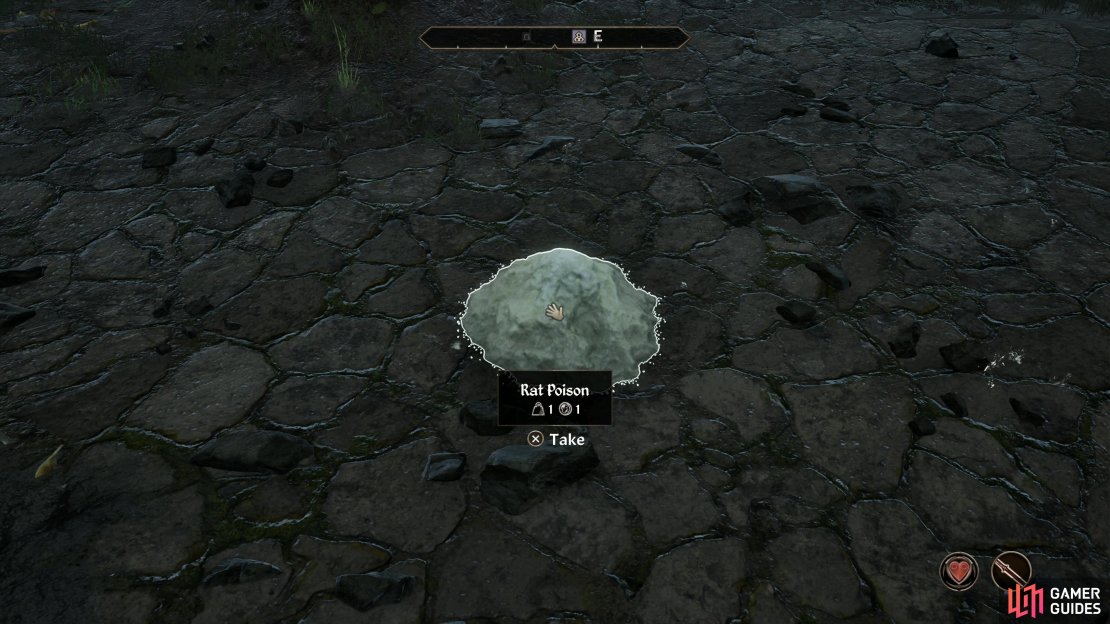
(1 of 3) Pick up the Rat Poison that Ri’Bassa spread around,
Plague of Famine
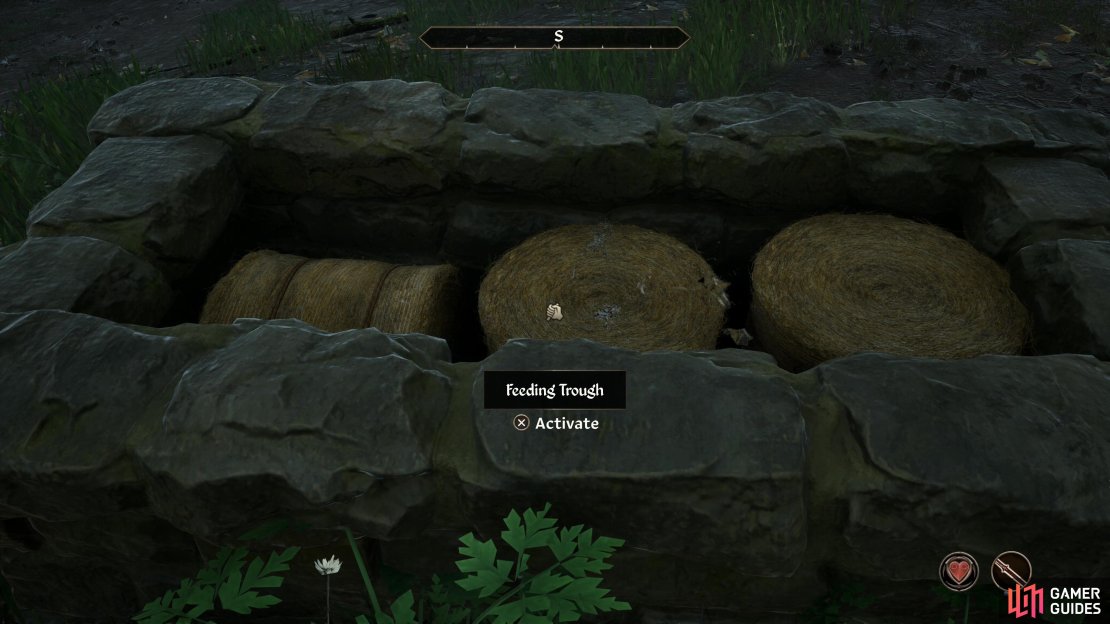
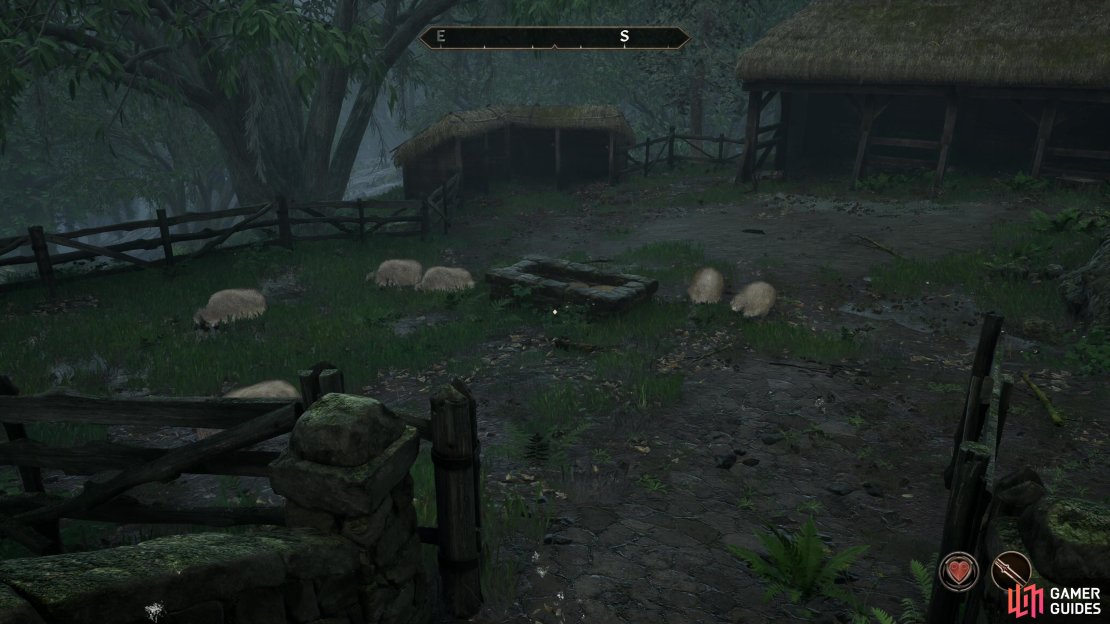
Once the rats arrive, talk to Ri’Bassa (you’ll be prompted by a quest pop-up) and he’ll brush you off, placing Rat Poison around. When he’s done he’ll talk to you, foretelling doom. Grab one of the piles of Rat Poison he drops, wait for the Rats to die, then head south from the cooking pot to find the pen where the sheep are kept. Enter and put the rat poison in the Feeding Trough and wait for the sheep to feed, shortly after which they’ll die.

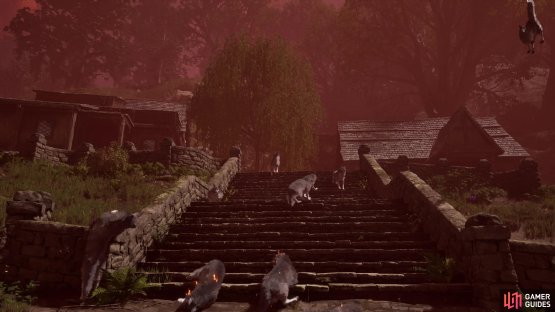
(1 of 2) The final plague is all Sheogorath - merely go to the indicated spot and the Daedric Prince will make it rain… dogs?
The final plague is all Sheogorath - merely go to the indicated spot and the Daedric Prince will make it rain… dogs? (left), Return to the unpredictable Sheogorath and he’ll give you the Wabbajack. (right)
Plague of Fear
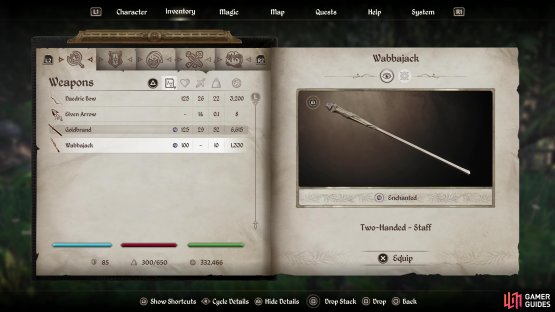
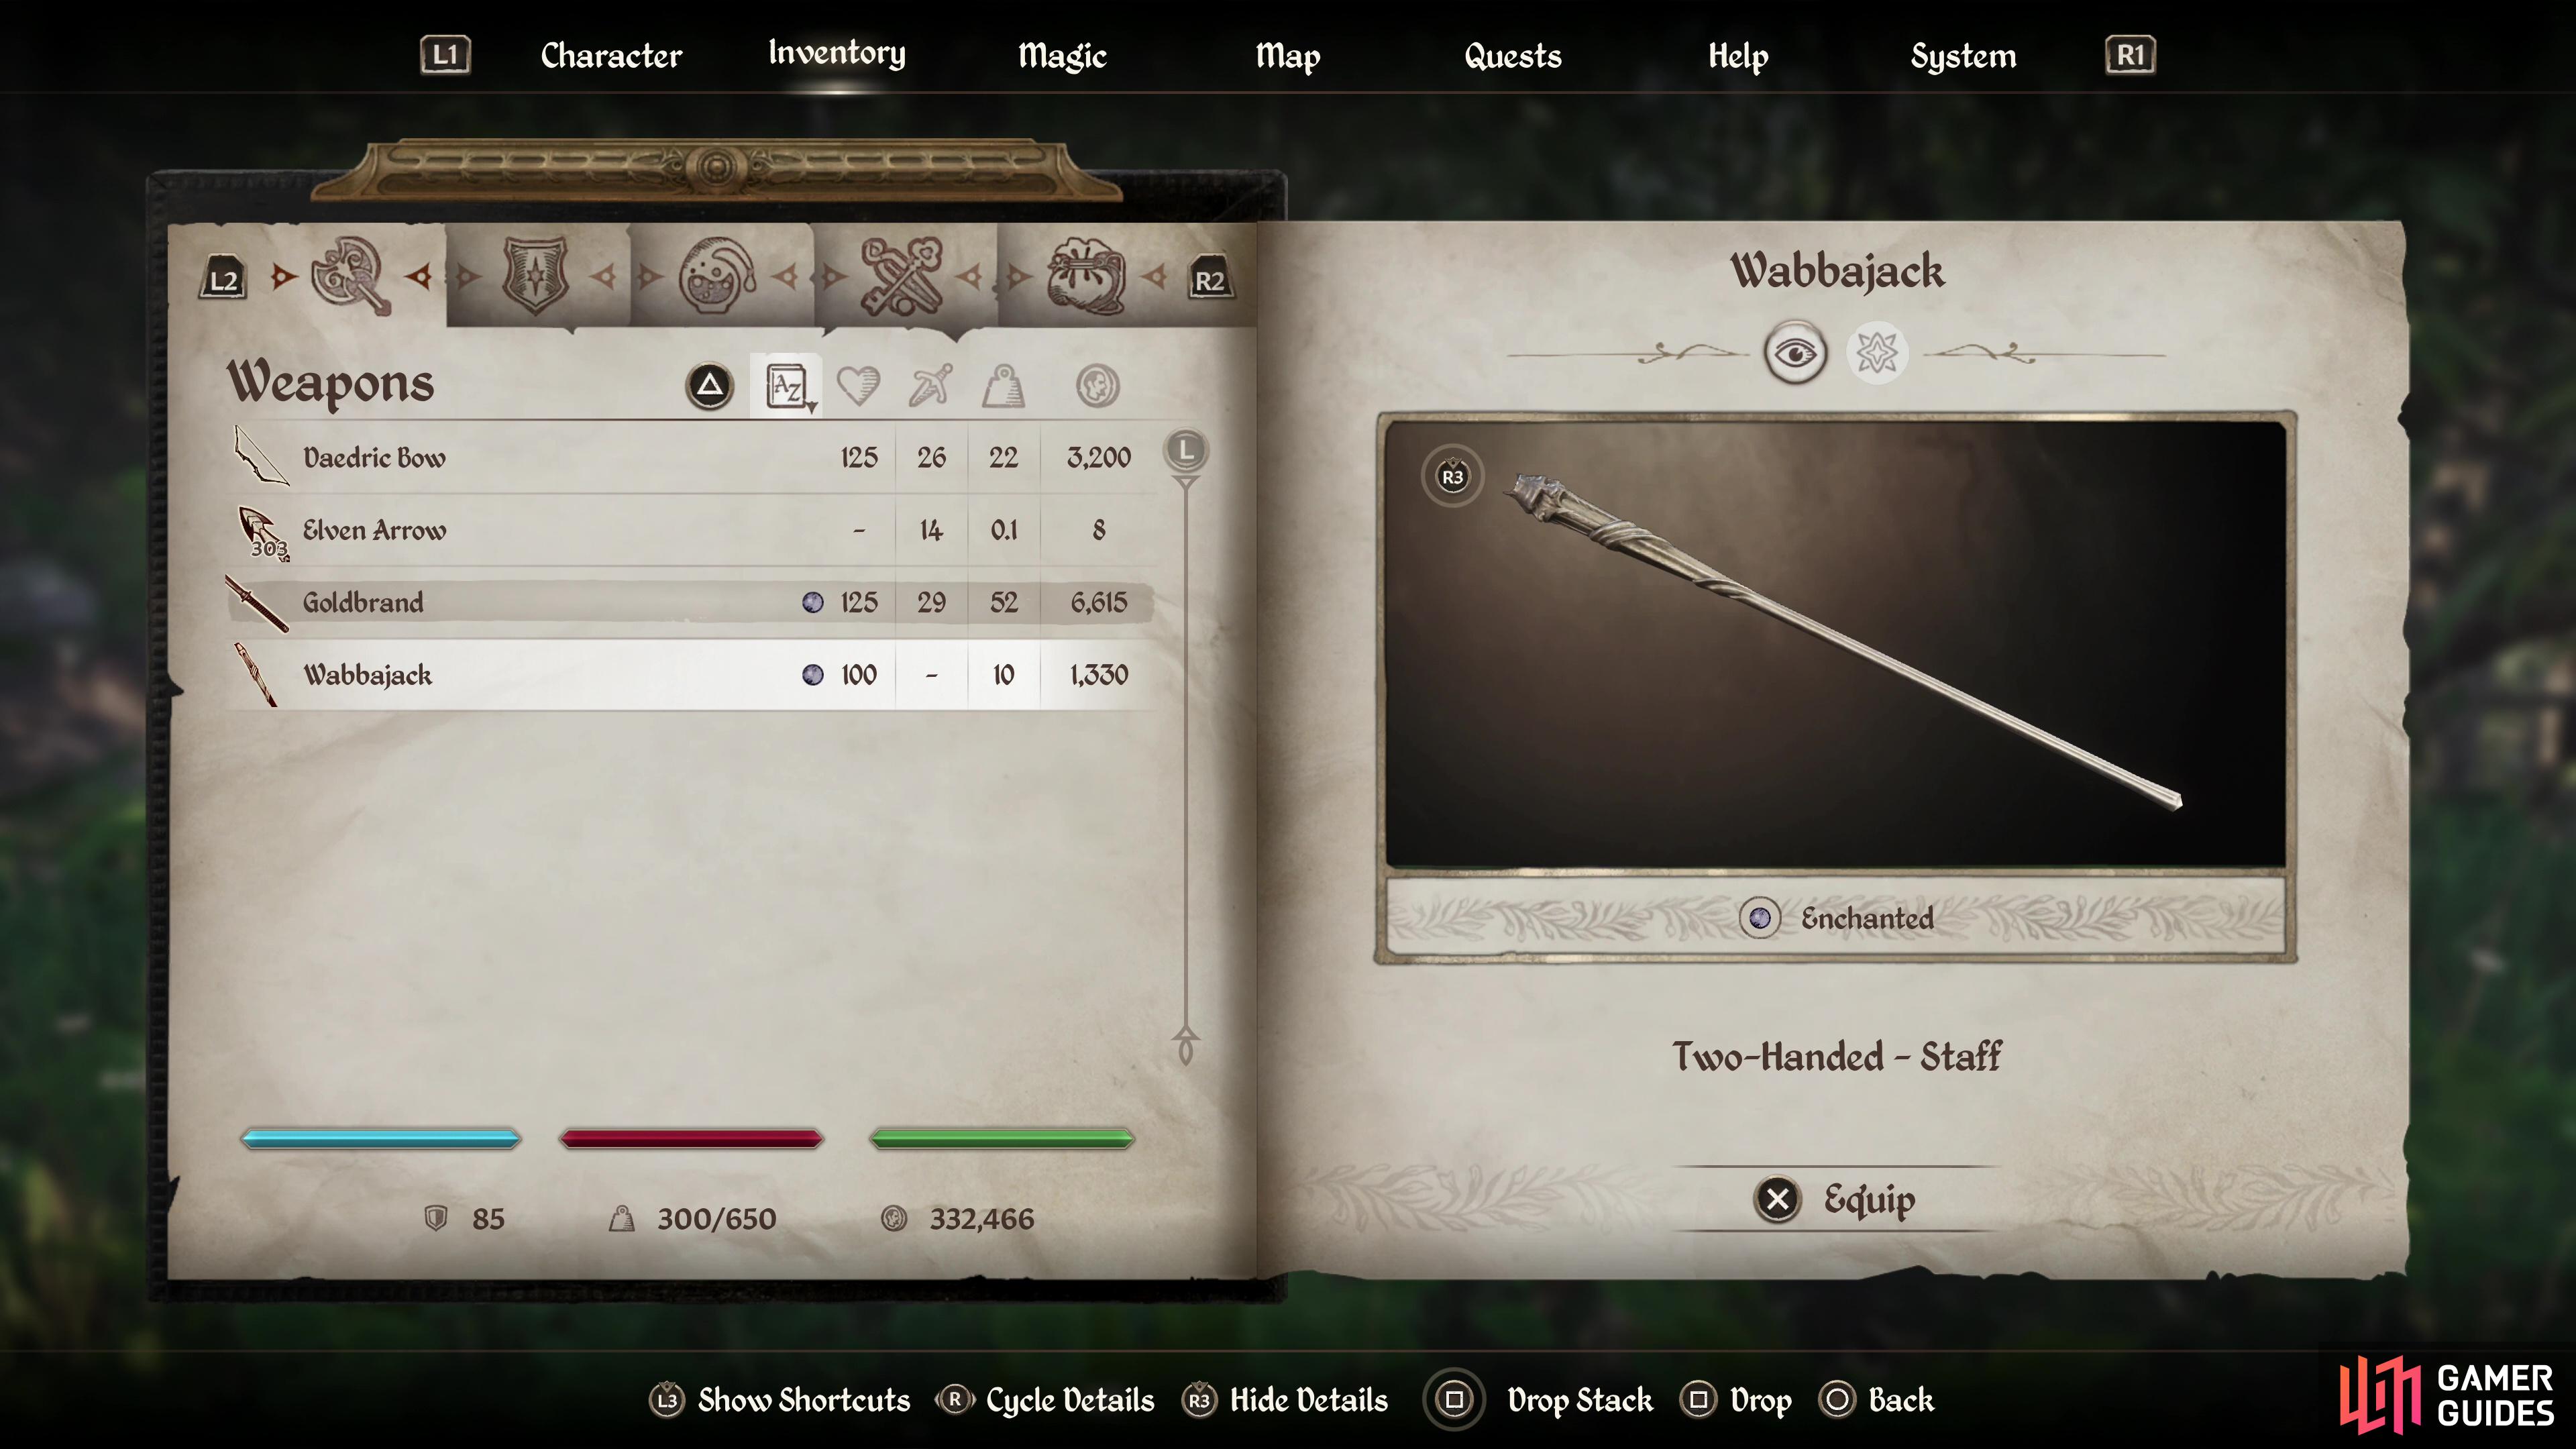
The final and easiest plague, after the sheep die you’ll get another quest pop-up whereupon you’ll be told to head to the center of town. Head down the stairs east of the Cooking Pot and wait for Sheogorath to contribute to the chaos. Once done you’ll get another quest pop-up telling you to return to Sheogorath’s Shrine. Do so and he’ll reward you with the Wabbajack.
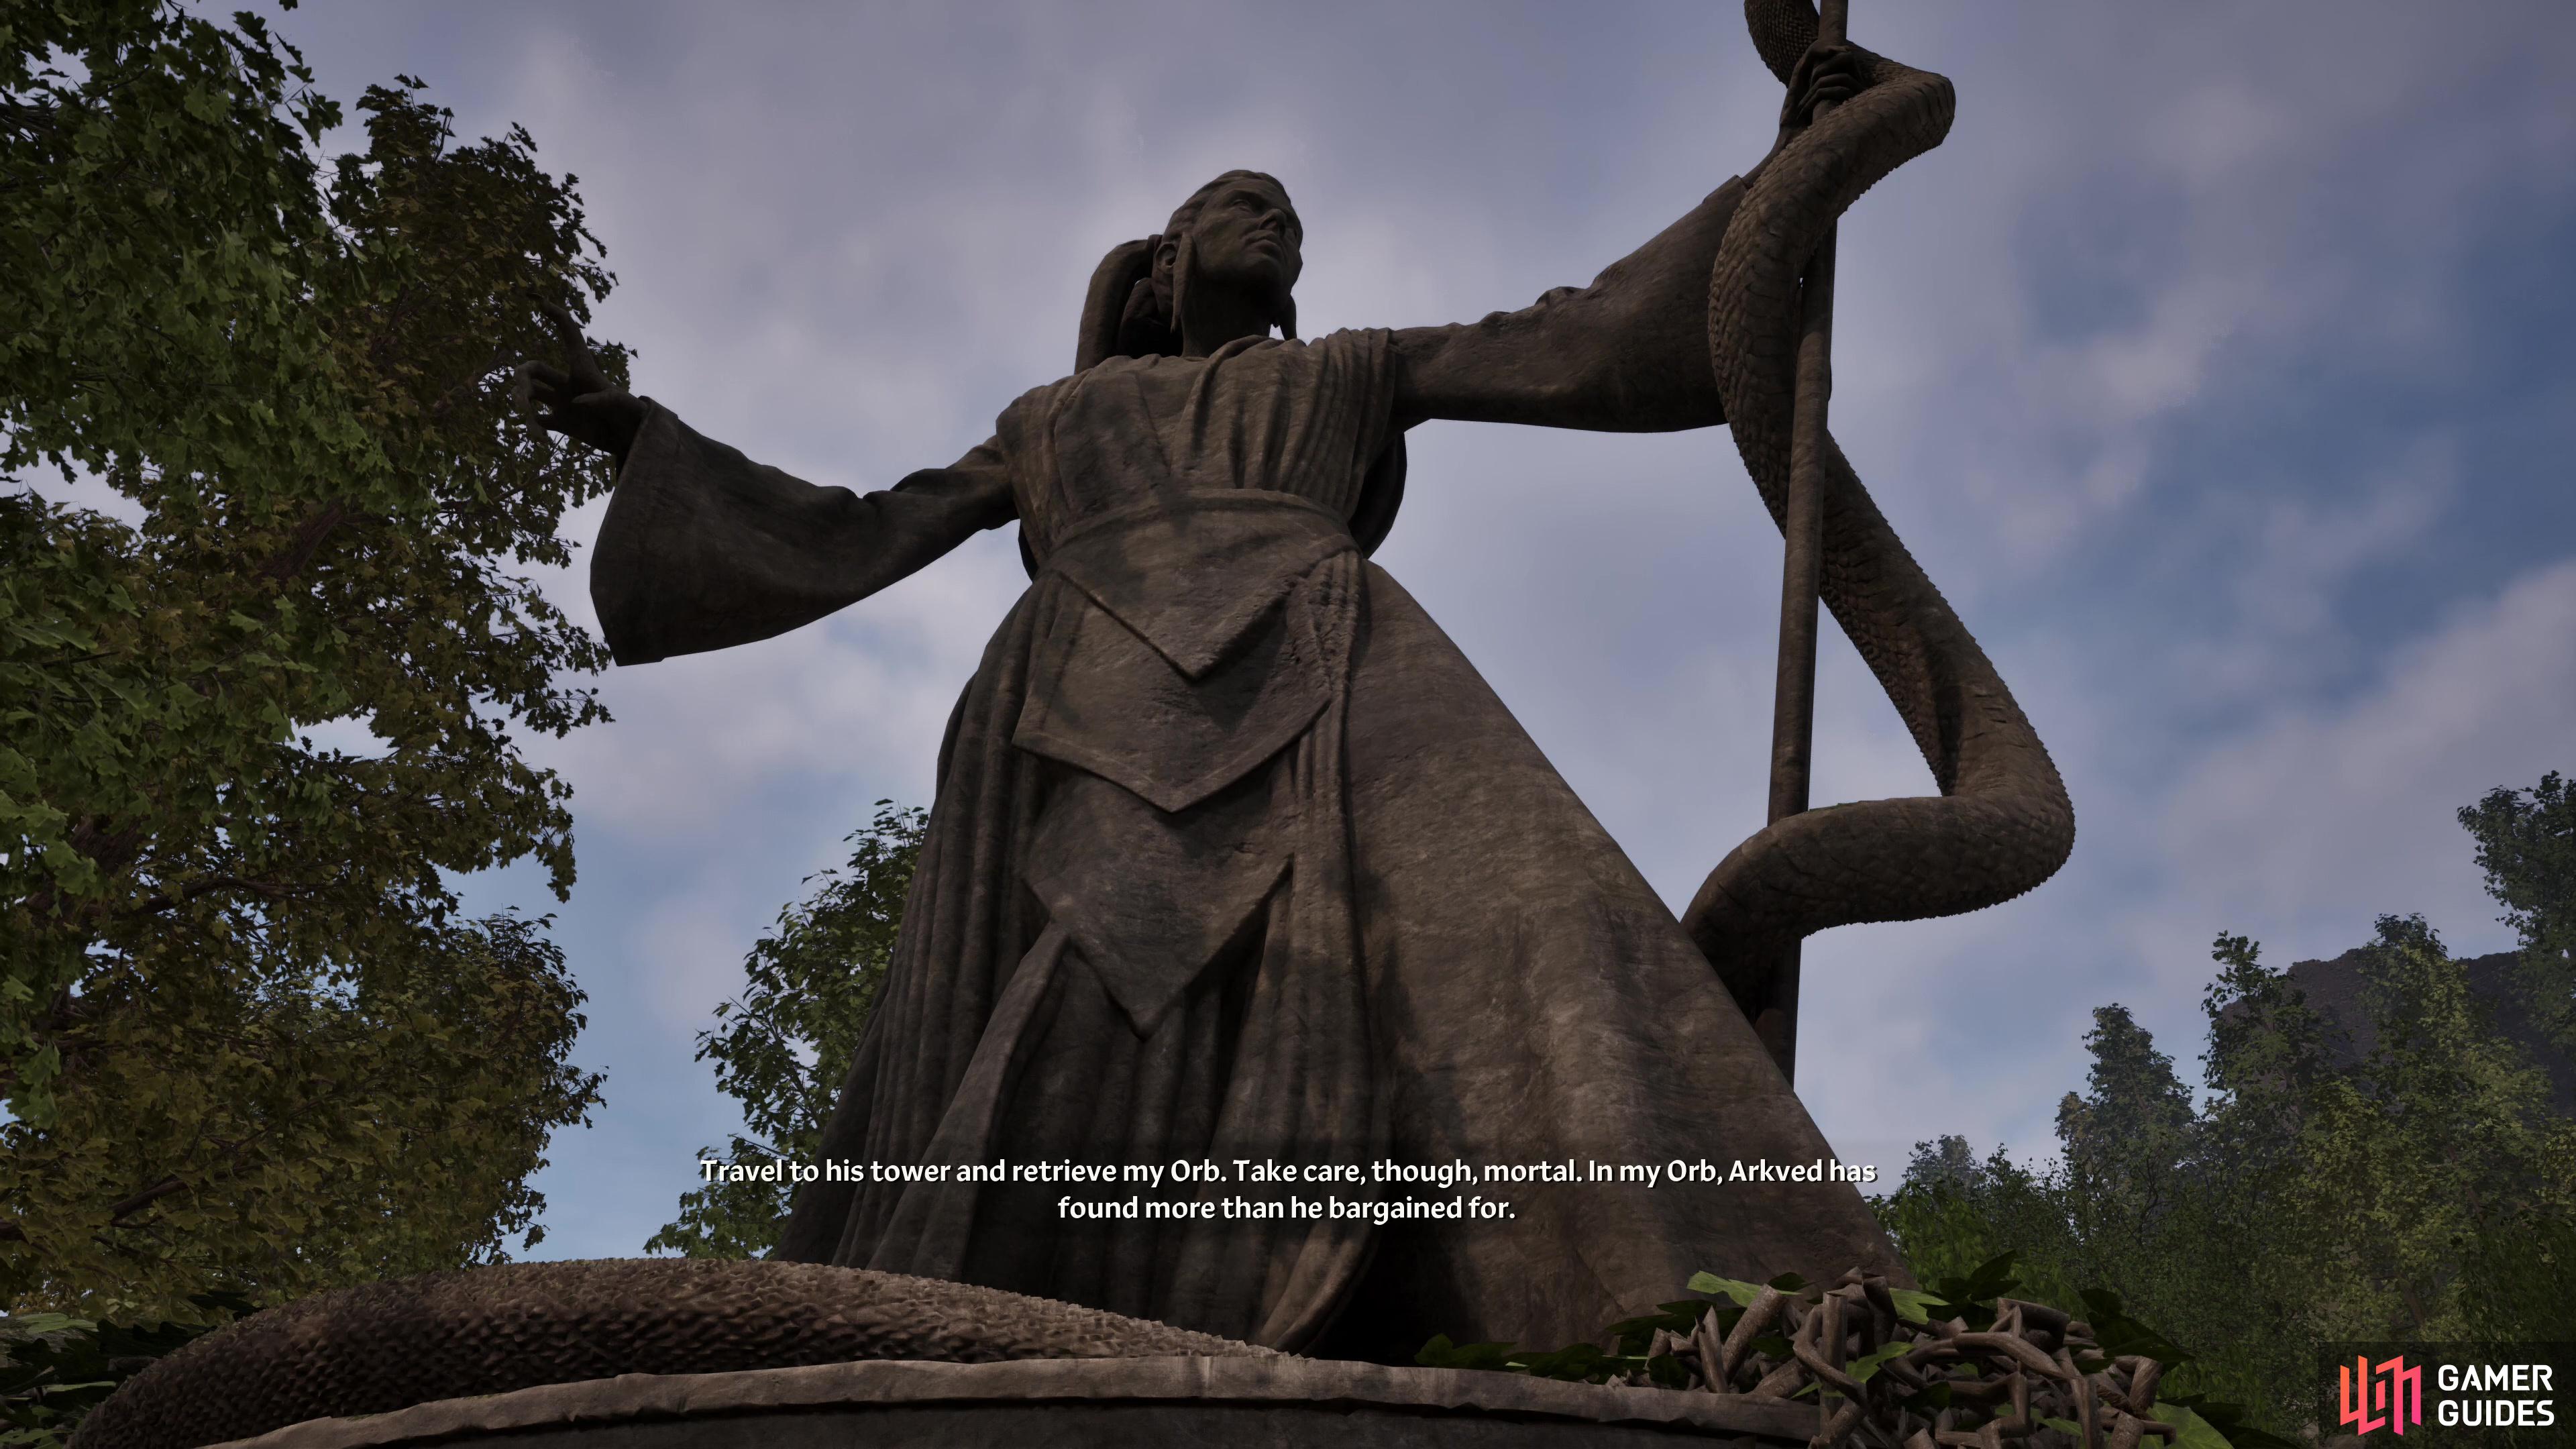

(1 of 3) Give Vermina a Black Soul Gem to start her quest,
Vermina’s Quest - Skull of Corruption
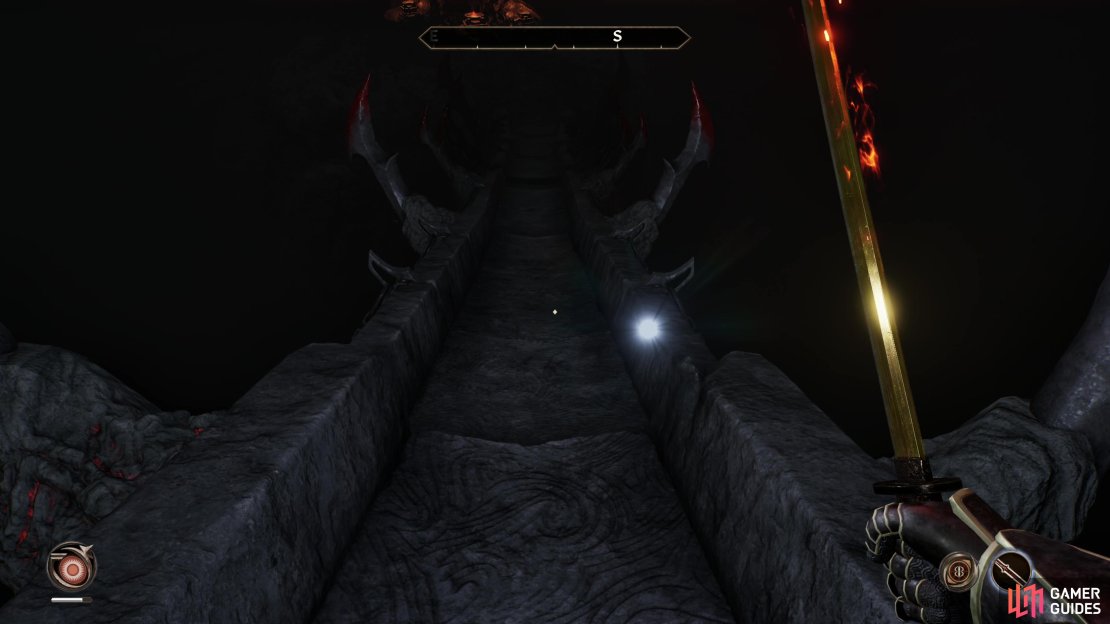
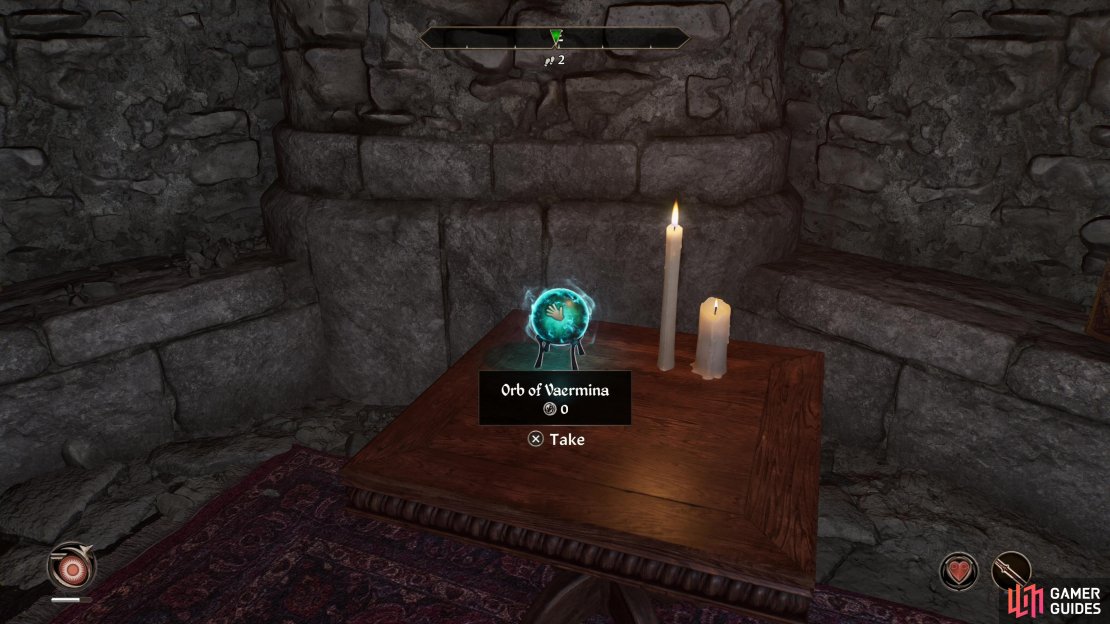
Southwest of Cheydinhal you will find Vaermina’s Shrine. Assuming you’re Lv5+, talk to Aymar Douar and he’ll tell you to offer up a Black Soul Gem. You can get these by fighting necromancers - Meridia’s quest is a possible source of them. Offer up a Black Soul Gem to the statue and Vermina will instruct you to head south and slightly west to Arkved’s Tower and recover her Orb. Venture to said tower to find some ruins, and if you look southeast from the middle of the ruins you’ll find some doors leading into a dungeon full of Daedra and Atronachs. Alternatively, you can go northeast to find a trap door leading to Arkveld’s Death Quarters, where you’ll find the Orb you seek on a table - a shortcut to the end of the aforementioned dungeon. However you reach it, grab the orb, leave Arkved’s Tower, give the orb back to Vermina, and she’ll reward you with the Skull of Corruption.
No Comments