
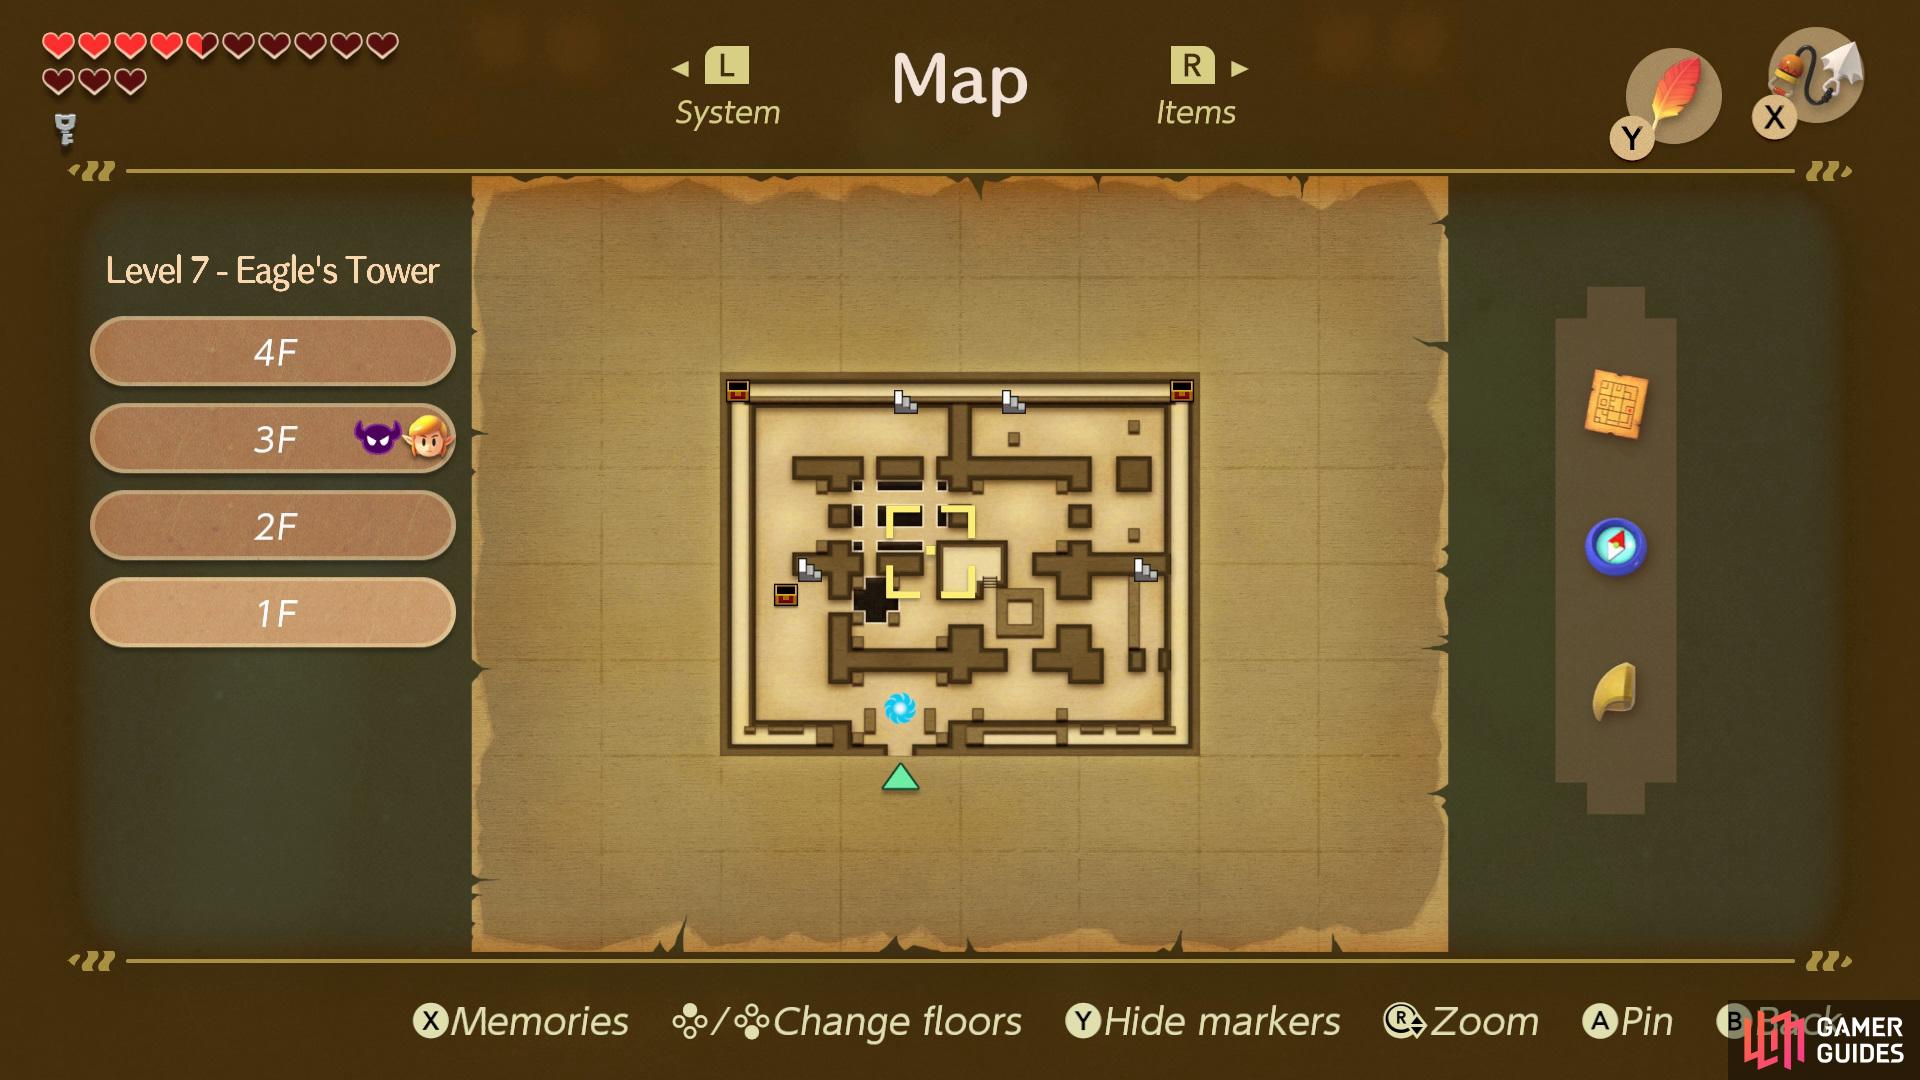
Locating the Stone Beak & Mirror Shield
From the entrance of the Dungeon you’ll want to follow the blue path right until you reach a room with a door that requires a Small Key to open, take out the enemies in the area and a Small Key will drop for you. Open the door and head up the stairs then go into the room above and pull the lever on the right then quickly sprint into the room on the left.
(1 of 4) Go right from the entrance of the dungeon and kill the enemies to get a Small Key to drop,
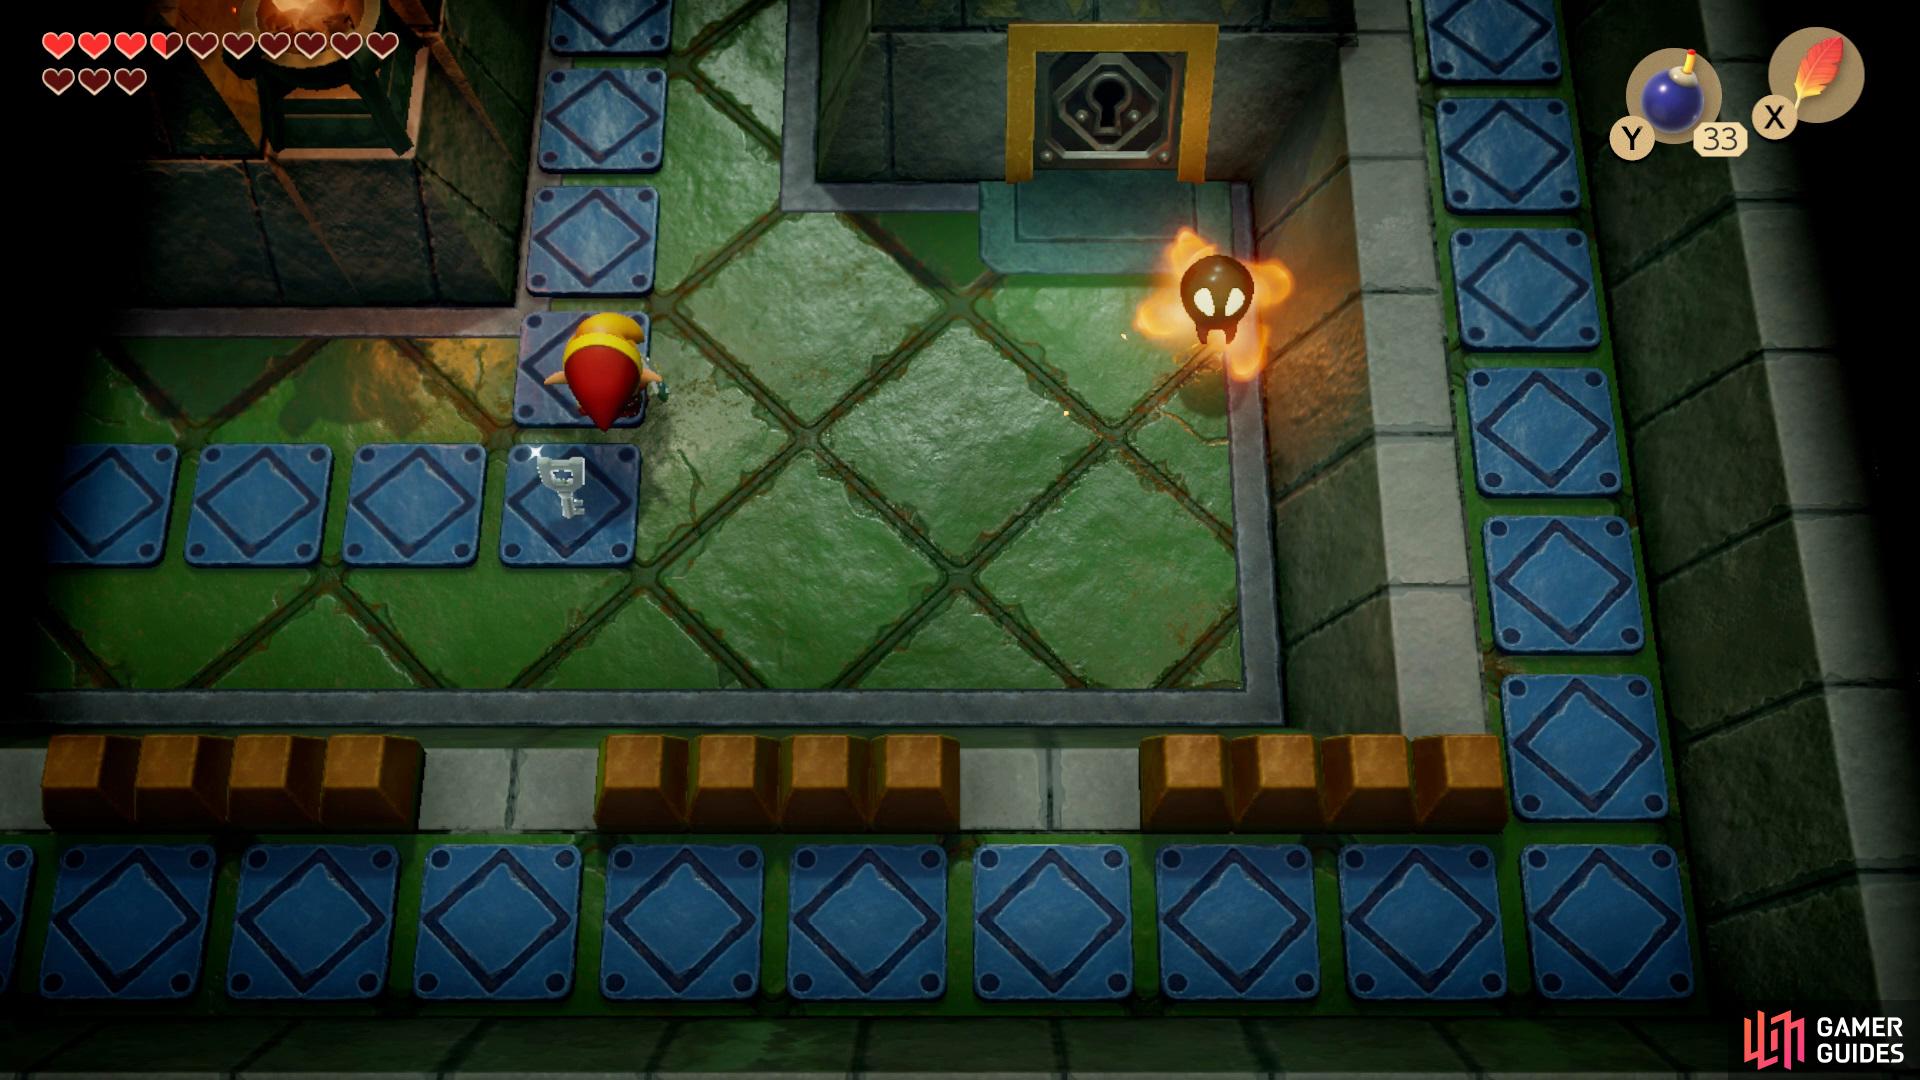
Once you’ve entered the next room you’ll want to drop down into the hole which will bring you into another room, follow the path left and open the Chest to get the Stone Beak, then go back up and take the path all the way to the right where you’ll see a Crystal, use the boomerang to switch it to orange and take the left path below.
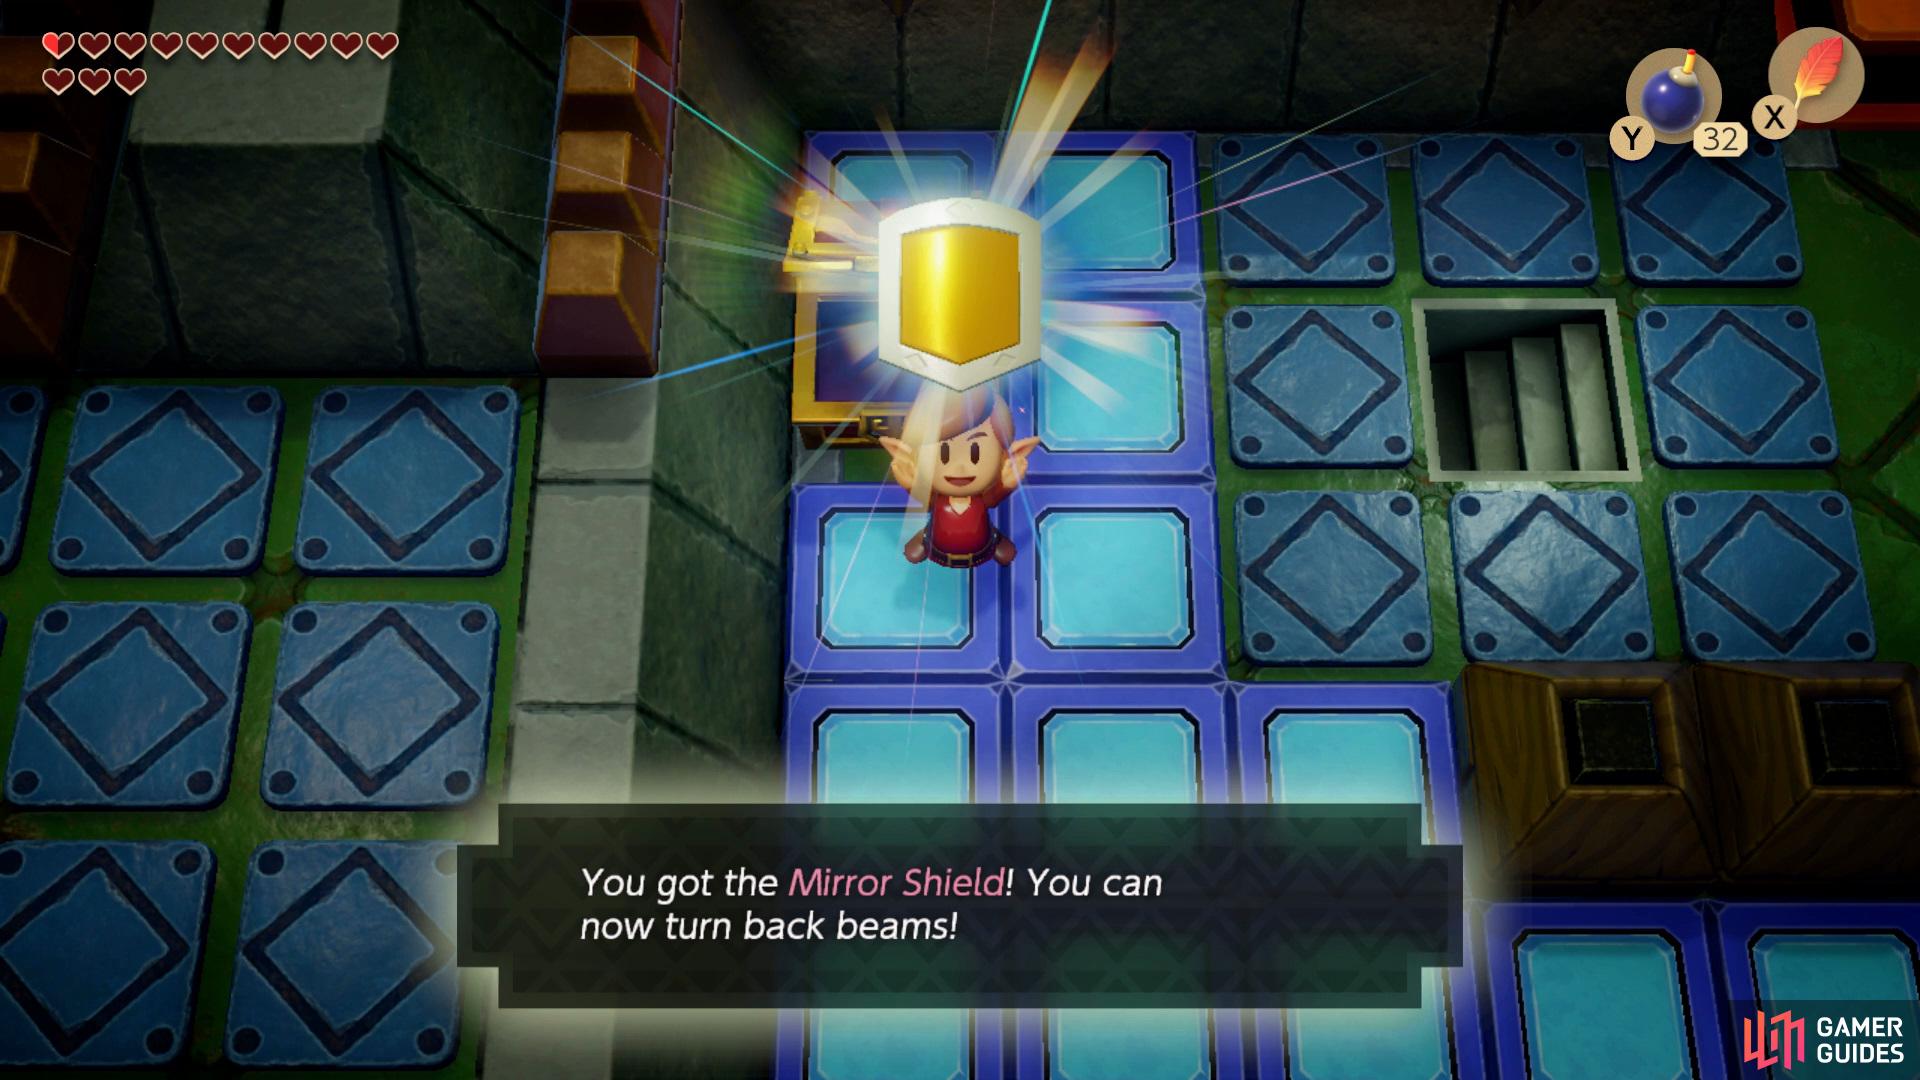
Open the now accessible Chest to acquire the Mirror Shield.
Take out the enemies and head down and right then head up the stairs, open the now accessible Chest to obtain the Mirror Shield, drop down the hole that’s in front of the Crystal in the bottom right corner and follow the path up to find another Chest with a Small Key inside.
Locating the Map to the Eagle’s Tower & Compass
Drop down to the left of the Chest and continue walking west to find some stairs, go up and place the black Chess piece on the bottom platform then the white piece on the left to spawn a Chest that holds the Map to the Eagle’s Tower inside. Exit out of the path below and head into the room on the right, pick up the ball and place it against the two silver bricks, pull the lever on the right as far as you can and run to pick up the ball and slip into the room on the left before it closes.
Place the Black Chess Piece on the bottom platform and the white on the left to get a Chest to spawn,
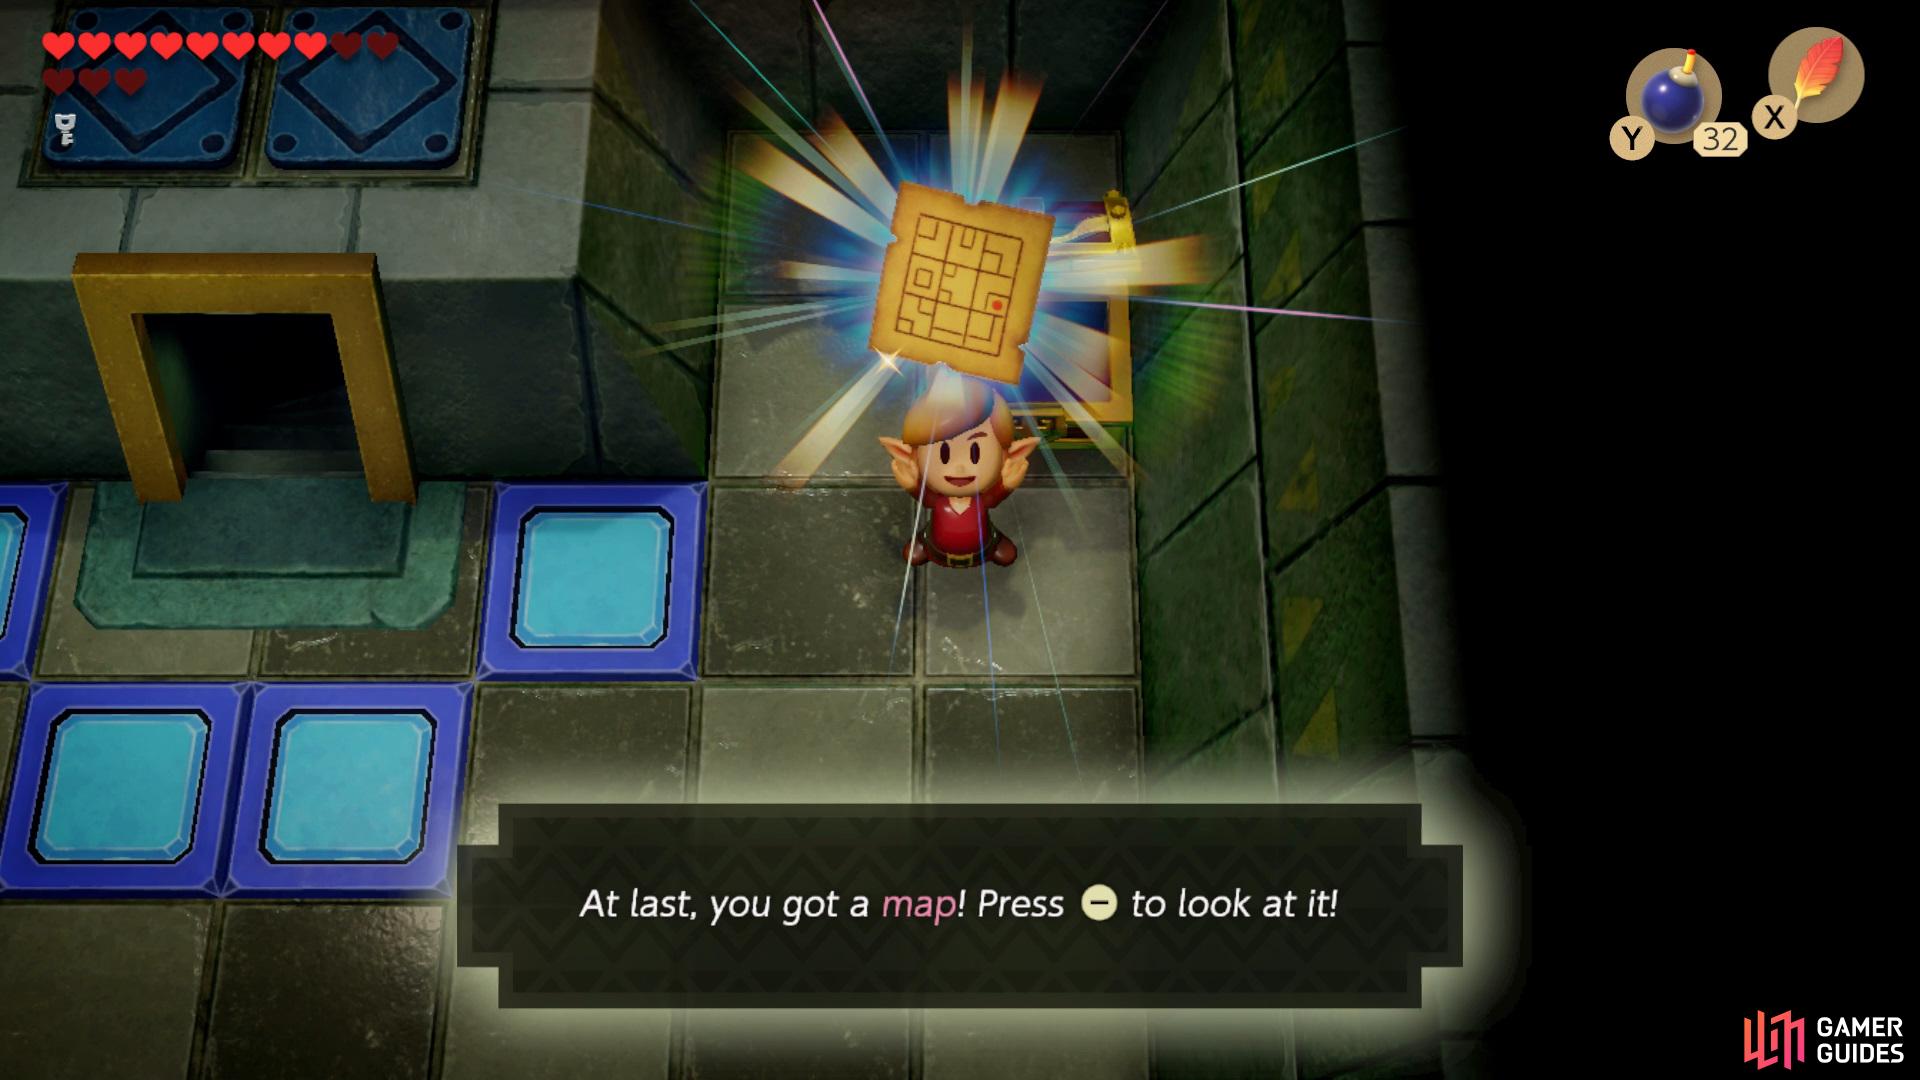
with the Map to the Eagle’s Tower to spawn.
Throw the ball into the pillar in the center and then head into the room below and destroy another pillar, go back up and push the brick on the left down then go left with the ball, follow the path up and take out the Three-of-a-Kinds by hitting them all on the same symbol.
Once the enemies have been taken out a Chest will spawn, open it to obtain the Compass then take the left path down and throw the ball over to the other side, head back up and go down the stairs ahead then head left, hop over the enemy and keep going down then go up the stairs to the right of the open Chest.
Locating the Nightmare Key
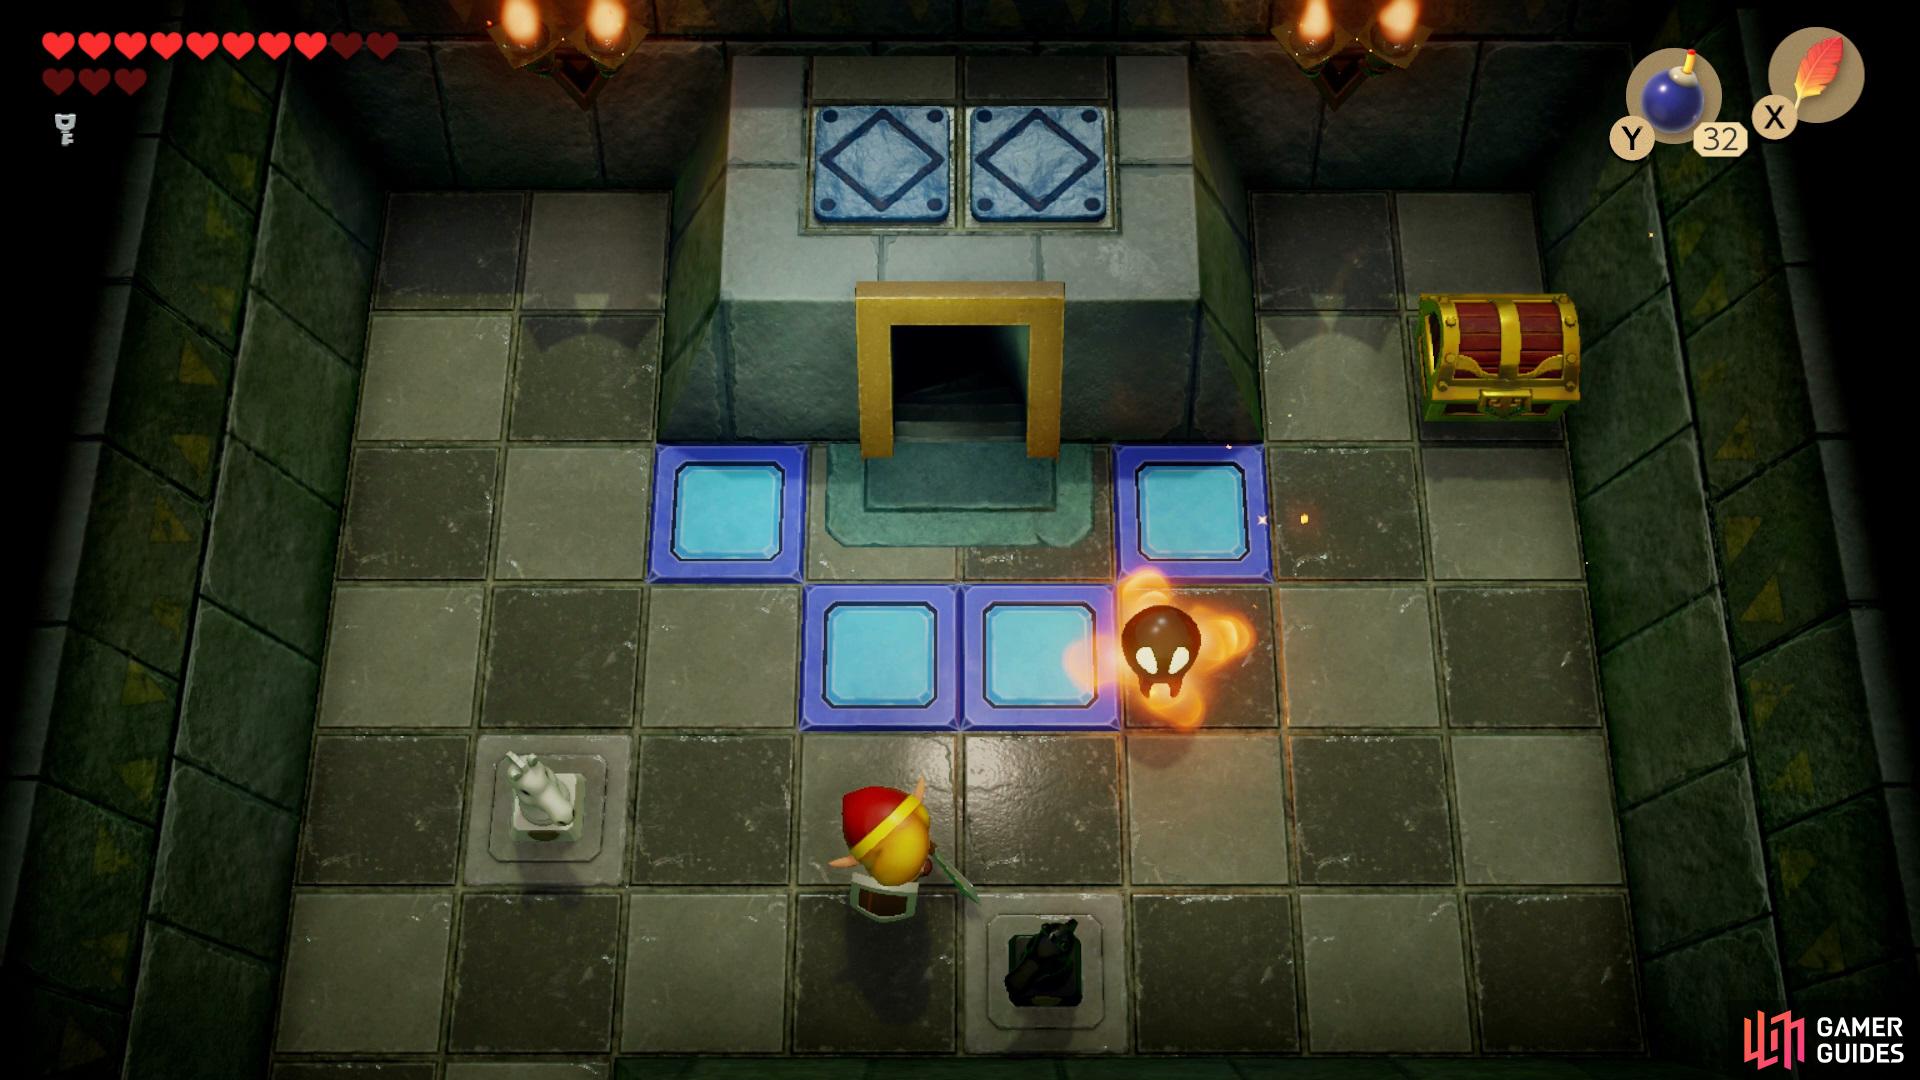
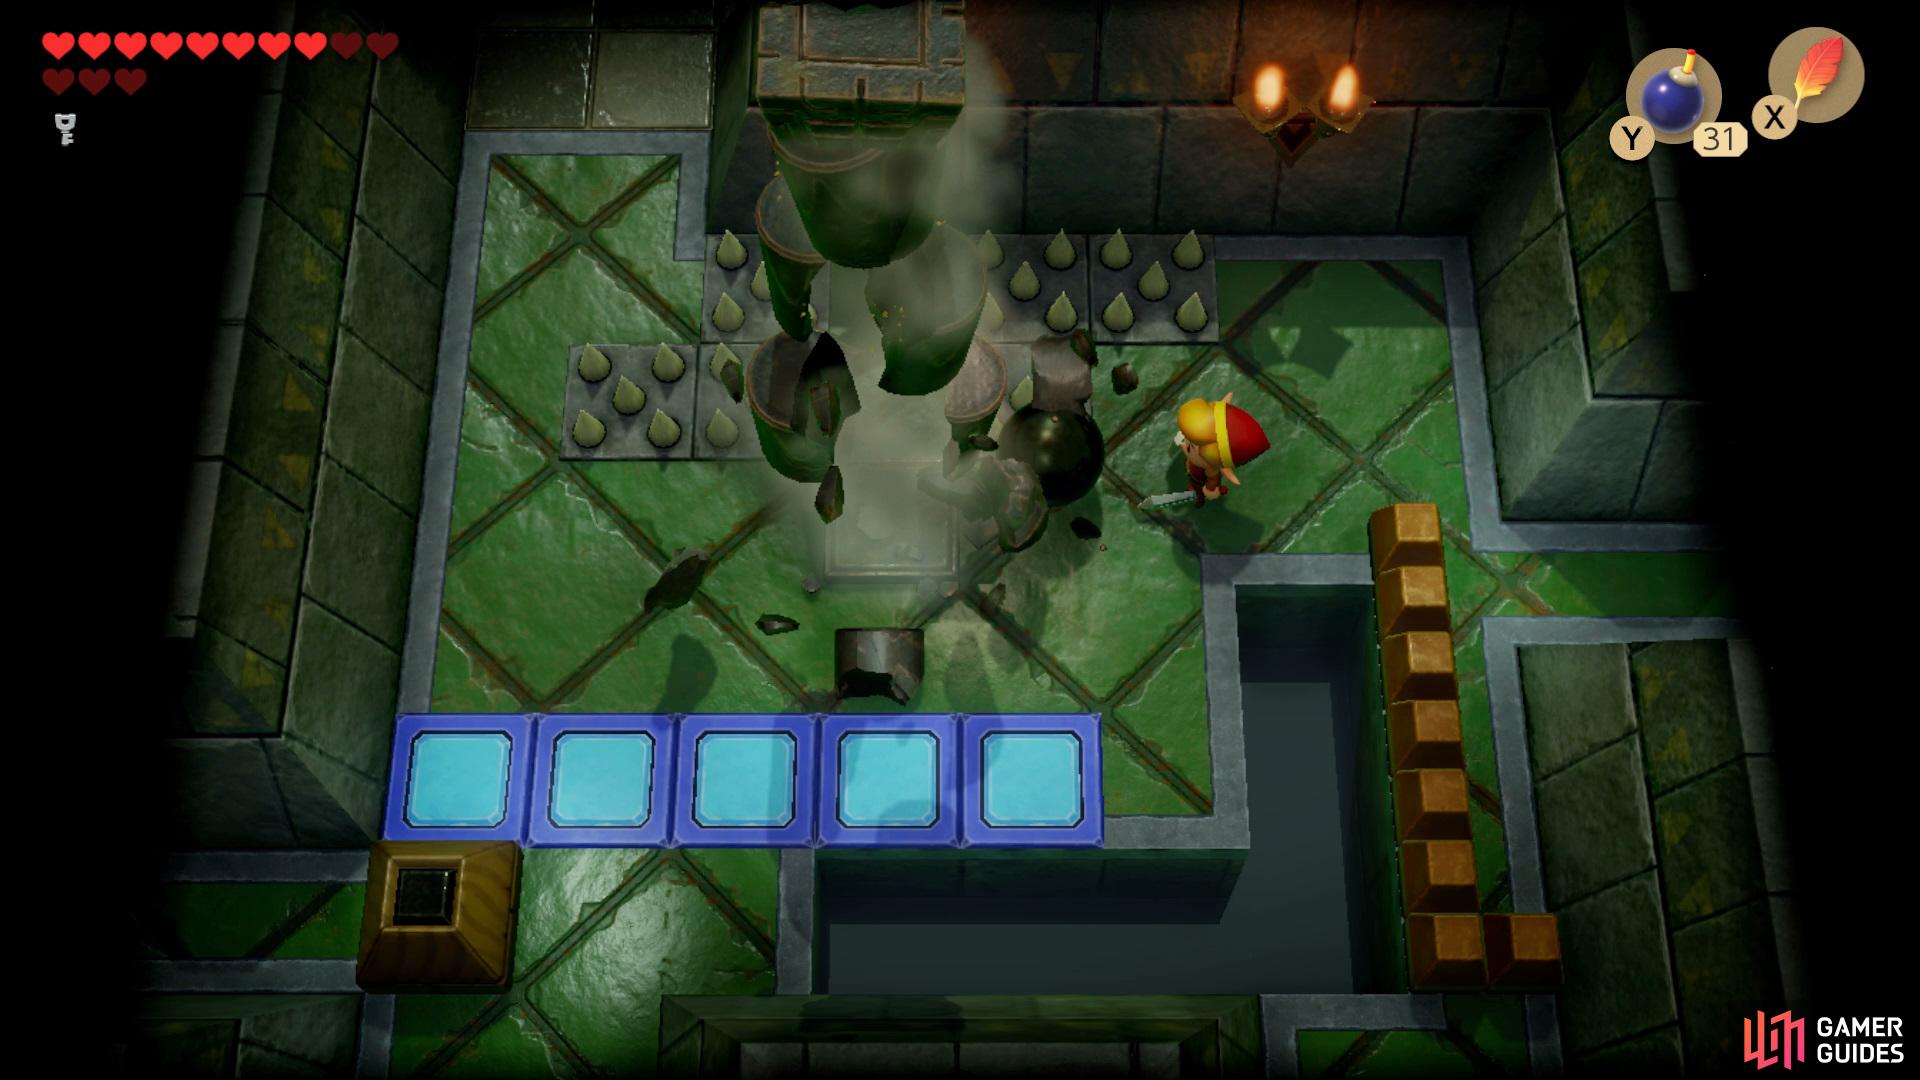
Proceed into the room to your left and use your Shield to deflect all of the flying pieces of floor, then head through the door on the right and use the ball to destroy the third pillar, push the brick on the right down the hole and launch the ball across, hop over and push the next brick to the right then take the ball all the way down to the south and launch it over another wall.
Go back up and left then take the stairs in the Three-of-a-Kind room down, go left and head up the stairs to the right of the open Chest again and head south to fight Hinox, in order to defeat him you’ll want to stand to the right of a hole so he cant reach you then keep throwing Boomerangs at him.
Once the Hinox has been defeated collect the Small Key from the floor then hop down the hole on the left, head up to find a Chest with a Secret Seashell inside. Go back to the room where your fought Hinox and proceed into the room on the right, take out the Three-of-a-kind to spawn a Chest then collect the ball from the room on the right, come back into the room with the Chest and throw the ball across the gap to the other side.
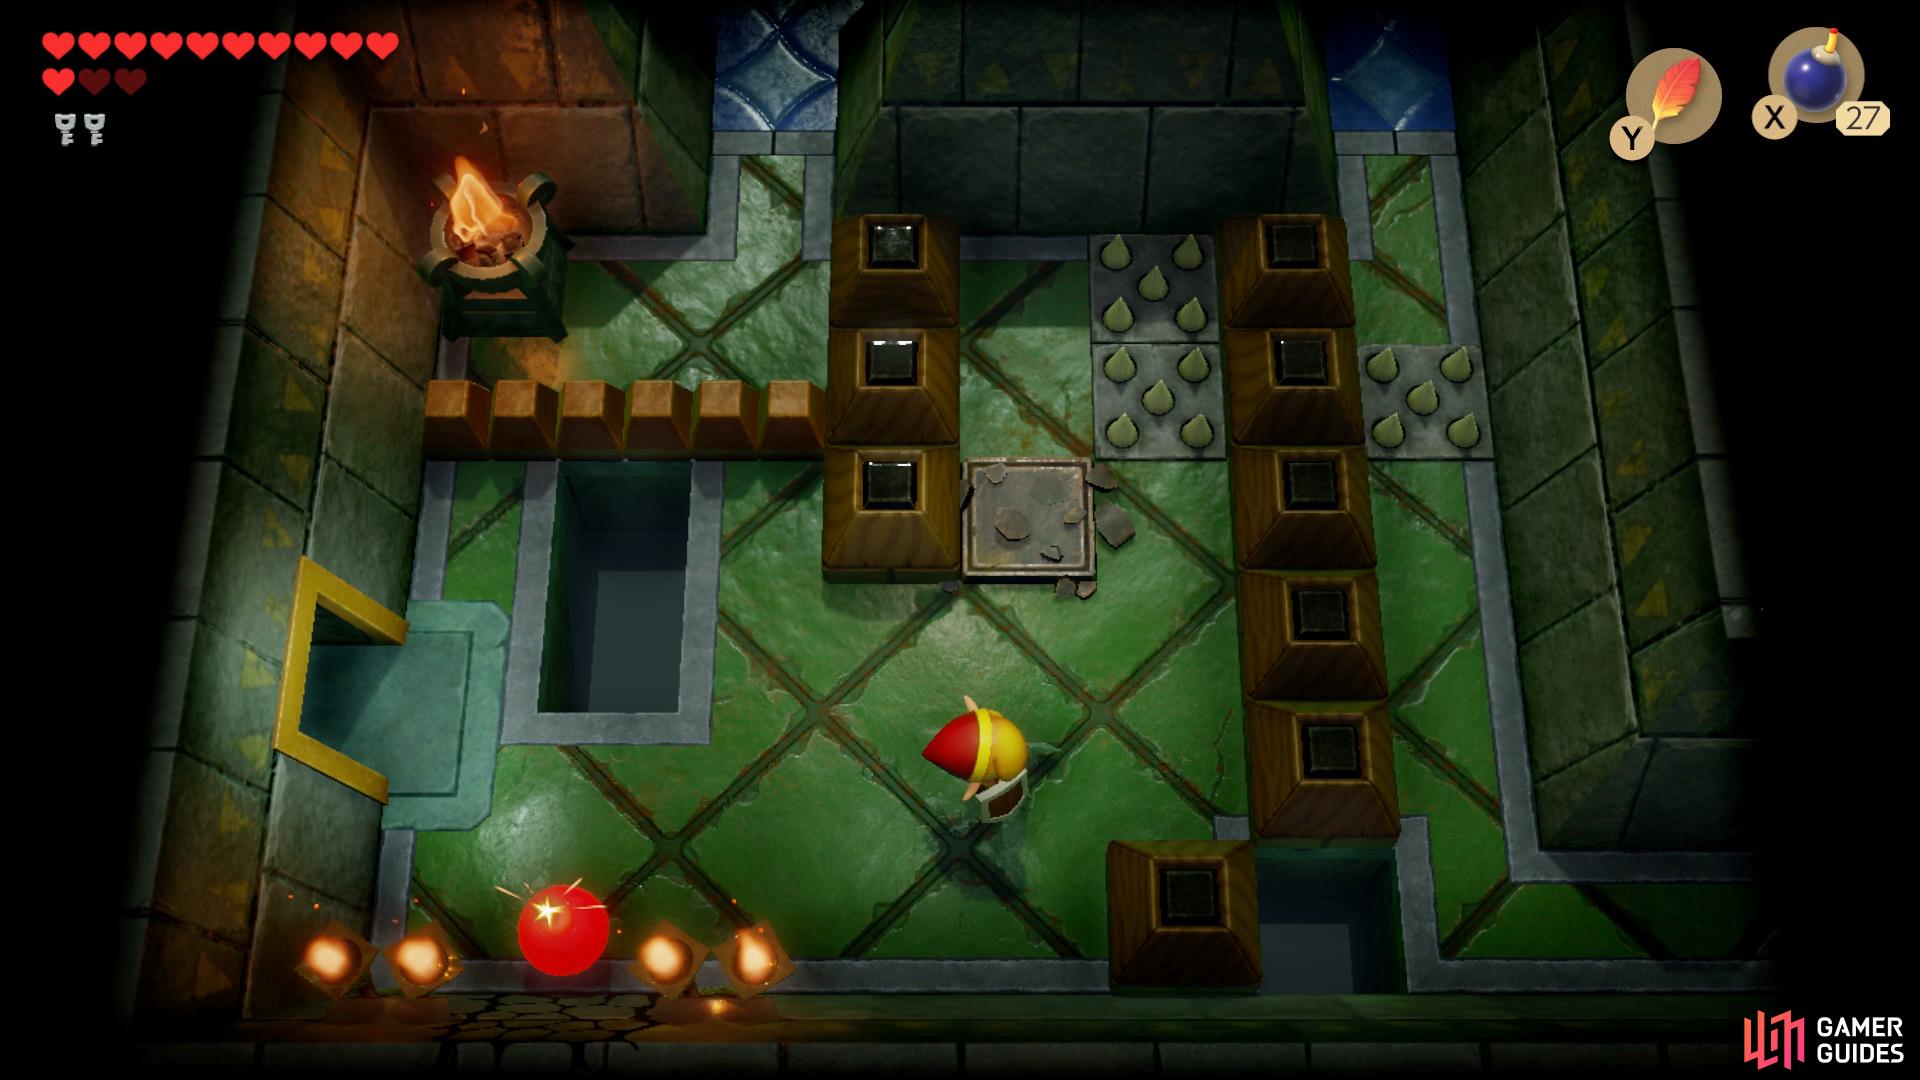
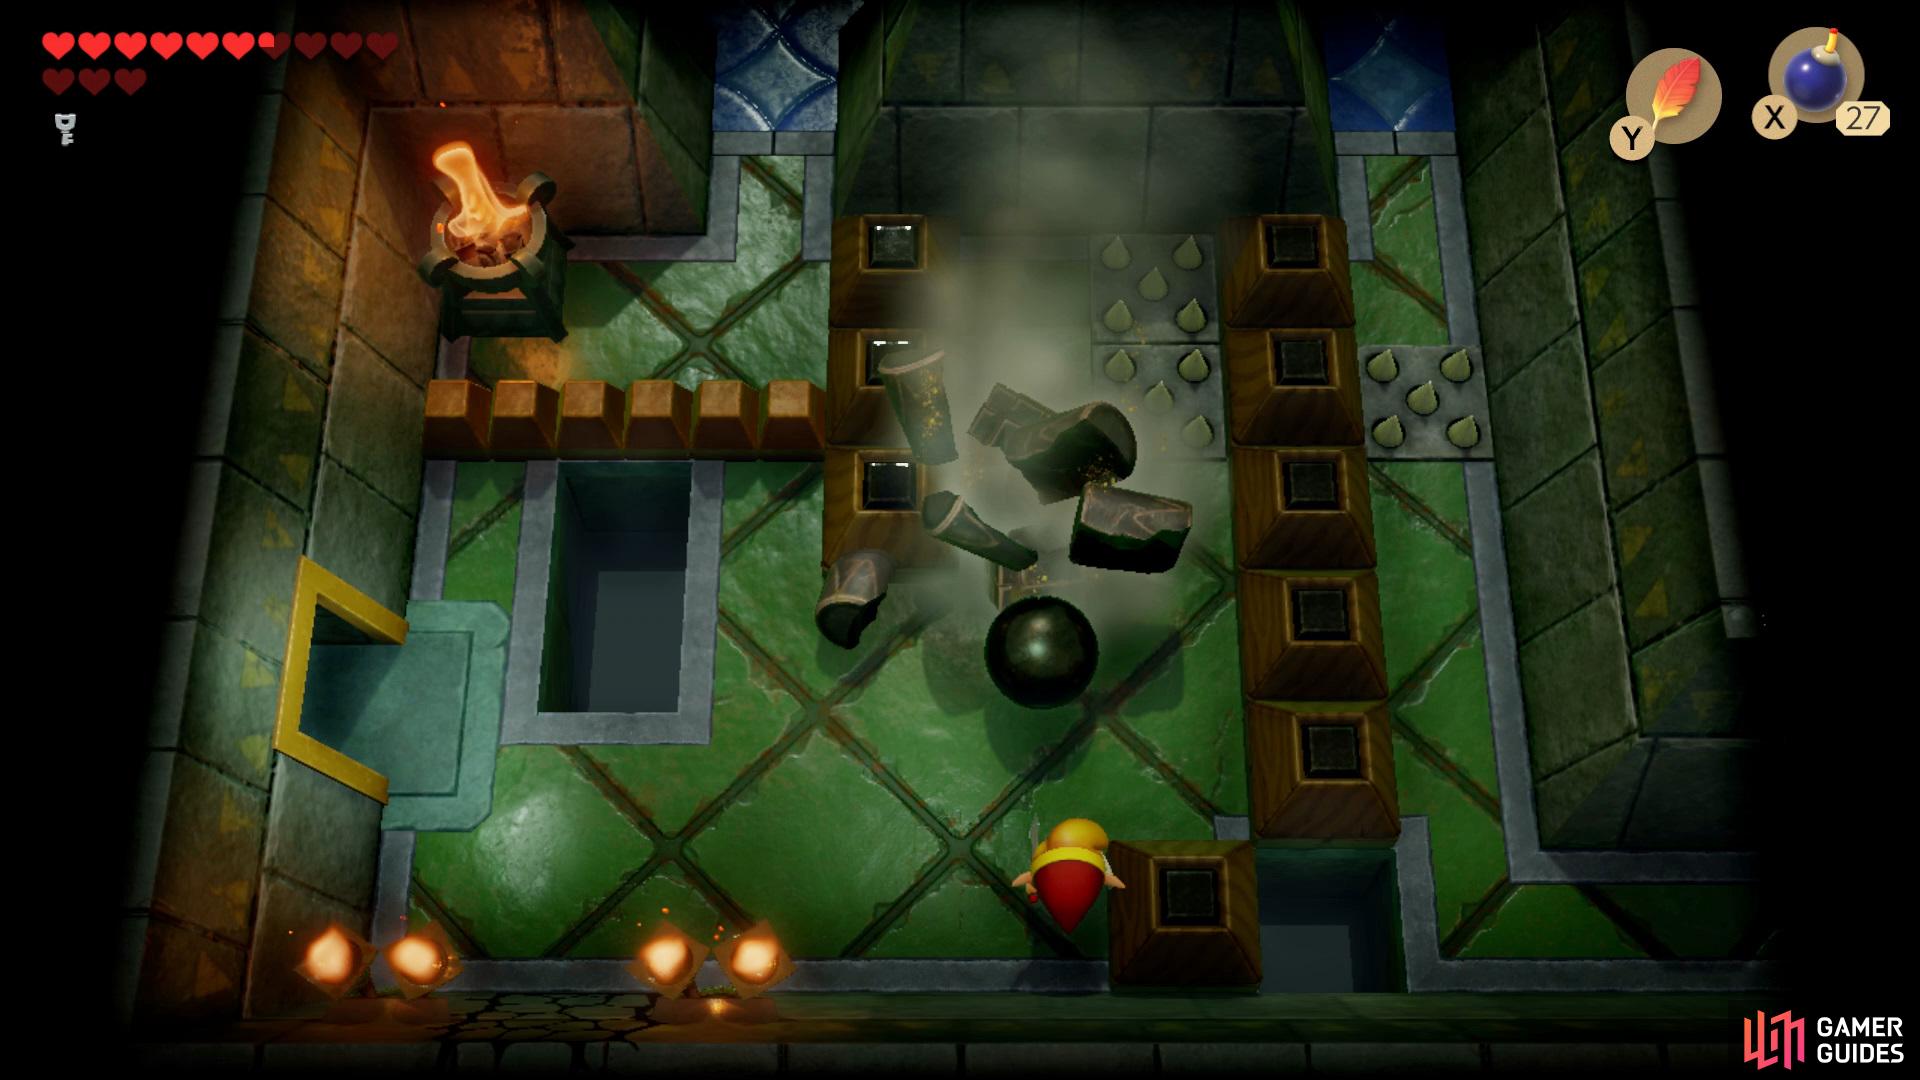
Now head left, up and then up once more to go through the left door, sprint into the room on the right and use a Bomb on the crumbling wall below, proceed down and use another Bomb to blow up a second wall, continue all the way down and Hookshot across to the Chest that holds a Bomb inside. Take the Ball and head up to destroy the final pillar, drop down the hole to the left of the Chest and go right to use the stairs up.
Make your way south, then left and unlock the stairs with a Small Key, drop down and switch the Crystal to blue then proceed up the stairs, go up and head through the door on the right to face the Reaper which will spawn six enemies to try and defeat you. Simply stand in any corner and keep using your Sword attack to kill them.
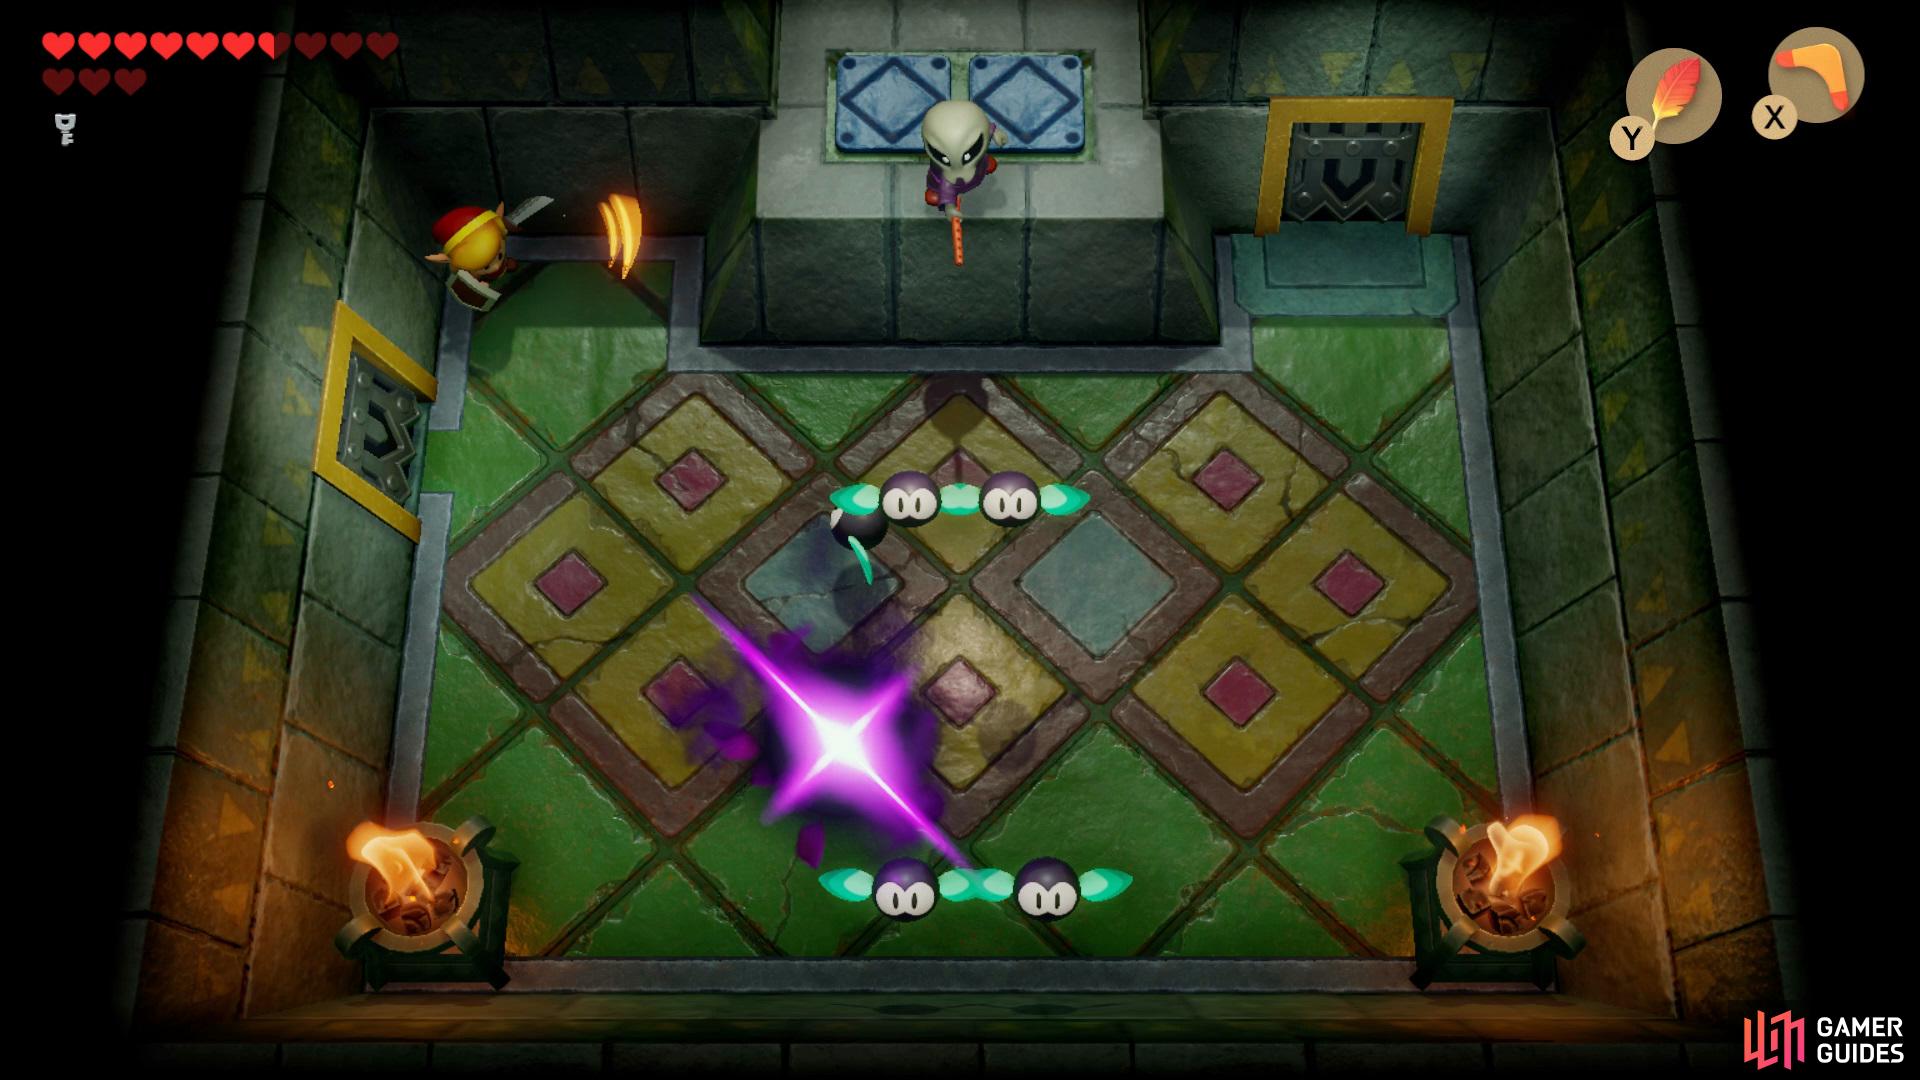
(1 of 3) Destroy the Reapers enemies by using your Sword attack in the corner as they approach you,
After they’ve all been defeated you’ll want to go through the door to the top right and push the two bricks in the center together to get a Chest to spawn with the Nightmare Key, now turn the Crystal on the left to orange before leaving and then head all the way to the left until you stumble upon a golden door, open it and head through. Continue forward and take a right turn, place the black Chess piece on the right platform and white on the left to get a Chest to spawn with some Secret Medicine inside.
Boss: Evil Eagle
Head back towards the golden door, but head up the stairs to the left just before then use the Hookshot to get across to the right, head down and through the door on the right to reach the top of the tower where you’ll fight the main boss of this dungeon, Evil Eagle.
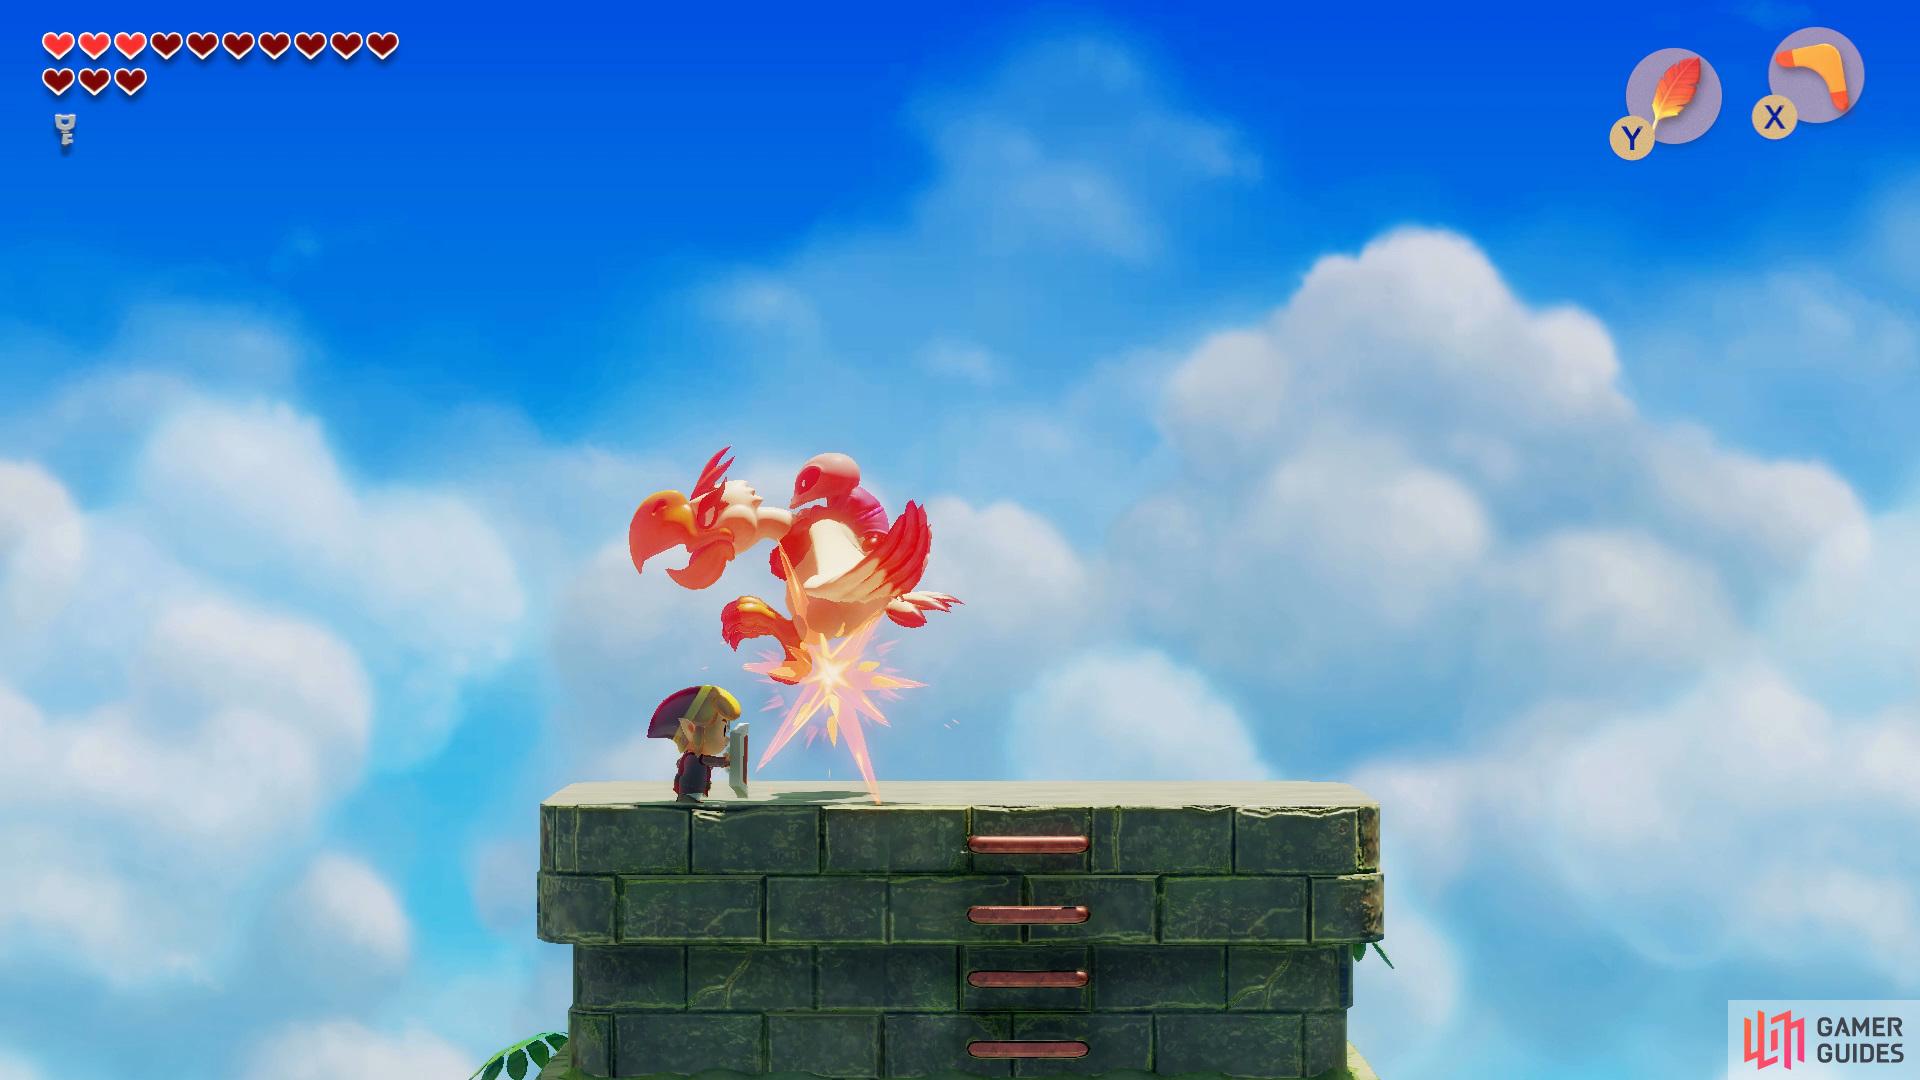
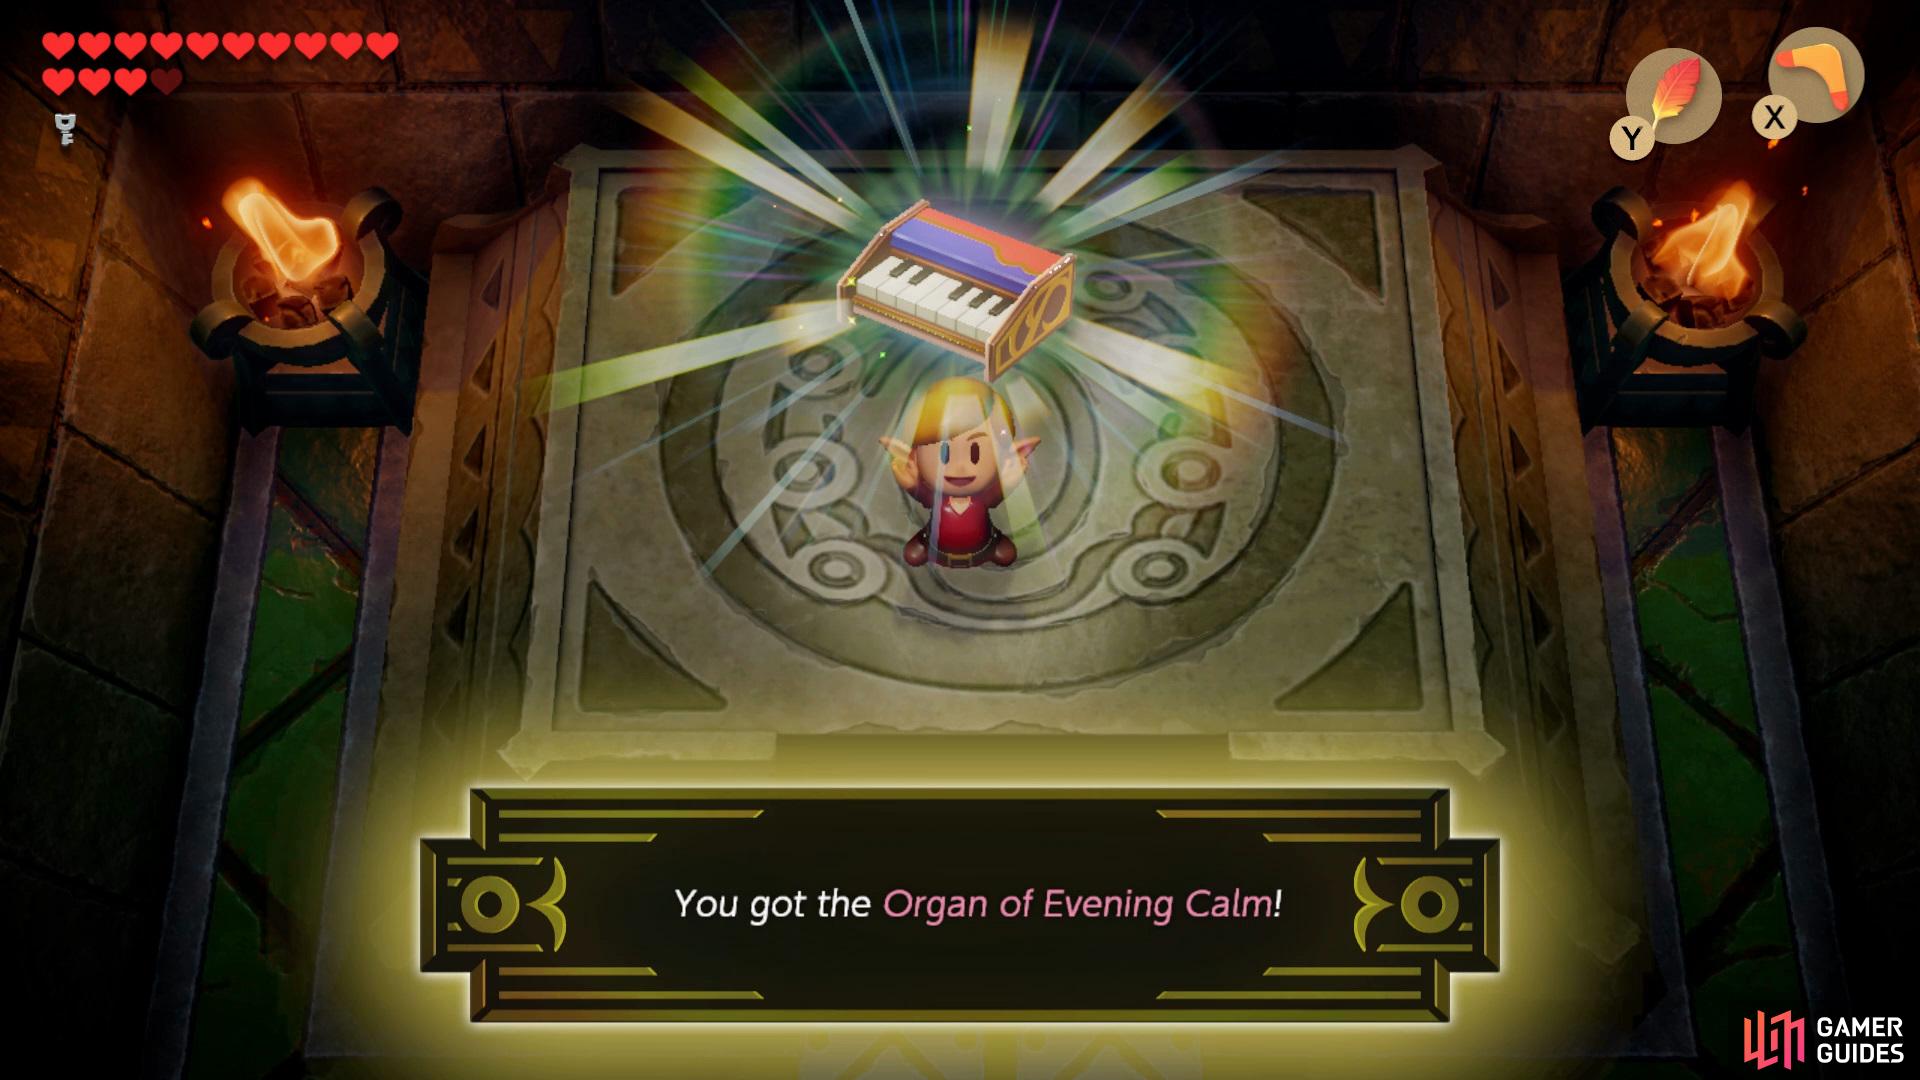
In order to defeat the eagle you’ll need to wait for him to come closer to you and then hit him a few times with your sword, but whilst you’re waiting for him to come down you’ll need to watch out for his wind attack that will push you off the tower, if this happens climb back up but watch out for the the falling feathers. Once the Evil Eagle has been defeated, collect the Heart Container from the floor and then go back into the tower and drop down to the right and enter the room to find the Organ of Evening Calm.
No Comments