
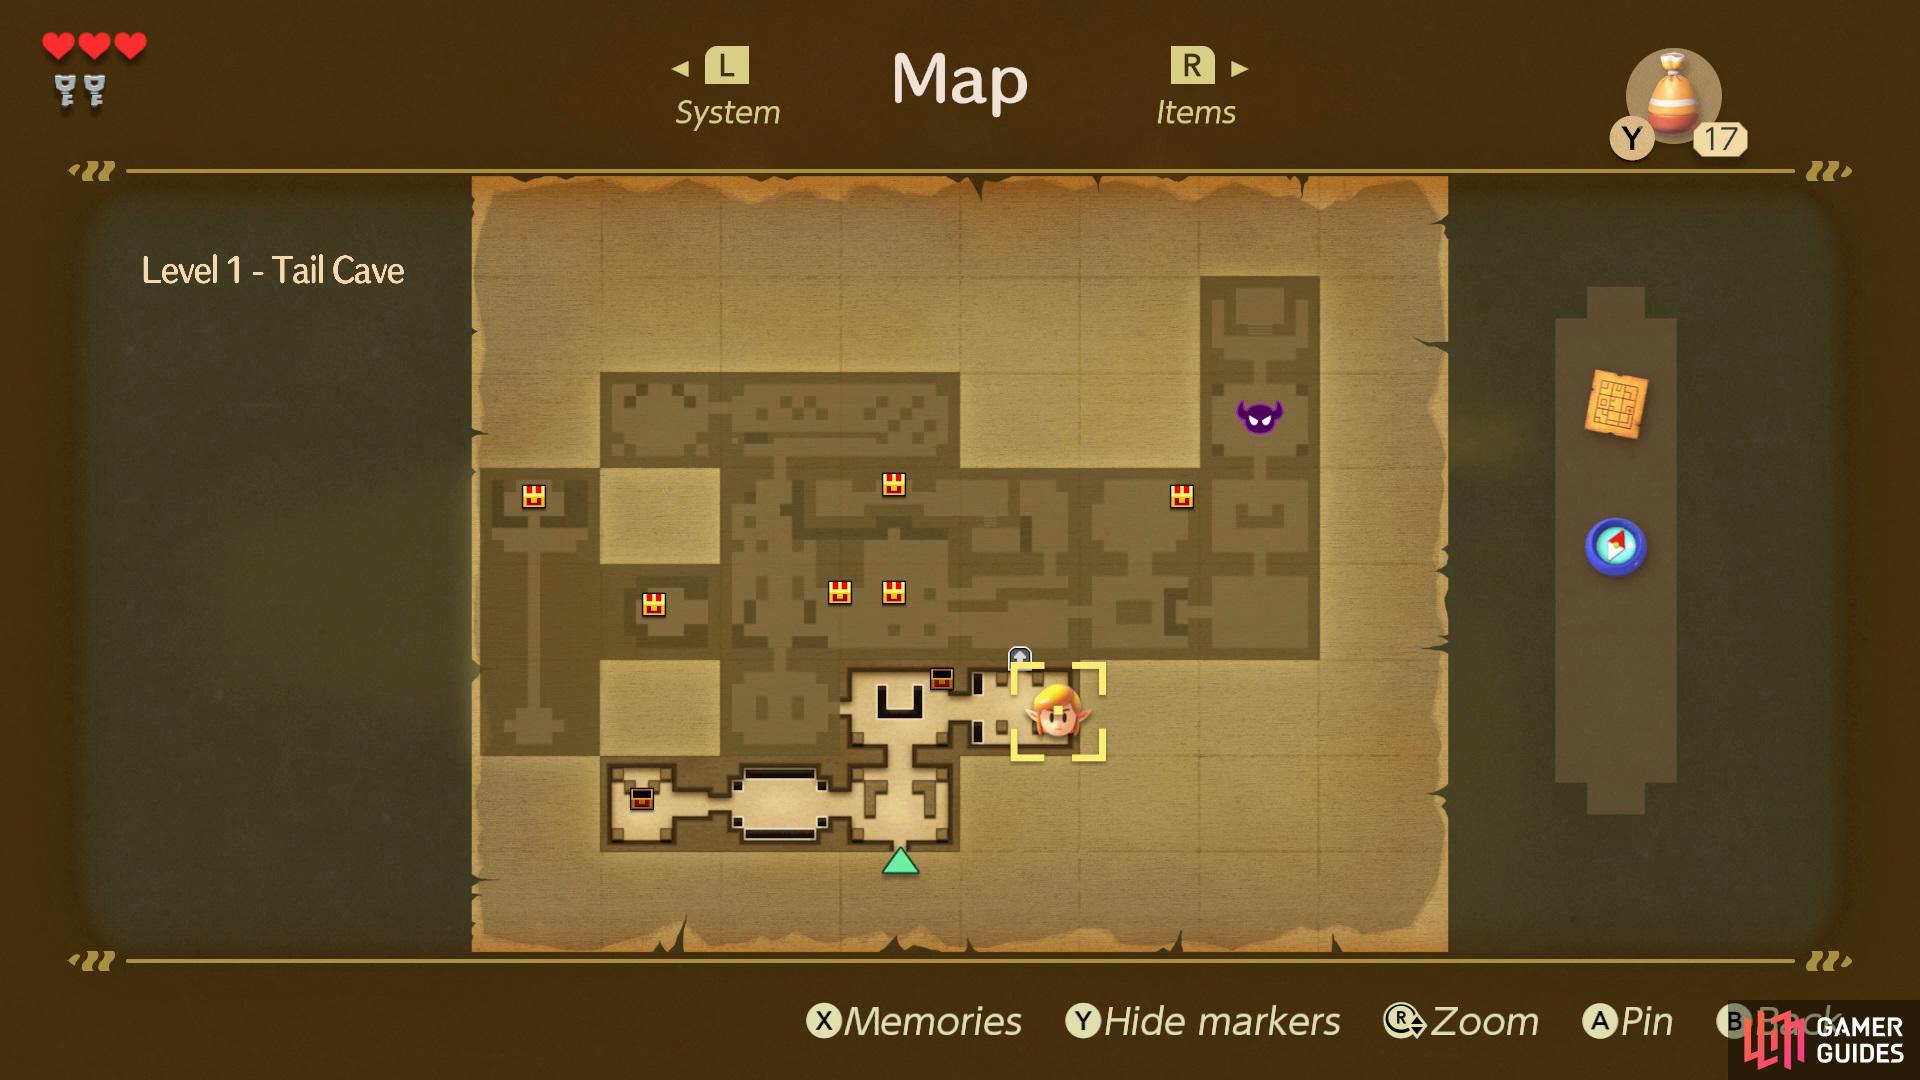
Locating the Compass
Once you’ve entered the Tail Cave you’ll want to head into the room to the left first, kill the two enemies in there and then collect your first Key. Now head into the next room on the left again and kill all the enemies and then collect the Compass from the Chest.
(1 of 3) From the beginning of the cave head left and knock the Hardhat Beetles off the side,
Locating the Map of the Tail Cave
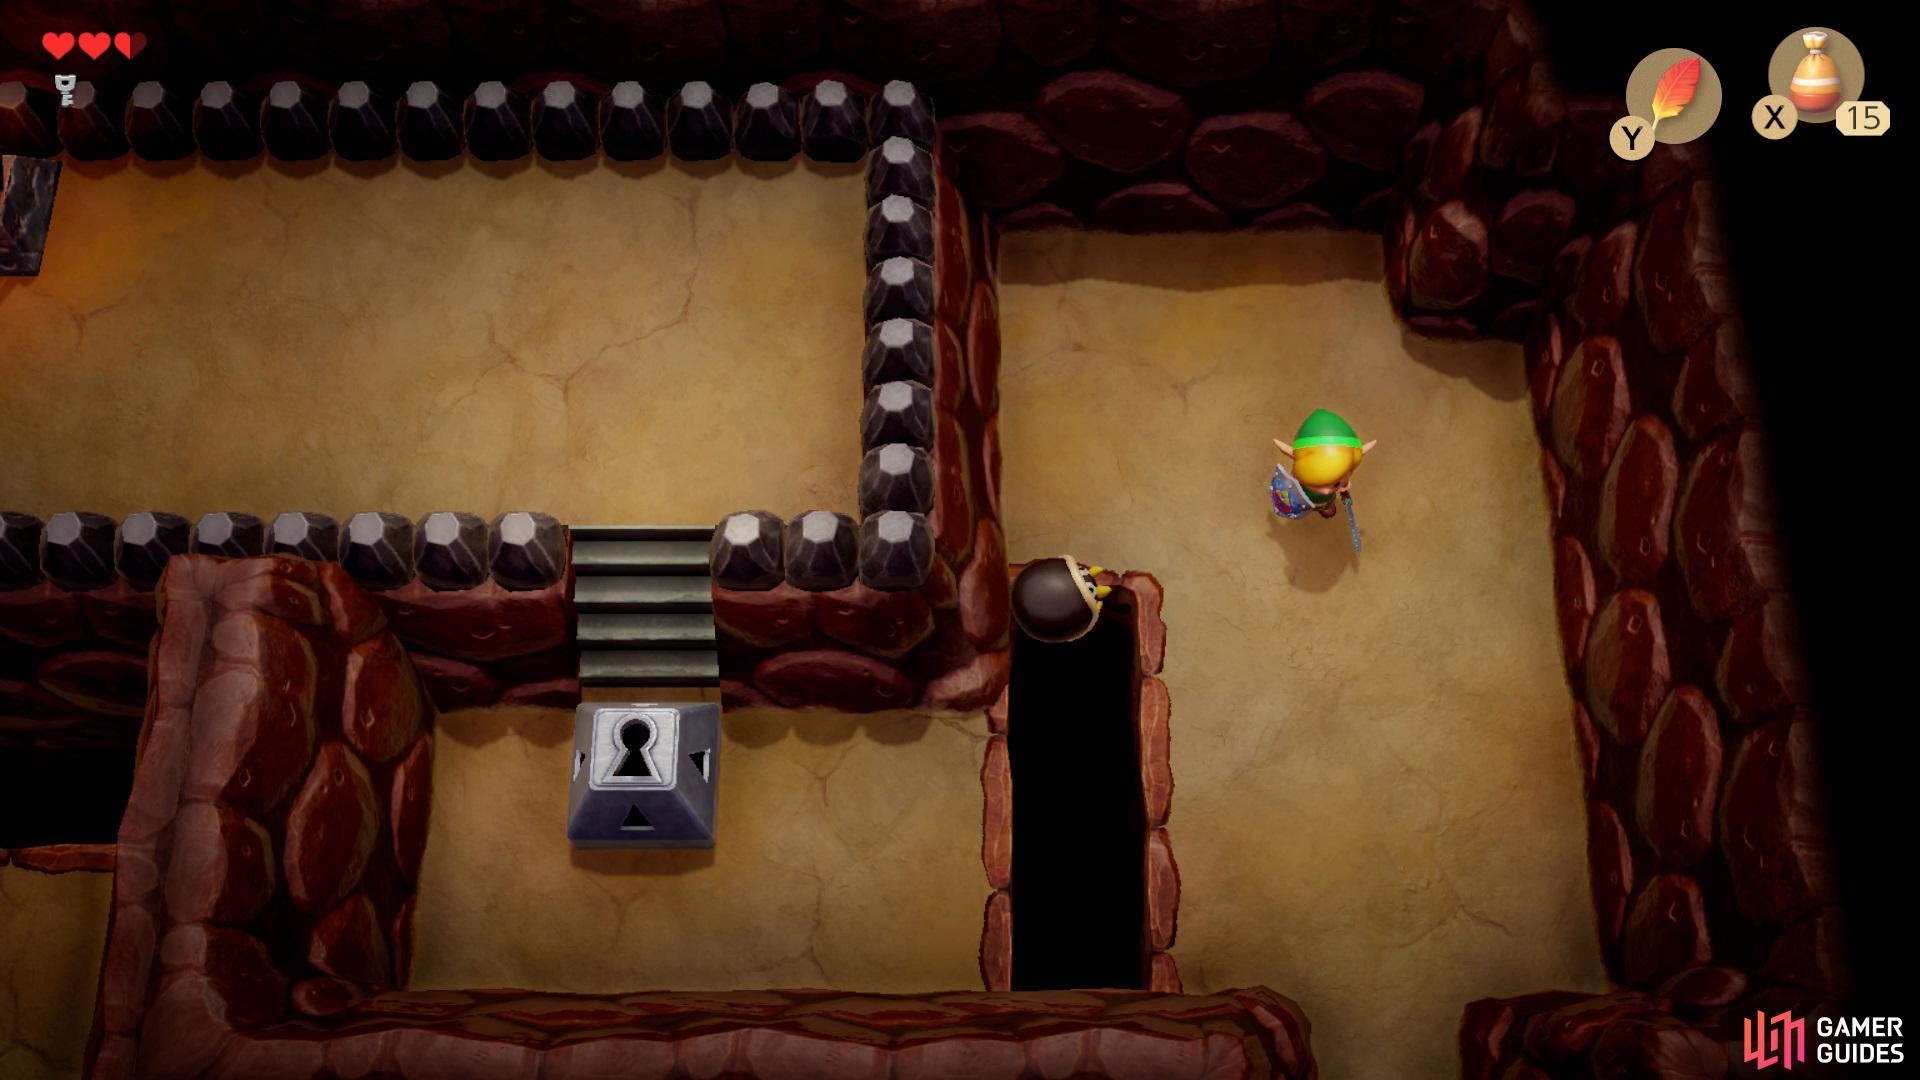
After you’ve received the Compass head back into the first room and take the path up into another room and kill all the enemies and make your way over to button in the center and stand on it to make a Key fall down.
(1 of 3) Head north from the start of the cave and kill the enemies inside and then step on the button to reveal a Chest,
Now head into the room to the right and kill all the enemies in there and open the Chest that has now spawned, inside will be the Map of the Tail Cave.
Obtaining Roc’s Feather
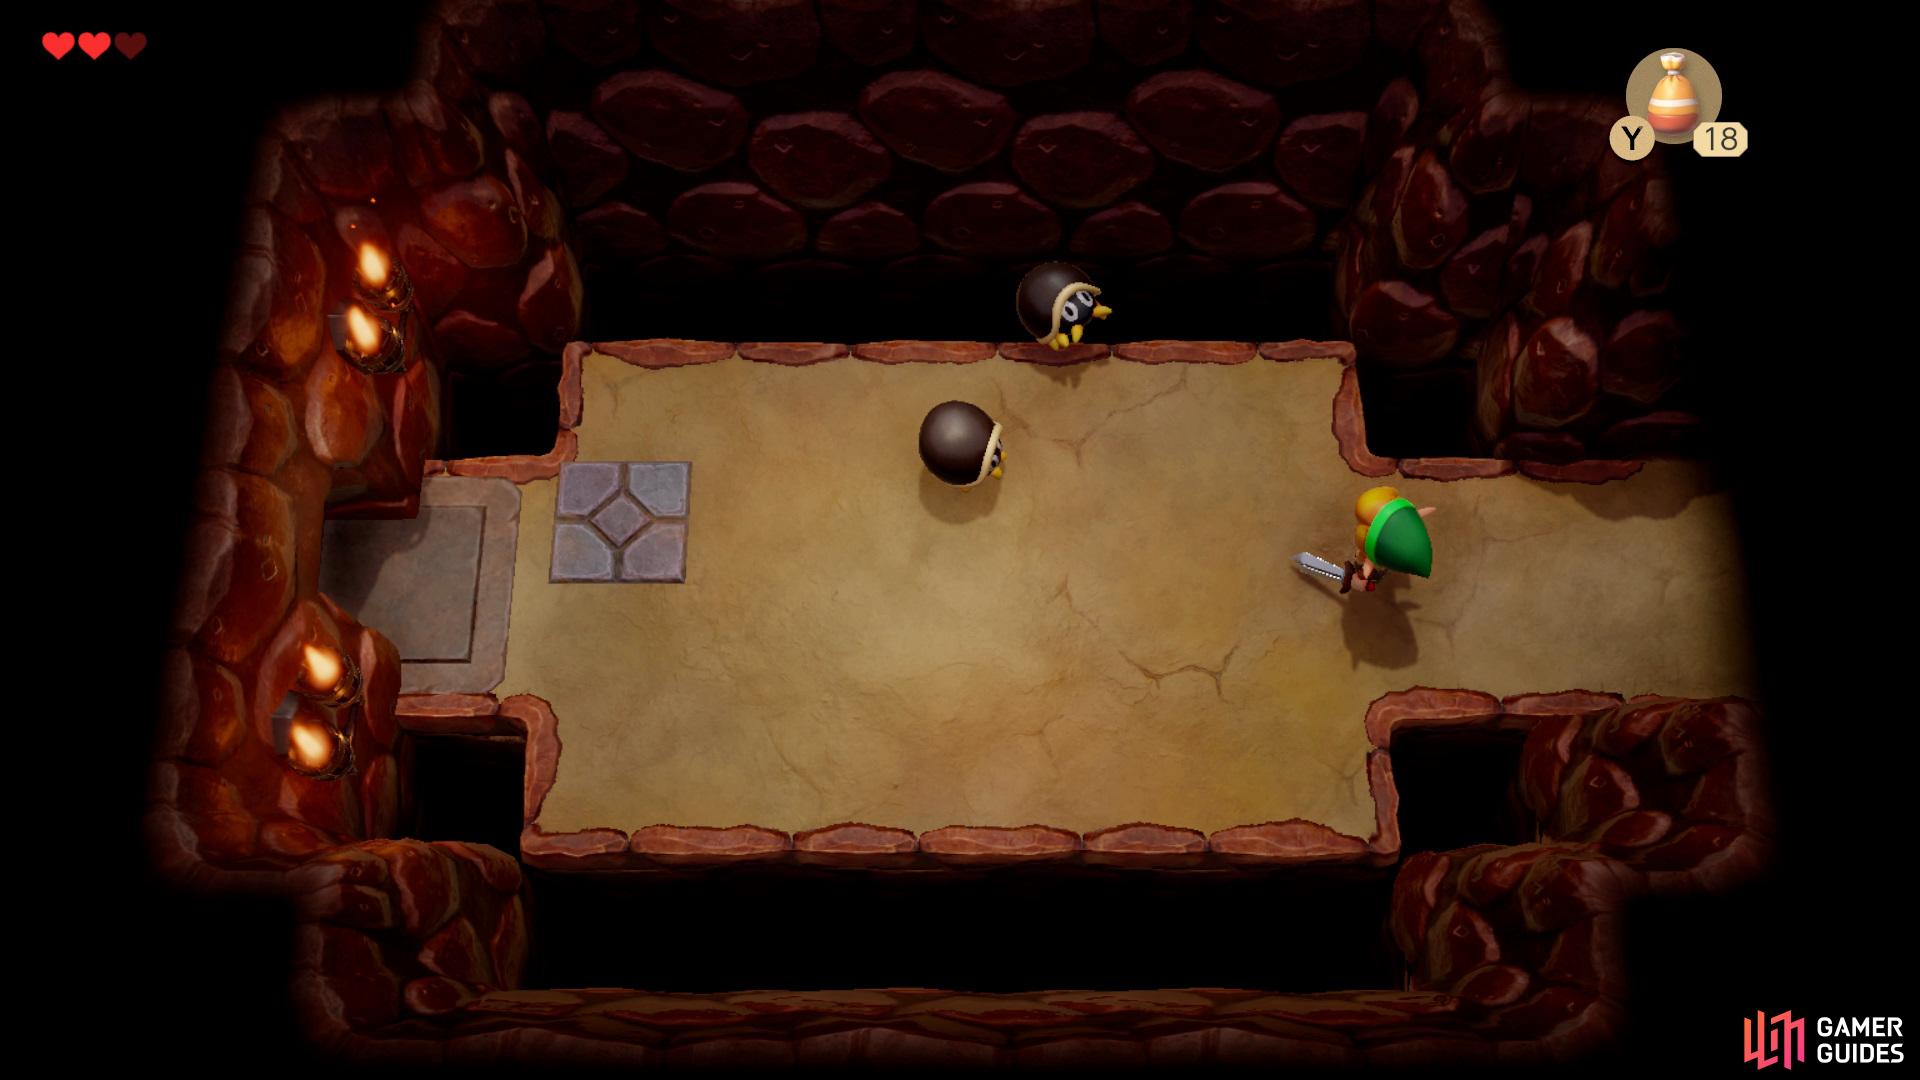
With the Map acquired it’s now time to locate Roc’s Feather, head up from the room where you collected the Map and inside you’ll find a new enemy, Three-of-a-Kinds, the symbols on these enemies will only stop once you’ve hit them once so make sure your timing is on point as you’ll need to get all three of them on the same symbol in order to get the Chest to spawn.
Open the now spawned Chest to gain a Stone Beak, insert this beak into the Owl Statue at the back of the room to reveal a clue. Head back south in the previous room and take a left turn and into another room, kill all the enemies in here to spawn a Chest in the center that contains 20 Rupees inside.
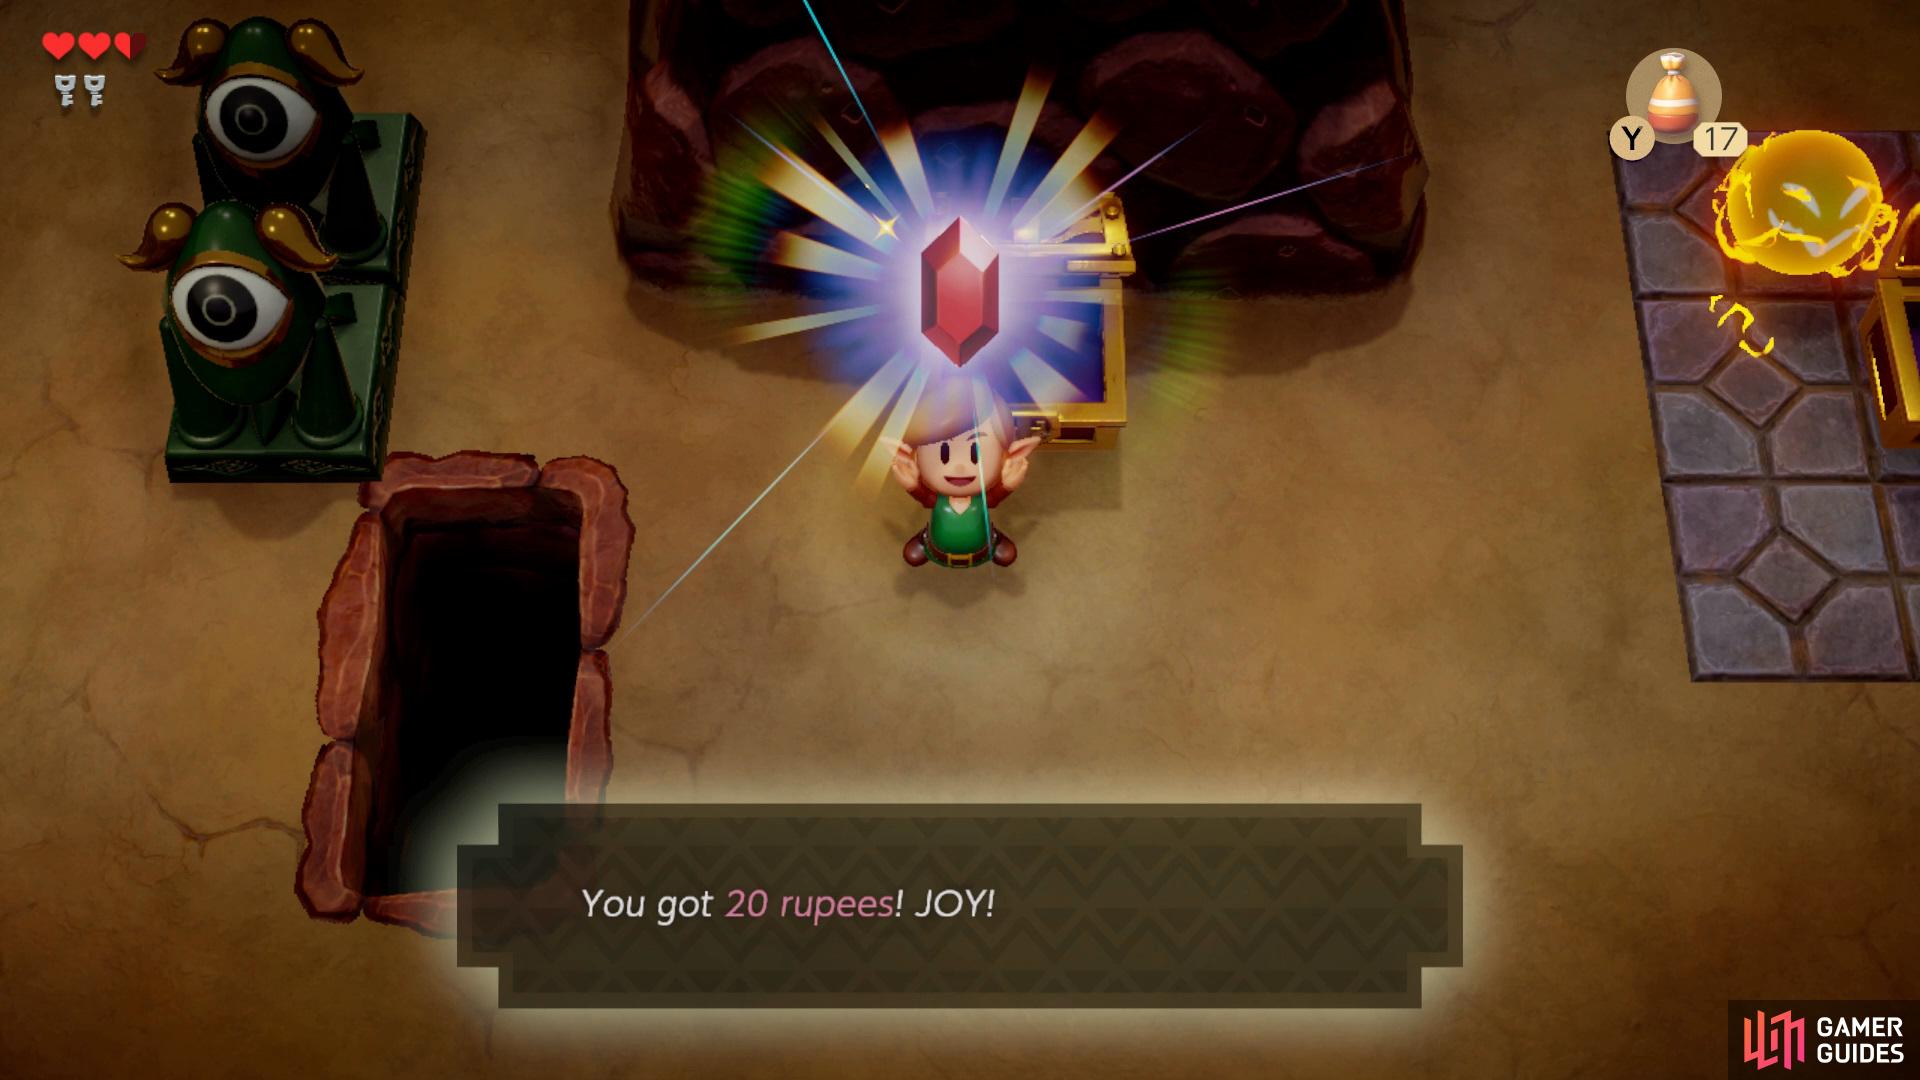
(1 of 6) Head north from the room you collected the map from and kill the enemies there to reveal a chest with 20 Rupees,
Follow the room around and head into the room to the north, watch out for the two traps by quickly sprinting past them, once you’ve entered the next room you’ll need to follow the path around, but memorise the route the Sparks take as you’ll need to avoid them in order to reach the opposite end. After you’ve made it past the Sparks, interact with the Owl for another clue and then push the rock to open the door.
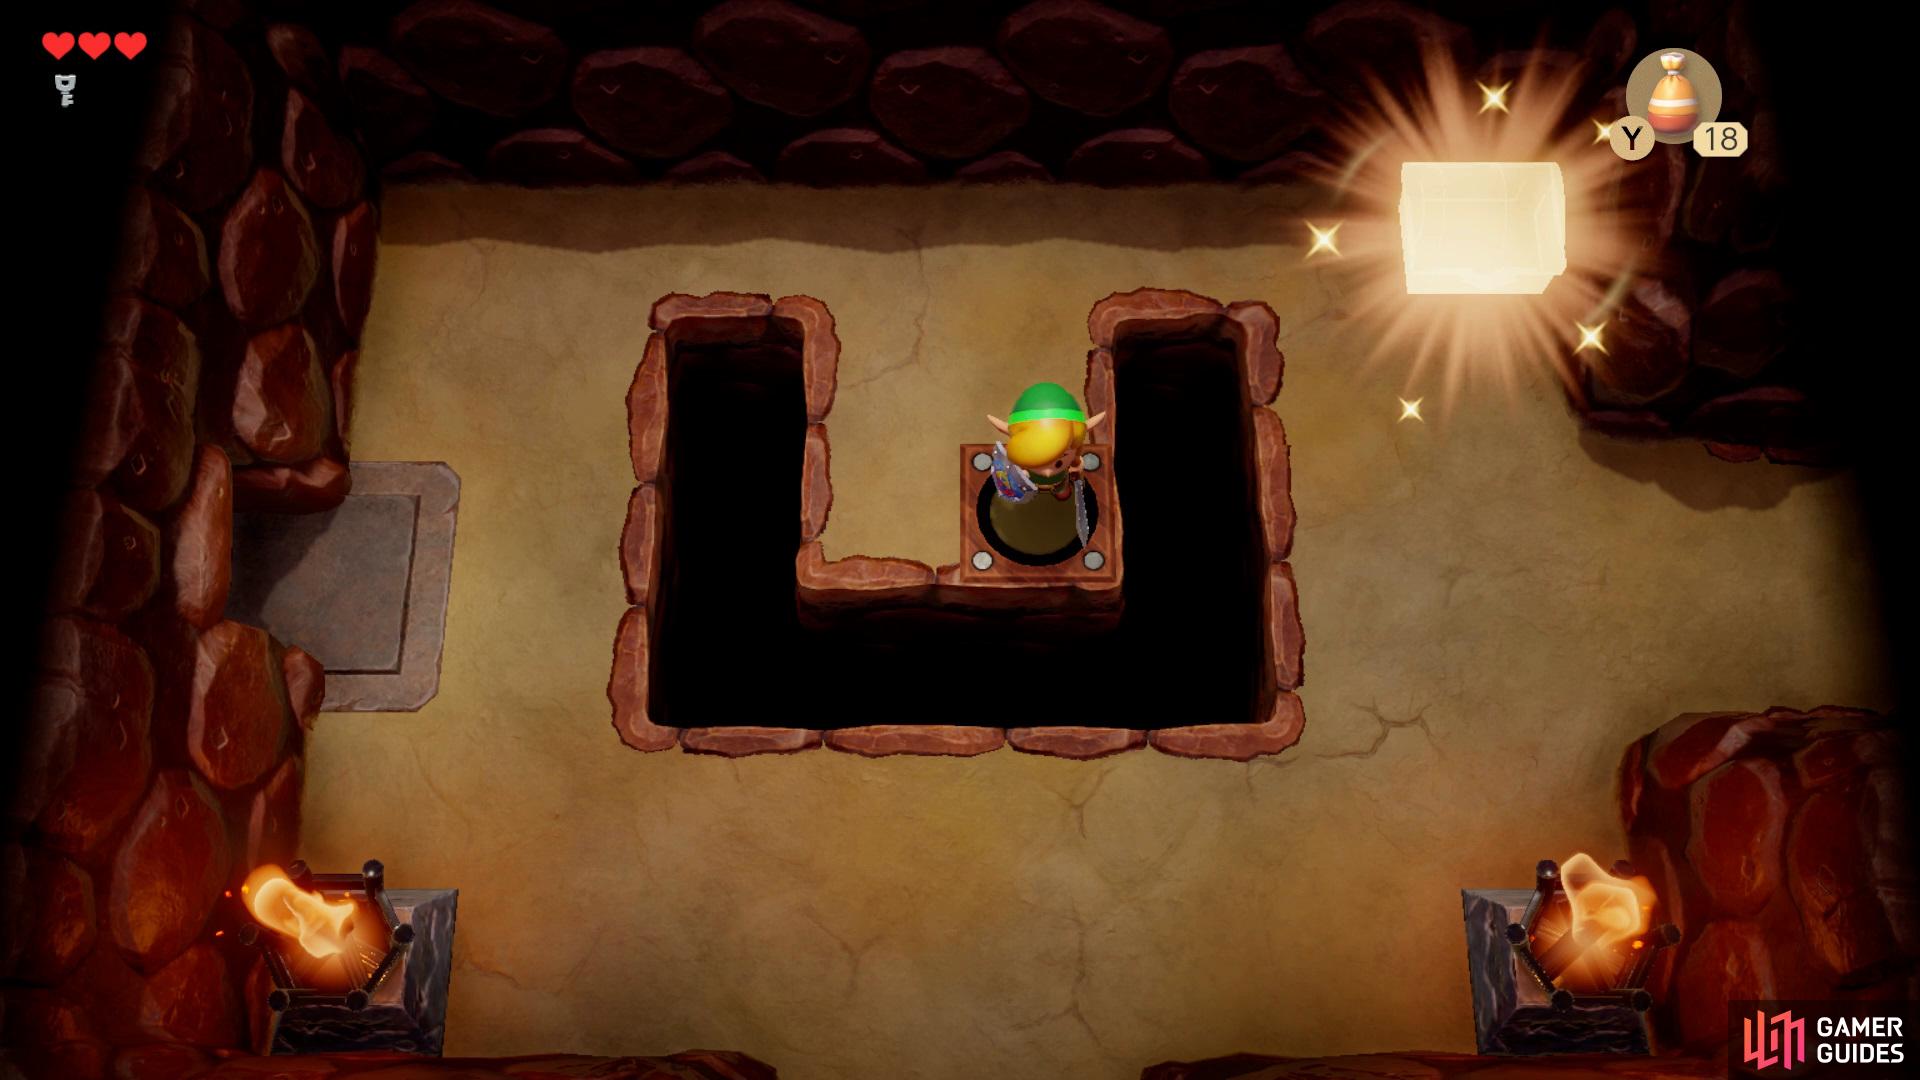
Enter the next room and kill all the enemies there to reveal some hidden stairs, proceed down to the lower level and climb down the ladder killing the Goombas on your way down. Head to the other side of the room and climb up, make your way forward and watch out for the traps on your way to the Chest, open it to gain Roc’s Feather
Obtaining Nightmare Key
(1 of 3) Head to the upper section of the area where you found the Rupees earlier and push the Hardhat Beetle into the pit,
Now that you’ve gained Roc’s feather you’ll want to assign it to the other free button and use it to hop over the traps behind you and make your way back into the room that you acquired the 20 Rupees earlier.
Once you’ve made it back you’ll want to head to the area above and use the newly acquired jump ability get past the gap, use the Small Key to open up the path to the stairs and follow the path to a Chest, inside will hold the Nightmare Key.
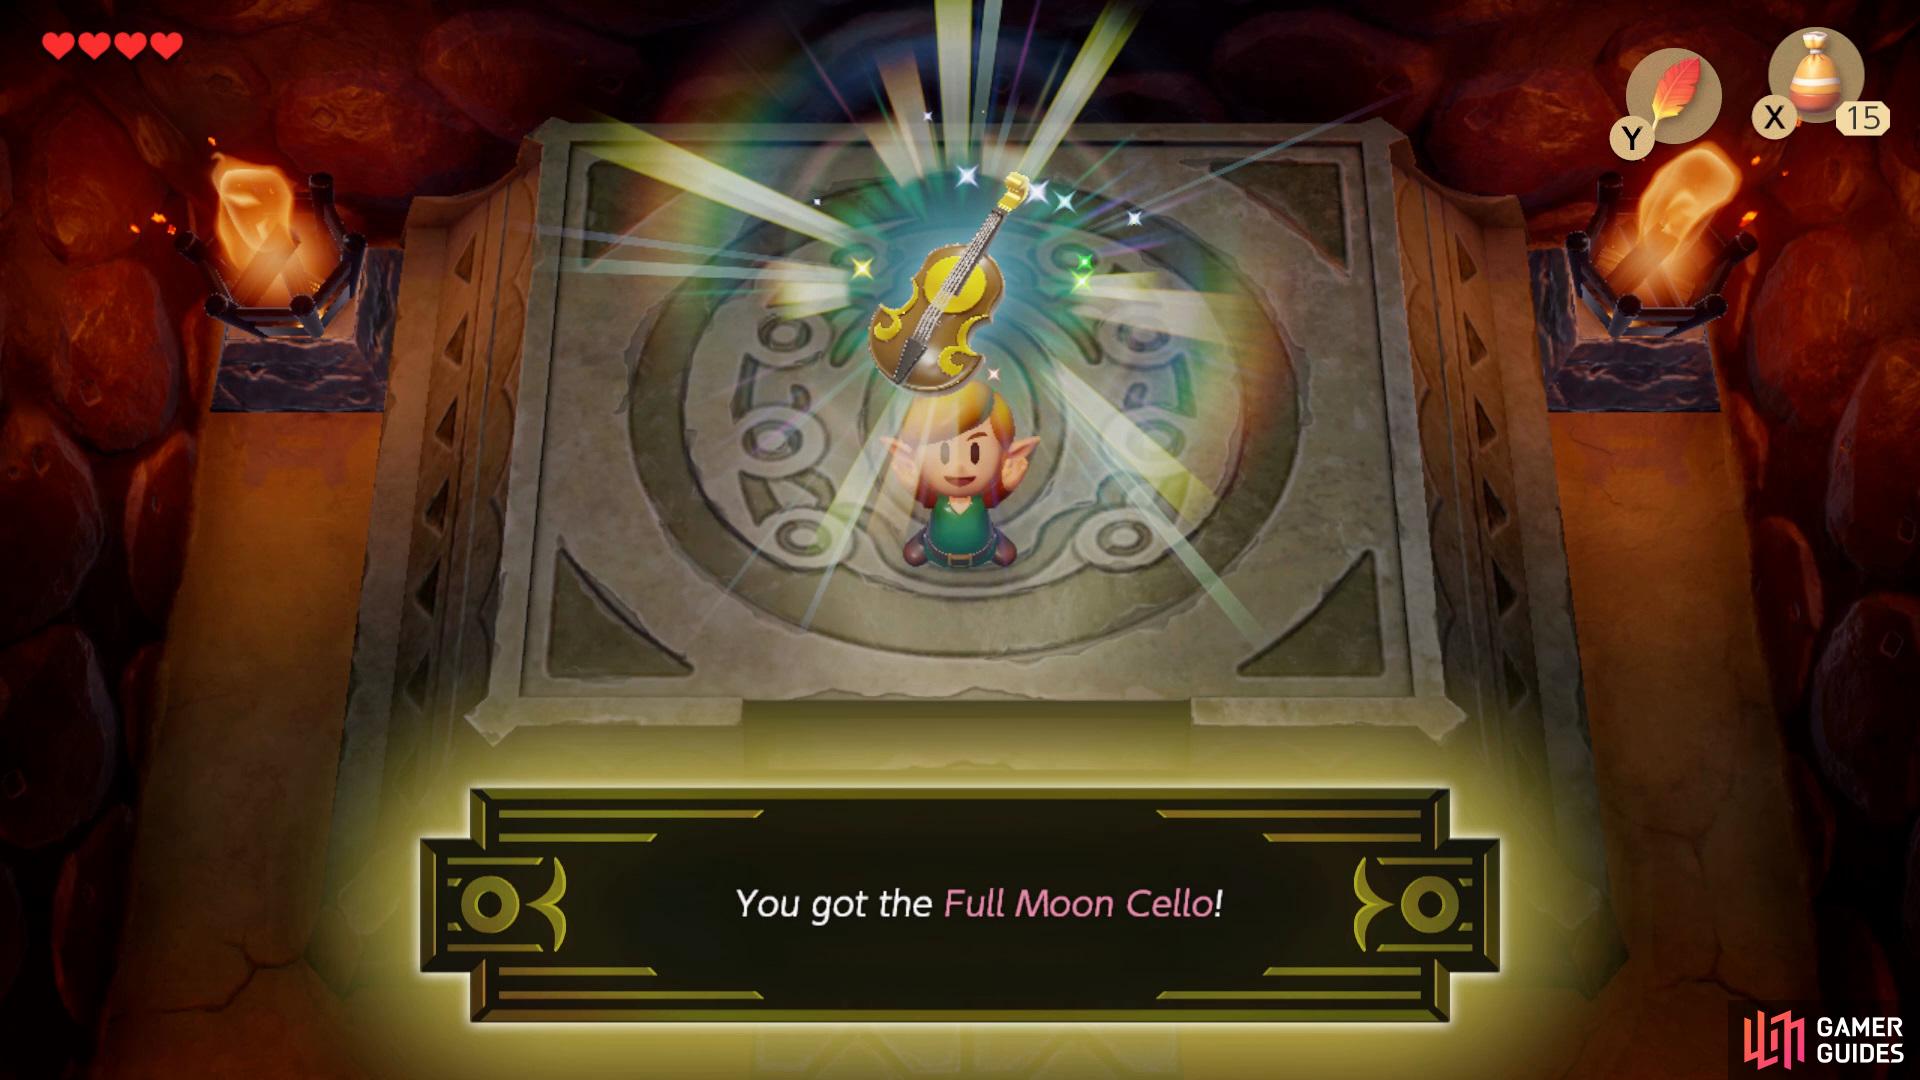
Locating the first instrument - Full Moon Cello
With everything acquired it’s time to retrieve the first instrument, the Full Moon Cello. To begin, make your way back down and into the room to the right and then hop over the gap on the other side and open the door with a Small Key.
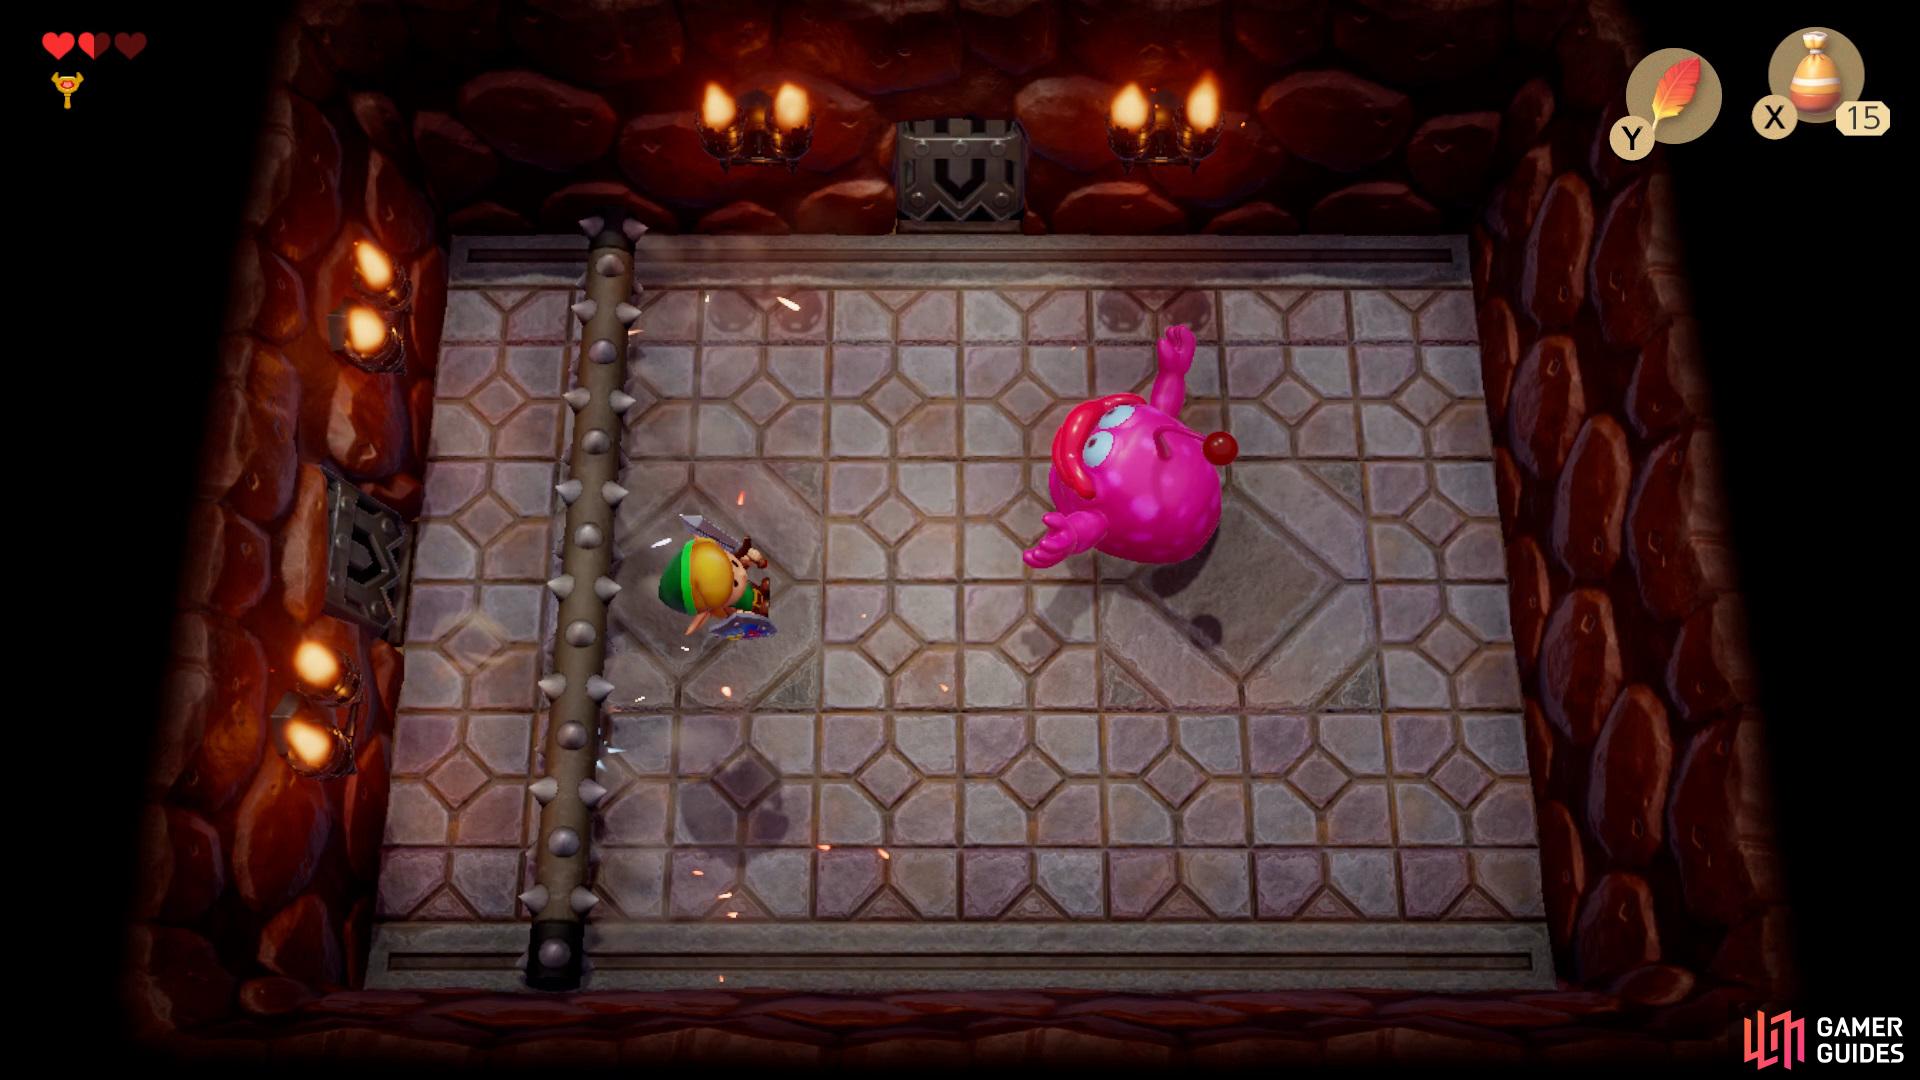
Wait for the boss to push a column towards you and hop over it,
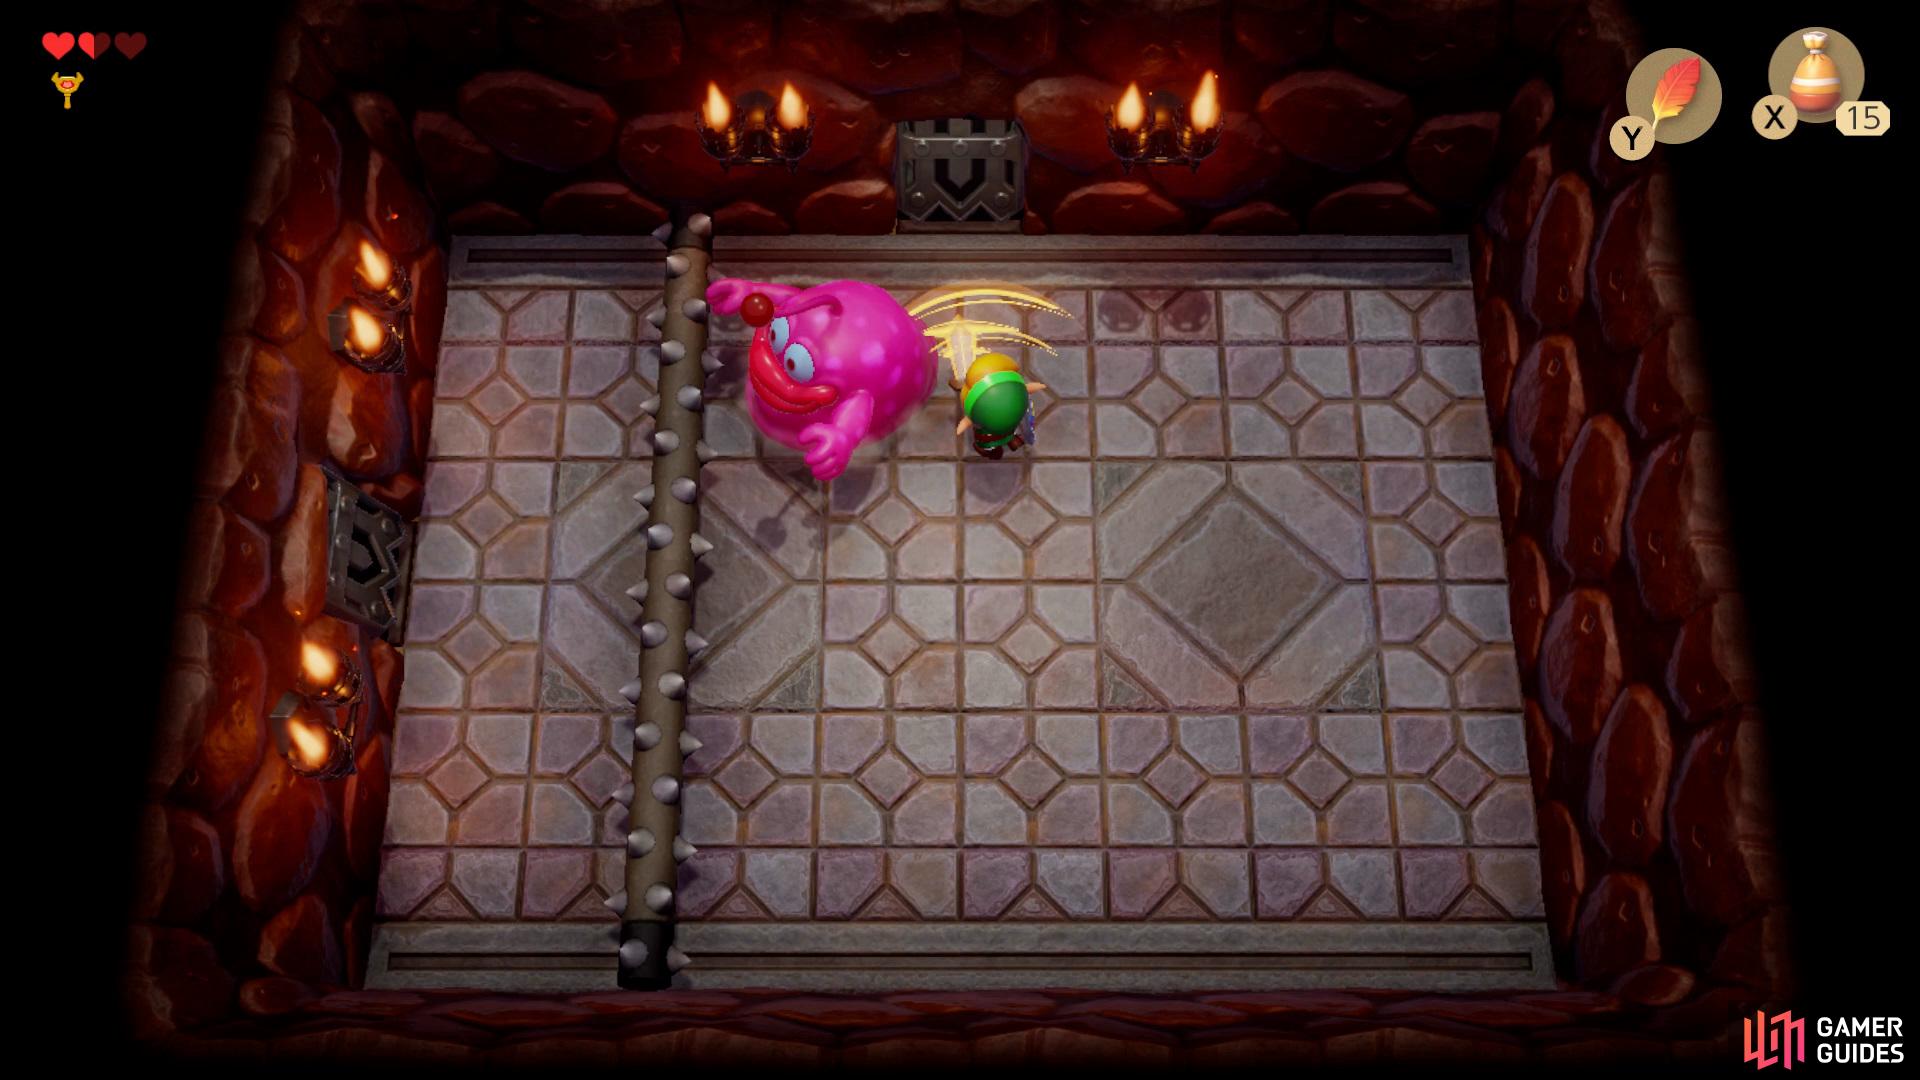
then go in for a couple of swipes at him.
Inside you’ll face off against this dungeon’s mini-boss, in order to beat him you’ll need to wait for him to push a spiked column towards you and hop over it, which will now open up a chance to get a couple of hits on him, repeat this a couple times to kill him.
Now head up into the next room and hop over the traps, use the Nightmare Key to open the door and enter to face the Boss.
Boss: Moldorm
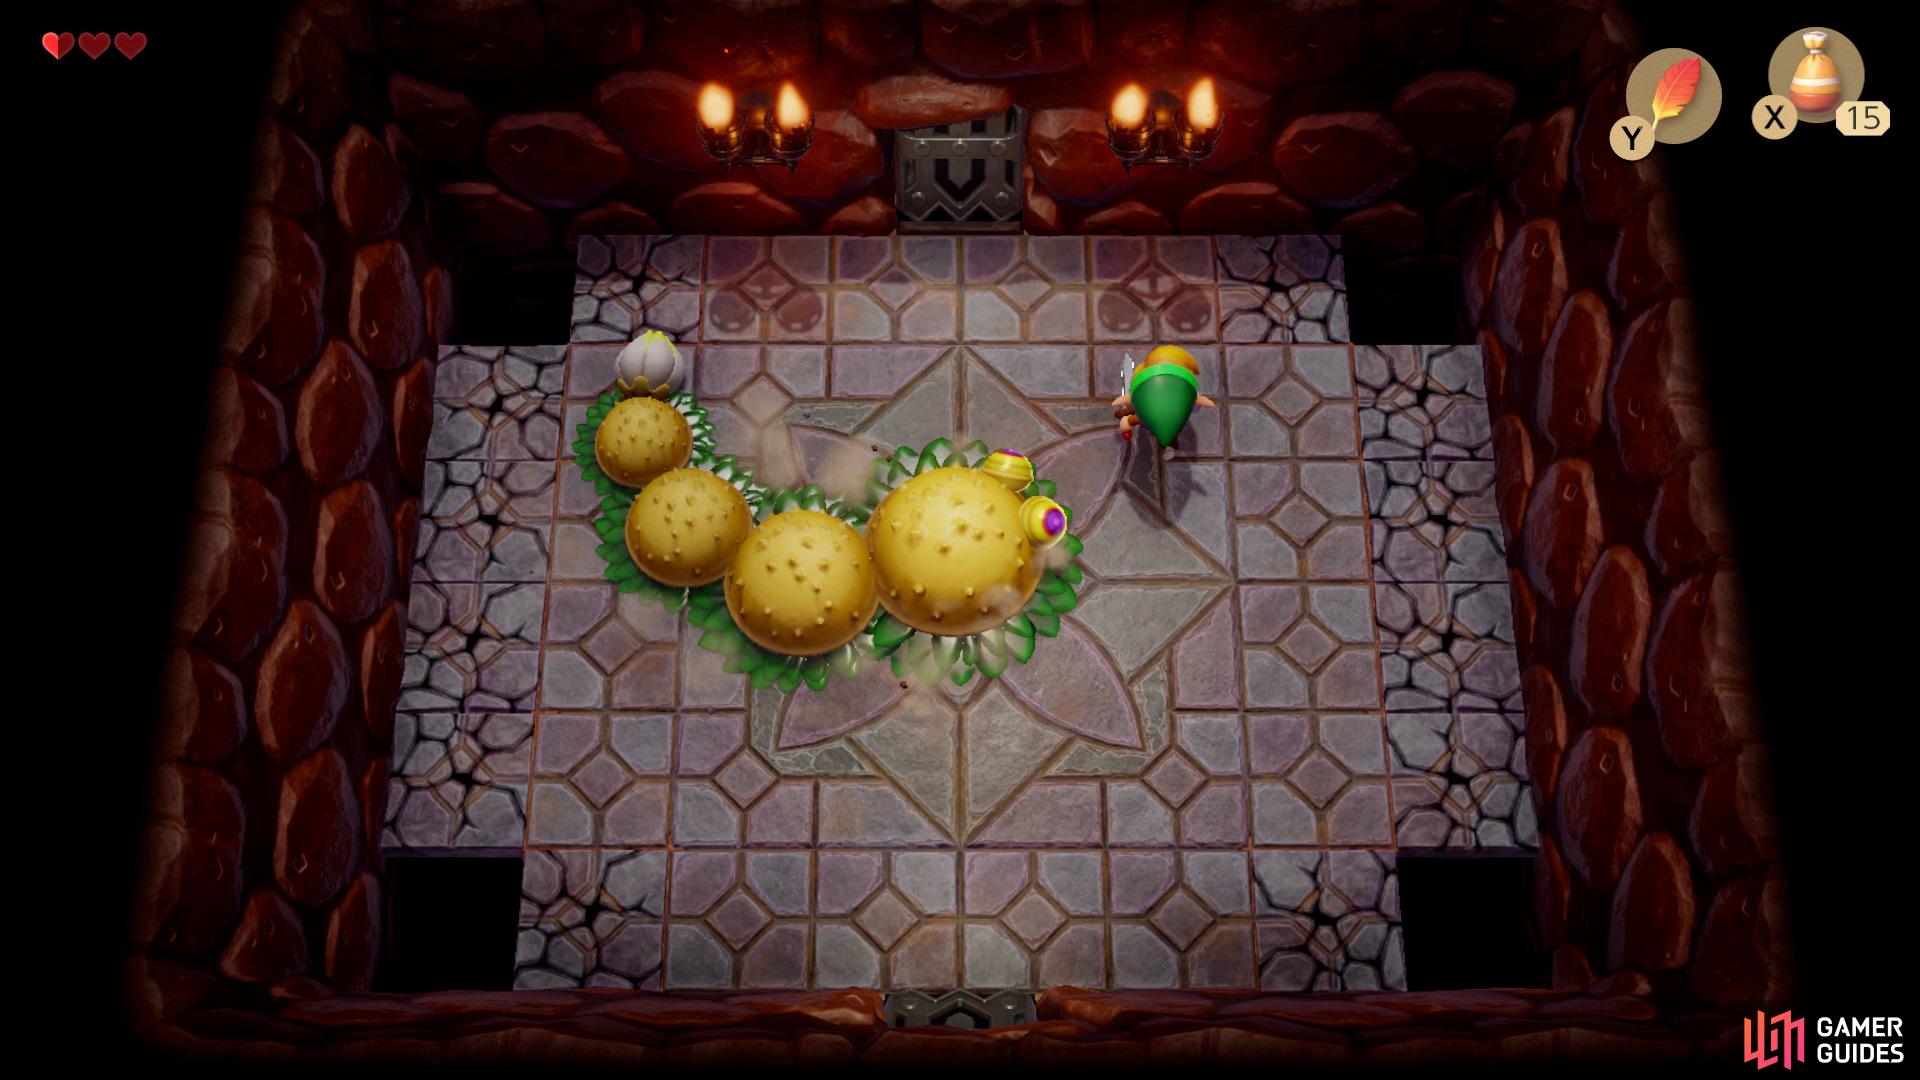
In order to defeat this dungeon’s Nightmare you’ll need to keep your distance until you see the small purple part at the end of his tail, quickly run to it and get a couple of hits and Moldorm will cover it temporaily, wait until its back and strike it again. You’ll need to repeat this four times to kill it.
After the Nightmare has been slain you’ll obtain a Heart Container then head into the next room and collect the Full Moon Cello.
No Comments