
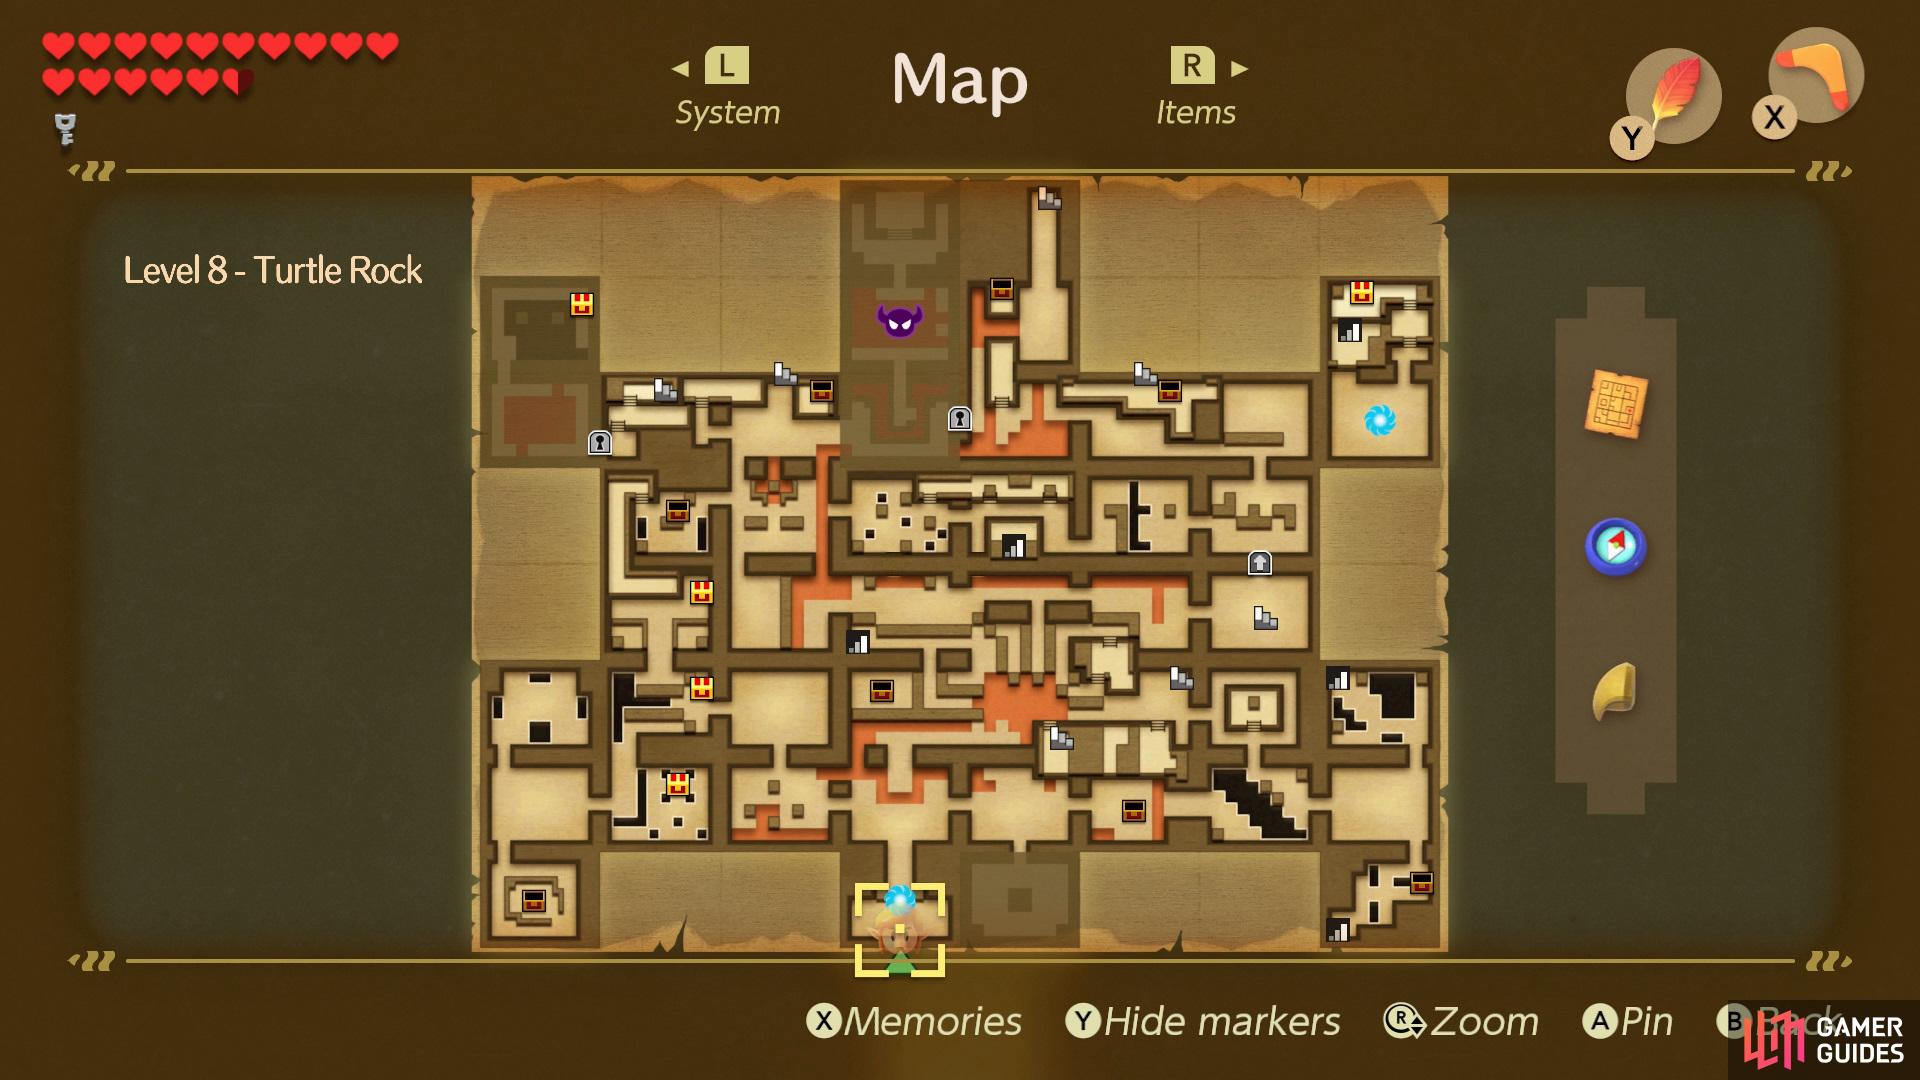
Locating the Compass & Map to Turtle Rock
From the entrance of the dungeon you’ll want to head up then take out the large flying enemy ahead by using your Shield to deflect the Orb he fires at you back at him, after the enemy has been defeated go through the door on the left and take out the enemies in the next room, then proceed into the room above.
Here you’ll have a quick battle with a Hinox, just keep hitting him with your Sword and moving out of the way of when he attempts to grab you, after the Hinox has been defeated head into the room on the left and use the controllable device to create a path down to the southwest. Follow the path around you’ll face another mini-boss, in order to defeat him you’ll need to hop over the spiked pole that he will roll at you then hit him in the back when he sprints across the room.
Use the device to create a path left,
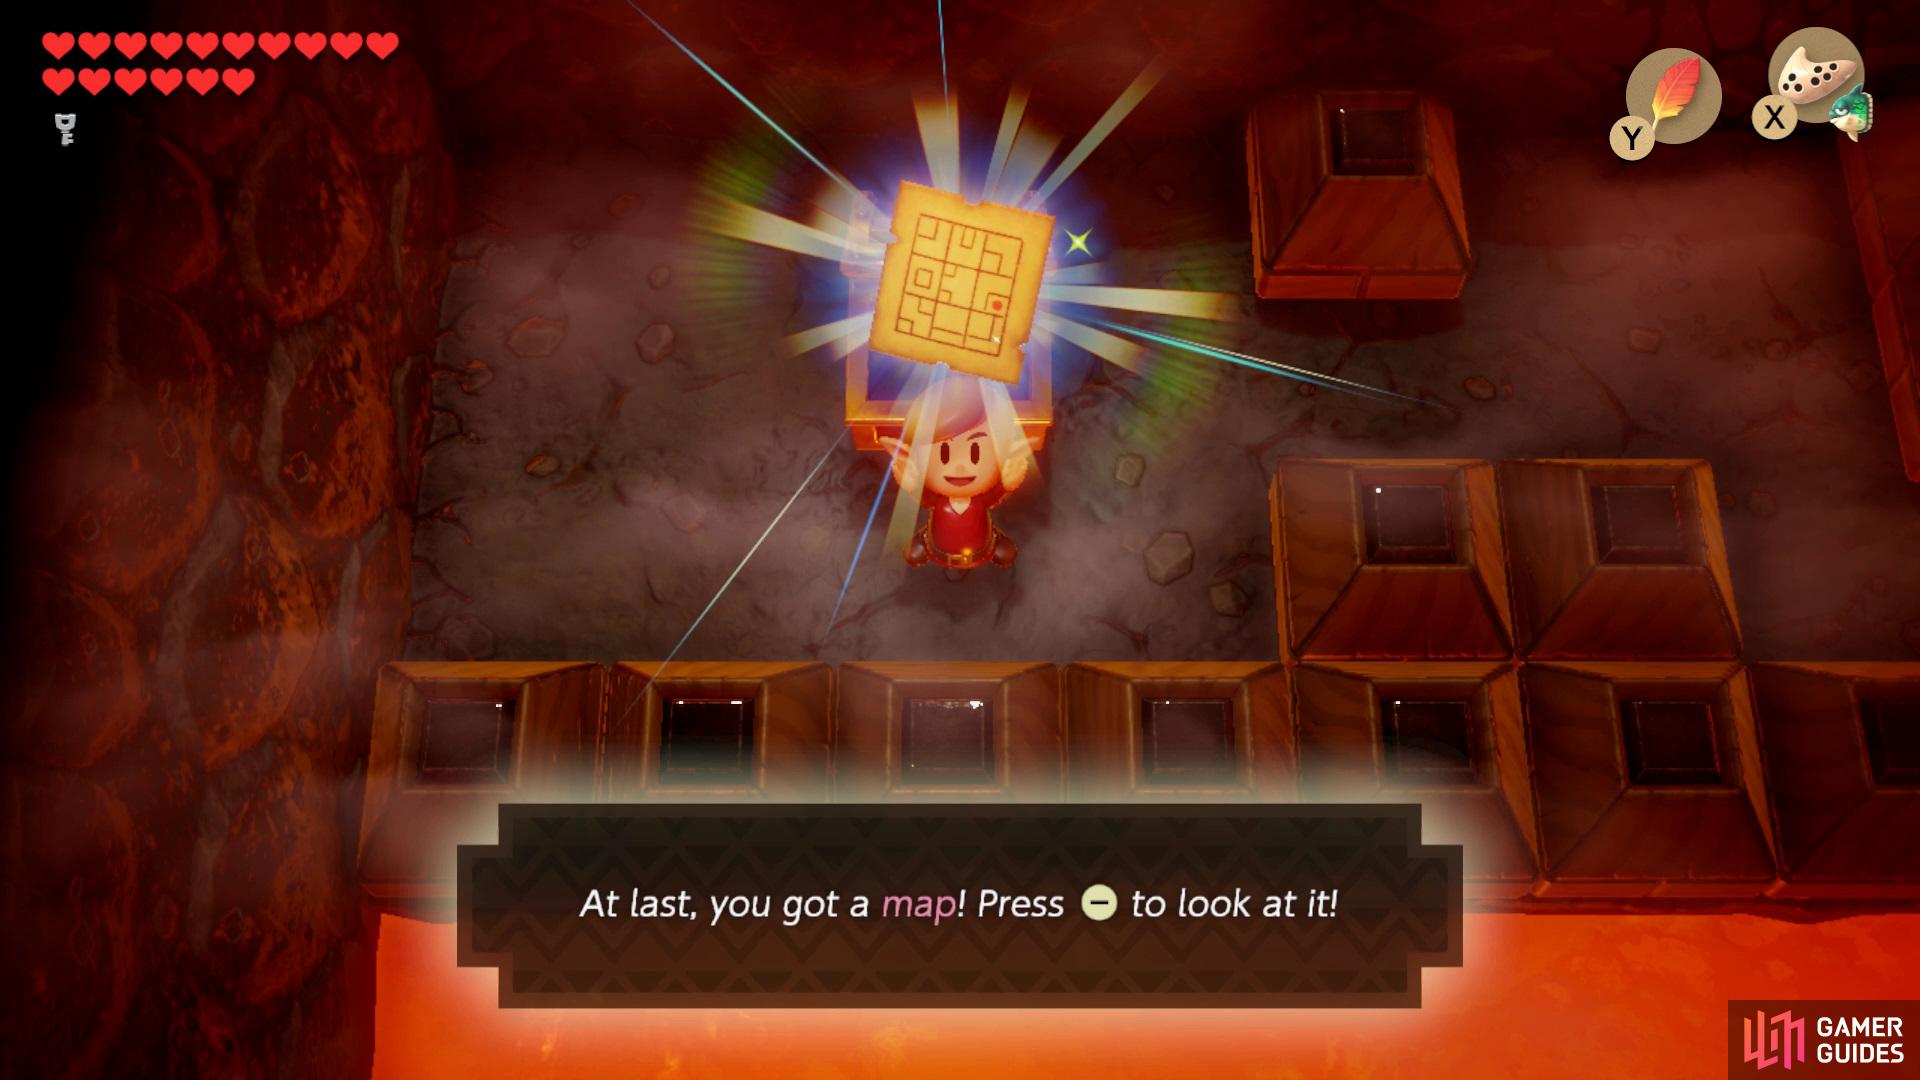
and open the Chest for the Map to the Turtle Rock.
Once you’ve defeated the enemy head into the room above and take out another flying enemy to cause a Small Key to drop, collect it and head down through two rooms and open the Chest in the center for the Compass. Now warp back to the entrance and proceed up then use another device to create yourself a path to the Chest which holds the Map to Turtle Rock.
Locating the Stone Beak
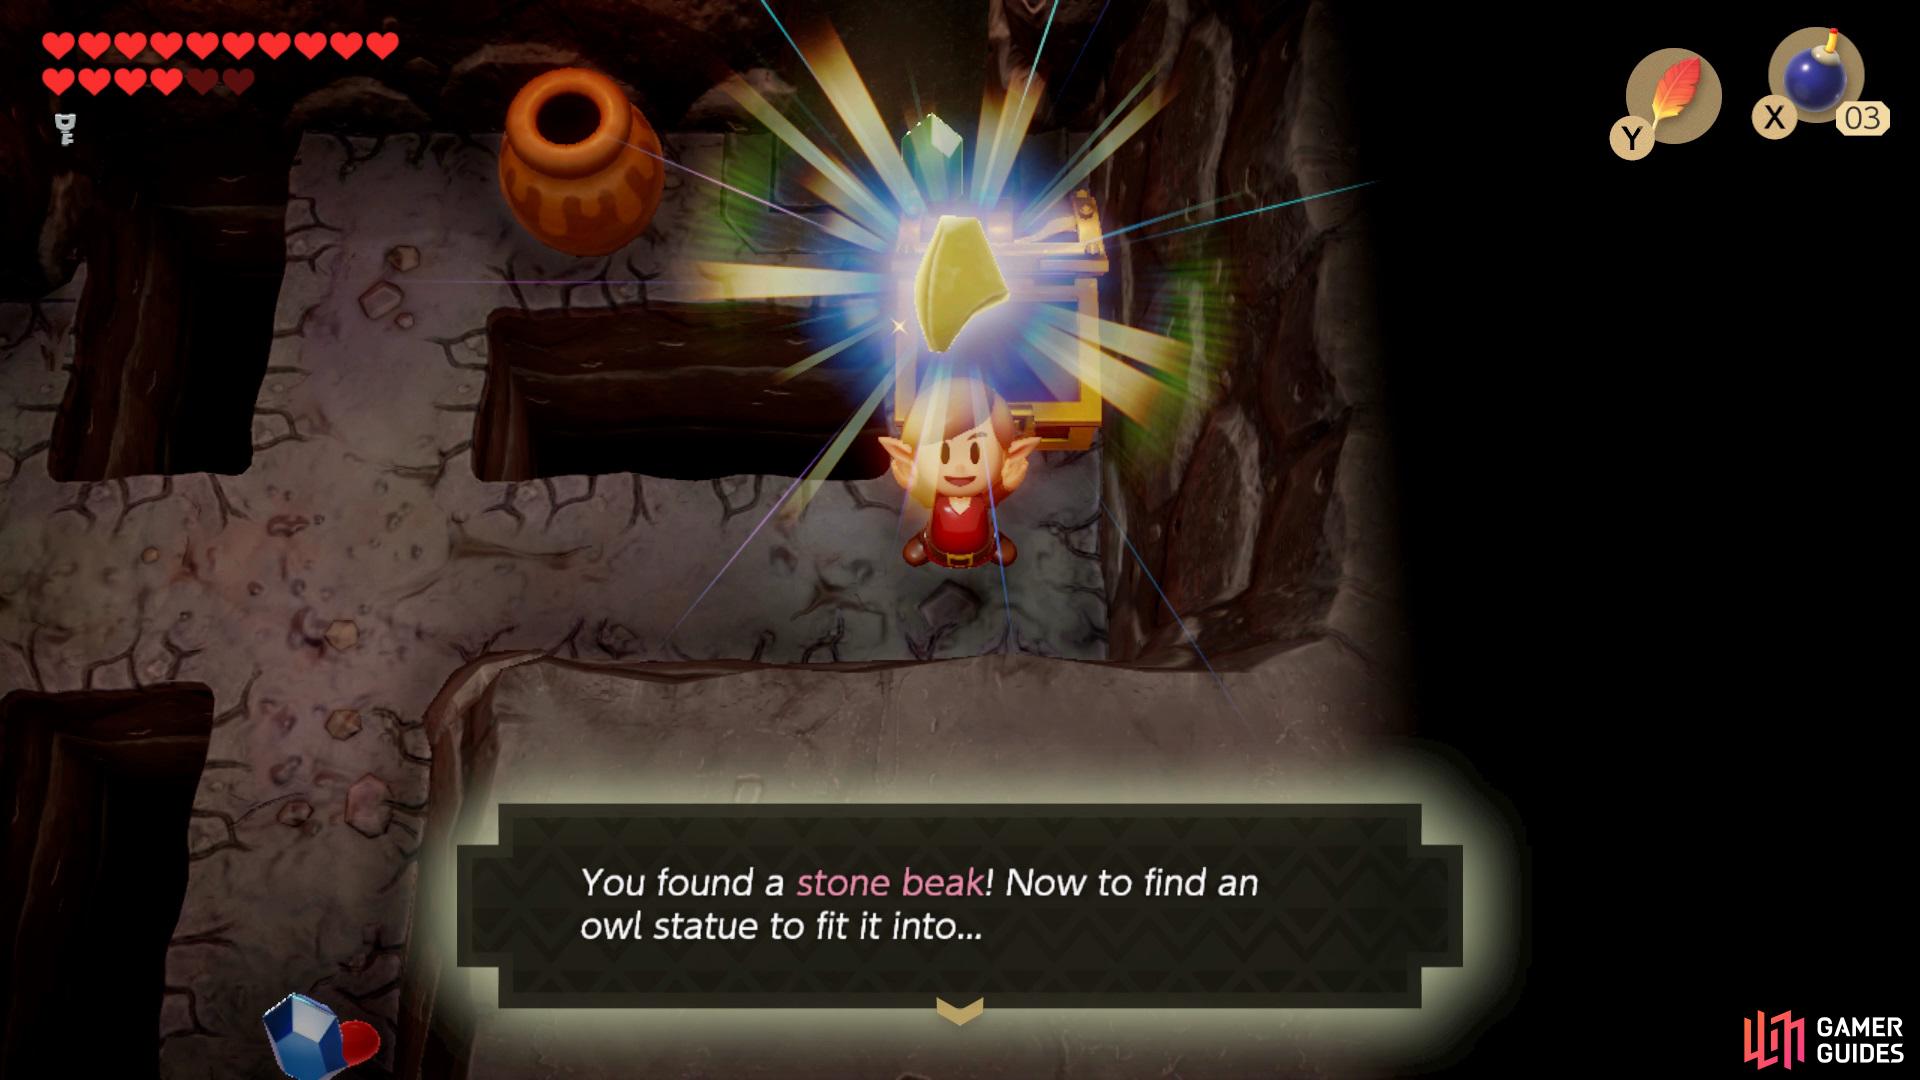
(1 of 3) Collect the Stone Beak from the Chest below then head up to face a Mini-Boss,
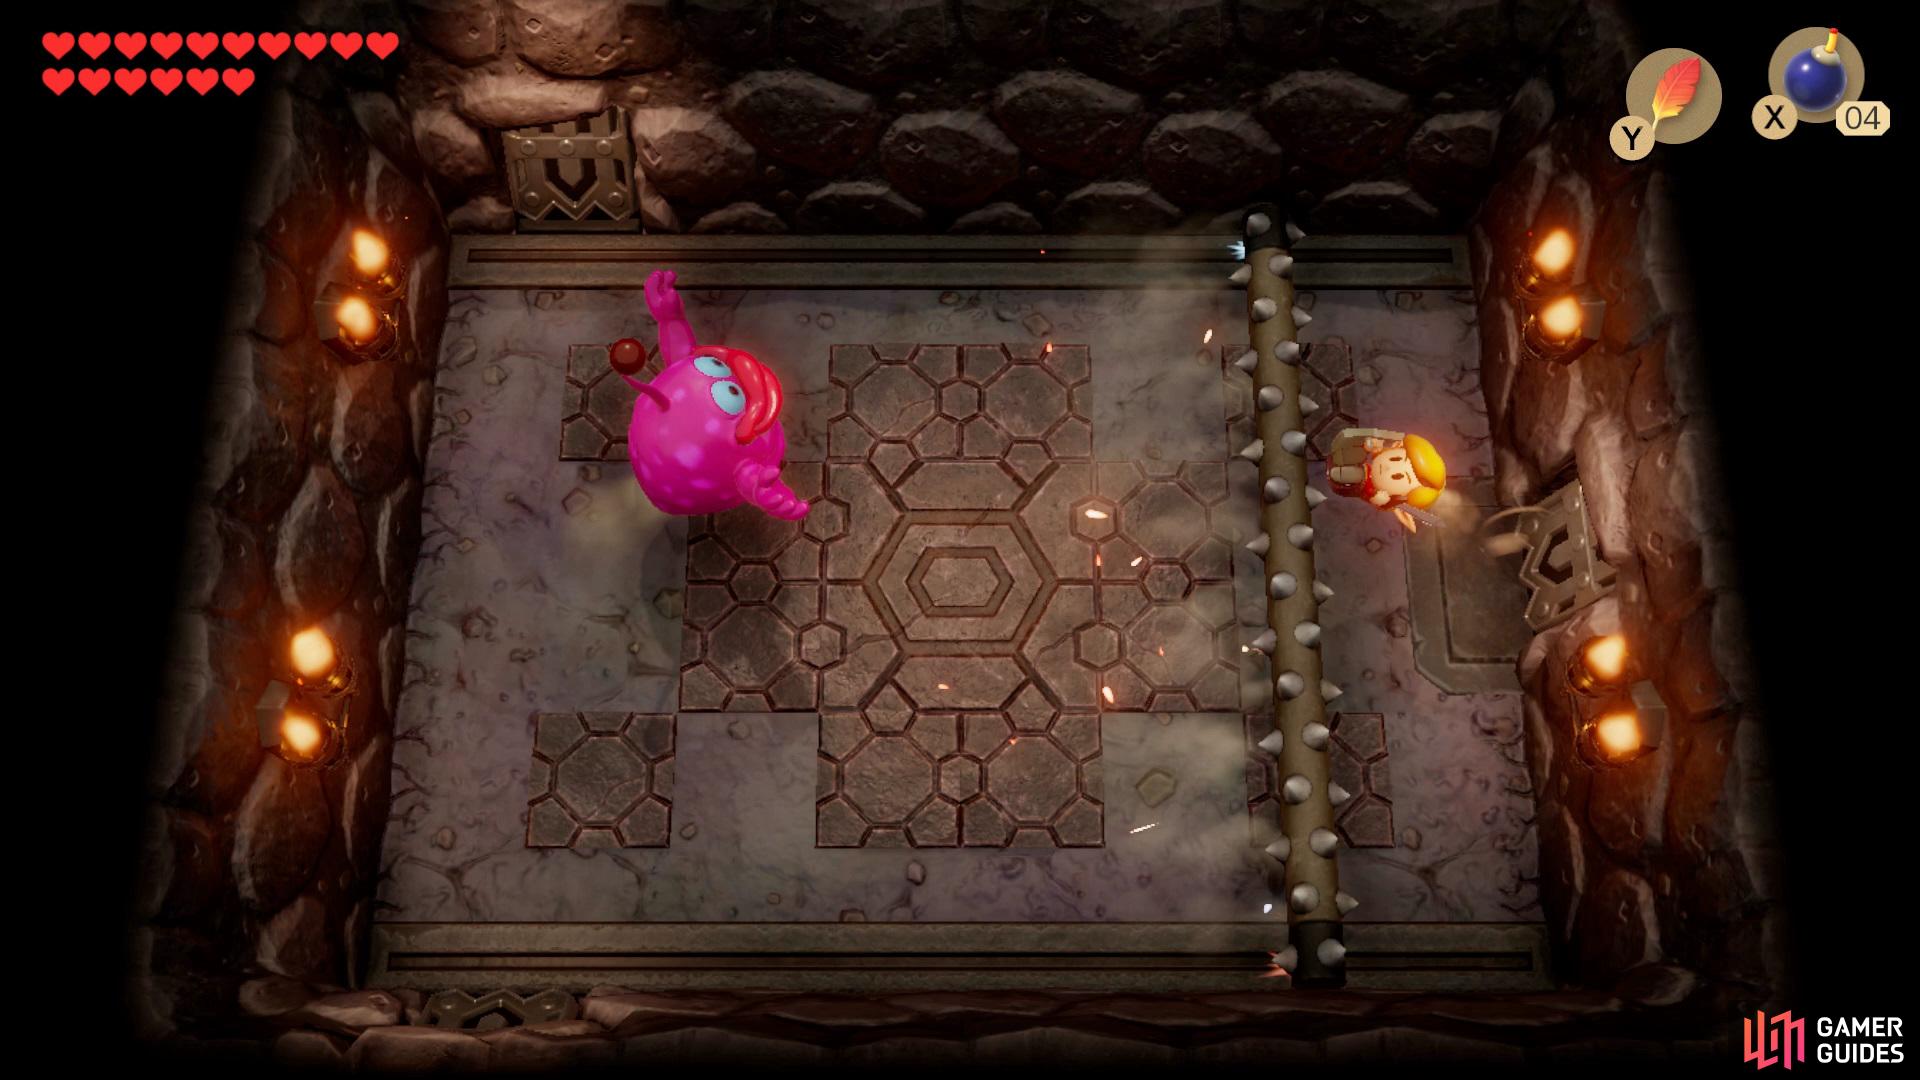
Place a Bomb against the crumbling wall and head through, go left down the stairs and hop across the room to the right then climb up, take out all the enemies and open the Chest for the Stone Beak. Now proceed into the room ahead where you’ll face another mini-boss, in order to defeat this boss you’ll need to wait for him to throw the ball at you then quickly pick it up before he does and throw it back.
Obtaining the Magic Rod
Once the enemy has been defeated go into the room ahead and step on the button, now go back down and go left, use the device to fill in the large gap in the floor and pick up the Small Key, place a Bomb against the crumbling wall ahead and go through then place another Bomb against the wall on the left.
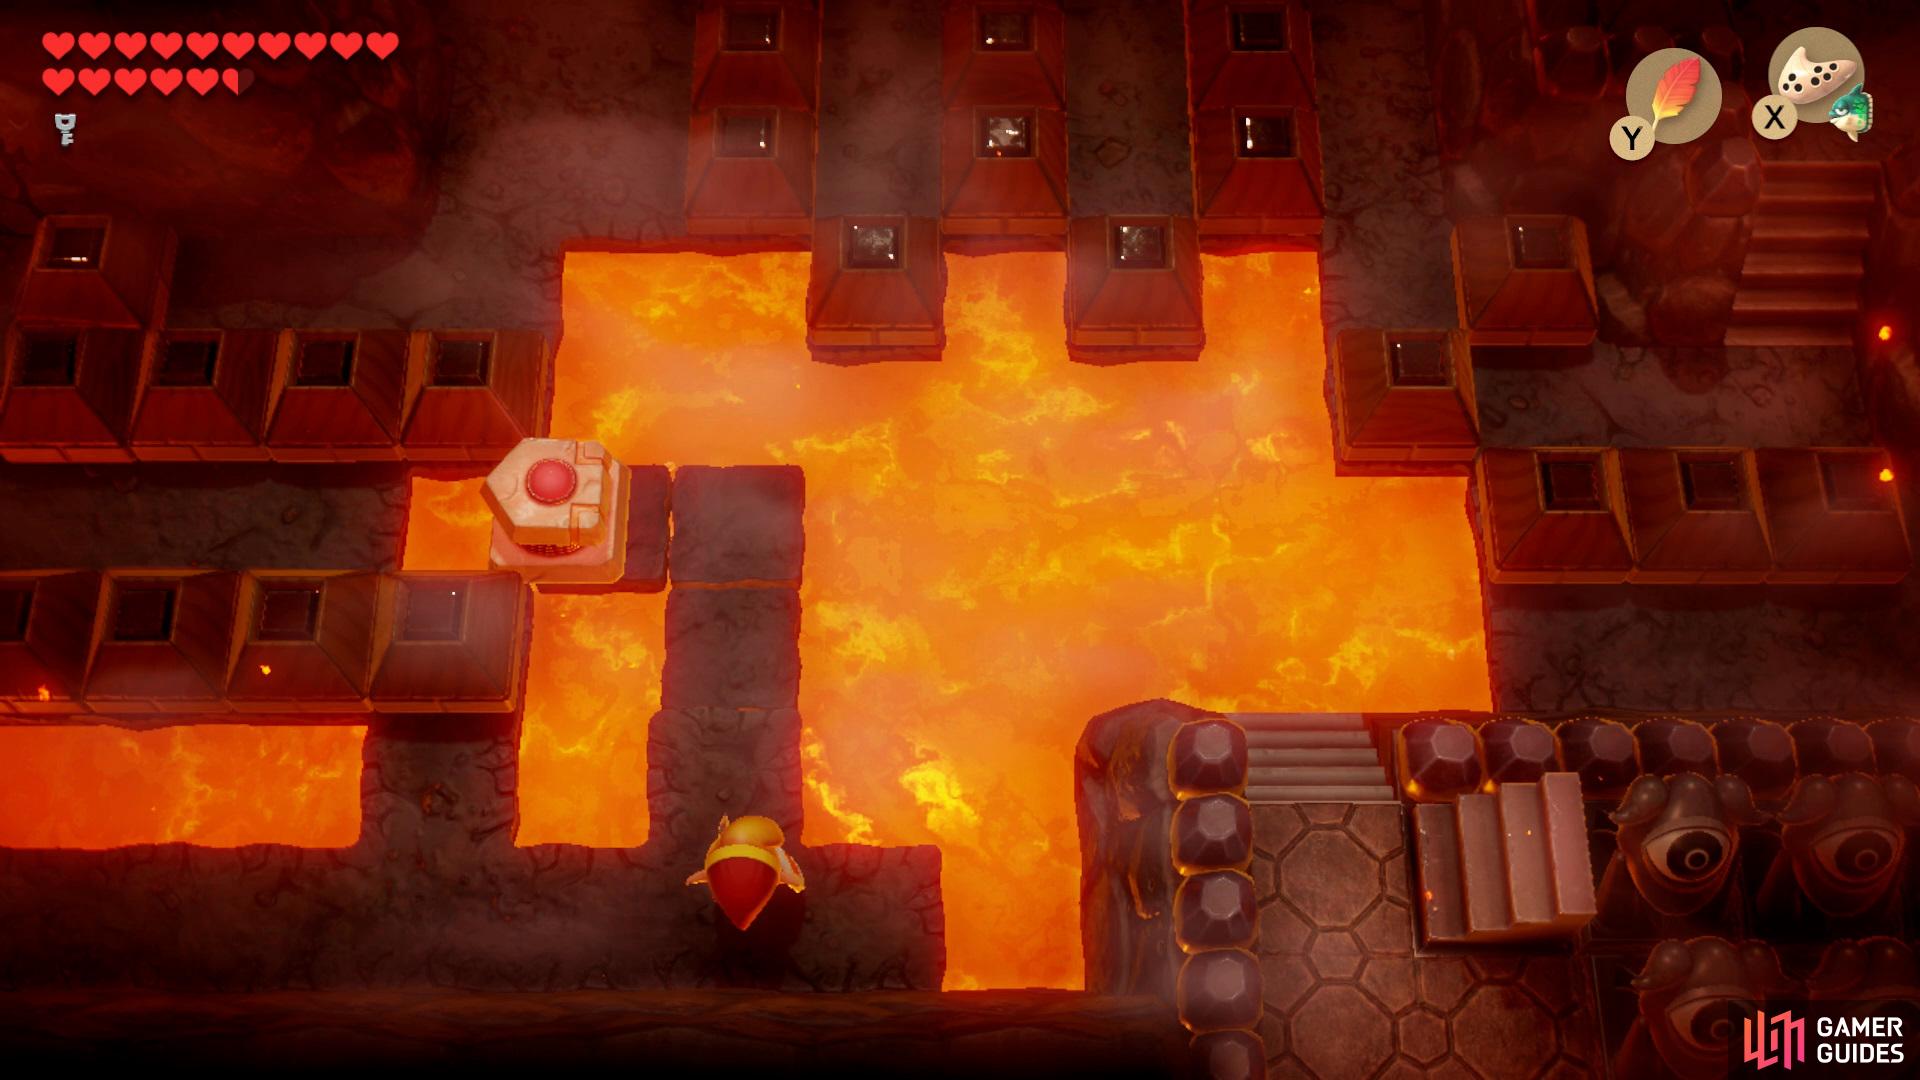
Take the stairs south and drop down to a Chest that has an enemy inside, go left through two rooms then up, use the device to create a path up and then push the block down into the lava allowing you to continue onwards. Use a Small Key to unblock your path then head right and use another Small Key to unlock the door, watch out for the traps and proceed through the door ahead.
Go into the next room ahead and carefully take out the enemies before the floor breaks away, pick up the Small Key and go left until you reach some stairs, use the Hookshot to pull yourself over to the Chest which has some Secret Medicine inside. Drop down to the right and go up the stairs at the end of the room, run across to the right and climb down the ladder.
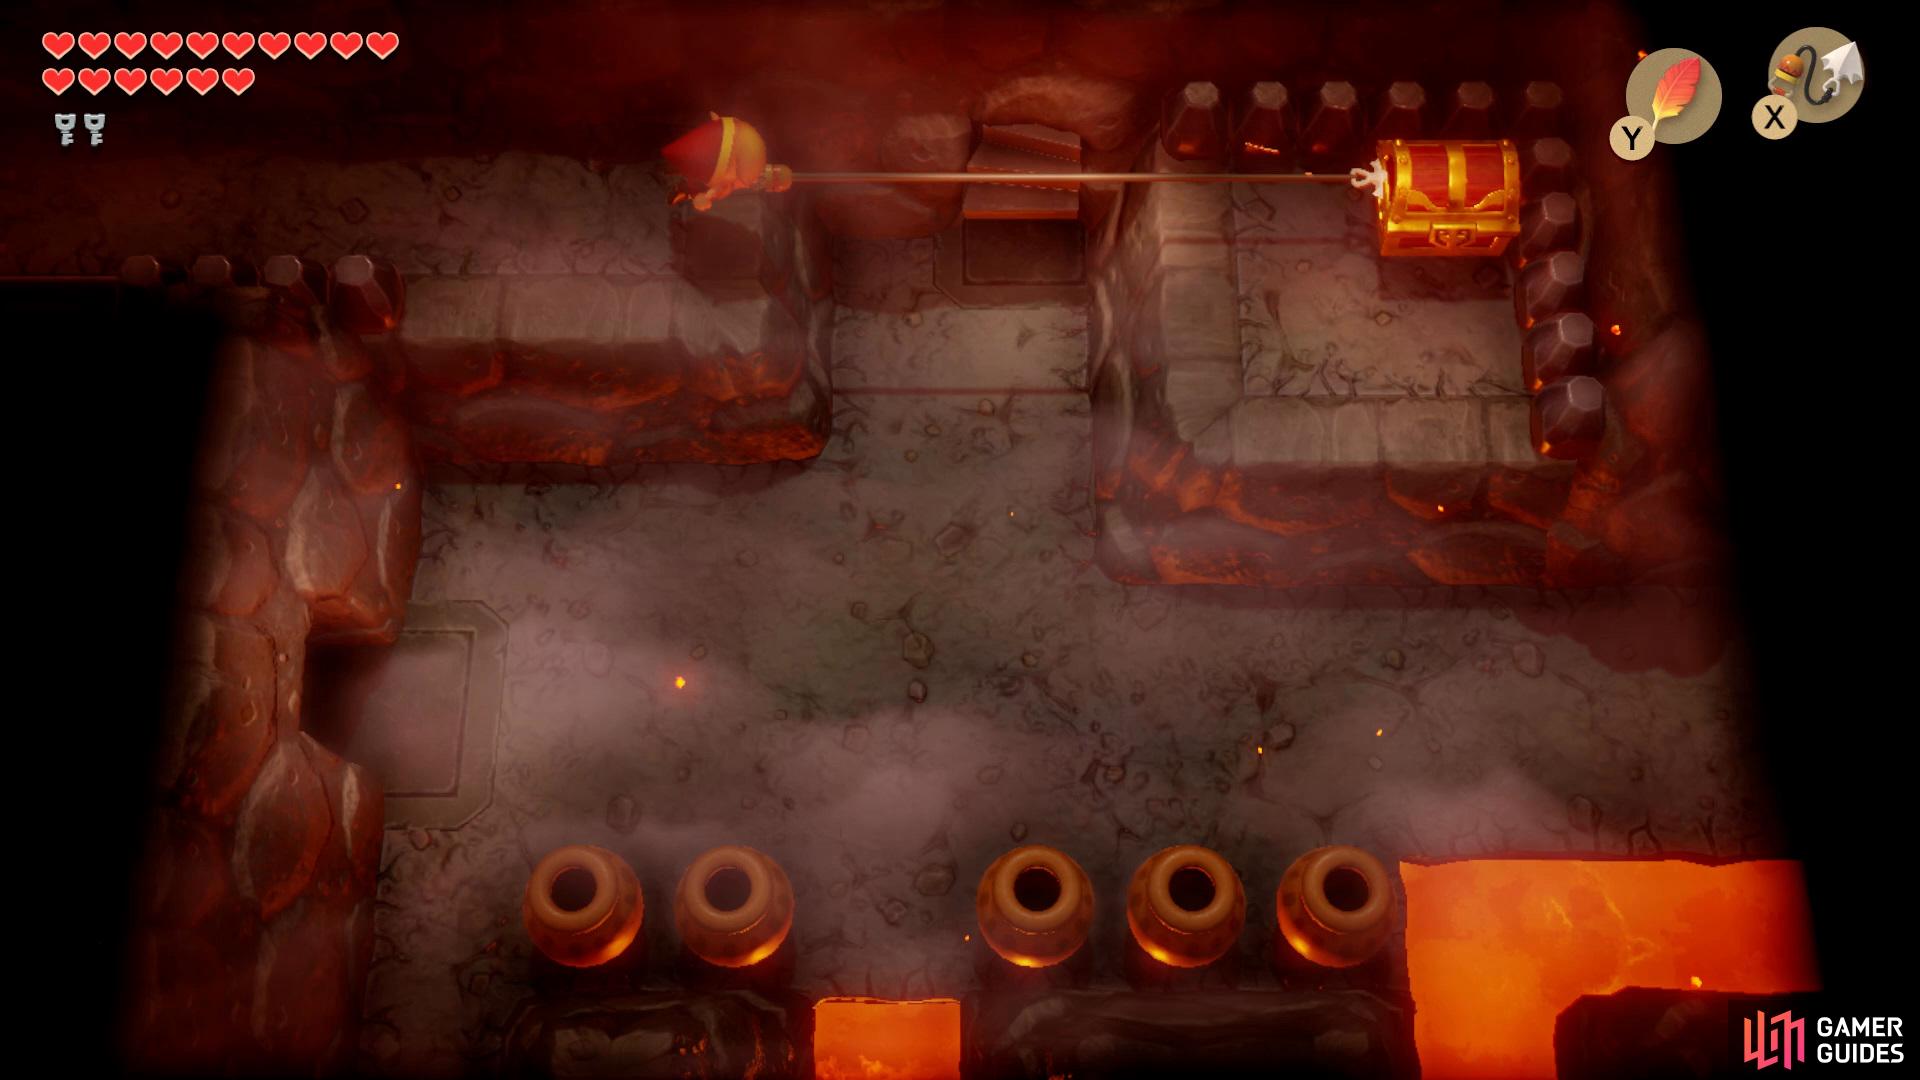
Proceed through the door ahead and place a Bomb against the wall on the left, then use the Small Key to free your path in the bottom left, continue going left and place another Bomb against some more crumbling wall and head through. Hop across the lava and take out the Sparks, equip your Bow and hop up in front of the statue and aim for a bullseye which will reward you with a Small Key, go left and open a Chest for another Small Key then return right and head up.
Take out the enemies and go left and follow the path around then Hookshot over to the Chest that has 50 Rupees inside. Now drop down to take the stairs up and collect a Piece of Heart from above then proceed to the right to activate a teleporter. Re-enter the dungeon through the right door and launch Bombs over the wall to kill the Dodongo Snakes.
After the Snakes have been defeated a Chest will spawn with a Small Key inside, now equip your Ocarina and return to the beginning of the dungeon. From the start make your way over to the room with the Crystal and hit it to make it turn orange, then head back into the room on the left and take the stairs down. Follow the path back up to the large open room and use the device to create a path to the north.
Now head up then right, up again then left again, hop over the gap and proceed down through the bottom left path, go up the stairs and Hookshot your way over to the stairs leading down in the center, hop across the moving platforms and climb up.
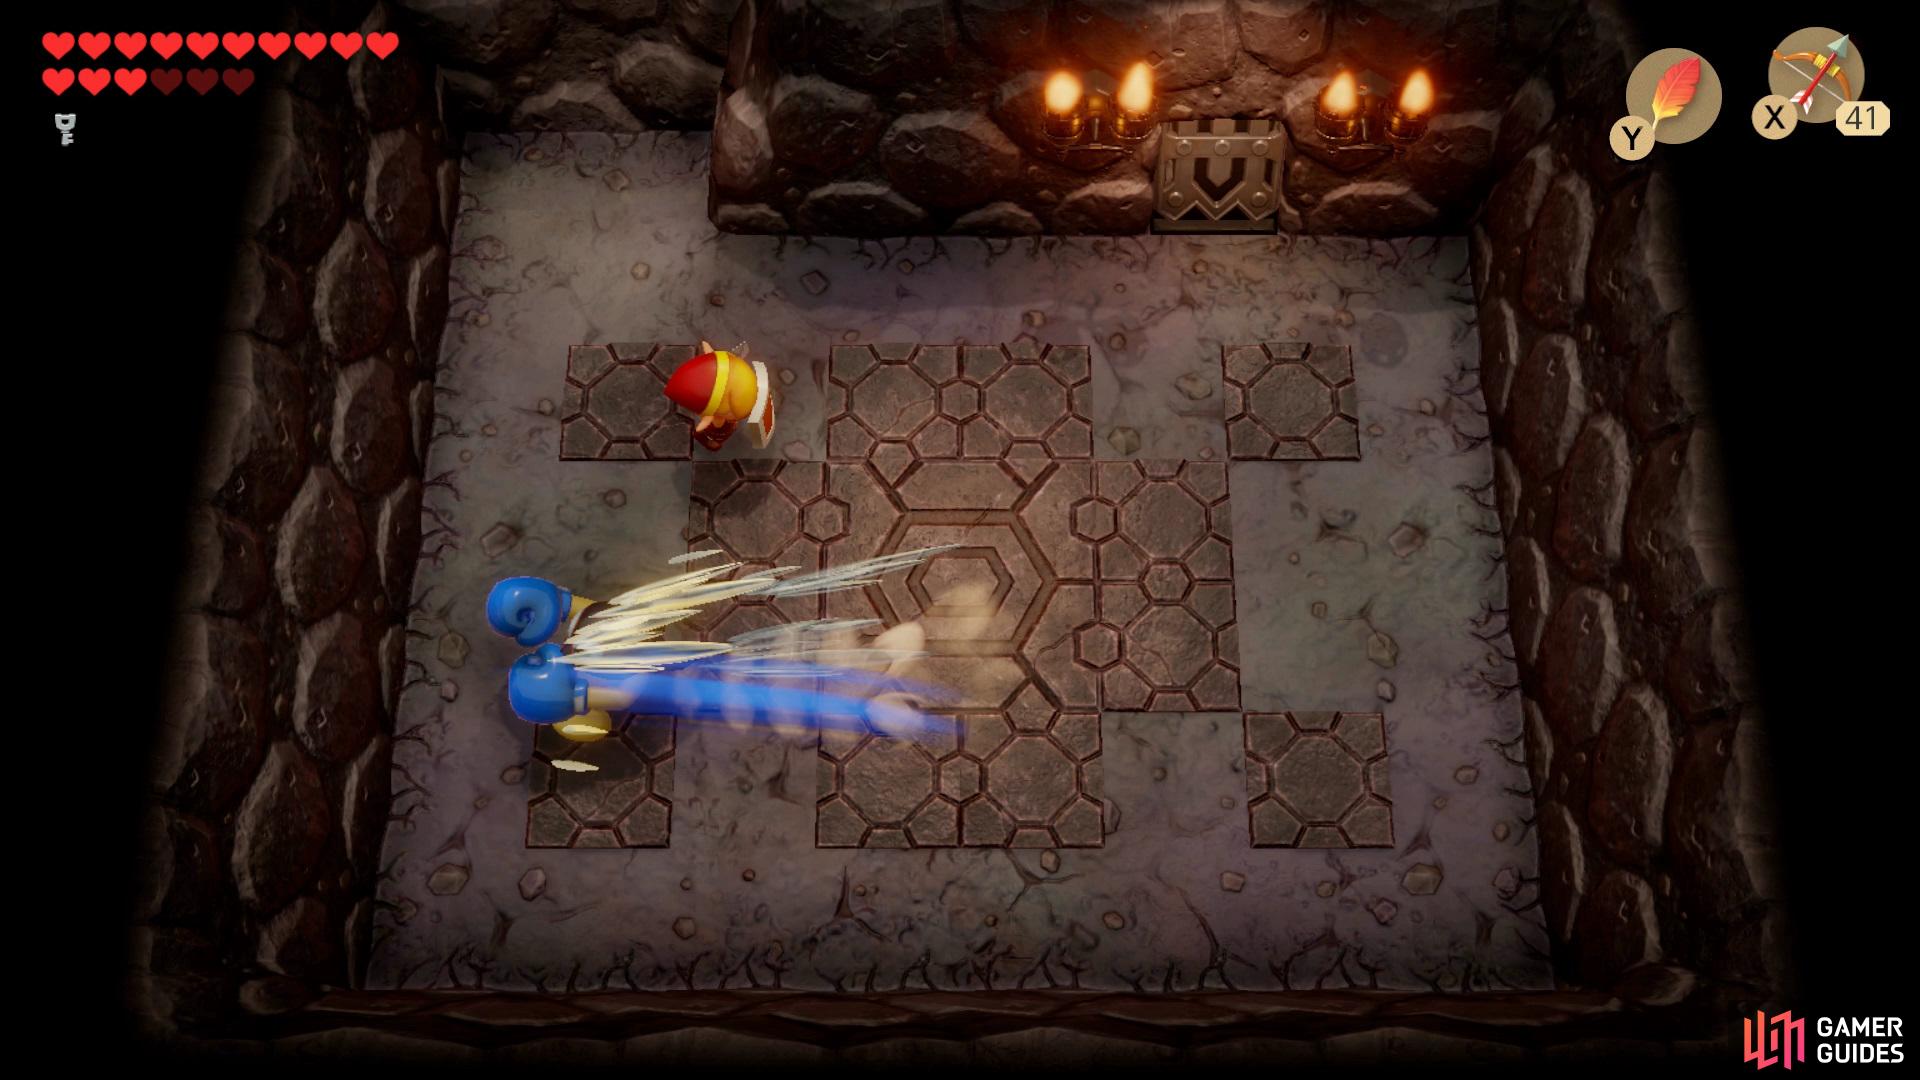
Drop down to an area below where you’ll face another Mini-Boss, in order to take it out you’ll need to wait for him to sprint towards you then quickly dodge out of the way of it’s attack then hit him with your Sword. Once the boss has been slain head through the door on the right and open the Chest to obtain the Magic Rod.
Return to the first room of the dungeon and head up, create a path to the bottom right stairs and walk up. Use the Magic Rod to clear your path across to the left and climb down the ladder, open the door in the bottom left with your Small Key and head through where you’ll face the Cue Ball.
Locating the Nightmare Key
In order to defeat it you’ll need to hop over its body as it comes towards you then spin around and hit its back, after the boss has been defeated head through the now open door and fill in the floor with the device to get a Chest to spawn with the Nightmare Key.
Make your way back to the large open lava room and hop across to the right side, climb the stairs then drop down, now head up a different set of stairs in the top right corner then use the Magic Rod to free your path to the left and climb down. Open the golden door with the Nightmare Key and head through to face the final boss of this dungeon, Hot Head.
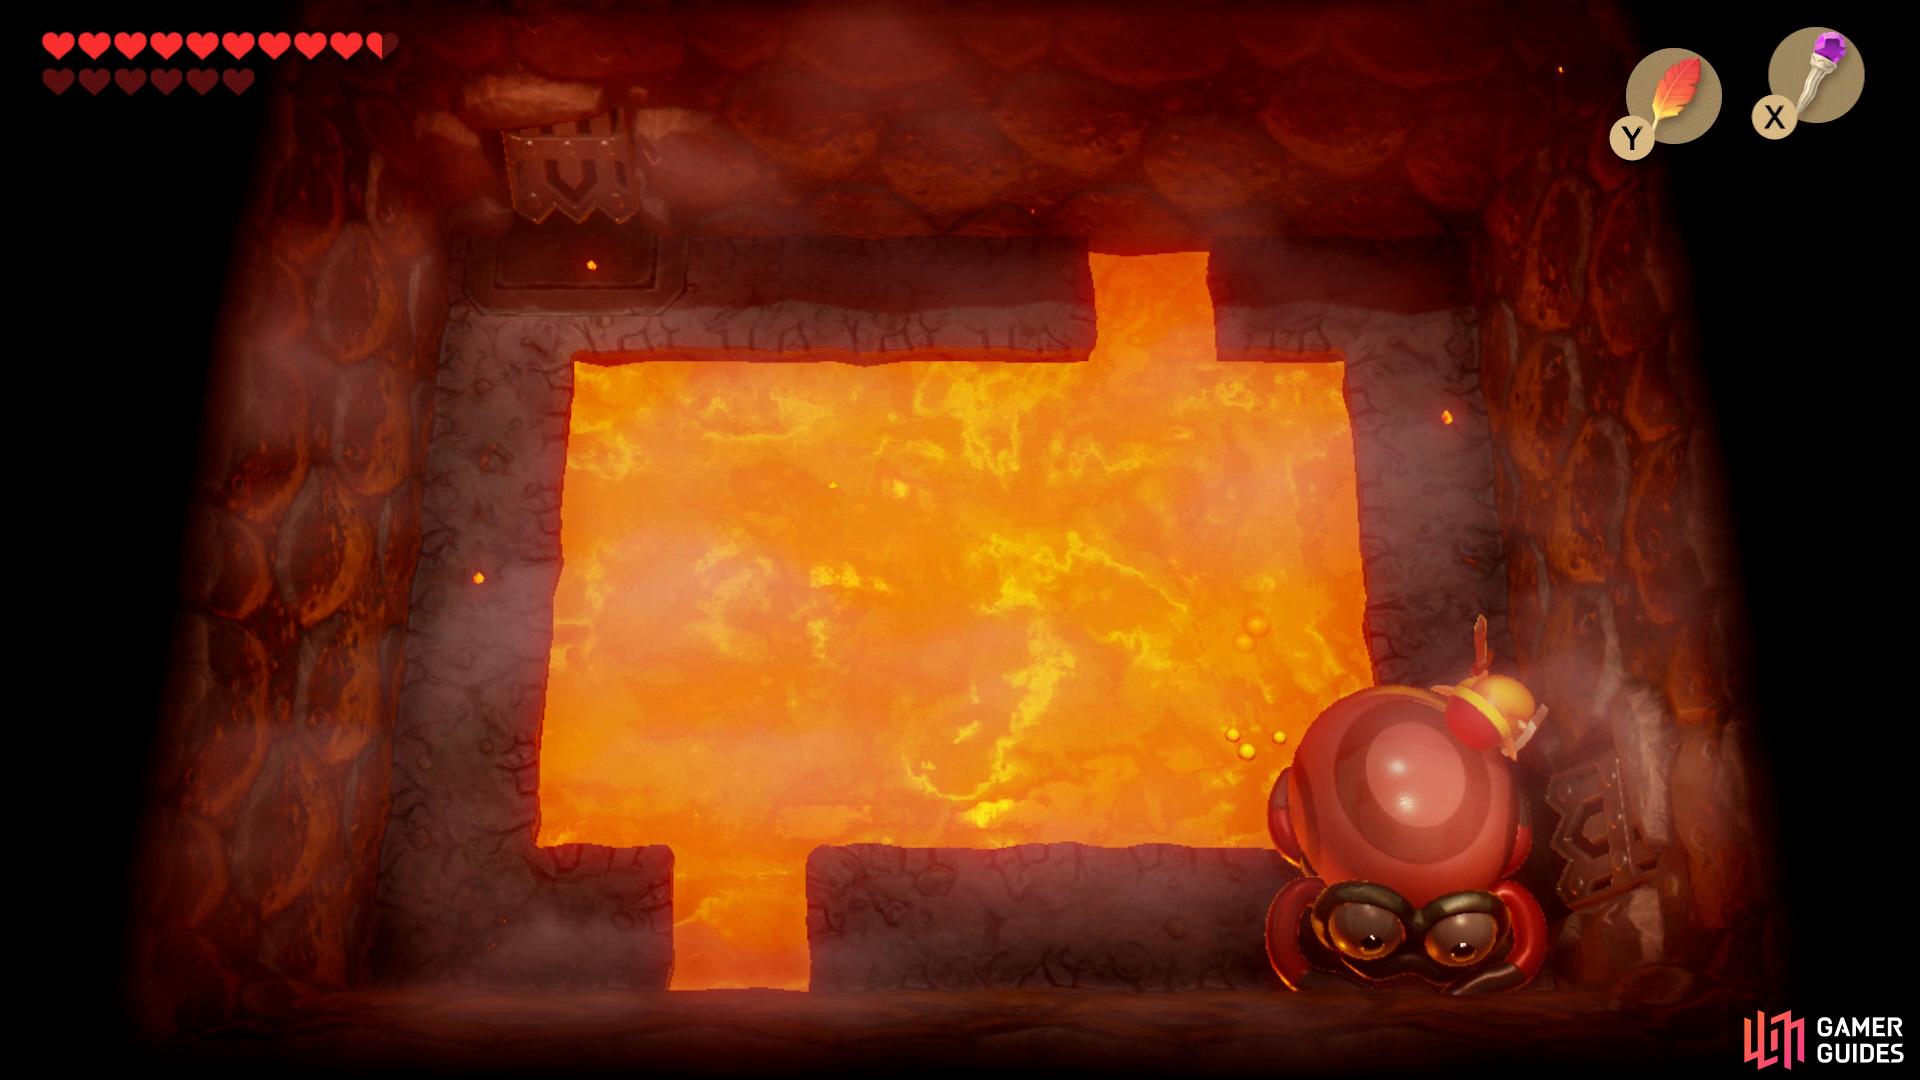
Boss: Hot Head
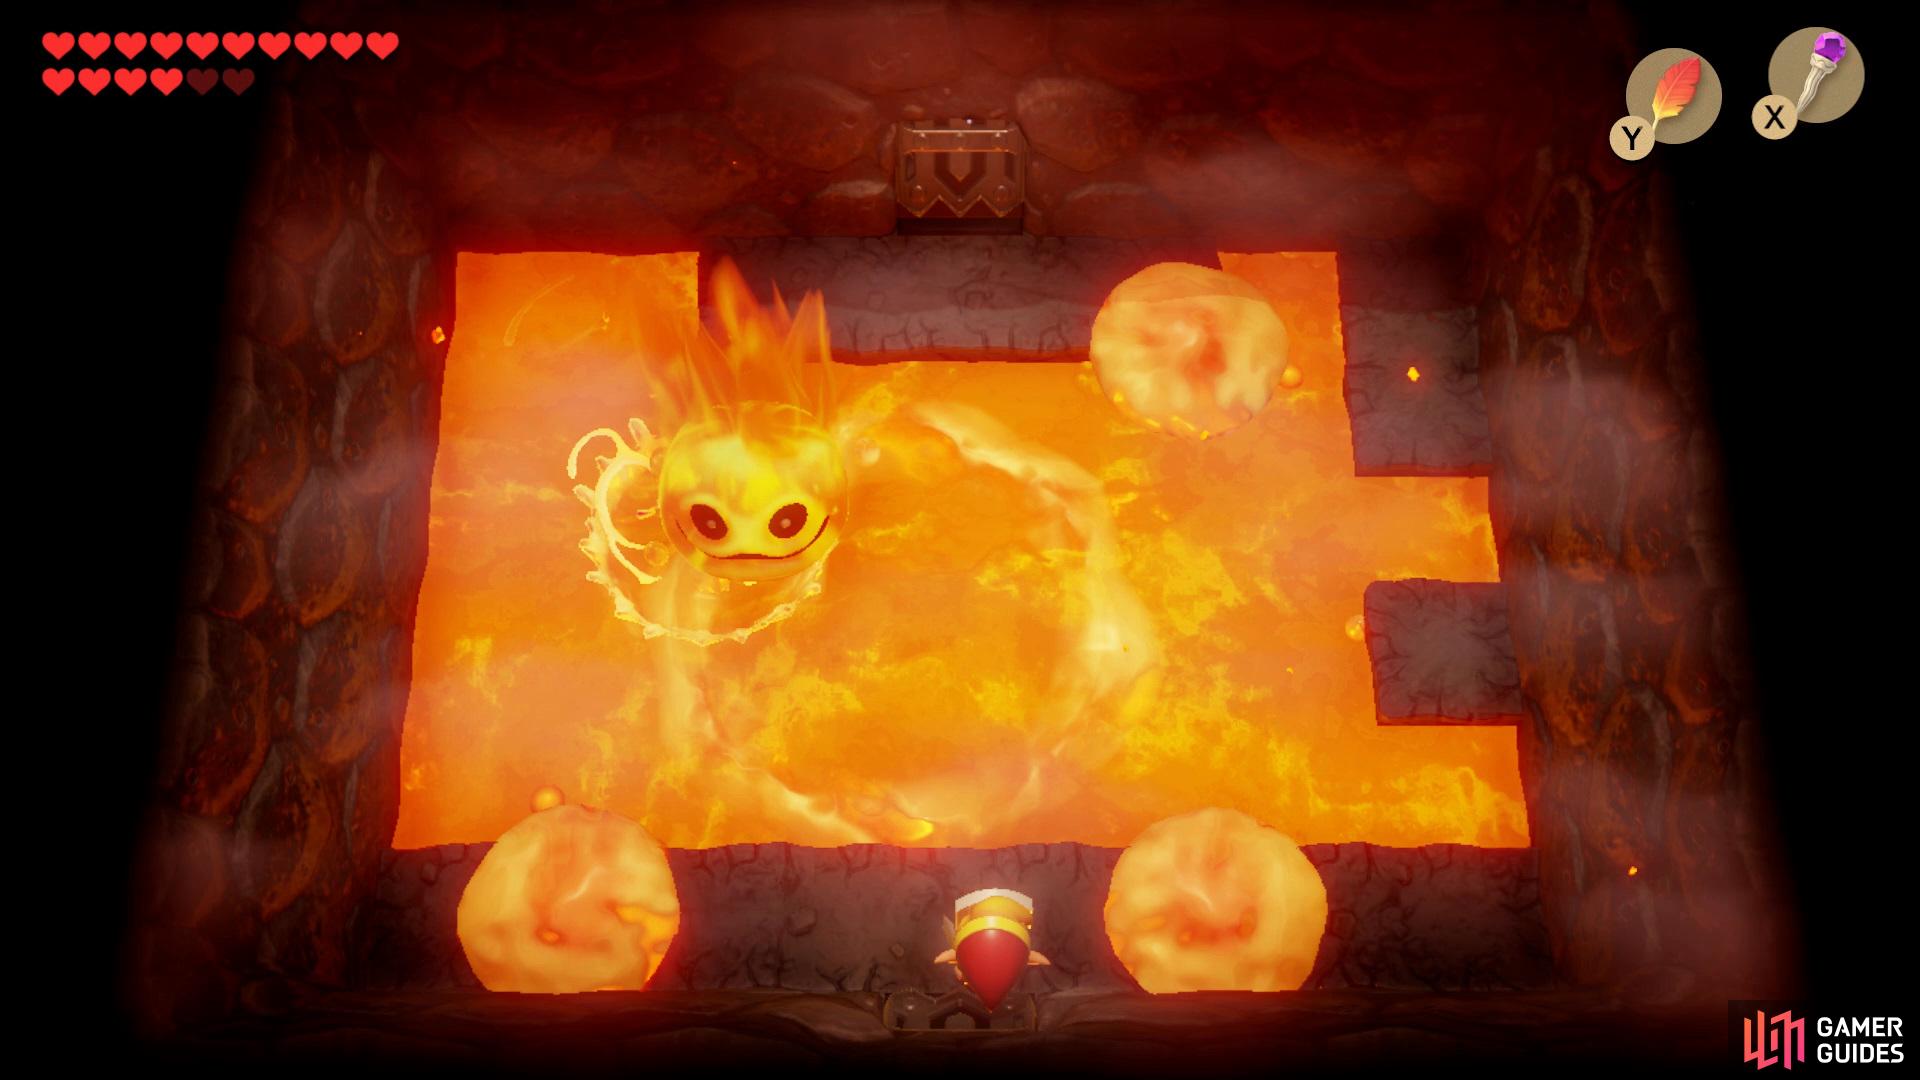
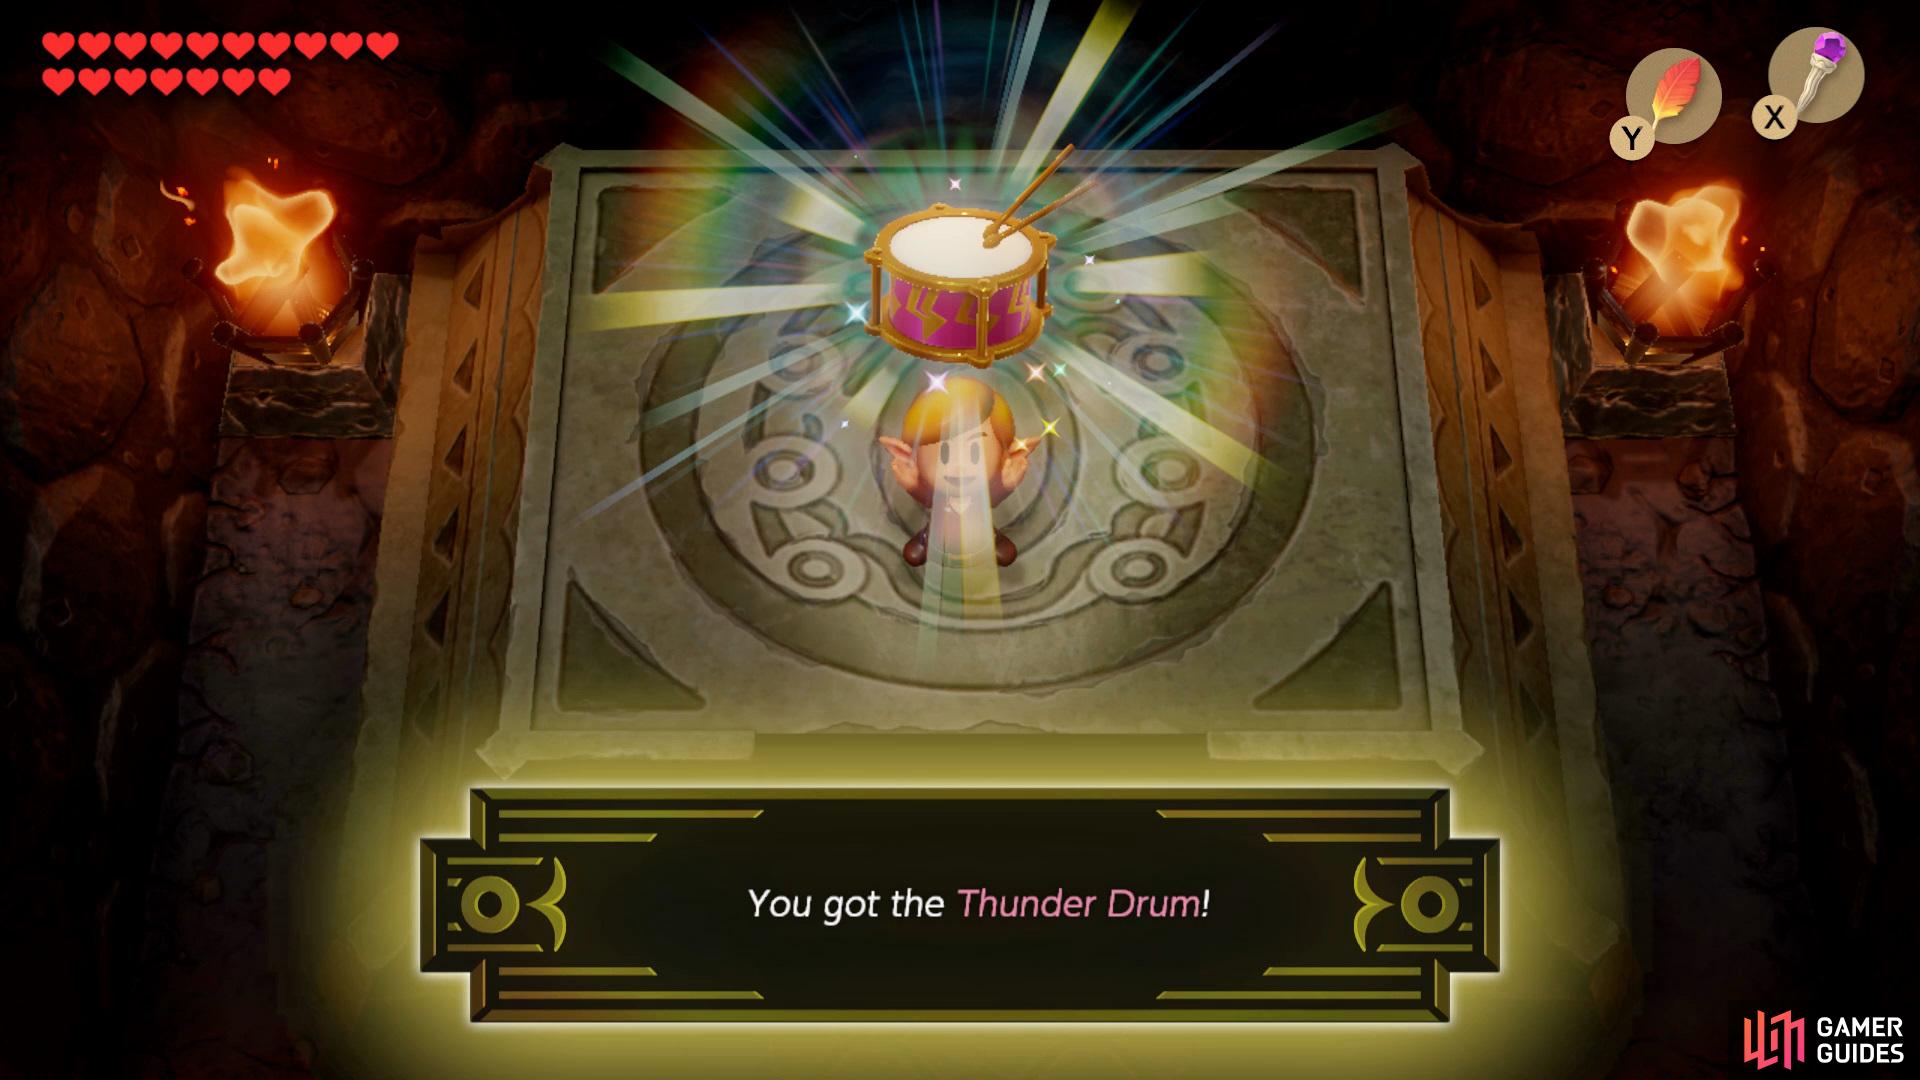
In order to defeat the Hot Head you’ll need to wait for him to bounce out of the lava and keep shooting him with your Magic Rod until he has been slain. Collect the Heart Container from the back of the room then head through the door to obtain the Thunder Drum.
No Comments