
This page details everything you need to know about some of the best armor sets and pieces in Grounded. There are currently a total of 16 armor sets that you can craft, and 14 individual pieces of armor which aren’t part of sets, but each with their own specific uses. We’ll cover each set and individual piece, detailing their basic stats, gear piece bonuses and gear set bonuses. We will also discuss which armor sets are best for specific areas in the game.
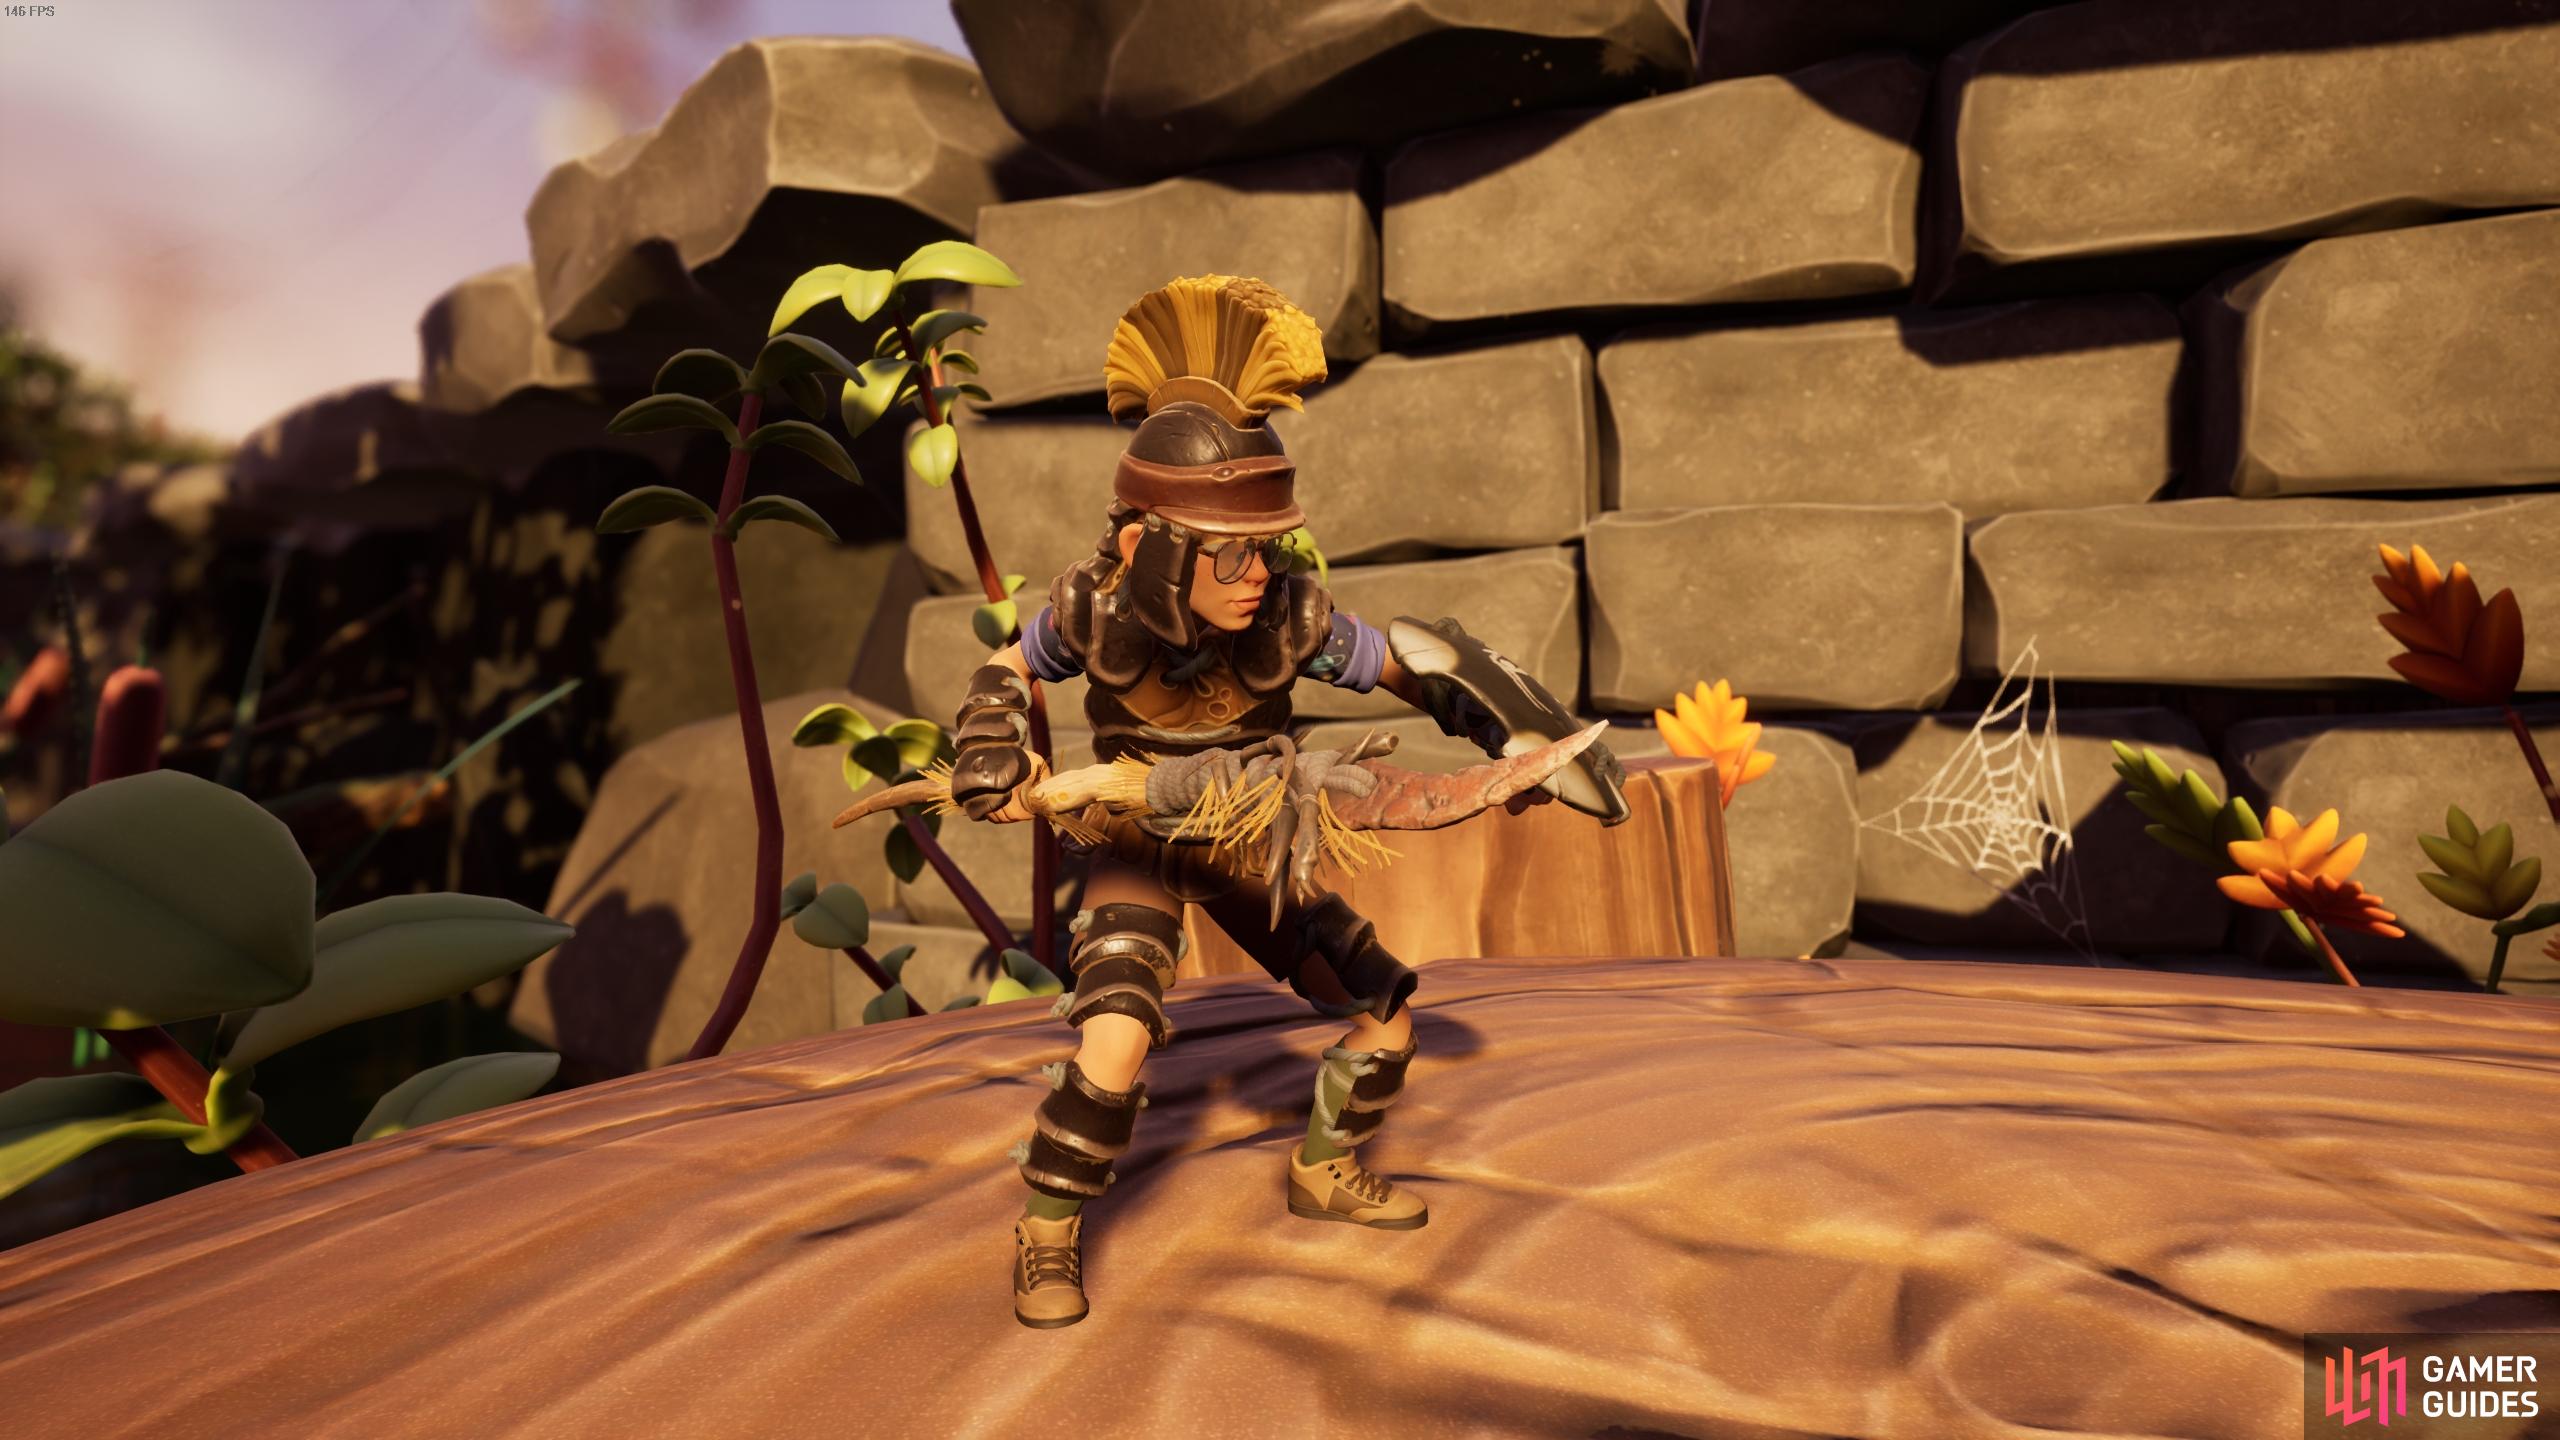
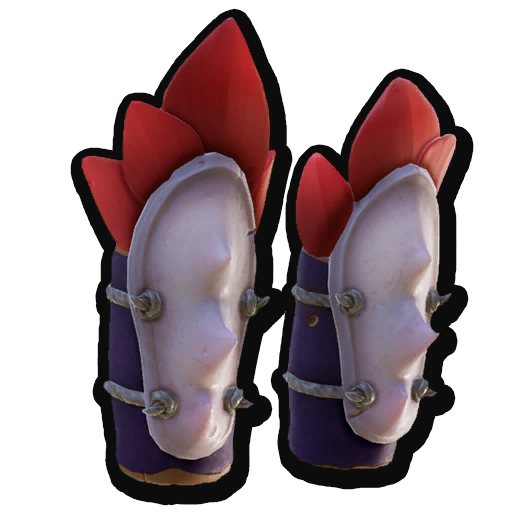
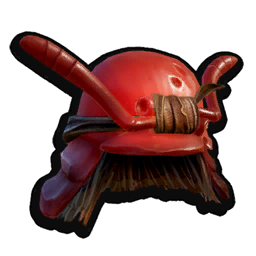
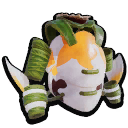
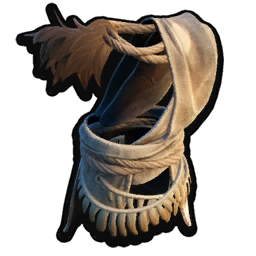
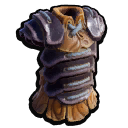
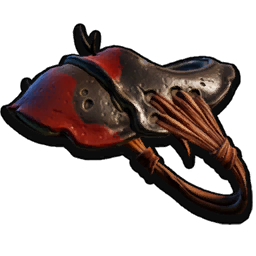
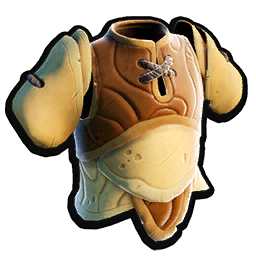
The Roly Poly Armor Set, Grounded.
All Crafted Armor Sets in Grounded
Armor Set Bonuses, Piece Effects, and Sleek Upgrade Effects
| Armor Set | Type | Tier | Piece Effect | Set Bonus Effect | Sleek Upgrade |
|---|---|---|---|---|---|
| Acorn Armor Set | Heavy Armor | I | Major Threat: Increases enemies desire to attack you rather than an ally | Uncrackable: You’re a tough nut to crack and hard to stun (Increases stun resistance) | +Max Health |
| Medium Armor | III | Sizzle Protection: Increases resistance to sizzling | Quickdraw: Faster reload speed while in combat | +Thirst Rate | |
| Assassin’s Armor Set | Light Armor | III | Cutman: Critical hits have a chance to inflict the bleed effect | Critical Chain: The fury of the mantis runs through you. Increased crit chance after dealing a crit | +Crit Stun |
| Light Armor | II | +Bow Stun: Applies stun damage to target | +Slow Shot | ||
| Black Ant Armor Set | Medium Armor | II | +Crit After Block: Blocking attacks has a chance to increase your critical hit chance for a short time | Pincushion: Reflects some damage back at the attacker | +Crit Hyperstamina |
| Black Ox Armor Set | Medium Armor | III | Overbearing: Charged attacks have a high chance to lower enemy damage dealt | Stunning Charger: Your charge attacks with melee weapons deal more stun damage than normal | Quickcharge |
| Clover Armor Set | Light Armor | N/A | +Fuller: Stay full longer | Moist: You’re squishy and retain water well | Trickle Regen |
| Fire Ant Armor Set | Medium Armor | III | +Corrosion: Attacks have a chance to weaken enemy defence | Acidic Splash: Chance to hit with an additional splash of acid when attacking in melee | +Acid Damage |
| Medium Armor | I | +Max Stamina: Increases max stamina | Optimized Offence: Reduces the time it takes for stamina to start regenerating | +Hyperstamina | |
| Koi Scale Armor Set | Light Armor | II | +Perfect Block: Extends the perfect block timing window | Dazzling Riposte: Enemies you perfect block are filed with self doubt | +Parry Stun |
| Ladybug Armor Set | Heavy Armor | II | +Block Strength: Allows you to block more before the bar fills | Scarlet Embrace: Occasionally heal after blocking attacks | +Increased Healing |
| Light Armor | III | Ranged Cut: Gives your bow and staff attacks a chance to apply an additional bleed to enemies | Wind Run: Occasionally increases movement speed when landing ranged attacks | Jumpstart | |
| Heavy Armor | III | +Block Stun: Applies stun damage to target | Taunting Gaze: Increases enemies desire to attack you | +Block Strength | |
| Red Ant Armor Set | Light Armor | I | +Hauling Strength: Allows you to haul more items at once | HumAnt: Red ants see you as one of them | +Grass Harvest Speed |
| Spider Armor Set | Medium Armor | II | Hasty Regen: Reduces the time it takes for stamina to start regenerating | Hunter’s Prowess: Your body recycles energy with increased efficiency | +Poison Damage |
| Widow Armor Set | Light Armor | III | +Poison Damage: Increases the amount of damage of all poison effects caused by you | Death’s Impetus: Killing things provides you with a boost of energy, briefly increasing movement speed | +Parry Poison |
How Armor Type, Defence and Resistance Works
You will notice that each armor piece has a base stat of Defence and Resistance, and the amount of each often depends on the armor type, but exactly how these work isn’t properly explained in game. It’s important to understand how these stats relate to each other when choosing the armor set or pieces for your build, so we’ll cover the basics of this below.
Difference Between Light, Medium, and Heavy Armor
The first thing you should know about armor is the difference between Light, Medium, and Heavy. The effect this has on weapons is the following:
- Light Armor: Slight stamina increase required to swing weapons
- Medium Armor: Moderate stamina increase required to swing weapons
- Heavy Armor: Substantial stamina increase required to swing weapons
This is simple enough. You should be aware that the amount of stamina consumed with each melee weapon swing, bow draw, or staff cast will be increased or decreased in accordance with the type of armor you’re wearing at the time. But what about the effects of armor types in relation to defence and resistance?
Difference Between Defence and Resistance
A lot has changed since the early days of Grounded, and the exact formula used for calculating Defence and Resistance in armor is currently unknown. However, the fundamental principles remain the same: Defence provides a flat damage reduction based on the amount of Defence points present, while Resistance provides a percentage damage reduction.
In the simplest terms, both Defence and Resistance stats provide damage reduction, but higher Defence is generally worth more than higher Resistance. This is partly due to the formula being used, but it’s also because Defence is tied to the tier of an armor piece (I, II, and III), while Resistance is tied to the armor type (Light, Medium, and Heavy).
This means that you will generally find tier III armor pieces have more defence points than tier II items, and still more than tier I. In terms of resistance, light armors generally have the lowest resistance percentage values, while heavy armors have the highest. If being tough with high damage reduction is your priority, you should aim to use a set or combination of armor pieces which has a good balance of both high Defence and Resistance, but place more value on Defence for tank builds. This only actually needs to be considered when you don’t have access to tier III armor pieces such as the ![]() Roly Poly armor, which has both the highest Defence and Resistance on offer.
Roly Poly armor, which has both the highest Defence and Resistance on offer.
Should You Use Light, Medium, or Heavy Armor?
Since both Defence and Resistance both reduce the amount of incoming damage that you take, you can still have an agile build with decent damage reduction in the late game so long as you’re using tier III light or medium armor. You should always consider what you value more when thinking about the armor type that you want to use: tier III heavy armor for increased Defence and Resistance which results in greater damage reduction but high stamina consumption, or tier III light / medium armor which still provides the highest Defence values, but far less Resistance in exchange for better stamina management. Both can be important depending on your playstyle, but the conclusion here is that you won’t necessarily be a glass cannon with a light build in the late game so long as you’re using Tier III light armor.
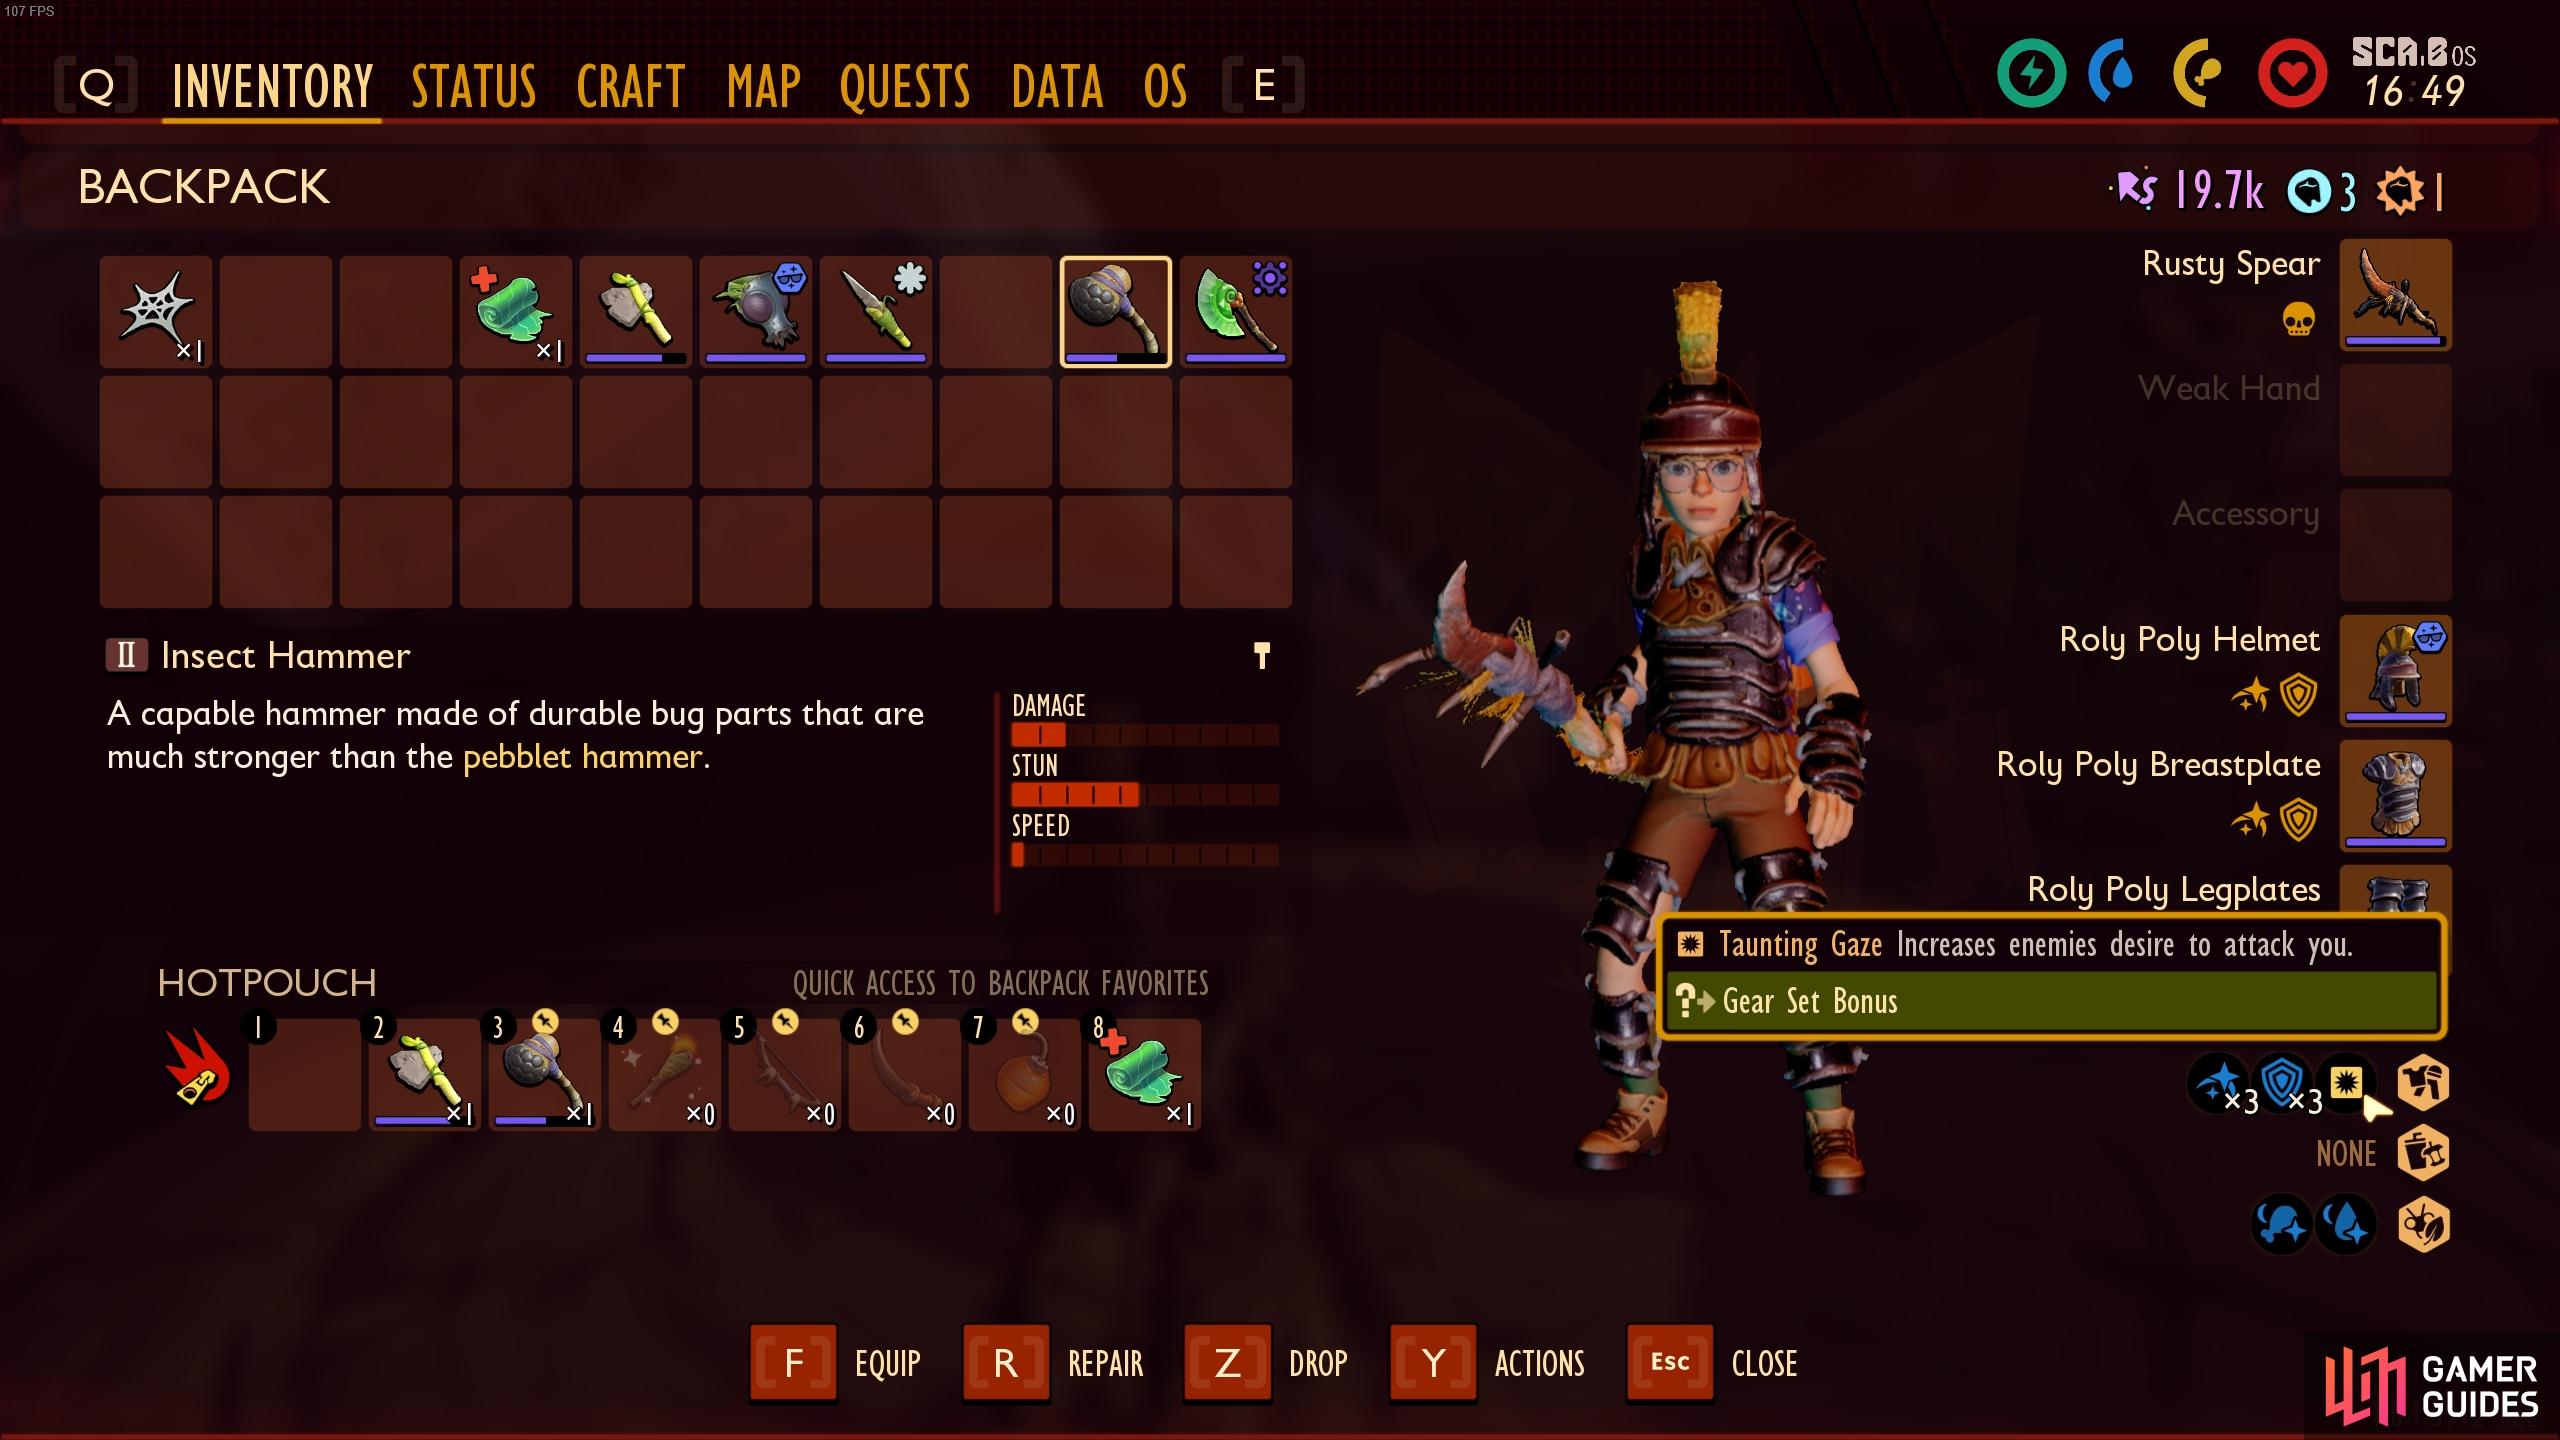
You can check the piece bonus and set bonus effects of armor by hovering over the tooltips here.
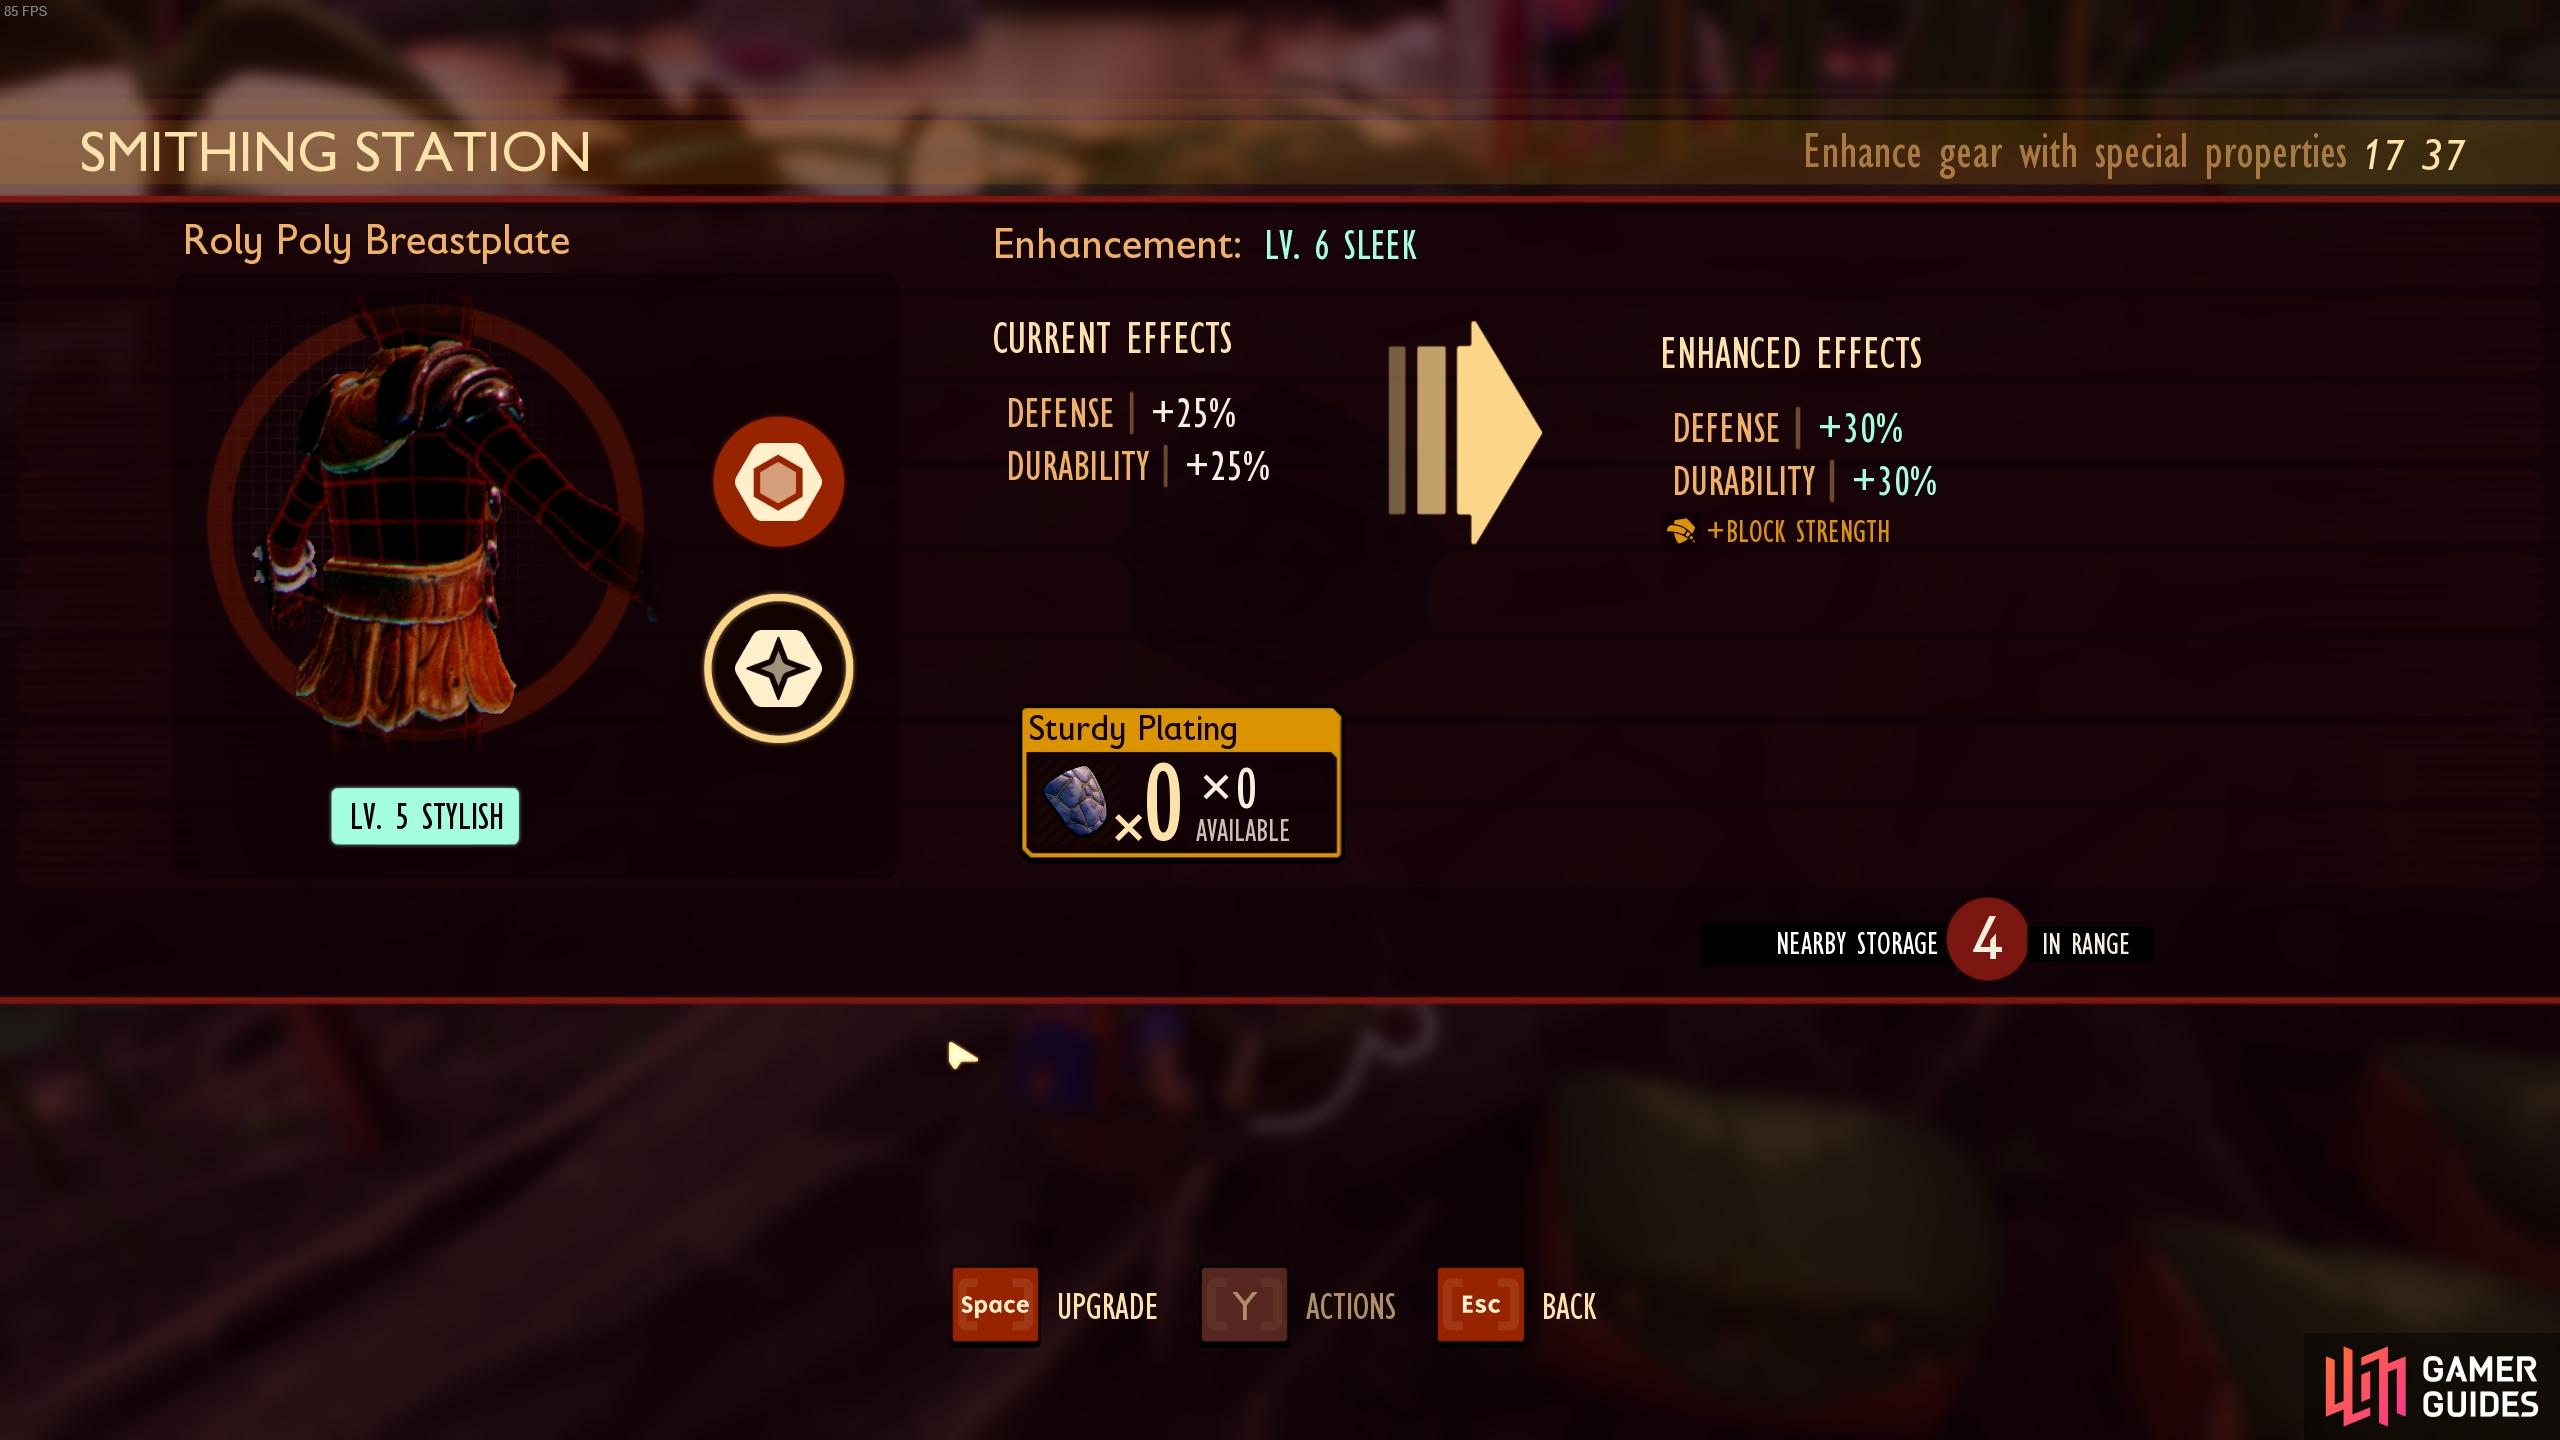
You can upgrade your armor to acquire Sleek Upgrades or Bulky Upgrades using a Smithing Station.
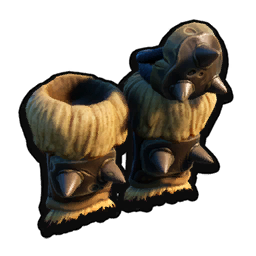
Acorn Armor Set
| Icon | Armor Piece | Defence | Resistance | Type | Tier |
|---|---|---|---|---|---|
 |
1.5 | 7.5% | Heavy Armor | I | |
 |
3.5 | 15% | Heavy Armor | I | |
 |
1.5 | 7.5% | Heavy Armor | I |
The Acorn Armor Set provides the basis for a good early game tank build. As a heavy armor set it has decent Resistance for its tier, and the set bonus effect provides you with increased resistance to stun. However, the Acorn set becomes really useful if you’re playing with other people, since the piece effect, Major Threat, increases the chance that enemies will target you instead of your allies. This is particularly useful if you want to perform the role of a tank, while your allies stick to lighter builds which are aimed at inflicting as much damage as possible. Finally, once you upgrade each armor piece to level 6, you’ll get a Sleek Upgrade which increases your maximum health, giving you a larger health pool which is useful for taking additional hits.
Antlion Armor Set
| Icon | Armor Piece | Defence | Resistance | Type | Tier |
|---|---|---|---|---|---|
 |
4 | 5% | Medium Armor | III | |
 |
8 | 10% | Medium Armor | III | |
 |
4 | 5% | Medium Armor | III |
The ![]() Antlion Armor Set is one of the most powerful in the game. As a tier III set it has the best level of Defence that you can find in any armor set, but it has less Resistance due to it being medium armor. This is easily the best set for use in places where you’re vulnerable to the Sizzle effect, such as the Sandbox and the BBQ Spill, due to its piece effect which provides increased resistance to sizzling with each piece. The set bonus effect provides you with faster reload speed while in combat, making it particularly useful for those wielding crossbows. Another good reason to use this set in the Sandbox is its Sleek Upgrade, which slows the rate at which your thirst meter is drained, allowing you to remain in the desert conditions for a longer period of time.
Antlion Armor Set is one of the most powerful in the game. As a tier III set it has the best level of Defence that you can find in any armor set, but it has less Resistance due to it being medium armor. This is easily the best set for use in places where you’re vulnerable to the Sizzle effect, such as the Sandbox and the BBQ Spill, due to its piece effect which provides increased resistance to sizzling with each piece. The set bonus effect provides you with faster reload speed while in combat, making it particularly useful for those wielding crossbows. Another good reason to use this set in the Sandbox is its Sleek Upgrade, which slows the rate at which your thirst meter is drained, allowing you to remain in the desert conditions for a longer period of time.
Assassin’s Armor Set
| Icon | Armor Piece | Defence | Resistance | Type | Tier |
|---|---|---|---|---|---|
 |
4 | 2.5% | Light Armor | III | |
 |
8 | 5% | Light Armor | III | |
 |
4 | 2.5% | Light Armor | III |
The Assassin’s Armor Set does pretty much what you might expect: it offers players the opportunity to create a roguelike build which focuses on maximizing damage output. This is reflected in the piece effect, Cutman, which gives critical hits a chance to inflict the bleed effect, applying damage over time to an enemy. The set bonus also serves to increase your damage output, especially from critical hits, giving you an increased chance to score additional crits after an initial critical hit lands. To top off this crit frenzy, the Sleek Upgrade for this set is +Crit Stun, which makes critical hits inflict massive stun damage. You can see how these bonus effects feed into each other, creating a deadly build which is partly reliant on luck to take full advantage of, but if the crits land you will be inflicting massive amounts of damage.
Bee Armor Set
| Icon | Armor Piece | Defence | Resistance | Type | Tier |
|---|---|---|---|---|---|
 |
3 | 2.5% | Light Armor | II | |
 |
6 | 5% | Light Armor | II | |
 |
3 | 2.5% | Light Armor | II |
The ![]() Bee Armor Set is more or less entirely focused on players who want to create a decent mid game ranged build. The piece effect ensures that your arrows inflict increased stun with each hit, and the set bonus gives each arrow shot a chance to release a cloud of pollen. This cloud won’t damage your opponent, but it will slow them significantly, giving you a better chance of staying at a safe distance from them. The Sleek Upgrade (Slow Shot) provides even more opportunities to slow your targets, with each arrow having a chance to slow the target upon hitting them.
Bee Armor Set is more or less entirely focused on players who want to create a decent mid game ranged build. The piece effect ensures that your arrows inflict increased stun with each hit, and the set bonus gives each arrow shot a chance to release a cloud of pollen. This cloud won’t damage your opponent, but it will slow them significantly, giving you a better chance of staying at a safe distance from them. The Sleek Upgrade (Slow Shot) provides even more opportunities to slow your targets, with each arrow having a chance to slow the target upon hitting them.
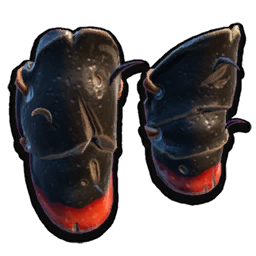
Black Ant Armor Set
| Icon | Armor Piece | Defence | Resistance | Type | Tier |
|---|---|---|---|---|---|
 |
3 | 5% | Medium Armor | II | |
 |
6 | 10% | Medium Armor | II | |
 |
3 | 5% | Medium Armor | II |
The Black Ant Armor Set provides something of a hybrid build. As a medium armor set it’s not the best for a tank build, but its tier II Defence rating will still give you good protection. One of the main reasons why this matters is that you will want enemies attacking you in melee to take advantage of the piece effect, +Crit After Block, which increases your critical hit chance for a short period each time that you perform a successful block. The set bonus effect (Pincushion) is also only useful if you’re being hit, since it reflects some damage back at the attacker whenever an enemy hits you. The Sleek Upgrade for this set, +Crit Hyperstamina, increases your stamina regeneration rate whenever you perform a critical hit. This makes blocking more appealing, since you will increase your crit chance with each block, and then increase your stamina regen whenever you do crit. If luck is on your side this can allow you to stay in fights for a longer period while taking advantage of these effects.
Black Ox Armor Set
| Icon | Armor Piece | Defence | Resistance | Type | Tier |
|---|---|---|---|---|---|
 |
4 | 5% | Medium Armor | III | |
 |
8 | 10% | Medium Armor | III | |
 |
4 | 5% | Medium Armor | III |
The Black Ox Armor Set is essentially focused on rewarding your use of charged attacks. A charged attack is what occurs when you hold onto the attack button until it automatically releases once fully charged, inflicting more damage and especially stun damage than normal. The piece effect for this set, Overbearing, gives your charged attacks a high chance to lower the damage output from your target. In addition, the set bonus effect allows your charged attacks to inflict more stun damage than normal. These are both useful effects, but this set really comes into its own once you acquire the Sleek Upgrade, Quickcharge, which allows your charged attacks to release quicker while still being as powerful as ever.
Clover Armor Set
| Icon | Armor Piece | Defence | Resistance | Type | Tier |
|---|---|---|---|---|---|
| 1.5 | 2.5% | Light Armor | N/A | ||
 |
3.5 | 5% | Light Armor | N/A | |
 |
1.5 | 2.5% | Light Armor | N/A |
The Clover Armor Set can be acquired relatively early on in the game. It doesn’t provide much in the way of Defence or Resistance, but the piece effect will keep you full for longer and the set bonus will allow you to retain water for longer, thereby slowing the rate at which your thirst meter is depleted. The Sleek Upgrade for this set is Trickle Regen, which passively restores your health over time without the need for using a ![]() Fiber Bandage. Ultimately, this set won’t be very useful for most combat encounters, but it can be useful if you’re spending a lot of time building new structures in your base, since you’ll need to consume less food and water over time. In addition, you could choose to keep this set in your inventory at all times, then equip it when you need to heal. You can then forgo the use of a Fiber Bandage, or use it as a way to heal more quickly in addition to a Fiber Bandage by increasing the base health regeneration rate.
Fiber Bandage. Ultimately, this set won’t be very useful for most combat encounters, but it can be useful if you’re spending a lot of time building new structures in your base, since you’ll need to consume less food and water over time. In addition, you could choose to keep this set in your inventory at all times, then equip it when you need to heal. You can then forgo the use of a Fiber Bandage, or use it as a way to heal more quickly in addition to a Fiber Bandage by increasing the base health regeneration rate.
Fire Ant Armor Set
| Icon | Armor Piece | Defence | Resistance | Type | Tier |
|---|---|---|---|---|---|
 |
4 | 5% | Medium Armor | III | |
 |
8 | 10% | Medium Armor | III | |
 |
4 | 5% | Medium Armor | III |
The Fire Ant Armor Set is a tier III medium armor which provides excellent Defence and decent Resistance, while also giving you some lethal bonus effects for those who prefer melee combat. The piece effect for this set is +Corrosion, which gives your attacks a chance to weaken your target’s defences. The set bonus effect is Acidic Splash, providing you with a chance to hit with an additional splash of acid when attacking in melee. This effect is enhanced by the Sleek Upgrade for this armor, +Acid Damage, which does essentially what it suggests: increases all of your acid-based attacks. All of these effects can result in a set which is well suited to a player who prefers melee combat, and if you’re lucky with the effect bonuses, you can take down even the most powerful enemies incredibly quickly.
Grub Armor Set
| Icon | Armor Piece | Defence | Resistance | Type | Tier |
|---|---|---|---|---|---|
 |
1.5 | 5% | Medium Armor | I | |
 |
3.5 | 10% | Medium Armor | I | |
 |
1.5 | 5% | Medium Armor | I |
The ![]() Grub Armor Set is easy to overlook at first. As a tier I medium armor, it doesn’t provide much in the way of Defence and its Resistance is average. However, the effect bonuses from this set have the potential to make it much more useful than it might initially seem. The piece effect provides you with a base increase to your stamina pool, which is increased not just by wearing the full set, but additionally by each piece of the set that you use. This makes it less likely for you to run out of stamina in battles, but if you do the set bonus effect helps to negate the impact by reducing the amount of time that you need to wait before your stamina begins to regenerate again. To make this set even more focused on stamina management, the Sleek Upgrade, +Hyperstamina, increases your base stamina regeneration rate, allowing you to reach full stamina again sooner. If you find yourself struggling to manage stamina, perhaps especially with one of the large two-handed weapons which consume a lot per swing, this set may be worth considering, especially if the extra stamina allows you to finish off most enemies before they get a chance to hit you, thereby making the lack of Defence on this set irrelevant.
Grub Armor Set is easy to overlook at first. As a tier I medium armor, it doesn’t provide much in the way of Defence and its Resistance is average. However, the effect bonuses from this set have the potential to make it much more useful than it might initially seem. The piece effect provides you with a base increase to your stamina pool, which is increased not just by wearing the full set, but additionally by each piece of the set that you use. This makes it less likely for you to run out of stamina in battles, but if you do the set bonus effect helps to negate the impact by reducing the amount of time that you need to wait before your stamina begins to regenerate again. To make this set even more focused on stamina management, the Sleek Upgrade, +Hyperstamina, increases your base stamina regeneration rate, allowing you to reach full stamina again sooner. If you find yourself struggling to manage stamina, perhaps especially with one of the large two-handed weapons which consume a lot per swing, this set may be worth considering, especially if the extra stamina allows you to finish off most enemies before they get a chance to hit you, thereby making the lack of Defence on this set irrelevant.
Koi Scale Armor Set
| Icon | Armor Piece | Defence | Resistance | Type | Tier |
|---|---|---|---|---|---|
 |
3 | 2.5% | Light Armor | II | |
 |
6 | 5% | Light Armor | II | |
 |
3 | 2.5% | Light Armor | II |
The Koi Scale Armor Set is especially good for those players who enjoy using Perfect Blocks as part of their normal melee combat routine. The piece effect, +Perfect Block, extends the perfect block timing window so that you have slightly more time to execute one before the window of opportunity is passed. This can be especially useful for those who want to use perfect blocks, but who aren’t quite fast enough most of the time. The extended window can also make you better at timing perfect blocks without this effect, since you get the chance to use the mechanic without the more punishing smaller window of opportunity, before moving back to the regular timing once you feel confident. The set bonus effect is called Dazzling Riposte, which increases the damage that you deal after performing a perfect block. The Sleek Upgrade, +Parry Stun, further rewards perfect blocks by increasing the amount of stun dealt on your next attack after a perfect block.
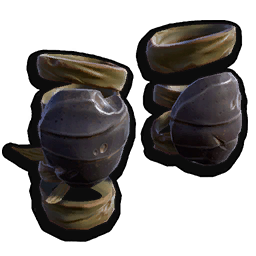
Ladybug Armor Set
| Icon | Armor Piece | Defence | Resistance | Type | Tier |
|---|---|---|---|---|---|
 |
3 | 7.5% | Heavy Armor | II | |
 |
6 | 15% | Heavy Armor | II | |
 |
3 | 7.5% | Heavy Armor | II |
The Ladybug Armor Set is similar to the Acorn Armor Set, in that it forms the basis for a good tank build. This one is more suited to the mid game, since its tier II Defence stats are significantly higher than those on the Acorn set. As a heavy armor set it retains the best level of base Resistance that any set can currently offer. These are all good features for a tank build, but the effect bonuses make this set even more special. The piece effect, +Block Strength, allows you to block more before the bar fills, at which point you’re no longer able to block. This can be especially useful against aggressive opponents such as Wolf Spiders. The set bonus effect adds to the effectiveness of blocking by occasionally healing you each time that you perform a block, which results in health regeneration over a short period rather than a bulk heal. The Sleek Upgrade for this set is also especially useful for a tank, since it increases the amount of healing that you receive not just from your block heals, but from any source of healing, allowing you to stay in the fight for longer or recover health more quickly between fights.
Moth Armor Set
| Icon | Armor Piece | Defence | Resistance | Type | Tier |
|---|---|---|---|---|---|
 |
4 | 2.5% | Light Armor | III | |
 |
8 | 5% | Light Armor | III | |
 |
4 | 2.5% | Light Armor | III |
The ![]() Moth Armor Set is another one of the few sets which reward players who prefer ranged combat. It has excellent Defence stats thanks to it being tier III, though the Resistance levels are low as they are on any light armor. This set really shines from its bonus effects, with the piece effect, Ranged Cut, giving your bow and staff attacks a chance to apply the bleeding effect to your target. This can be useful if you need to kite one or more targets as you heal or get to a safer position, while still inflicting damage. The set bonus effect, Wind Run, occasionally increases your movement speed when landing ranged attacks, which further rewards combat from a distance, especially in your attempts to kite faster creatures. One of the major drawbacks of staff use is the amount of stamina that each cast consumes, but this burden is lessened somewhat by the Sleek Upgrade for this set, Jumpstart, which gives your ranged attacks a chance to restore some stamina. This happens more often than you might think, which definitely makes this set a good contender as one of the best for staff users.
Moth Armor Set is another one of the few sets which reward players who prefer ranged combat. It has excellent Defence stats thanks to it being tier III, though the Resistance levels are low as they are on any light armor. This set really shines from its bonus effects, with the piece effect, Ranged Cut, giving your bow and staff attacks a chance to apply the bleeding effect to your target. This can be useful if you need to kite one or more targets as you heal or get to a safer position, while still inflicting damage. The set bonus effect, Wind Run, occasionally increases your movement speed when landing ranged attacks, which further rewards combat from a distance, especially in your attempts to kite faster creatures. One of the major drawbacks of staff use is the amount of stamina that each cast consumes, but this burden is lessened somewhat by the Sleek Upgrade for this set, Jumpstart, which gives your ranged attacks a chance to restore some stamina. This happens more often than you might think, which definitely makes this set a good contender as one of the best for staff users.
Red Ant Armor Set
| Icon | Armor Piece | Defence | Resistance | Type | Tier |
|---|---|---|---|---|---|
 |
1.5 | 2.5% | Light Armor | I | |
 |
3.5 | 5% | Light Armor | I | |
 |
1.5 | 2.5% | Light Armor | I |
The Red Ant Armor Set is one of the first that you’re likely to craft, and it has a very specific use early on in the game. You will need this set to become effectively invisible to all red ants, at the Red Anthill. This is useful for when you need to go down there to collect resources, or for the Red Anthill Grave Robbery BURG.L Chip. Aside from this useful feature, the Red Ant Armor Set is more useful for collecting and hauling resources than it is for fighting dangerous foes. This is reflected in the piece effect, which allows you to haul more items at once while gathering resources. The Sleek Upgrade will also allow you to harvest grass at increased speeds, but once you’re done with the need for this it becomes useless. There are few items or sets which have no use whatsoever in this game, and this one will certainly be useful when you need to do any of the above.
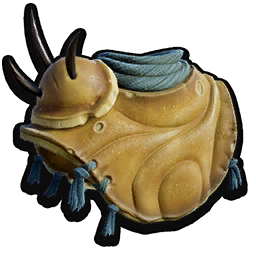
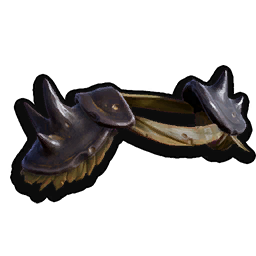
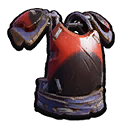
Roly Poly Armor Set
| Icon | Armor Piece | Defence | Resistance | Type | Tier |
|---|---|---|---|---|---|
 |
4 | 7.5% | Heavy Armor | III | |
 |
8 | 15% | Heavy Armor | III | |
 |
4 | 7.5% | Heavy Armor | III |
The Roly Poly Armor Set is arguably the best for anyone looking to acquire the toughest tank build. It has the highest level of Defence and Resistance than any other set, since it’s the only tier III heavy armor set currently available. The bonuses for this set reward all things that a tank might be doing, with the piece effect, +Block Stun, applying stun damage to your target whenever you block an incoming attack. The set bonus effect, Taunting Gaze, increases your threat level in general, which increases the chance that creatures will attack you first instead of nearby allies. Finally, the Sleek Upgrade for this set, +Block Strength, increases the amount that you can block before you succumb to a stun, or before your block bar is filled. All of this makes for an excellent tank build, especially when you’re playing with allies, but the fact that the set bonus of Taunting Gaze is essentially useless if you’re playing on your own, may lead you to consider other sets as preferable, especially those which have the potential to enhance your damage output.
Spider Armor Set
| Icon | Armor Piece | Defence | Resistance | Type | Tier |
|---|---|---|---|---|---|
 |
3 | 5% | Medium Armor | II | |
 |
6 | 10% | Medium Armor | II | |
 |
3 | 5% | Medium Armor | II |
The Spider Armor Set may well be the next set that you craft after using the Red Ant Armor Set. This provides a significant upgrade in both Defence and Resistance, making it generally easier to fight most of the early to mid level creatures in the game. This set is also an excellent choice for good stamina management, which can be crucial in many of those early fights with Wolf Spiders where you need just one or two more hits to finish them off. The piece effect, Hasty Regen, reduces the time it takes for your stamina to start regenerating, allowing you to re-enter the fight sooner before you’re finished off while defenceless. The set bonus effect further enhances this ability by increasing your base stamina regeneration rate, making this one of the best sets for stamina management out there. The Sleek Upgrade for this set breaks away from stamina management but stays with the spider theme by increasing the base amount of poison damage that you inflict.
Widow Armor Set
| Icon | Armor Piece | Defence | Resistance | Type | Tier |
|---|---|---|---|---|---|
 |
4 | 2.5% | Light Armor | III | |
 |
8 | 5% | Light Armor | III | |
 |
4 | 2.5% | Light Armor | III |
The Widow Armor Set can be seen as the natural upgrade from the Spider Armor Set, although it doesn’t come with the benefits to stamina management. Instead, this set focuses on rewarding poison based attacks in every way. The piece effect increases the base amount of damage that all of your poison effects inflict, while the Sleek Upgrade gives your perfect blocks a chance to poison your targets. This can result in you inflicting poison damage regardless of whether you’re attempting to play in a defensive or offensive way, and it can be further enhanced by any weapons or mutations that you use to improve your poison damage. The set bonus effect for this one provides you with increased movement speed whenever you kill an enemy, allowing you to outmanoeuvre them more often or escape from dangerous situations more quickly.
All Miscellaneous Armor
Specialized Armor
The majority of the below armor pieces each have a specialized use which will make them useful or even necessary to use in some situations. However, there are others, such as the ![]() Mask of the Mother Demon or the
Mask of the Mother Demon or the ![]() Wizard Hat, which you may want to use in combination with other armor pieces from specific sets, either for their special effects or for their appearance. We’ll detail what each armor piece can be used for below, and what you might consider pairing them with to create specific builds.
Wizard Hat, which you may want to use in combination with other armor pieces from specific sets, either for their special effects or for their appearance. We’ll detail what each armor piece can be used for below, and what you might consider pairing them with to create specific builds.
| Icon | Armor Piece | Type | Tier | Defence | Resistance | Piece Effect | Sleek Upgrade |
|---|---|---|---|---|---|---|---|
 |
Light Armor Footwear | I | 1.5 | 2.5% | +The Quickness: Increases sprint speed | +Sprint Distance | |
 |
Light Armor Headgear | II | 3.5 | 5% | +Veteran Diver: Hold your breath longer underwater | +Hyperstamina | |
 |
Light Armor Headgear | I | 1.5 | 0% | +Attack: attacks do more damage and -Damage Resist: Reduces your resistance to taking damage | Minor Threat | |
 |
Heavy Armor Headgear | II | 3.5 | 7.5% | Provides a constant source of light from your head | +Pebble Harvest Speed | |
 |
Medium Armor Headgear | III | 4 | 5% | +Hauling Strength: Allows you to haul more items at once | -Exhaustion Recovery | |
 |
Fin Flops / |
Light Armor Footwear | I | 2.5 | 2.5% | +Swim Speed: Allows you to swim faster underwater | +Sprint Distance |
 |
Light Armor Headgear | I | 1.5 | 2% | +Gas Guard: Prevents damage from all gas-based attacks and effects | +Explosive Resist | |
 |
Light Armor Headgear | I | 2.5 | 2.5% | +Junior Diver: Hold your breath longer underwater | +Hyperstamina | |
 |
Medium Armor Headgear | II | 3.5 | 5% | +Crit Energize, Bow: Critical hits provide you with an instant stamina boost | +Bow Attack | |
 |
Medium Armor Headgear | III | 4 | 7.5% | +Poison Coating: Chance to apply poison on all attacks | Poison Nova | |
 |
Medium Armor Headgear | I | 1.5 | 5% | +Hyperstamina: Regain stamina faster | Hasty Regen | |
 |
Light Armor Chestplate | III | 7 | 10% | +Dust Guard: Grants immunity to all dust based effects | Dust Cloud | |
 |
Light Armor Headgear | III | 3.5 | 2.5% | Wizard’s Defence: Attacks with staves increase your perfect block window for a short time | Wizard’s Duel | |
Aphid Slippers
The ![]() Aphid Slippers don’t provide much in the way of Defence or Resistance, but they are particularly useful as an armor piece which enhances your sprint speed and sprint duration. You may want to use these as you’re gathering resources to make the task quicker, or if you want to get from one part of the map to another more quickly. You can even keep them in your inventory and put them on during combat if you need to escape a fight that has become too difficult to finish.
Aphid Slippers don’t provide much in the way of Defence or Resistance, but they are particularly useful as an armor piece which enhances your sprint speed and sprint duration. You may want to use these as you’re gathering resources to make the task quicker, or if you want to get from one part of the map to another more quickly. You can even keep them in your inventory and put them on during combat if you need to escape a fight that has become too difficult to finish.
Bubble Helmet
The ![]() Bubble Helmet is the best piece of headgear that you can wear for diving underwater. It will increase the time you can remain underwater without coming up for air or using an oxygen bubble to 160 seconds. Other than this rather specific use, you can also acquire the +Hyperstamina Sleek Upgrade once you upgrade the helmet to level 6, which allows you to regenerate stamina faster. This helmet provides much more damage reduction than the inferior
Bubble Helmet is the best piece of headgear that you can wear for diving underwater. It will increase the time you can remain underwater without coming up for air or using an oxygen bubble to 160 seconds. Other than this rather specific use, you can also acquire the +Hyperstamina Sleek Upgrade once you upgrade the helmet to level 6, which allows you to regenerate stamina faster. This helmet provides much more damage reduction than the inferior ![]() Gill Tube.
Gill Tube.
Eyepatch
The ![]() Eyepatch is more of a cosmetic item, since it doesn’t provide much in the way of Defence or Resistance. It will slightly increase your damage output, but at the expensive of increasing the amount of damage that you sustain at the same time. The Sleek Upgrade reduces the amount of threat that you generate, making it potentially useful for a ranged player who has an ally playing as a take. In this scenario, the extra damage may become useful in combination with the reduced threat, but ultimately there are better individual armor pieces and sets out there which provide much more damage reduction.
Eyepatch is more of a cosmetic item, since it doesn’t provide much in the way of Defence or Resistance. It will slightly increase your damage output, but at the expensive of increasing the amount of damage that you sustain at the same time. The Sleek Upgrade reduces the amount of threat that you generate, making it potentially useful for a ranged player who has an ally playing as a take. In this scenario, the extra damage may become useful in combination with the reduced threat, but ultimately there are better individual armor pieces and sets out there which provide much more damage reduction.
Firefly Head Lamp
The ![]() Firefly Head Lamp is another utility item more than an armor piece. It provides a constant source of light emitting from the top of the headgear, which can be incredibly useful in dark, underground places such as beneath anthills or within cave systems. The Sleek Upgrade for this item will also allow you to harvest pebbles more efficiently, which results in fewer strikes of rocks before they break.
Firefly Head Lamp is another utility item more than an armor piece. It provides a constant source of light emitting from the top of the headgear, which can be incredibly useful in dark, underground places such as beneath anthills or within cave systems. The Sleek Upgrade for this item will also allow you to harvest pebbles more efficiently, which results in fewer strikes of rocks before they break.
Fluffy Pupa Hat
The ![]() Fluffy Pupa Hat is more like an end game resource gathering item. It comes with good Defence as a tier III item, and decent Resistance due to its medium armor. However, the piece effect and Sleek Upgrade are what make it potentially most useful. The former provides increasing hauling strength, which allows you to haul more items at once, while the latter reduces the time it takes for you to recover from exhaustion, which occurs when you deplete your stamina entirely.
Fluffy Pupa Hat is more like an end game resource gathering item. It comes with good Defence as a tier III item, and decent Resistance due to its medium armor. However, the piece effect and Sleek Upgrade are what make it potentially most useful. The former provides increasing hauling strength, which allows you to haul more items at once, while the latter reduces the time it takes for you to recover from exhaustion, which occurs when you deplete your stamina entirely.
Fin Flops / Fin Flops+
The Fin Flops are another useful armor piece which aid you in the water. They will increase your swim speed by default, and the Sleek Upgrade will increase the amount of time you can “sprint” underwater for. The ![]() Fin Flops+ are essentially the same, only they allow you to swim even faster than the original.
Fin Flops+ are essentially the same, only they allow you to swim even faster than the original.
Gas Mask
The ![]() Gas Mask is one of the most useful specialized items in the game, especially when you’re exploring the Haze Lab. The Gas Mask is essential for you to use here, protecting you from the toxicity of the area. It will also provide you with immunity from
Gas Mask is one of the most useful specialized items in the game, especially when you’re exploring the Haze Lab. The Gas Mask is essential for you to use here, protecting you from the toxicity of the area. It will also provide you with immunity from ![]() Stinkbug and
Stinkbug and ![]() Green Shield Bug gas attacks, and it can protect you from other sources of toxic gas such as the rotten food and
Green Shield Bug gas attacks, and it can protect you from other sources of toxic gas such as the rotten food and ![]() Meaty Gnats in the Trash Heap. You will notice that the Gas Mask quickly loses its durability while you’re in the cloud of an attack from a Stinkbug or Green Shield Bug, but it will remain at full durability while exploring the Haze Lab.
Meaty Gnats in the Trash Heap. You will notice that the Gas Mask quickly loses its durability while you’re in the cloud of an attack from a Stinkbug or Green Shield Bug, but it will remain at full durability while exploring the Haze Lab.
Gill Tube
The Gill Tube is essentially an earlier version of the Bubble Helmet, but it provides you with 80 seconds of oxygen underwater rather than 160 seconds. The Sleek Upgrade for this item is the same as on the Bubble Helmet, which allows you to regenerate stamina faster.
Marksman’s Cap
The ![]() Marksman’s Cap does what you might expect. It provides buffs to players who prefer playing with bows, and it gives you a decent balance of Defence and Resistance. The buffs it provides come in the form of the piece effect, which allows critical hits to provide you with an instant stamina boost. The Sleek Upgrade is perhaps most useful for this item, granting you an increase to the base damage that you deal with bows.
Marksman’s Cap does what you might expect. It provides buffs to players who prefer playing with bows, and it gives you a decent balance of Defence and Resistance. The buffs it provides come in the form of the piece effect, which allows critical hits to provide you with an instant stamina boost. The Sleek Upgrade is perhaps most useful for this item, granting you an increase to the base damage that you deal with bows.
Mask of the Mother Demon
The Mask of the Mother Demon is worth using if you want to focus on a high damage build which utilizes poison. As a tier III item it provides excellent Defence, and decent Resistance as medium armor. The piece effect provides you with a chance to apply poison from all of your attacks, while the Sleek Upgrade, Poison Nova, gives you a chance to cause an explosion of poison with each hit. This explosion will damage all enemies within the radius. If you don’t care much for boosts to movement speed, you can use the Mask of the Mother Demon with the ![]() Widow Spaulder and
Widow Spaulder and ![]() Widow Leggings, replacing the set bonus of movement speed for additional poison damage.
Widow Leggings, replacing the set bonus of movement speed for additional poison damage.
Mite Hat
The ![]() Mite Hat is arguably one of the least useful special items on this list, since it’s only a tier I item with poor Defence and average Resistance. It does have a piece effect which allows you to regenerate stamina faster, and the Sleek Upgrade, Hasty Regen, reduces the amount of time that you need to wait until stamina begins regenerating, but both of these effects can be acquired from other, more powerful armor pieces or sets.
Mite Hat is arguably one of the least useful special items on this list, since it’s only a tier I item with poor Defence and average Resistance. It does have a piece effect which allows you to regenerate stamina faster, and the Sleek Upgrade, Hasty Regen, reduces the amount of time that you need to wait until stamina begins regenerating, but both of these effects can be acquired from other, more powerful armor pieces or sets.
Termite Armor
The ![]() Termite Armor should not be overlooked. As a tier III armor piece it provides excellent Defence, but it has poor Resistance due to it being light armor. It does however have unique special effects that aren’t present on any other armor piece, namely the piece effect, +Dust Guard, which grants you immunity to all dust based effects, including the attacks from
Termite Armor should not be overlooked. As a tier III armor piece it provides excellent Defence, but it has poor Resistance due to it being light armor. It does however have unique special effects that aren’t present on any other armor piece, namely the piece effect, +Dust Guard, which grants you immunity to all dust based effects, including the attacks from ![]() Dust Mites and
Dust Mites and ![]() Termite Soldiers. The Sleek Upgrade for this item is Dust Cloud, which provides you with a chance to release a dust cloud that slows enemies and reduces their attack damage, each time that you hit a creature.
Termite Soldiers. The Sleek Upgrade for this item is Dust Cloud, which provides you with a chance to release a dust cloud that slows enemies and reduces their attack damage, each time that you hit a creature.
Wizard Hat
The Wizard Hat is unsurprisingly most suited to those players who use a staff as their weapon of choice. The piece effect, Wizard’s Defence, ensures that attacks with staves increase your perfect block window for a short time, while the Sleek Upgrade, Wizard’s Duel, causes each perfect block that you perform to increase your damage with staves for a short time. You may want to pair this item with the ![]() Moth Robe and
Moth Robe and ![]() Moth Leggings, to exchange occasional boosts to movement speed for increased damage with staves.
Moth Leggings, to exchange occasional boosts to movement speed for increased damage with staves.
No Comments