
This page offers a guide on how to find, prepare for and complete the Haze Lab in Grounded.
Where is the Haze Lab?
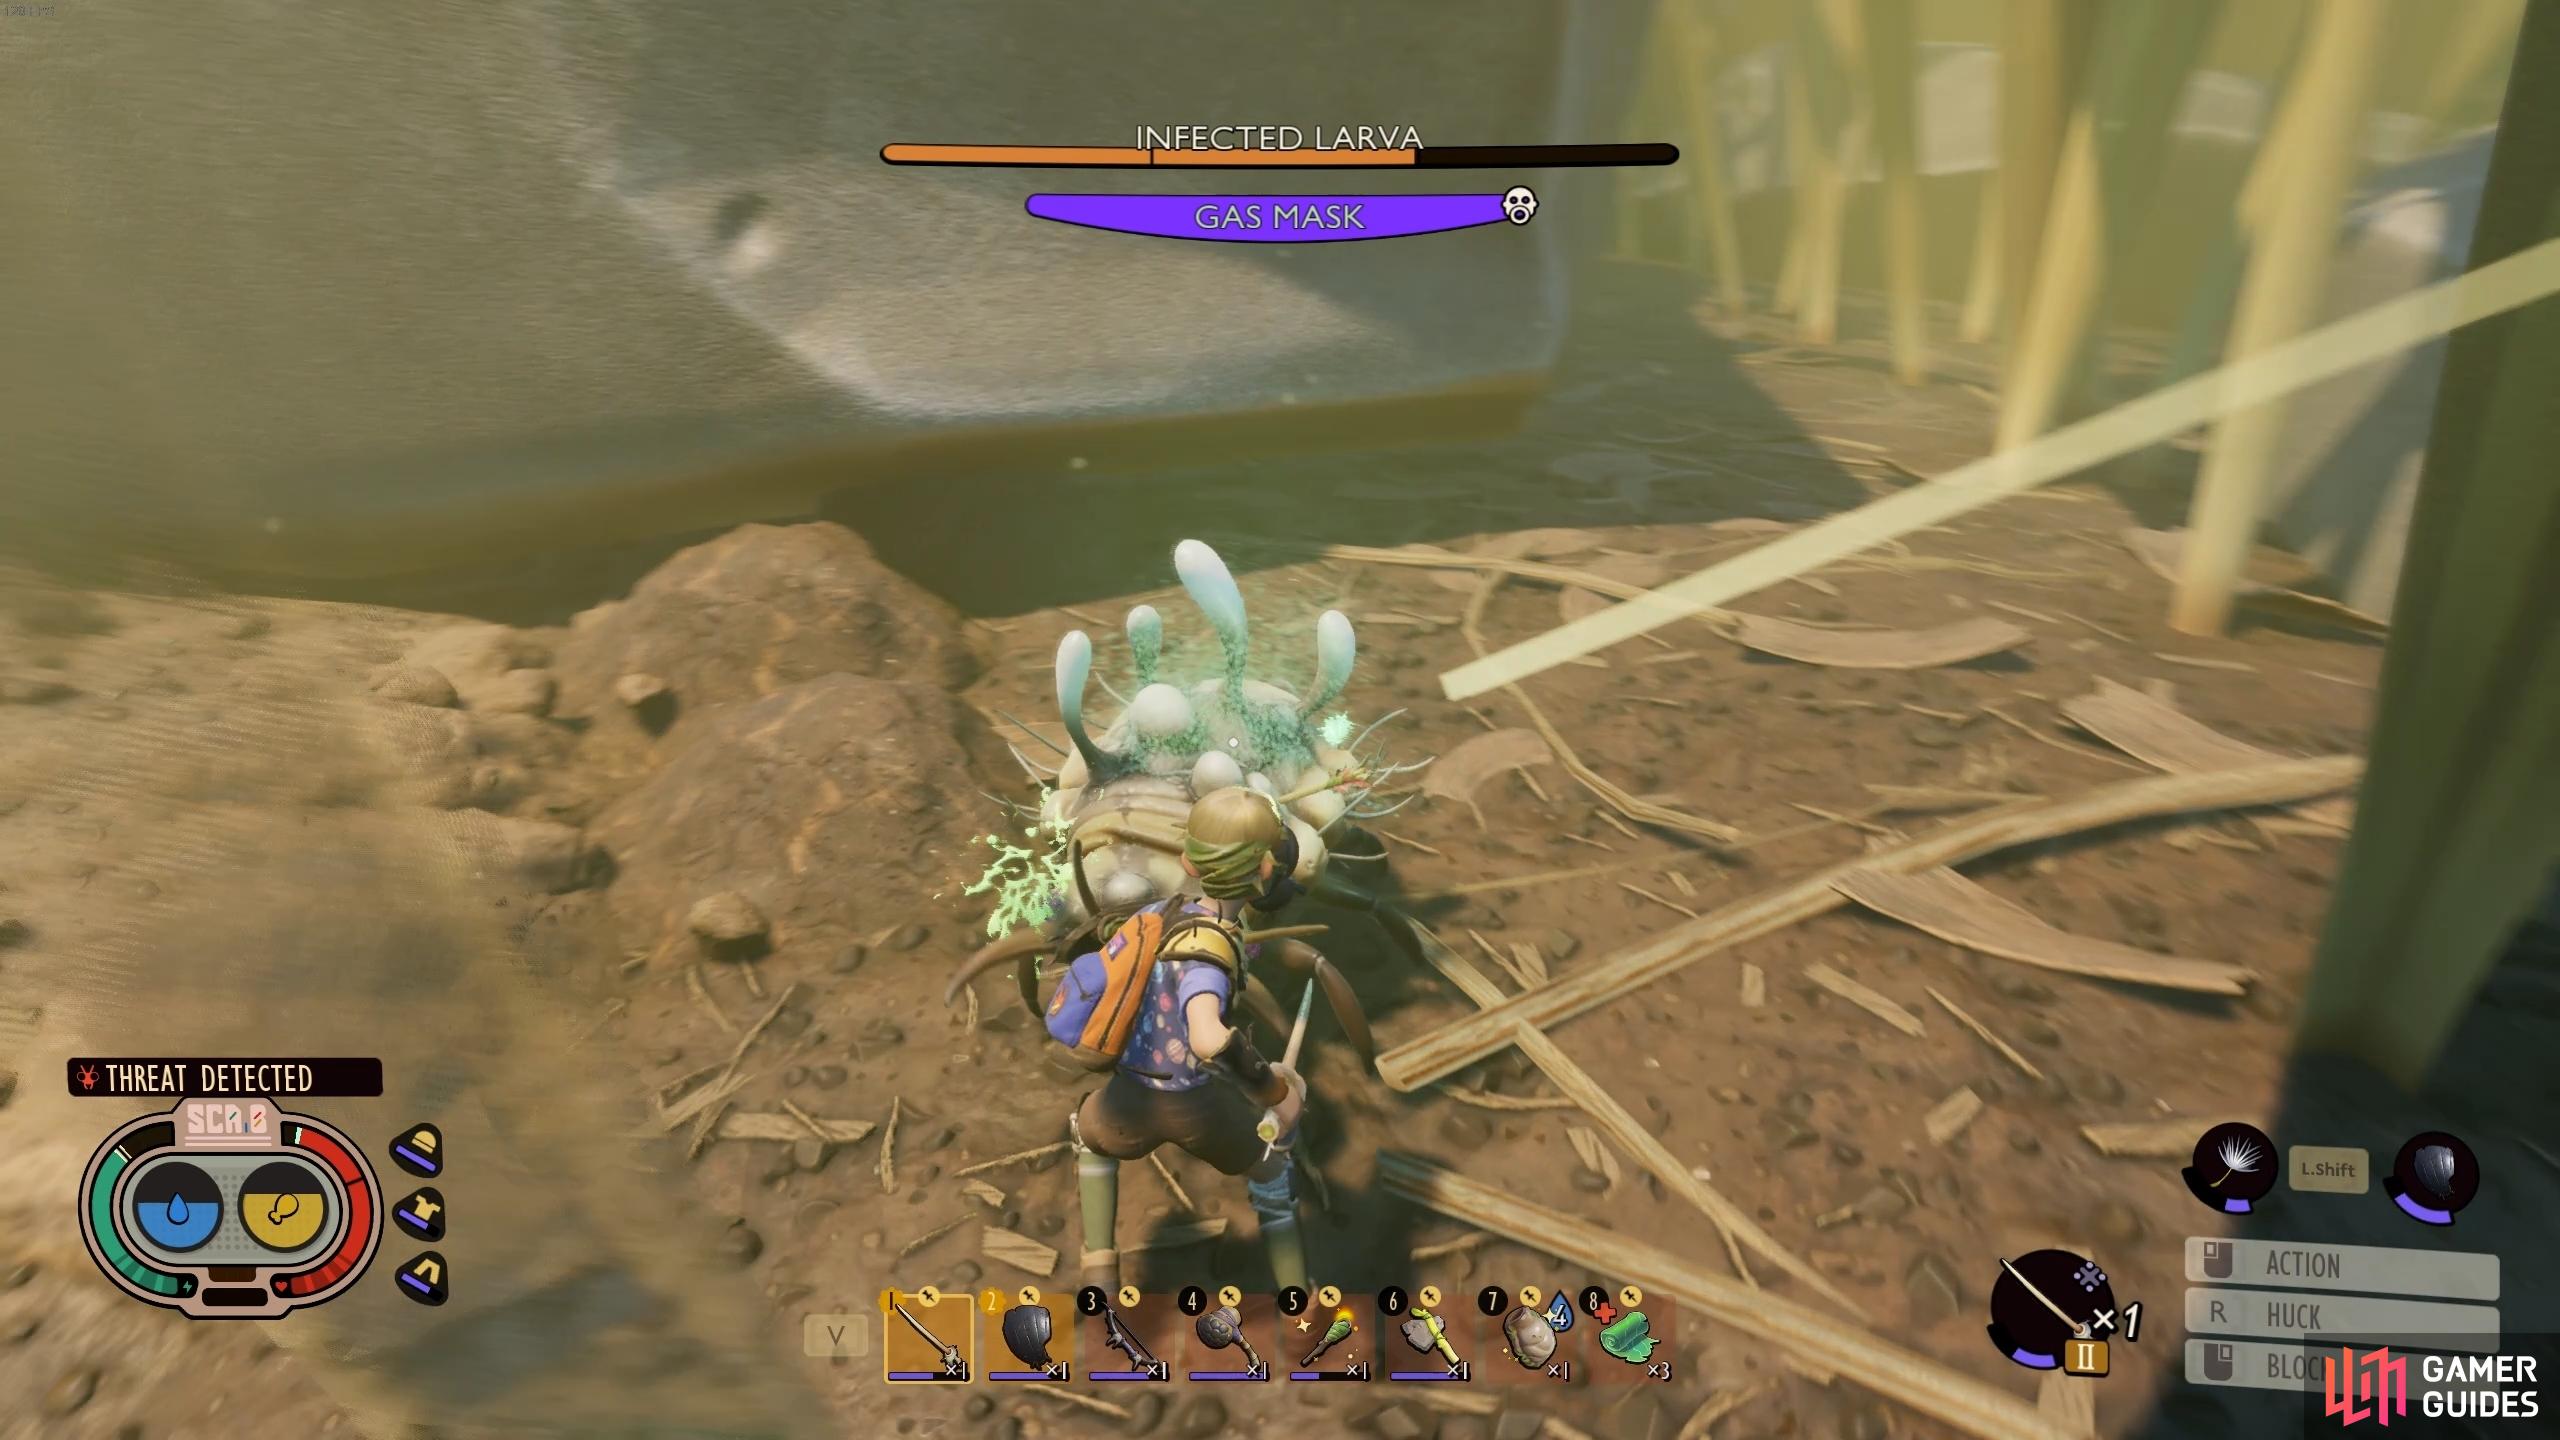
The Haze Lab is found deep in the depths of the Haze area found in the southwest area of the game. To enter the haze you’ll need a ![]() Gas Mask - head over to our page on how to make a gas mask for more information.
Gas Mask - head over to our page on how to make a gas mask for more information.
For a more detailed guide on how exactly to get to the Haze Lab entrance, head to our guide, or watch the handy video below!
How to Prepare for the Haze Lab
The Haze Lab can feel like quite a jump up in difficulty compared to the Pond Lab, which is likely the last lab you went to. So not only will you need a Gas Mask, you’ll also want to consider upgrading your tools and armor as well.
This means you can’t just rock up in your Red Ant or Acorn Armor with some Tier I weapons. Below you’ll find some tips on how to prepare for the Haze Lab, including some suggested gear to grind for and other items to bring along.
Armor
You definitely want to spend the time making new armor before heading into the Haze Lab. There are a few armor sets that are accessible to you at this point in the game, and your play style will also impact what armor you should go for:
- Tank Build: At this stage, if you’re a tank you should definitely be ditching the Acorn Armor and going on to bigger and better things like the Tier II Lady Bug Armor. Its a Tier II armor that gives you increased block efficiency and health regeneration when blocking! Pair this with a
 Black Ant Shield and you’ll be greatly increasing your tanking capacity.
If you’re playing with friends, make sure to allocate someone to being the tank!
-
Close Combat Damage Dealer: The Spider Armor is a Tier II medium armor that gives you increased stamina regeneration meaning you can smack those enemies for longer without getting tired!
-
Ranged Build: For those of you who like to use a bow and arrow, consider either going for the
 Bee Armor or the Spider Armor. The Bee Armor is a Tier II light armor that will give you a special status effect called
  Pollen Shot, which gives your arrows a chance of releasing a cloud of pollen that slows enemies caught in the pollen cloud.
Weapons
It’s difficult to recommend any one specific combat style as the Haze Lab boss room is a difficult venture and will be even more tricky if you’re heading into this lab solo. A good ranged bow can be very effective as it means that you’re able to keep your distance as best as possible from the infected creatures and their explosions. But if you’re playing with more than one person, you should definitely consider having a tank and a ranged player at the very least.
 Insect Bow: At this stage in the game, the best bow to be aiming for is the Tier II Insect Bow, which is made using various parts from Spiders. If you have the time you can try to make some more powerful arrows like feather and mint arrows, but you’ll also find there’s a big damage jump from the
  Sprig Bow to the Insect Bow so you’ll be able to survive with just standard arrows for now. It is important, however, to bring lots of arrows (around 80-100) as you’re gonna need ’em in this pretty tough fight.
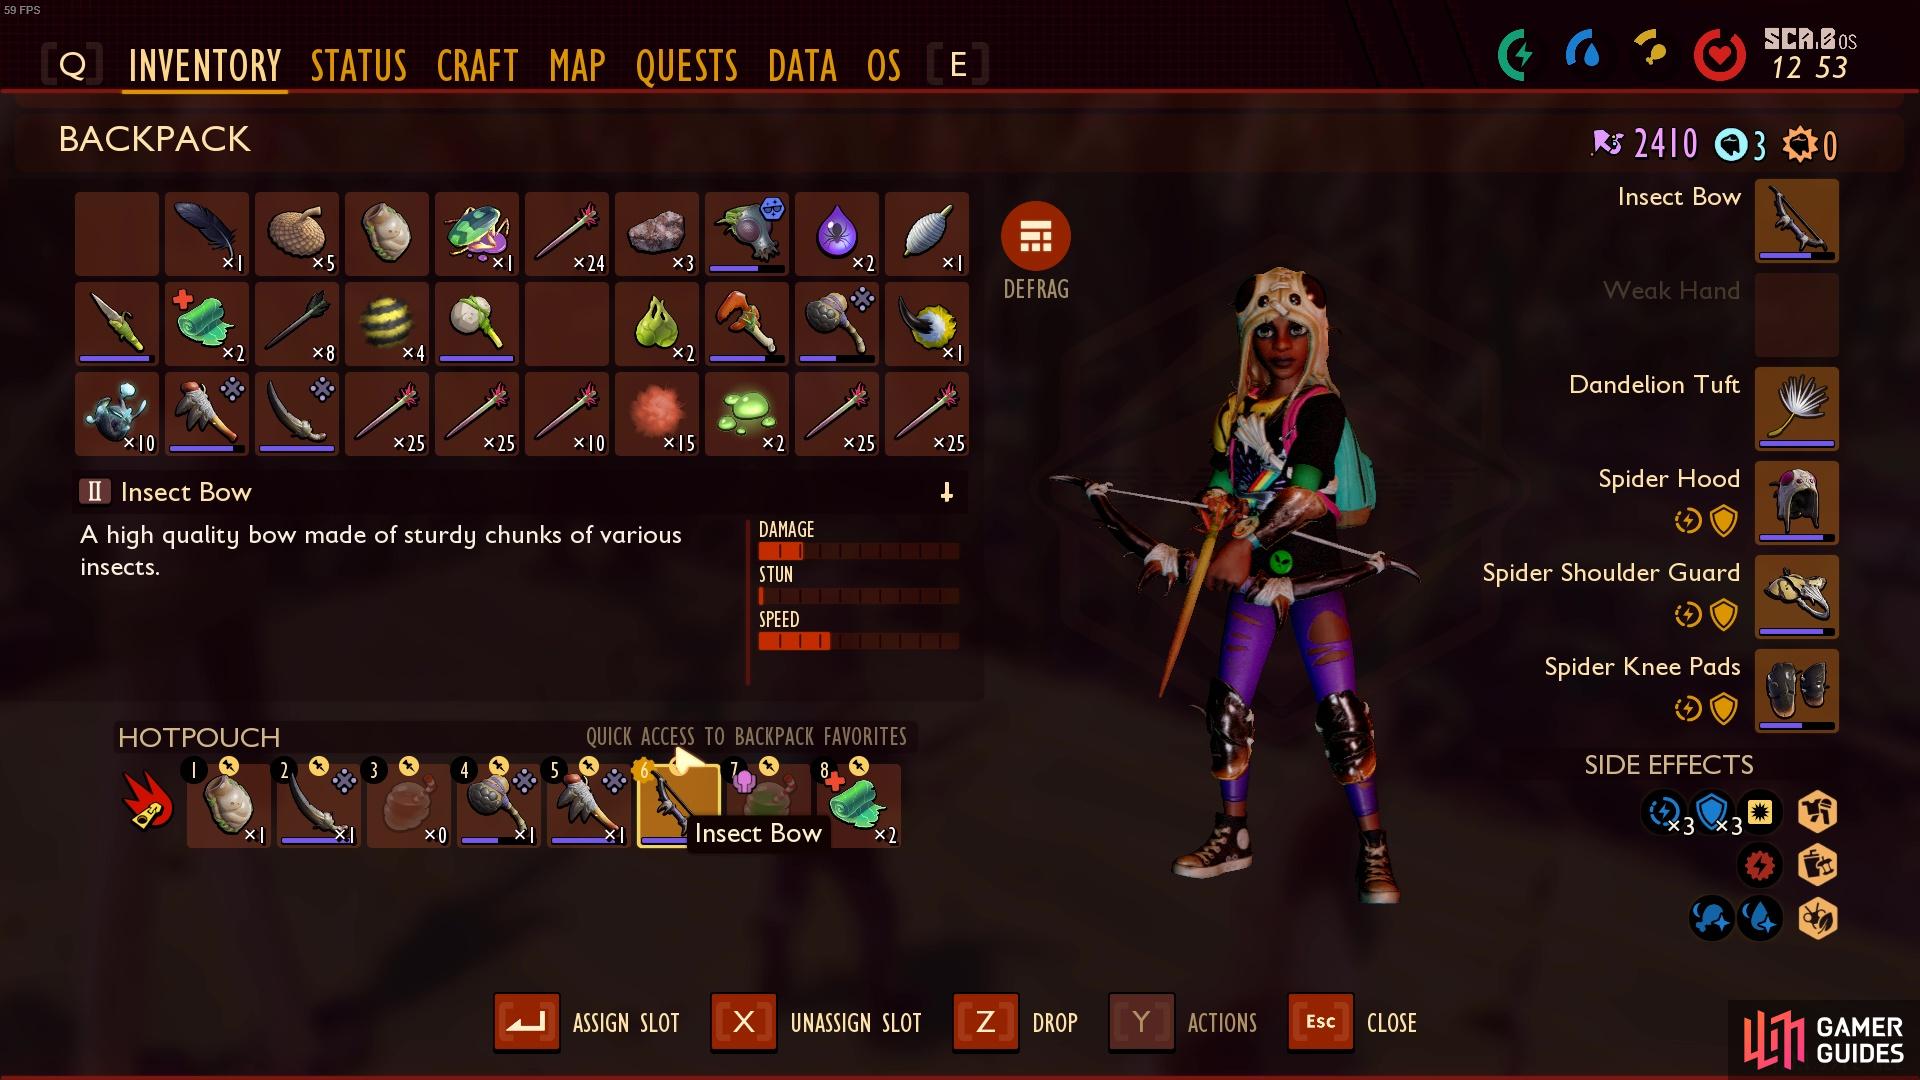
The Insect Bow is far more powerful than the Sprig Bow!
 Mosquito Needle: The
  Mosquito Needle is a Tier II Rapier weapon that has the unique ability to life steal meaning it’ll restore health to the wielder when they deal damage to an enemy. The only tricky thing about the Mosquito Needle is that you have to kill Mosquitos to get the materials and they can be pretty nasty! They can be found around the pond and the water to the west of the Hedge Lab.
The Mosquito Needle helps with sustain.
 Red Ant Club - This weapon is surprisingly strong for a club that is made with Red Ant parts. It’s a two-handed Tier II weapon so can feel quite cumbersome but it is a good stun weapon and does pretty decent damage too!
Extras
In addition to gearing up, you’ll also want to bring some additional stuff to make sure you can survive the fight.
- Food: Bandages are great for replenishing your health over time and you should always have some on your hot bar, but they’re not great for giving you immediate health restoration. It doesn’t have to be fancy food, you can bring some
 Aphid and
  Weevil Roasts if that’s all you’ve got. Just make sure you have a stack of food on your hotbar that can help with replenishing your health when you get low. Smoothies are great for giving you extra stats and buffs so if you can make those then all the better but normal food will do just fine too.
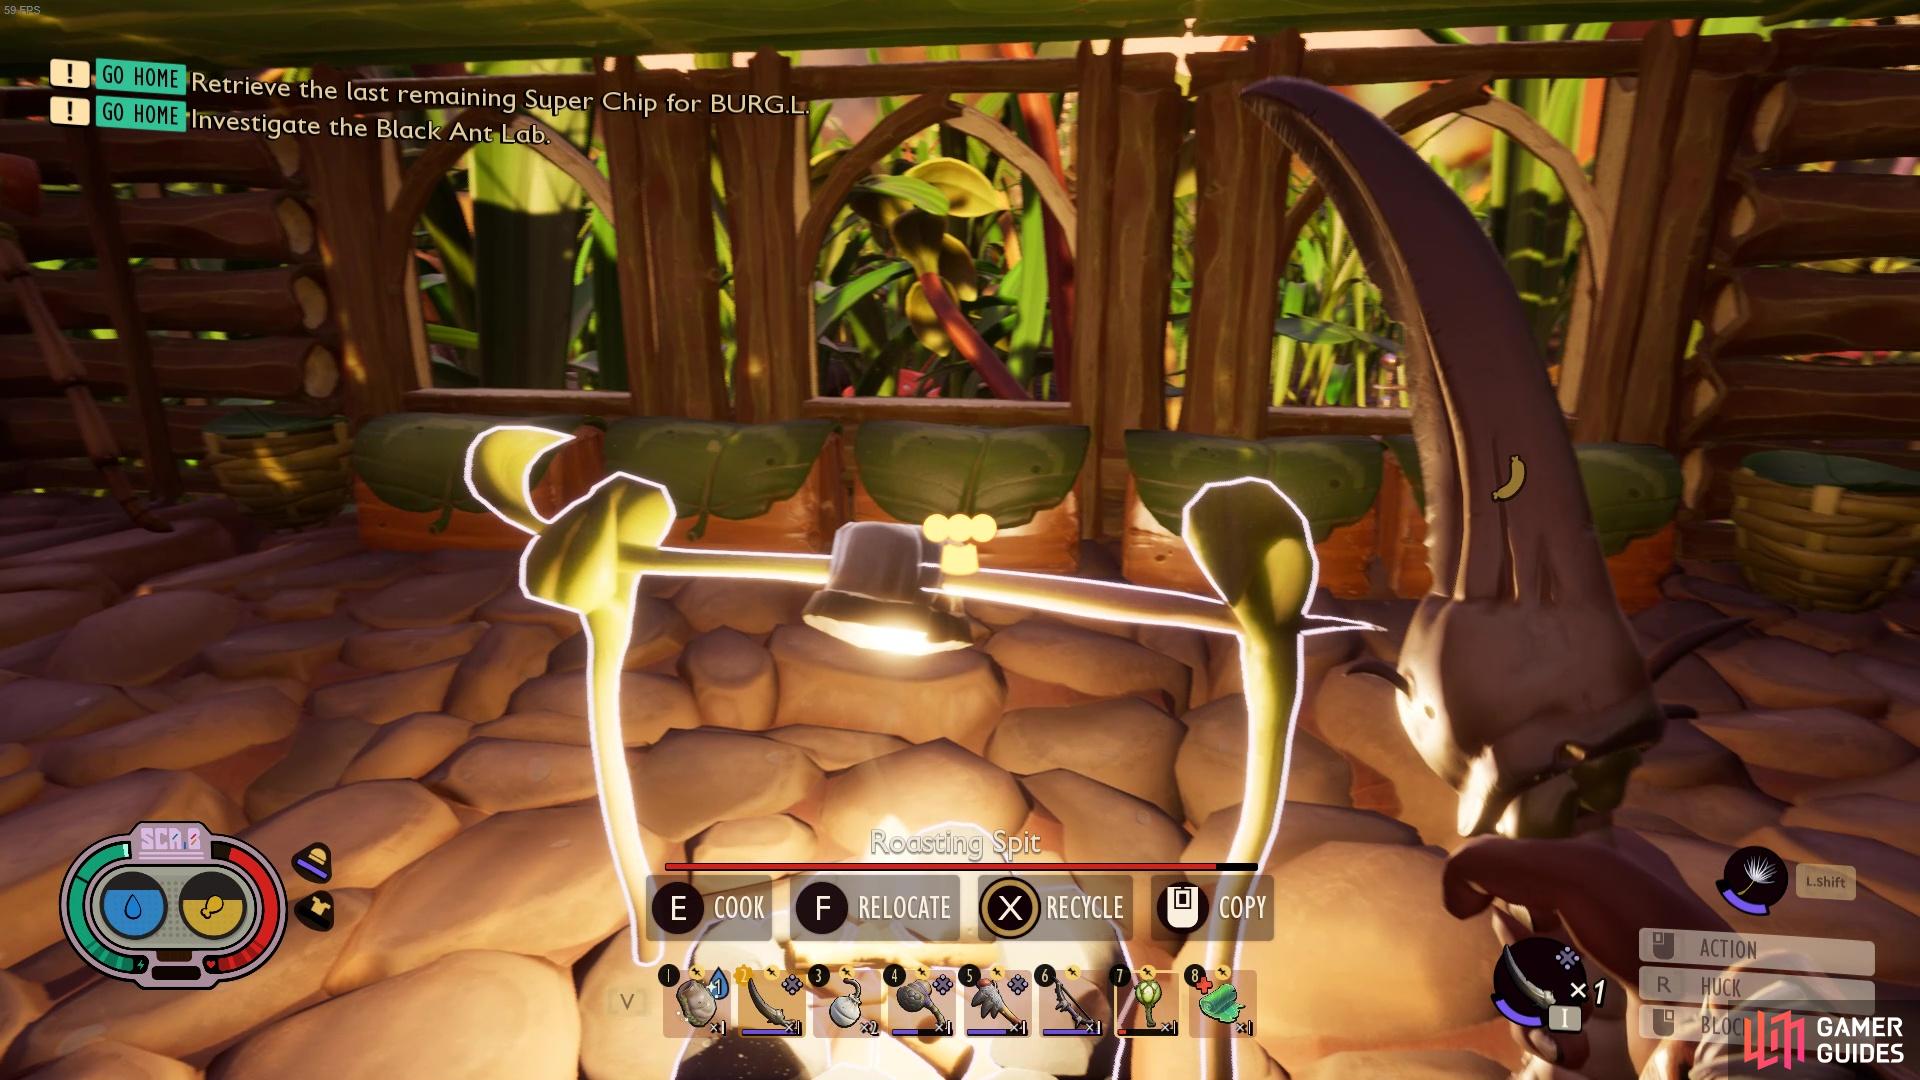
Food doesn’t have to be complicated - just stick some meat on the firepit!
 Bratburst Explosives: Perhaps a surprising thing to bring to a fight but when used efficiently, these bombs can be used to crowd control and do lots of AoE damage. Head over to our page on how to make bratburst explosives for more information. You’ll also need at least one bratburst to get into the lab so why not make more for the fight!
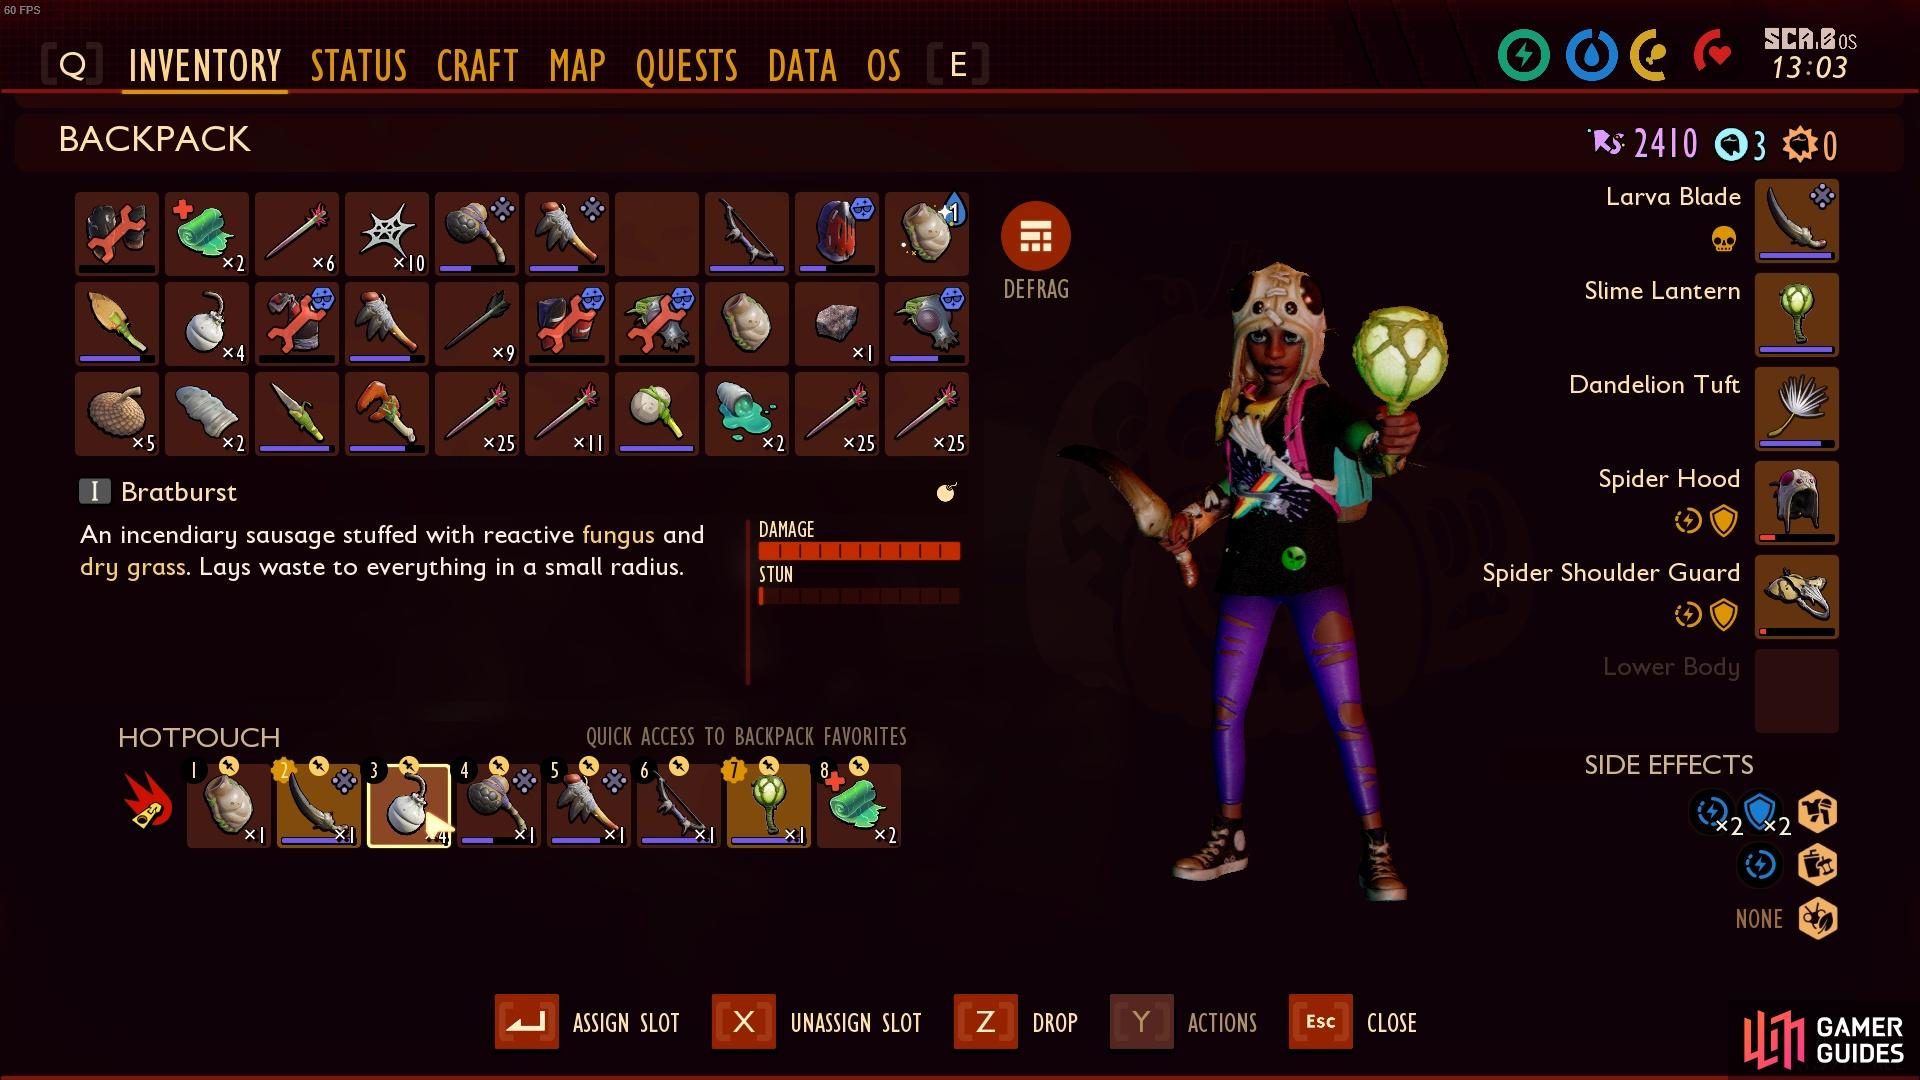
Make sure to equip the bombs to your hot bar so you can use them quickly!
- Reliable Friend Mutation: If you’re playing with other people, you should consider activating your Reliable Friend mutation, which speeds up the rate at whcih you can revive. See below for the exact stats and how to unlock it!
| Icon | Mutation | Description | Effects | Unlock Conditions |
|---|---|---|---|---|
 |
Reliable Friend | Life in the lawn is filled with narrow escapes and you’ve been right there for all of it. Your muscle memory, mixed with hope and determination, makes a harrowing rescue all the more probable. | Increases revive speed of allies by 25% (Phase 1), 50% (Phase 2), and 75% (Phase 3) | Revive an ally 5 times (Phase 1), Revive an ally 15 times (Phase 2), Revive an ally 30 times (Phase 3) |
Entering into the Haze Lab
In order to enter into the lab via the main entrance at the center of the Haze Lab you’ll need to bring an explosive - either a Bratburst or a ![]() Splatburst. The Bratburst is the lesser of the explosives and easier to build.
Splatburst. The Bratburst is the lesser of the explosives and easier to build.
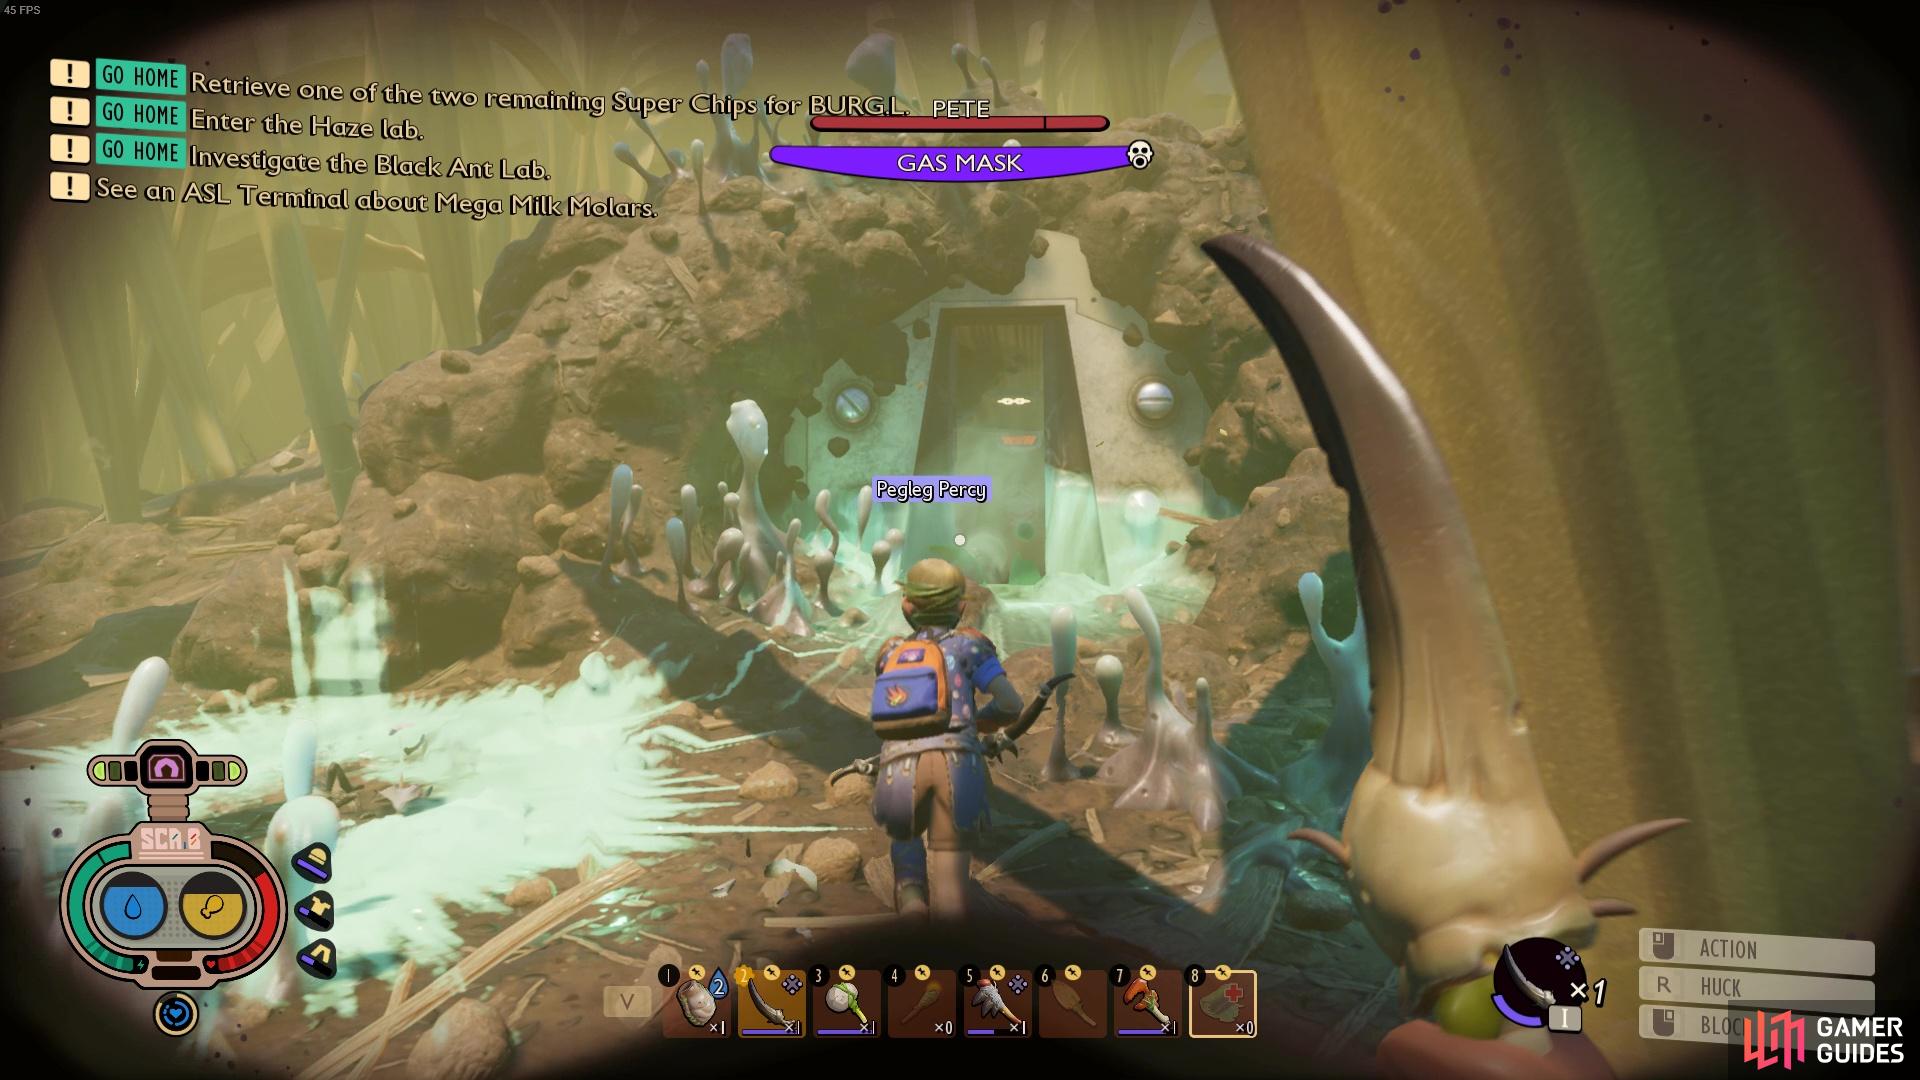
Use explosives to explode the door open.
Once the door is open, head in and take out the handful of Infected ![]() Gnats in the entryway. They are a bit tankier than usual Gnats but won’t pose too much of an issue. After they’re dealt with, use the bioscanner to open the door into the main lab area. As you enter into this new room, you’ll find a chest to the right containing x10
Gnats in the entryway. They are a bit tankier than usual Gnats but won’t pose too much of an issue. After they’re dealt with, use the bioscanner to open the door into the main lab area. As you enter into this new room, you’ll find a chest to the right containing x10 ![]() Brittle Quartzite Shards.
Brittle Quartzite Shards.
After looting the chest, make sure to pick the two tapes near the Resource Analyzer and the folder on the central table.
Once you’ve cleared that room, you’ll want to head through the door that goes downwards. When you arrive in this corridor area, you’ll need to fight off two ![]() TAYZ.Ts. Now that you have good gear, fighting the TAYZ.Ts will be way easier!
TAYZ.Ts. Now that you have good gear, fighting the TAYZ.Ts will be way easier!
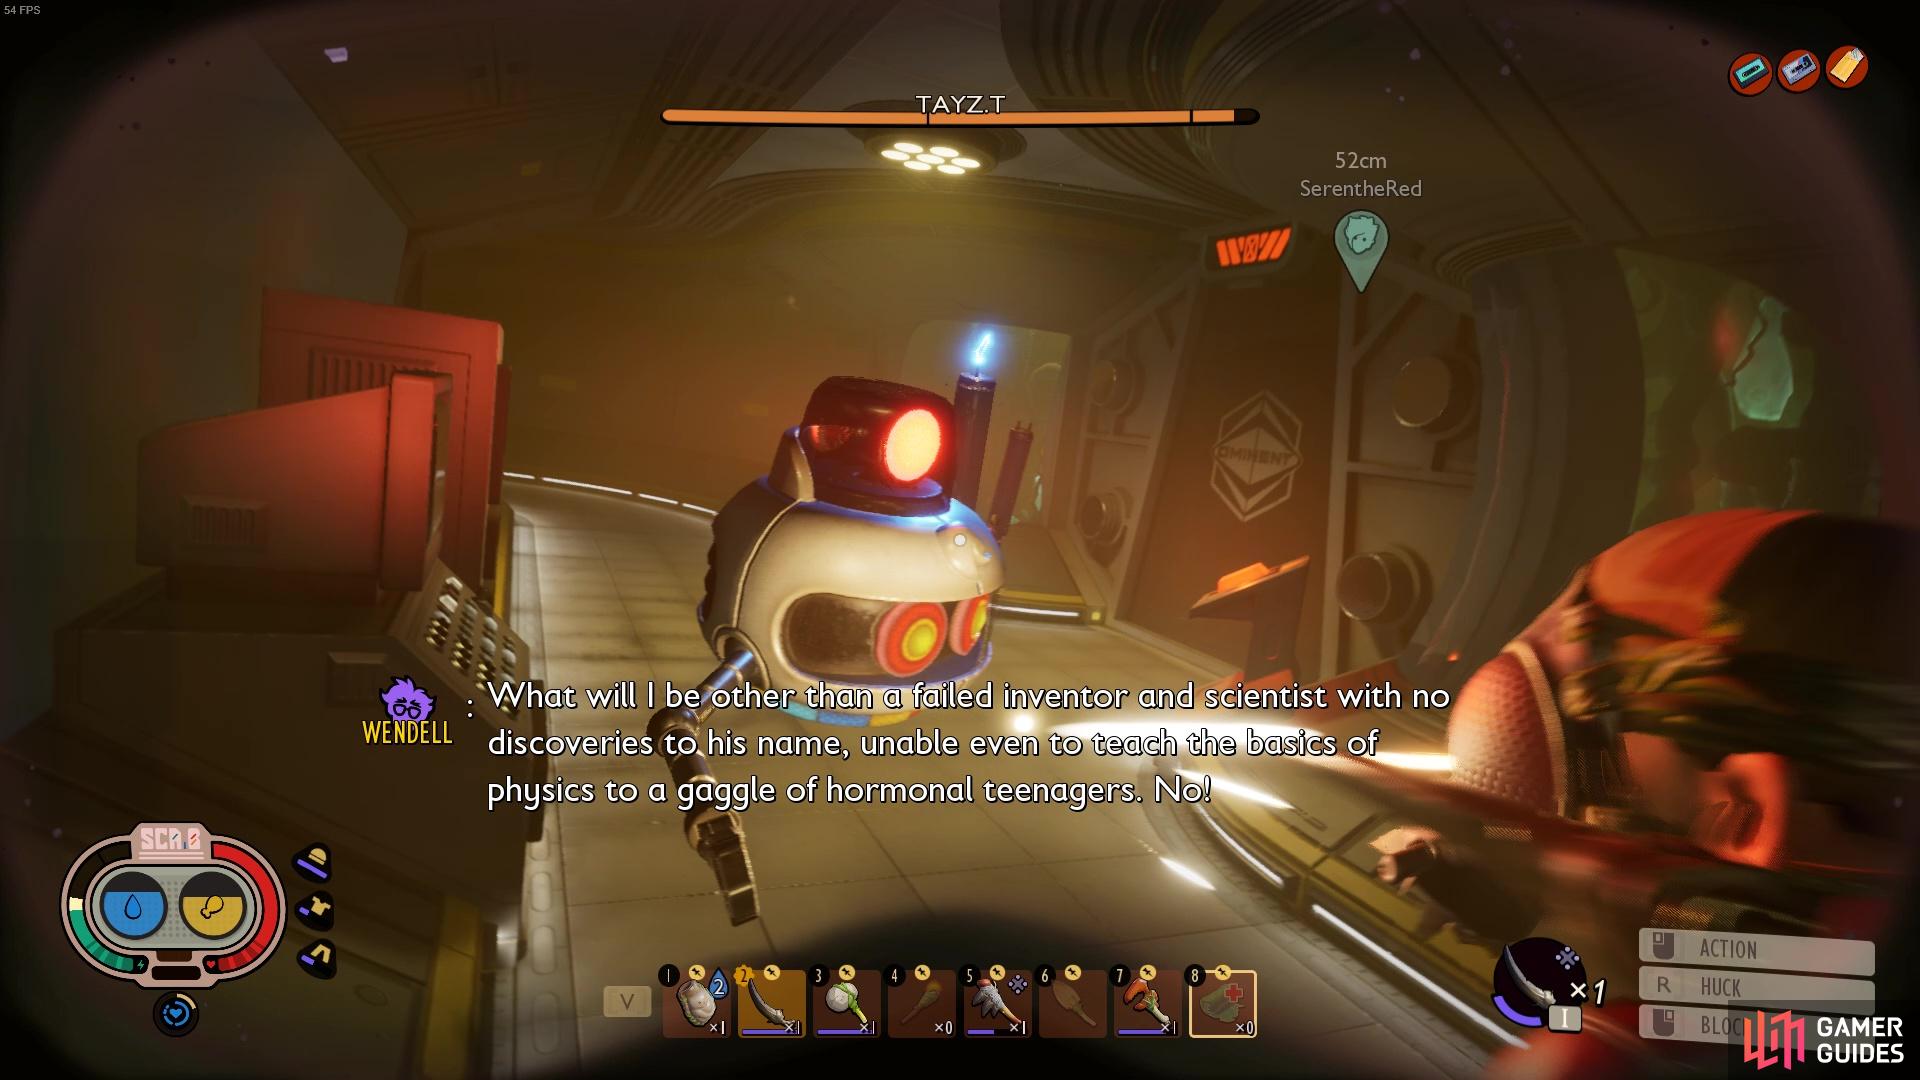
These guys should be way easier to fight with Tier II gear!
The door on the right can be opened up by pressing the button on the right of it. But you’ll want to wait to open the door for a moment. Instead, follow the hallway around to the left.
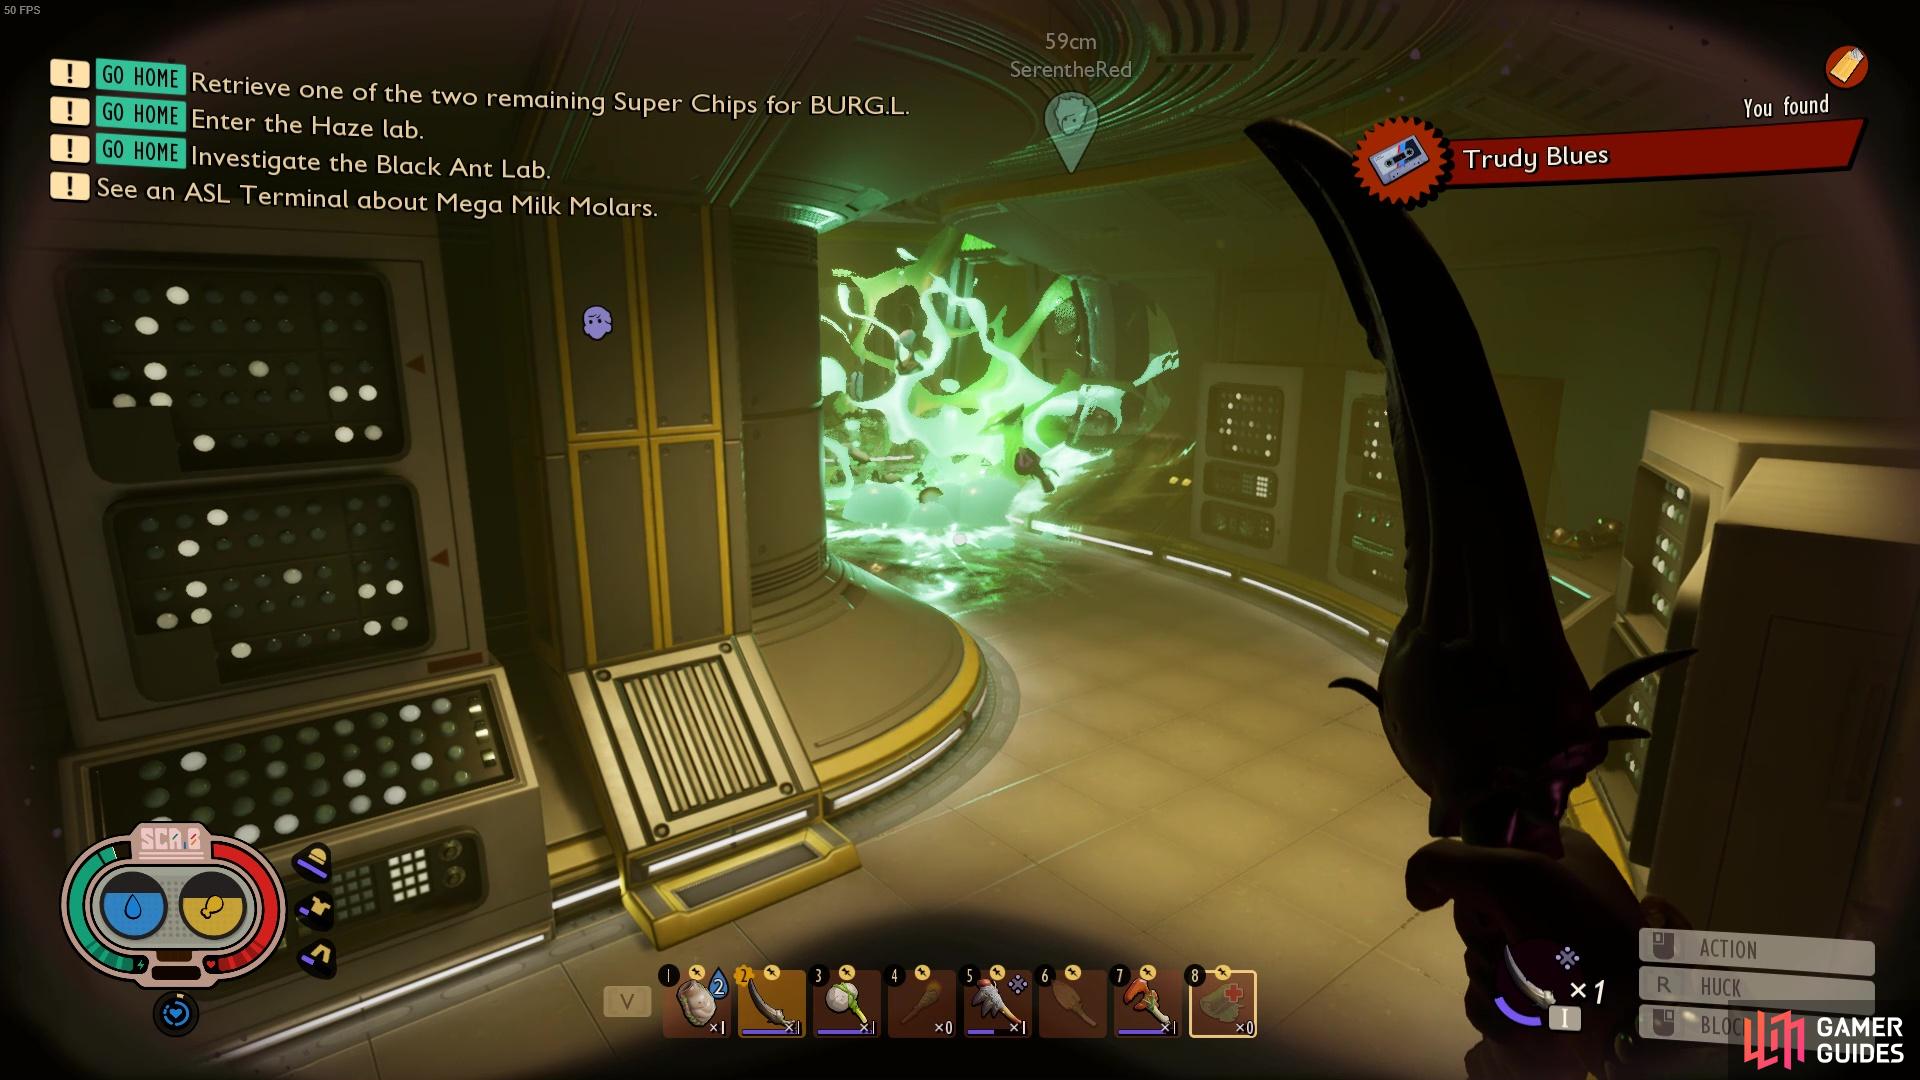
In this room you’ll find a whole host of exploding haze fungus plants. You’ll want to carefully clear this room by approaching a plant then backing away quickly to avoid taking damage. There are also plants on the ceiling that may also catch you off guard! In the corner of the room you’ll find 500 Raw Science. After picking up the Raw Science and clearing the plants, hit the button near the door to open up the room behind it.
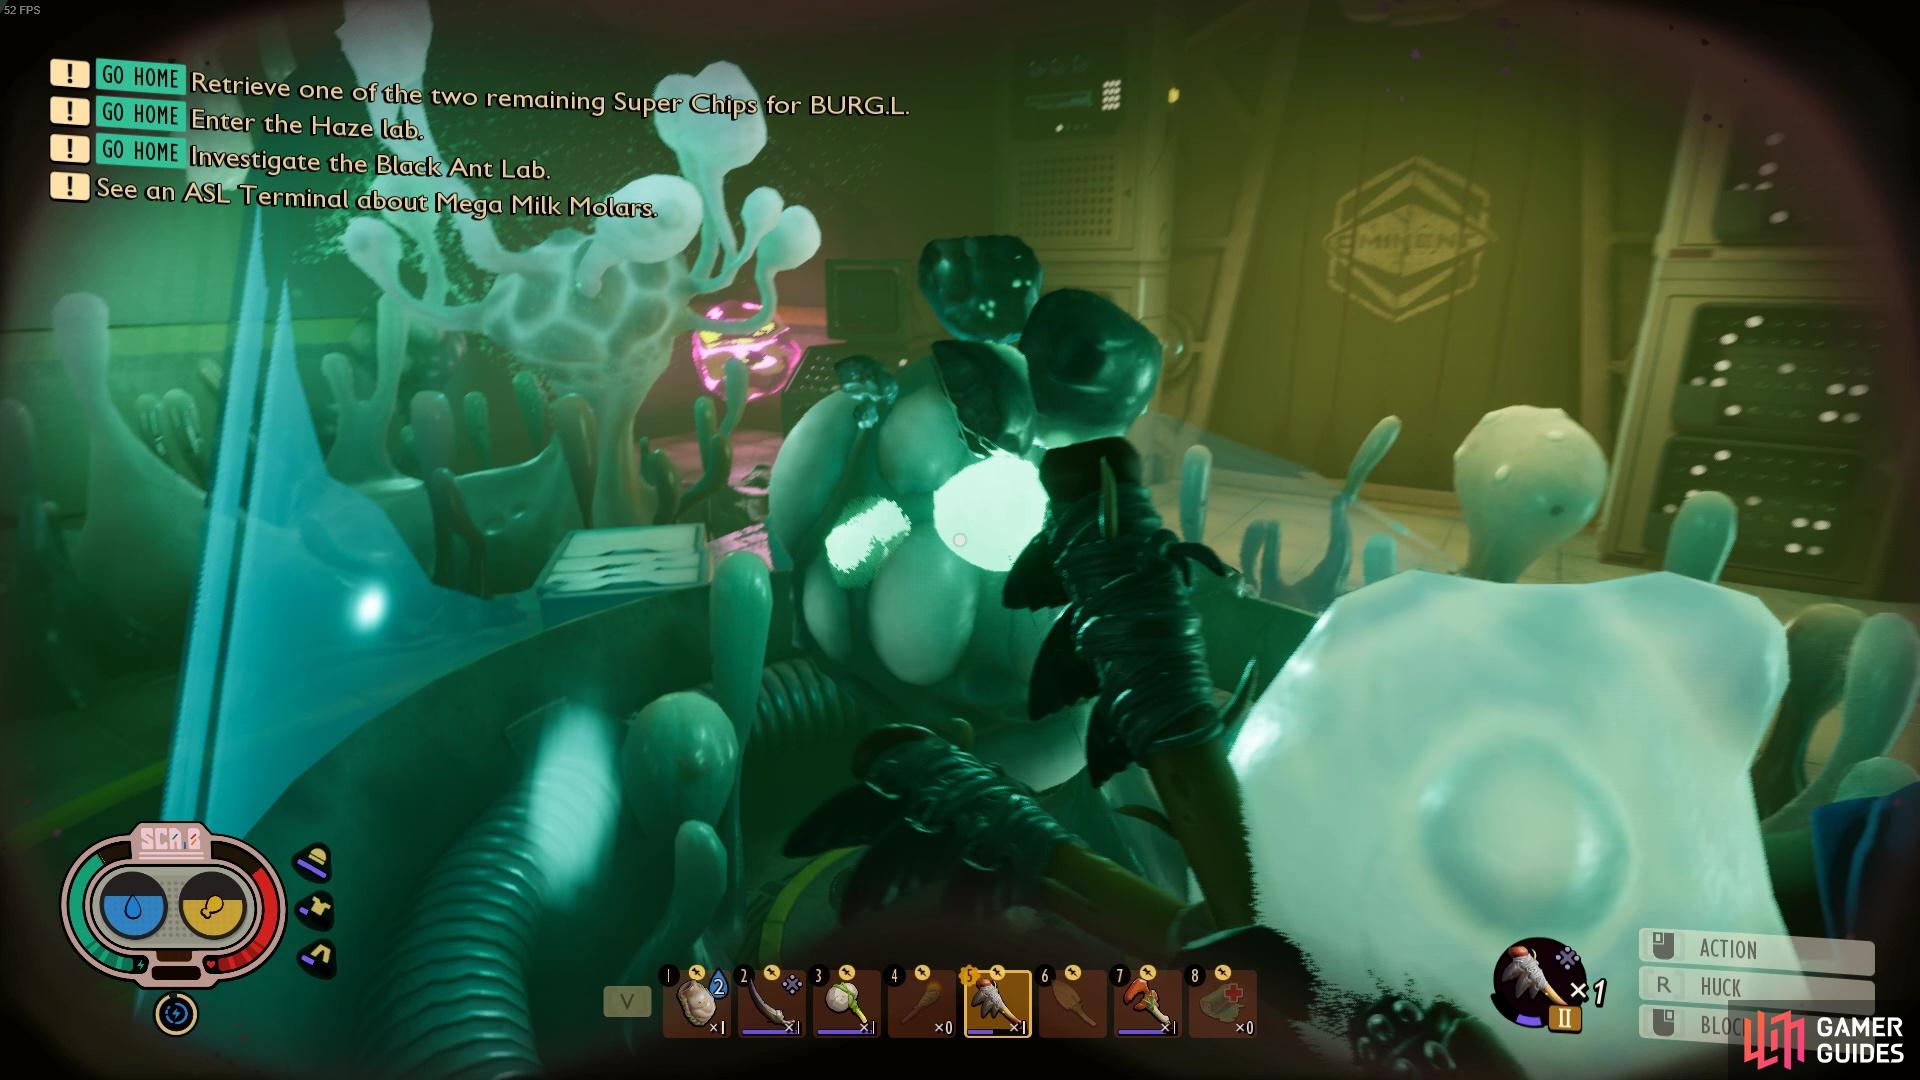
Make sure to back away from the exploding Haze Fungus.
In a chest in this room you’ll find Brittle Quartzite and ![]() Brittle Marble Shards. Once you’ve picked up those, pull the lever near the computer to open up a door being displayed on the CCTV camera.
Brittle Marble Shards. Once you’ve picked up those, pull the lever near the computer to open up a door being displayed on the CCTV camera.
Proceed back out into the corridor and pick up the tape near the door, then open the door using the button. As you do so, a few ![]() Infected Weevils will run in. It’ll be better to fight them inside the corridor rather than outside so you avoid walking too close to the Haze fungus plants! The Weevils also explode so you’ll want to back away when they start to shake as this is a tell tale sign!
Infected Weevils will run in. It’ll be better to fight them inside the corridor rather than outside so you avoid walking too close to the Haze fungus plants! The Weevils also explode so you’ll want to back away when they start to shake as this is a tell tale sign!


(1 of 2) Fight off the Infected Weevils
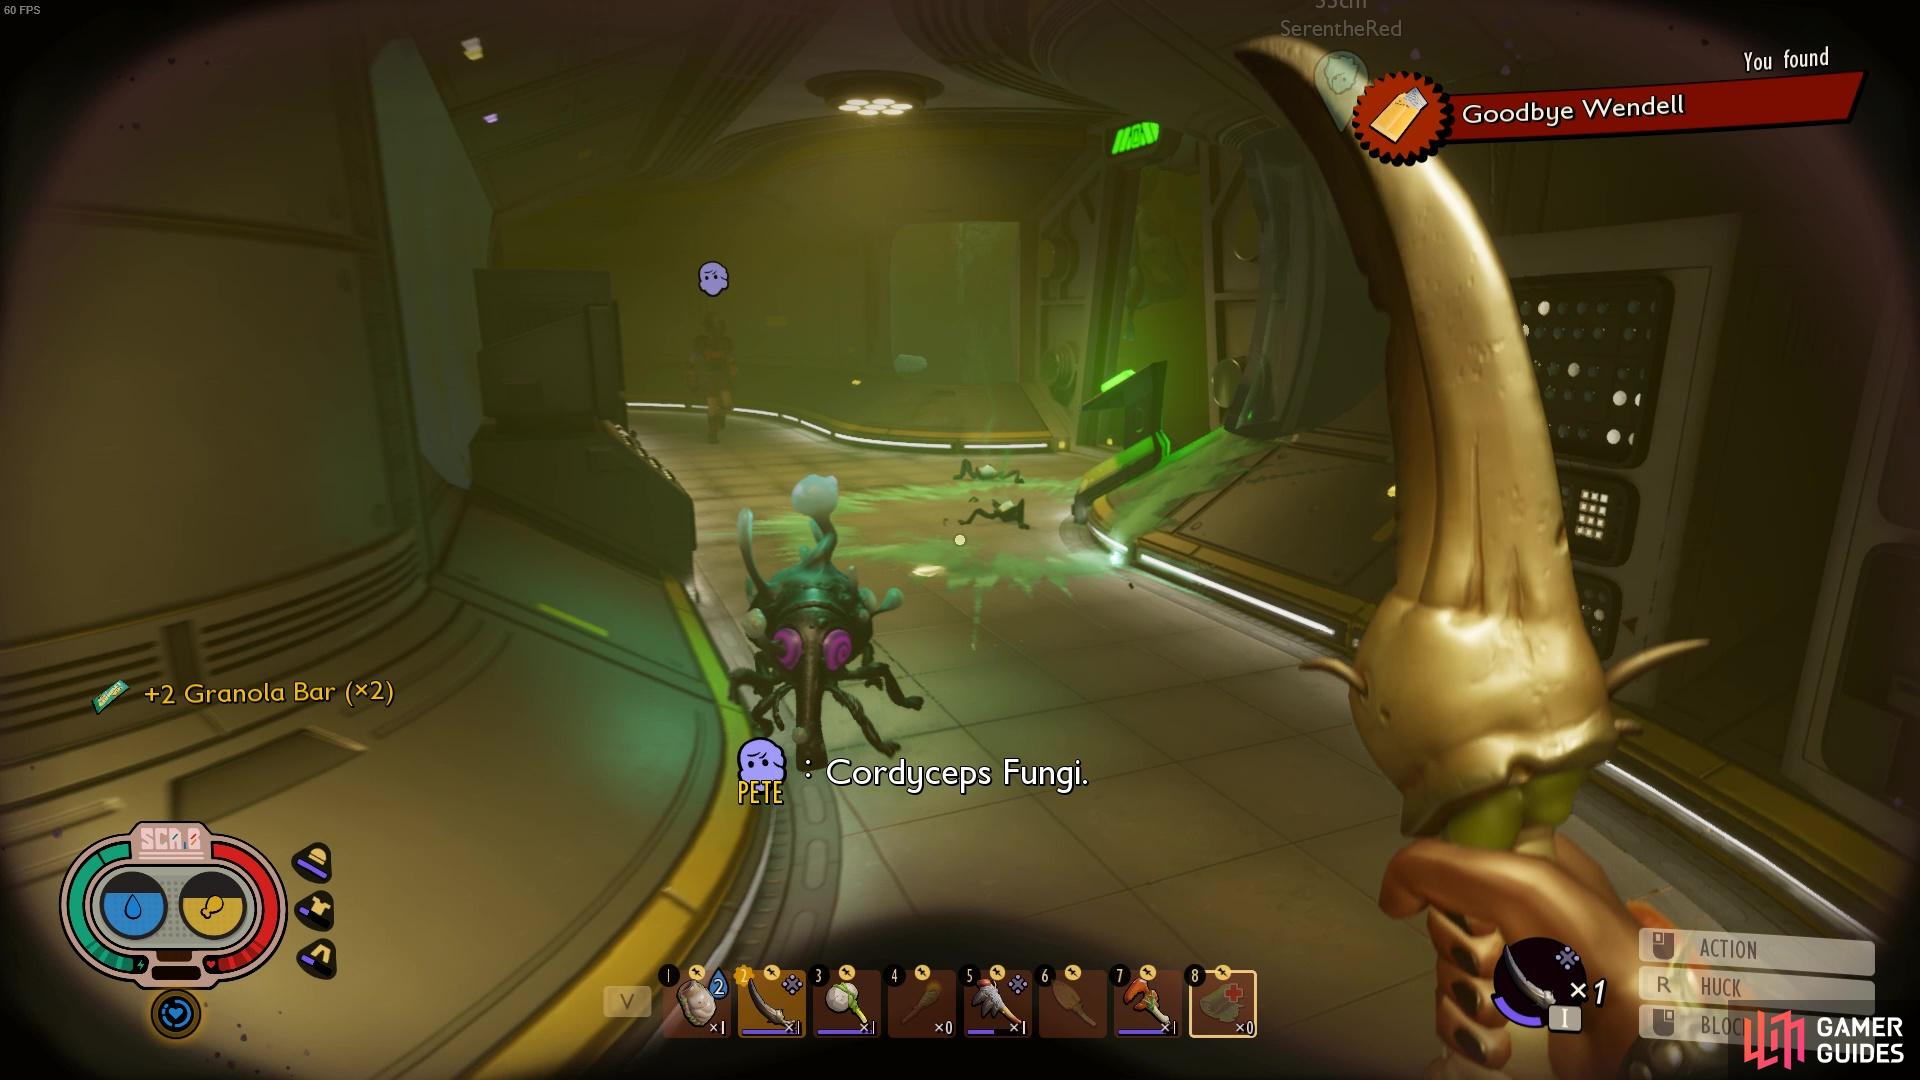
Fight off the Infected Weevils (left), but make sure you avoid it when it explodes! (right)
Once you’ve dealt with the bugs and the haze bugs in this outside area, head towards the water and follow the water around to the left. If you dive down, there’s a tunnel that’s blocked off by plants - this is the alternative way of getting into the Haze Lab!
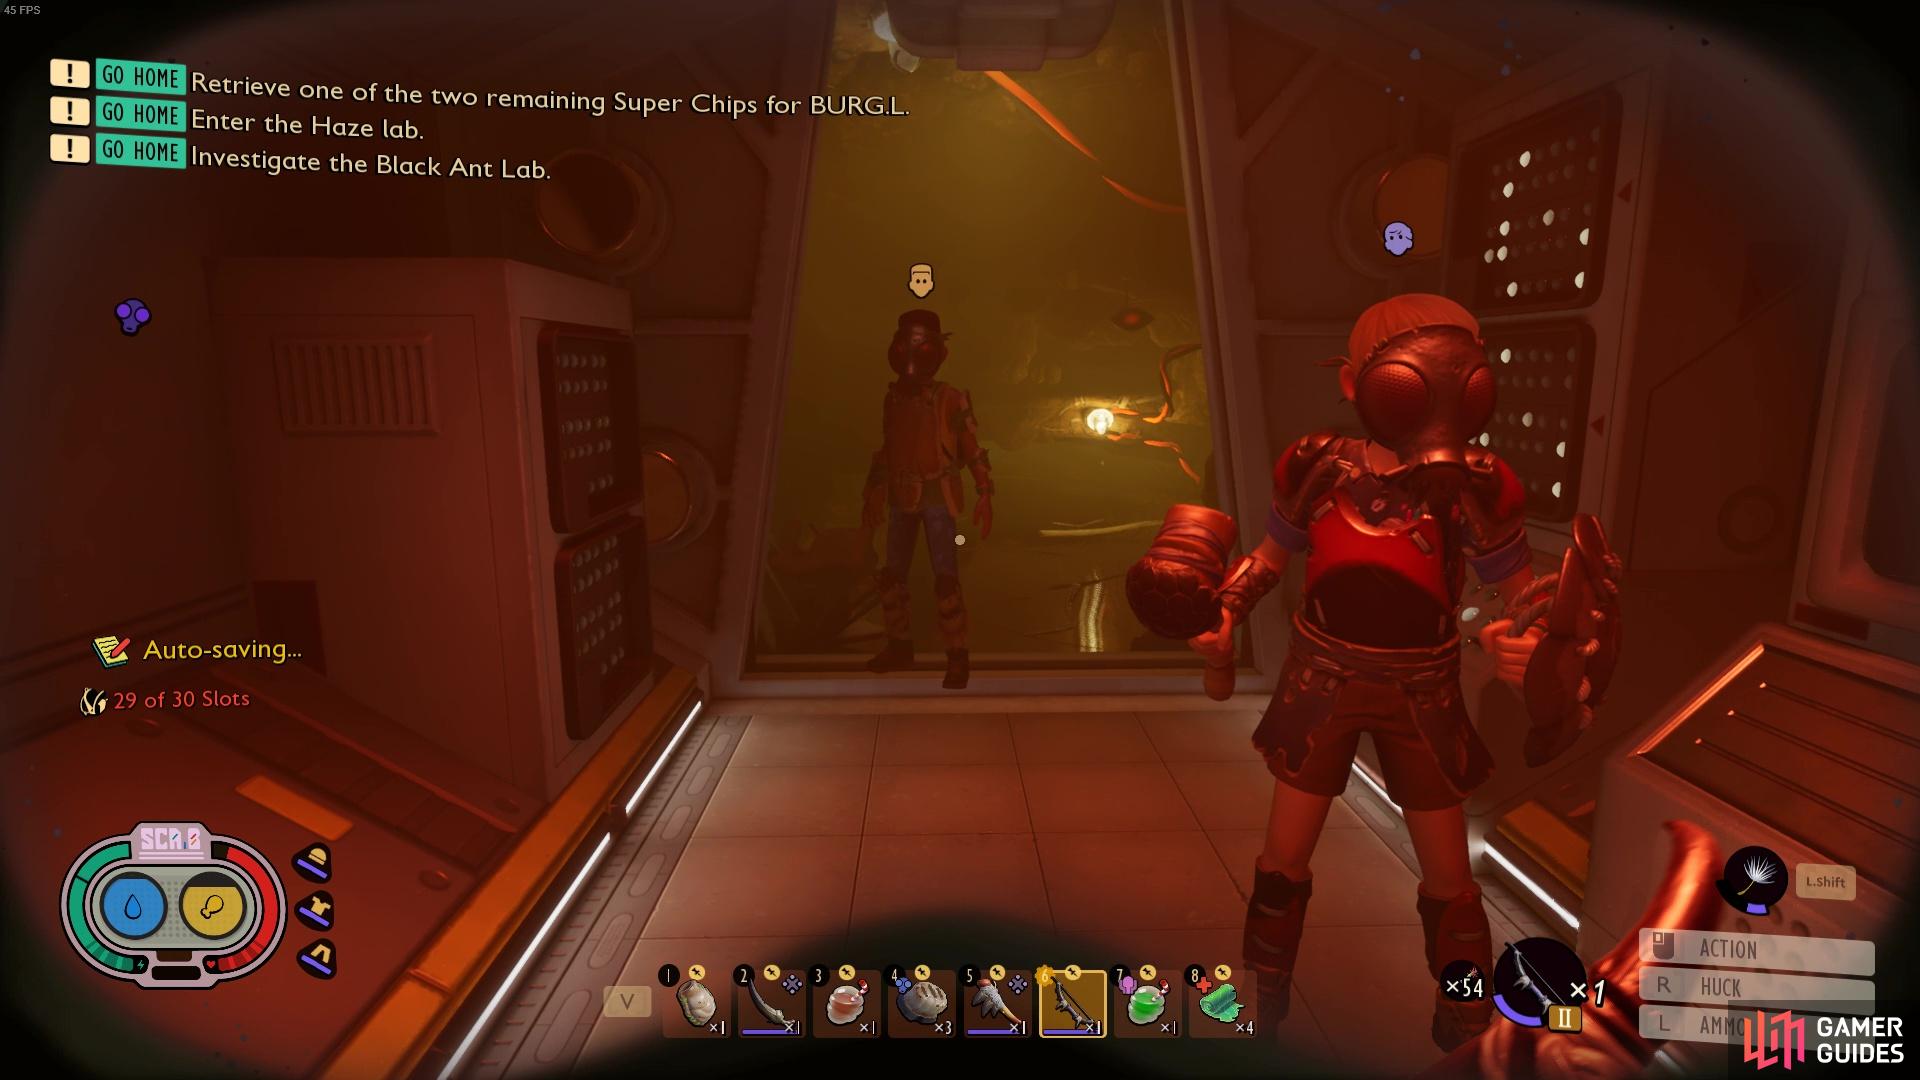
When you’re out of the water, you’ll want to make your way into the red-lit hallway. In the next room, you’re gonna be facing a whole host of enemies so make sure you’re prepared! It’s also worth noting that if you die in the room up ahead, your backpack will be found in this entryway so you don’t have to go running into the enemies to pick up your stuff!
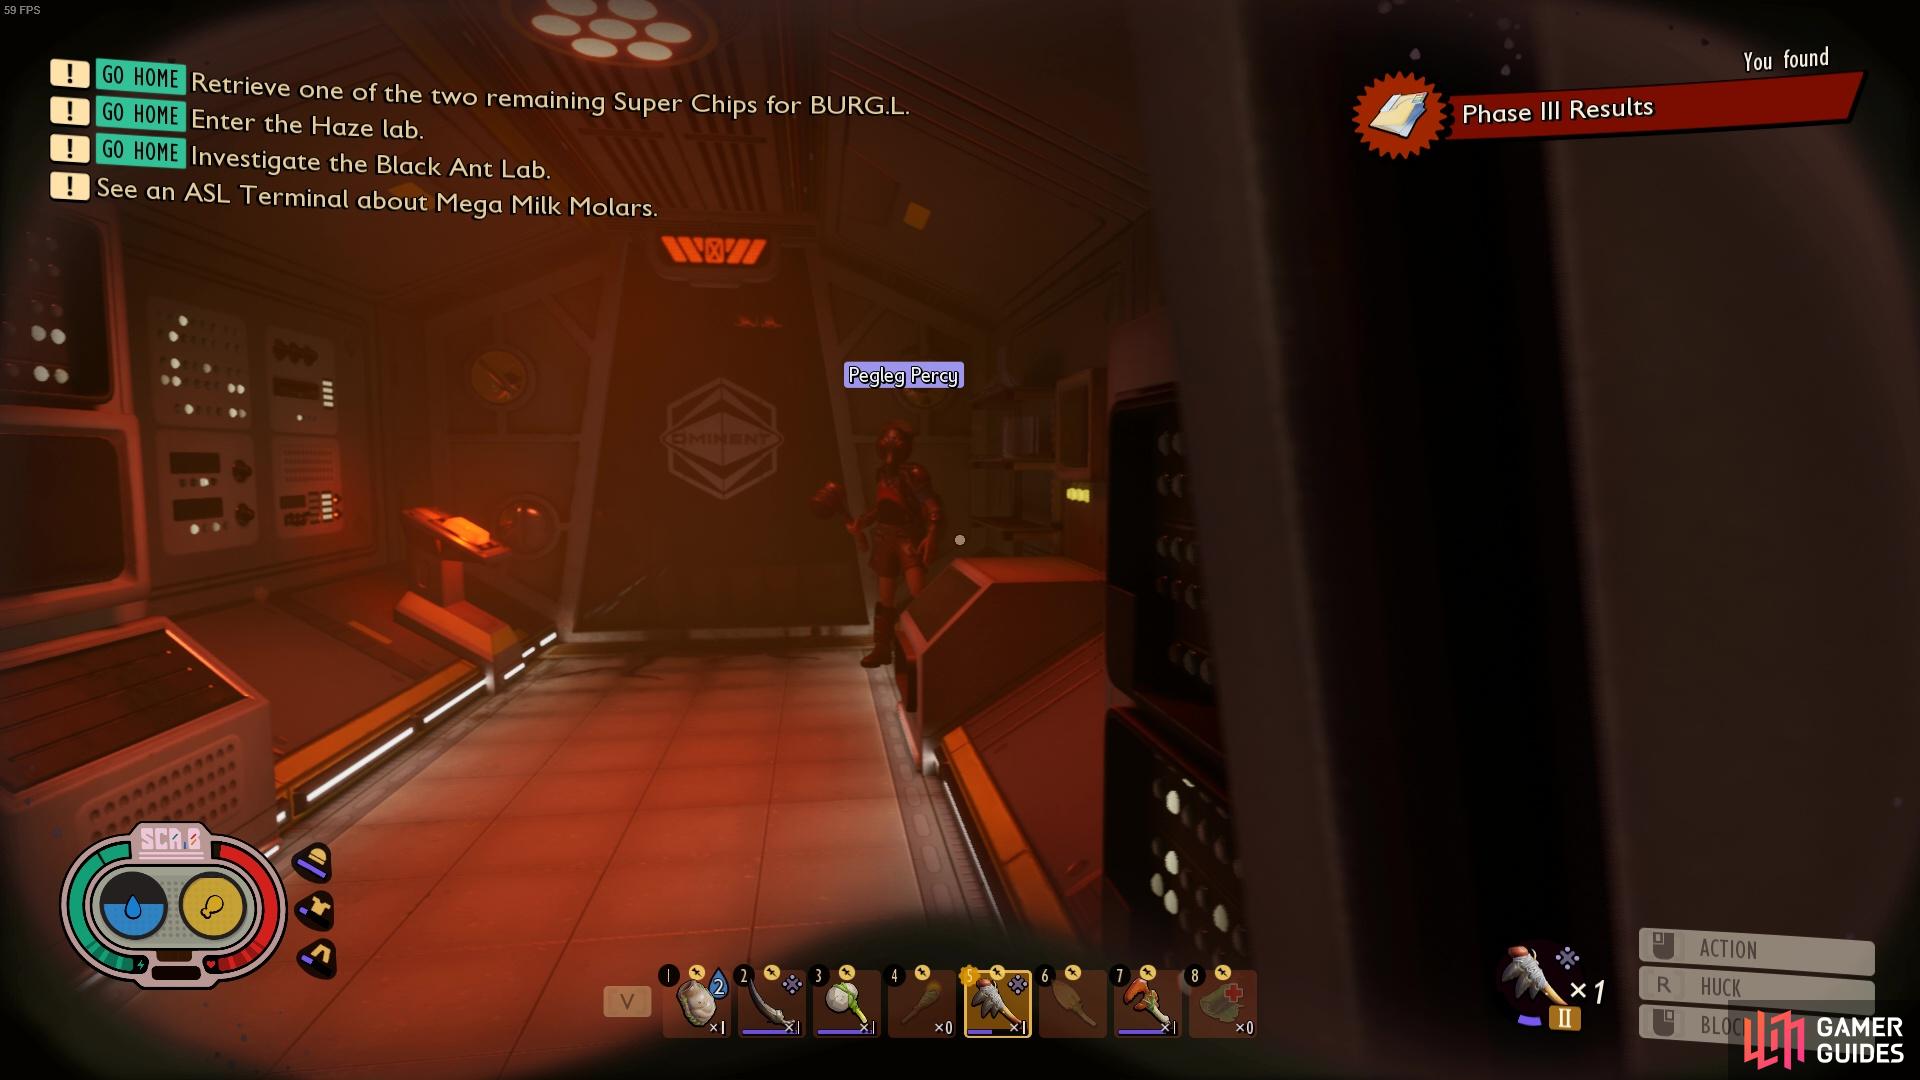
This entryway is quite foreboding!
How to Defeat the Infected Ladybug Room
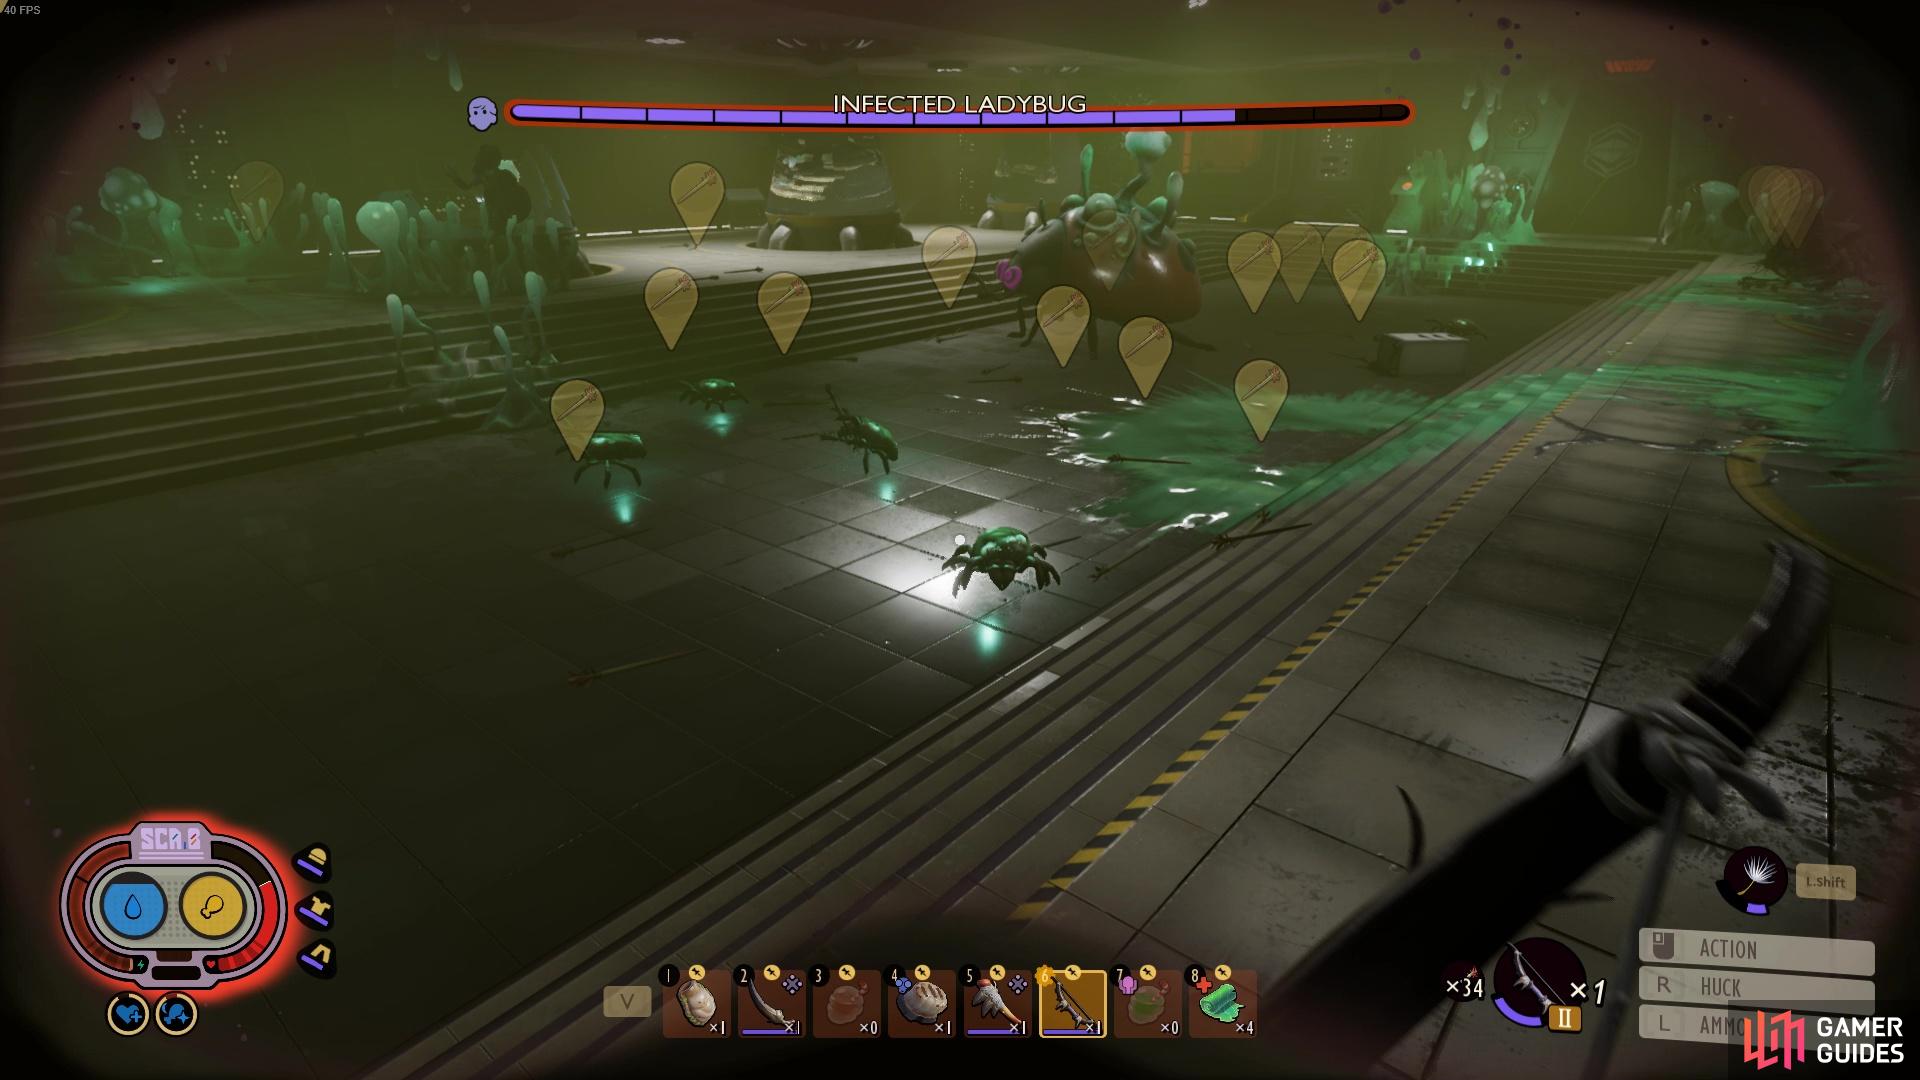
Hopefully, since you’ve prepared for this lab, you won’t find this room impossible. It’s definitely tricky as when you first enter you’ll only be expecting an ![]() Infected Ladybug. However, when it starts shooting out its infected bombs it’ll cause infected larvae and infected mites to spawn, meaning there will be several enemies to deal with and avoid all at once. The Ladybug shoots out four bombs at a time every 30 seconds or so, so it’s quite relentless and you’ll constantly be needing to dodge them.
Infected Ladybug. However, when it starts shooting out its infected bombs it’ll cause infected larvae and infected mites to spawn, meaning there will be several enemies to deal with and avoid all at once. The Ladybug shoots out four bombs at a time every 30 seconds or so, so it’s quite relentless and you’ll constantly be needing to dodge them.
The Infected Ladybug is extremely tanky (even tankier than normal Infected Ladybugs, which are already tankier than standard ladybugs) and you should avoid fighting it until all the additional enemies have been dealt with. The ladybug is slow and the main threat is its perpetual throwing of fungus bombs that detonate after a few seconds. You’ll need to keep your wits about you during this fight and whilst you’re dealing with the other enemies you’ll need to make sure you aren’t being caught in the fungus blasts as they do a ton of damage.
You definitely don’t want to be staying in the entry way area either as the door shuts behind you and you’ll be cornered by a load of Infected Larvae! It may seem like a good place to shoot from but you’ll quickly regret it!
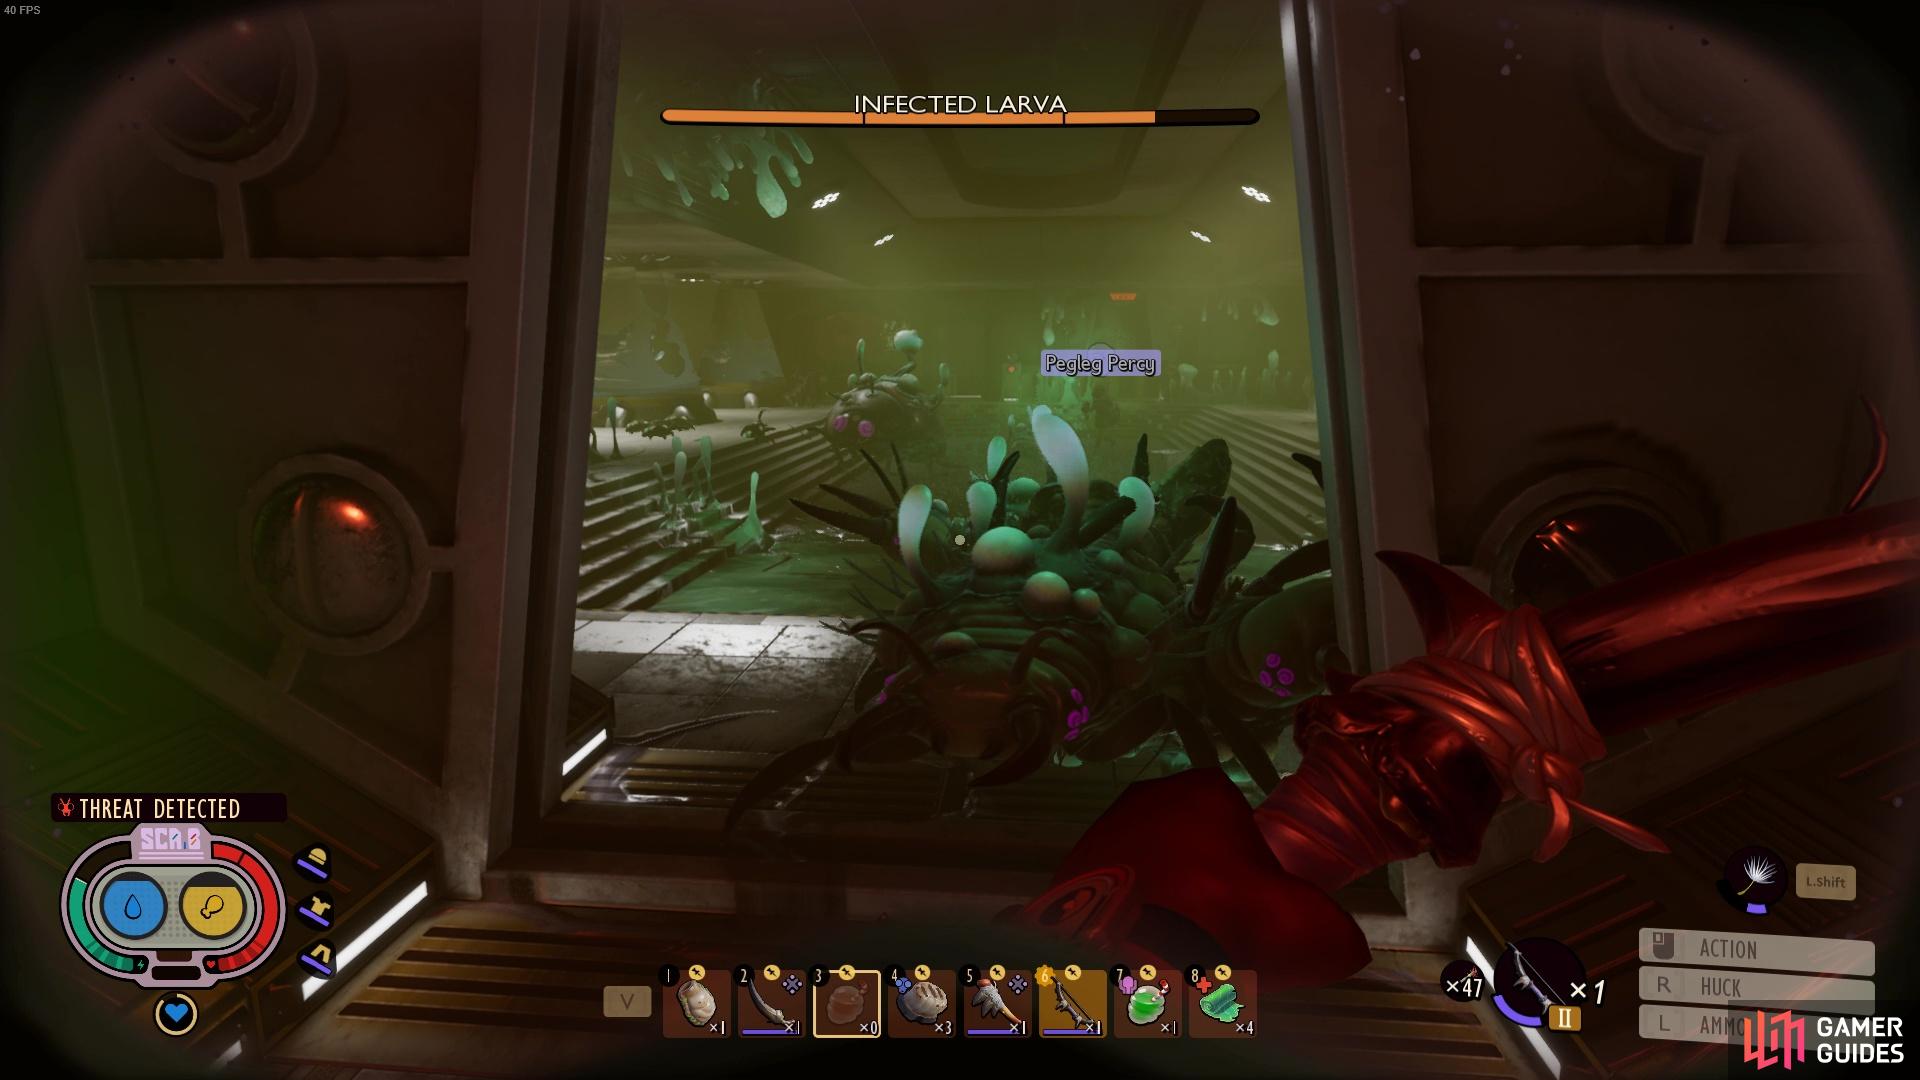
Don’t let the larvae corner you in the entryway - it’s a bad idea!
Unfortunately, you will need to make your way into the main room and continually be moving around to dodge bombs and avoid being hit by the other enemies. If there’s two of you it can really help to manage the ladybug’s aggro. Your partner can draw its attention whilst you deal with the ads and then you can periodically switch when one of you needs a breather. If you get hit by a bomb or by any of the ads, make sure to disengage to the best of your abilities and heal up using a combination of food and bandages. Food will give you immediate regen, whilst topping up with a bandage will allow you to regenerate slowly over time. The bandages are especially useful for ranged players who won’t get hit as often and will have the opportunity to heal up. Tanks and close combat fighters, on the other hand, should mostly focus on healing using food!
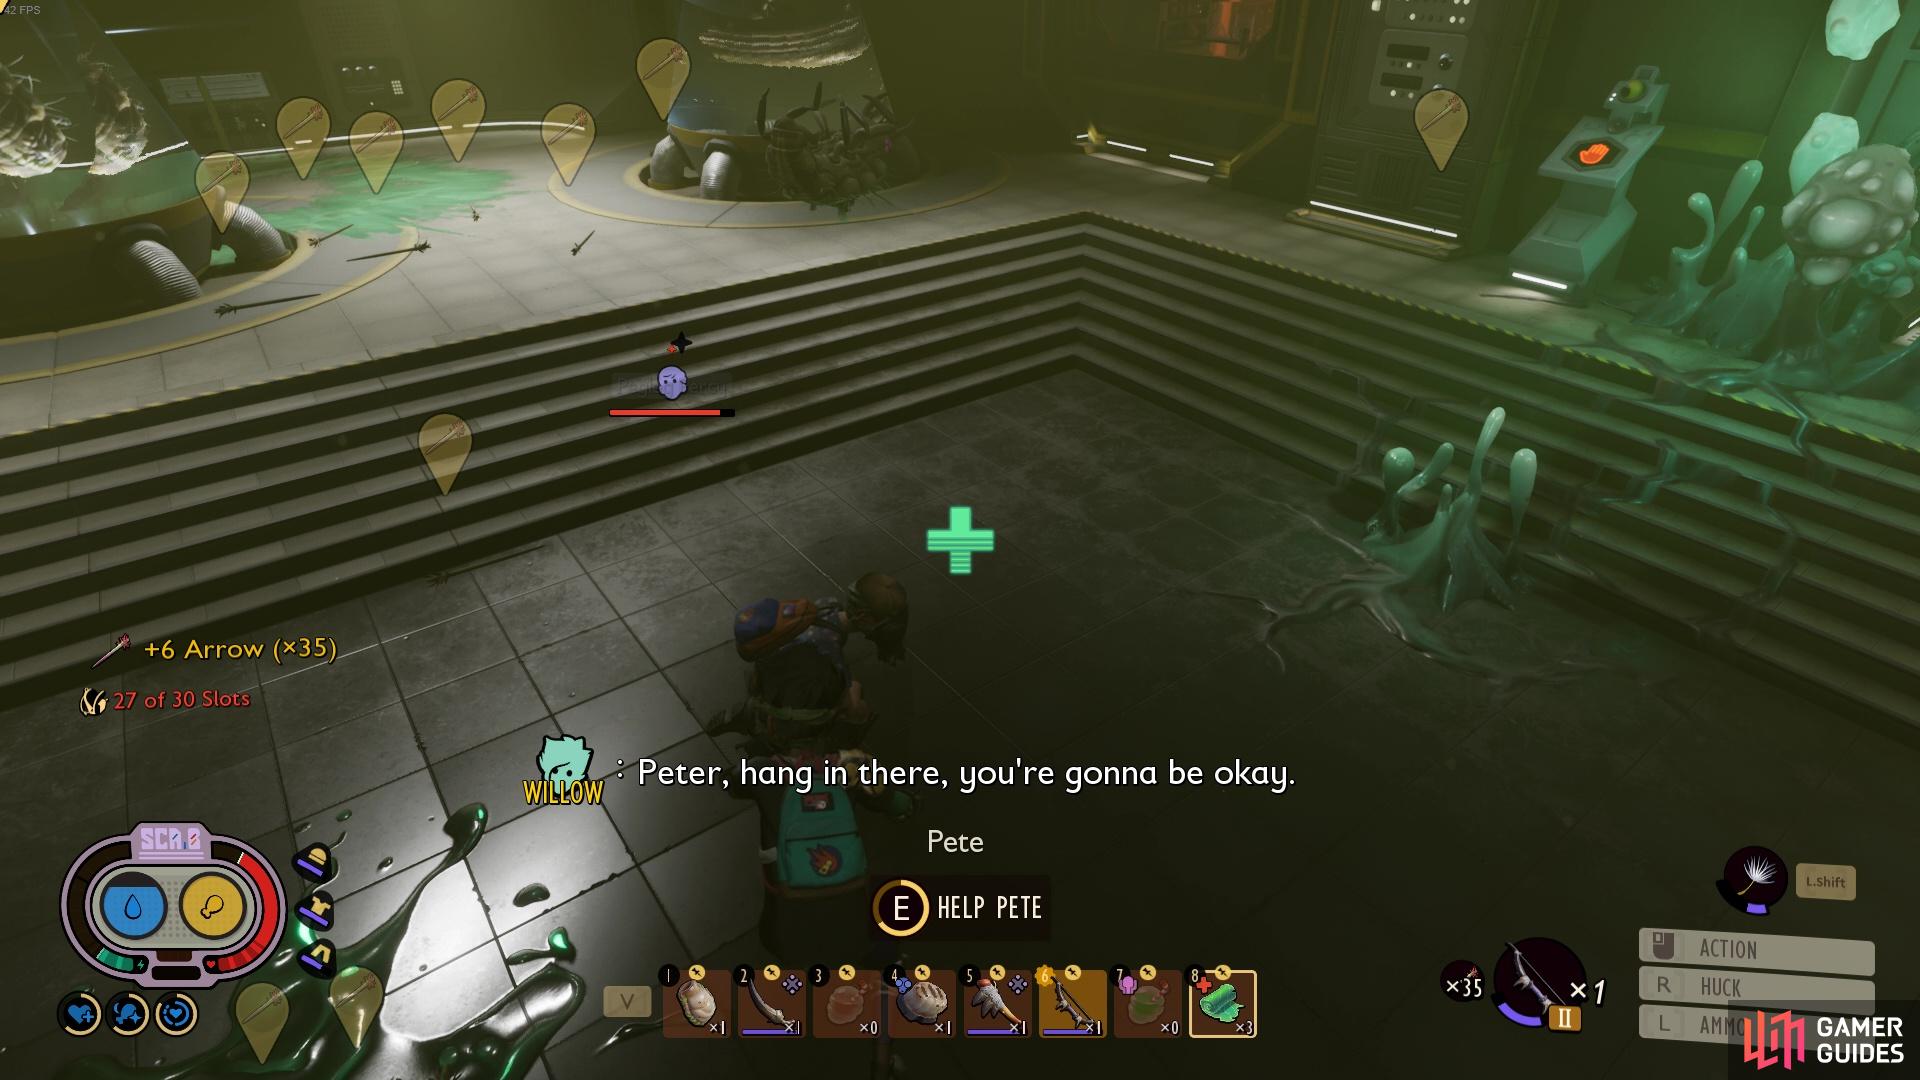
Don’t forget to also revive your friends! The Reliable Friend mutation makes reviving way quicker!
If you have brought some bratburts it’ll be good to try to aim it at a cluster of enemies to make sure you can damage as many of the enemies as possible.
So your first focus should be dealing with the handful of infected larvae - they are quite tanky and also do a lot of damage whilst chasing you around quite quickly. If you’re trying to fight in this room as a ranged player it’s nice to have the extra stamina from the Spider Armor!

Run around the room and try to single out the different larvae so you don’t have to deal with them all at once (easier said than done)!
After you’ve dealt with the larvae, your next goal should be to tackle the ![]() Infected Mites in the center of the room. They don’t do a whole bunch of damage but they are weirdly tanky for such small creatures. As you’re dealing with them, you’re probably starting to feel like there’s a light at the end of the tunnel - don’t relax yet though! You still have that awful ladybug to defeat.
Infected Mites in the center of the room. They don’t do a whole bunch of damage but they are weirdly tanky for such small creatures. As you’re dealing with them, you’re probably starting to feel like there’s a light at the end of the tunnel - don’t relax yet though! You still have that awful ladybug to defeat.
The infected mites are more annoying than anything else.
Once the ads are dealt with, you’ll want to now turn your attention to the ladybug. If you defeat the ladybug prior to defeating all the ads then the rest of the enemies will die. That being said, we don’t recommend focusing the ladybug until the other enemies are taken care of as you’ll get easily overwhelmed by the larvae and the mites. It’s better to kite around the ladybug until its just the ladybug remaining.
The remaining fight should be significantly easier without everything else hitting you but you still need to be wary of it. Other than it’s fungus bomb attack, it’ll also perform the usual ladybug attacks - side slams and charges. You’ll naturally want to either dodge these attacks or block them - blocking is advised if you have a shield or a heavy weapon as it’ll stun it!
Steer clear of the ladybug’s bombs!
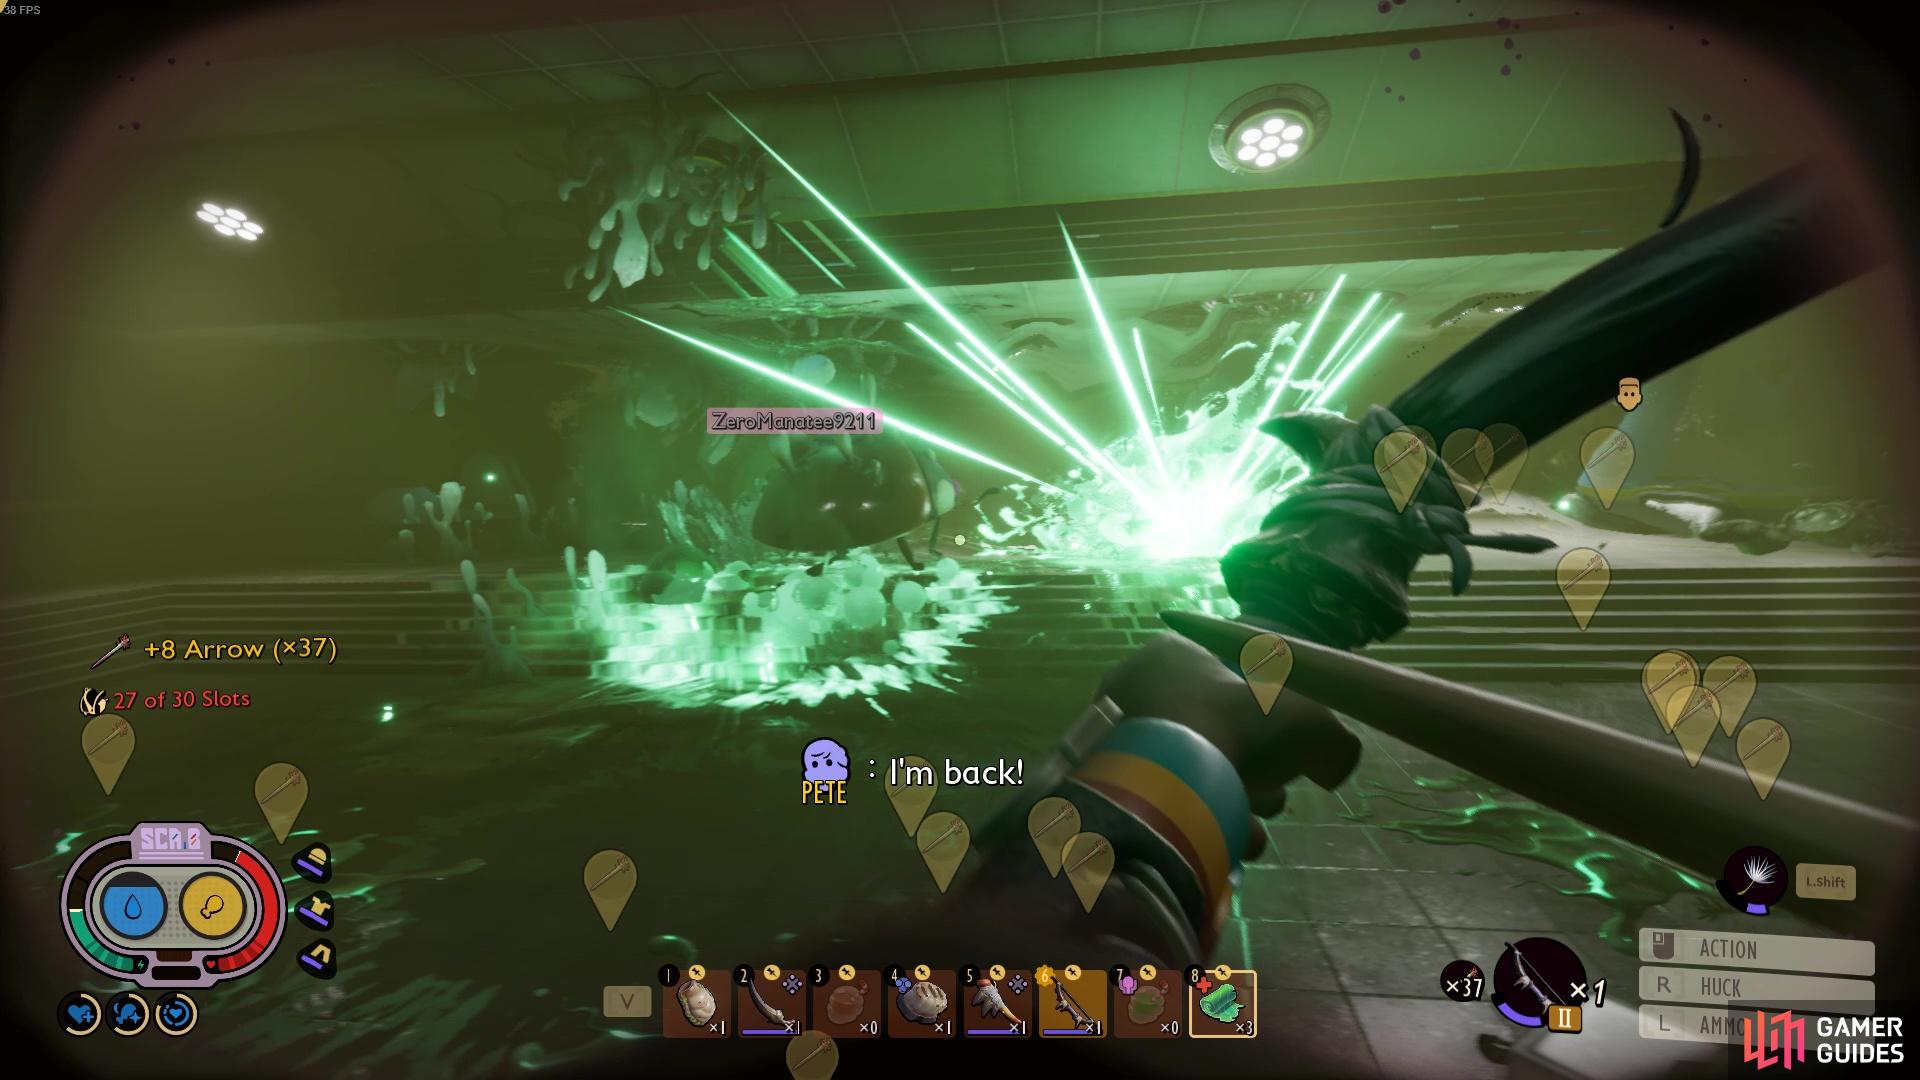
Once the ladybug has been defeated, take a breath and celebrate! Before you open the door, however, you’ll want to replenish your health and explode the fungus plant near the bioscanner. When you open the door, you’ll be greeted by more Infected mites - the cheek of it! Quickly deal with those and then follow the path into the room.
On the desk near the window, you’ll find the Haze SUPER chip. Nearby you’ll also be able to pick up a handful of Bratburst bombs. On the table behind you you’ll also find another tape! You may now exit this hell hole - congrats!
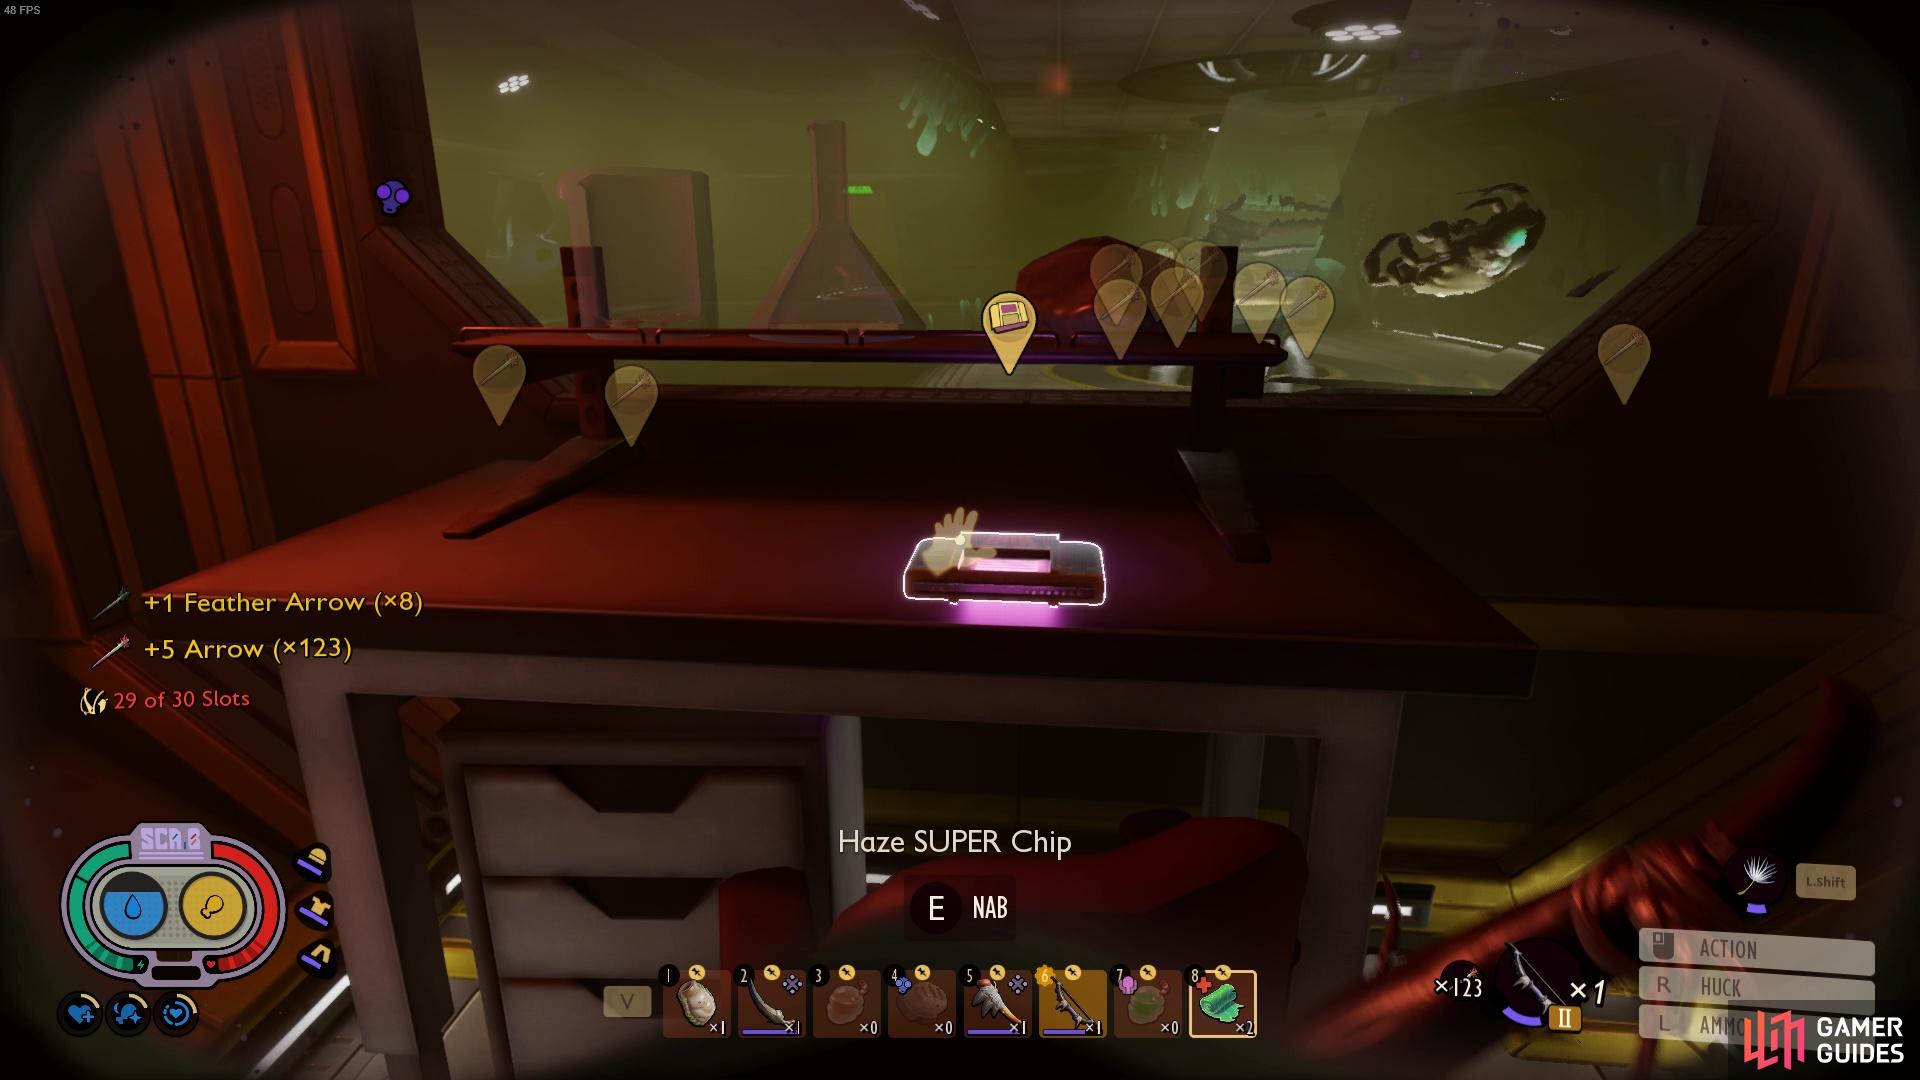
Grab the Super Chip and leave this wretched place!
No Comments