
We will try to point out suitable places to use Chronostasis though we will generally assume you are keeping it active for most of the quest. As you get near the final boss however, it is best to go in with full EP so save enough time at the end so you no longer have to use EP for Chronostasis. There is a merchant inside where you can replenish your items so don’t worry about healing.
Setup the Midnight Mauve schema to include powerful spells that compliment Fira, equip a high magic weapon and a good shield then set it as your default garb and approach the Director. This is it, the finale at the end of the world. Watch the spectacular scenes.
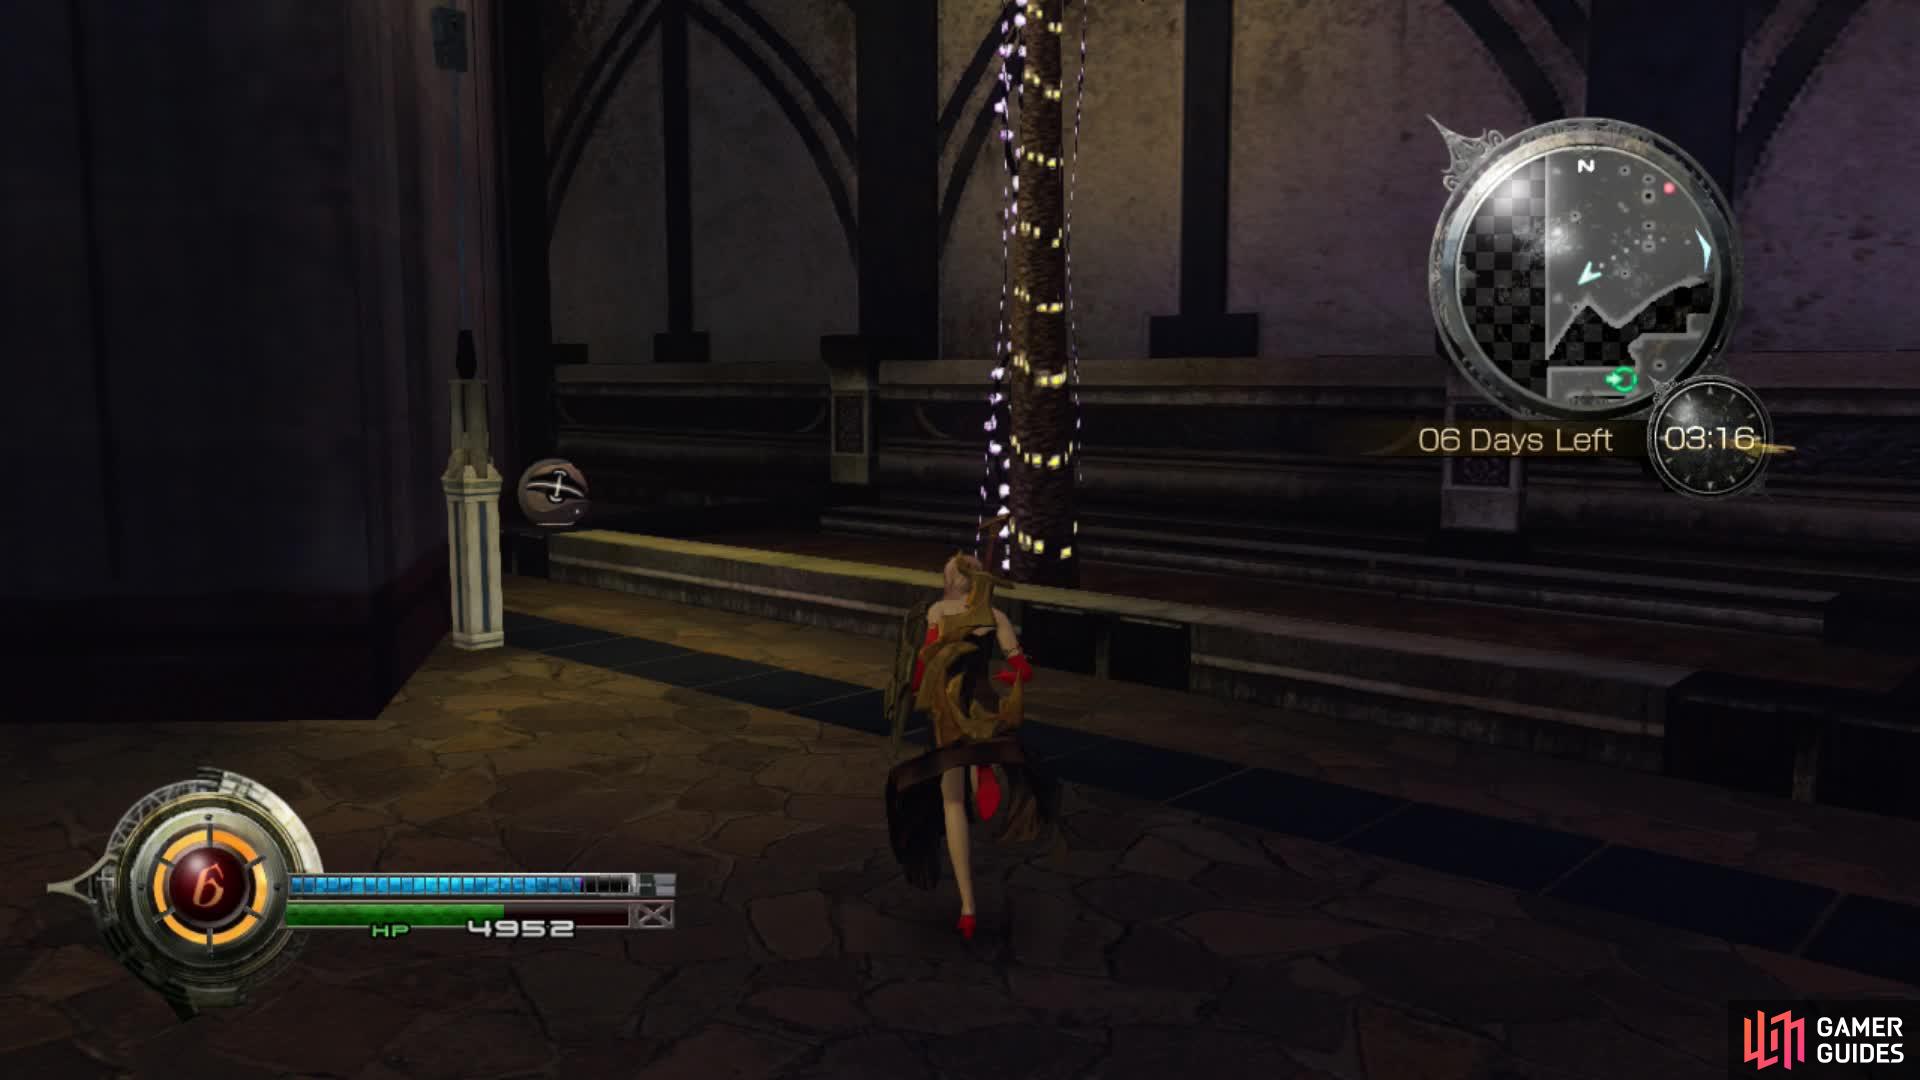
You will regain control just inside the Palace grounds. Pick up the Statue Fragment that is blinking on the ground before you do anything else. There are Chaos Infusions throughout this section so be aware that you may need to fight some pretty strong adversaries. There is another Statue Fragment to collect through the broken wall just north of your position.
Before you enter the Palace, turn around and head west to the far corner where you can find a sphere with the Thorn of Courage inside. Now you can enter the Palace. You only have 3 hours to complete this section so you must use Chronostasis. There are plenty of opportunities to replenish your EP by Chaos Infusion battles so always fight any you can.
Remember to check this corner before you enter the Palace. This item is a useful one in forthcoming battles.
Do not spend EP on Curaga if you can help it. You should restore your HP via Potions where possible because there is a merchant right before the final boss. Save your EP for Chronostasis only.
Reset your default schema back to Passion Rouge but leave Midnight Mauve in place of your other magic schema. Fire damage will become very important soon. Run to the waypoint when you’re ready and follow the corridor up the stairs and all the way round to the next marker.
There is a massive Chaos Infusion in the ballroom so be careful when you enter. Fight whatever monster spawns to clear it. These next few rooms should be very familiar from the prologue. Exit the ballroom via the stairs up to the balcony and turn right to follow it round. There is a stairwell on the east side with some Gold Dust at the end. Gold Dust is a sale-only item and carries a nice 4000 Gil price.
Every little bit of money helps in this game so make sure to pick up the Gold Dust here.
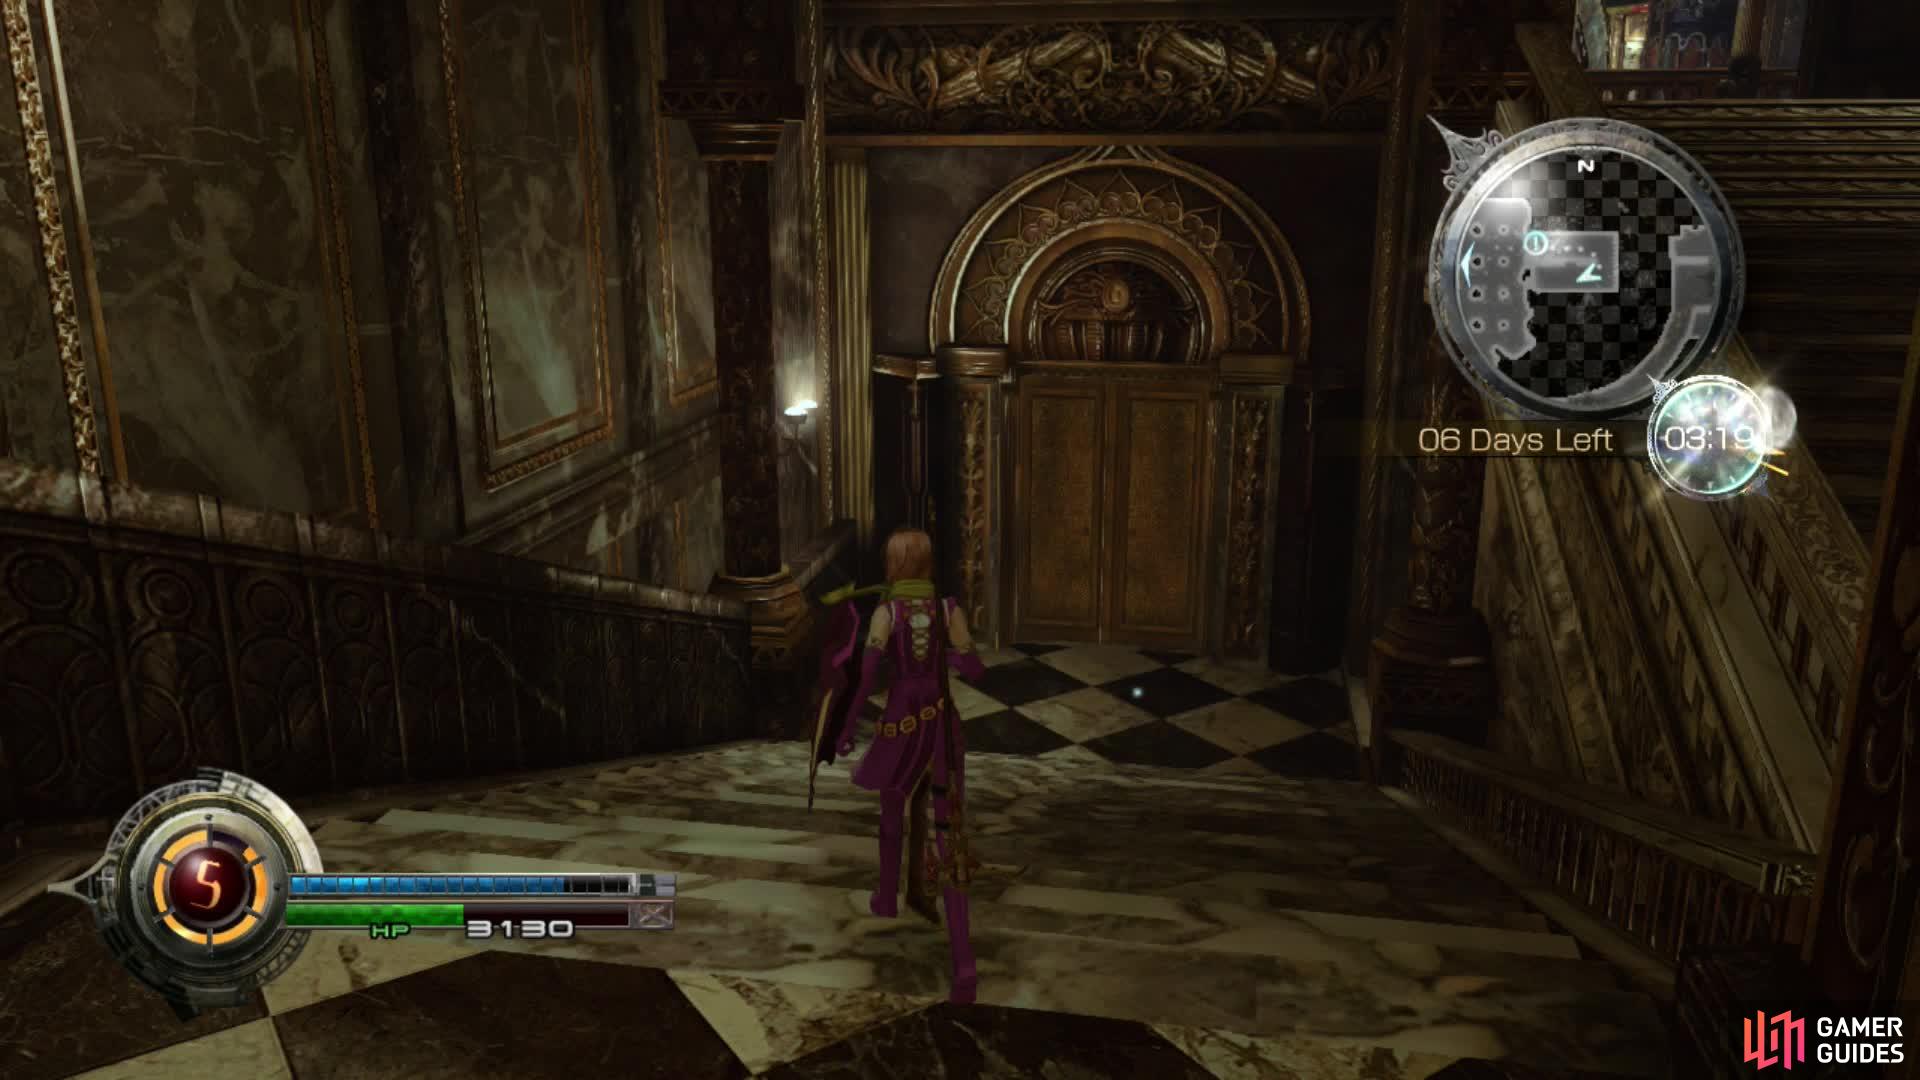
Follow the route back to the door you reached in the prologue. This time you can open it to find the Chaos has grown worse inside. Don’t forget to collect all Soul Seeds you find while you’re here. This is a perfect opportunity to gain a lot of money this way.
Run into the next room and use the switch here to open the door. The next corridor leads to another room with a fair few boxes. Climb the ladder on the left and follow the path round. Before jumping down, grab the treasure containing Flamestrike Level 2 , an ability you will need very much shortly.
It is so easy to just jump down before noticing the treasure here. This treasure is essential though so don’t miss it!
Jump down and carry on to the next room. Jump over the crates and go into the next room. This room has Zaltys and Cyclops spawning frequently in the large space in the middle so be aware. Jump the red boxes and follow the corridor round until you reach the switch. Push it to open the doors below. Jump down and go through the doors, turn right up the stairs to find the Heavy Guard Level 2 . Your defensive capabilities have increased significantly.
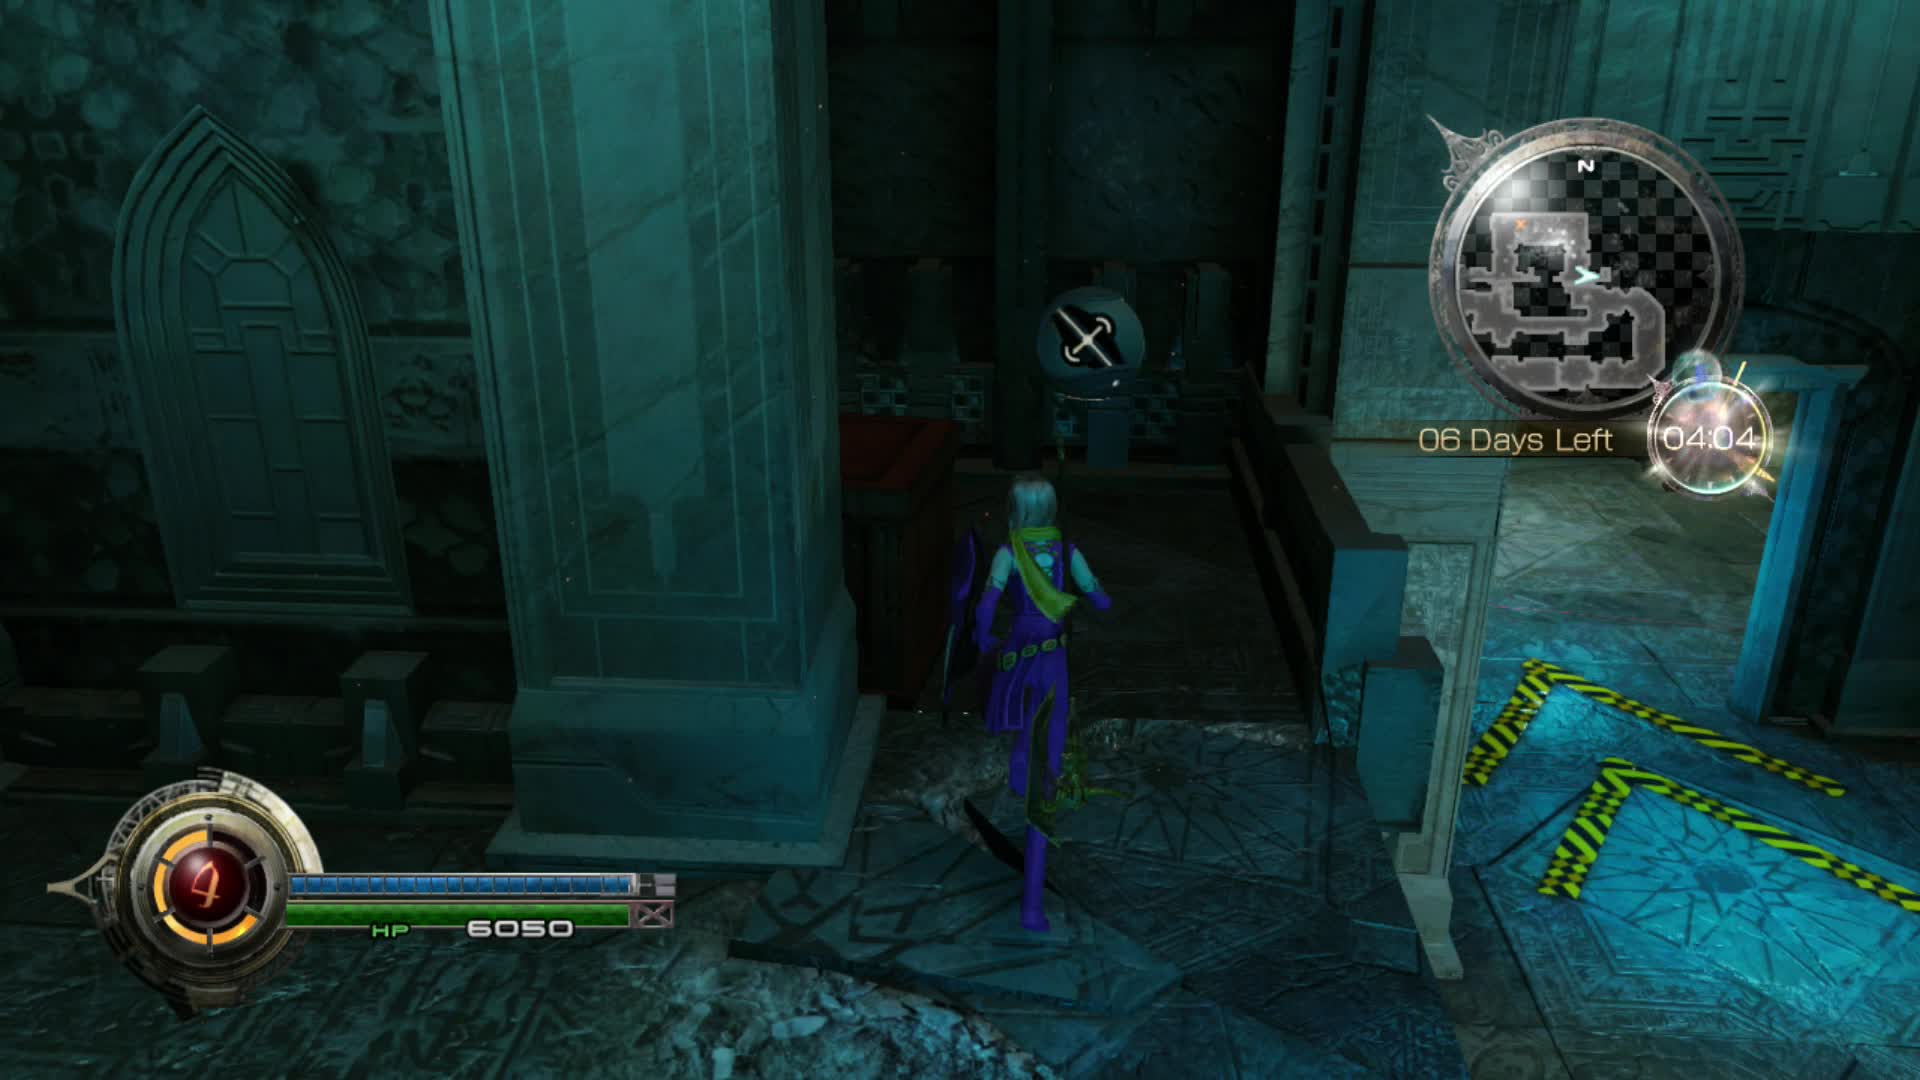
Turn around and go through the left path to the next room. Cross the room, jump the boxes and run into the corridor up the stairs. At the top, smash the boxes in front of the ladder and climb it to reach the switch and the Frostbane Choker . Press the switch to advance. A Merchant is waiting on the other side so stock up on items if you need to and then go to the marker in front of the door sealed by ice.
We need to find a way to open the frozen door. Activate Chronostasis for this next section. Run to the right to find the Prophecy of Aspiration which is Libra information for the next boss. Head in the other direction and follow the next set of corridors. Boost your EP with the Chaos Infusion, and remember to keep using items to restore HP. You will have another chance to stock up before the final boss.
The Prophecy of Aspiration will give you detailed Libra information for the boss so definitely pick it up.
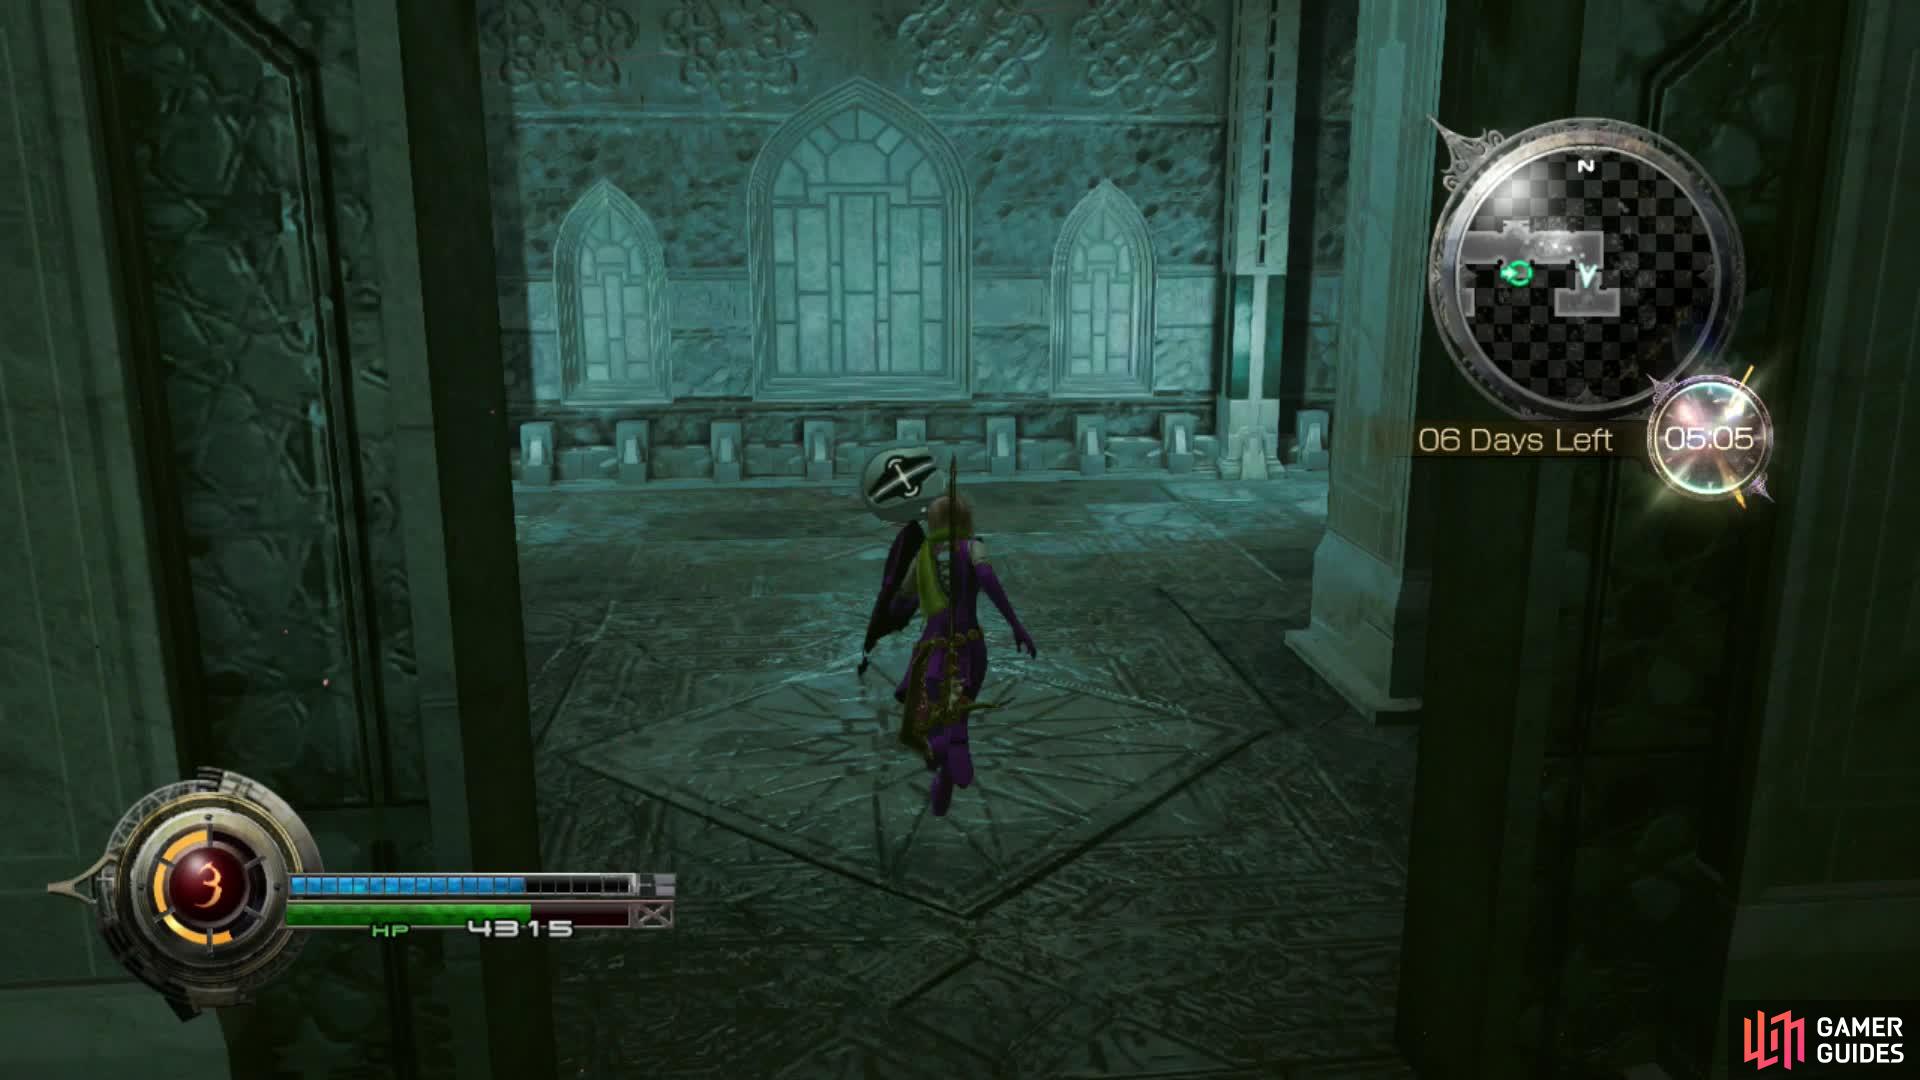
Keep Chronostasis active at all times. At the end of the corridor climb the ladder to reach a cell; the Patron’s cell. Just what has happened to him? Go straight on, following the halls round until you reach another room with a switch. Climb the ladder in front of you and follow the walkway until you come back out into the room. There is another walkway to follow that leads you to the switch on the far side.
Run through the newly opened door into a room filled with Chaos. Two Anubys guard the next door that you must defeat to progress. This is your last chance to really boost your EP. Try and get at least 4 saved for the final boss. If you have only been using EP for Chronostasis you should be able to save 6 EP for the boss.
Run through the door and to the waypoint for a cutscene. A hatch will open in the floor so jump down there after the scene. Follow the route back to the waypoint marker and stock up on as many items as you can with the merchant. The final boss awaits through the sealed door so prepare your schemata now.
Boss Battle: Snow Villiers
Schemata Setup
You will need fire abilities and accessories and anything that protects against ice damage. Strong attacks are essential.
Dragon’s Blood
| **Weapon** : | Shadow Hunter or high strength weapon |
|---|---|
| **Shield** : | Night Lotus |
| **Accessories** : | Fighter’s Emblem, Thorn of Courage |
| **Abilities** : | Heavy Slash Lv 3 (locked), Steelguard Lv 1, Flamestrike Lv 2, Attack Lv 1 |
As usual, this will be your damage dealing schema when Snow is staggered and to cause a stagger using Flamestrike or Heavy Slash. Having Auto-Enfire and Bravery (from Thorn of Courage) will greatly enhance any damage you inflict.
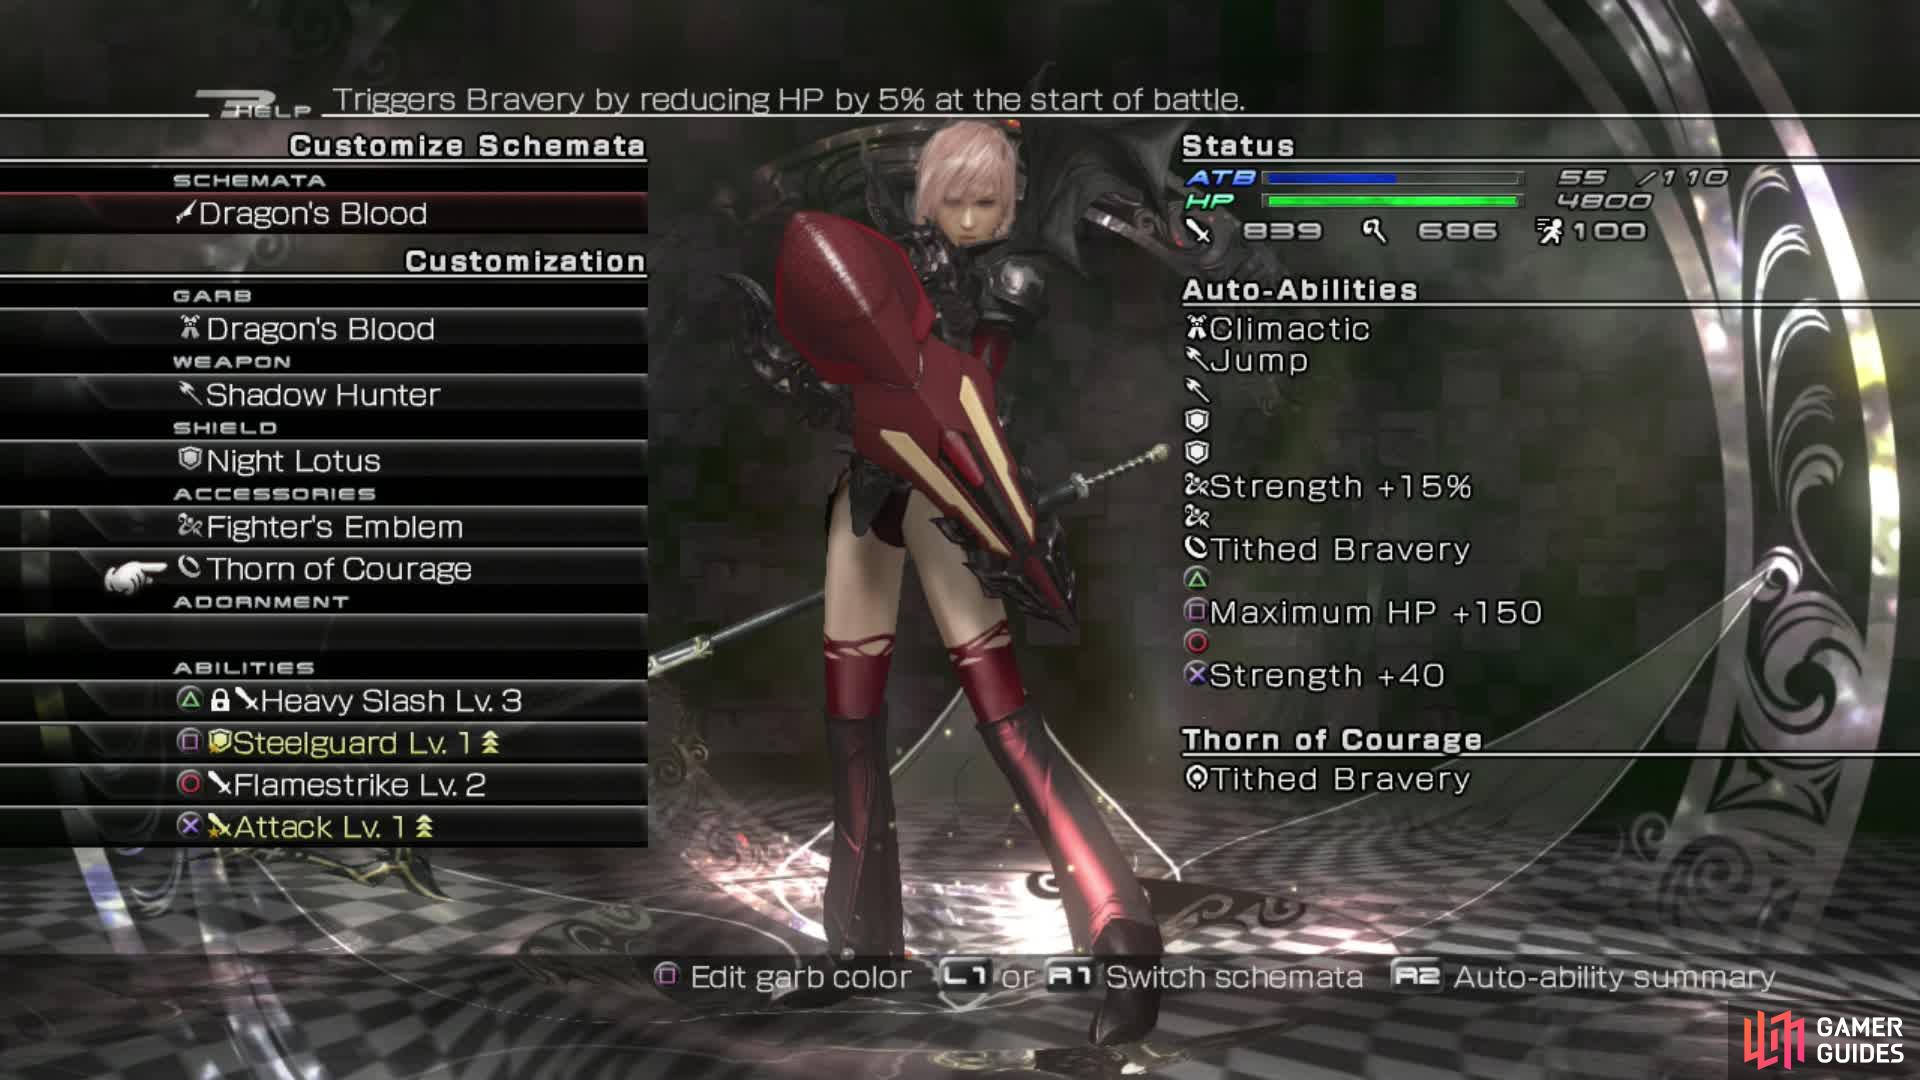
This garb is still one of the best to use at this point in the game. Heavy Slash Level 3 is stupidly powerful when equipped with added fire damage.
Passion Rouge (default)
| **Weapon** : | Death Herald or other strong weapon |
|---|---|
| **Shield** : | Juno Sospita/Pendragon |
| **Accessories** : | Frostbane Choker, Firewyrm Bracelet |
| **Abilities** : | Deprotect Lv 2 (locked), Heavy Guard Lv 2, Firaga Lv 2 (or similar strong Fire spell), Deshell Lv 2 (locked). |
You will also be using Passion Rouge as you have before: to debuff and as your primary defense. Heavy Guard will allow you to block Snow’s strongest attacks completely and you can also go on the offensive with a fire spell. The Frostbane Choker will reduce the damage from Snow’s ice spells and the Firewyrm Bracelet allows you to start with Enfire on all your weapons.
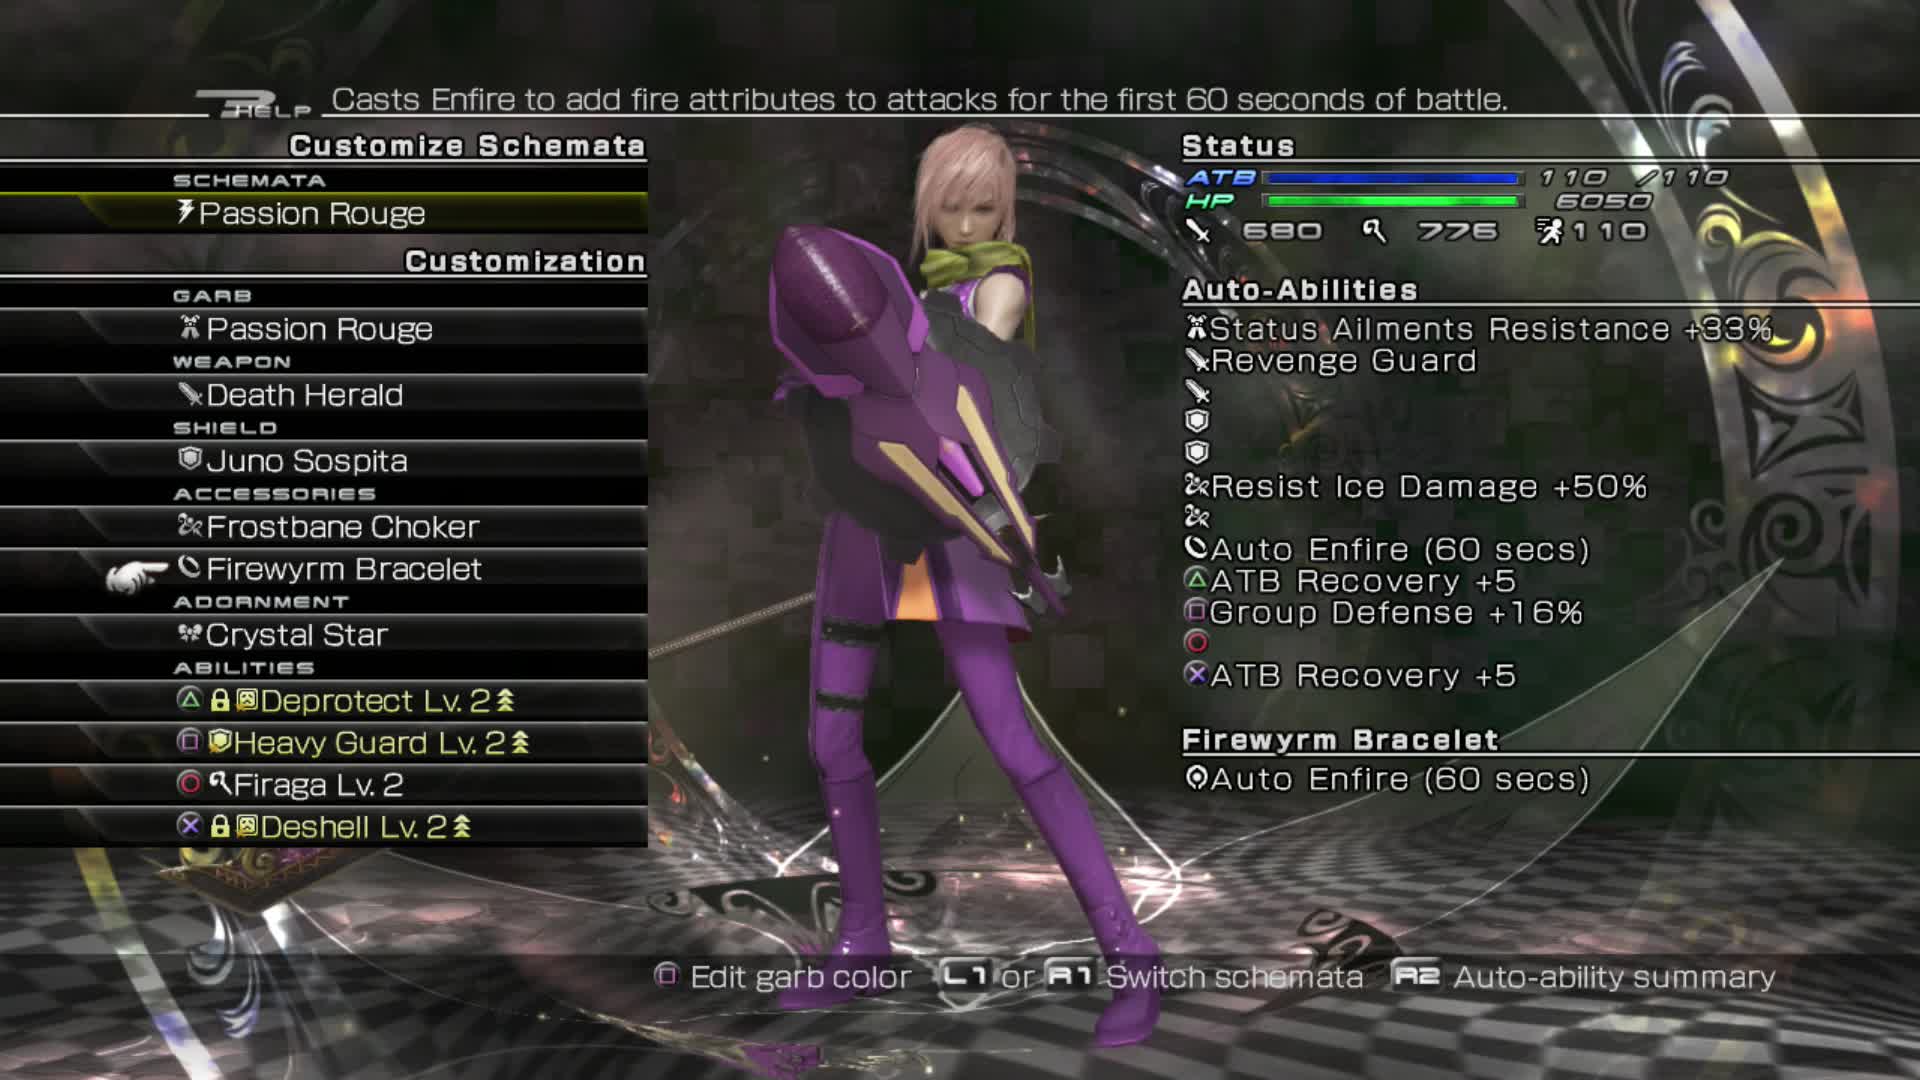
Passion Rouge is still the perfect garb for defense. Coupled with Heavy Guard and the Frostbane Choker, you can deflect pretty much any of Snow’s attacks and not have to worry about healing.
Midnight Mauve
| **Weapon** : | Sickle of the Faithful (or strong magic weapon) |
|---|---|
| **Shield** : | Pendragon/Juno Sospita |
| **Accessories** : | Demon Earrings, Thorn of Will |
| **Abilities** : | Thundara Lv 2 (or strong elemental spell), Guard Lv 2, Fira Lv 3 (locked), Aerora Lv 2 (or other strong spell) |
As long as you have a guard ability and the Fira spell on the same button as the other fire attacks from the other schemas, you can choose any other spell you wish. Snow is primarily weak against Fire and is resistant to Ice but other spells do normal damage so you can choose to build his Wave via another type of spell with a high stagger grade. You should be using Fira whenever you’re not guarding though. The Demon Earrings greatly enhance the damage inflicted and you will start with Faith via the Thorn of Will for even more damage.

Fira Level 3 is exceptionally strong during this battle so it makes sense to use this garb. Anything that boosts magic damage is also essential if you want to take Snow out in good time.
You should not need many restoration items so don’t worry too much. If you have an X Potion or a couple of Potions, you’ll be fine. You can also choose to take a Protect or Shell Potion for use in the battle but you don’t really need them.
Strategy
Snow poses a slightly harder battle than Noel did at this stage of the game. He has decent HP levels and has the ability to inflict a good amount of damage even with his basic attacks. It is essential you use Passion Rouge to guard against the strong attacks or you will find yourself needing to heal a lot and the battle will become a protracted affair.
Start with Deprotect and Deshell as standard and then get to work building his Stagger Wave. Snow will start out by casting Blizzard and attacking physically with punches and kicks. These aren’t terribly damaging so just focus on inflicting damage and building the wave up.
Snow will also use Recast and Riposte throughout the battle. When he does this, you must use the opposite type of ability or he will counter with a massive blow via Counter Drive . This can hurt quite a lot but it sometimes can’t be helped if you are focused on attacking. You can throw caution to the wind and just go all out offense against him and take the counter blows on the chin, or you can attack in bursts and react to any Recast/Ripostes as they come.
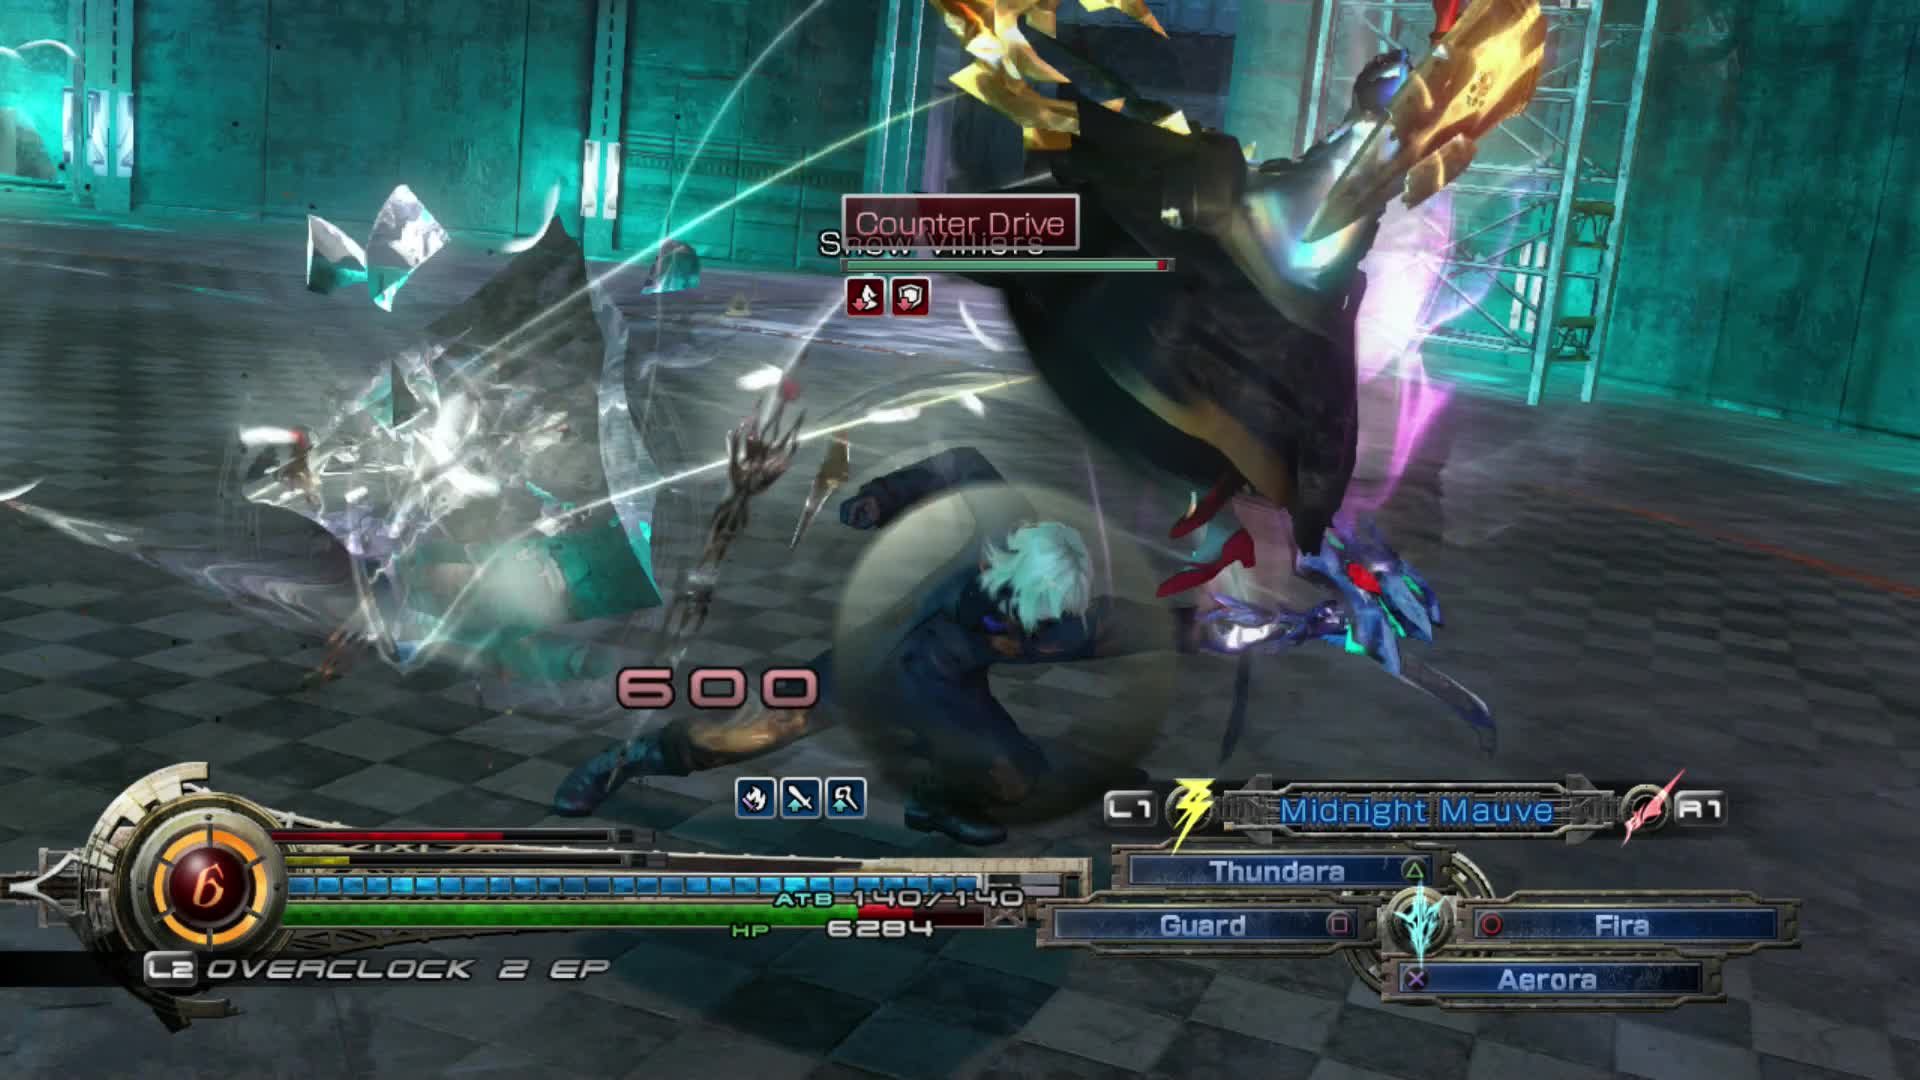
If Snow catches you with Counter Drive, it hurts quite a bit, especially if you aren’t in a schema with good HP. Keep plugging away though and just try and react as best you can.
When he uses Recast you should attack physically and when he uses Riposte you should attack magically. This has the added benefit of making him more vulnerable to Stagger Wave build up so it is beneficial to learn the pattern.
When you’ve staggered him once, activate Overclock and pummel him with fire or physical attacks depending what kind of Stagger you induced. If he was staggered by magic, use physical attacks against him and vice versa. Look for the icon on his status bar to tell you how to attack. Once you’ve used Overclock and your ATB gauge, use another Overclock before the stagger ends to deplete his HP down to about a quarter.
After the stagger is over, Snow will use Depths of Despair . This increases his resistance to status effects and he will start using stronger abilities in a last gasp attempt to win the fight. Unlucky for him, he’s almost down. By this point, his debuffs will have worn off so renew them again. He will use abilities like Impact Driver and Brutal Bash so you need to be on your guard with Passion Rouge when the notification appears.
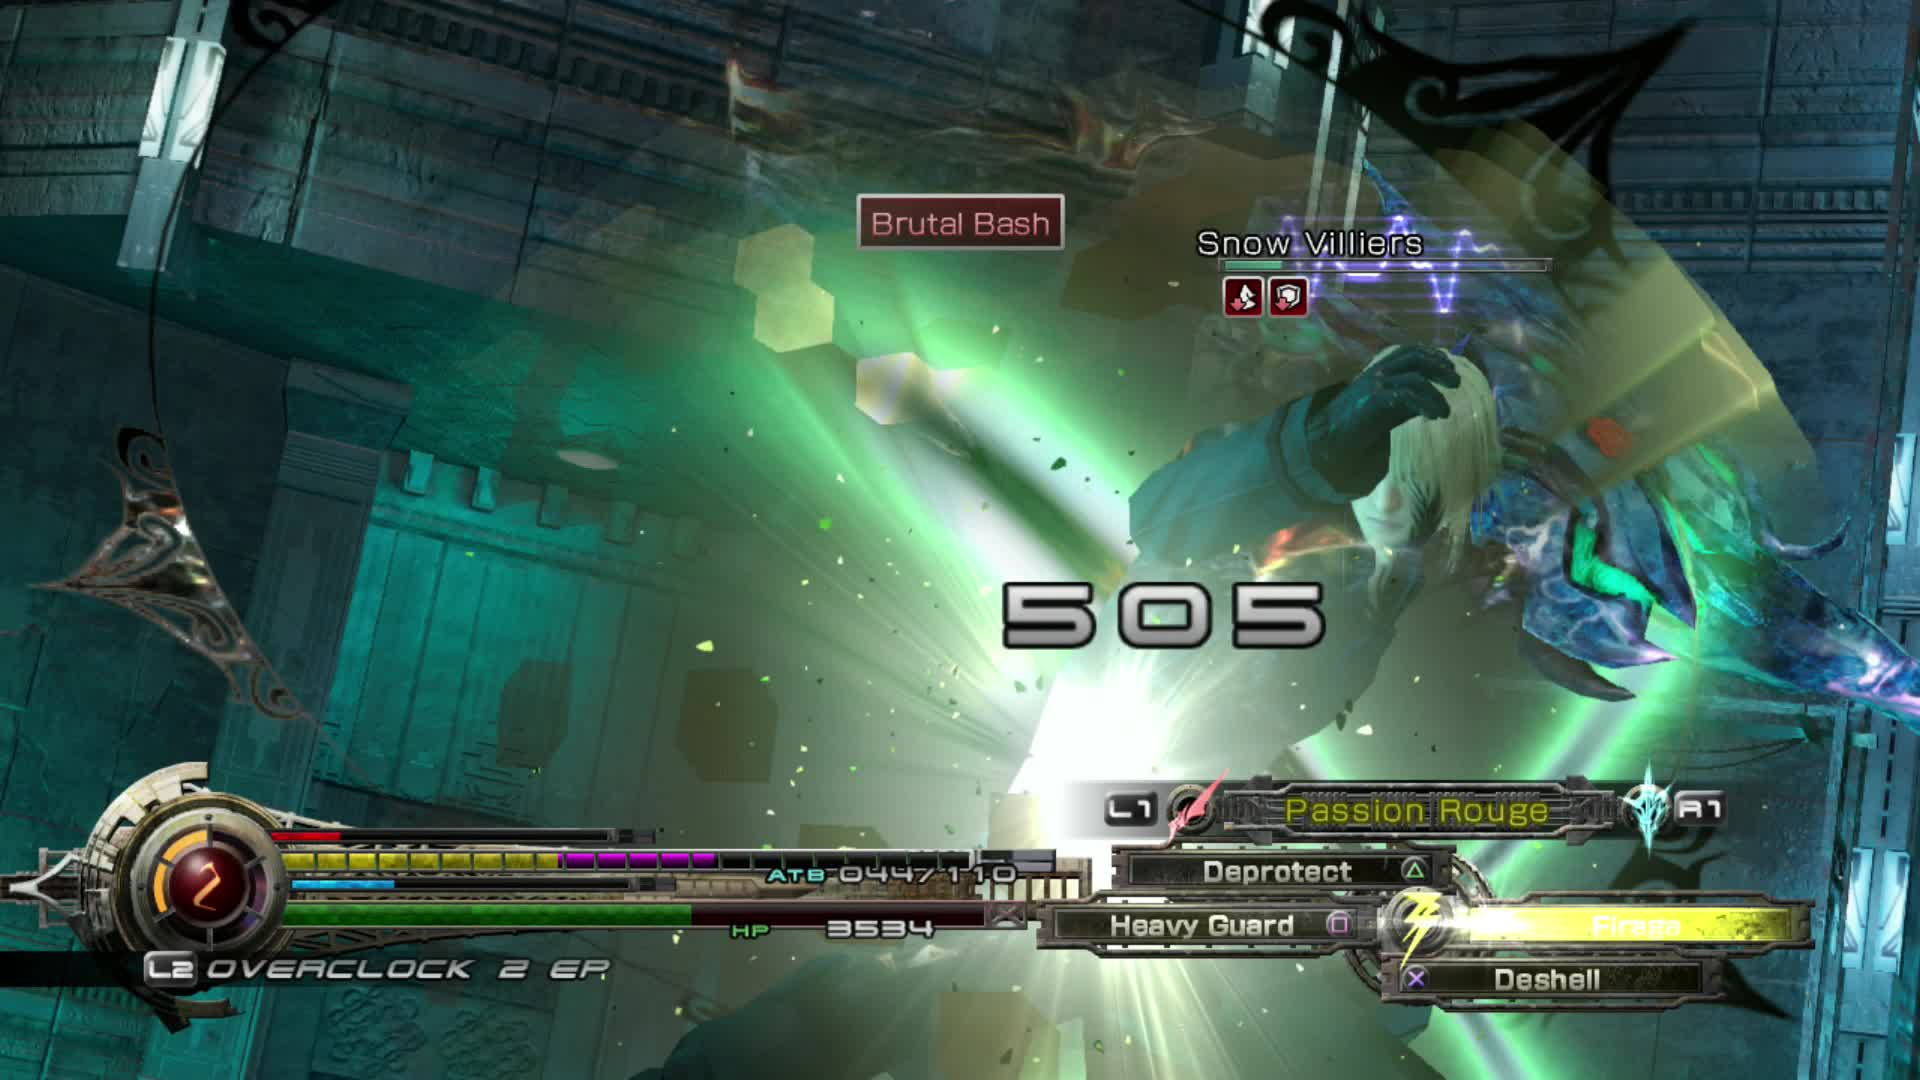
Snow gets stronger towards the end of the fight and a lot more aggressive. A final burst of Overclock or a stagger will bring him down before this.
If you have any EP left, use Overclock after debuffing him again to build up the Stagger Wave again and stagger him to the finish. He will fall quickly. If you do not have EP available, build up his Wave again, attacking him when he uses Riposte or Recast and remembering to guard against his stronger attacks. He will stagger quickly so then you can finish him off.
For defeating him, you gain an awesome 10000 Gil, 5 EP, Max EP +1, Max HP +300, Max ATB +10, Strength + 112 and Magic +28 . Pick up the Ghostly Hood item just to the left of Lightning’s position before you get transported to the Ark.
Upon returning to the Ark, you will be treated to another scene and another day added on till the end of the world. The EP ability Esunada will also be unlocked by a treasure cube. Hope may also give you some insights into his own feelings about recent events. When you’re ready, teleport back to Yusnaan for a quick stop to advance a sidequest.

Hope at the Edge of Despair
Proof of one who has stood upon the stage in glittering Yusnaan, bringing peace to the Patron.

15
No Comments