Path to the Caves of Maiya
There are random encounters on the path to the pirates’ den, so you will likely get into a few fights before reaching your destination. Notably, you’ll face the same enemies as on the other Rippletide Coasts, with the bonus of having another party member with you. When you reach the first fork, head south to find a chest on the beach (Healing Grape). A little further west, there will be another path leading south, this one also leading to a dead end with a chest (Inspiriting Plum). Continue west, across a bridge and once you reach the end, look north to spy a third chest above you (Herb of Clarity). All that is left is to venture south at the western end, opening the chest underneath the bridge to your east (Healing Grape), then finally making it to the pirates’ den to your west.
Exploring the Caves of Maiya
When you approach the entrance to the cave, you will meet up with one of the pirates’ lackeys. This will set Tressa’s plan in motion, which means you’ll be able to explore the caves without pirate interference. Once inside, head straight west to find a semi-secret path that puts you at a treasure chest with 1,000 Leaves inside. Make your back towards the entrance and run south from the sleeping pirate to find another. Continue past him and to a third, where you will want to go north to find another chest (Healing Grape).
Not too far past the third pirate is a dock, which will be holding a chest at the end of it (Inspiriting Plum). Keep going west to a split, where you’ll want to venture northeast to find a chest with a Thunder Soulstone inside of it. Continuing northwest puts you at a save point, where there will also be a merchant. You should be able to see one final chest to the northeast, which you can reach by entering the small doorway to the west of the stairs (Refreshing Jam). When you’re ready, save your game, then climb the stairs to continue the story and fight a boss battle.
BOSS - Mikk and Makk
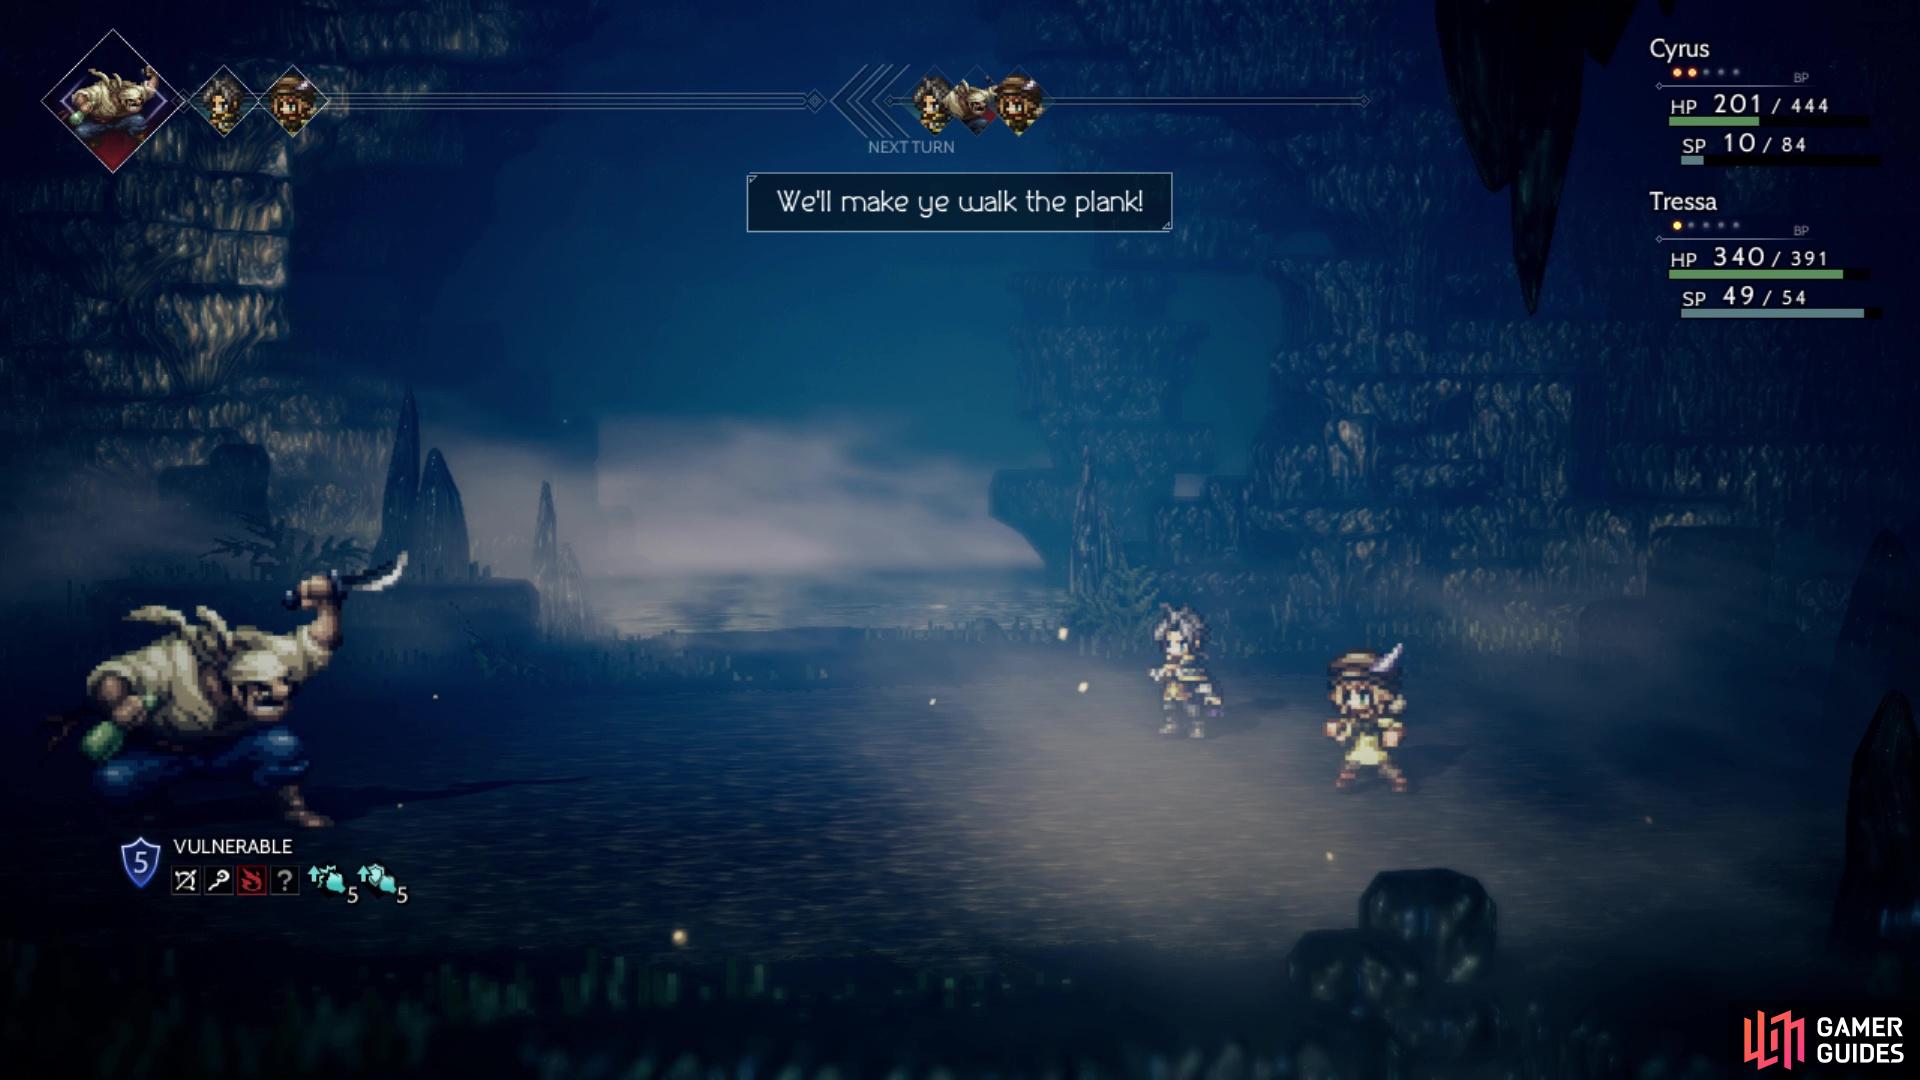
This can be a challenging boss fight, since there are two of them, but you will want to focus on one at a time. Note that if this is your second boss fight in the game, then they will have increased Shield Points and HP, so that can make things a little tougher. Out of the two, Mikk is definitely the stronger one, although they both have the same exact attacks. Attack is a single-target hit, as is Slice, but Mutiny will hit all characters. Me mate’s got me back! will make it so the boss that uses this will cover the other one from attacks. Whenever you defeat one of them, the other will gain a buff that increases their physical attack and defense.
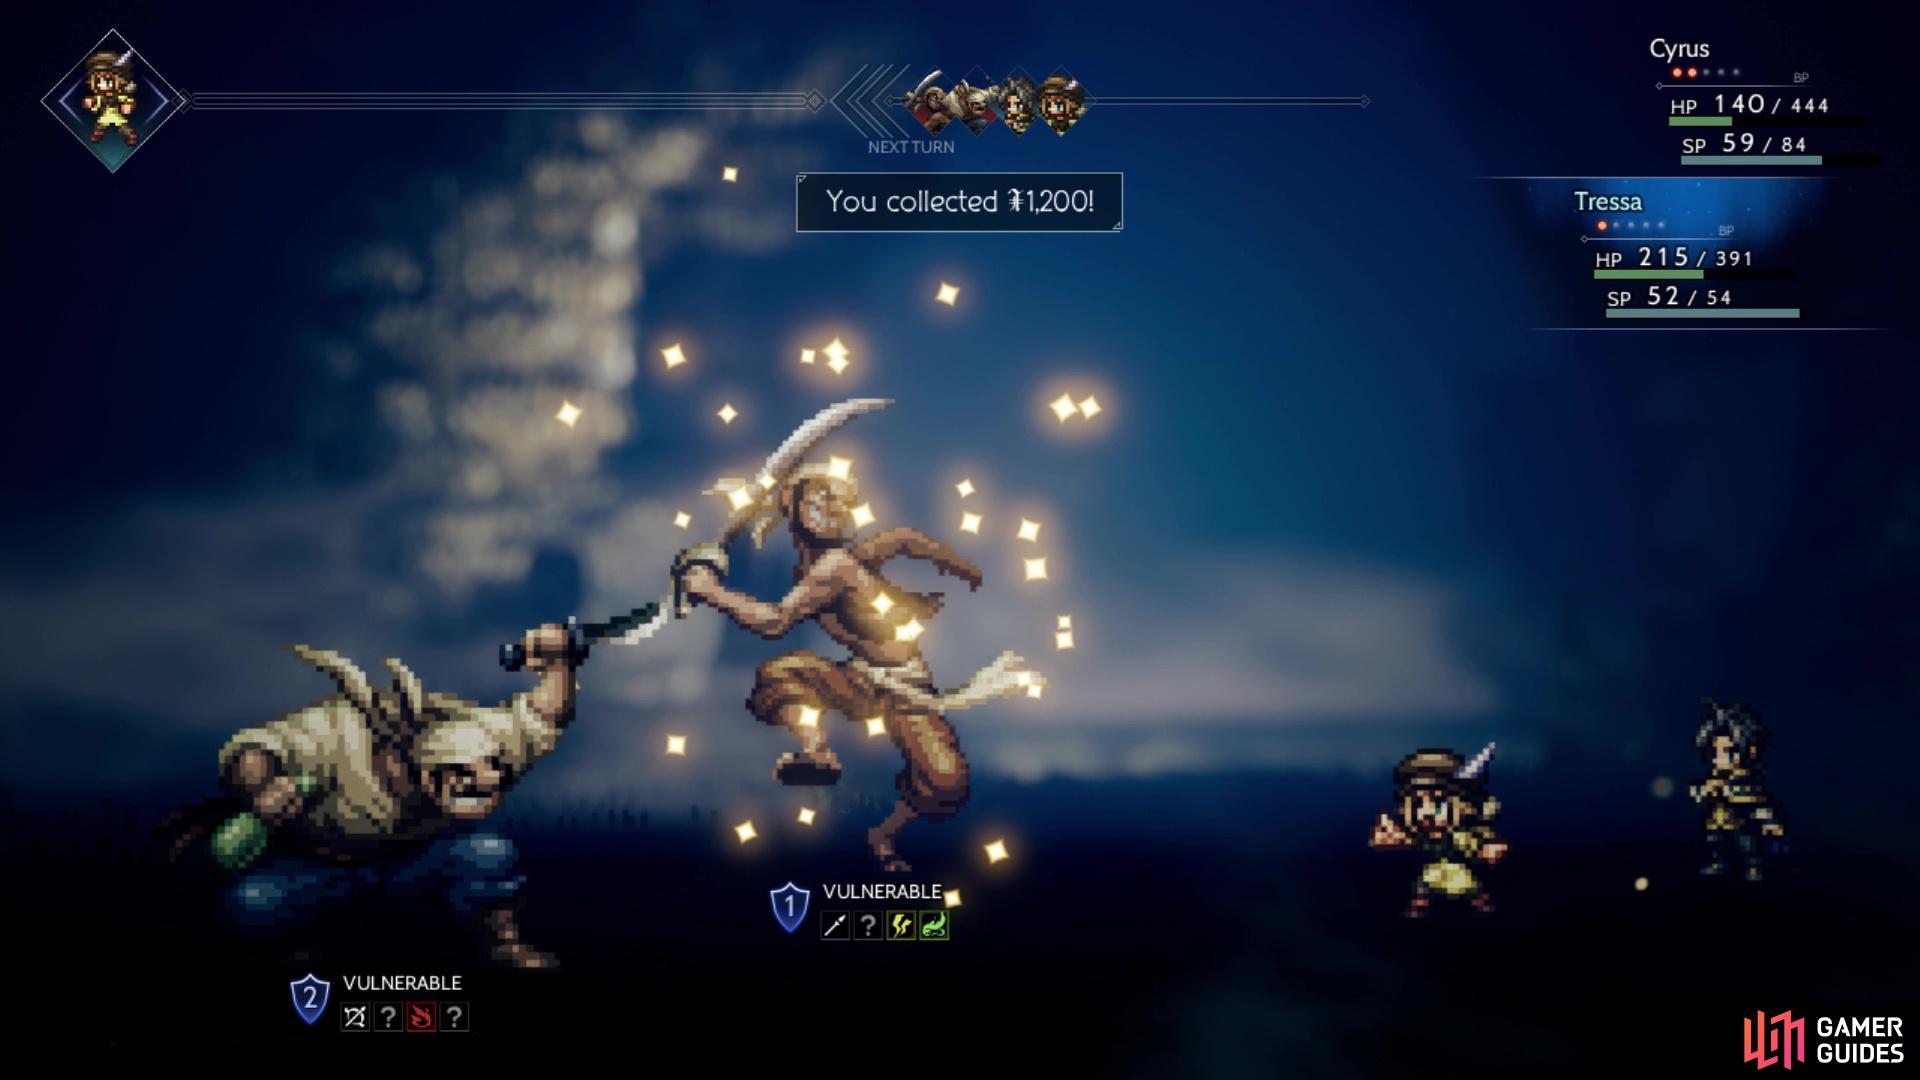
(1 of 2) Make sure you use Tressa’s Collect to steal money from bosses
Make sure you use Tressa’s Collect to steal money from bosses (left), The remaining pirate will power up after his friend is defeated (right)
When you see one of them use “Ye scurvy lubbers,” then their next attack will be Pirate’s Pride, which hits all characters are upwards of 100+ damage, even while defending (if they are buffed). As already mentioned, Mikk is the stronger of the two, so you will want to go after him first. He is weak to spears, axe, thunder and wind; you should have three of these in your arsenal. So, start working on his shields and when you finally break him, it might be better to use a fully powered magical attack, since the other pirate will protect from physical attacks when they are lower on health. Mikk is weak to spears, axes, lightning and wind, while Makk is weak to bows, staves, fire and wind.
One important thing to do before defeating either one is to use Collect with Tressa to get some free money from the pirates. This skill seems to gain a higher success chance the lower HP they have, plus you can boost it. You should be able to gain upwards of 1,200 Leaves from each one, so that’s a huge chunk of change. Once Mikk is out of the way, it’s time to move on to Makk, who is weak to bows, staves, fire and wind (all four you should have if you did Cyrus first). Keep an eye on your health and Makk should go down rather quickly without the help from his brother.
When the battle has been finished, an unexpected visitor arrives and a scene will play and you will be back in Rippletide. Tressa gets to pick a single item and chooses a diary. When you regain control, head on home for more scenes. Exit out the town to the east and Tressa’s journey will truly begin…
Sidequesting I
Before diving into another character’s story, let’s take this time to take a quick break and do some of the side stuff. Return to Rippletide to find that there are a bunch more people in it, as well as two orange stars. If you recall from earlier, these are Side Stories and you can finish one of them right now (the other requires one of two other characters). These Side Stories are as follows:
– Le Mann, Explorer Extraordinaire (I)
– Love Unrequited
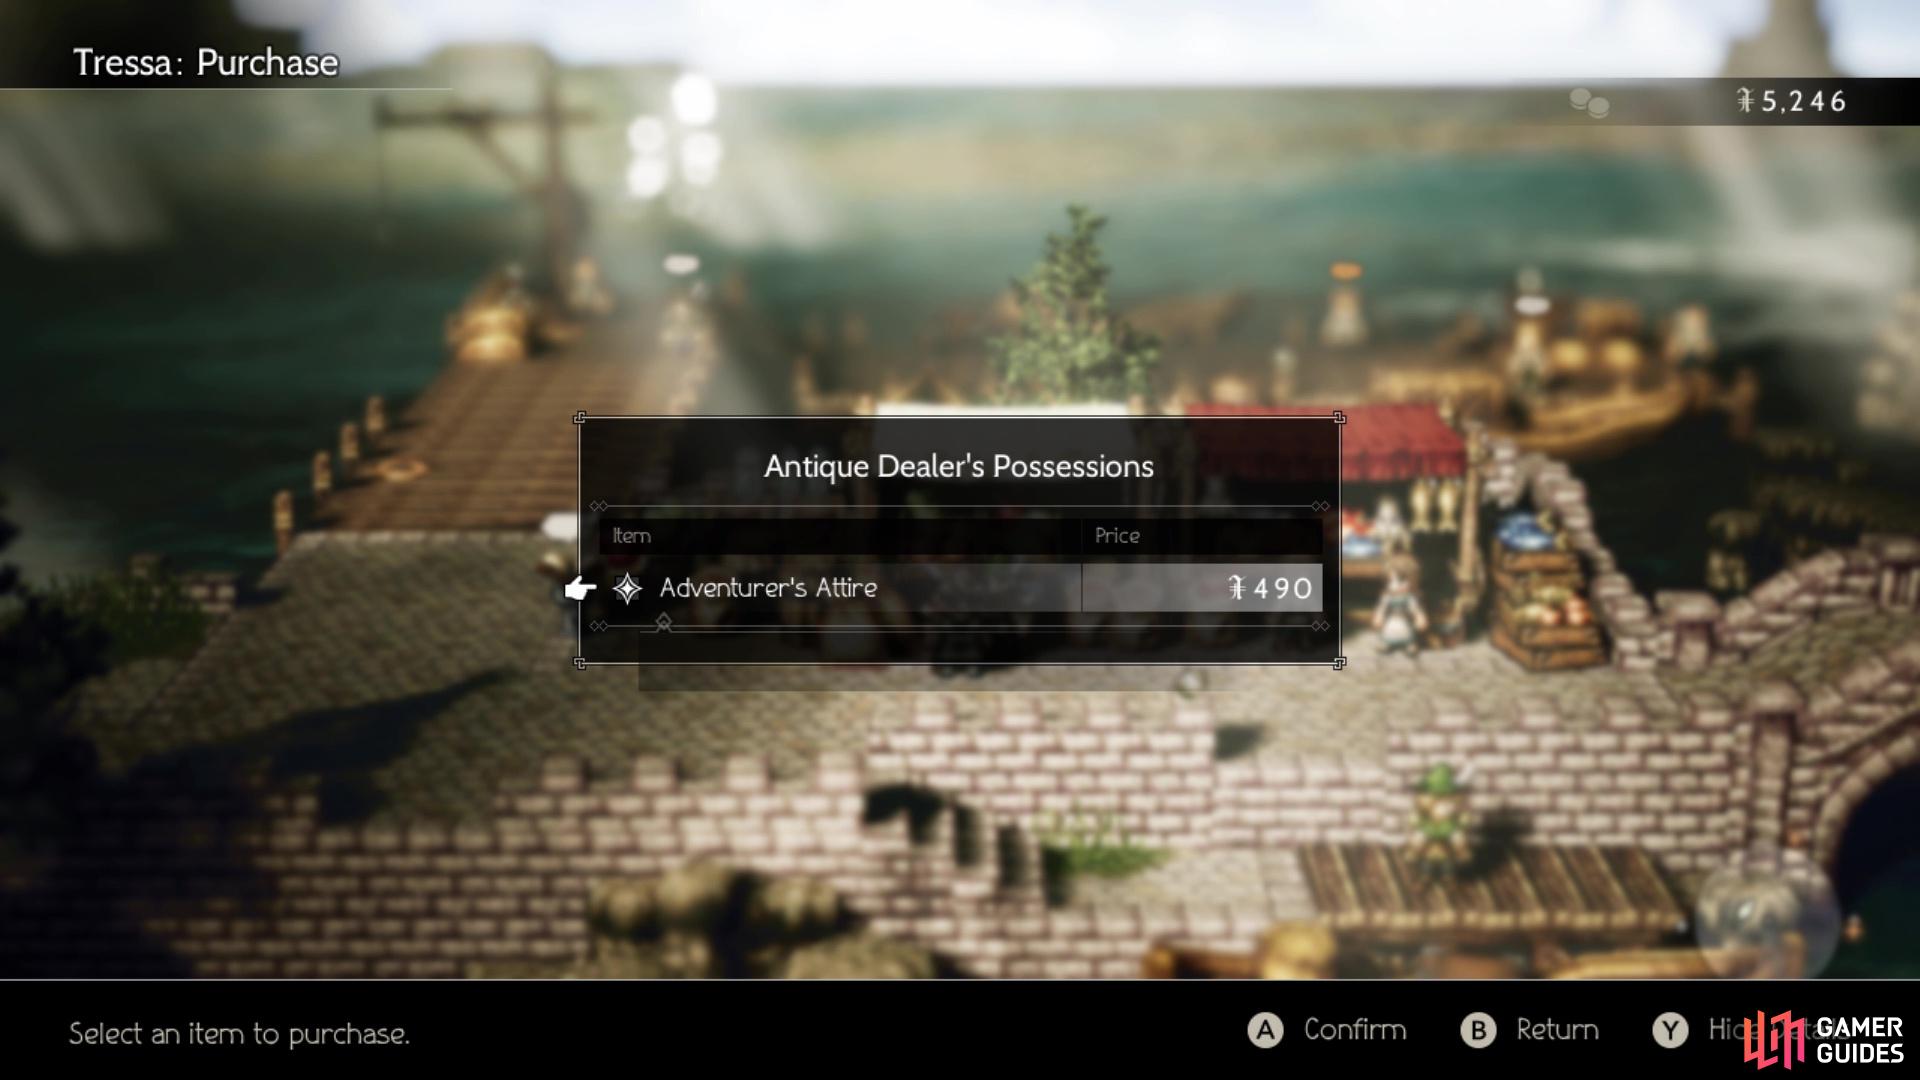
You can only finish the first one for now, so start by going to the orange star on the docks, which will introduce you to an adventurer named Le Mann. He speaks of going out on a grand adventure, but is a little bit ill-equipped to do so. To complete this Side Story, head to the beginning of the docks and look for an Antique Dealer in front of one of the stalls. Use your Path Action to either Purchase/Steal the Adventurer’s Attire from him, then bring it back to Le Mann to finish.
You can buy the Adventurer’s Attire from the Antique Dealer for Le Mann
| Objective | Reward |
|---|---|
| Brought Le Mann the supplies he needed to begin his adventure | 1,500 Leaves, Fortifying Nut |
There isn’t really anything worth risking your reputation on with Scrutinize, plus nothing really worth purchasing, other than a bow that’s definitely out of your price range. With that out of the way, fast travel to Atlasdam and start looking around. There are four Side Stories that start here: two in the town, one in the library and one more in the castle.
– City of Gold
– Fit for a King
– The Prodigious Painting
– Theracio’s Tutelage (I)
Just like in Rippletide, you can only finish one of these, due to your current characters. Also, you won’t find anything of value by using Scrutinize, but there are a few goodies to be had with Tressa’s Purchase. The NPC who starts Fit for a King has a Flying Helm for sale, which is a nice upgrade for either of your characters. Also, the little boy in the bottom right corner of the castle has a few pieces of equipment for sale, such as the Elusive Shield, Silver Spear and Composite Staff.
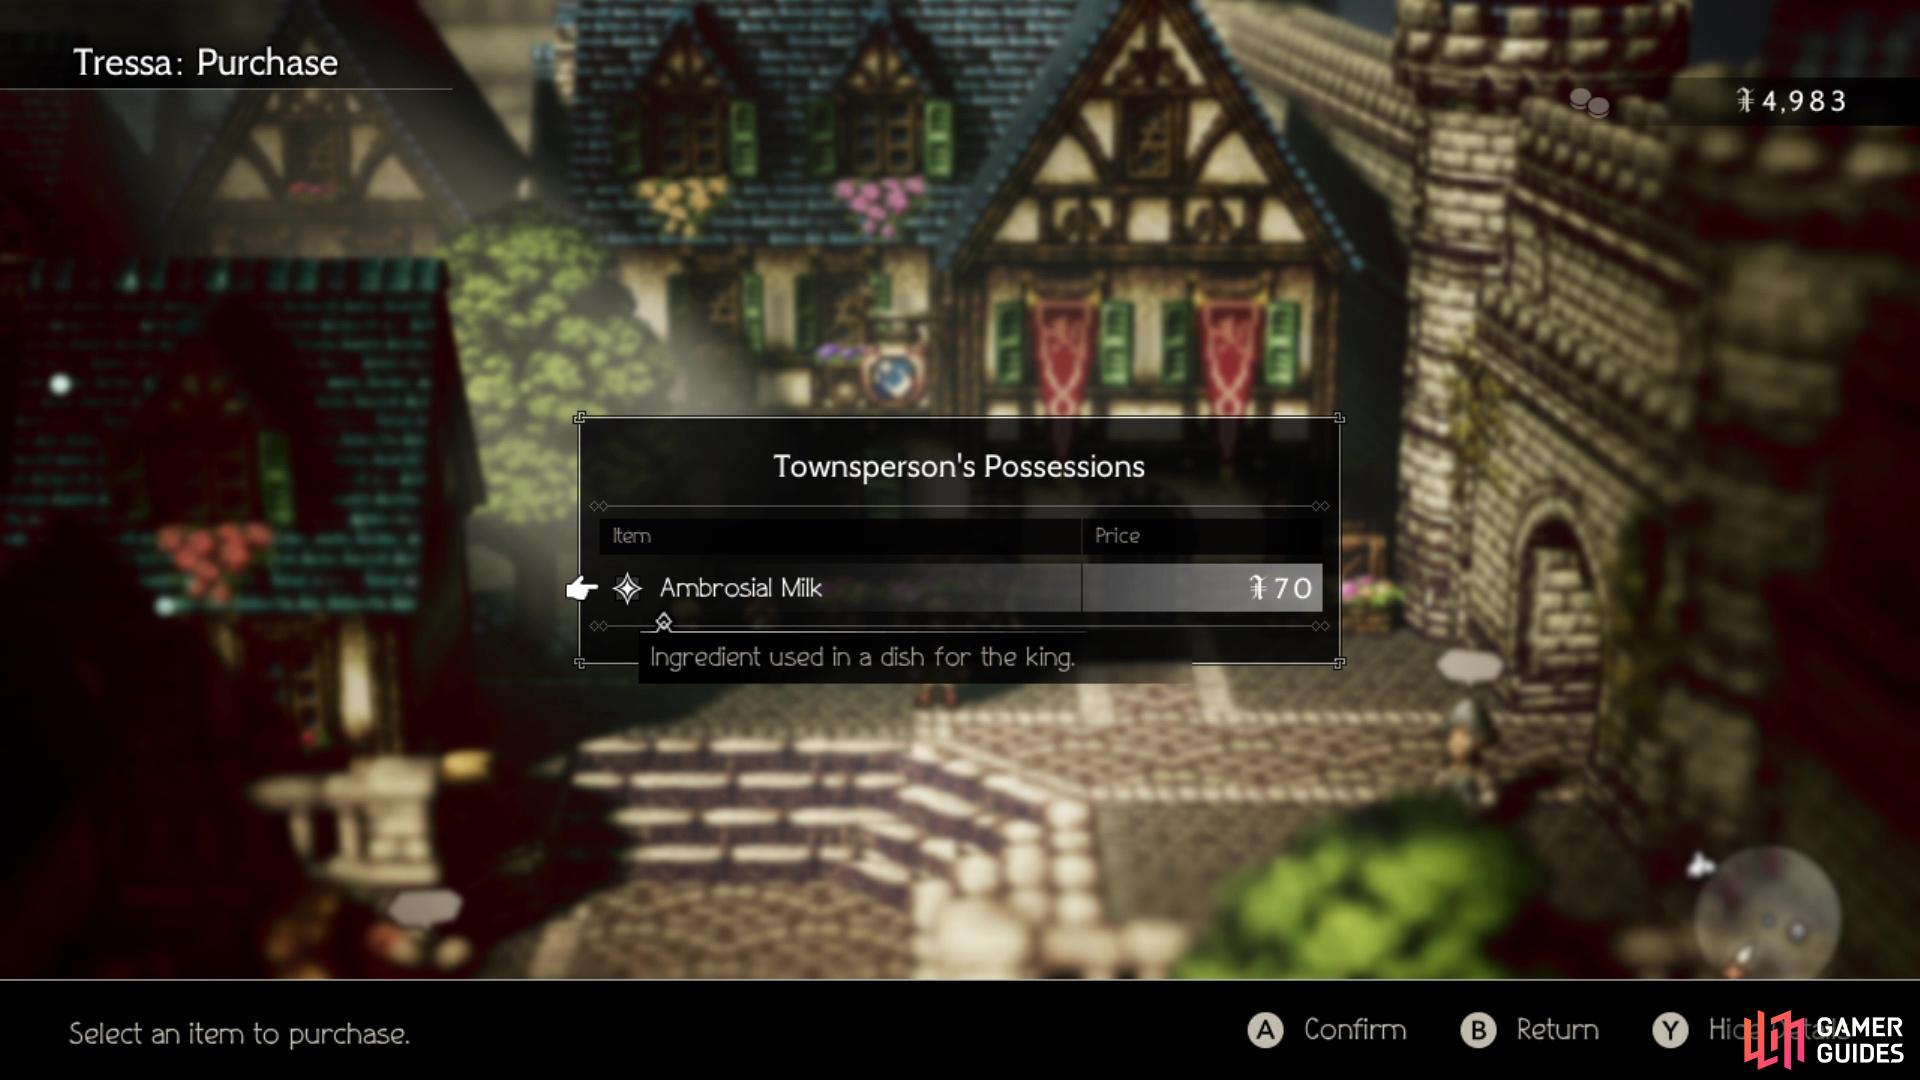
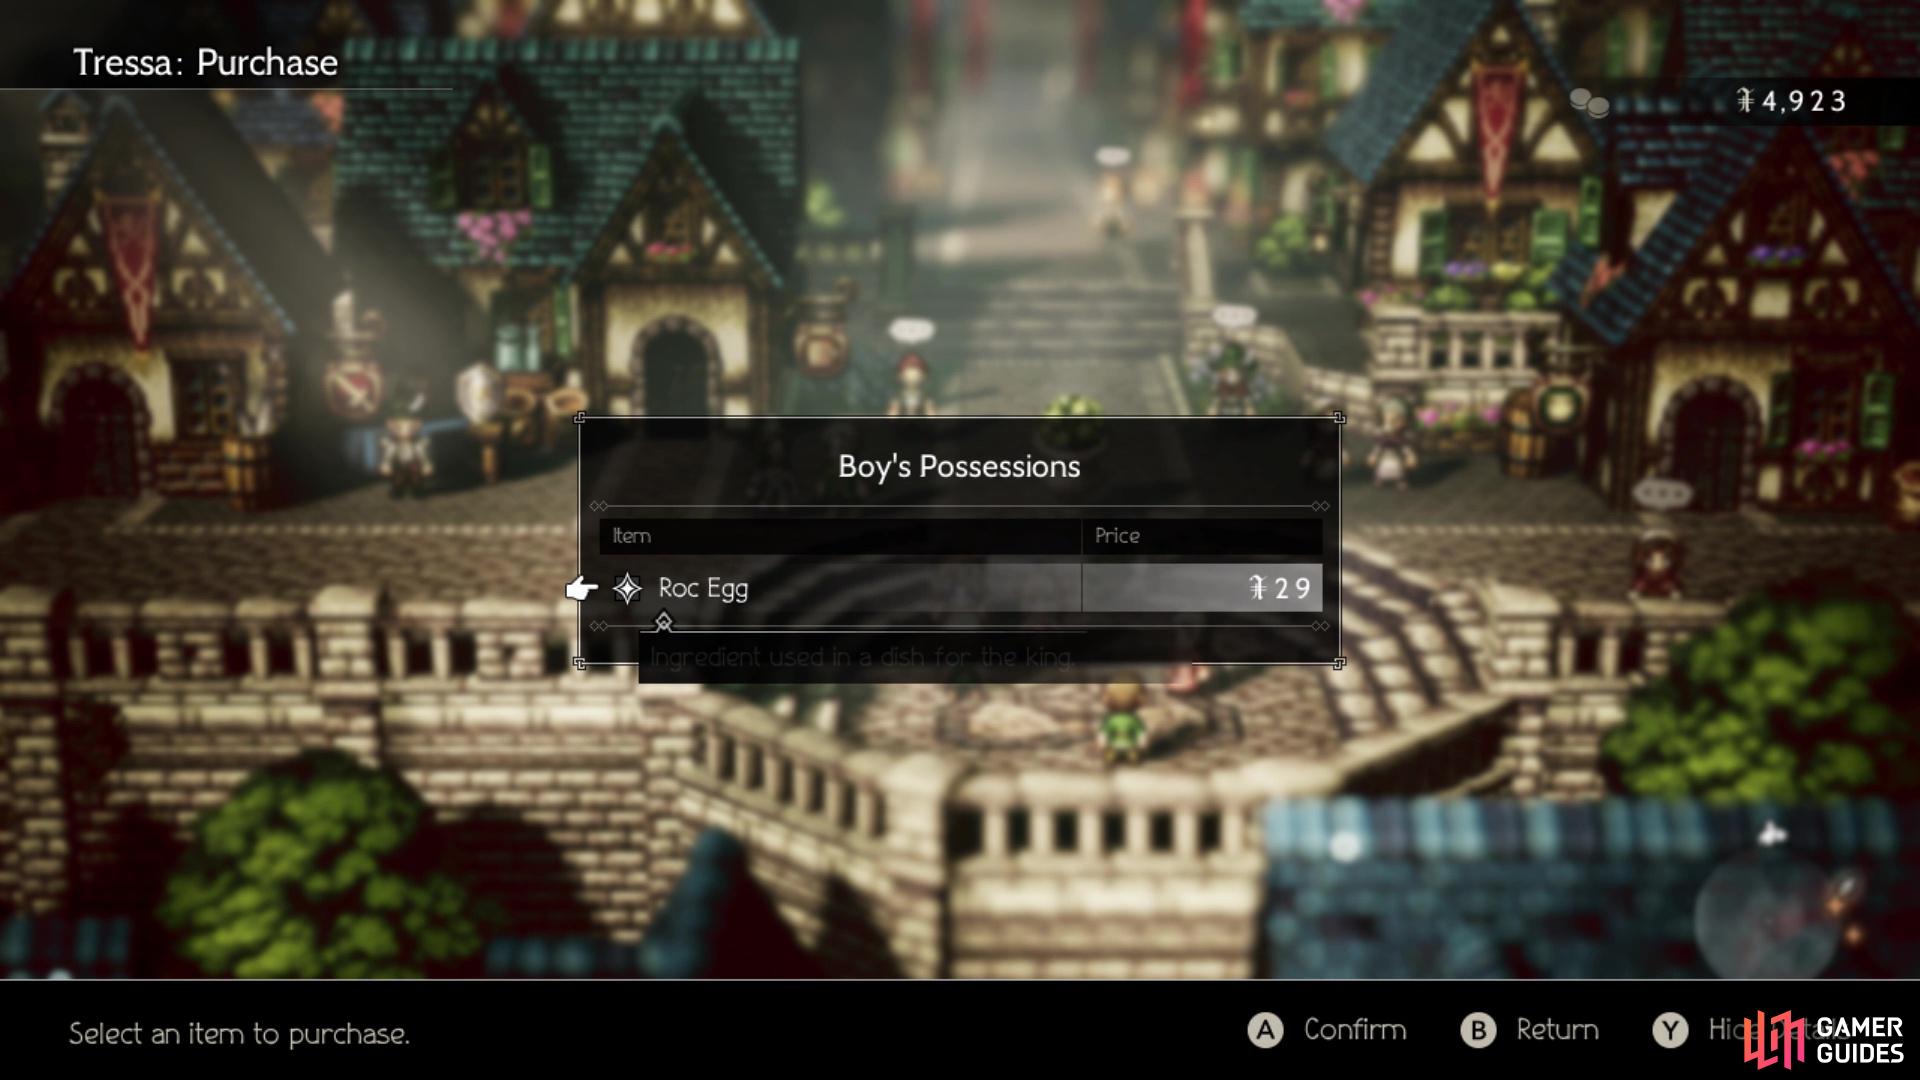
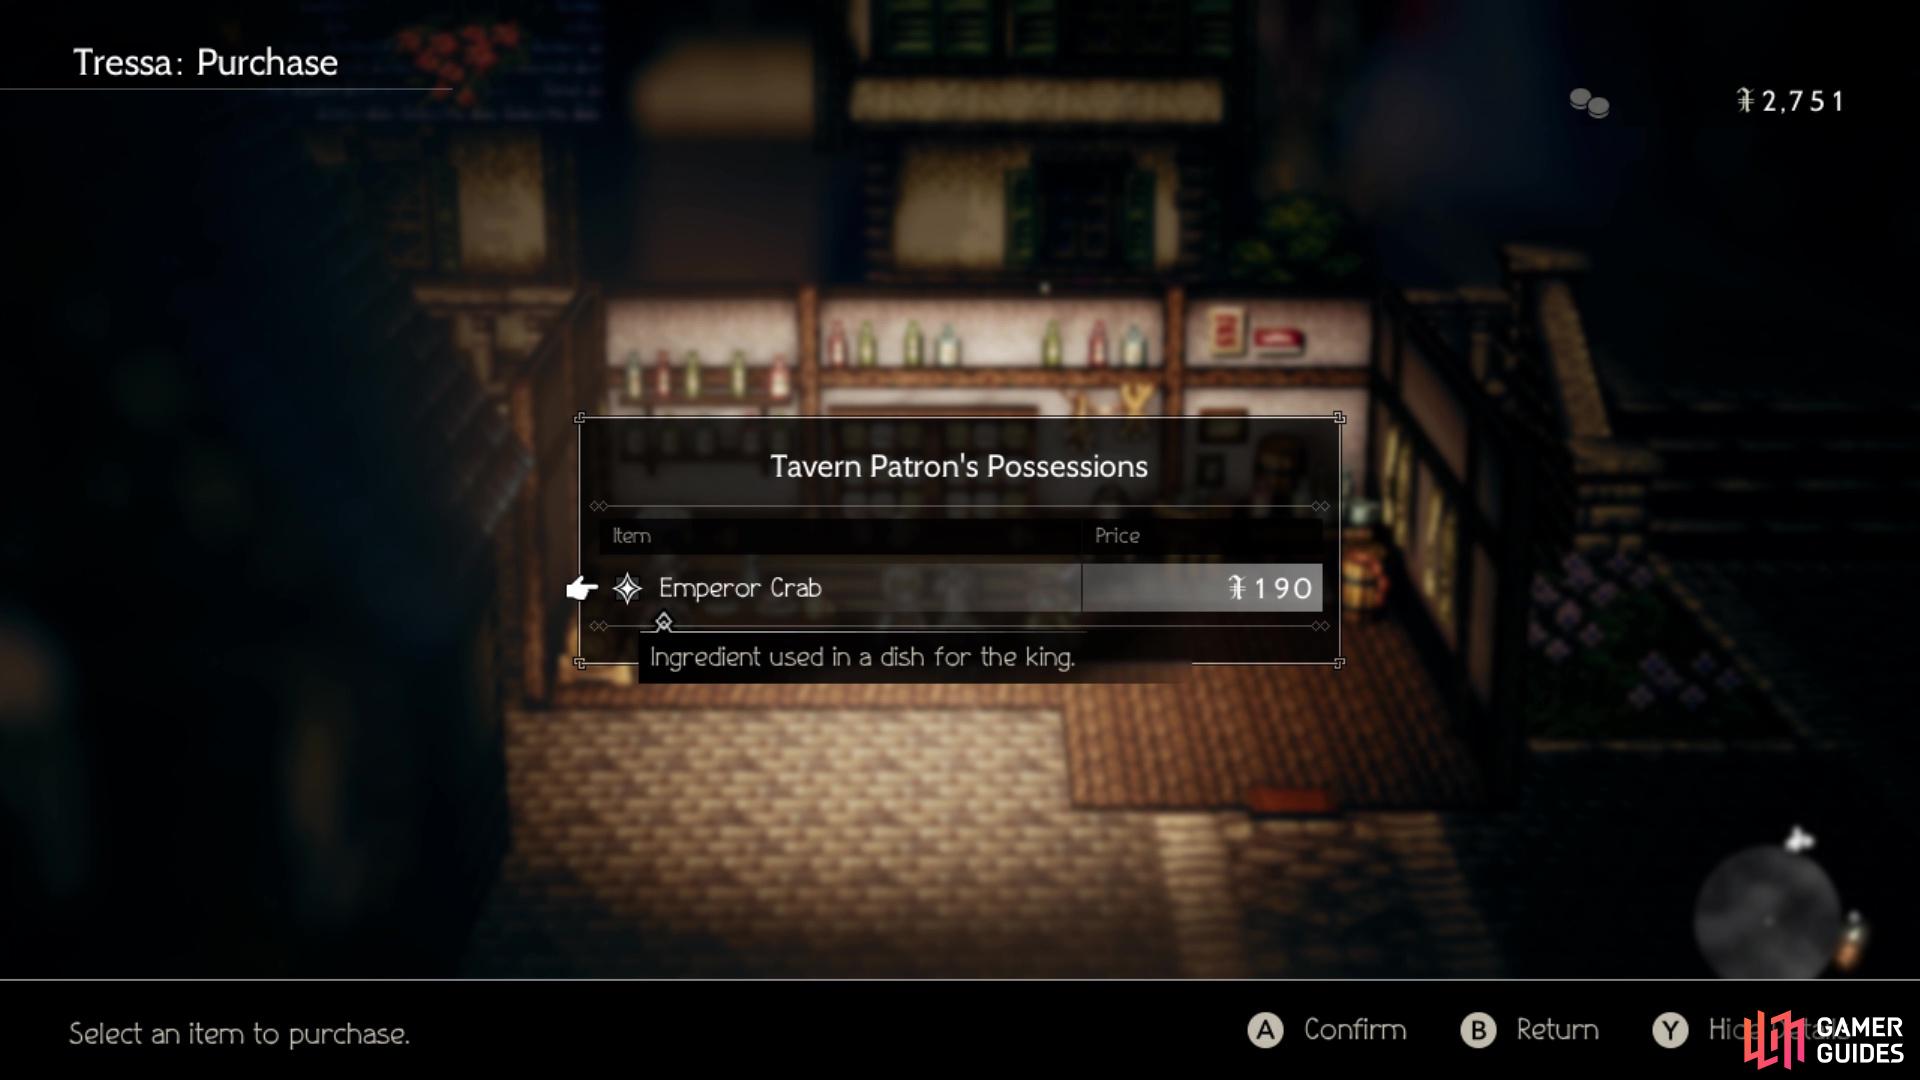
For Fit for a King, you need to find three specific ingredients for the chef, all of which can be stolen/purchased from NPCs in Atlasdam. The townsperson in front of the building just as you enter Atlasdam has the Ambrosial Milk. The little boy in the central part of the town has the Roc Egg. For the Emperor Crab, you will need to visit one of the patrons inside of the tavern for it. Once you have all three items, bring them back to the questgiver to finish the Side Story.
| Objective | Reward |
|---|---|
| Brought three ingredients to the Capable Culinarian | 1,500 Leaves, Healing Grape (M) x2 |
(1 of 3) The NPC who has the Ambrosial Milk
That’s about all you can do right now, so it’s time to recruit your next character. The closest ones to your current cities are Ophilia to the north of Atlasdam and Olberic to the south of Rippletide. Remember that you don’t have to do these in the order presented here. In fact, fast travelling allows you to do much more, as you can simply set foot in the cities for the above characters, as an example, then set off to get someone else instead. In fact, this walkthrough will be doing just that, as you will be paying a quick visit to Flamesgrace, then be off to S’warkii to get H’aanit.
 Sign up

No Comments