
Onward to Wellspring
Alright, Therion’s third chapter takes place in the desert town of Wellspring, which you might not have visited yet. To get there, fast travel to Sunshade and exit to Southern Sunshade Sands. In this area, take the exit in the southeast corner to arrive in Eastern Sunshade Sands. You’re getting closer now, so follow the southern edge of the map here and you will find the exit to Northern Wellspring Sands. This is the area with the Shrine of the Lady of Grace (the Dancer secondary class), so you should have been here at the beginning of Chapter 2.
Ignoring Wellspring right now, you can find a few chests in the surrounding area. Start off by venturing straight south from where you entered to find a chest kind of out in the open, which contains an Energizing Pomegranate (M). There’s also a cave nearby, called Quicksand Caves, that has a Danger Level of 40. Quicksand Caves is used in a Side Story that originates in Wellspring and culminates in a very challenging boss fight, but entering the cavern to place it on your map is always a good thing to do.
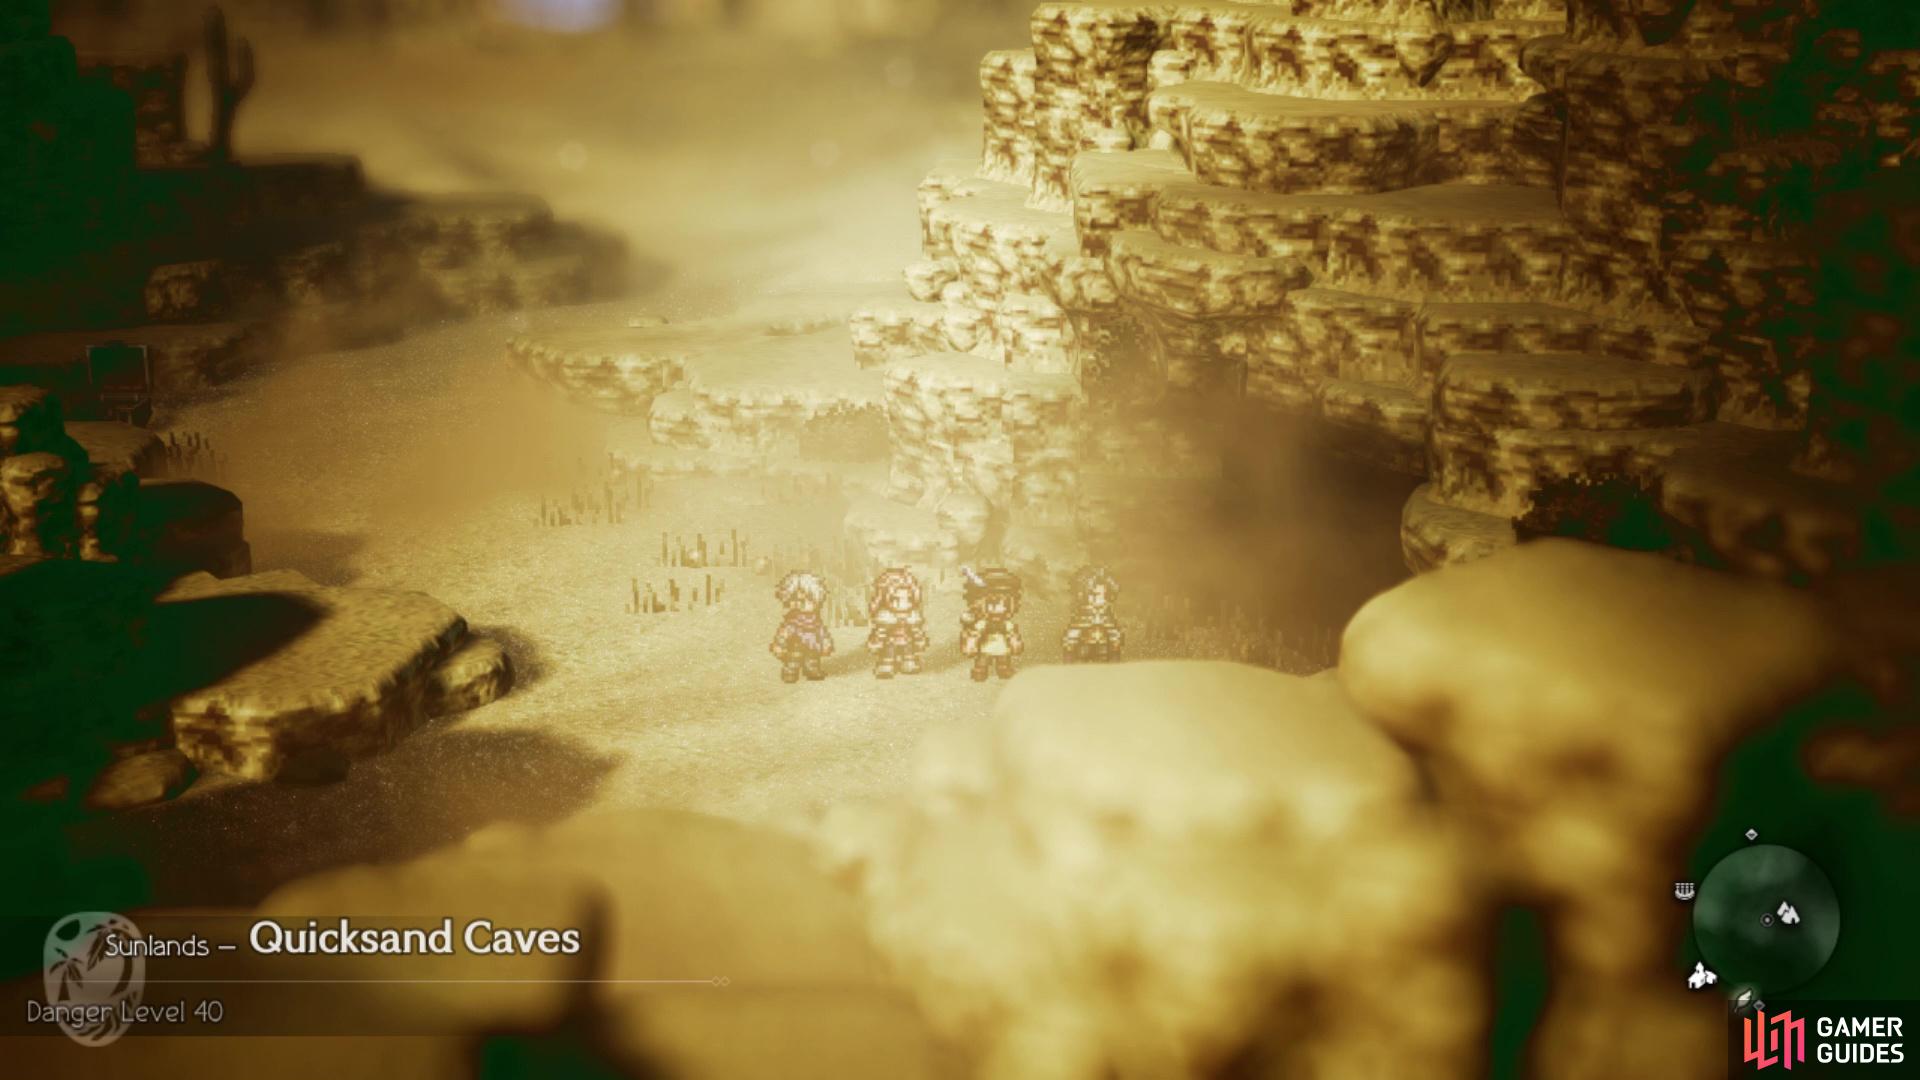
Quicksand Cave is needed for a Side Story later on
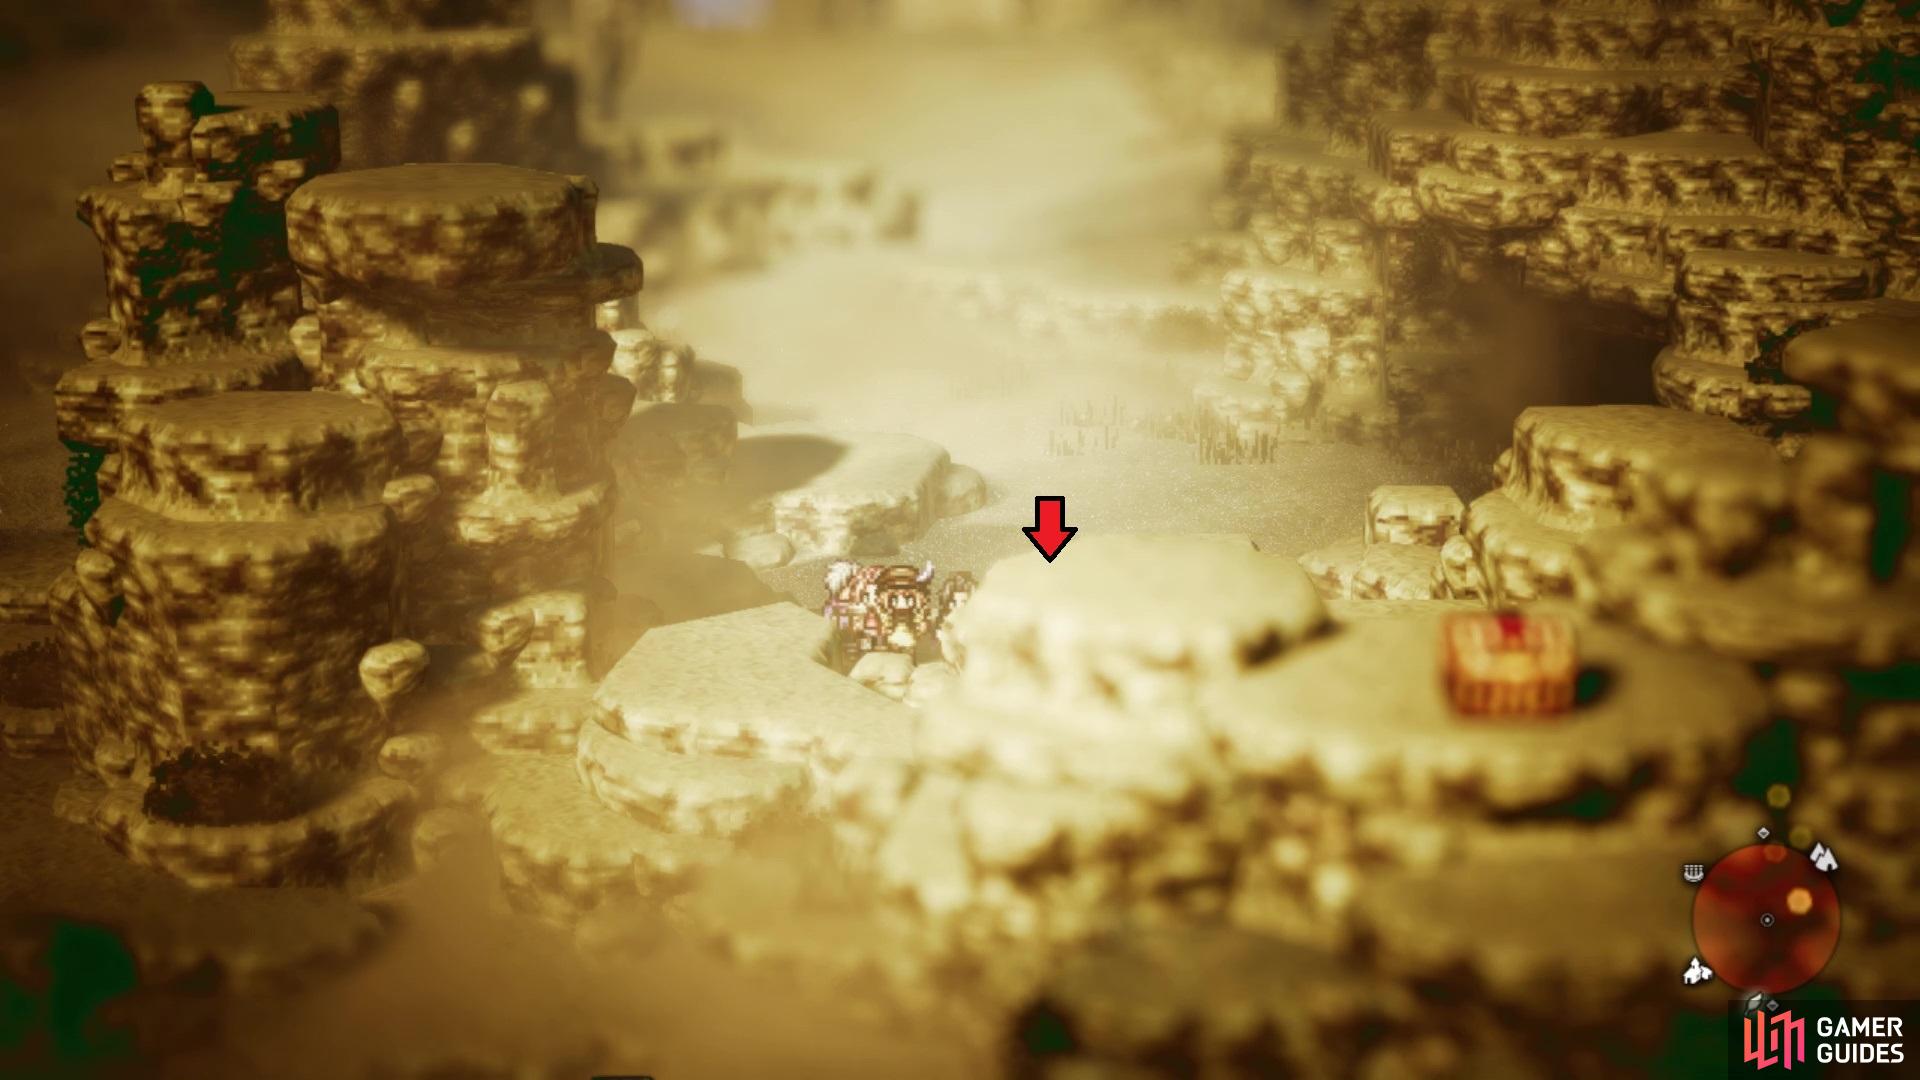
To get the chest, you need to find the hidden path shown
If you check the southern edge right here, you should find a path that leads upwards to a chest on a ledge (Imperial Lance). Return to the entrance of this area and move straight west, where a chest awaits you in the northwestern corner (Inspiriting Plum). Go south from here and you’ll be on the path that’ll eventually lead to Wellspring. On the way, you will find a NPC that doesn’t have much of anything, but using Inquire/Scrutinize will get a piece of information out of him called The Giant Serpent’s Master. This is used in a Side Story (the same one as the Quicksand Caves), so you can grab the info now if you want. East of him is another chest in the alcove (Olive of Life), then south and west will be the town of Wellspring.
Exploring Wellspring
Wellspring is another of those towns that just has a single screen, so there isn’t too much to explore. The woman by the entrance has a Fur Cap, which is nice defensively, but it doesn’t have any other stats on it. North of that will be the inn, equipment/item shop and the tavern. Continue west, bypassing the guard blocking a door (strength of nine) to find another NPC in front of a door. This one has a strength of four, so go ahead and Provoke/Challenge him. Once he’s unconscious, head inside the building to find two purple chests, containing 14,000 Leaves and 9,000 Leaves.
On the western side of town, there is an old man standing in front of a stall. Inquire/Scrutinize him to get more stuff in the shops, then go ahead and Steal/Purchase the Primeval Robe he has on him. Inside of the building just to the left will be another chest (Inspiriting Plum M). There is also one more chest located on the southern side of town, near the three Side Stories (Healing Grape M).
In Search of Sweets
Let’s move onto the Side Stories, of which there are three in town. However, due to the difficulty of one of them, it’s best to just concentrate on two for now. For this Side Story, speak to the Sweet Tooth-named NPC standing in front of the stall. He is looking for something a little sweeter, as the local cuisine is not quite up to par. Fast travel to Stillsnow and look for the Frostlands Farmer, who is in the northeastern corner of town. Steal/Purchase the Beetroot from him, then return to the questgiver to finish this quest.
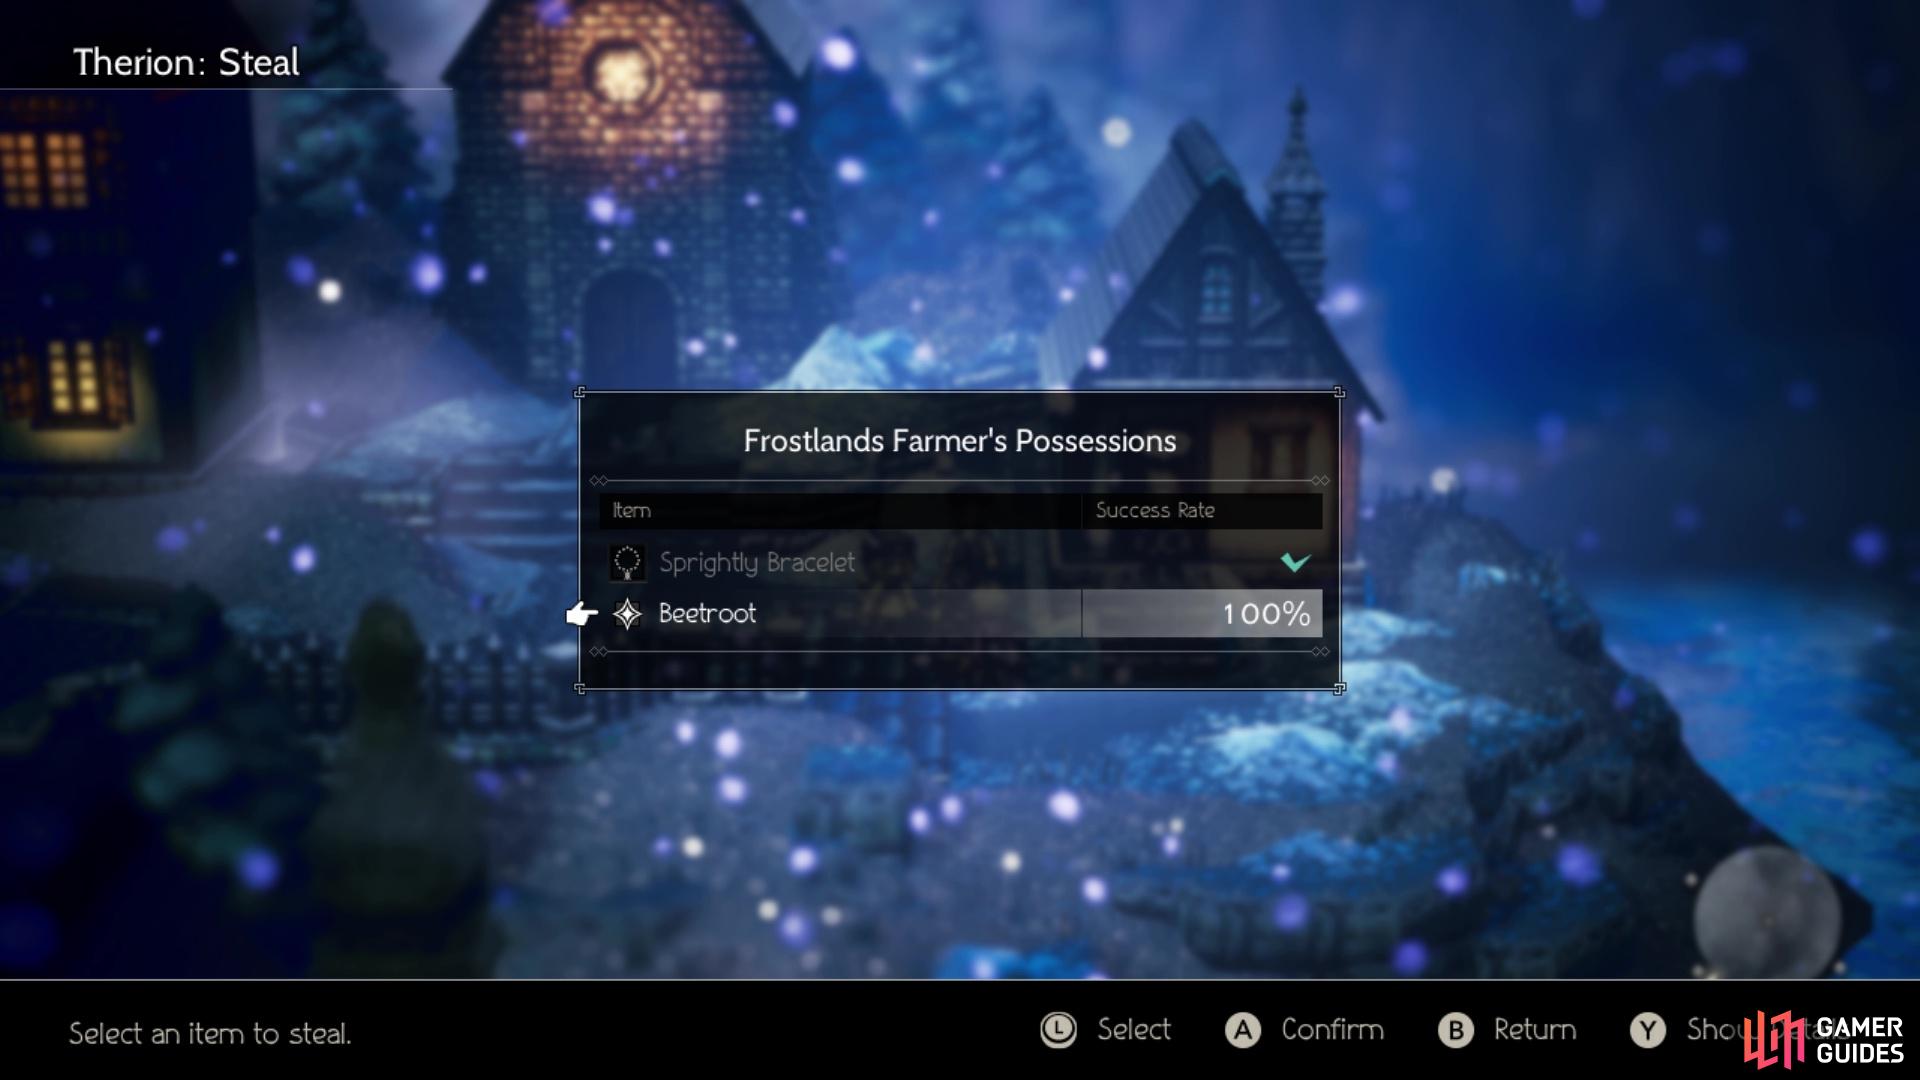
The farmer with the Beetroot is located in the northeast corner of Stillsnow
| Objective | Reward |
|---|---|
| Satisfied the sweet tooth of the man in search of sweets | 4,500 Leaves, Gourmet’s Charm |
Ria, Born to Roam (II)
Ria’s journey has brought her to Wellspring and while staying there, a thief broke into her residence and stole something of great value from her, a letter to be specific. On the western side of the town, there is a Traveling Merchant who speaks of the plethora of things that come through a town. Using Therion or Tressa, Steal/Purchase the Tightly Sealed Envelope from him, then return it to Ria to finish the quest.
| Objective | Reward |
|---|---|
| Returned Ria’s stolen belonging | 6,600 Leaves, Magic Nut (M) |
Therion’s Third Chapter
When you are ready, head to the tavern and choose to start Therion’s third chapter. After successfully obtaining the Ruby Dragonstone for Miss Ravus, Therion gets a lead from Heathcote about a black market in Wellspring for the next one. To track down the location of the black market, Therion decides to ask the pauper nearby. However, upon speaking with him, he simply asks if you have some wine on you. Head to the tavern and use Steal on the man in front of the bar to grab a Bottle of Wine. Hand it over to the pauper and while he won’t mention the location of the black market, he says that ordering something not on the menu at the tavern will help you procure this information.
So, back at the tavern, strike up a conversation with the bartender, who will end up giving you a hint as to the location of the black market. Being on the outskirts, you will have to go through the South Wellspring Sands in order to get there. The exit to this is located just south of where the pauper was located.
South Wellspring Sands
Immediately upon entering, you will see a save point, so go ahead and use it if needed. Head straight south, ignoring the path to the west, to find a chest that contains an Energizing Pomegranate. As soon as you enter the bigger area to the northwest, hug the wall on the right as you go north and you should find an opening that leads to a chest to the west (Fire Soulstone L). Continue west, down the stairs and up the trail until you come to another save point. Southwest of that will be the entrance to the black market, but there’s one final chest to be opened here. You can sort of see a path right to the east of the black market, leading to a purple chest (Unerring Bracelet).
Enter the black market for a scene, where you will see that you need something in order to actually the cave. You have a few choices here, as you can steal a mask from one of three people or acquire a list from the bartender. The closest one has the lowest steal percentage, while the two people together have a higher percentage. If you decide to go for the final item, you will need to return to Wellspring and steal the Black Market Inventory from the bartender. Whichever way you go, the game will take over.
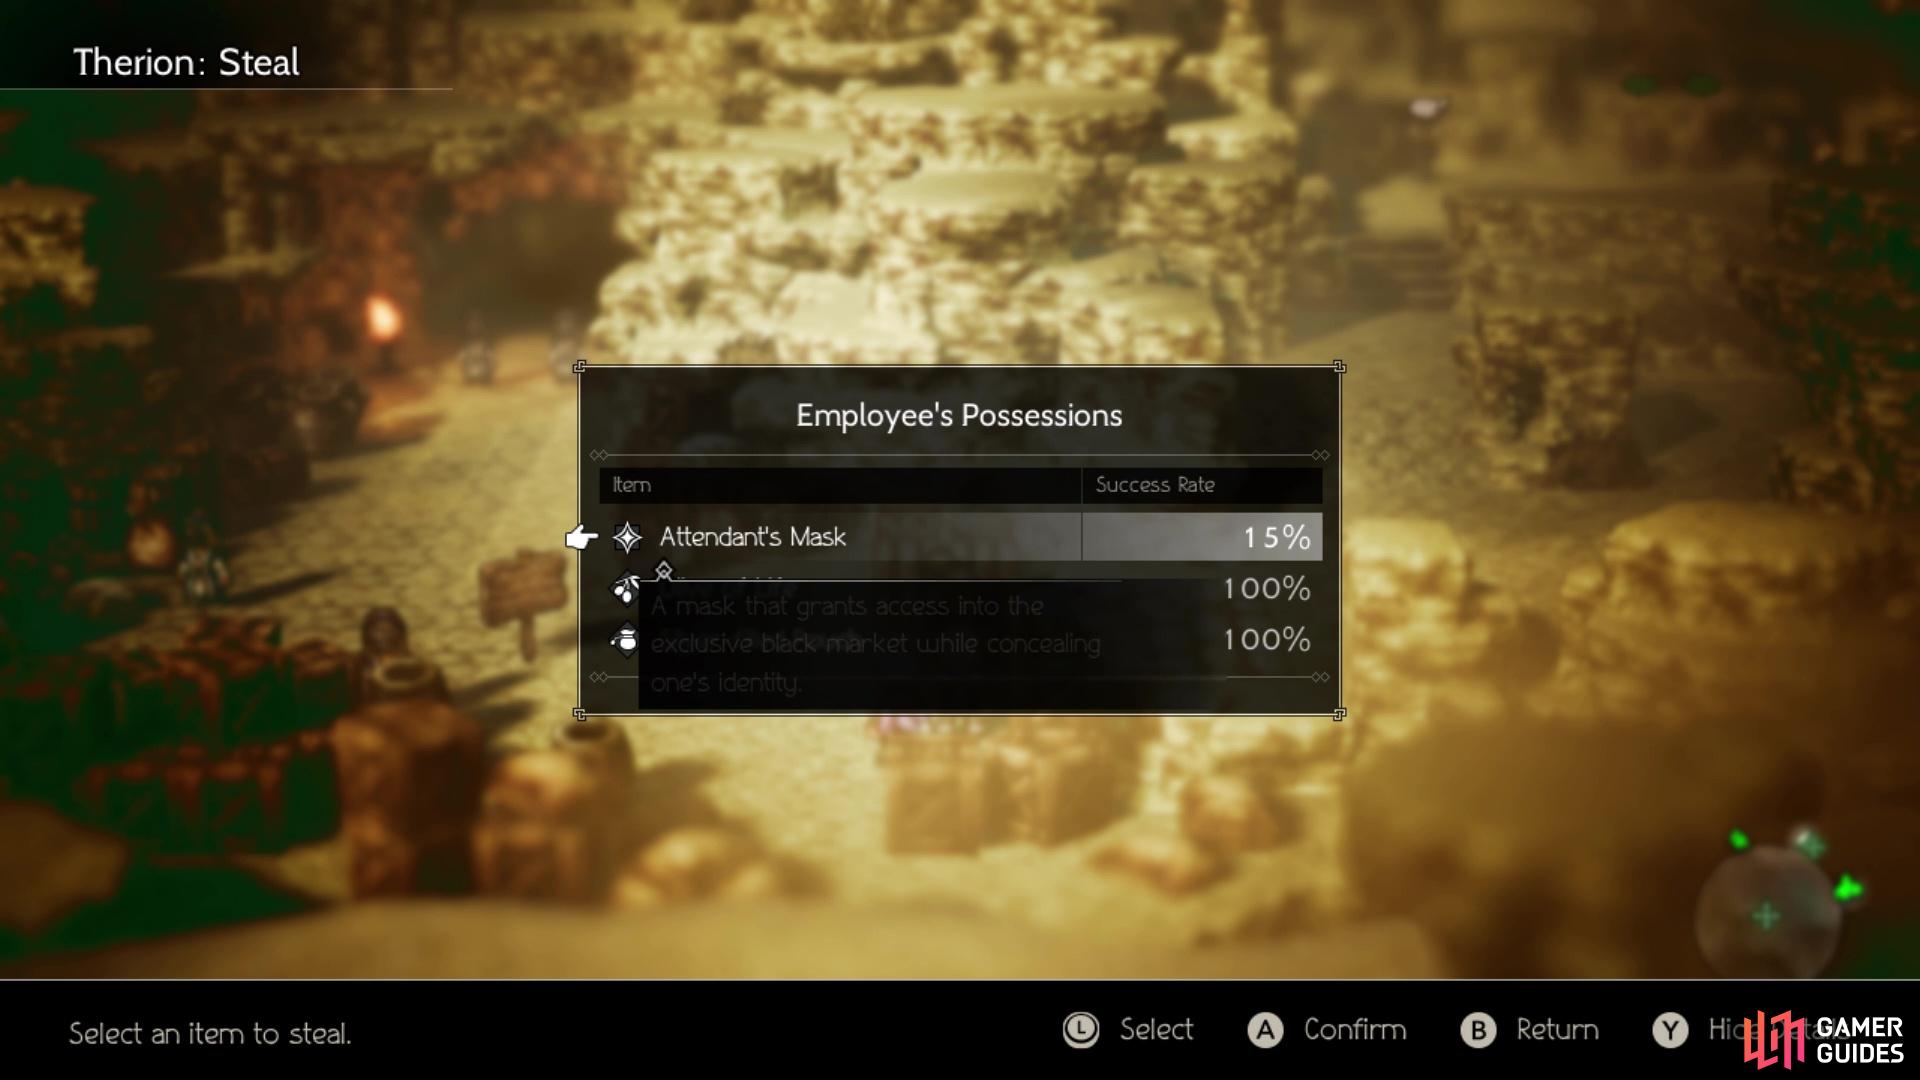
Stealing this mask is the hardest option to continue the story
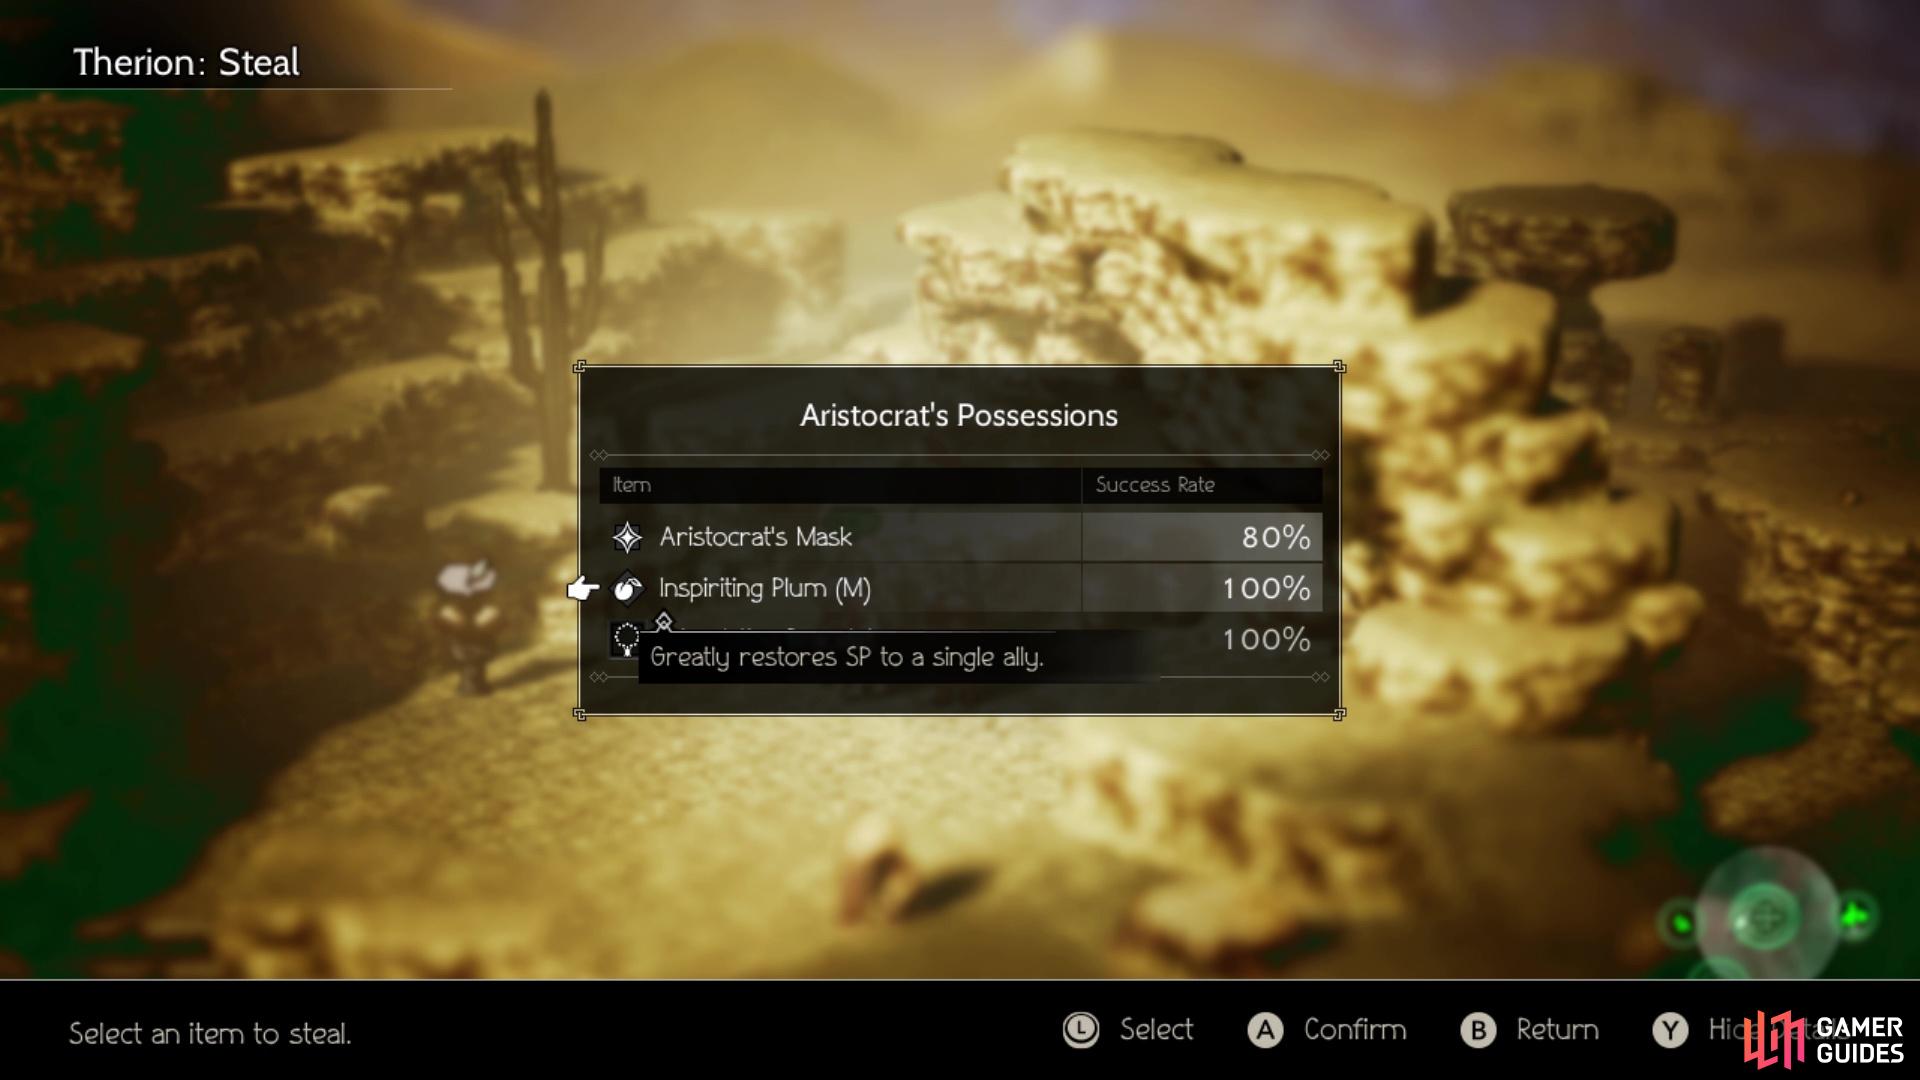
Once you steal this mask, the game will automatically continue
Should you steal a mask, you will be inside of the cave, where you need to head to the upper level for a scene. If you grabbed the inventory list, then the same scene will take place outside of the cave. Either way, your next dungeon will open up, the Black Market.
Black Market
In the very first room, you will want to search the premises for two chests. To start off, the first one will be on the eastern side. There is a hidden trail just below the stairs leading to the upper area, with the chest at the end (Fire Soulstone L). There is another hidden path on the left side of this first area, right above where you need to go in the southwest corner; the chest at the end contains a Healing Grape (M). You can now dive deeper into the dungeon, by taking the southwestern path.
Keep going until you come to a north-south split, where you want to head south first for a chest (Inspiriting Plum Basket). Continue north and when you see a save point, don’t head in that direction just yet. There’s a slightly hidden path to the right that will take you to another chest, which contains an Energizing Pomegranate (L). Now, make your way to the save point and head left from it to find another chest (10,000 Leaves). North of the save point will be the bandits who stole the stone, with their boss introducing himself, too.
After the scene is over, you’ll have to fight those three bandits. These guys are literal pushovers and don’t need anything written up about them, since they will probably do single digit damage. More scenes will happen after the battle, then you will finally regain control. Ignore the right path right now and head left to find a chest waiting for you at the dead end (Light Amulet). Get back on the main trail, moving right and try to go up, only for the game to say you can’t.
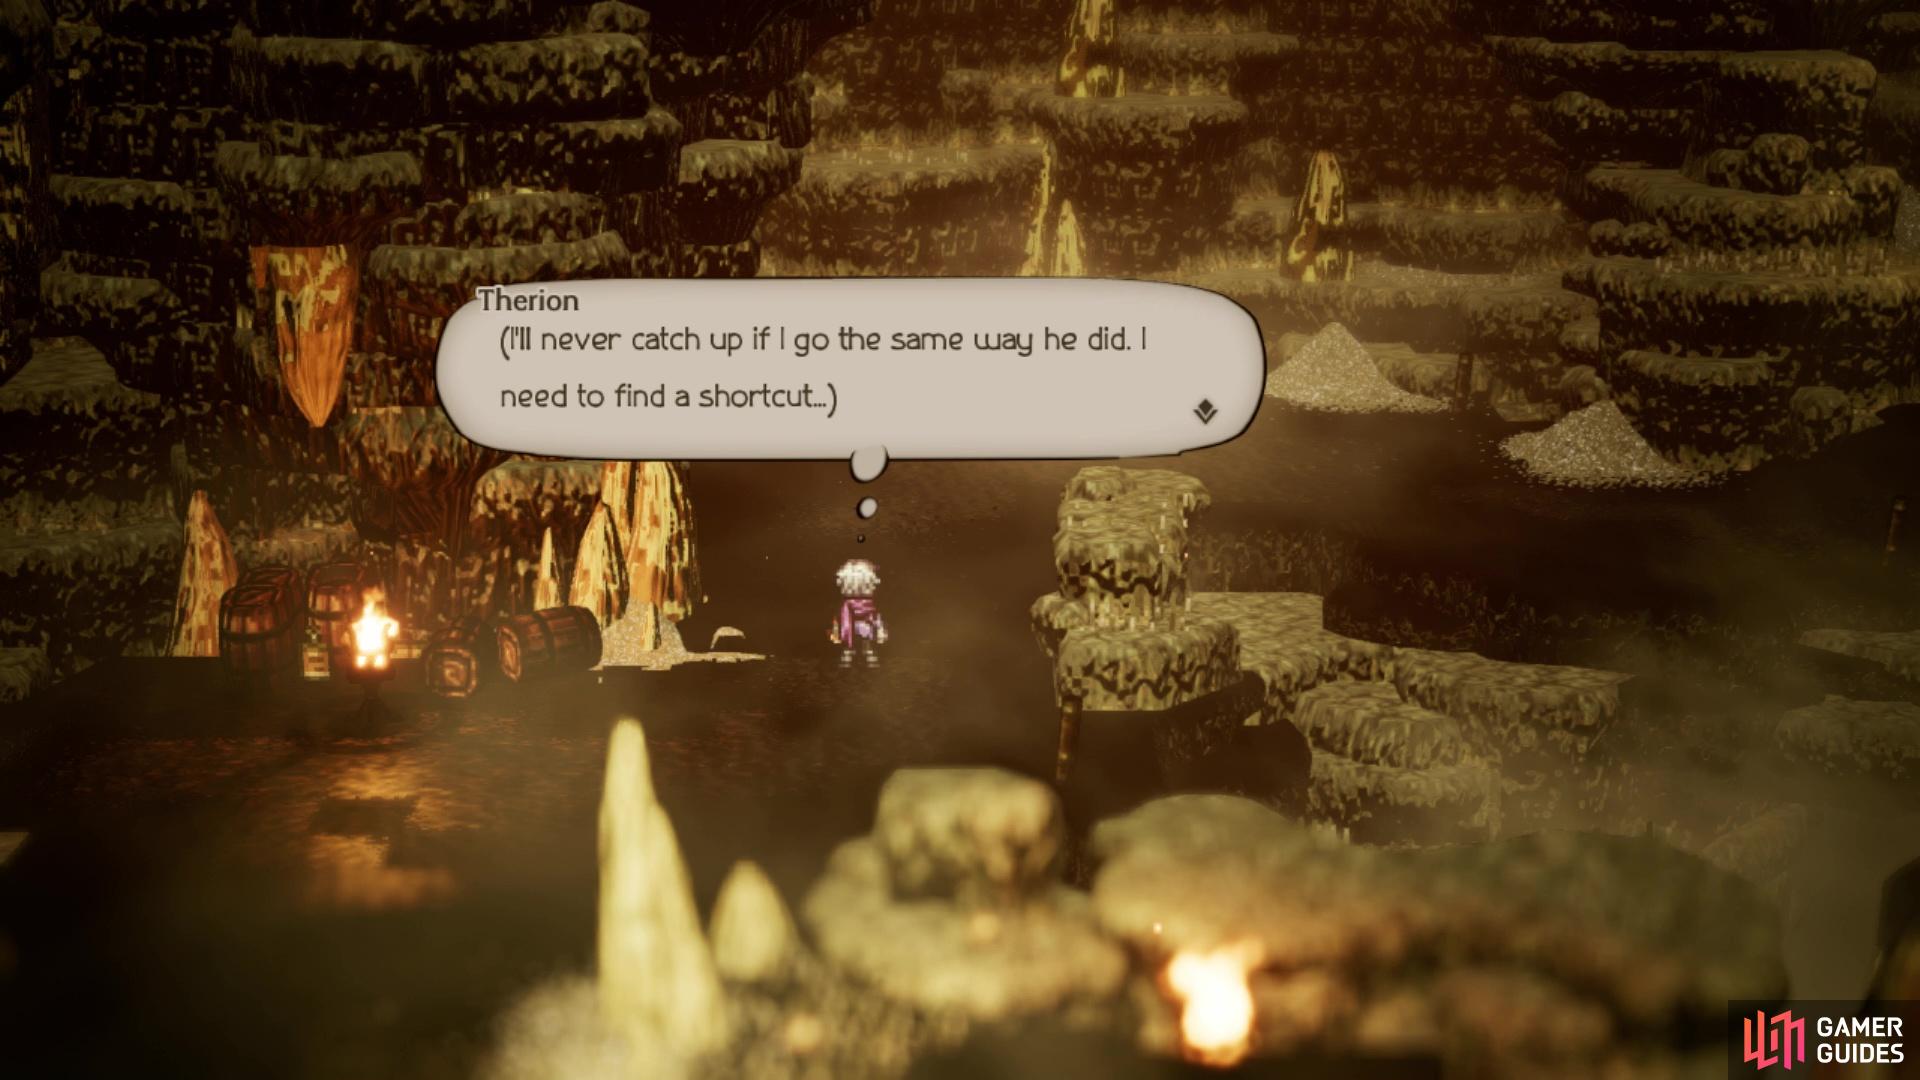
Unfortunately, the game prevents you from taking the upper path for a few moments
Instead, you will have to venture south and east, where another cutscene will eventually take over. After it’s over, you can explore the northern section now, with there being two chests. The first is on a path heading west just above your initial position after the scene (Healing Grape Bunch), while the other is further north and brings you to a purple chest (Calming Stone). East will be another save point, some more scenes, and then the boss.
BOSS - Gareth
Gareth will open up by granting himself an extra action per turn, plus he will be accompanied by two Master Thieves. Naturally, as with any adds in a battle, you will want to go after them first. They are weak to spears, daggers, fire and lightning, with five shields and a little over 7,000 HP, so they shouldn’t last too long once you have broken them. They only seem to do physical attacks on your characters, mostly single-target, but the damage adds up with Gareth’s own attacks.
Gareth can be a problem, especially with two actions per turn and once you get rid of his goonies, he’ll make it so he has three actions per turn. This makes him even more dangerous, as he can deal massive damage to your party with Steal Life (yes, it does heal him) and Will O’ Wisp. The first is physical, so you can reduce it with Hired Help’s mercenaries, but the second seems to be magical. Another annoying move of his is Steal Magic, which hits a single character for big damage, plus it will also take away 50% of their SP.
Evasive Breath can be annoying, as it increases his evasion, but magical characters don’t have a problem with that (magic always hits). Gareth is weak to swords, axes, staves, ice and wind, and upon recovering from a break, he will protect three of his weaknesses. This can be troublesome if you can’t cover the other two, meaning that breaking him will be a little longer than usual. On subsequent breaks, he’ll change up the defense of his weaknesses, sometimes covering less.
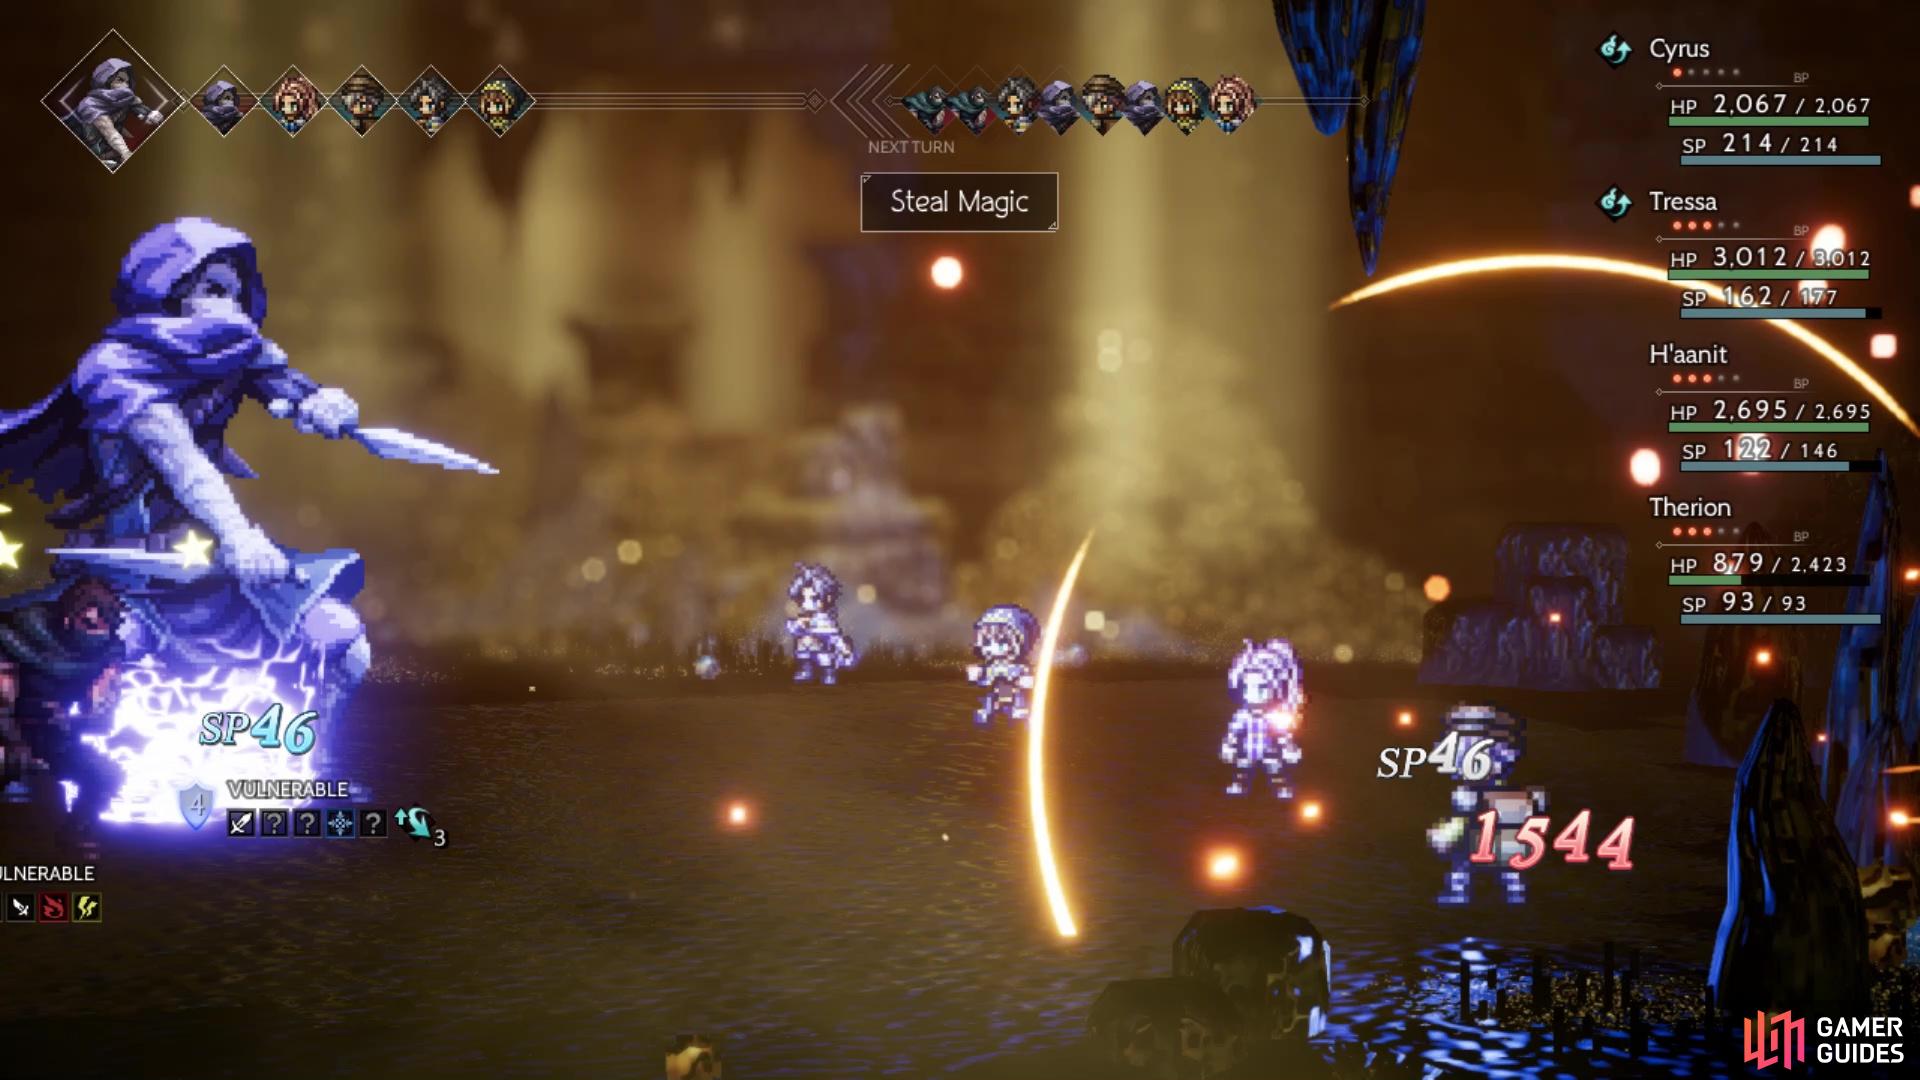
Steal Magic will take away half of your max SP
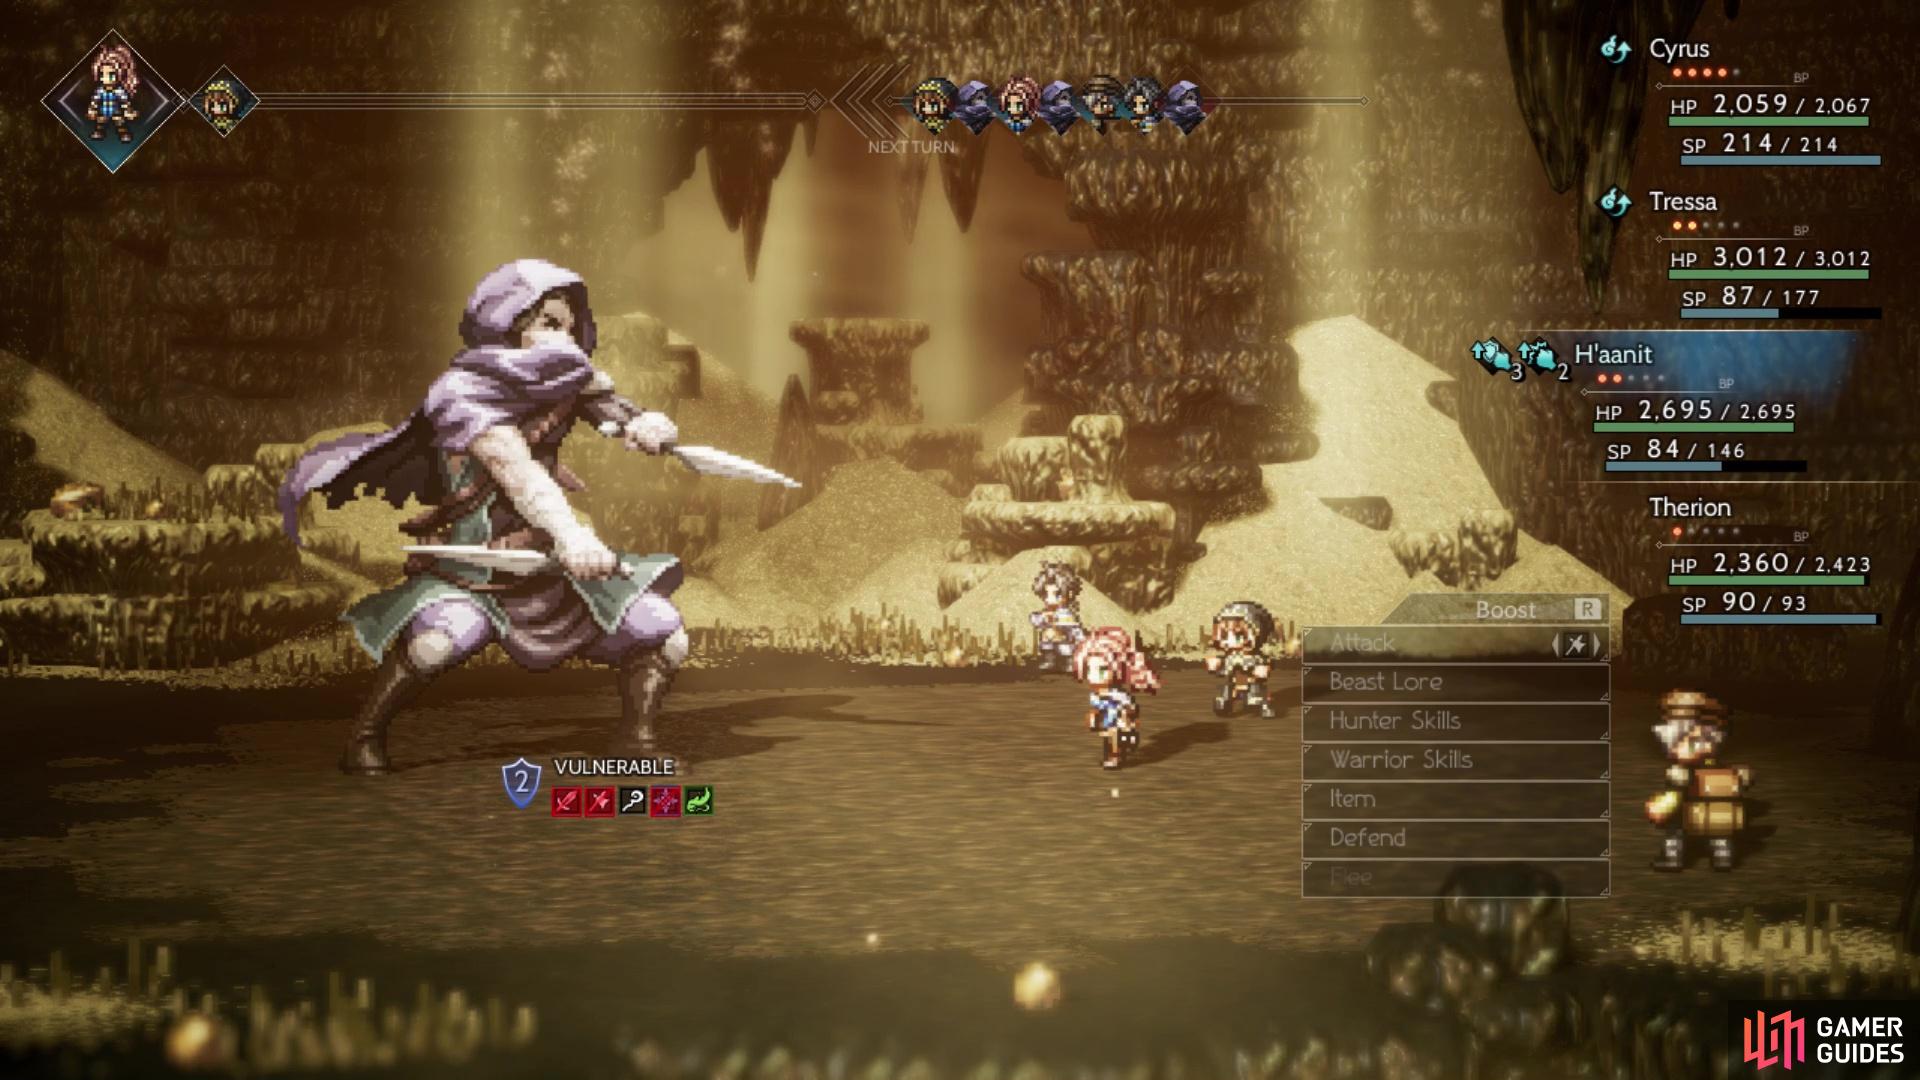
Gareth can block three of his weaknesses upon recovering from a break
At half health, you might see Gareth charge up with the familiar dark aura, which means he will use Steal All on his next action. This skill basically disables your Item command and you just need to break him to get it back. Overall, Gareth can be a challenging battle, but Shackle Foe in combination with the defense boost from Hired Help’s mercenaries will provide some extra needed help in reducing the damage you take. In addition to this, Gareth doesn’t have as much health as some of the other Chapter 3 bosses (shying a little under 40,000), so if you lay on the damage during the breaks, then you might not have too much trouble.
You’ll receive Gareth’s Helm upon winning, then return to Bolderfall to tell the bad news about the Dragonstone to Miss Ravus. Some more dialogue will occur and Heathcote mentions that Darius’ group operates out of Northreach, so you know your next destination.
No Comments