Preparation

Grab a Red Potion, then head for the wooden boards on the east side of the bay.
Before you continue, there is a mask you can obtain in the Pirates’ Fortress but you’ll need a Red Potion to obtain it.
Buy one at the Trading Post in Clock Town for 30 Rupees or from Kotake in the Southern Swamp for 20 Rupees. Also, be sure you have all four Bottles that you could collect at this point.
Gaining Entrance
At the northern end of Great Bay Coast you can spot some boards marked with skulls at the base of the seafloor.
Put on the Zora Mask and sink to the bottom, then use “R” to break the second board from the left revealing a secret entrance to the Gerudo Lagoon .
Gerudo Lagoon
As you enter you’ll spot four Gerudo Pirates sailing around the lagoon. Wait for the last one to pass and swim to the other end. Likewise, use the Zora Mask and sink to the seafloor.
Here you’ll find three chests with Red Rupees in them, just be wary of the Skullfish that will spawn in front of you as you are underwater.
Climb up the ramp at the far end use the Goron Mask. Stand on the platform and use a Ground Pound to open the gate, go through it to the next area.
Water Channel
In this area, navigate the channel by breaking the boards. Pull the block out then go through the next boarded area. Rise up and swim over the walls to the center, you can drop back down to the chest with a Red Rupee inside.
Push the block here from the inside then walk around to the water pump to be shot upwards. Avoid the Spike Mines as you progress down the narrow path to far end where you’ll find another chest with a Red Rupee.
Rushing could send you straight into the water and no Goron is going to like that.
Put on the Zora Mask and use Double Cutters to hit the Crystal Switch on the second level. Leap down into the water now that the gate is open and quickly swim into the next area before it closes.
In this third room, avoid the Spike Mines and swim to the ladder. On this platform you’ll need to step on the floor switch to raise the bars blocking the Crystal Switch.
Hit the switch then ride the water pump up to the next platform, be sure to leap off as soon as you can reach the platform or you’ll fly into a Spike Mine hanging from the ceiling.
You can look through the telescope at the top of the ladder, but you need to use Double Cutters to push the Spike Mines into each other. Hit the Crystal Switch now that you can see it to reveal an exit to the Gerudo Lagoon.
Go around the corner and up the ramp to reach the Pirates’ Fortress.
The Stone Mask
This area is littered with Gerudo Pirates and you can’t kill them. You can, however, knock them out temporarily. This is possible with just about any item but you’ll want to use Arrows to hit them from afar.
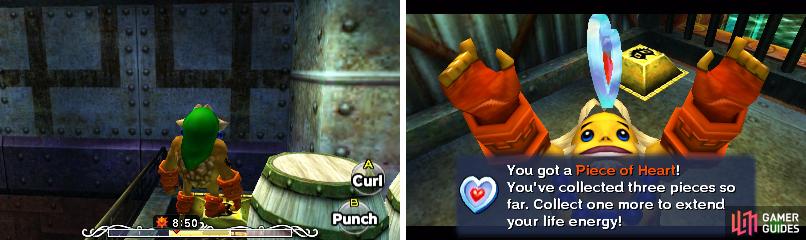
Start by clearing out the middle area and rushing to the center. Use the Lens of Truth to spot a fallen soldier near the tower in the middle.
Talk to him and give him the Red Potion you picked up earlier to receive the Stone Mask ! This mask lets you become invisible to most enemies, including the Gerudo Pirates.
The Hookshot
If you’re out of arrows, you can use the Zora’s Double Cutters instead.
Put on the Stone Mask and climb the ladder up the tower. There’s a Gerudo Pirate on the bridge, make your way past her and into the room ahead.
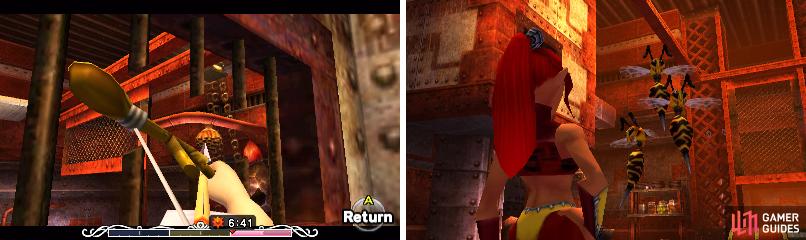
A short scene occurs with a Giant Bee flying into it’s beehive. Shoot through the bars and hit the beehive causing the Gerudo Pirates and their leader Aveil to flee.
If you noticed during the scene, there are only four Zora Eggs here and the other three are in an area with Sea Snakes . Leap down and open the chest to collect the Hookshot !
Zora Egg Collection
Use the Hookshot to latch onto the wooden plank above the fish tank. You’ll land on a platform where you can defeat the Blade Trap . Drop into the tank with the Zora Mask on, sink to the bottom, and use a Bottle to collect Zora Egg #1 .
Leave the room go left down the stairs. Use the Hookshot to reach the target at the upper platform to the south. Open the chest for a Red Rupee then roll off to the lower platform for another chest with a Red Rupee.
Latch onto the target in the southwest corner from here then enter the nearby room. With the Stone Mask on, simply run through the area to the next room where you’ll need to battle a Pirate.
Defeat her with repeated slashes then head into the next room. Grapple the wooden board above the fish tank, defeat the Shell Blade, and snag Zora Egg #2 with another Bottle.
Exit back to the outside and go to the northern end. Grapple the lower target in the middle of the northern wall then grapple the target at the left. Enter the room here and walk past the Gerudo patrolling this area.
The door is to your left and going through it leads to another battle with a Gerudo Pirate. Once defeated, head into the next room and use the wood plank to get above the fish tank.
Defeat the Desbreko in the water then hop in, open the chest for a Red Rupee, and collect Zora Egg #3 with a Bottle. Exit out the way you entered this area and Hookshot to the upper level.
Enter the final area and move past the Gerudos to the center where a chest holds a Silver Rupee . Once again, head to the second room and defeat the Pirate, then enter the final room. Hop into the fish tank like before and bottle up Zora Egg #4 .
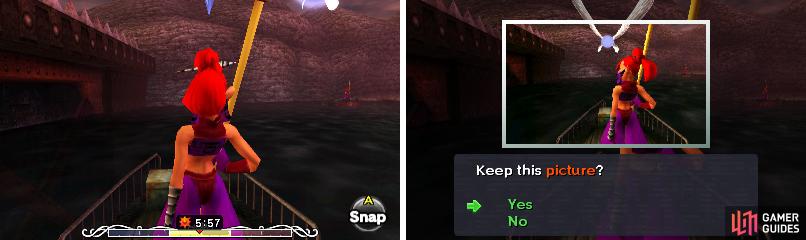
With the Stone Mask, it’s easy to get a good picture.
No Comments