Bridge Room
Climb up the narrow platform and hit the Masked Hiploop with your Hookshot a few times to remove the mask and defeat it. Exit into the Bridge Room where you’ll find an Eyegore .
Lock onto it and backflip when it attacks to dodge, then shoot an arrow in it’s eye while it’s white. Repeat this four times to defeat the monster and spawn a chest with Stray Fairy #7 inside.
Only the Stone Tower gets flipped upside down; not the whole of Termina, thankfully.
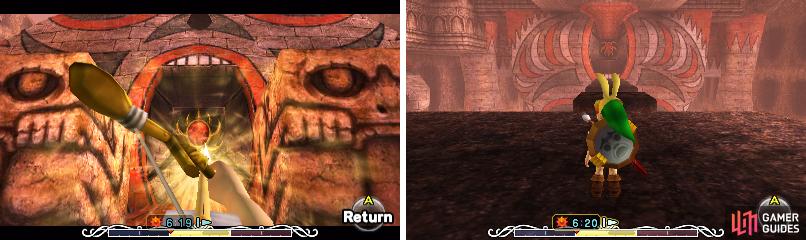
Head through the door and leap the gap to exit the temple temporarily. Shoot the ruby above the entrance with a Light Arrow to flip the temple then leap across and re-enter.
Entrance
Move to the center and turn around. Look straight up and spot the Sun Face, shoot it with a Light Arrow to spawn a chest with Stray Fairy #8 . Make your way over to the eastern end and head into the Air Pump Room.
Air Pump Room
Shoot the Sun Block with a Light Arrow and round the corner. There are several air pumps in this area, ignore them and jump down.
Turn around and shoot a Fire Arrow at the frozen Eye Switch then put on the Deku Mask. Ride the center gust of air to the chest that spawned to find Stray Fairy #9 .
Now ride up to the bridge with the Masked Hiploop and defeat it. Go through the opening and step on the switch to spawn a chest behind you, it has Small Key #3 inside.
Once again leap into the gusts and ride up to the smaller platform with a switch. Place a statue here so the flames around the upper chest stay extinguished then fly up to it for Stray Fairy #10 .
Leap down and look up at the platform you were just on to find a Sun Face, hit it with a Light Arrow. Finally, ride the air pump to the highest point and navigate between the Spike Mines to the door in the corner.
Puzzle Rooms
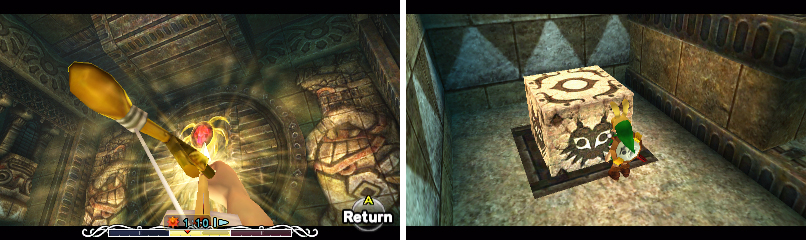
Whatever you do, don’t stand on top of the block while you flip the room…
In this room look across the way to find a ruby, hit it with a Light Arrow to flip the room. Put on the Goron Mask and roll across, then flip the room once more and exit.
The next room you need to start off by flipping. There are ChuChus in case you need Magic or Arrows. Your objective is to push the block to the center, then flip the room, then push it to across the middle, and flip the room.
Keep doing this until you can push the block into the slot in the opposite corner. Leap onto the block and into the next room.
Mini-Boss: Wizrobe
This guy is back again. The routine is the same, give him a few hits and he’ll start creating clones. Look to the upper platforms, he can spawn there and is ripe for some Light Arrows.
A chest spawns upon his defeat, Hookshot to it and collect Stray Fairy #11 . Exit via the staircase, it’s time to get the Boss Key.
No Comments